Keep up to date with the most important stories and the best deals, as picked by the PC Gamer team.
You are now subscribed
Your newsletter sign-up was successful
Want to add more newsletters?
Every Friday
GamesRadar+
Your weekly update on everything you could ever want to know about the games you already love, games we know you're going to love in the near future, and tales from the communities that surround them.

Every Thursday
GTA 6 O'clock
Our special GTA 6 newsletter, with breaking news, insider info, and rumor analysis from the award-winning GTA 6 O'clock experts.

Every Friday
Knowledge
From the creators of Edge: A weekly videogame industry newsletter with analysis from expert writers, guidance from professionals, and insight into what's on the horizon.

Every Thursday
The Setup
Hardware nerds unite, sign up to our free tech newsletter for a weekly digest of the hottest new tech, the latest gadgets on the test bench, and much more.

Every Wednesday
Switch 2 Spotlight
Sign up to our new Switch 2 newsletter, where we bring you the latest talking points on Nintendo's new console each week, bring you up to date on the news, and recommend what games to play.

Every Saturday
The Watchlist
Subscribe for a weekly digest of the movie and TV news that matters, direct to your inbox. From first-look trailers, interviews, reviews and explainers, we've got you covered.

Once a month
SFX
Get sneak previews, exclusive competitions and details of special events each month!
How to install an OS
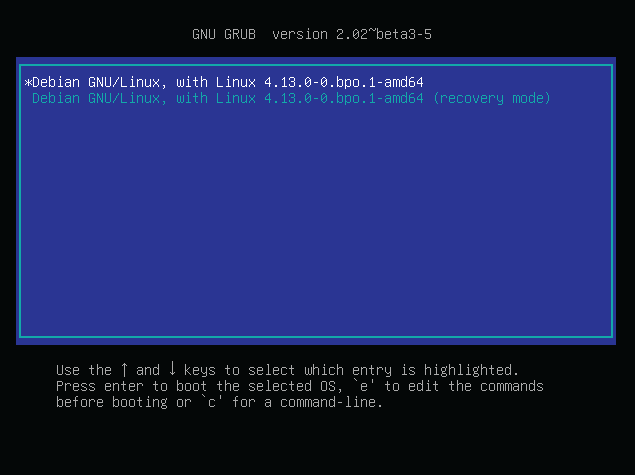
Hi. If you’re reading this, then you’ve never installed an OS before. Don’t worry— there’s nothing to be embarrassed or nervous about, we were all OS install virgins once. Installing an OS seems like something of a dying art; millennials and their damn embedded “smart” devices—tsk. An OS is software like anything else, it just happens that part of its job is to load the OS kernel and generally boot the system to a usable state, the clever scamp, which means that installing it requires you to boot the system off an install media—a DVD or USB drive, in other words.
At the start of the walkthrough below, we direct you to download an ISO file of OMV. An ISO file is a standard file format maintained as ISO9660; shout out to our epic friends at the International Organization for Standardization!
To use that image, you need to do two things: burn it or write it to a suitable media, and then boot your target PC from that media. If you have DVD drives (USB DVD drives for the win), you’re set, as Windows will just write that ISO to any blank disc. For USB drives, our general go-to software is UNetbootin, available from here, which is cross-platform, open-source ISO-writing goodness. Download, install, fire it up, ignore the “Distribution” option, jump to “Diskimage,” and select the ISO file.
Now to boot from that media. Many PCs offer an early “Boot” menu, accessed by tapping a key while powering up: F9 (HP), F12 (Dell, Lenovo), F8 (Amibios), or F11 (Award BIOS). Alternatively, use the BIOS/UEFI to adjust the drive boot order. Again, tap a key during powerup—usually Del, but sometimes F1, or F2. Some UEFI PCs require access via Windows: holding Shift, select its “Restart” option.
Windows shares
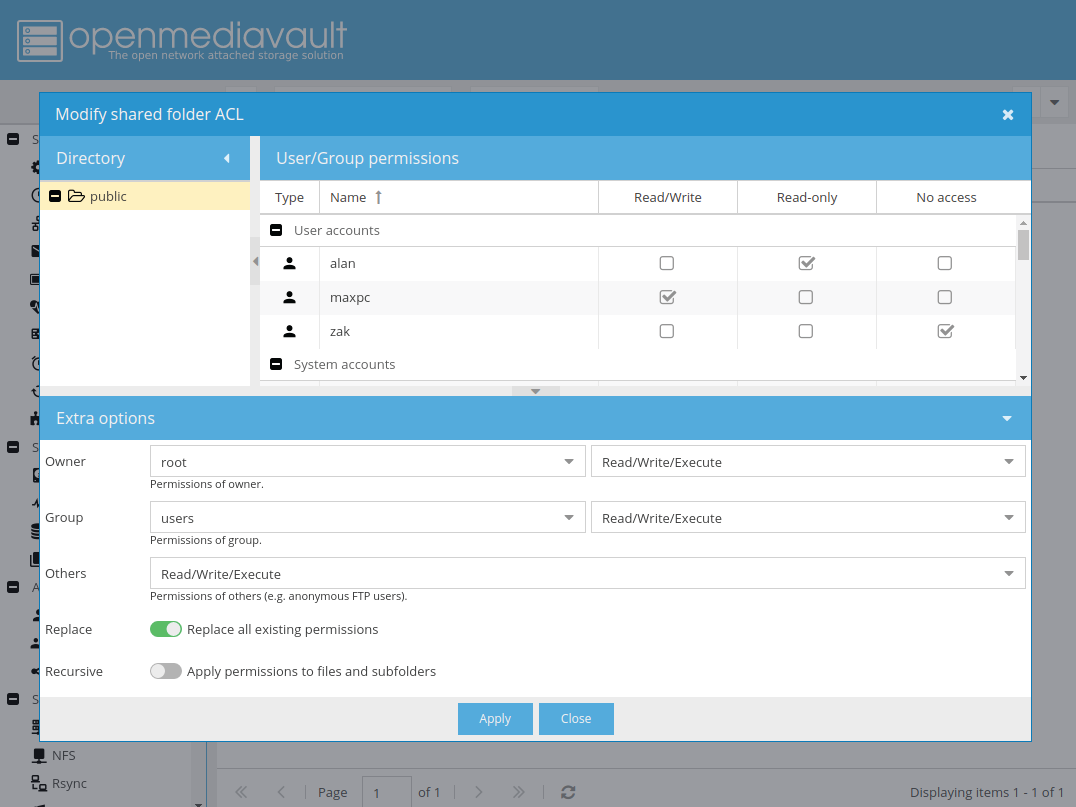
If you’ve followed the walkthrough, you’re at a point where the NAS can be let loose on your network for people to access. The final step is providing shared folders for Windows users to access. This uses the SMB/CIFS, aka Samba, system. Find this under “Services > SMB/CIFS.” You largely just need to hit “Enable,” click “Save,” then click the “Shares” tab, and add any folders you’ve created. Click “+Add,” click “Enable,” select the “Shared” folder (we create a public one in step 14), and if it should be available to everyone, enable the “Public > Guest allowed” pull-down menu.
You’ll likely need to click “System Apply” once you’ve saved the new share’s settings. If you jump on a Windows machine and peruse the network, you’ll now see a new OpenMediaVault machine, and inside there is the Public folder.
Creating folders with access control is more involved, and Windows can be a bit odd with credentials on occasion. In OMV, select “Access Rights Management > User,” click “+Add,” and create a user with a password. If you’ve not already, under “Shared Folders” create a suitable folder to have restricted access: Click “+Add,” give it a name, choose the “Device,” and under “Permissions” choose “Admin r/w, Users r/w, and Others None.”
Keep up to date with the most important stories and the best deals, as picked by the PC Gamer team.
Click “Privileges,” and choose the user and read/write access. Switch to “SMB/ CIFS,” click “Shares > +Add,” select your new folder from the “Shared folder” list, click “Save,” then “Apply.”
Off the shelf
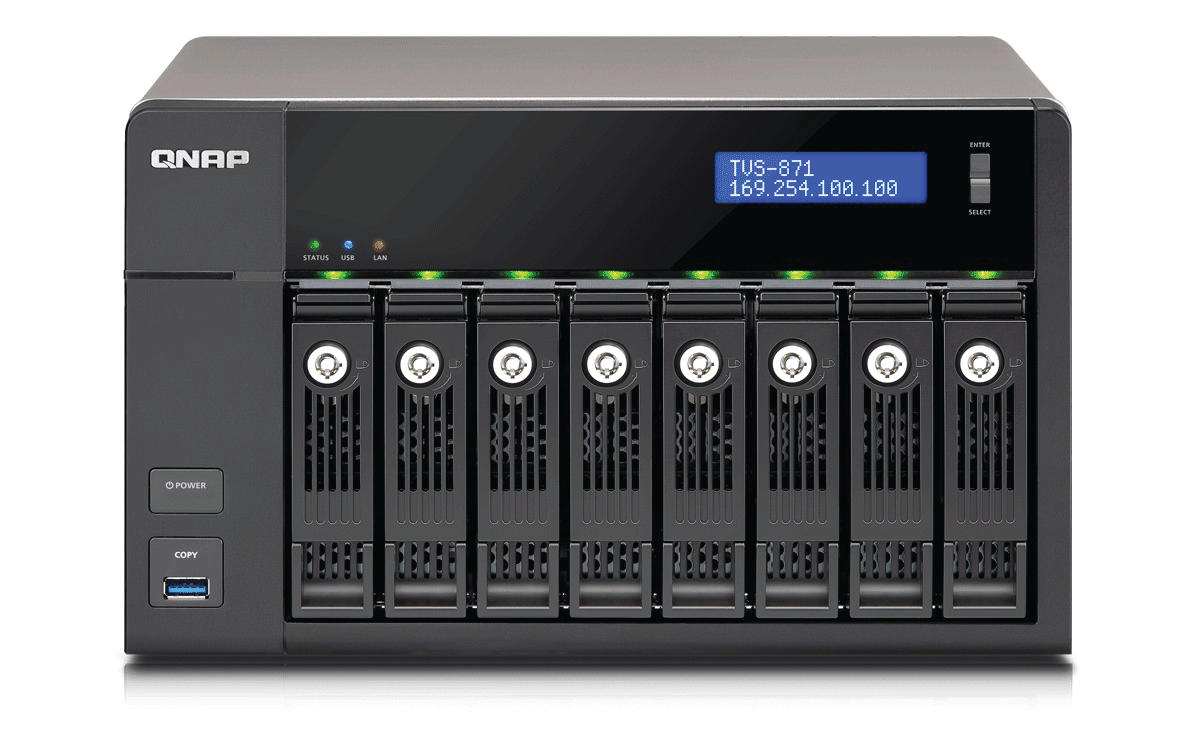
Well, that was all a lot of effort, wasn’t it? Surely capitalism can provide an easier solution? Damn right. Off-the-shelf NAS options are available in droves, and provide a level of ease, functionality, and slickness that’d be akin to the low levels of friction you’d find between dihydrogen monoxide and a mallard’s back. We’d certainly point you in the direction of QNAP and Synology—both off er a range of solid NAS systems, with very flexible web-controlled software, and other simple remote management options. You’ll be able to manage your NAS from any web browser or your smartphone.
At the low end, drives are typically offered in single-, dual-, and quad-bay designs, with various processor, network, video-out, and expansion options. Moving up the levels, you hit eight-bay models, with Core i7 processors, up to 64GB of system memory, dual 10GB networking, and beyond.
Of course, part of the reason for running this article is the do-it-yourself option. Take an old processor and motherboard, link up a bunch of drives, and you can effectively build your own NAS box. Low-power Core i3 processors provide an excellent option and all the Quick Sync transcoding grunt you could need for most situations.
This article was originally published in Maximum PC issue 150. For more quality articles about all things PC hardware, you can subscribe to Maximum PC now.
