How to create a character in Roblox
Let this Roblox character creator guide give you a leg(o) up.

Wondering how to use the Roblox character creator? If you’ve been building your own worlds to explore in Roblox, then you might have reached the point where you want to control what other players in your game look like. To create truly immersive Roblox experiences, you’ll want to have players wearing costumes that suit your world.
It’s one of the reasons the Roblox Jailbreak games work so well. If you couldn’t tell the difference between cops and criminals, there’d be no game at all. That’s why this guide is here to tell you how to use the character creator in Roblox.
How to get a Roblox character to build from
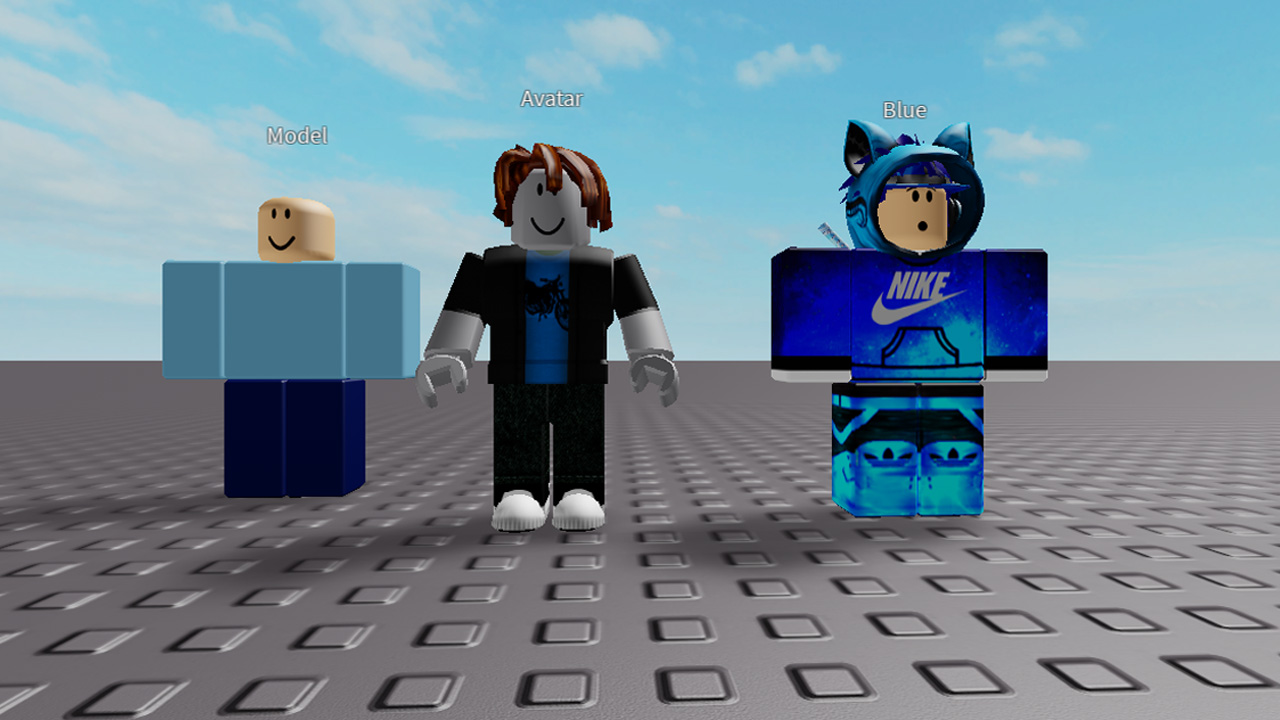
Although you can create a character from scratch, it isn't easy to do if you’re new to Roblox Studio. You have to put blocks together, resize them, and even fuse them. This is before you start dealing with animations. It’s far easier to either take an existing character model and customise it to look how you want, or use your own avatar as a base.
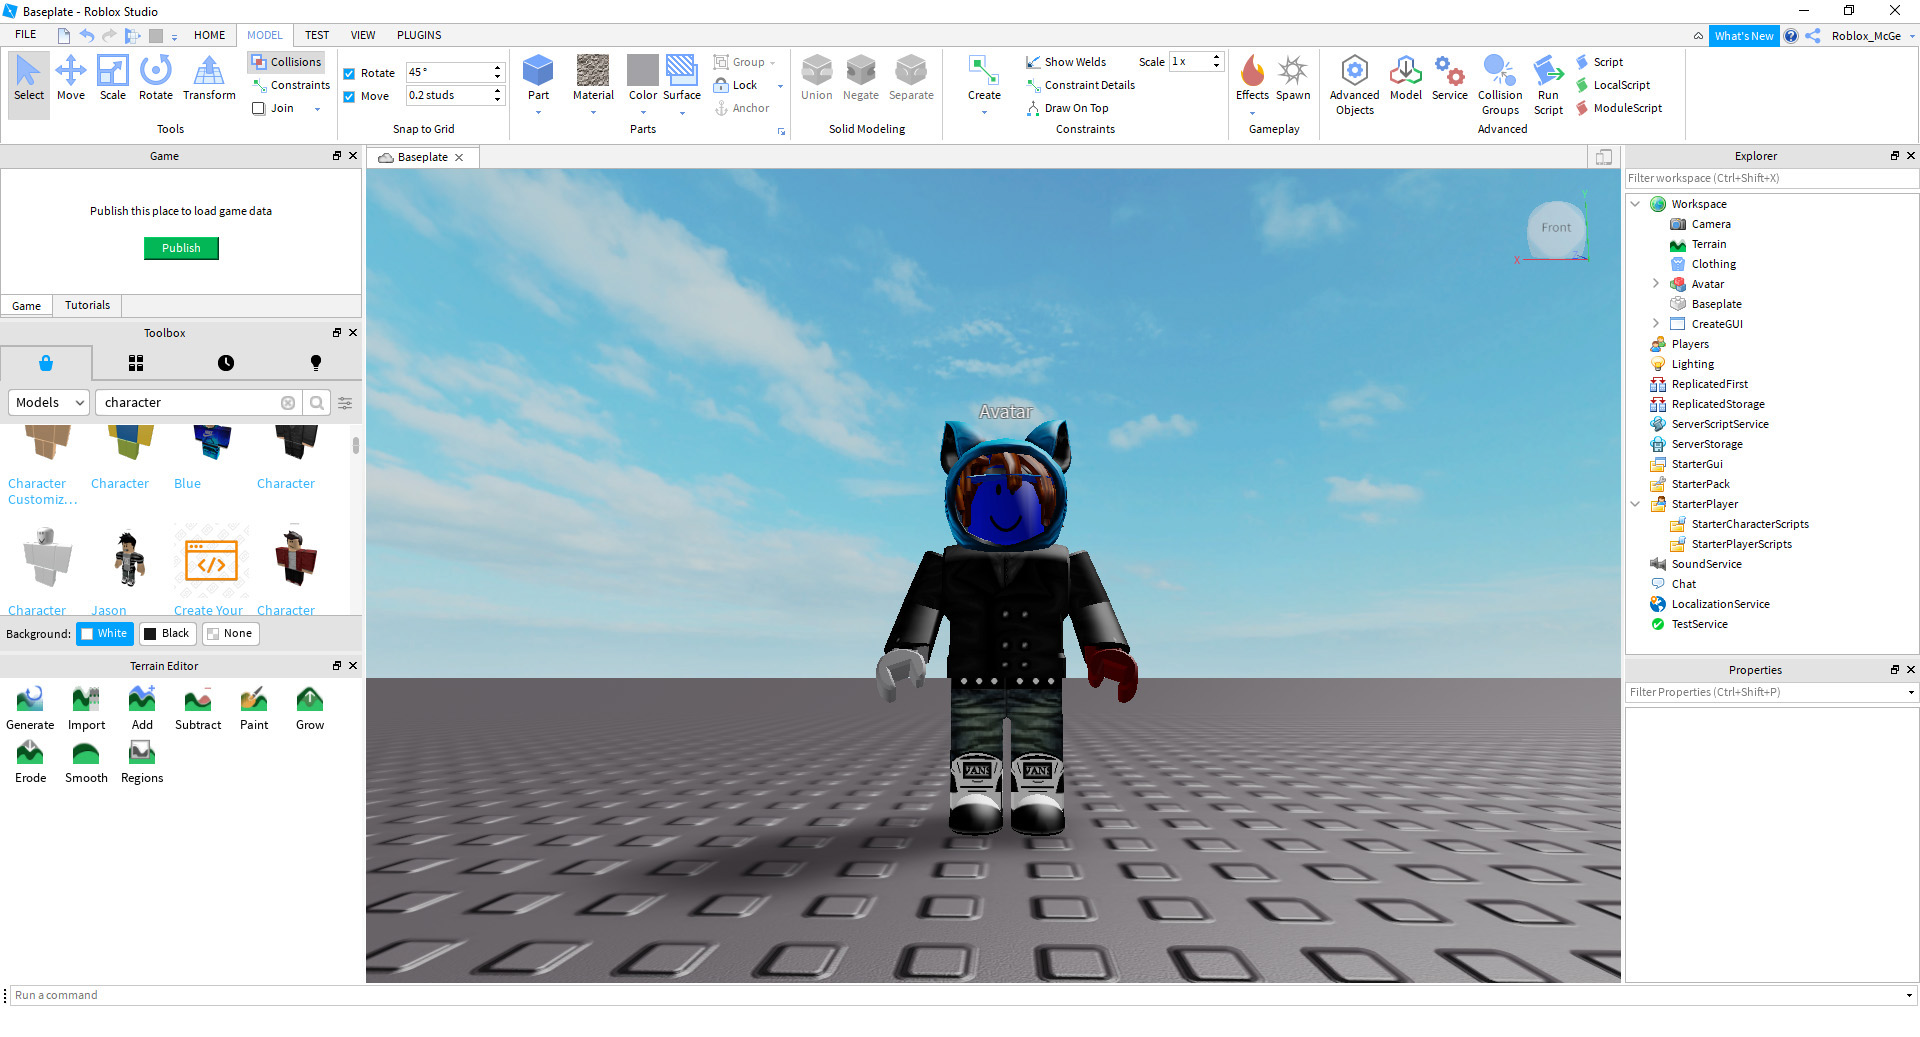
If you want to use an existing character model, you’ll need to find one in the Models section of Roblox Studio. From here, simply search for 'Character' and pick one before dragging it into your world. Doing so will allow you to have a basic model to work from, saving you the hassle of doing all the hard work yourself. There are also loads to choose from, so you should find one you like the look of.
Copy your avatar
Starting off with your own Avatar has advantages too, the most pertinent of which is that you know the character works. Sometimes a chosen model can have a strange scale or be animated poorly. Copying your avatar is simple enough. While in Roblox Studio, jump into play by pushing F5, then expand Workspace in the Explorer on the right. Expand your Avatar and copy all of the items within by highlighting them. Now head back to the creative mode by pushing Shift + F5. Paste the items you copied into a Model piece, and you’ll have a copy of your Avatar to play with.
Customising your character

Once you've selected your character, you can then go through and customise each part. This can be as simple as changing the colour, but if you want to get fancy, have a look through the list of other characters in the MODEL section. You can drag and drop parts of their outfits onto your Avatar to make them look more impressive. This is by far and away the simplest approach to customisation.
Using your character
To make your customised character the star of the show, you’ll need to do a couple of things. First, change the name of the Model to 'StarterCharacter'. Then, simply drag and drop them into the Starter Player folder. Once that’s done, you’re all good to go. Your players will now spawn as whatever it is you’ve created.
The biggest gaming news, reviews and hardware deals
Keep up to date with the most important stories and the best deals, as picked by the PC Gamer team.

