I built a tiny PC for playing classic console games, and you can too
Build a box of retro magic for less than $100.
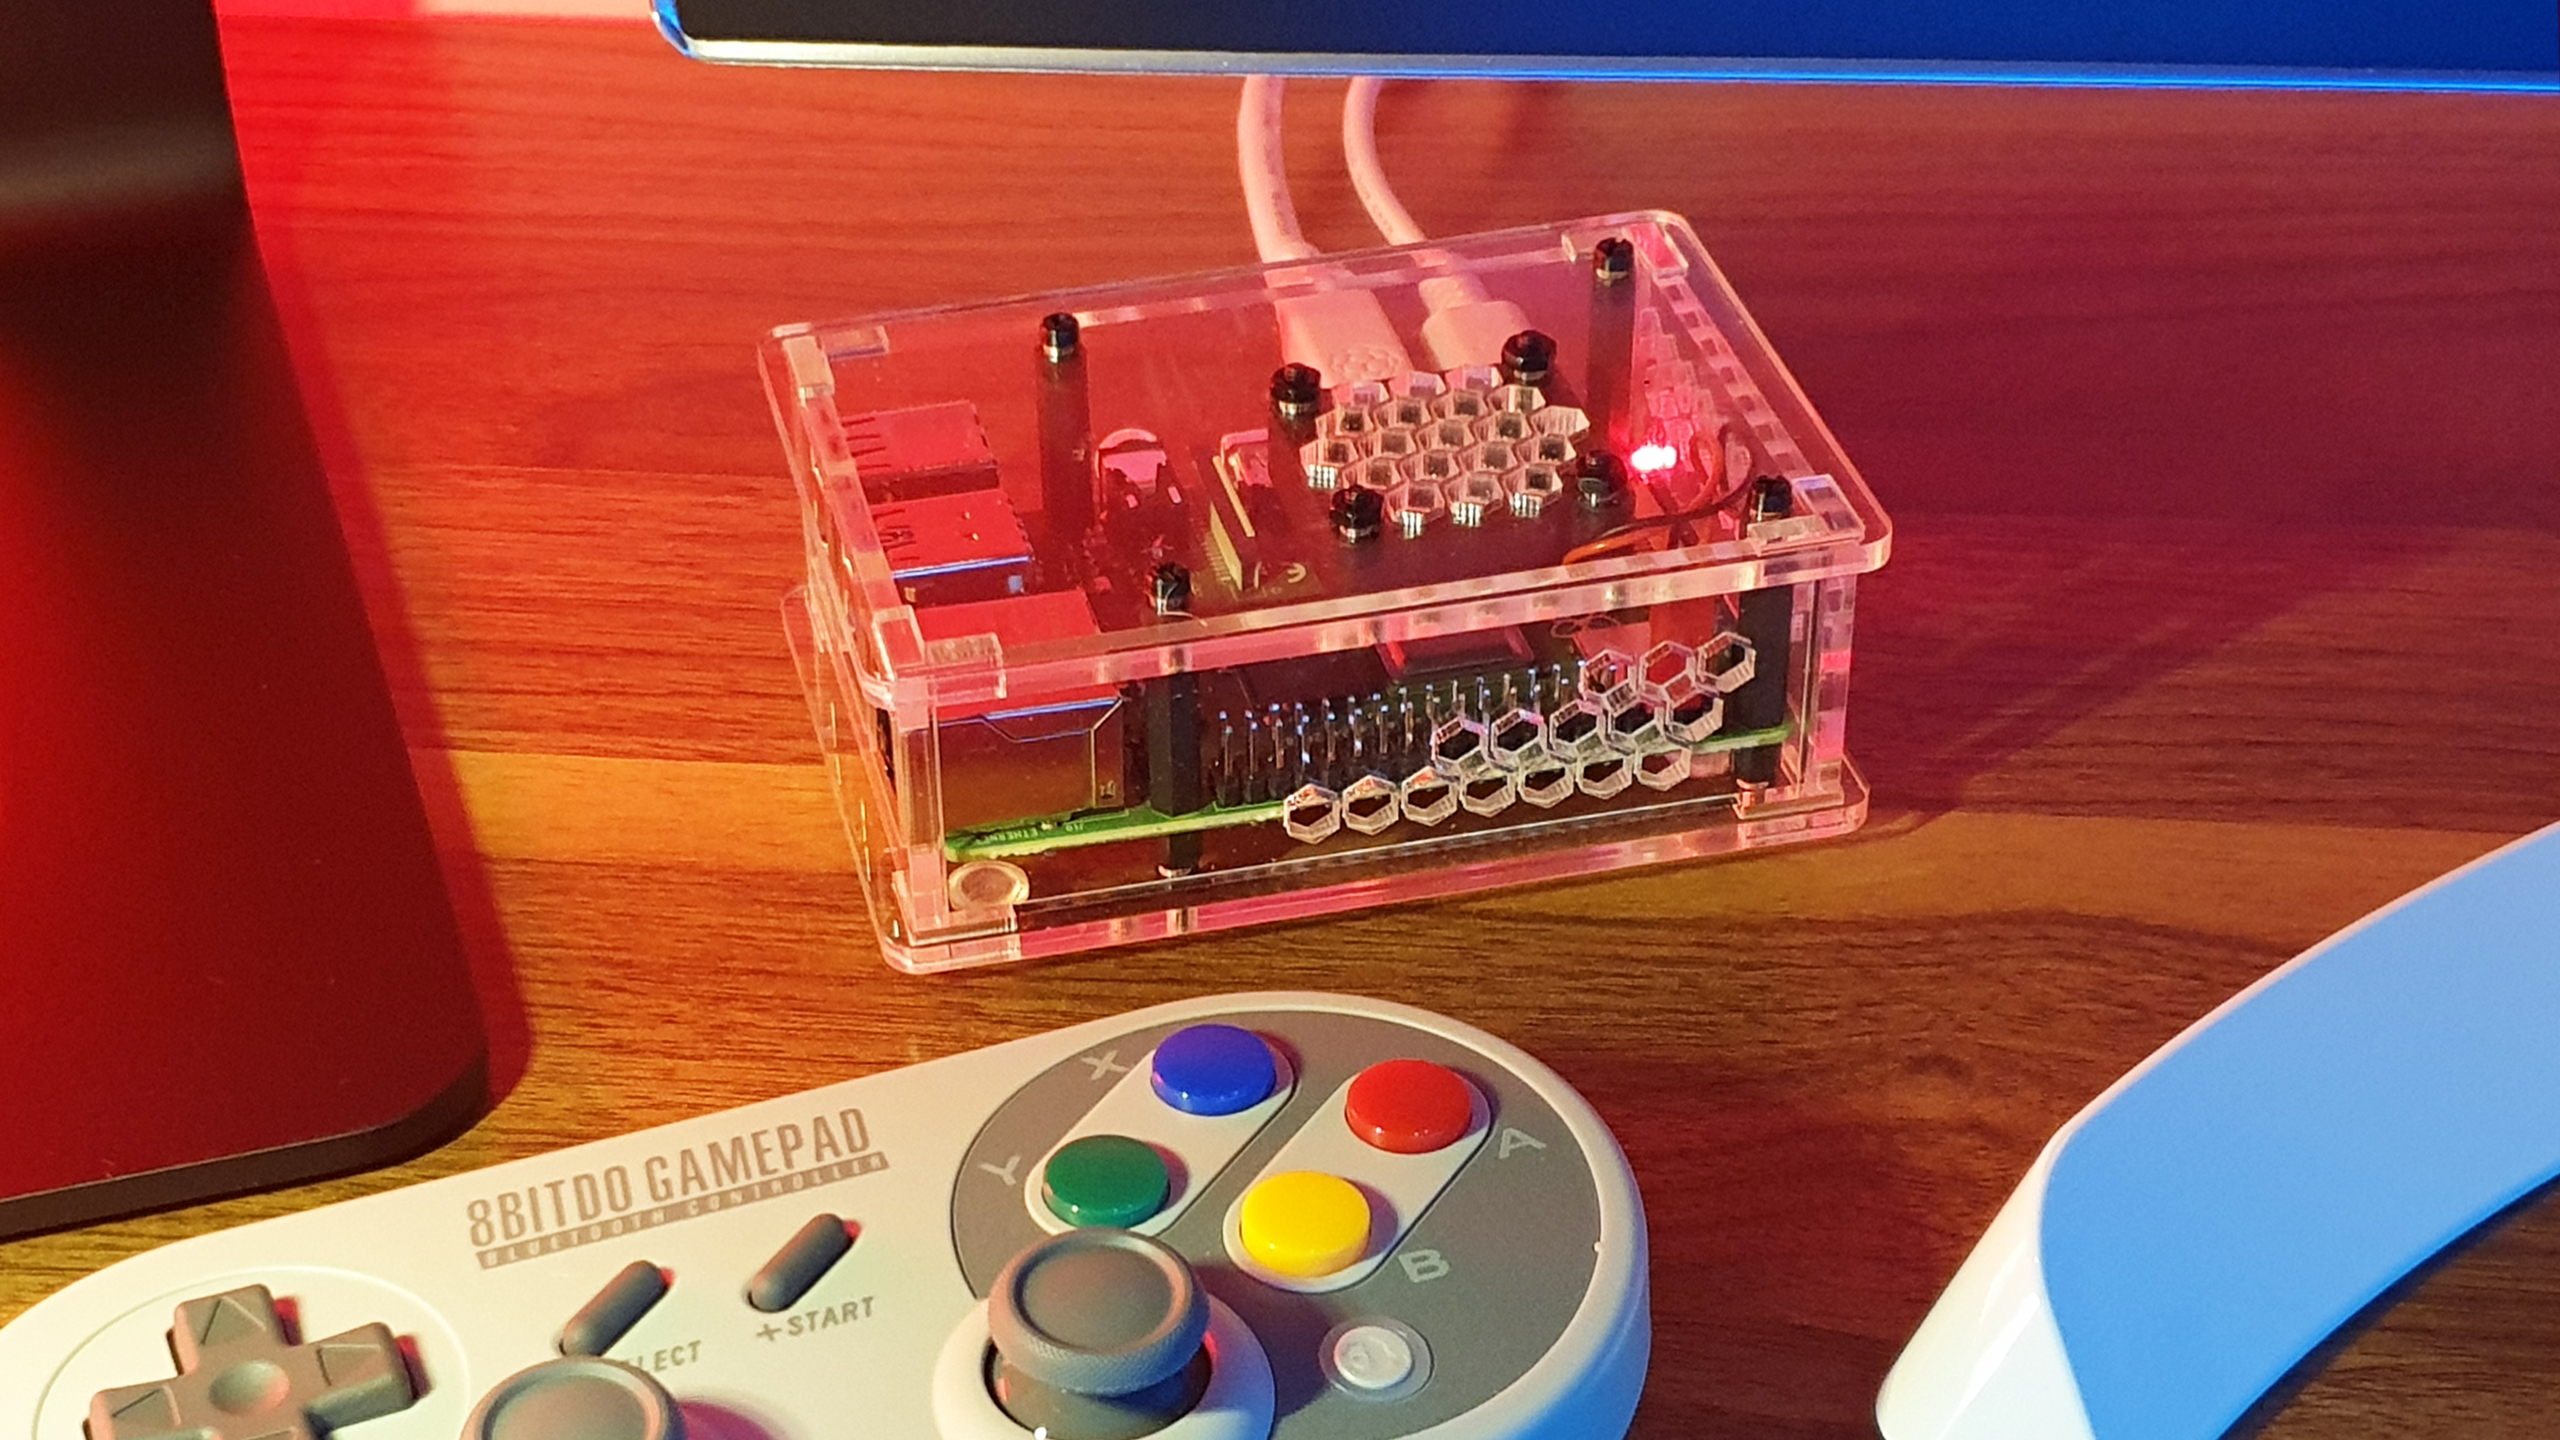
Imagine you had a tiny box on your desk with every games console you've ever loved on it. A PlayStation, Dreamcast, Nintendo 64, SNES, Game Boy, and more, all squeezed into something you can fit in the palm of your hand. Well, you don't have to imagine it, because you can build one yourself for less than $100.
The Raspberry Pi is a tiny, affordable, customisable, and surprisingly powerful computer, and it's what I used to build my all-in-one emulation box. If that sounds daunting, don't worry. I had more trouble putting together an IKEA desk. This is super easy to do, even if you've never heard of a Pi before.
The sheer number of parts and software available for the Pi means there are countless ways to make something like this. There might even be cheaper, better ways of doing it. But this is how I did it, as a Pi newbie with no previous experience building these things, and it's working like a charm.
Of course, you can run all these emulators on your PC. But what makes a box like this special is its bespoke OS, which lets you browse through all your games/consoles in a convenient, visually pleasing way. And the Pi has HDMI output, meaning you can easily plug it into a TV.
So let's build one. Anyone can do it.
The parts I used
A build like this is actually pretty simple, especially compared to some of the wild stuff people have created with a Raspberry Pi. But you'll still need to know what to look for and the best order to do everything in.
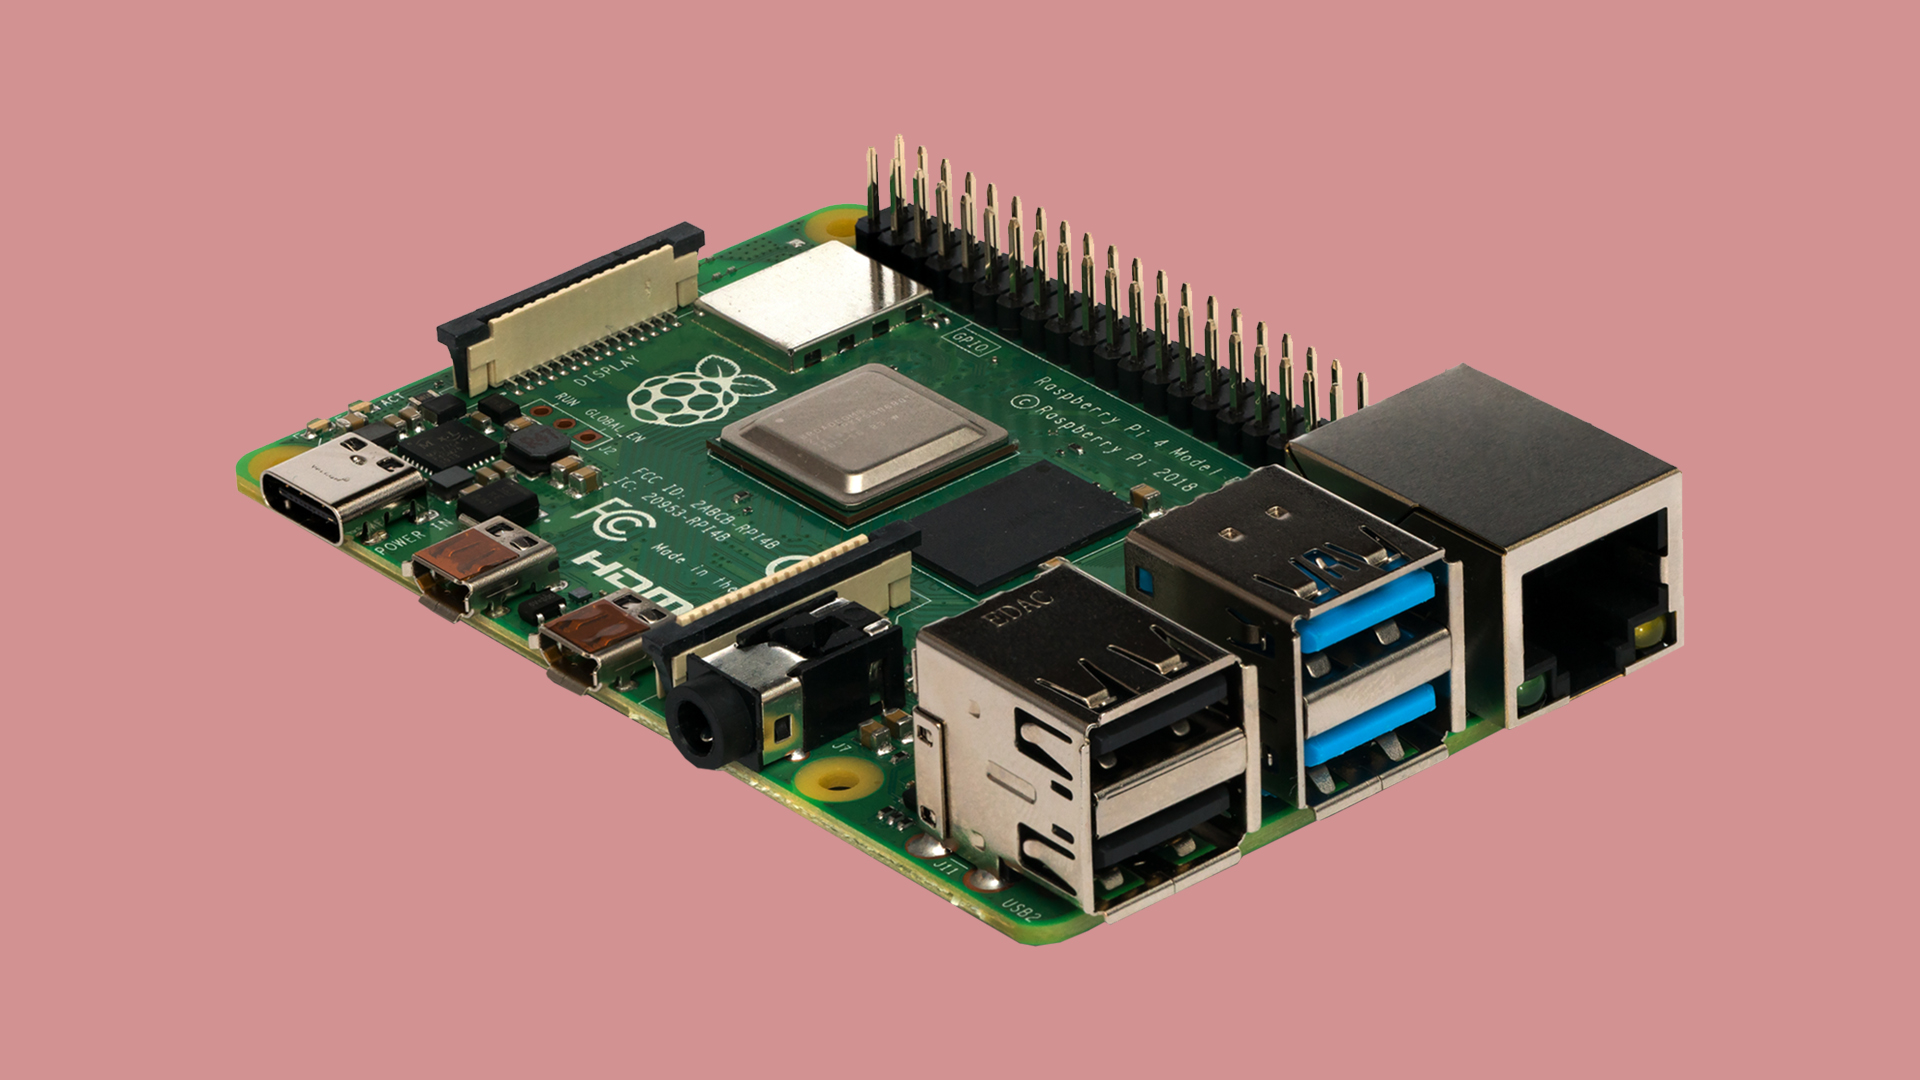
Raspberry Pi 4 Model B (2GB) - £33/$45
There are lots of Raspberry Pi models available, but I went for the Raspberry Pi 4 Model B. It has a 1.5GHz quad-core CPU, 2x HDMI out, 4x USB ports, built-in Bluetooth and wireless, and a micro SD card slot. You can pay a bit more for 4GB or 8GB of RAM, but the 2GB model has been totally fine for me so far.
The biggest gaming news, reviews and hardware deals
Keep up to date with the most important stories and the best deals, as picked by the PC Gamer team.
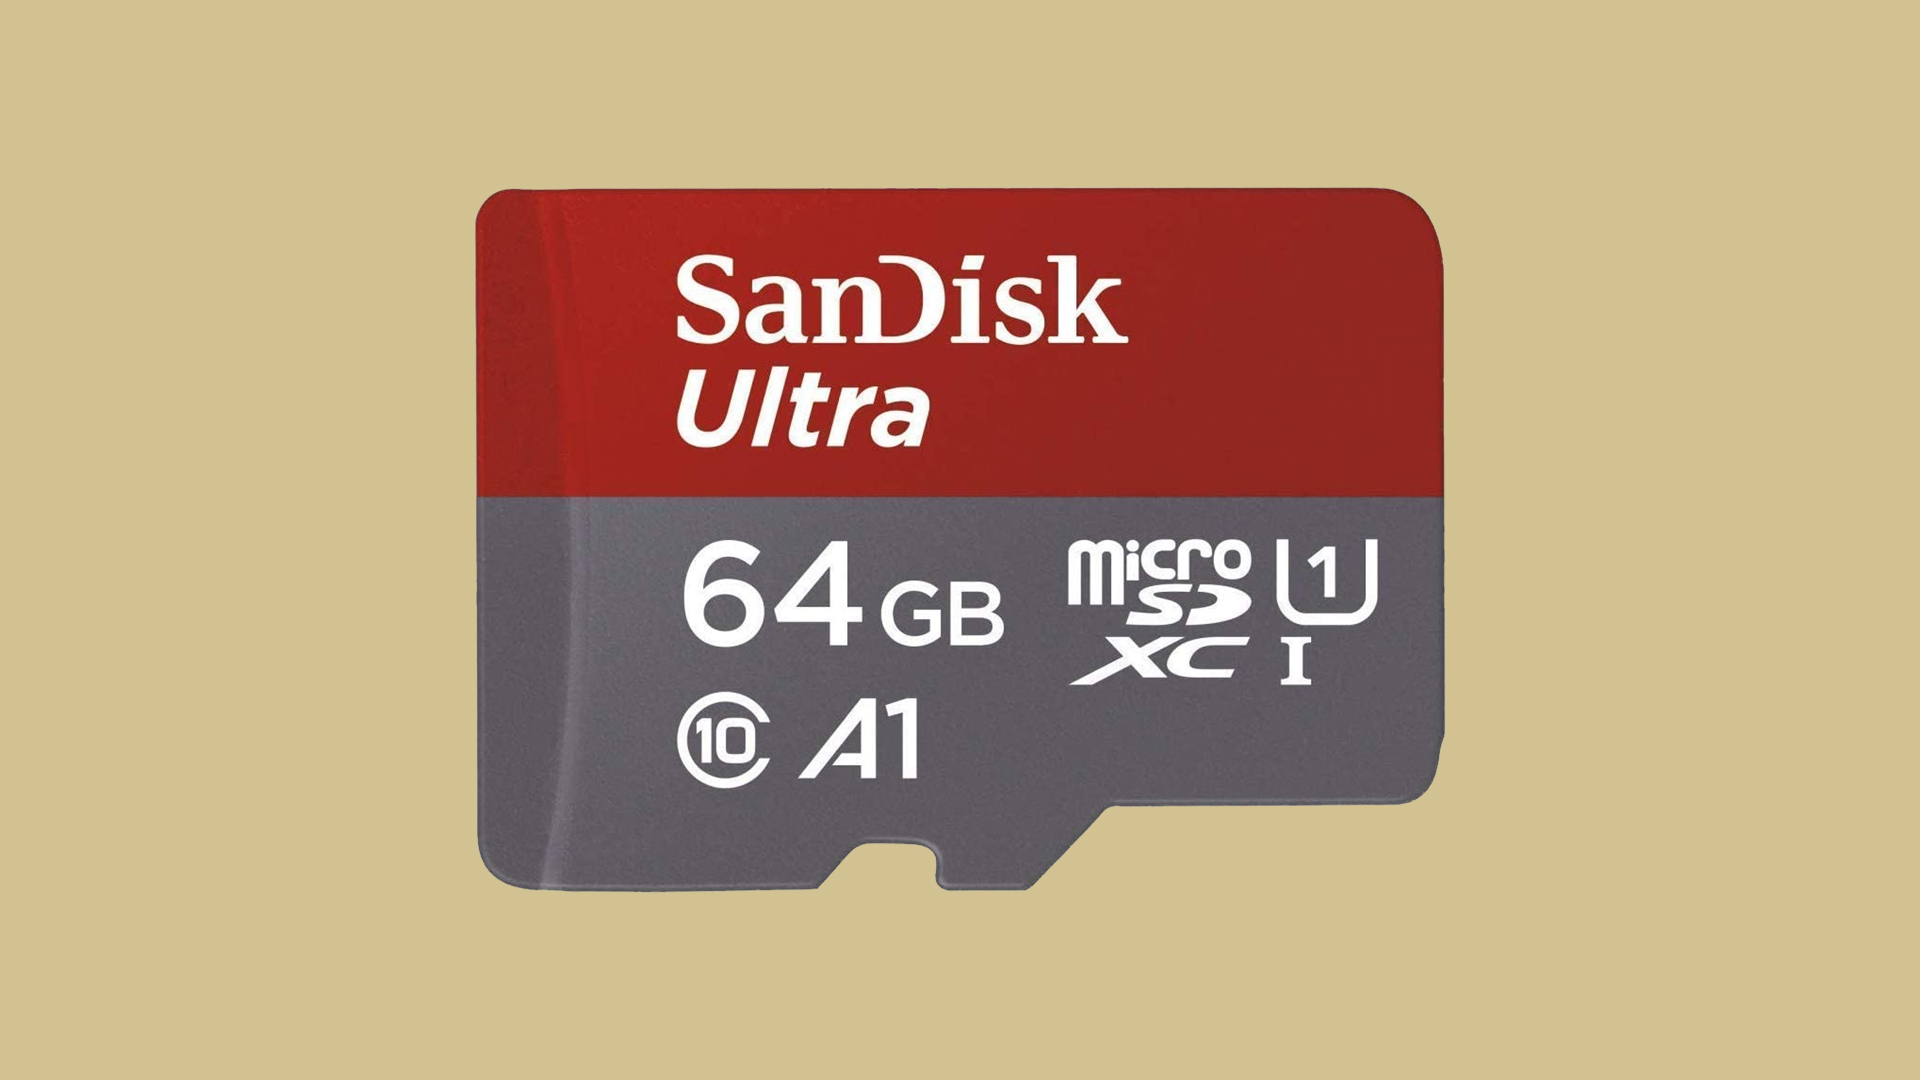
64GB micro SD card - £12/$16
Some people like to dump thousands of games on their emulation builds, but I'm taking a more curated approach, hand-picking them for each system. So 64GB is enough for me, but you could buy something bigger. Your SD card is essentially your hard drive, so you'll need some space for the OS too.
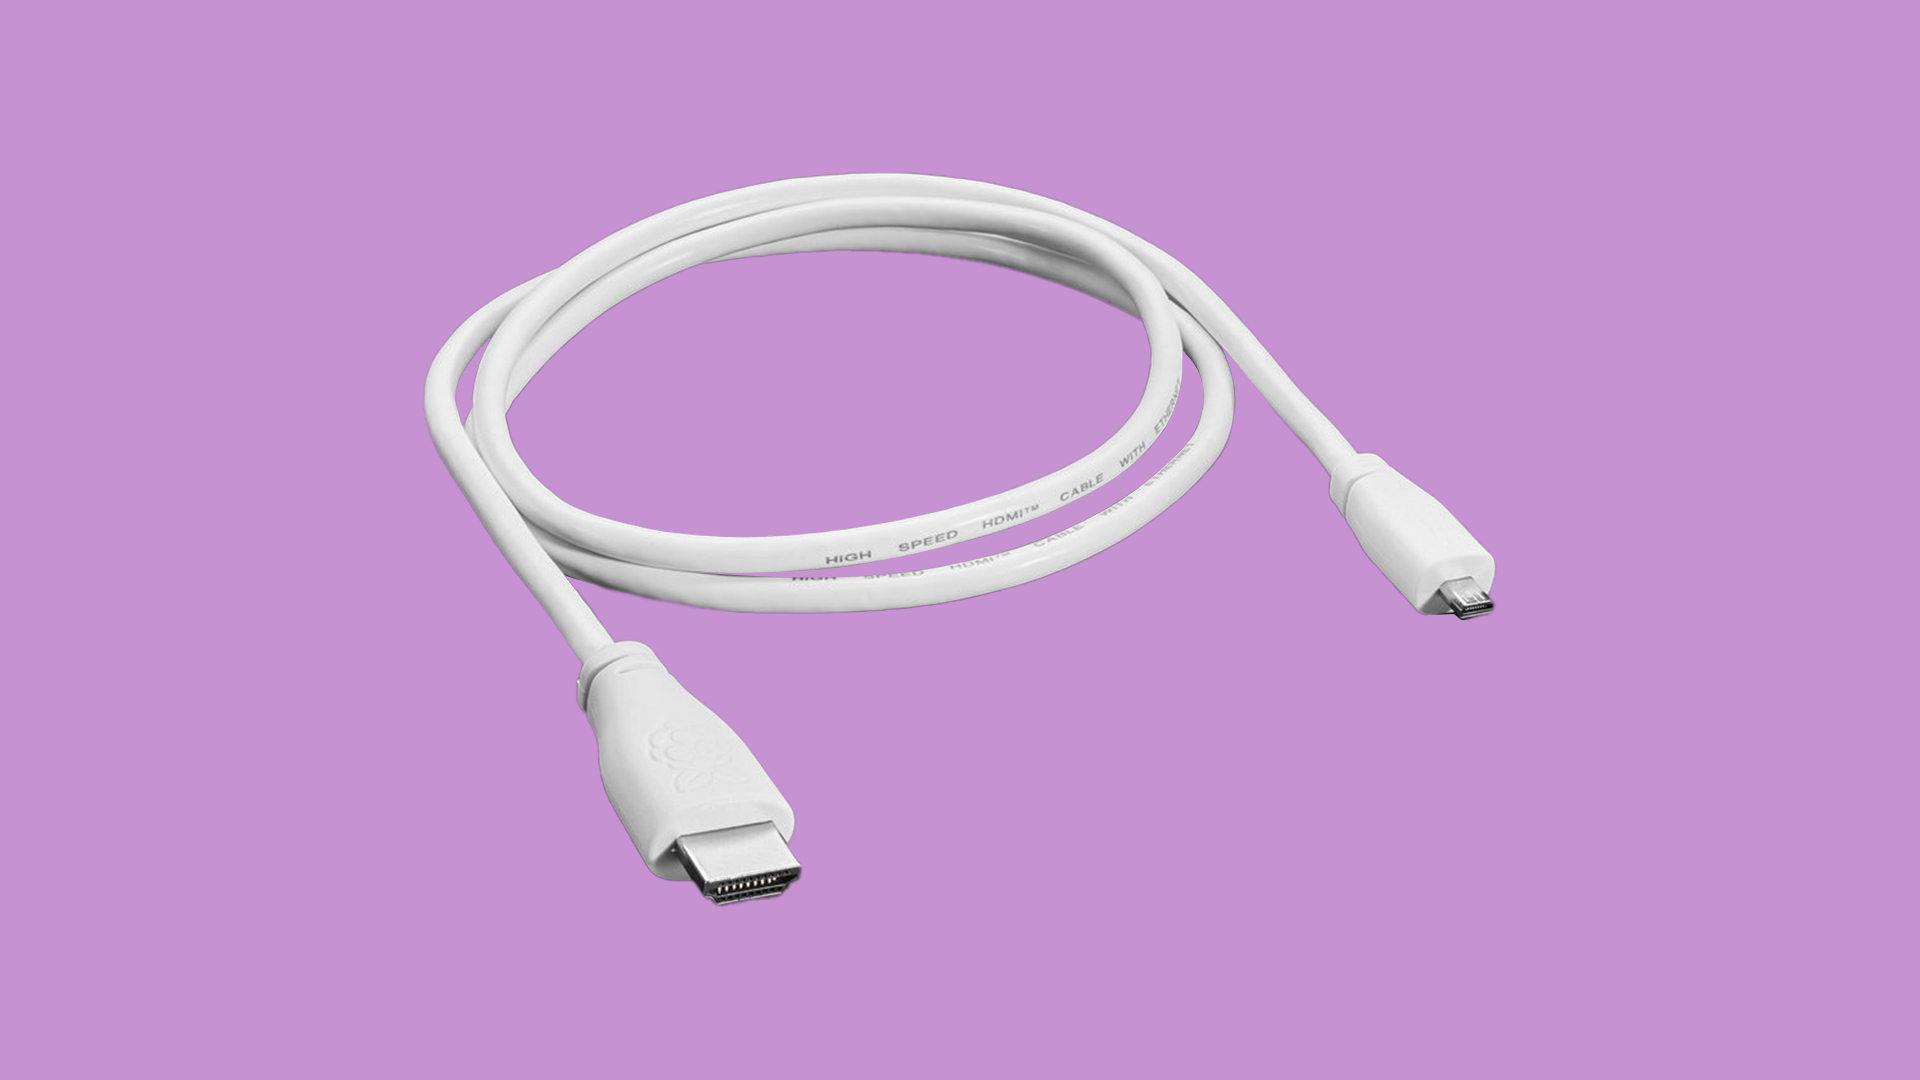
Official Raspberry Pi micro HDMI cable - £5/$7
You can use any micro-HDMI to HDMI cable to connect your Pi to a monitor or TV, but I wanted all my cables to be official Raspberry Pi ones, just because I like how they look. They have the lil Raspberry Pi logo stamped on them.
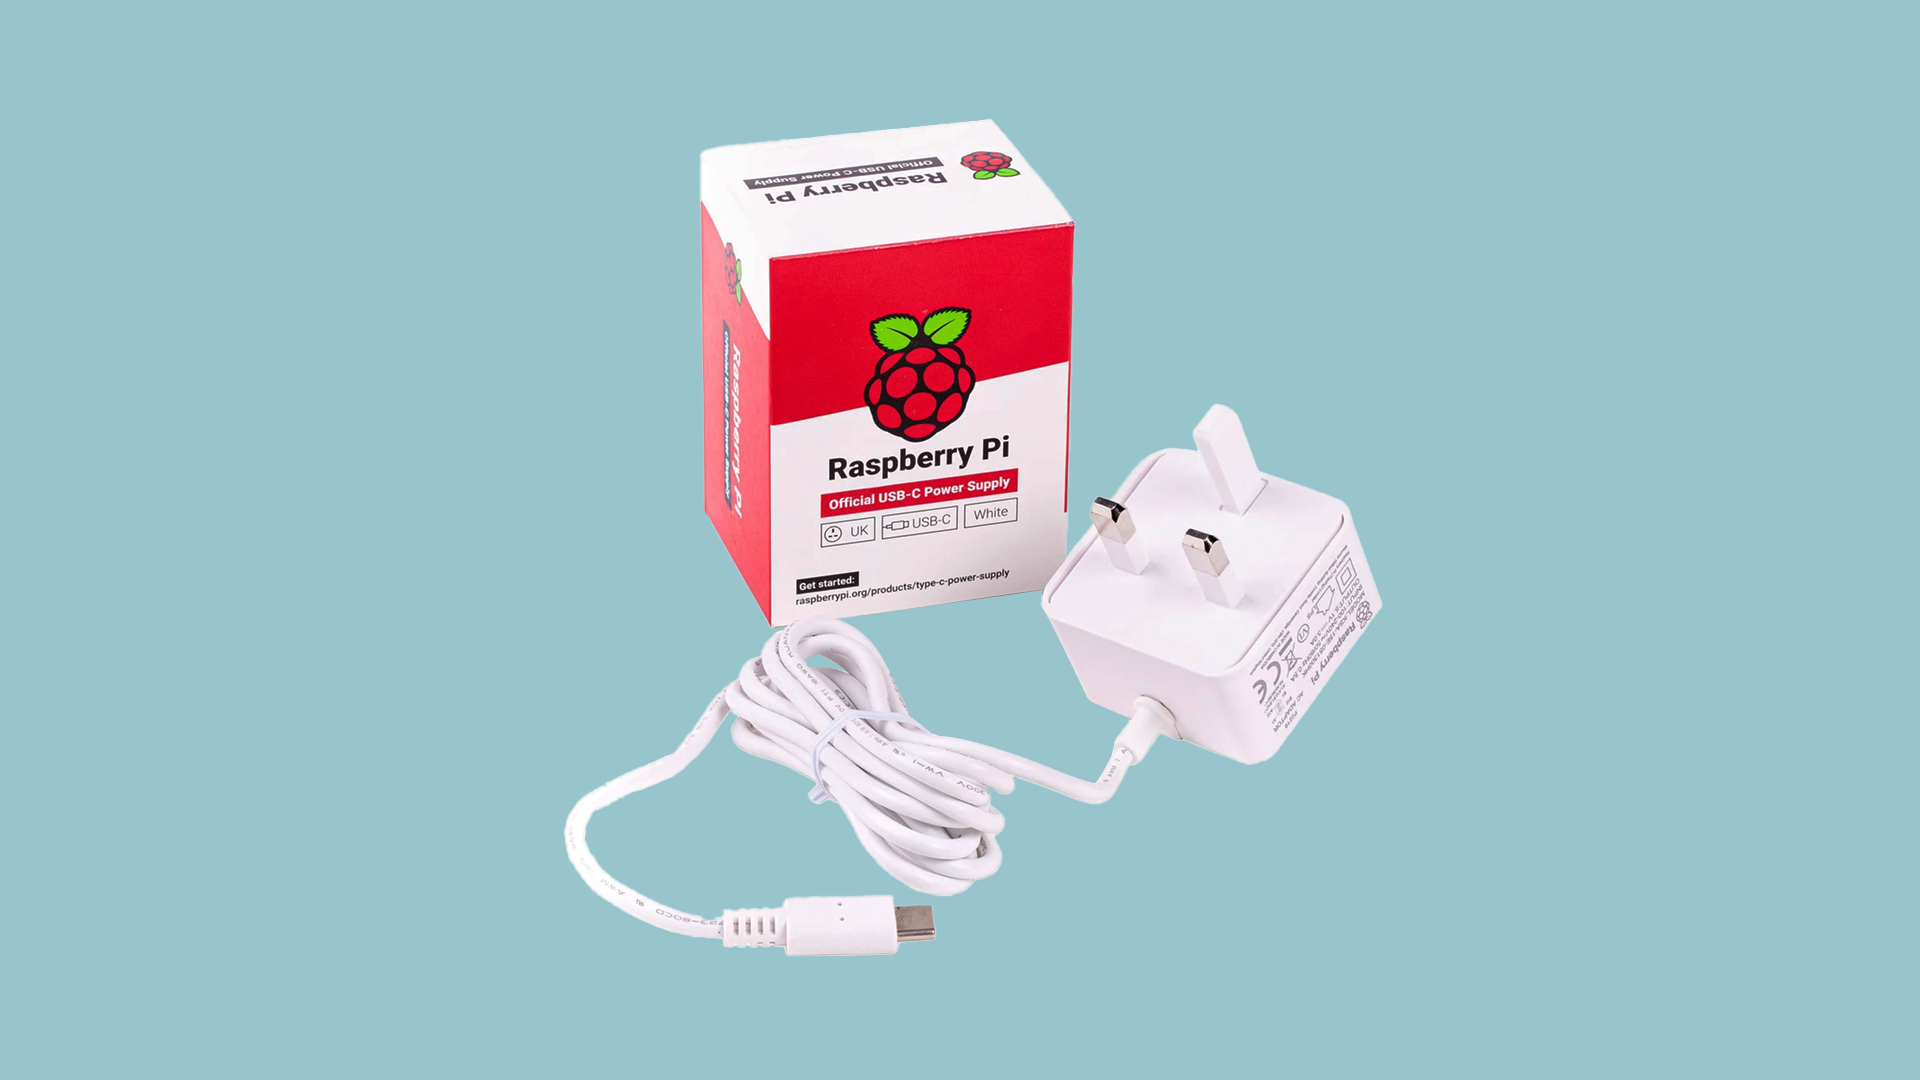
Official Raspberry Pi power supply - £8/$11
I decided to stick with the official power supply, not just because it's the same lovely, crisp white as the official HDMI cable, but because I figured it was best not to risk using a cheap third-party one that might not be built as well.
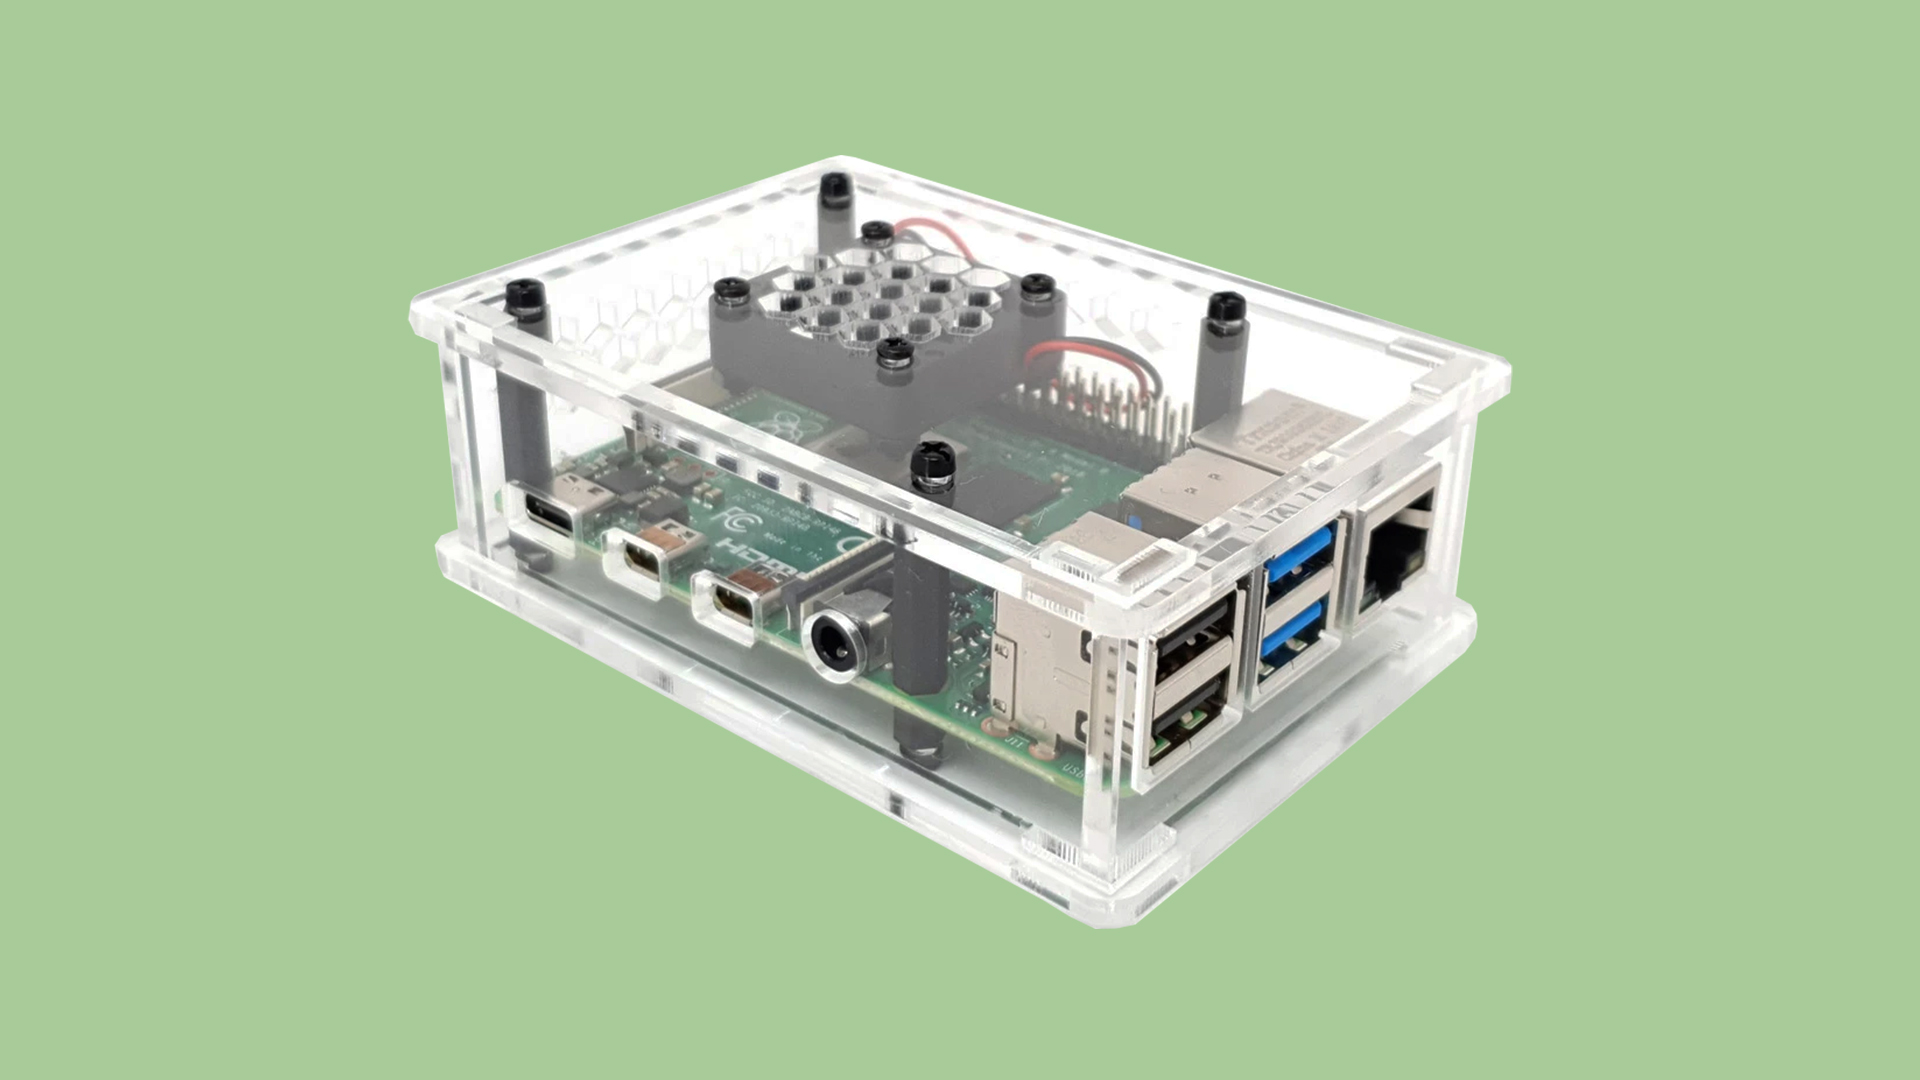
Raspberry Pi 4 case with cooling fan - £10/$13
This is where you can have some fun. There are thousands of low-cost Raspberry Pi cases out there, but as soon as I saw this one I knew I had to have it. I've always loved transparent electronics, and the included case fan is a nice bonus. There's some debate about whether the Pi 4 actually needs a fan, but I fitted it anyway. Better safe than sorry, right?
Total: £68/$92
Note: I bought most of my parts from The Pi Hut, a UK website. If you source them elsewhere, or in another country, prices may vary. The USD amounts here are also rough estimates, so they might not be entirely accurate.
How I built it
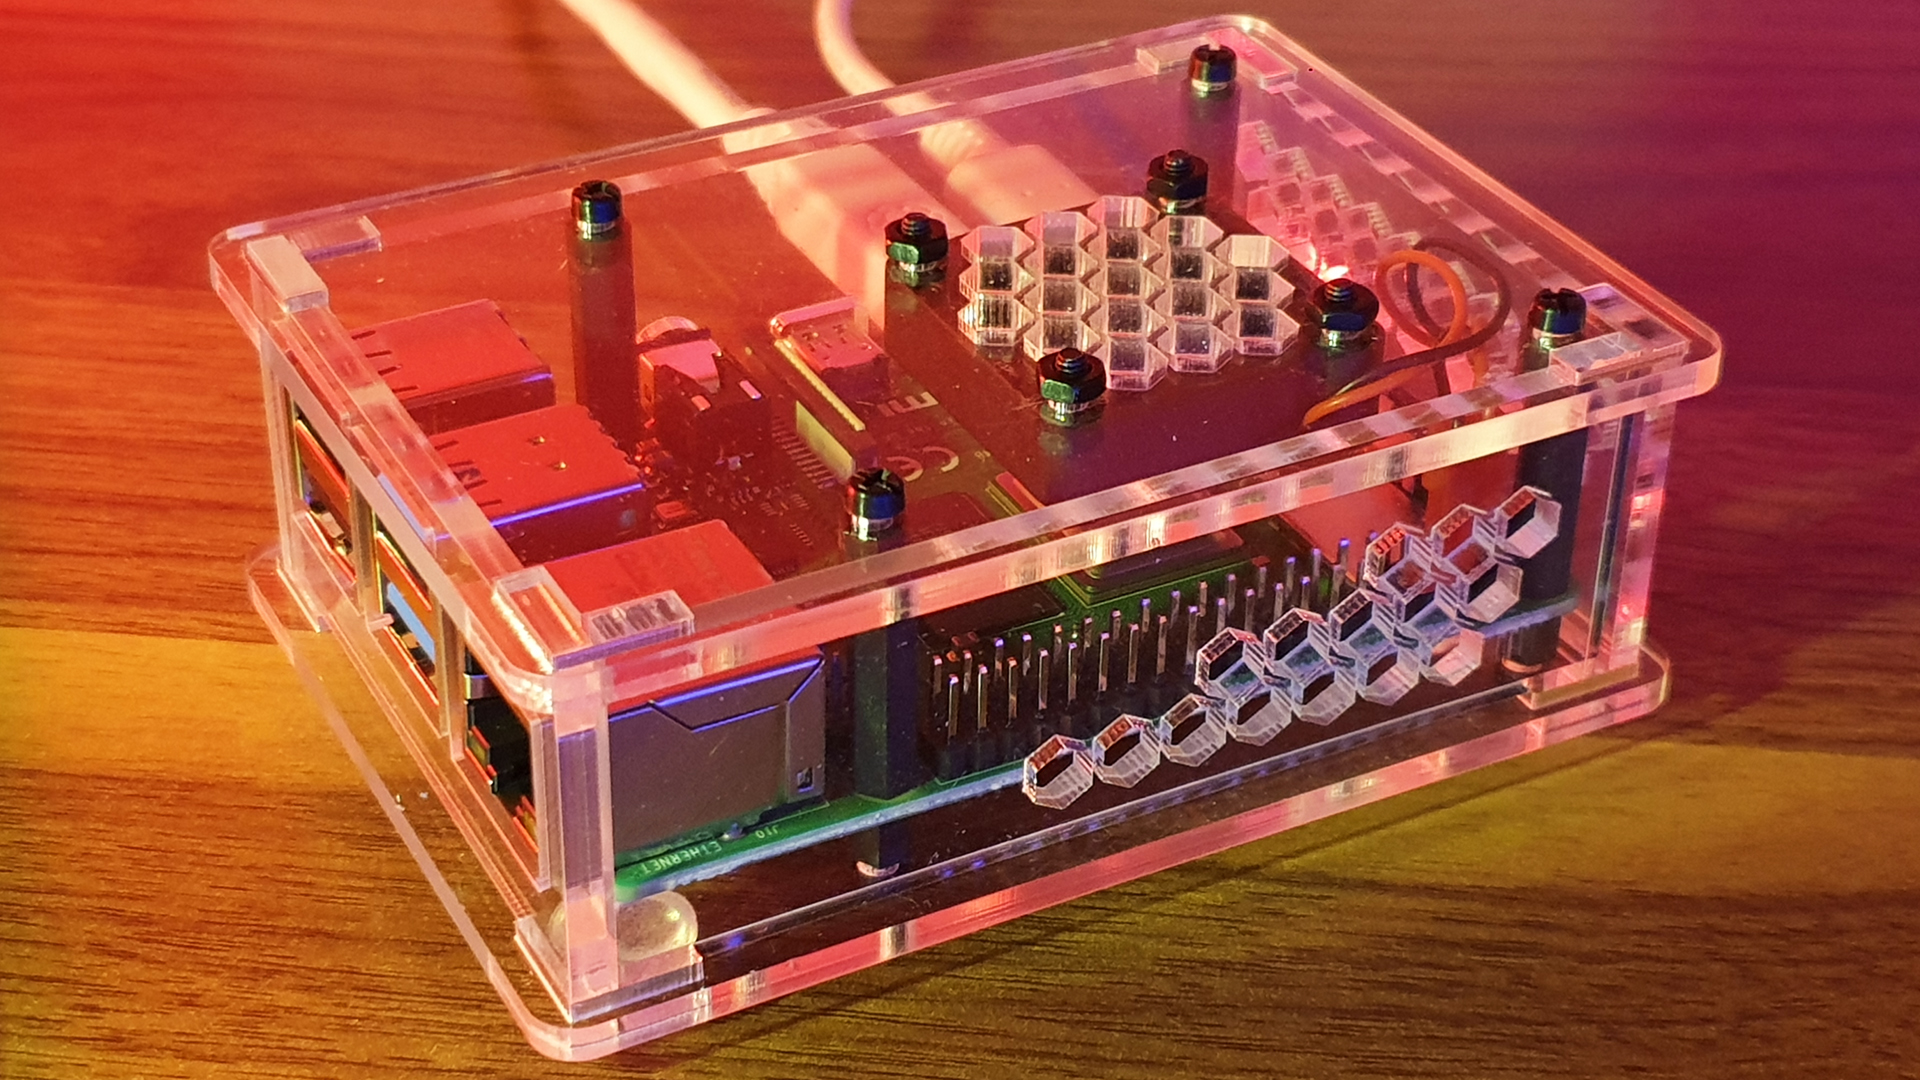
1. First, fit your Pi into its case. This process will be different for every case, but here are the instructions for the one I used to give you an example. It should be a painless process. If there's a fan you'll need to fit that too, but all this should be covered in the documentation that comes with your case.
2. Next up, download a program called Recalbox. This is an operating system designed specifically for emulation, letting you browse games through a neat bespoke interface. Some people like RetroPie but, having tried both, I prefer Recalbox. If you're unsure, there are plenty of articles online comparing the two. For our Raspberry Pi 4, we'll need to download this Recalbox image file.
3. Download Raspberry Pi Imager. Plug your SD card into your PC and run the software. Click the CHOOSE OS button and select the Recalbox image file you downloaded earlier. Click the CHOOSE SD CARD button and select the SD card you plugged into your PC. Then click WRITE.
4. This might take a while. It'll write the data, then verify it. If there are no errors, Raspberry Pi Imager will automatically eject your SD card and you can pull it out of your PC safely. Time to fire up the Pi.
5. Plug your SD card into your Raspberry Pi, connect it via HDMI to a monitor or TV, plug in a USB gamepad, then connect the power supply. The Pi will automatically boot up, and Recalbox will perform its initial setup. And after a few minutes you should find yourself on the Recalbox main menu, browsing through a collection of sample games included with the image file.
What about the games?
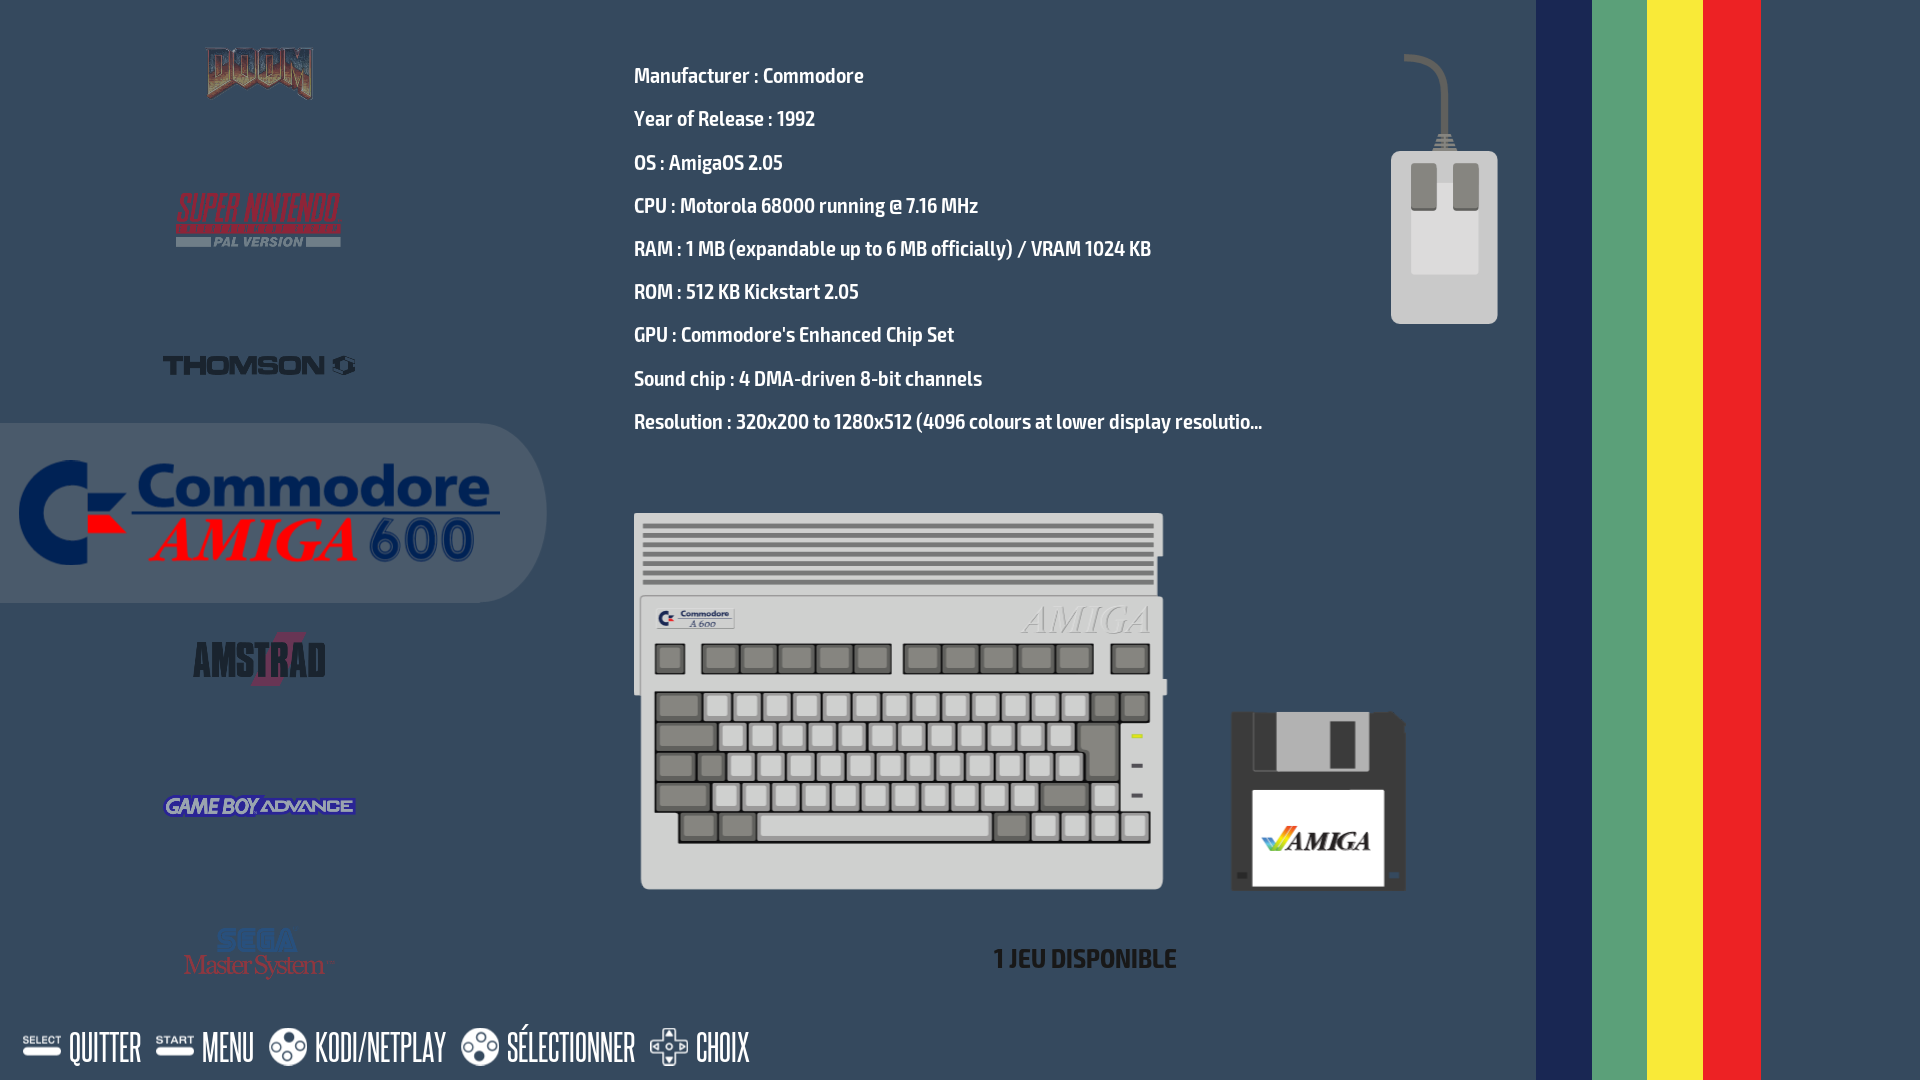
Obviously you're going to need some games to play, but I'll leave finding them up to you. You can rip ROMs and ISOs from games you legally own, but there are plenty of websites out there that have done the hard work already. The ethics of emulation is an interesting (and tricky) subject, which we tackled in this article if you want to read into it more deeply.
When you have some games on your PC, wherever you got them from, shut down your Pi and remove the SD card. Plug it into your PC (you'll need a USB adapter if your PC doesn't have an SD slot) and you'll see a partition that was created during the Recalbox installation process called SHARE.
In here you'll find a ROMs folder, with a bunch of subfolders named after various game systems. Drop your games into the appropriate folders, and when you plug your SD card back into your Pi and boot it up they'll appear in Recalbox, ready to play. Your controller will be automatically configured too, although you can go into settings and tweak anything you don't like.
Don't forget the BIOS
For many (usually disc-based) systems, games won't run, or run at their best, without the appropriate BIOS. This includes the Sega Dreamcast, Sony PlayStation, and Sega CD, to name just a few. BIOS files are in the same muddy legal waters as ROMs, so you'll have to do some searching to find them.
Once you have the BIOS files for your chosen systems, drop them in the BIOS folder in the SHARE partition and Recalbox will detect them automatically. You can do a BIOS check in the options menu to make sure you have the correct files. If you do, your games should run without any issues.
Extras
If you have a bit of extra money to spend, here are some additional bits that might make your build that little bit more special.
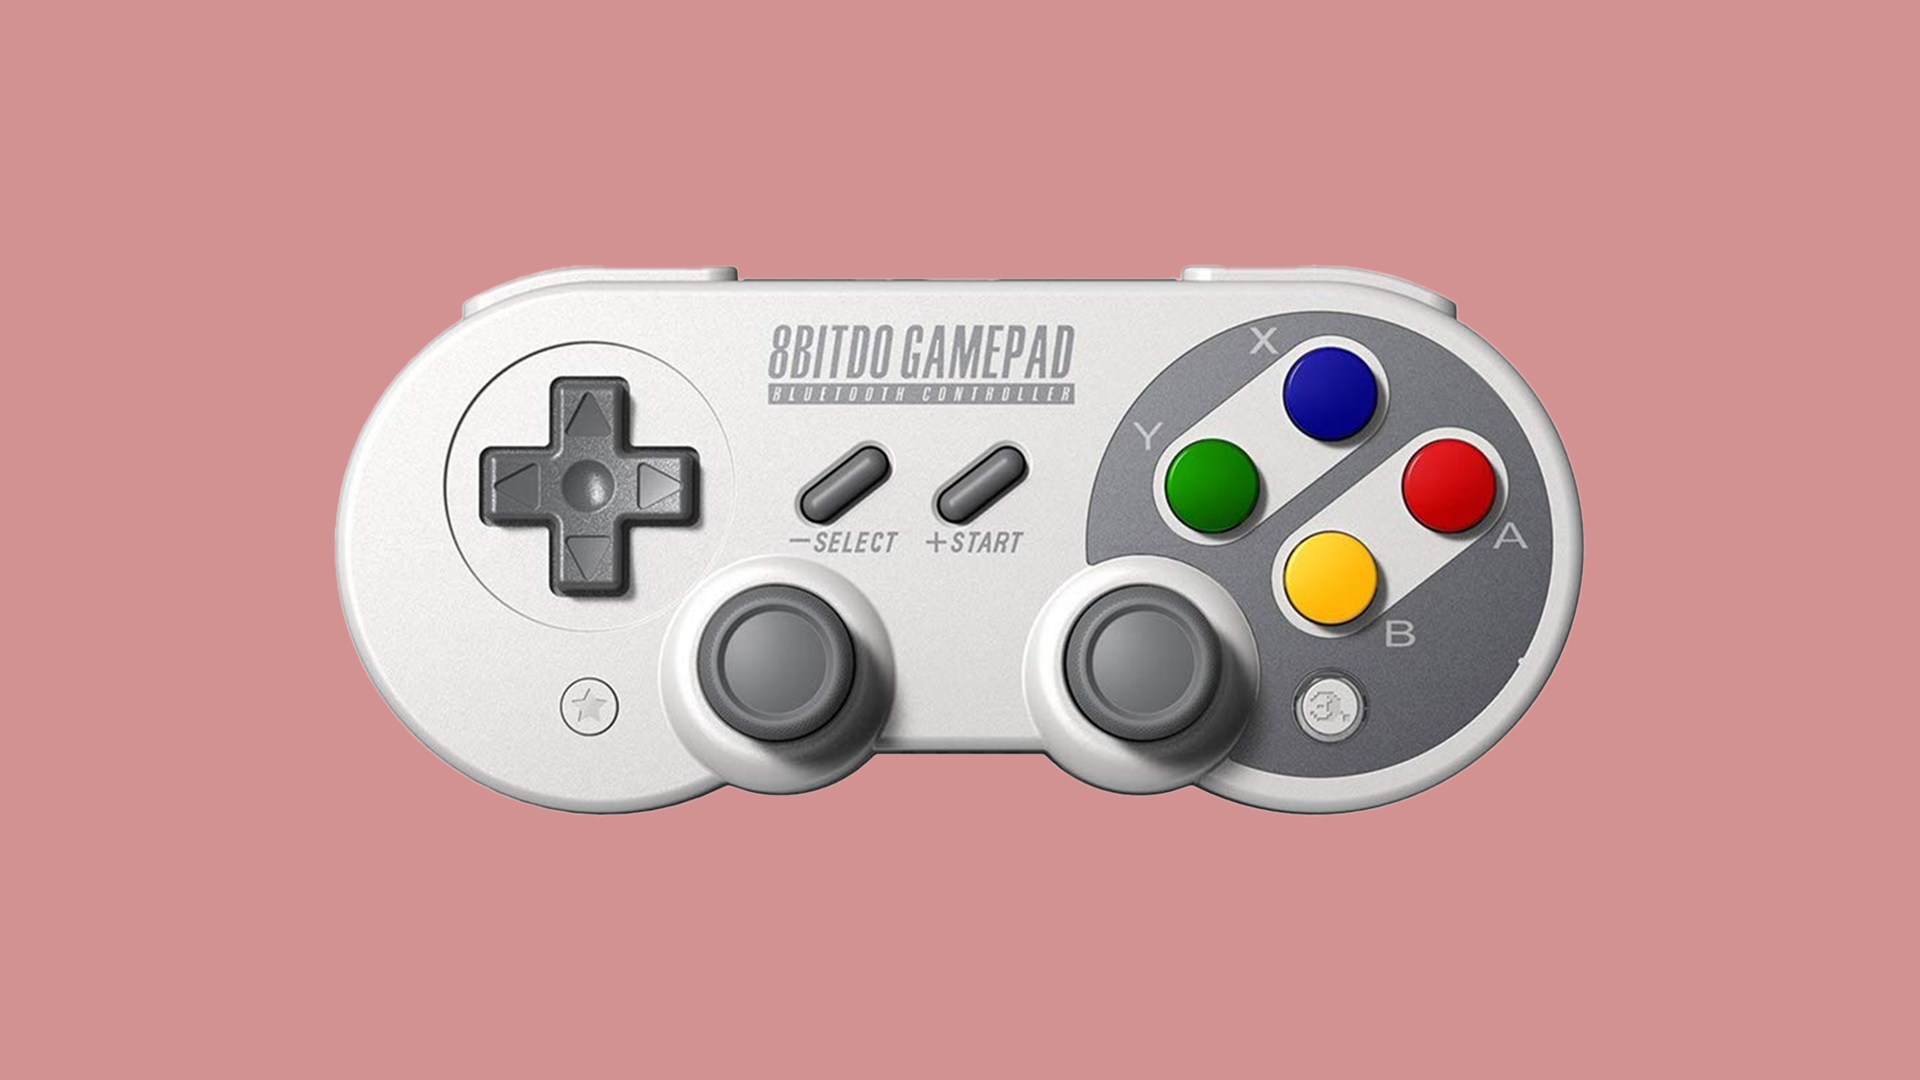
8BitDo SF30 Pro controller - £42/$57
If you're reading this, chances are you already have a controller (or several) hanging around. Recalbox and RetroPie both natively support a huge number of gamepads, so you probably don't need to buy one. But I wanted a Bluetooth pad with a retro feel, so I went for this. It's solidly built, has a long battery life, and combines the classic form of the SNES pad with modern features such as analogue sticks and dual triggers. I love it.
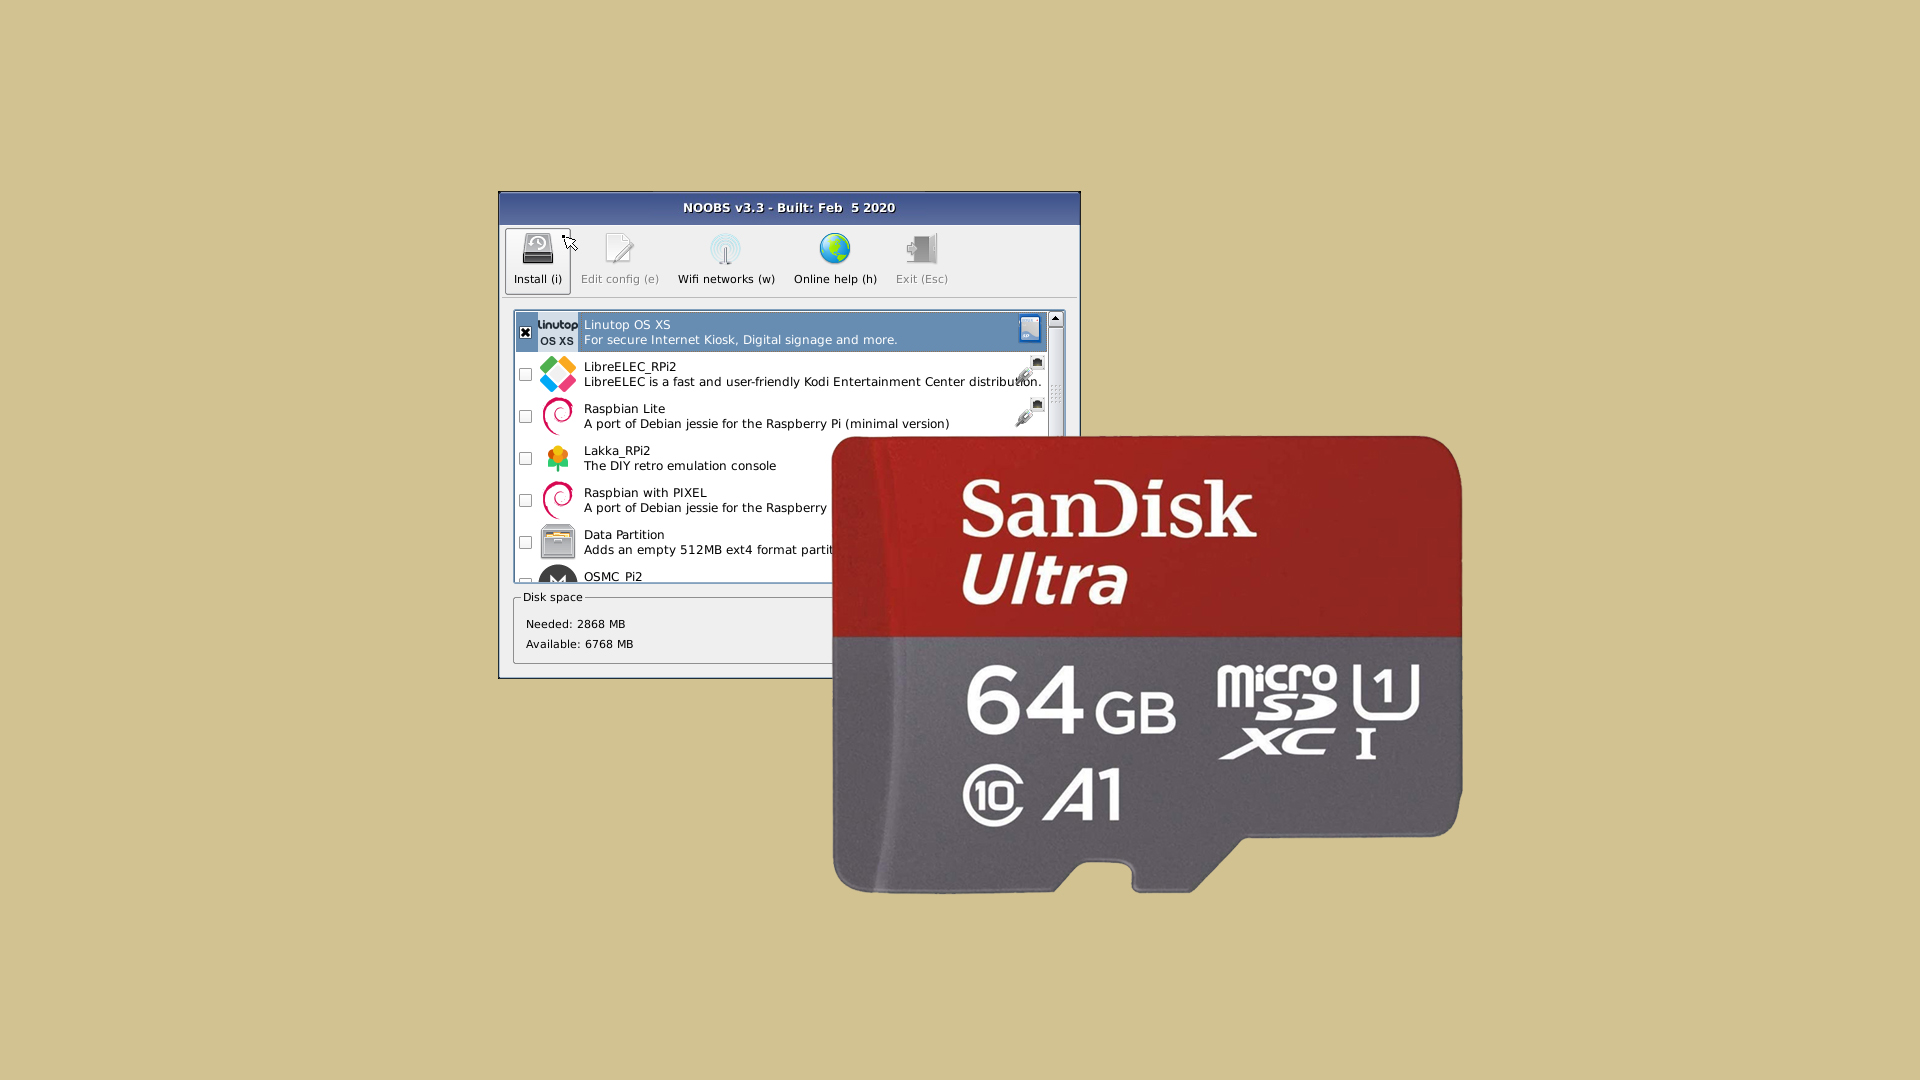
NOOBS pre-installed 64GB SD card - £18/$24
If you don't want to go through the process of imaging an SD card yourself, you can buy one pre-installed with a handy program called NOOBS. Slot the card directly into your Pi, plug in a keyboard and mouse, and boot it up. You'll then have a choice of operating systems to choose from, including Recalbox, which will then be automatically installed when selected.
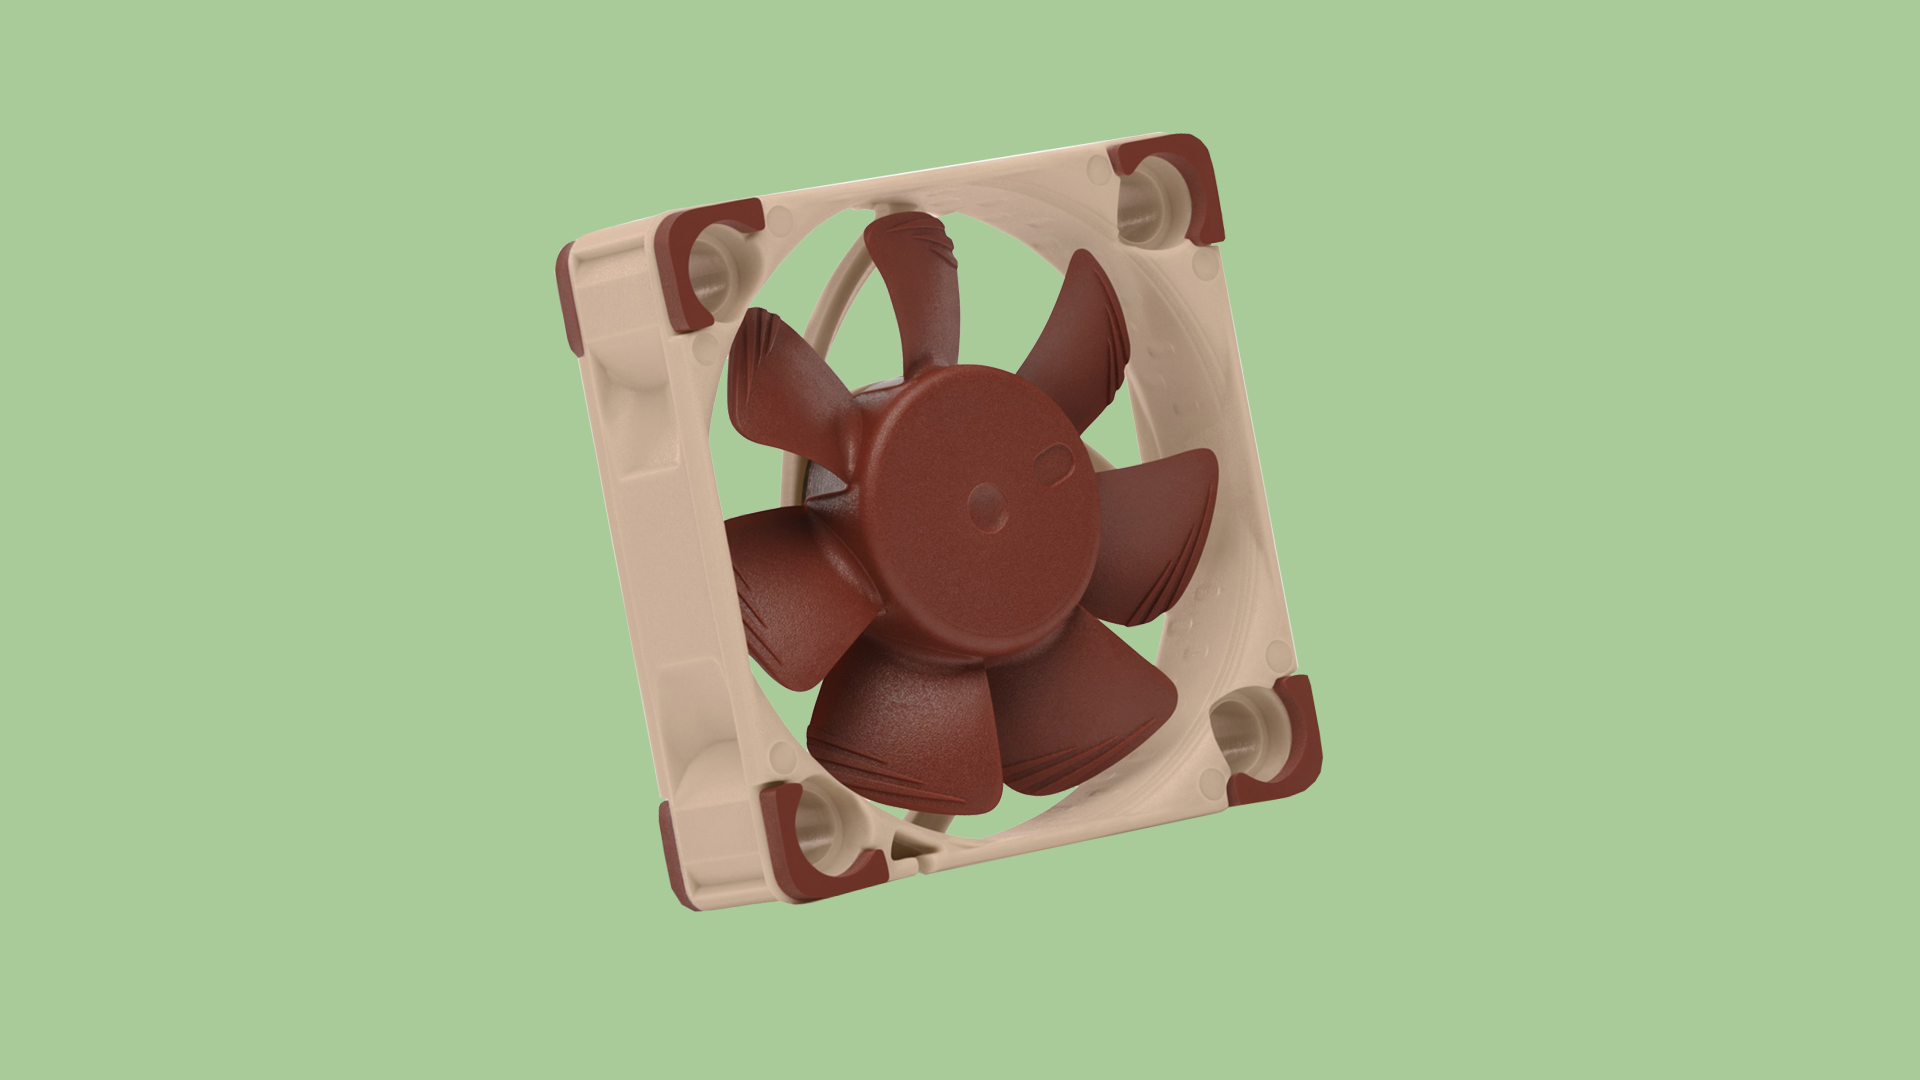
Noctua 5V fan - £18/$24
Despite their small size, some 5V fans can be surprisingly loud. This is fine if you have your Pi tucked away under a TV unit, but on a desktop the sound can be a little (but not overwhelmingly) distracting. So you might want to invest in a quieter fan. Just make sure any fan you buy fits your case.
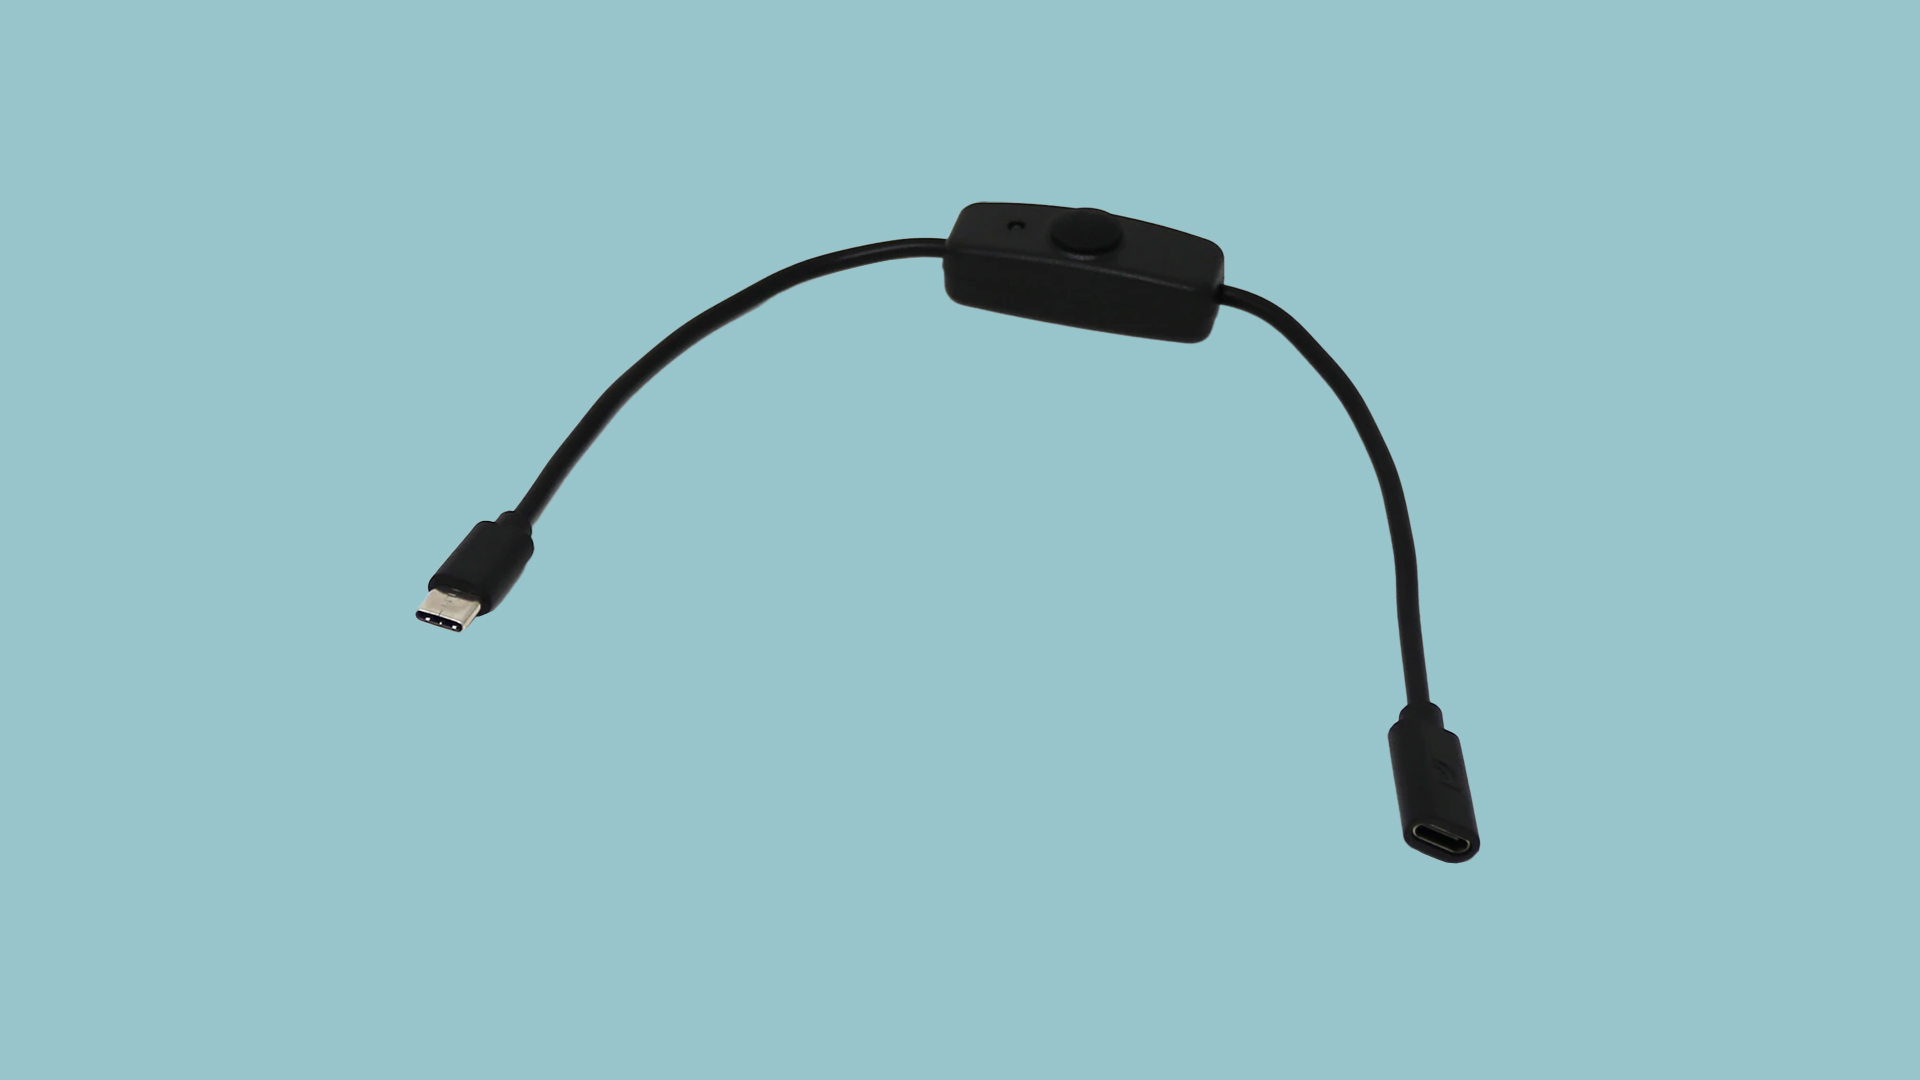
USB-C cable with on/off switch - £3/$4
One thing that caught me out with the Pi, being a newbie to the scene, is the lack of an on/off switch. When I shut the system down through the software, the fan still whirs away, which means I have to keep leaning under my desk to take the power supply out. You can build your own on/off switch, but if you don't want to (and I don't blame you), this adapter has one built-in.
Other things to note
— By default, Recalbox has a feature called 'Smooth Games' enabled. Before you play anything, switch this off. This smooths out hard pixels and edges, but in doing so it (in my opinion) ruins the visuals. If you want your games to look as close to how they did on the original hardware as possible, disable this. Pixels and jaggies are part of the retro aesthetic, man.
— Recalbox comes bundled with a large selection of shaders, which apply visual effects to your games to simulate the distortion, curve, and scanlines of older TVs. Some people will prefer sharp pixels, but many of these shaders do a great job of replicating the look and feel of CRT television sets. They're worth experimenting with, particularly with retro 2D games.
If it’s set in space, Andy will probably write about it. He loves sci-fi, adventure games, taking screenshots, Twin Peaks, weird sims, Alien: Isolation, and anything with a good story.

