How to survive the brutal FFXIV Nier raid
Master The Copied Factory with this walkthrough.
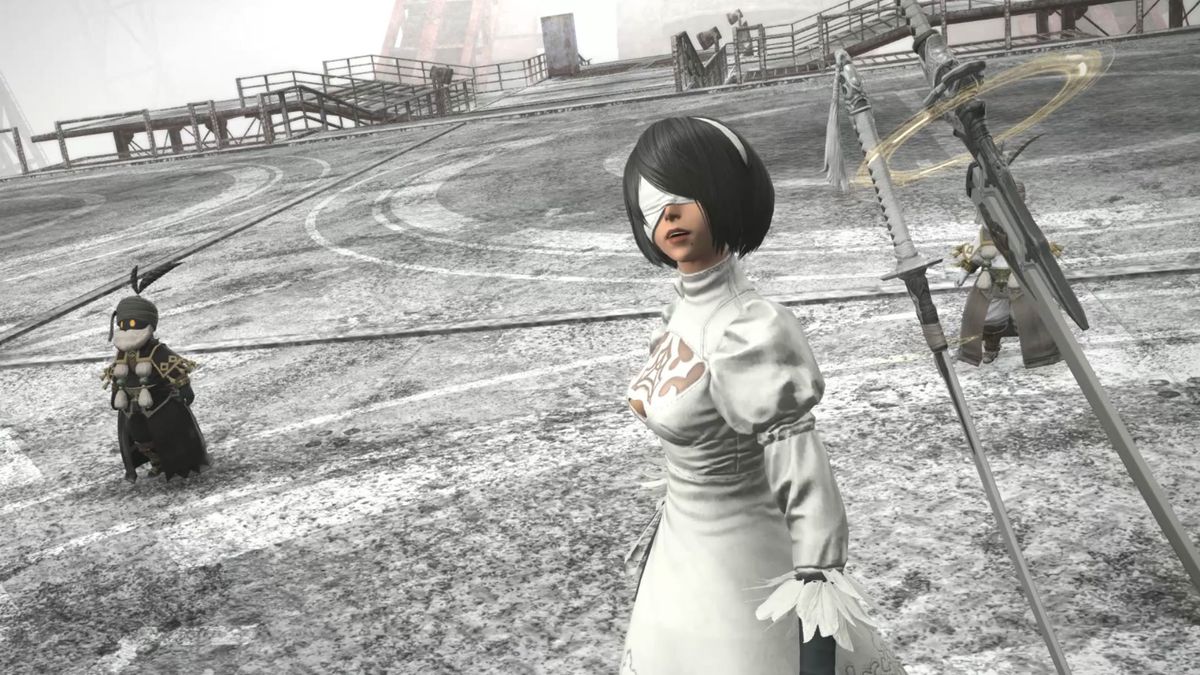
FFXIV's The Copied Factory is the new 24-player Alliance Raid that comes as part of patch 5.1. This endgame activity is a crossover event with RPG hack and slasher, NieR: Automata and has been developed with famed developers, YOKO TARO and Yosuke Saito.
In other words, the FFXIV Nier raid has some pedigree behind it, and it offers the challenging gameplay to match. That said, if the challenge is too steep for you, check out the walkthrough below so you can nab yourself some lovely The Copied Factory loot.
How to unlock the FFXIV Nier raid
First, you have to be level 80 and have an item level of 435 to start the raid. You must have completed the Main Scenario of Shadowbringers and finished the unlock quests, which you can start by speaking to the Gossipy Dwarf in Kholusia (location 12.9,8.7). Once that's complete, The Copied Factory will be available to enter from the Duty Finder.
Once in The Copied Factory, you and the 23 other members of the Alliance have 120 minutes to complete the raid and progress the story. There are six objectives in the raid and four bosses to overcome to complete the duty. So, here's how to tackle them.
Loading into The Copied Factory spawns you into a derelict warehouse; there's no time wasted in indulging in the iconic stylings of NieR: Automata. Following 2P will drop you down into a boss room where you will come across your first big adversary.
Boss 1: Serial-Jointed Command Model
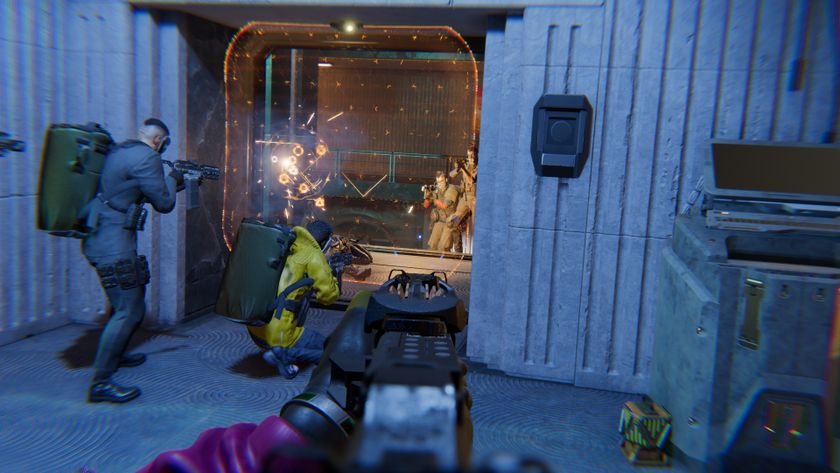
This first encounter starts with a tank buster called Systematic Siege. The main tank should mitigate the damage, with all other players in front of the boss getting out the way. The next attack will be Clanging Blow, another tank buster your tank needs to soak up. As this is happening machines will circle the exterior of the arena and begin shooting balls of energy into the arena. If a ball hits a player, they will be damaged and gain a vulnerability debuff, so avoid these as much as possible.
Forceful Impact will hit the Alliance with a room-wide AoE that needs healing. Then the boss calls down a machine buddy who uses Energy Assault to blast the room with energy balls in a large cone. Move behind the direction of the conal attack to avoid as much damage as possible. Now additional machines join the fight and cast Systematic Targeting: this targets multiple players with a laser. Players targeted should aim this outside the arena to avoid others getting caught in the crossfire.
The biggest gaming news, reviews and hardware deals
Keep up to date with the most important stories and the best deals, as picked by the PC Gamer team.
Centrifugal Spin is next: this casts a line of damage from behind and in front of the boss, so move to its side to avoid damage and a vulnerability debuff. From there, Systematic Airstrike lets loose machines that drop energy balls from above, causing damage and further vulnerability stacks. These machines follow a set path that appear on the arena floor, so respond accordingly.
Systematic Suppression fires massive lasers that stagger in different sections of the arena. Move out the way of the first charge and then move to safety before the next batch fires. From here, prior mechanics begin to re-emerge, but more frequently. Also Energy Bombardment sees energy balls unleashed into the air to crash down into the arena, so avoid the telegraphed damage indicators.
Sidestriking Spin is similar to Centrifugal Spin, but it comes from the boss' flanks. Systematic Airstrikes will pour down once again, only now the boss will also cast Shockwave. This forces players away from the boss and potentially into the line of fire from the airstrikes. Next the boss sends out energy calls in a circle around him: move out of the orange puddle for the first wave, then move into melee range to avoid the second and third wave. Then the boss rotates though previous mechanics until you take them down. With Warehouse A clear, it's time to collect your loot and move onto the next objective.
Boss 2: Hobbs
Moving from Warehouse A to B requires a ride on a friendly pod with a lot of trash mobs inside. Destroy the stationary ones first while avoiding the energy balls and they shouldn't be too aggravating. Follow the path through Warehouse B and into a large pipe that doubles as an exhilarating slide down to your next objective.
Your next opponent, Hobbs, is a massive mech that hangs from the centre of the room with three platforms surrounding it. It is on these platforms on which your team will split into thirds after descending the pipe. Each have slightly different mechanics to face, but there's nothing much to worry about here. The first thing Hobbs throws your way is Laser-Resistance Test which sparks lasers through the whole room dealing party-wide damage—healers, you know what to do.
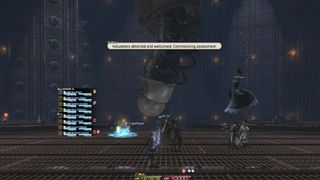
Above three platforms and the boss, three additional mechanics rotate around the room that require some quick thinking. Big Swords triggers a circular AoE as well as a couple of rotating cones that you'd do well to miss unless you fancy a physical vulnerability debuff. Flamethrower Wall shoots fire across the platform from behind you: move to a safe part of the platform to avoid damage and a burning damage-over-time debuff.
Big Claw drops a massive box into the middle of the platform from which you must make a beeline away: inside are exploding machines that target players that pass through the tether. Ideally each player takes one each and takes the damage as healers boost health. Equally a tank can take all the tethers. Ring Laser puts a ring of damage around the platform that slowly pulses into the middle. Keep moving out of the telegraphed locations to avoid harm.
Laser Sight necessitates that players stack on the targeted ally and absorb the blow. From there a mix of the platform and wall mechanics repeat along with some curveballs. If you keep doing what you've been doing Hobbs will be no more. Congratulations: you've passed quality control.
Boss 3: Engels
Jump down into the centre of the room to move onto Warehouse C. A Goliath Tank mini boss greets you with Energy Ring, which starts as a melee-range AoE before spreading out. Move accordingly to avoid all damage. Self-destructing machines also target you with suicidal strikes. Anyone with the tether must move away from others to avoid spreading unnecessary damage to others. The Goliath Tank will cast Laser Turret that blasts anybody in front of it. This repeats until the tank is sent packing.
A flight unit will then be hacked to take aim at your group. Its first attack is Area Bombing Maneuver which targets several players with a tether and fires missiles at the ground following the targeted players. If that's not you, stay away from the line to avoid getting hit. Next is a 360-degree Bombing Maneuver which hits the whole room with light damage that healers should have no issues covering. Lightfast Blade covers the entire arena in front of the boss with a telegraphed puddle that hits anyone still in the way as the blade swings. Keep avoiding these attacks and contributing to the overall damage and the flight unit will depart. With that, it's time to move onto the Forward Deck.
Progress forward and take another pod ride to reach the platform in front of the next boss. It's the poster child for the machines: Engels. This Goliath-class machine is gargantuan, and it takes lots of concentration and awareness to overcome.
The first thing to avoid is Marx Smash, where Engels raises one of its arms and smashes it down on the battlefield. Move to the other side to miss out on damage and a vulnerability debuff. Precision Guided Missiles targets tanks with a powerful attack that requires tank mitigation. Incendiary Bombing targets certain players and drops AoE damage puddles on the floor from which all players should keep away.
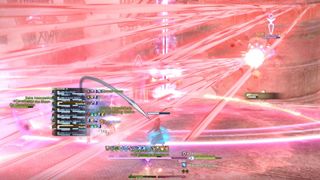
Then there's Guided Missiles. This hits your party with homing projectiles, so keep out of their path as they come crashing down. Diffuse Laser fires myriad beams that cause damage to everyone in the arena—healers should be shielding or topping-up HP here. Marx Smash now does something a little different: if both arms are above Engels' head, move to the front and middle of the arena. But if they're spread apart, move to the edge of melee range and either side. Engels then charges Energy Barrage, a big laser in the middle of the arena you should evade.
Once this has finished, stand under the purple balls dropping from above in the indicated circles, otherwise you'll endure huge damage which could mean game over. For a short time, some of the prior attacks will happen again until you can no longer target Engel and three adds will spawn. They are all Reverse-Jointed Goliaths, and they must be separated and taken down by each tank. The rest of the party should support in defeating them as well as the additional adds that spawn before Engels' charge reaches 100.
All players should then stack in the middle of the arena, shielded from the incoming attack by healers. Then Engels disappears and puts a group-wide marker in the middle of the arena: everybody should move south and prepare for the attack. This pushes all players off the current platform and onto the one behind them. Anyone too close to the centre or north side won't get forced far enough to reach the platform behind them and will fall to their untimely demise. Next on the list of Engels offensive attacks will be Marx Activation. This brings two robot arms with rotating blades to either side of the arena which players will need to avoid. These move from the front to the back of the platform. Casters may need to sacrifice uptime to avoid these.
Along with some previously-seen attacks, Surface Missile fires bombs from above. This attack will damage anyone standing in the telegraphed attack zones and inflict vulnerability debuffs. Look out for Incendiary Saturation Bombing, too, which covers one half of the arena with a puddle of damage that persists into the next cast of Marx Crush: this sees the big rotating blade arms come from each side of the arena. These need to be attacked and destroyed before they pinch the remaining safe space within the stage. Go back to focusing your attack on Engels and avoiding oncoming attacks.
Final boss: 9S-operated Walking Fortress
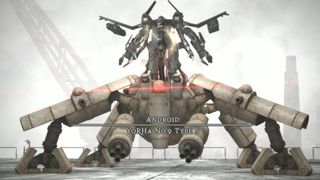
Make your way up the path that has now revealed itself and follow it to the last area and final boss with the help of another pod. After a short cutscene, you'll meet your ultimate adversary: YoRHa Android No.9 Type S. It's not exactly the catchiest name, but there you go.
9S-operated Walking Fortress begins with Neutralization, a hard-hitting tank buster which your main tank will need to mitigate. Laser Saturation hits the entire Alliance, so healers need to be ready. Laser Turret also blasts damage from the front. Players will be the target of a large AoE damage markers, too, so move away from those to avoid the splash damage. Fore-Hind Cannons fire large cones of damage from the front and rear of the Boss, as does Dual-Flank Cannons from the sides. The next big hitter is Engage Marx Support which summons the massive arms of Engel above the arena. Some of the previous laser moves will be directed towards you again here, so keep clear.
9S then undocks his flight unit: follow the flight path highlighted on the arena floor and move away from these devastating, debuffing attacks. Anti-Personnel Missile is the next attack and highlights where they land on the floor. The cast of these isn't instant, so evade the area previously highlighted until you see the missiles land. Engage Goliath Tank Support then drops two tanks from earlier in the raid onto the battlefield—these need to be destroyed as quickly as possible. 9S then hacks one of the tanks, so hide behind the other tanks to avoid the explosion once the hack is complete. As soon as that explosion subsides, run from the Tank you and your squad are hiding behind: that'll explode shortly, too.
Continue plugging away against further attacks you'll have encountered previously until Serial-jointed Service Models spawn. Here, tanks must pick up one each and the parties must burn them down before 9S can finish hacking. A shield then materialises in the middle of the arena towards which all players need move to avoid punishing damage. From here, multiple variations of previously-fought attacks will cycle. Keep focusing your damage on 9S, and after a few minutes you'll have defeated the final boss. Roll for your rewards, commend fellow players and exit to continue the story. Congratulations, you've just completed the Copied Factory.
