Tips for taking the pain out of PC building

Like the debonair Prince Adam, you, dear PC Gamer reader, have a power inside you—a power that can turn you into He-Man, mightiest PC builder in all of Eternia. With your Magnetic Screwdriver of Power, you can turn a pile of PC components into a mighty gaming machine. Nothing can stand in your way—not tight thumbscrews, not awkwardly short cables, not mysterious error codes, not even Skeletor himself.
But let’s be honest: even if you've already created a gaming PC build, some part of the process is going to be a pain. You may be annoyed by the CPU cooler while you try to bolt it in place. You may curse a few times as you drop screws into the dark nooks of your case. These are the small annoyances that slow us down, even if they don’t stop us from completing a build. And those are the problems we’re here to help you with.
Here are our tips for taking the pain out of PC building: techniques for overcoming some common annoyances and tools you can buy (or find around the house) to make the build process easier. If you’ve never built a PC before, we recommend following the step-by-step process in our beginner’s guide after reading these tips.
Always ground yourself before touching expensive components
This one’s almost a no-brainer, but just about the most painful thing you can do while building a computer is destroy it. Ground yourself before handling the motherboard and other components, just to make sure you don’t short anything out. If you want extra peace of mind, buy an anti-static wrist wrap for a few dollars.
Use a magnetic screwdriver
Building a PC involves a lot of small screws. And smaller screws. And black screws that perfectly blend in with the interior of a black case when you drop them. Point is, dropping screws is a pain, and it’s probably going to happen when you’re working on a case from above, or at awkward angles. But you can spit in the face of gravity by using a magnetic screwdriver to assemble components. It’ll keep those screws from falling into awkward corners and make the process of screwing in the motherboard, power supply, CPU cooler and more far breezier.
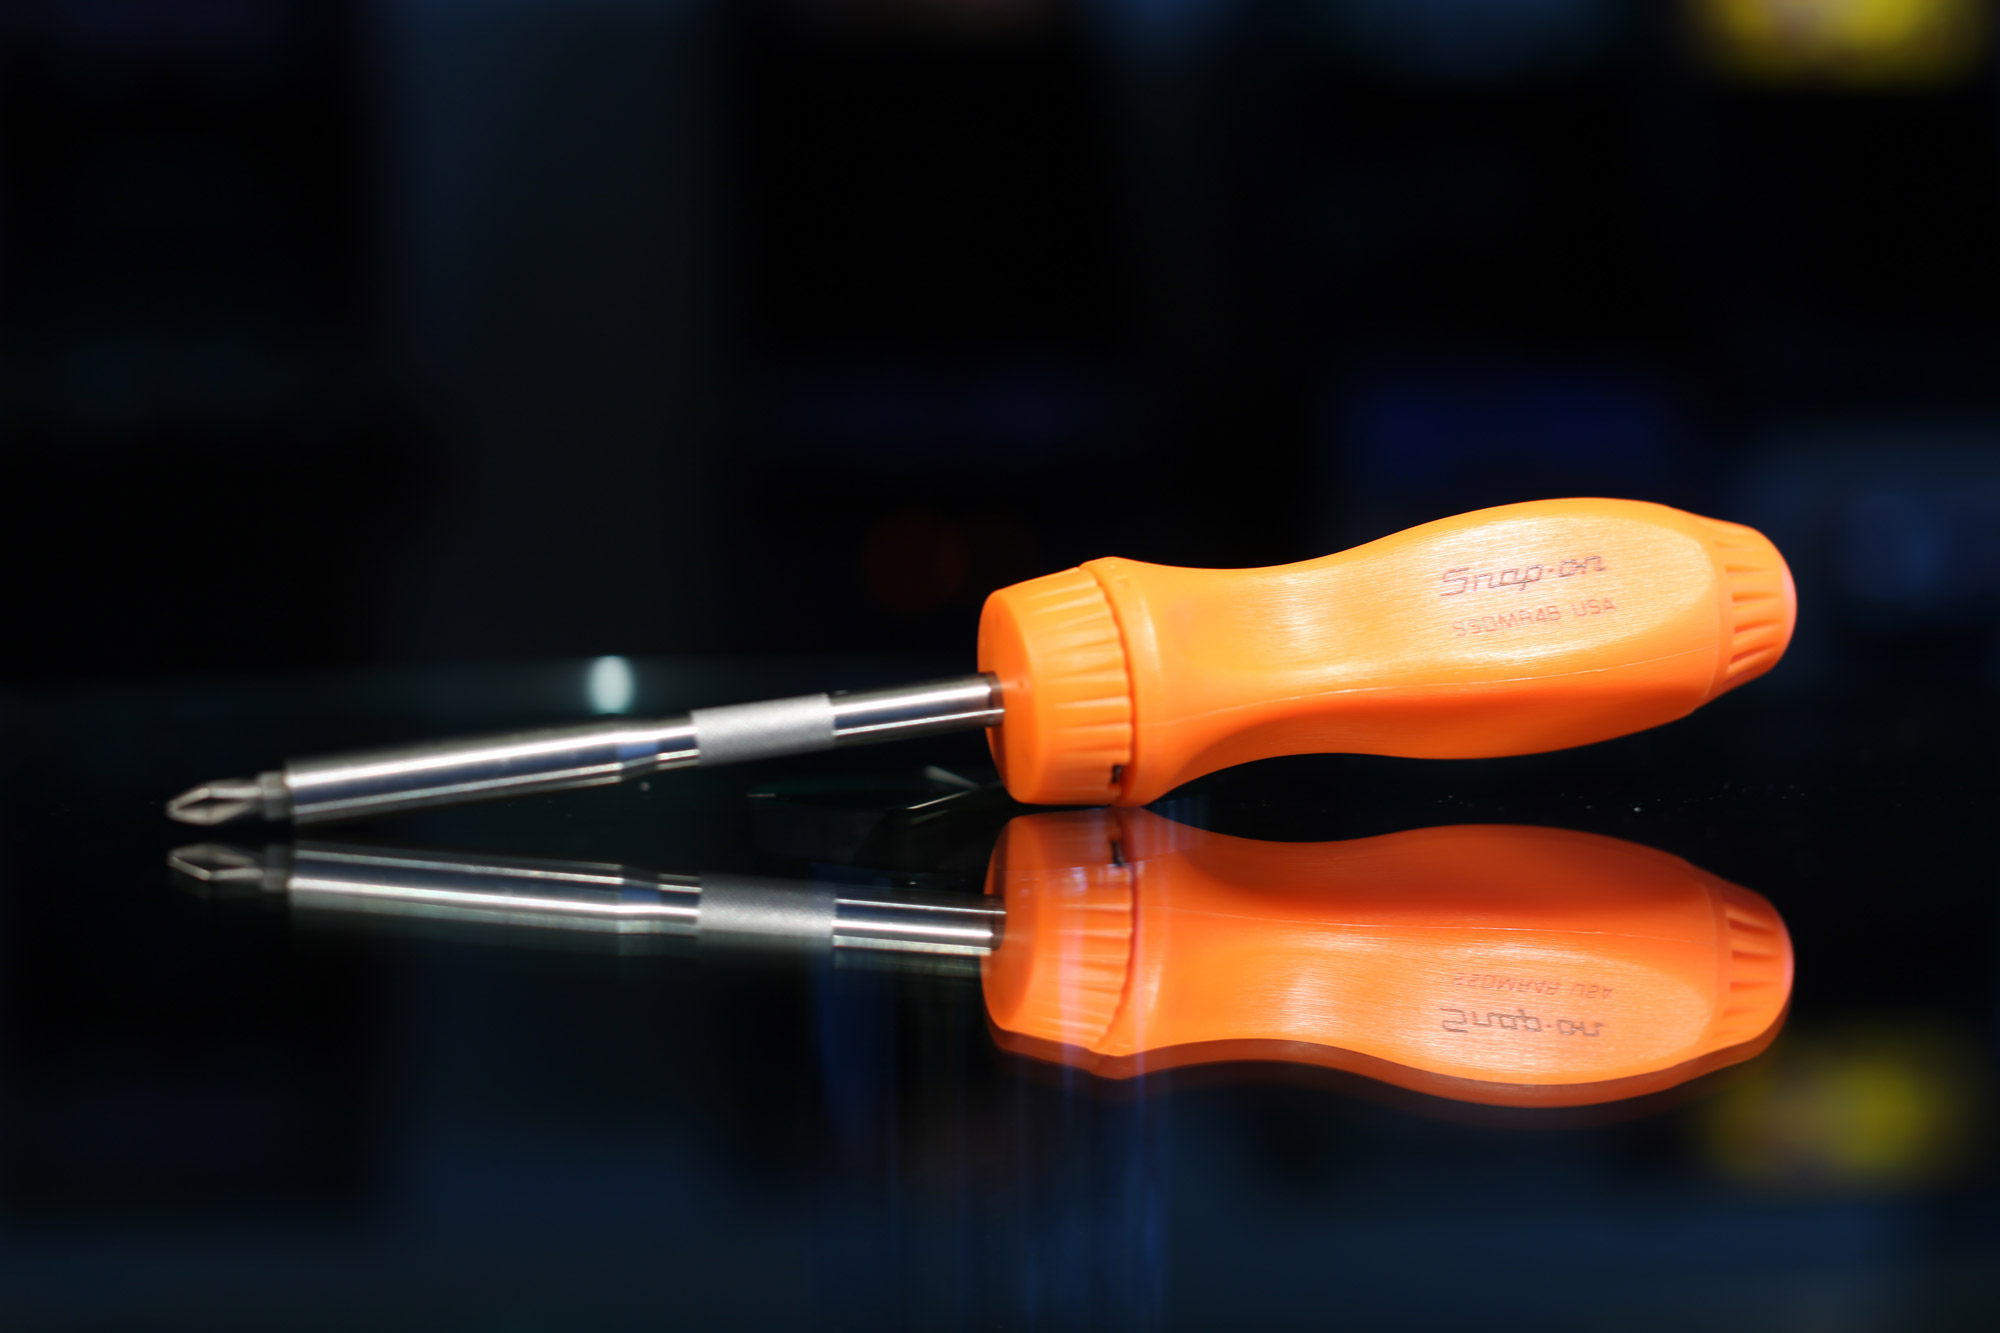
We recommend the Snap-On ratcheting magnetic screwdriver. It’s our favorite for a few reasons: the great grip, the ratcheting mechanism that easily switches between forward and reverse, the magnetic bits that keep us from dropping screws. The handle doubles as a storage compartment that holds several bits. It’s an expensive screwdriver at $65, but we think it’s worth the money. If you want to be thrifty, though, you can find a magnetic screwdriver on Amazon for less money. Just make sure the bits (or the head of the screwdriver) are magnetized.
And if you’re worried about using a magnetic screwdriver around your PC components, don’t be. The magnet’s not strong enough to do any real damage, but if you want to feel safe, keep the magnetic bits away from exposed circuitry and your hard drives. The hard drives should be shielded enough that a little ol’ screwdriver bit won’t do any damage. If you’ve got some old floppy disks lying around, on the other hand, watch out.
The biggest gaming news, reviews and hardware deals
Keep up to date with the most important stories and the best deals, as picked by the PC Gamer team.
Use a headlamp or positionable light source
Once your motherboard is screwed into the case and you’re plugging in and screwing in components, it can be pretty tough to see what you’re doing. If you‘re working on the case from the side, your ceiling lights probably aren’t helping illuminate the interior. And if you’re working on it from above, your head is probably blocking most of the light, casting shadows into those nooks and crannies you need to be able to see.
Solution? Wear a headlamp, of course. Strapping on a headlamp may feel a little dorky, but it’ll save you time and aggravation while you’re assembling your PC. If you find yourself pulling out your smartphone, turning on its LED light, and trying to position it somewhere in the case to light up the corner you’re working on, just spend $10 on Amazon to buy a headlamp.
If you refuse to strap a light source to your face, you may be able to make do with a positional light from around the house, such as the reading lamp on your nightstand. Any light with a flexible neck (bonus points if it’s a clip-on) should be positionable to provide some valuable spot illumination inside your PC case.
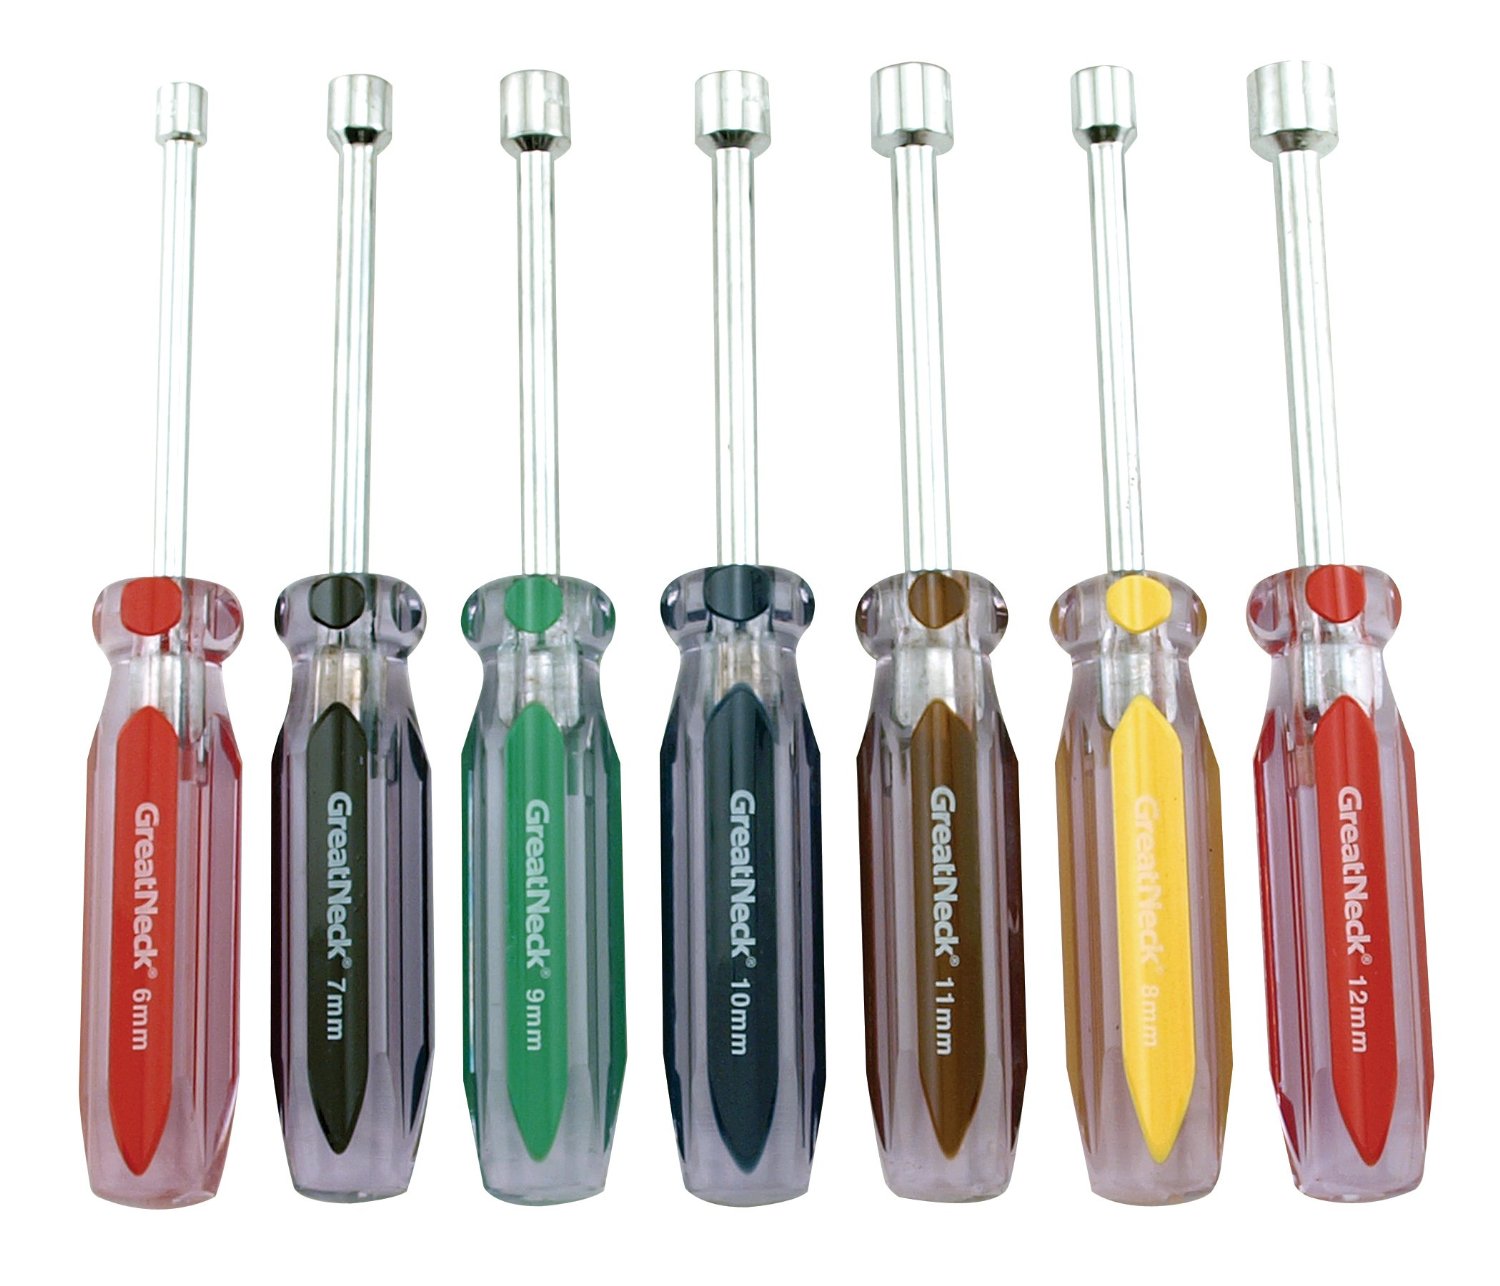
Have a nut driver handy for motherboard standoffs. Motherboard standoffs are those little screws that you mount in your case, and then screw the motherboard into to keep it nice and secure. Most PC cases come with all the screws, standoffs, and other bits and bobs you need to put your PC together, but if you lose those pieces, disassembly can be a major pain. The standoffs are installed with a nut driver, which should come in that bag of parts. It’s easy to lose, so to be on the safe side, why not add a nut driver set to your toolkit? Standoffs can vary in size a bit, so spending a few bucks on a set of nut drivers will ensure you can move those standoffs when you need to upgrade to a new case or swap out a new motherboard.
If you want to take the cheap path, you can probably remove the stanoffs with a pair of needle-nose pliers. The proper nut driver will just save you a bit of effort.
Keep extra screws in a cheap storage container
I have a bad habit of losing thumbscrews, and then not remembering which component box I threw all my leftovers into. Was it the motherboard box? The bag of power supply cables? If only I was organized... Well, getting organized is actually pretty easy. For $12 on Amazon you can buy a great Stanley storage container that can hold tons of different types of screws and small parts, and you can probably find an even cheaper plastic container at a local hobby shop.
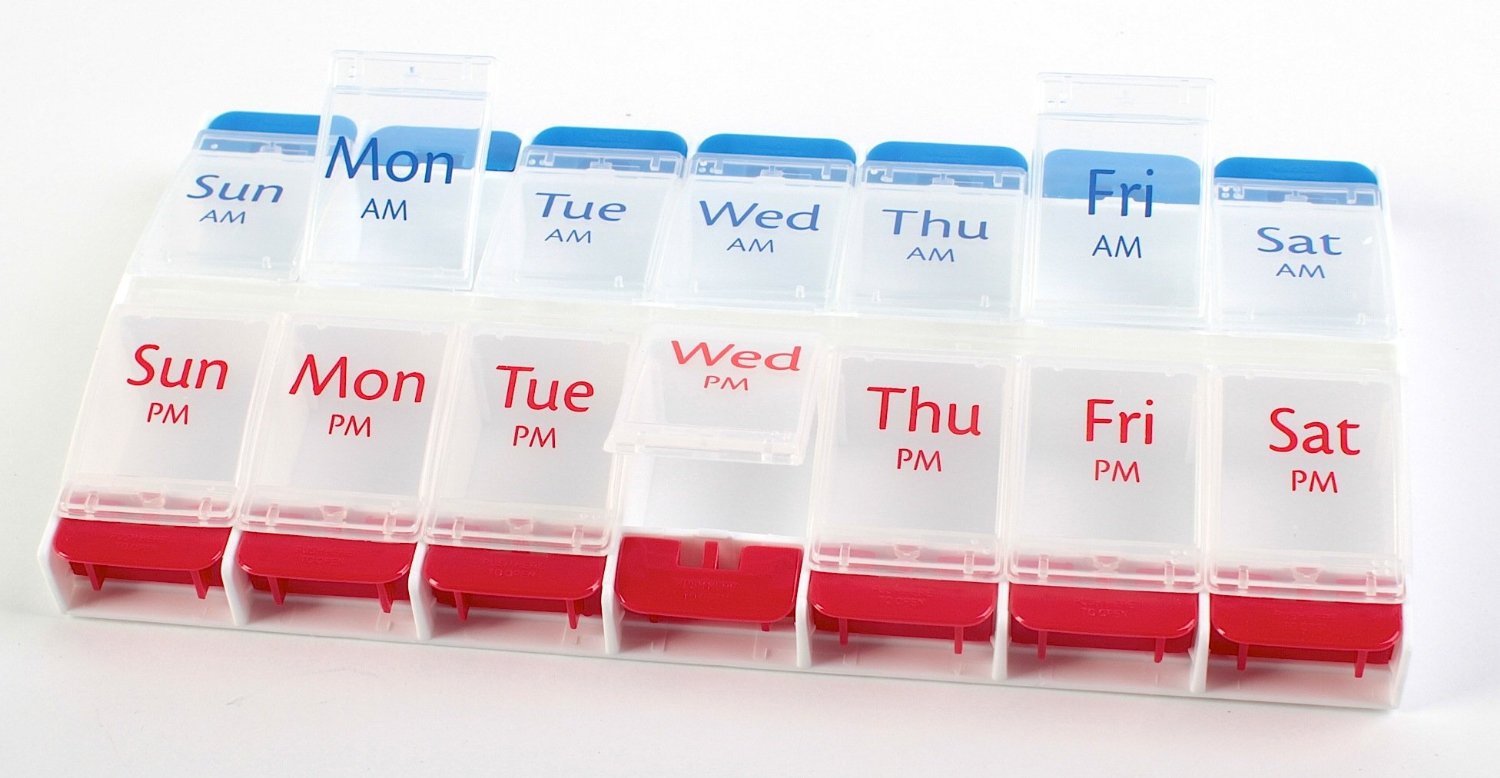
For a cheaper and even smarter organizing system, you can alternately use a pill organizer to hold your screws. This one is only $8 on Amazon and has great reviews. Each storage cell is big enough to hold small screws, and since each one has an individual lid, you can flip the whole container over to dump out the screws you need without the rest flying loose.
Make CPU cooler installation easier with a socket wrench or hex wrench
Installing an aftermarket air cooler in your PC is usually the most difficult step in the entire PC building process. You have to attach the backplate, get the mounting brackets in just the right place, and bolt the whole thing down straight. Every cooler’s a little bit different, which means they can be annoying or tricky in a bunch of different ways. But two tools should make the installation of just about any cooler a little bit easier.
A socket wrench will allow you to bolt down a cooler much more quickly than the pack-in wrench that comes with some coolers. Those crappy wrenches let you turn the bolt a tiny distance with each turn before you reposition, turn a little bit, and repeat. With a socket wrench, you’ll be done in a few seconds.
Some coolers need a hex wrench instead of a socket wrench to be tightened. Those coolers should come with an allen wrench, but it may be short and difficult to work with in the confines of a PC case. Buying a longer hex wrench set, or a hex wrench with a handle, will take some of the cursing out of CPU cooler installation.
Refer to your motherboard manual for error codes
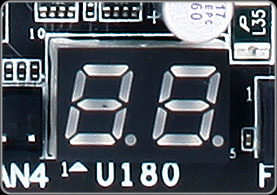
When you boot up your PC and it doesn’t work, it can be hard to tell what’s wrong. Many motherboards today make troubleshooting much easier with a small LED readout that displays a couple digits. Those numbers don’t tell you anything at face value, but if you open up your motherboard manual and search for the truth, you shall find it. Meaning, there should be a section explaining what those codes mean.
The codes differ between motherboard BIOS, so there’s no universal list. But you should be able to find the ones for your motherboard easily enough. If you lose the paper manual, search the motherboard manufacturer’s site. You should be able to find a PDF download of the manual.
Use power supply extension cables for neater cable management
If you’re fine with a messy case as long as your computer works, ignore this one. But if you like everything wrapped up and tied off nice and neat, the cables that come with your power supply might pose a problem. They’re often too short to wrap around the back side of the case and plug in where they need to go. The solution: power supply extension cables. You can buy extenders for the 24-pin motherboard power, or SATA or PCI-E power cables. They’ll set you back $5 - $15, but doesn’t that squeaky clean PC case give you some wonderful peace of mind?
Adjust fan speeds in the BIOS or install sound dampening for a quieter PC
If your PC sounds whiny, rattly, or just plain too loud, you’ve got a sound problem, and a few different ways to deal with it.
When you hear rattling or clicking sounds are coming out of your case, check for loose screws or other parts around the case fans and CPU cooler. Also, make sure no cables are slapping against your fans. That’s a common noise-maker.
If the fans are just loud, in general, you should be able to adjust them from your motherboard BIOS. It’s possible the fans are running at full blast when they don’t need to be. After you adjust the speeds, make sure to check your temperatures to make sure your case is staying plenty cool. You can also use software like Speedfan to adjust fan speeds in Windows.
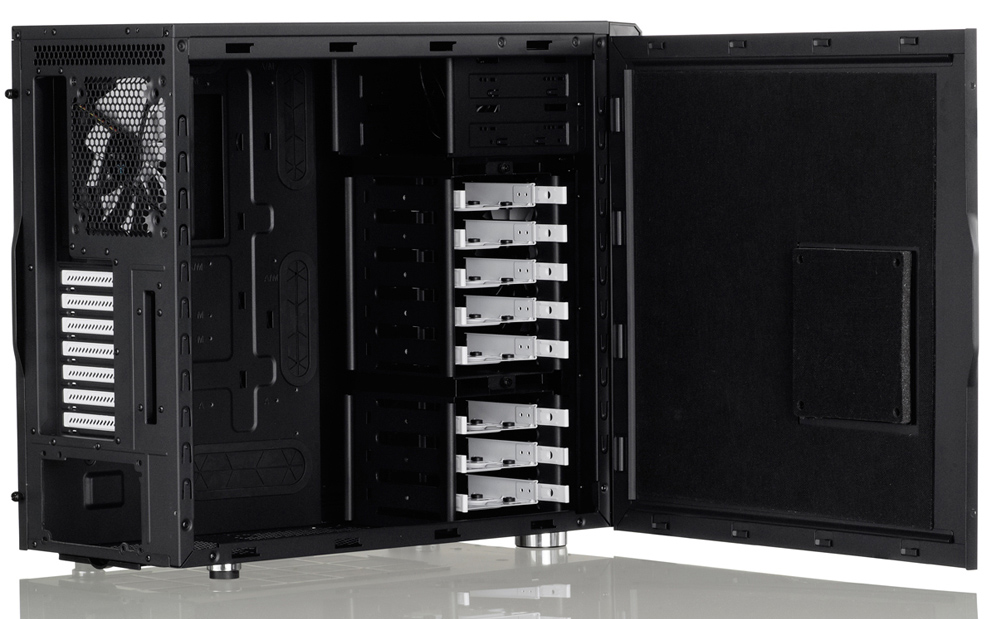
And if the thing is still too loud, you can line the inside of your case with sound dampening foam to block out some of the noise. When your graphics card spins up to full volume, that foam will help keep your rig nice and quiet.
Some online stores give us a small cut if you buy something through one of our links. Read our affiliate policy for more info.

Wes has been covering games and hardware for more than 10 years, first at tech sites like The Wirecutter and Tested before joining the PC Gamer team in 2014. Wes plays a little bit of everything, but he'll always jump at the chance to cover emulation and Japanese games.
When he's not obsessively optimizing and re-optimizing a tangle of conveyor belts in Satisfactory (it's really becoming a problem), he's probably playing a 20-year-old Final Fantasy or some opaque ASCII roguelike. With a focus on writing and editing features, he seeks out personal stories and in-depth histories from the corners of PC gaming and its niche communities. 50% pizza by volume (deep dish, to be specific).
