The Winter 2016 Budget Gamer
Budget doesn’t have to mean cheap
When we looked to start building this quarter’s Budget Gamer system, we wanted to build something that was nice to look at, while maintaining the performance we saw in the fall. We think we pulled off a quaint little build that is easy on the eyes, and light on the wallet.
With a target price range of $800 to $850, the Budget Gamer is a rig that doesn’t boast massive specs of the type we regularly see here at Maximum PC. Instead, the Budget Gamer aims to be a relatively powerful box that will conquer games at 1080p.
Keeping the price at or below $800 means you make compromises. We generally steer clear of unlocked CPUs and Z-chipset boards and keep memory clocks on the low end. Here’s what we put together for this winter’s build:

| Row 0 - Cell 0 | Component | Price |
| CPU | Intel i5-6500 Skylake | $205 |
| GPU | EVGA GTX 960 1962KR SC 4GB | $210 |
| Mobo | MSI H170I Pro AC | $120 |
| Memory | 8GB (2x4GB) G.Skill Ripjaws 4 Series DDR4-2133 | $42 |
| SSD | 250GB Samsung 850 Evo 2.5-inch SATA | $88 |
| PSU | Corsair CS450M 450W | $70 |
| Case | Lian Li PC-Q01A | $55 |
| Fan | SilenX EFX-12-15B 120mm Blue LED Case Fan | $17 |
| Row 9 - Cell 0 | Total | $807 |
All prices listed reflect in-cart price at time of procurement. Prices include instant rebates, and exclude taxes, shipping, and mail-in rebates. Prices are subject to fluctuation and change.
As you can see from the part sheet, the build is roughly the same as last season's Budget Gamer build. We left the CPU and GPU the same, but went with a different motherboard and a more compact case. The new choice in mobo had its consequences, both intended and unintended. What we were able to do was keep the price really close to $800, the lower bound of our target range.
Hello, mobo
Lately, when we've set off to build "budget" rigs, we've opted for mini-ITX form factors a lot. First off, the budget-minded approach means that Crossfire and SLI is usually not in the equation. On top of that, going with a locked CPU can save you a lot of money. (Jumping from an i7-6700 to an i7-6700K costs an extra $70.) Thus, it makes little sense to invest into a Z-class chipset. We went with an H170 chipset for this build, just as we did in the fall, though there re a few differences (besides manufacturer) to note.
First off, this motherboard has onboard Wi-Fi. The ASRock board we chose in our last build omitted Wi-Fi from its list of features. We thought this was an oversight and decided to find a model that you could place anywhere in your house. The H170I Pro AC offers 802.11ac wireless connectivity. That connectivity comes from an Intel 8260 chip, which is supported by Linux kernel version 4.1 and later.
The biggest gaming news, reviews and hardware deals
Keep up to date with the most important stories and the best deals, as picked by the PC Gamer team.
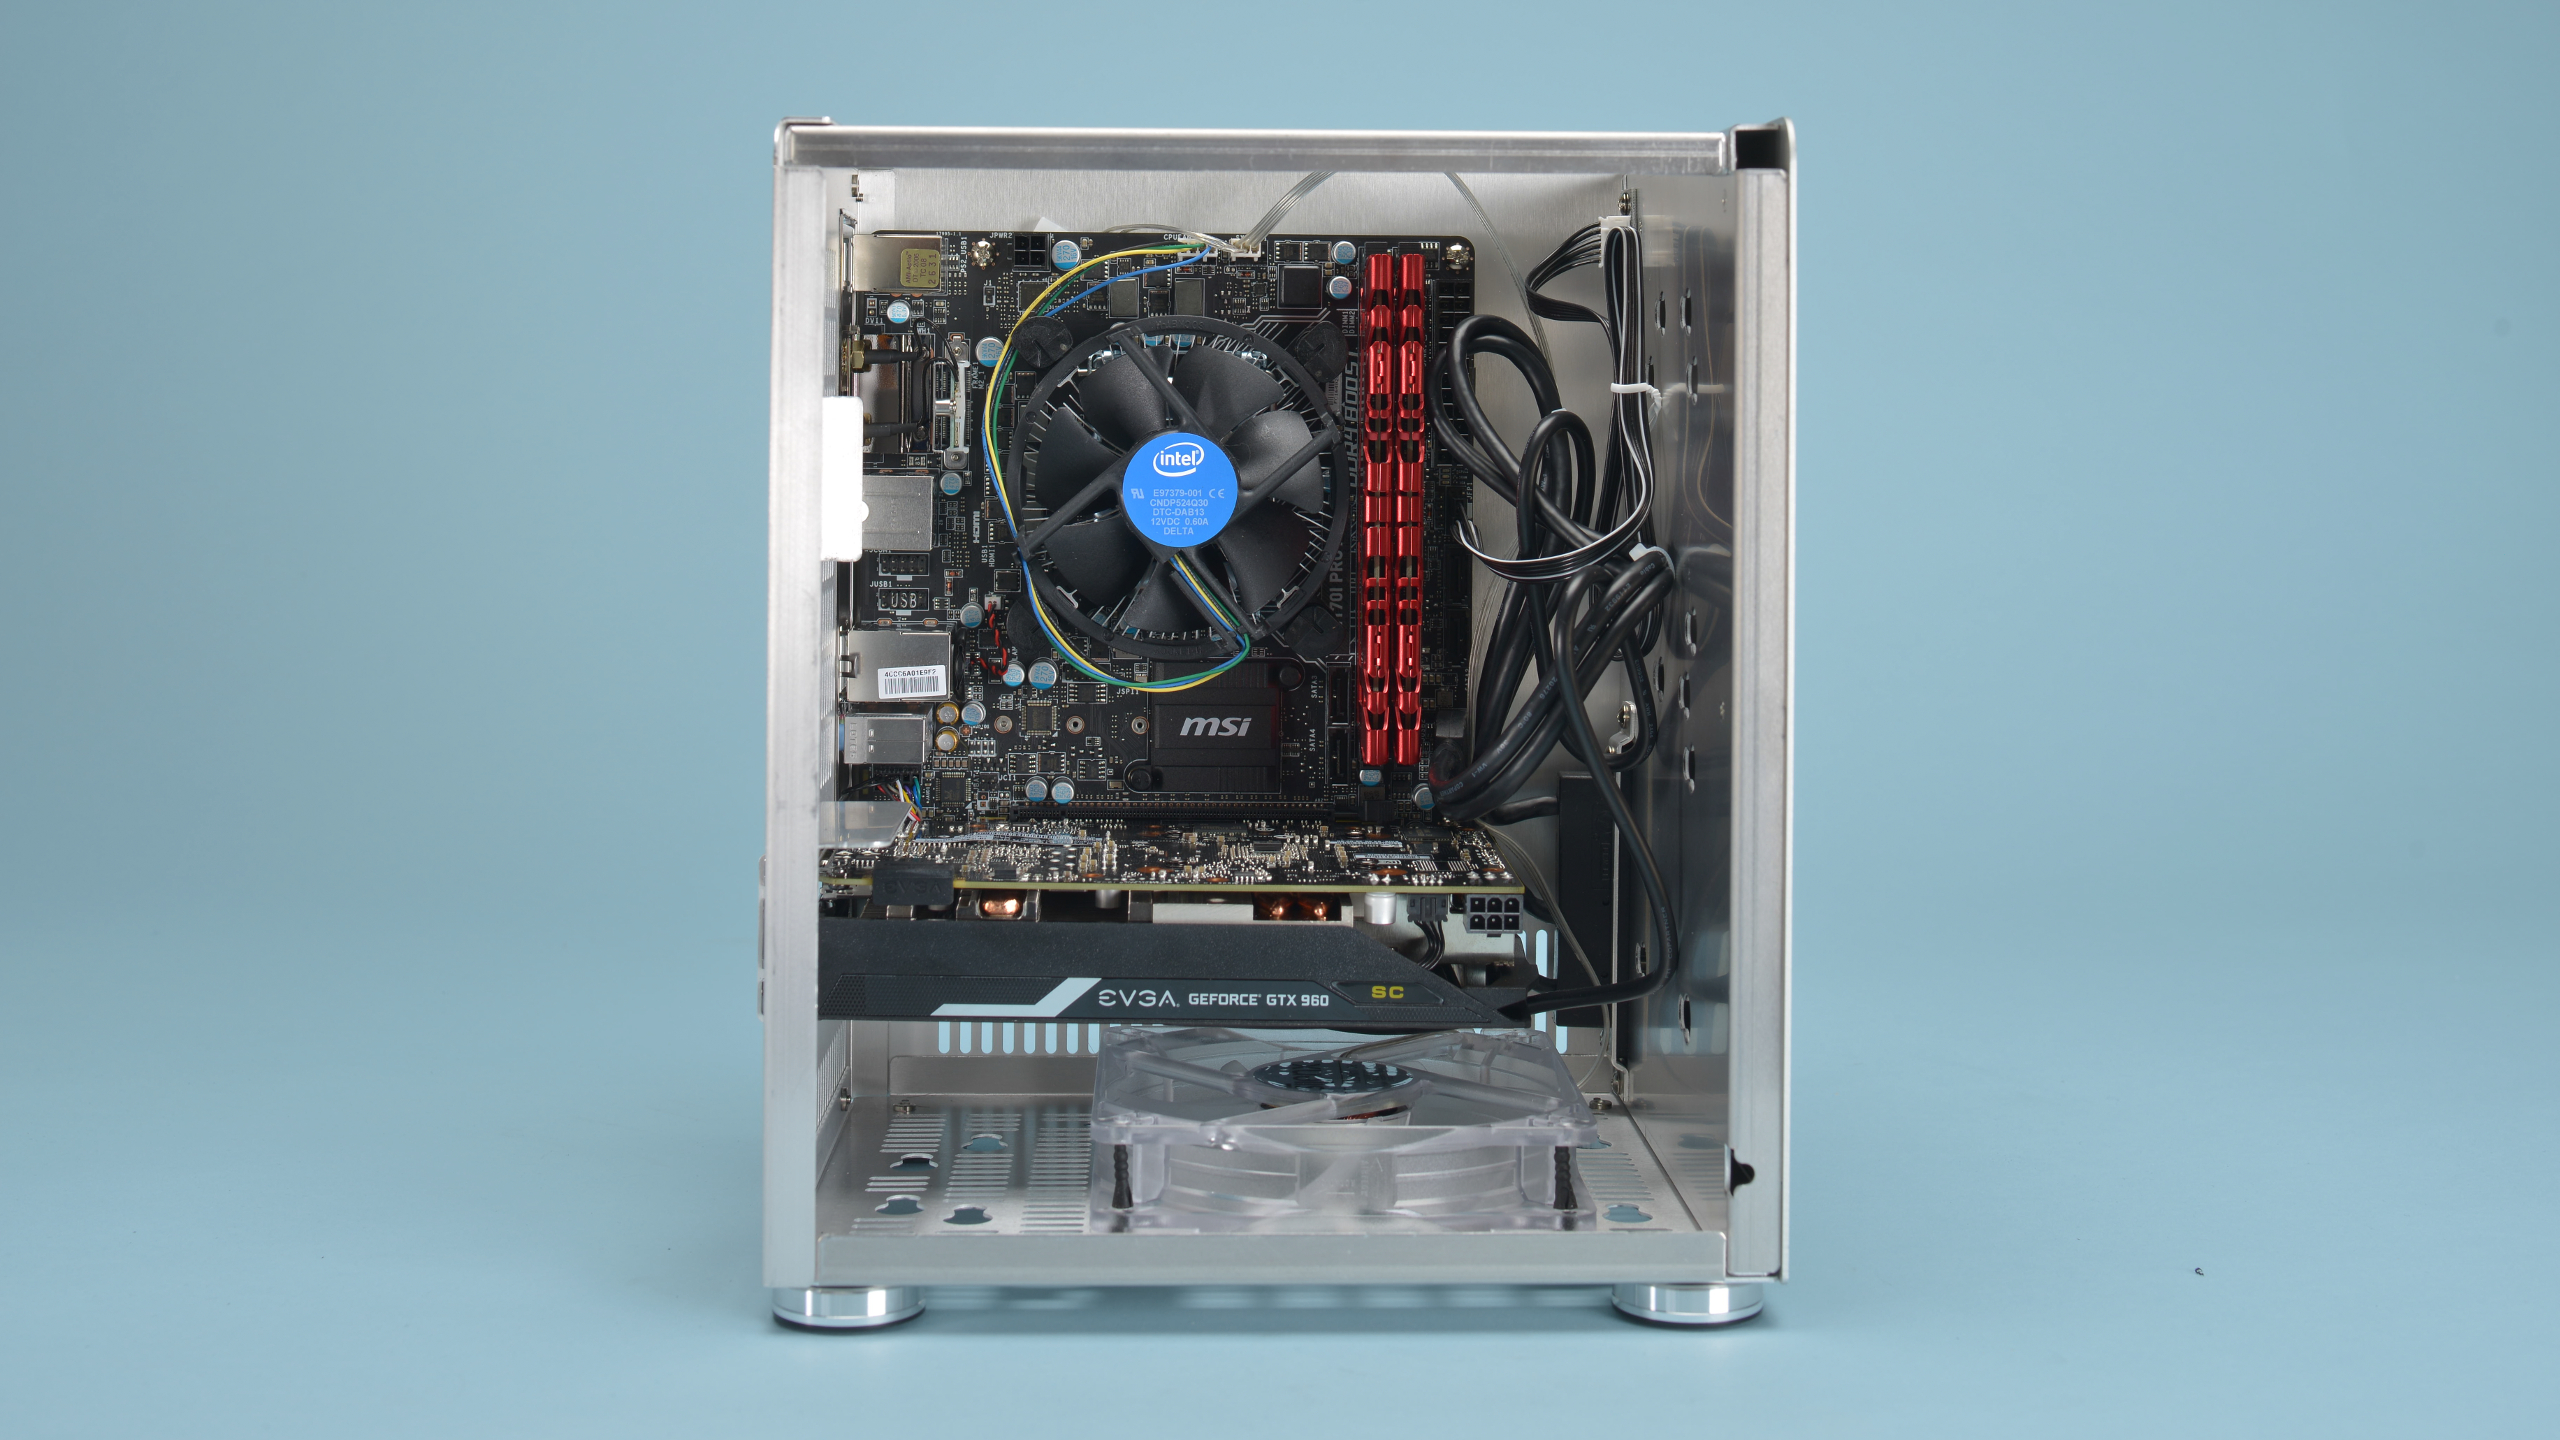
The second thing this board has is an M.2 slot. We wanted to find a board that supported M.2, since we prefer to not run two extra cables if we don't have to. At first, we paired the board with an M.2 250GB Samsung 850 Evo, but were met with a system that couldn't see any storage. Try as we might, we couldn't get the mobo to see the M.2 drive. As it turns out, the M.2 support is limited to the PCIe bus, and doesn't offer SATA-mode support. This struck us as odd, since most boards that offer M.2 support SATA as a fallback mode for people who don't have PCIe or NVMe SSDs. This holds especially true because the product specs don't necessarily imply that SATA isn't supported, only that PCIe 3.0 is. Seeing as PCIe-mode M.2 SSDs are more expensive than their M.2 SATA counterparts, a simple substitution wasn't really in the cards at this price point. Alas, we had dig up a 2.5-inch 850 Evo to get the system installed and working. So if there's one gotcha with this mobo, it's the M.2 support.
An itsy-bitsy classy chassis
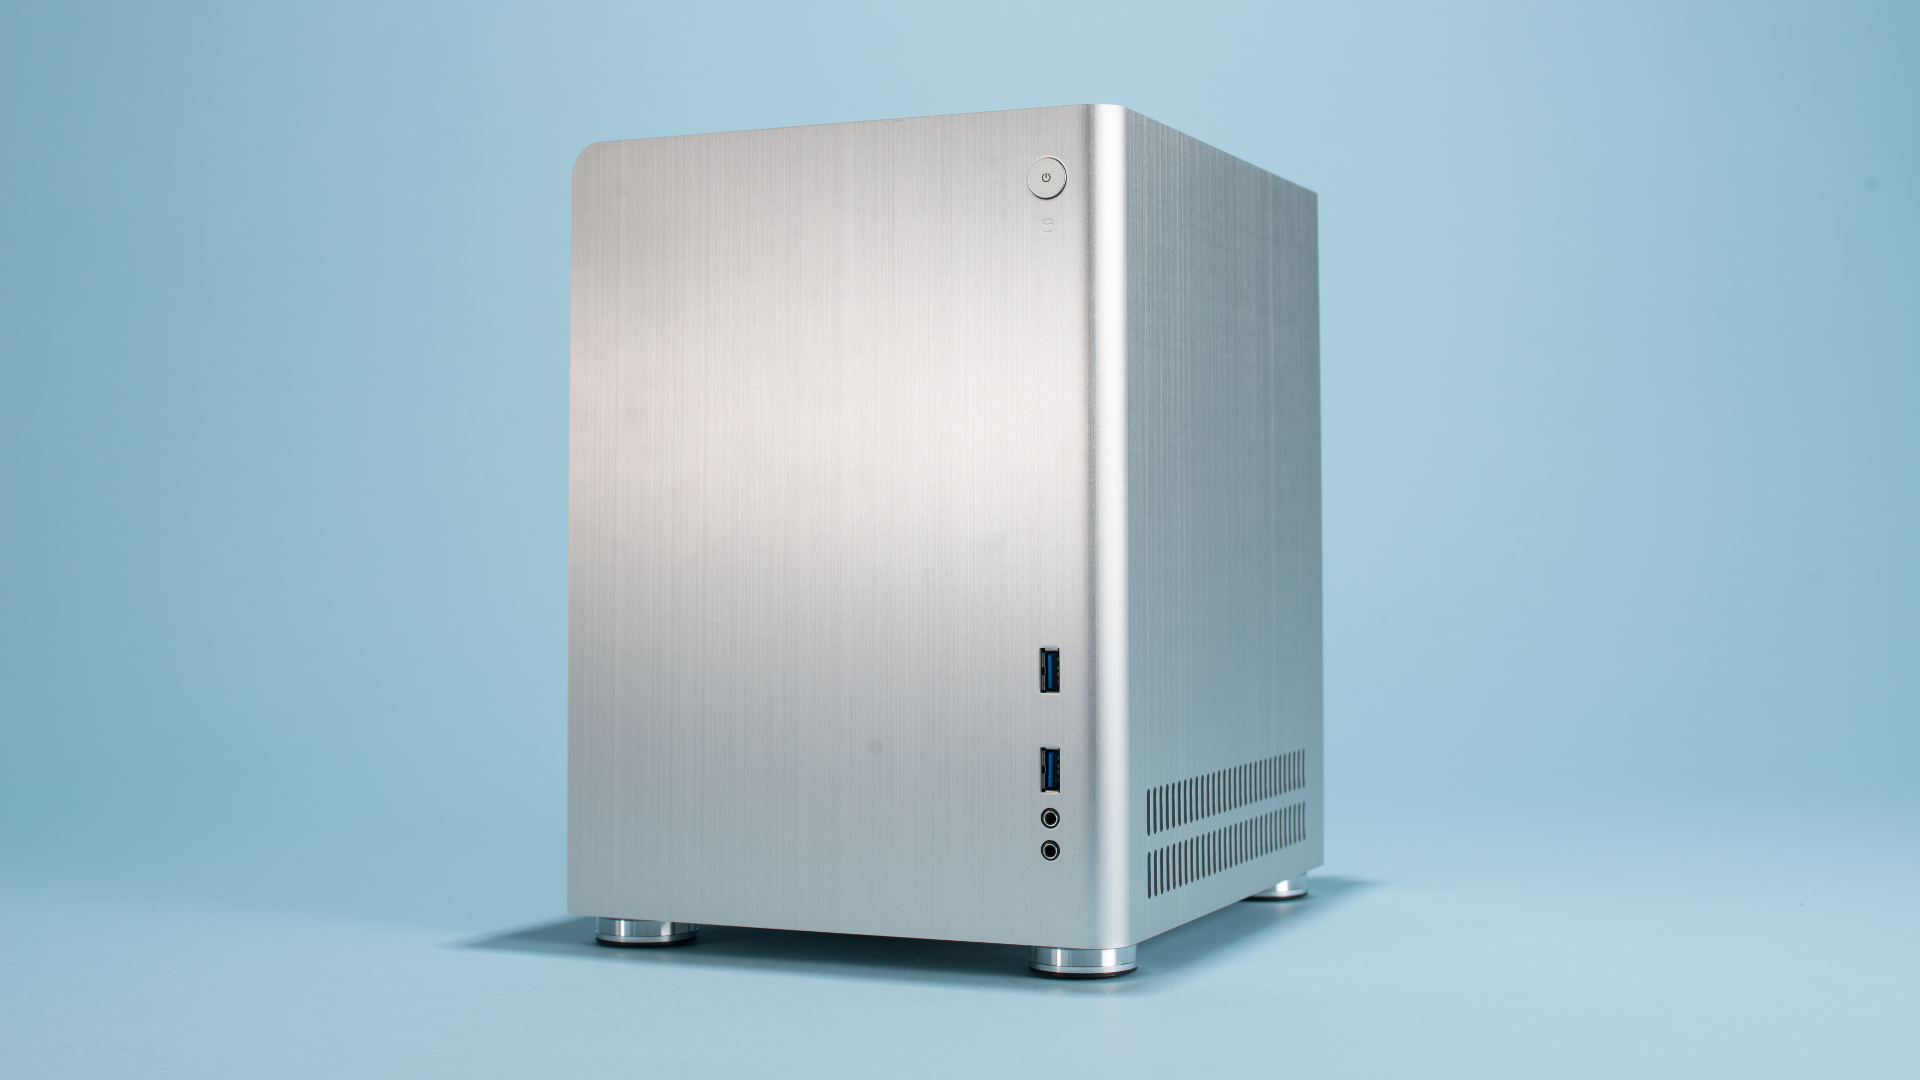
The other big change we made was in the case. In a fit of design-inspired insanity, we looked for the smallest, most unobtrusive case that we could fit an ATX power supply in. We found it with the Lian Li PC-Q01A.
This case is made of aluminum and reminds us of Apple's styling choices in the past few years. Clean lines without a lot of mumbo-jumbo to distract from it make this case look more like a classy accent piece that will feel at home in any room. That said, this case is small and devoid of all but the most basic features.
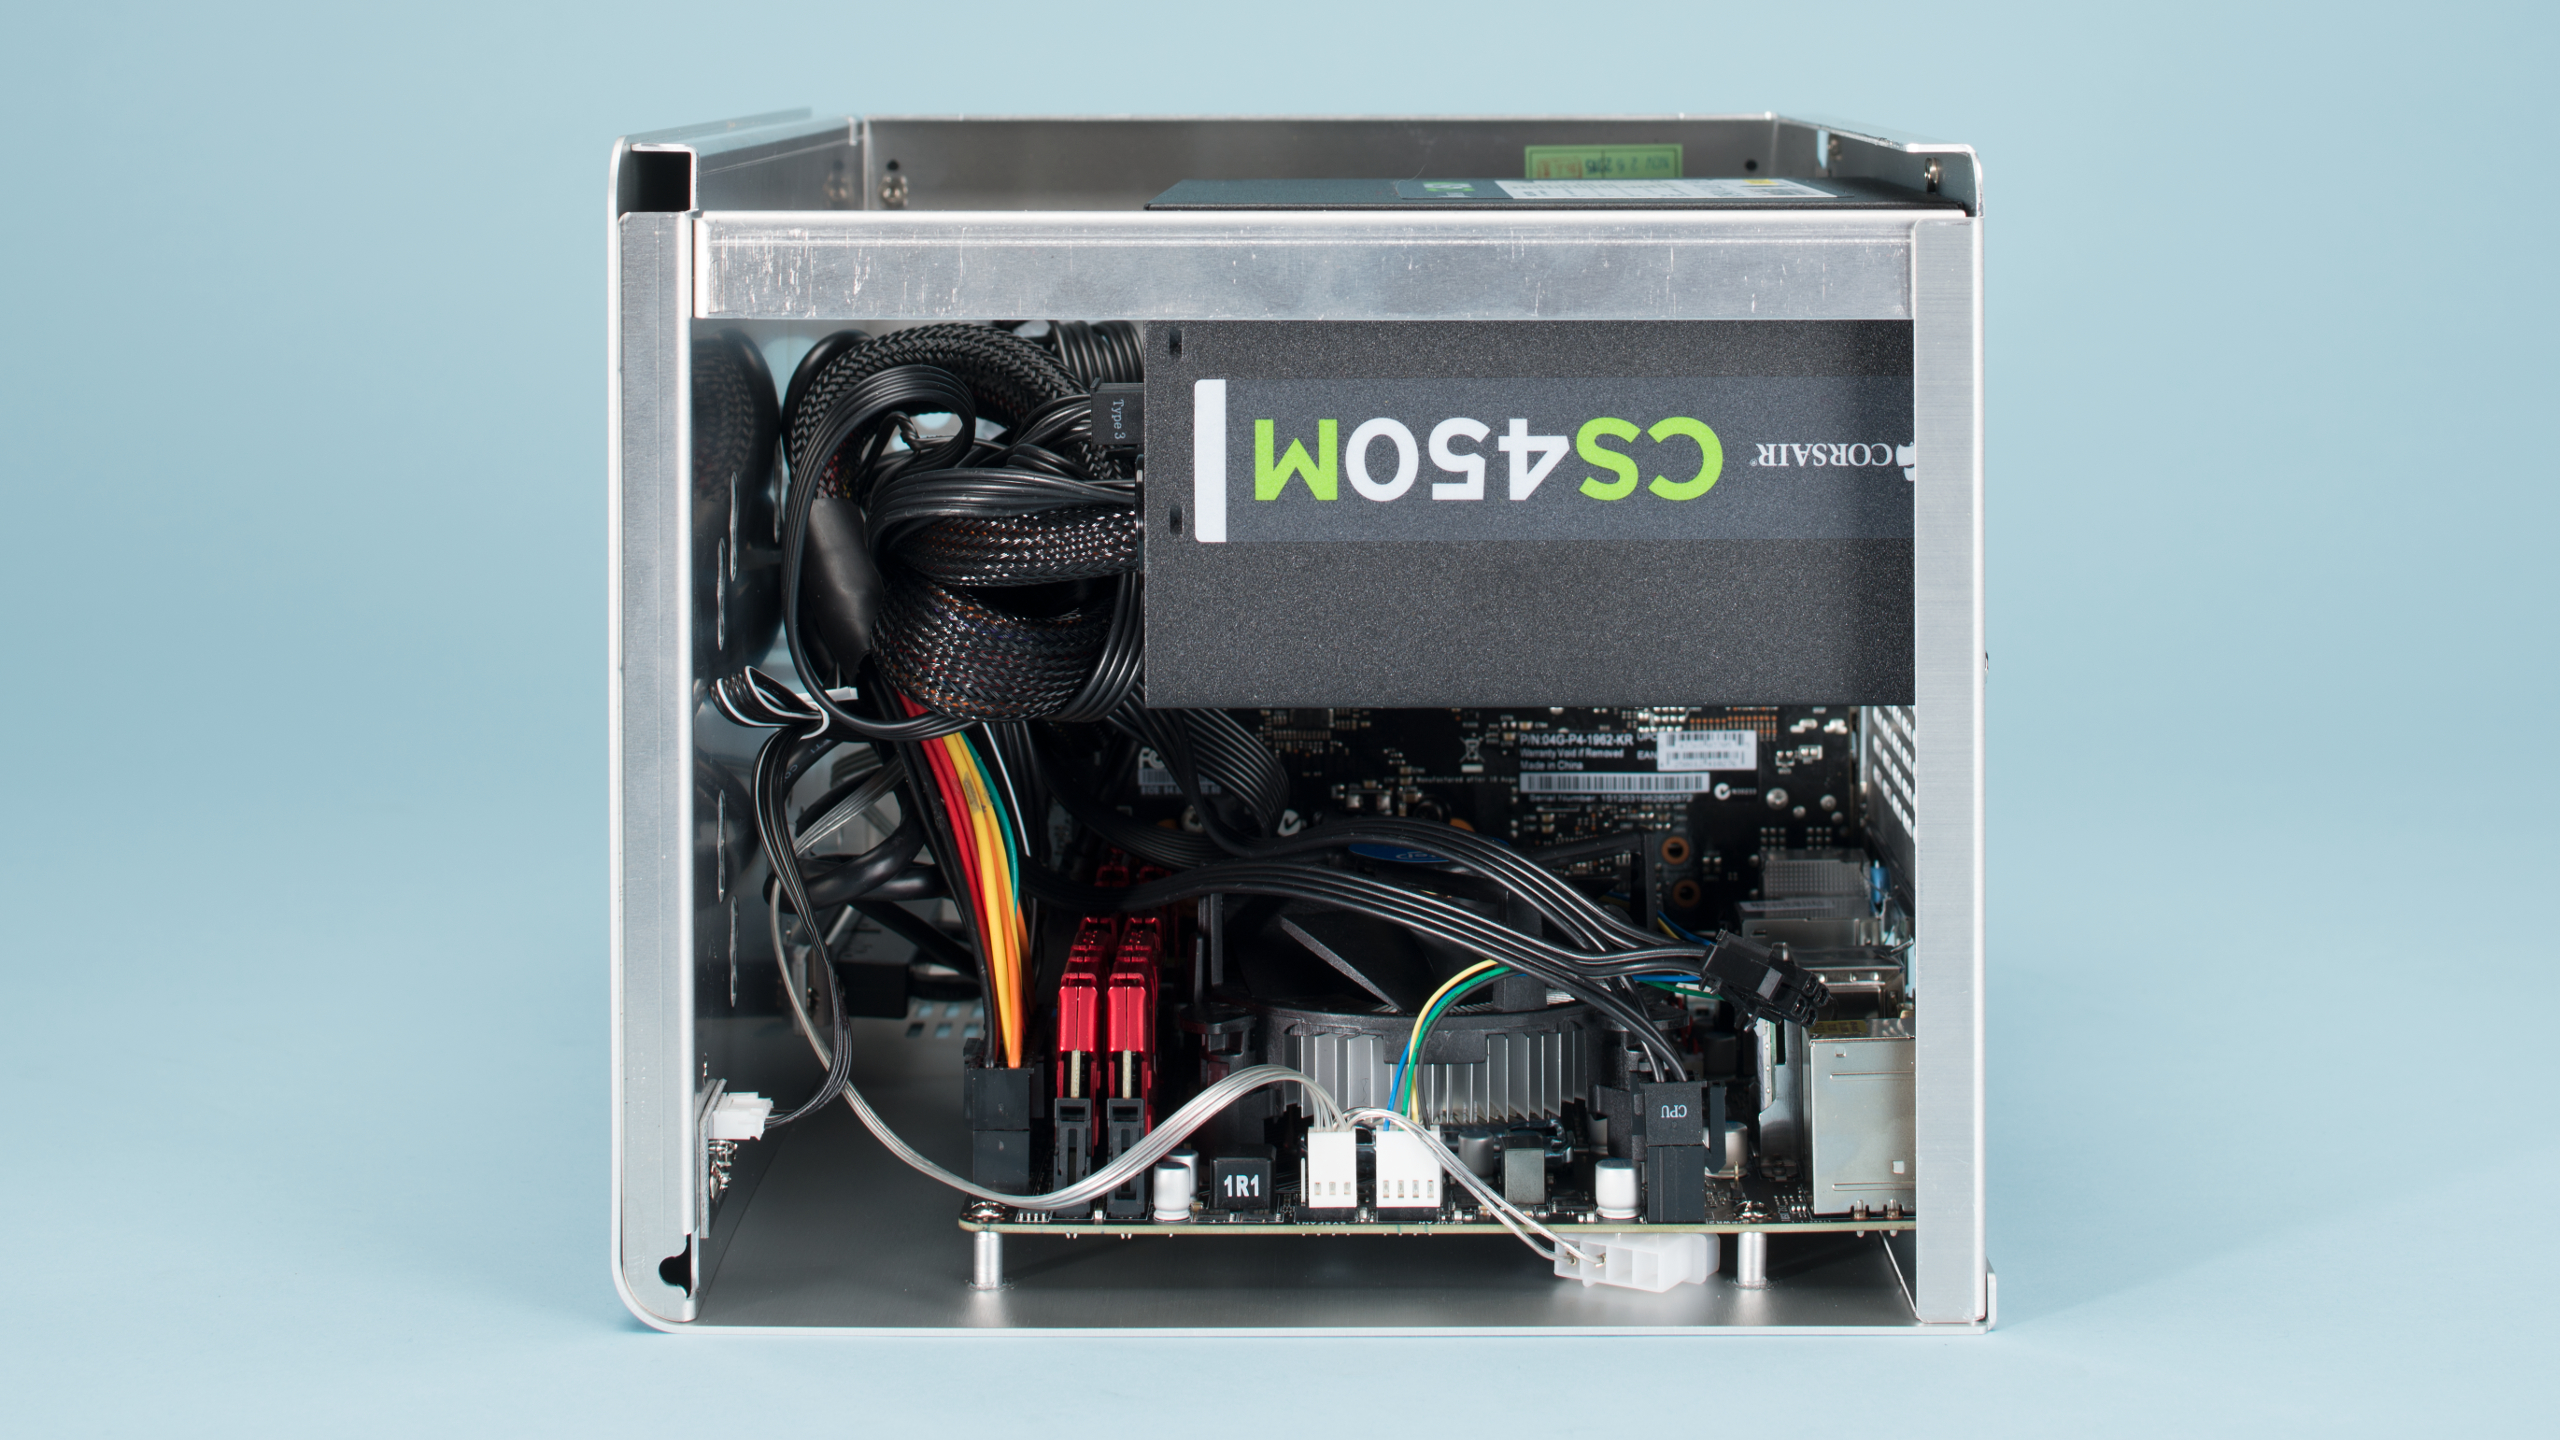
To say that the space inside this case is tight would be an understatement. It's not particularly hard to build into, but when you finally go to mount your PSU, the case seems to shrink. The PC-Q01A doesn't come with a case fan, so we ordered a blue SilenX fan so we could get some sort of airflow inside. The case has just one fan mounting point at the bottom, so we positioned the fan to pull in cool air to help keep the CPU and GPU in check under load. The blue LED casts a subtle glow under the case and out of the slits that flank the sides that looks great in the dark.
We do wish that there was some sort of dust screen at the bottom, however. The lack of dust-proofing means that you'll be busting out that can o' air more often than you otherwise would. On the upside, the PC is small enough that it should take all of 10 seconds to clean the thing.
So, how does this little rig perform? Let's take a look at our benchmarks.
The benchmarks
For 1080p gaming, we feel that the i5-6500 and the GTX 960 is a great combination. The quad-core i5 is plenty for most games, and the 4GB 960 offers enough power to play most games at 1080p with reasonably high settings. On the flip side, the GTX 960 simply isn't ideal for gaming above 1080p.
As you can see, the GTX 960 just chokes when it comes to 4K. With a relatively paltry score of 1746, 4K gaming is clearly out of reach for this GPU. We also saw confirmation of this when we tested Tomb Raider and Shadow of Mordor.
While 4K is way out of reach for this rig, 1440p gaming is within closer grasp if settings are turned down low enough. When we tested Batman: Arkham City at 1440p, the Budget Gamer still managed an average of 45 frames per second. (That's with all settings except PhysX cranked up, by the way.) That's well shy of the golden goal of 60fps, but well above the 30fps minimum to be playable. In fact, if you're gaming on a 30Hz monitor with V-Sync on, the GPU will happily keep up with the 30fps quota.
While this rig is built with 1080p gaming in mind, we also ran the PC through our array of CPU-specific tests. The three tests put a CPU through its paces in both single- and multi-threaded modes. The first two tests, Stitch 2.3 and ProShow Producer 5, rely more heavily upon single-threaded performance. (Both tests do have sections that can take advantage of multiple threads, but they won't let 6-core and 8-core designs really hit their stride.)
The X264 benchmark, on the other hand, punishes all the cores and threads available to the CPU, which usually means that he who has the most cores wins. In this contest, the Dream machine's overclocked i7-5960X Haswell-E reigns supreme with its eight cores and multi-threading (totaling 16 logical cores). Meanwhile, the comparatively humble i5-6500 has just four physical cores and no Hyper-Threading.
As you can see, this build is right on par with the other Budget Gamer builds from the past. That's to be expected, since nearly all of them have used quad-core i5s. The interesting thing to note is the near-identical performance between the Fall/Winter builds and the Summer build. In the summer of 2015, we built the Budget Gamer with a Haswell i5-4590. The modern Budget Gamer builds have gone with the newer Skylake i5-6500s. The lack of a huge performance delta suggests that if you can still find Haswell parts on the cheap, there isn't a big reason to go with Skylake at this performance level. Of course, Haswell and LGA-1150 boards will meet their end of life before Skylake will, so going with Skylake will provide you with a longer serviceable lifetime.
It's also important to note that the newer 100-series motherboards support USB 3.1, and many offer USB Type-C connectors on their rear I/O panels. But we have yet to see a case with prominent Type-C connectors up front where they matter.
While there isn't a lot of performance delta over this build's predecessor, we did invest in more features and a prettier shell. If you're looking at this build, but are willing to spend a little more, we'd recommend going with a Samsung SM951 or 950 Pro if you really want to take advantage of the onboard M.2 slot. However, if you want more bang for your buck, we'd keep the 2.5-inch SSD and use that extra $100 towards the purchase of an Asus GTX 970 DCMOC. Upgrading to that GPU would make this little rig Oculus-ready, and offer a small and pretty VR machine.

