How to solve the first puzzle and open the door in Scorn
Solve the cocoon puzzle and open the door.
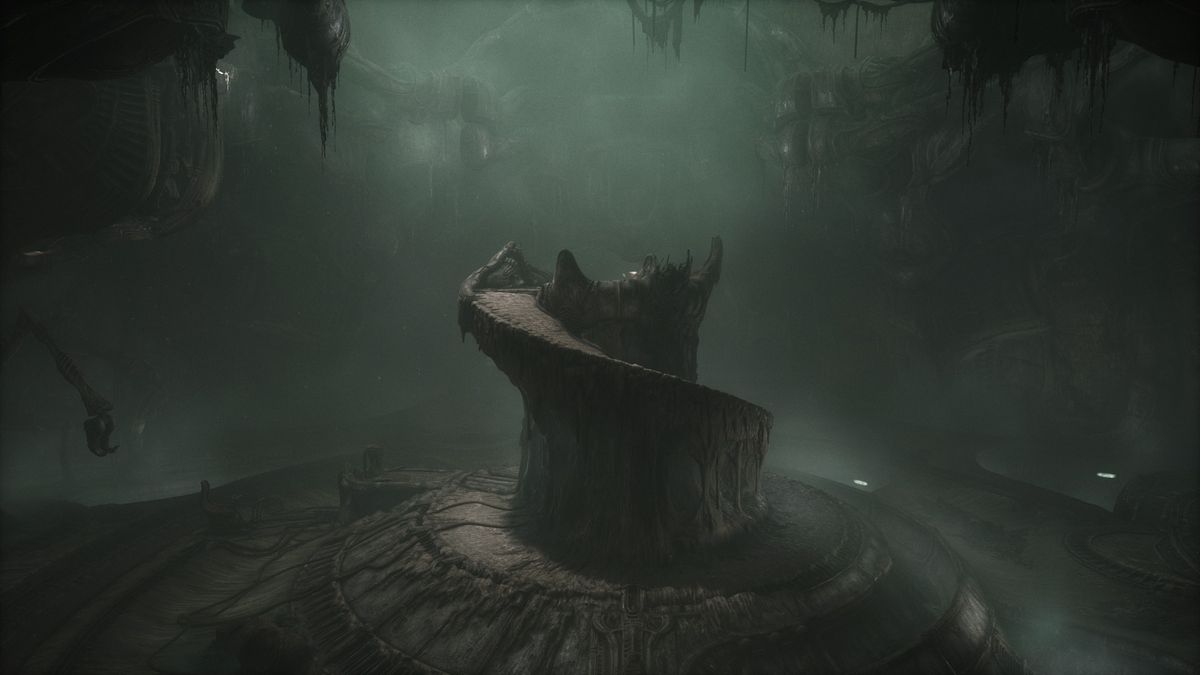
You're confronted with Scorn's first door puzzle almost immediately after starting this first-person horror adventure. As you wake up and begin to venture through the grotesque architecture, you'll find the way forward is blocked by a solid door. You'll need to do some exploring if you want to open it but with so many branching paths heading off the main room, it's easy to become disoriented.
You'll need to find and interact with some glowing cocoons but even then it's not particularly straightforward. In this guide, I'll help you figure out the first Scorn puzzle and get you moving in the right direction.
How to reach the cocoon room
Once you arrive in the large circular room, you can climb the spiralling column in the middle to get a better view—from here, you can also see the large door you're trying to open. You can even interact with a panel up here, though, at this point, it's not particularly clear what you need to do. You can move some of the tracks on the outer side of the room but that doesn't appear to do anything at this stage. You'll need to do some exploring first.
Head to the main door to find two panels you can interact with. Both move mechanisms on the door but don't actually open it. Instead, head through the doorway directly to your right and follow the corridor until you see a strange alien crane. Once in this room, turn immediately right, then right again to find a circular elevator and interact with the red pedestal to ascend. Follow the corridor—ignoring the turnings on either side—and you'll come to an open room with two pedestals.


How to solve the Scorn cocoon puzzle
If you interact with the pedestal directly ahead, you'll move a claw-like mechanism on the far wall and it will try to grab a cocoon but fails as there's nothing there. Move to the pedestal on the right instead and slide the cocoons around—though be aware that some of them are connected and move in groups.
You should notice that two of the cocoons have lights on them and you'll need to move these to the place where the claw tried to grab earlier when you used the first pedestal. You technically only need one, but the first one you move to the correct position will break when the claw tries to grab it, so you'll need to move the second one too.
To get the first cocoon into place, check the last two screenshots above. Essentially, you want to move the single cocoon on the third row across to left, then move the double cocoon on the second row all the way to the right. This should make a clear path for moving the first cocoon into place. Once that's done, use the first pedestal and watch the cocoon break. Now it's time to move the other one.
The biggest gaming news, reviews and hardware deals
Keep up to date with the most important stories and the best deals, as picked by the PC Gamer team.
The second cocoon is much trickier as it's attached to another one, so you'll need to make room for both to move. You can refer to the video above if you're having trouble figuring out how you should move them. Basically, you want to get all the double cocoons over to the right-hand side to leave space for the glowing cocoon to move into position. Once done, use the first pedestal again to transport the cocoon down to the lower floor.
How to open the door
Take the elevator back to the ground floor and to the big room where you started. You're looking for the cocoon which you should see suspended pretty high in the air. It's making sounds too, so you can use that to help locate it. Use the pedestal here to operate the crane and put the cocoon into the cart.
Now head back up the spiral column in the center of the room and make sure the tracks are set take the cart to the room with the crane you saw earlier before taking the lift. It should look like the screenshot below. Push the cart along the track to the crane. Use the large pedestal here to make the crane move the cocoon to the machine, then use the smaller pedestal to—err—finish the job.


Pick up the arm and you're almost done. Now you need to head back to the main door you're trying to open but head through the door on the left. You should find a device here that will add a key to the arm you just picked up. With that done, head back to the two pedestals in front of the big door. Use your newly acquired arm on the small one, before heading to the larger one and activating it. Phew! Well done.

Sarah started as a freelance writer in 2018, writing for PCGamesN, TechRadar, GamingBible, Red Bull Gaming and more. In 2021, she was offered a full-time position on the PC Gamer team where she takes every possible opportunity to talk about World of Warcraft and Elden Ring. When not writing guides, most of her spare time is spent in Azeroth—though she's quite partial to JRPGs too. One of her fondest hopes is to one day play through the ending of Final Fantasy X without breaking down into a sobbing heap. She probably has more wolves in Valheim than you.

