RimWorld beginner's guide
Learn how to master the interface of this complex colony builder and pick up some important do's and don'ts.

Building and collecting resources
So you’ve got a few goals for this first day: Set up a home base, gather your supplies, and sow some crops. To do this, you’ll use two Architect categories that require a bit more explanation: Orders and Zone/Area.
Issuing Orders: Most of what’s inside Orders is accomplished otherwise by selecting something: You can click on a rock wall and press a button to designate it to be mined, or a tree to be cut down, or an animal to be hunted. Orders lets you designate this in bulk—it’s most useful for clearing an area of trees, mining a room out of a hillside, or telling your colonists to pick all the raspberry bushes nearby.
Hunting, not so much—you can just double click to select all the animals of a single type in view, and a blanket selection of an area risks selecting something you don’t want to shoot at: Like a grizzly bear, elephant, gene-modded war animals, or explosive Boomalopes. In the first few days of the game, you’ll almost definitely need to chop down more trees for construction materials, and you’ll likely want to hunt some non-lethal critters like hares and squirrels.
Now, before you go queuing up a mining project of epic proportions, a word of warning: Large excavation or clearance projects tend to clog up the to-do chain significantly, creating tons of tasks hauling mined ore and felled logs. Those will choke up your stockpiles, leaving otherwise useful goods to rot in the rain. Leave them until you’ve got a healthy, thriving colony with lots of members.
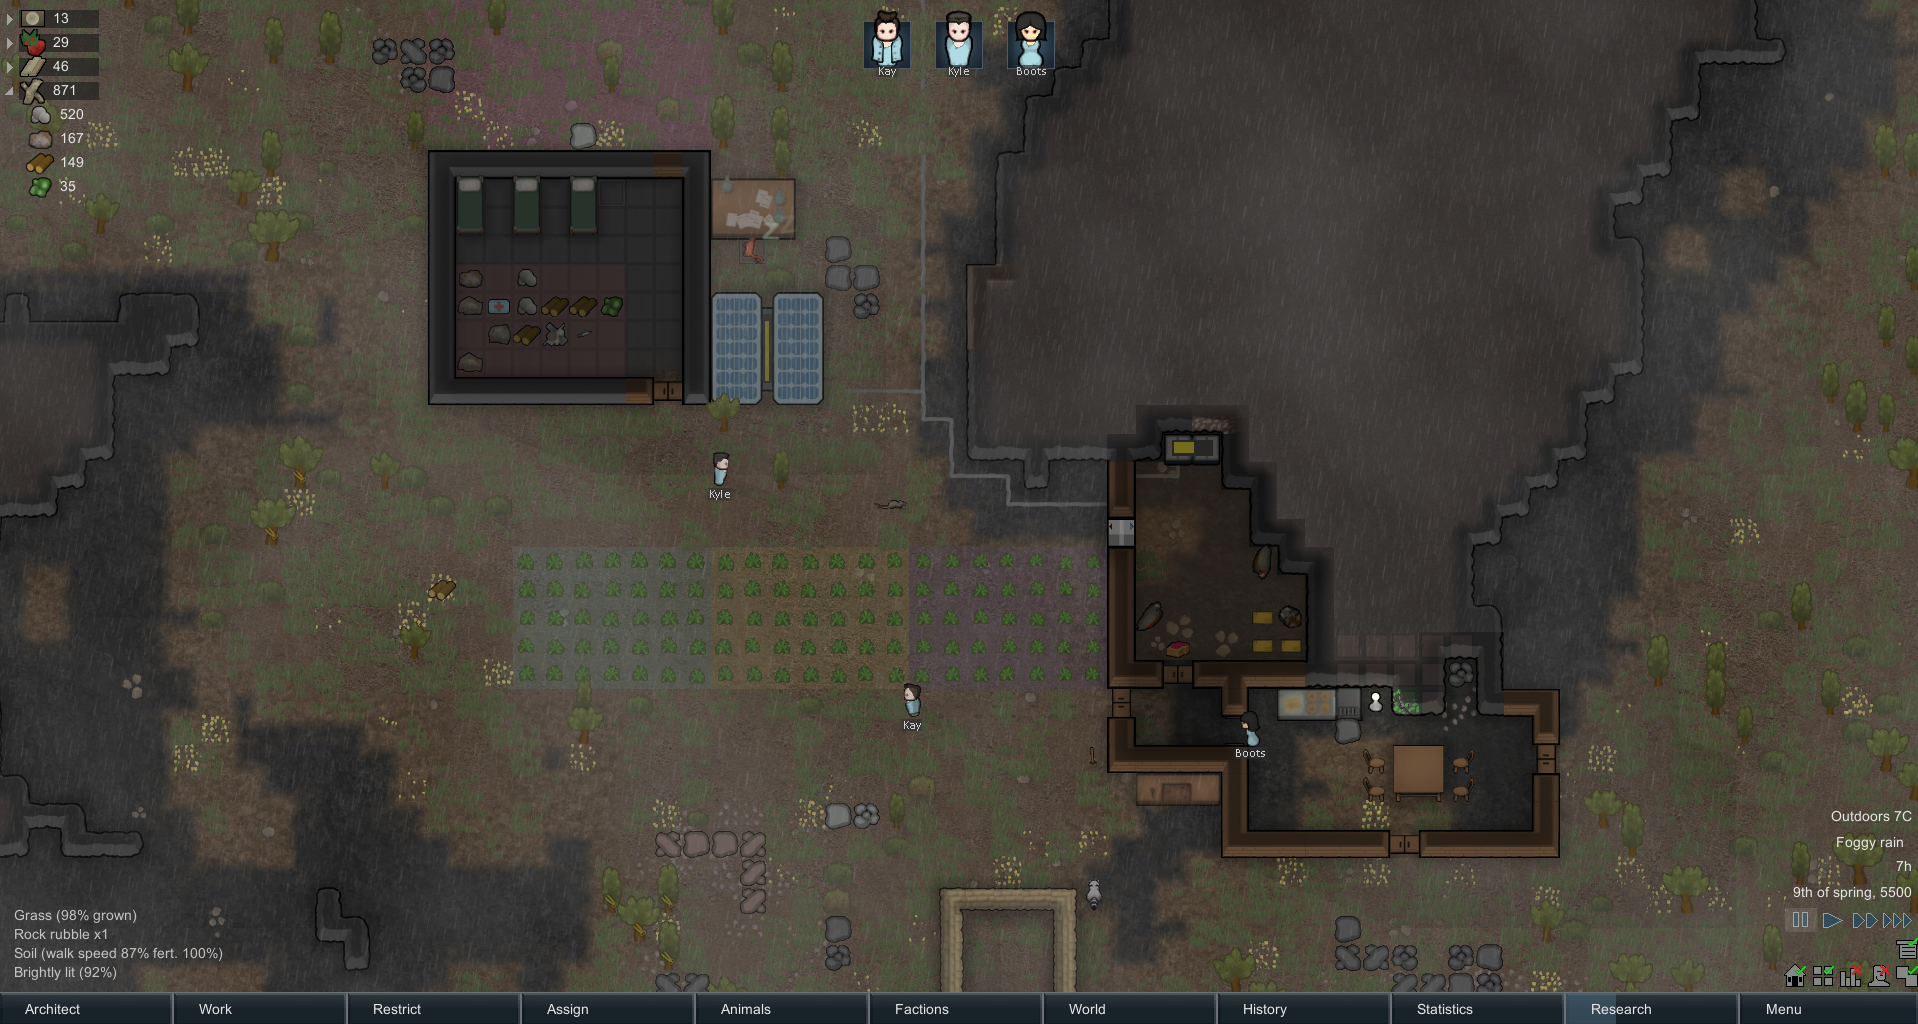
Building Structures: Under the Architect menu, go to Structure. In here (and in much of the Architect menu), you’ll right-click on something you’re building in order to set the material it’s to be built of. Scroll back over to that area you wanted to build in and lay down a 10-by-10 building using wooden walls with a single wooden door. Then hop on over to the Furniture tab and lay down three wooden beds.
Mining: Remember Mining, in the Orders menu? That’s going to be useful sooner rather than later. Building your base inside mountains or hills has a huge advantage—it’s harder to siege later on—but comes with a few disadvantages. The most important one, right now, is that it takes a hell of a lot longer to mine out passageways than it does to build walls. You can worry about the giant insect infestations and hidden mechanoid tombs later on.
The biggest gaming news, reviews and hardware deals
Keep up to date with the most important stories and the best deals, as picked by the PC Gamer team.
Stockpiles: Now, let’s talk Stockpiles. This is where you keep your crap. Under Architect, then Zone/Area, you can set up a couple kinds of basic piles. For now, you’ll want to set up a nice big one inside that building you just built. Don’t overlap the beds, though, because you want Colonists to be able to get to sleep without tripping over everything in the way.
There are two basic types: Goods and Junk. However, you’ll very quickly decide to customize them to your heart’s content by clicking on them, then going to the Storage button on the top of the Stockpile panel. Once there, you can tell colonists not only how important a given stockpile is relative to others, but precisely what to keep inside it. You can also rename stockpiles, so you know where someone is hauling whatever it is they’re carrying when you click on them. For now, just get by with a small junk heap and a big main pile.
Finally, you’ll want to set up at least three 6x6 or so garden plots under Zone, then Growing Zone. Using a button along the bottom, you can set what you want your Colonists to grow in these. Seeds are not an issue. I recommend potatoes at first, unless you mouse around and have a patch of dark, rich soil nearby—in that case, grow Rice or Corn in it. Rice if your growing season is short, Corn if it’s long. If you have a Grower with skill of at least 5, grow some strawberries instead of potatoes. If you’re blessed enough to have started with skill 8, plant an extra bed of Healroot. Sooner or later, your supply of modern medicine will run low and you’ll be left relying on the Herbal stuff.

By now you should be ready to unpause and let the game get going if you haven’t already. Feel safe moving up to speed 2 or 3. As you go, correct little problems, selecting the relevant colonist and using right clicks on a task to get their priorities straight—or directly editing their priorities if a major problem emerges.
In the near future, you’ll need to make your own meals. Once you’ve survived the first day or two, build a Butcher Table and Fueled Stove from the Production menu, under Architect. That way you can queue up animals to be butchered and meals to be cooked by clicking on those buildings, then clicking Bills on their panel. Further, you’ll need a way to keep what you hunt and grow from spoiling—build a power generator and freezer as soon as possible.
Congratulations! You’ve now survived your first day. You’re off to as good a start as you can be. What follows is a to-do for your coming days, alongside a rundown of the UI we haven’t used yet and a few bits of useful RimWorld trivia.
On the next page: Modding, and many important tips for keeping your colonists alive.
Jon Bolding is a games writer and critic with an extensive background in strategy games. When he's not on his PC, he can be found playing every tabletop game under the sun.

