Metro Exodus crafting guide
How to conserve resources and spend them wisely.

Check out our Metro Exodus review and performance test. For handy tips, check out our Metro Exodus weapons guide, weapon upgrade locations, and Metro Exodus crafting guide.
Metro Exodus’s hostile world starves you of resources. Vital med kits, ammo and gas mask filters are hard to come by, which means you need to craft your own from materials you scrounge on your travels if you want to survive.
Developer 4A games has kept the crafting simple, but there are still nuances to learn as well as tricks that will help you avoid wasting precious materials. In this guide, I’ll tell you everything you need to know about crafting in Metro Exodus, including how to craft, where to find components and how to prioritise which items to make.
What you can craft in Metro Exodus
Every consumable in Metro Exodus is craftable, which means you can make med kits, gas mask filters, throwing items such as grenades, and ammo for all your weapons.
There are four different types of regular ammo to craft, split by pistols, assault rifles, shotguns and snipers. Air-powered guns have their own separate ammo types as well as special ammo variants, such as incendiary bullets. In terms of throwables, you can make grenades, Molotov cocktails, throwing knives and tin cans to distract enemies.
You can also upgrade your gear—such as your vest and helmet—by finding modules out in the world and bringing them to a workbench.
How to craft in Metro Exodus
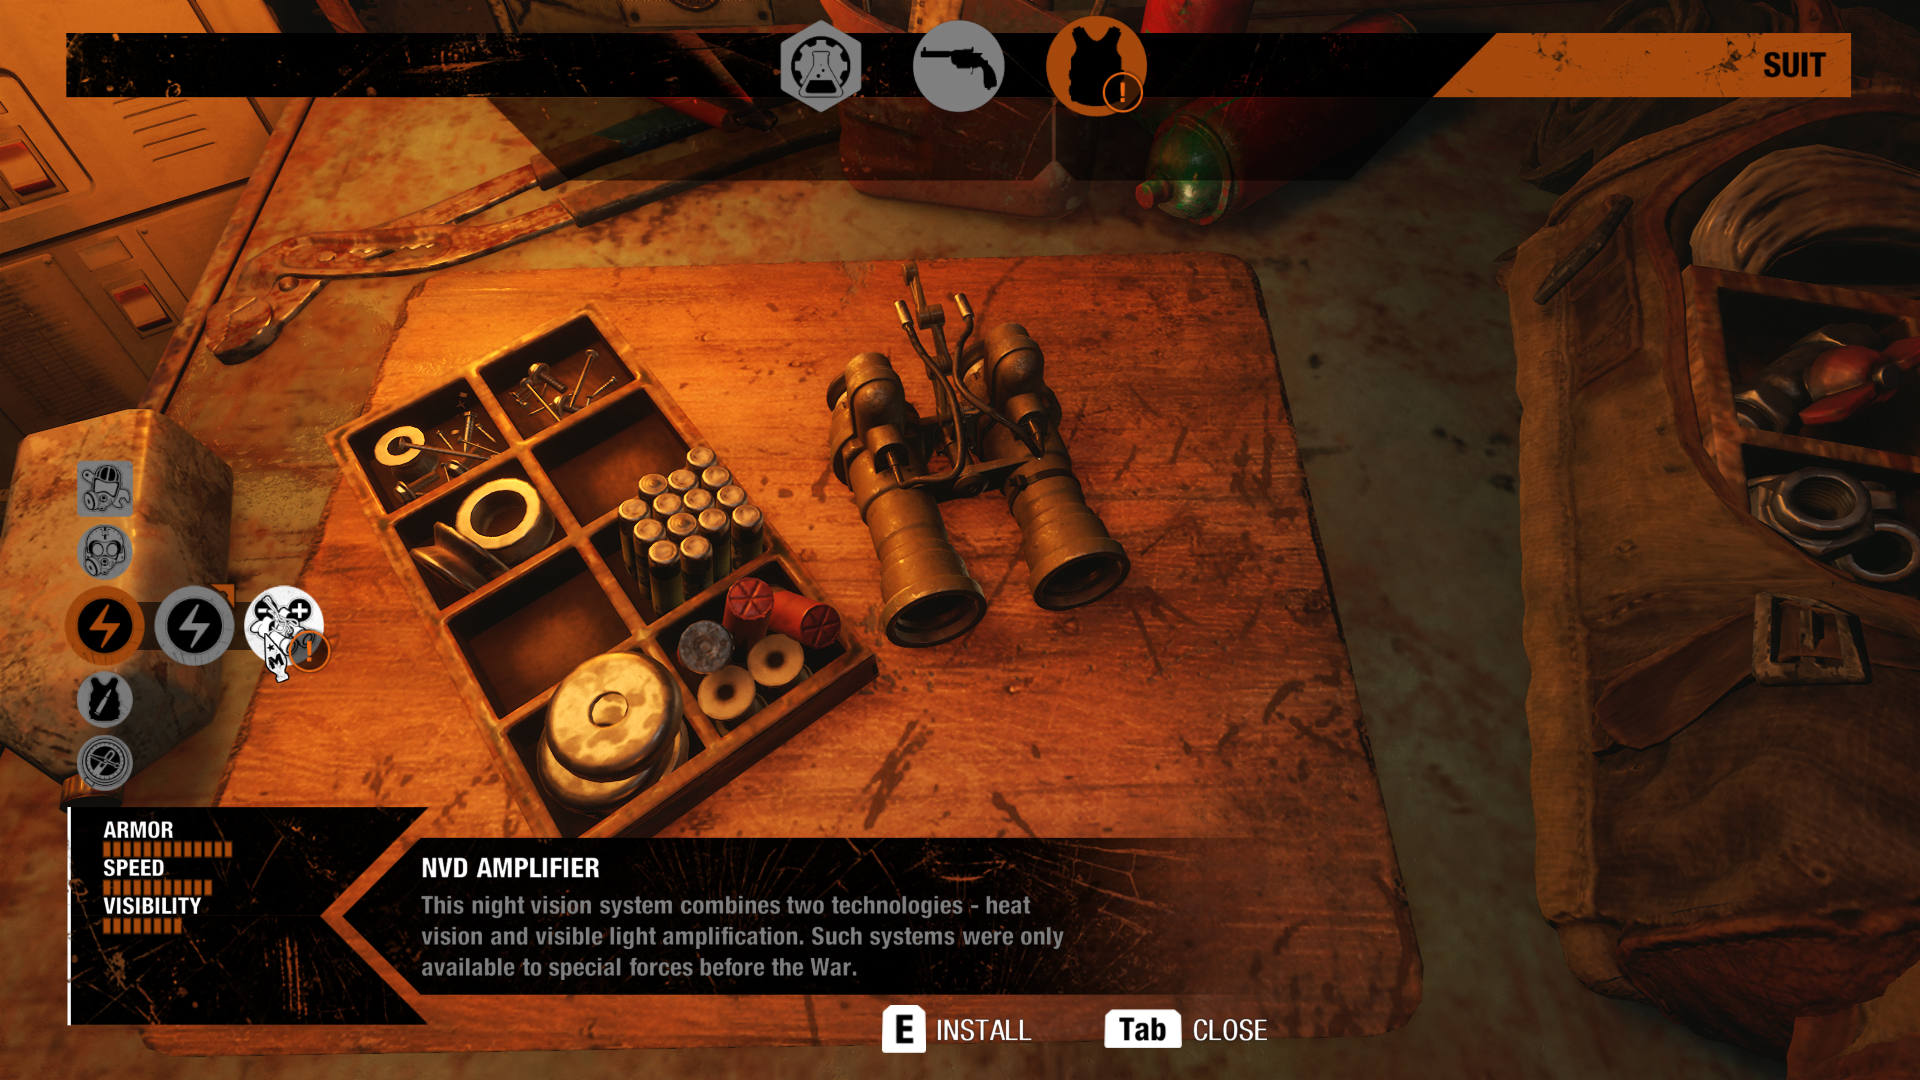
There are two ways to craft. Either you can open your backpack at any time (hold the I key) or interact with a workbench. If you’re using your backpack, you can only craft med kits, gas mask filters and ammo for your air-powered guns, one of which you carry in a third weapon slot. If you want to craft ammo for your two regular weapons—the ones you’ll be using most of the time—as well as throwables, you need a workbench.
Workbenches are only found on the Aurora, the train that acts as your home base, or in safe houses. There’s no sure-fire way to find safe houses other than to explore points of interest, marked by question marks on your map. Safe houses are marked green after you discover them.
The biggest gaming news, reviews and hardware deals
Keep up to date with the most important stories and the best deals, as picked by the PC Gamer team.
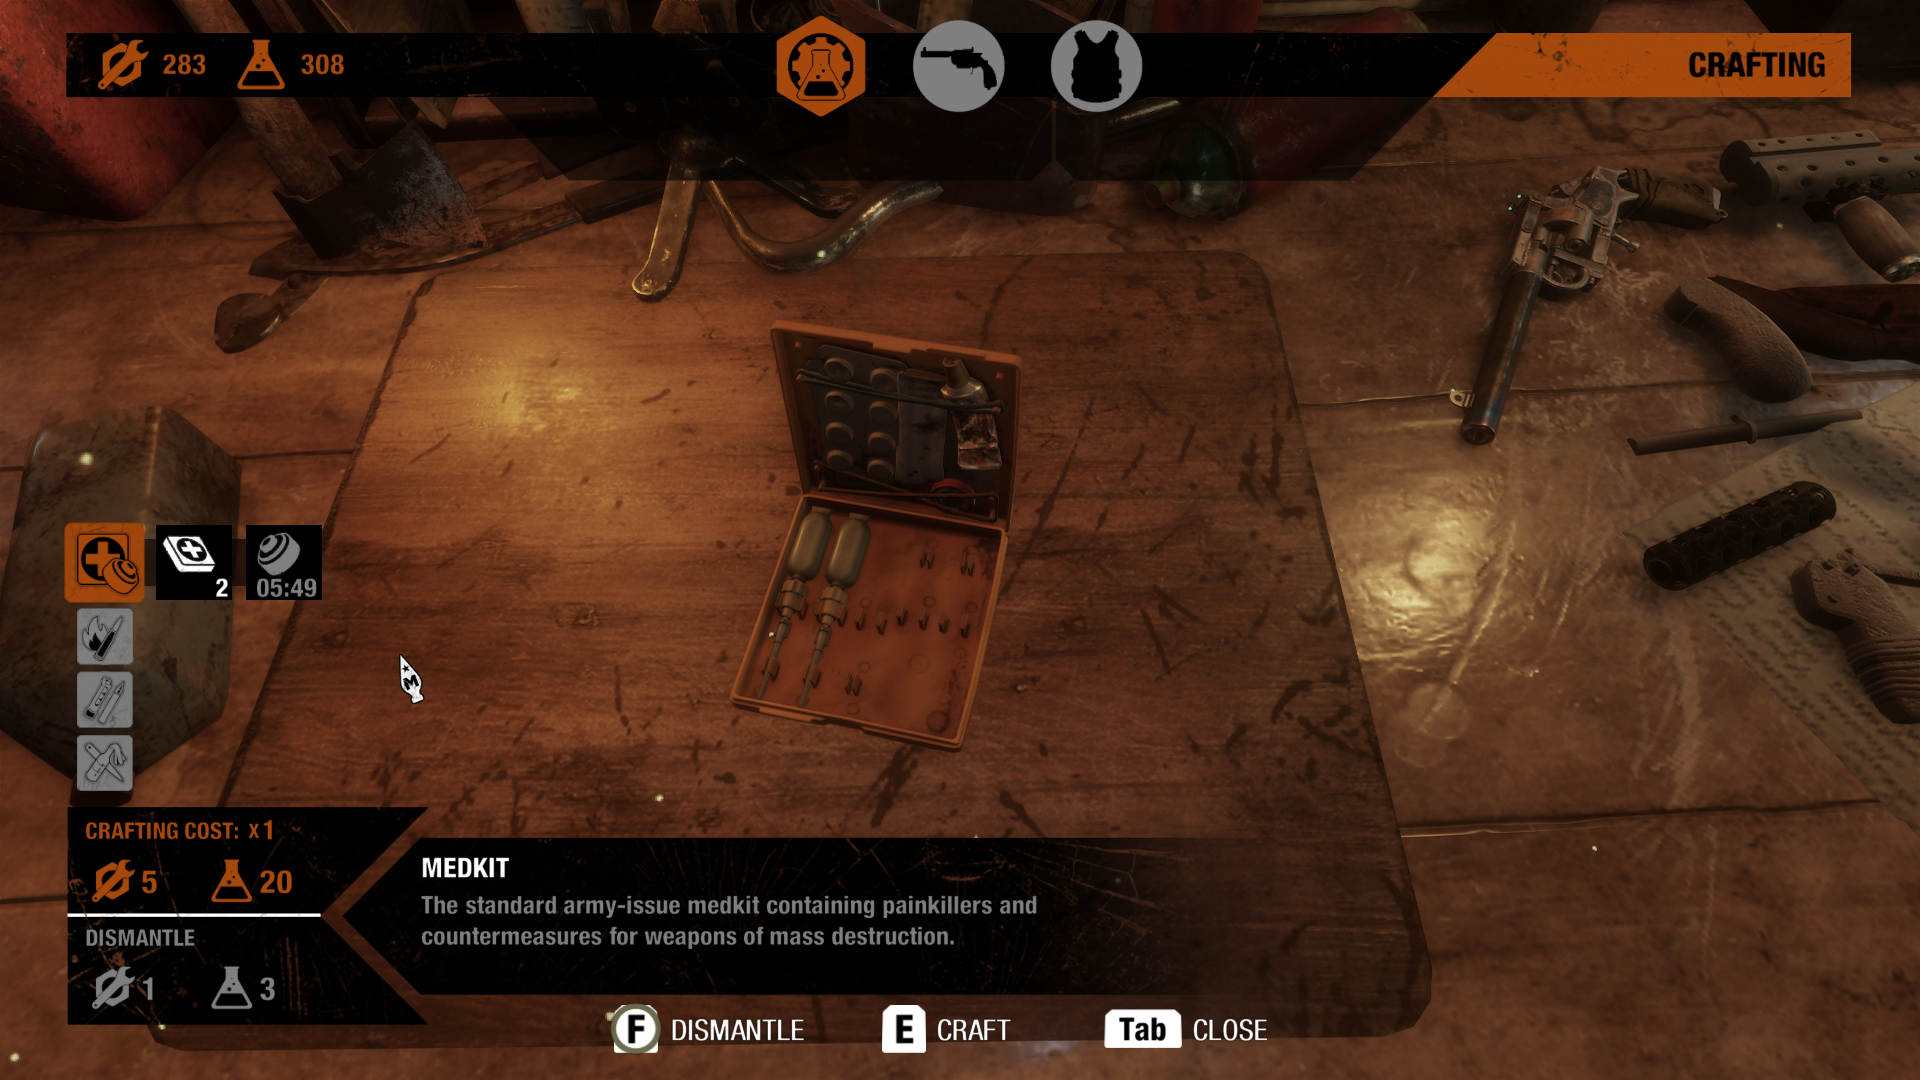
Whether you’re crafting from your backpack or at a workbench, the interface is easy to navigate—you just click through the menus to highlight the object you want and hit E to craft it. Provided you have the required components (I’ll go into that below), it’ll be added to your inventory.
There are two crafting components
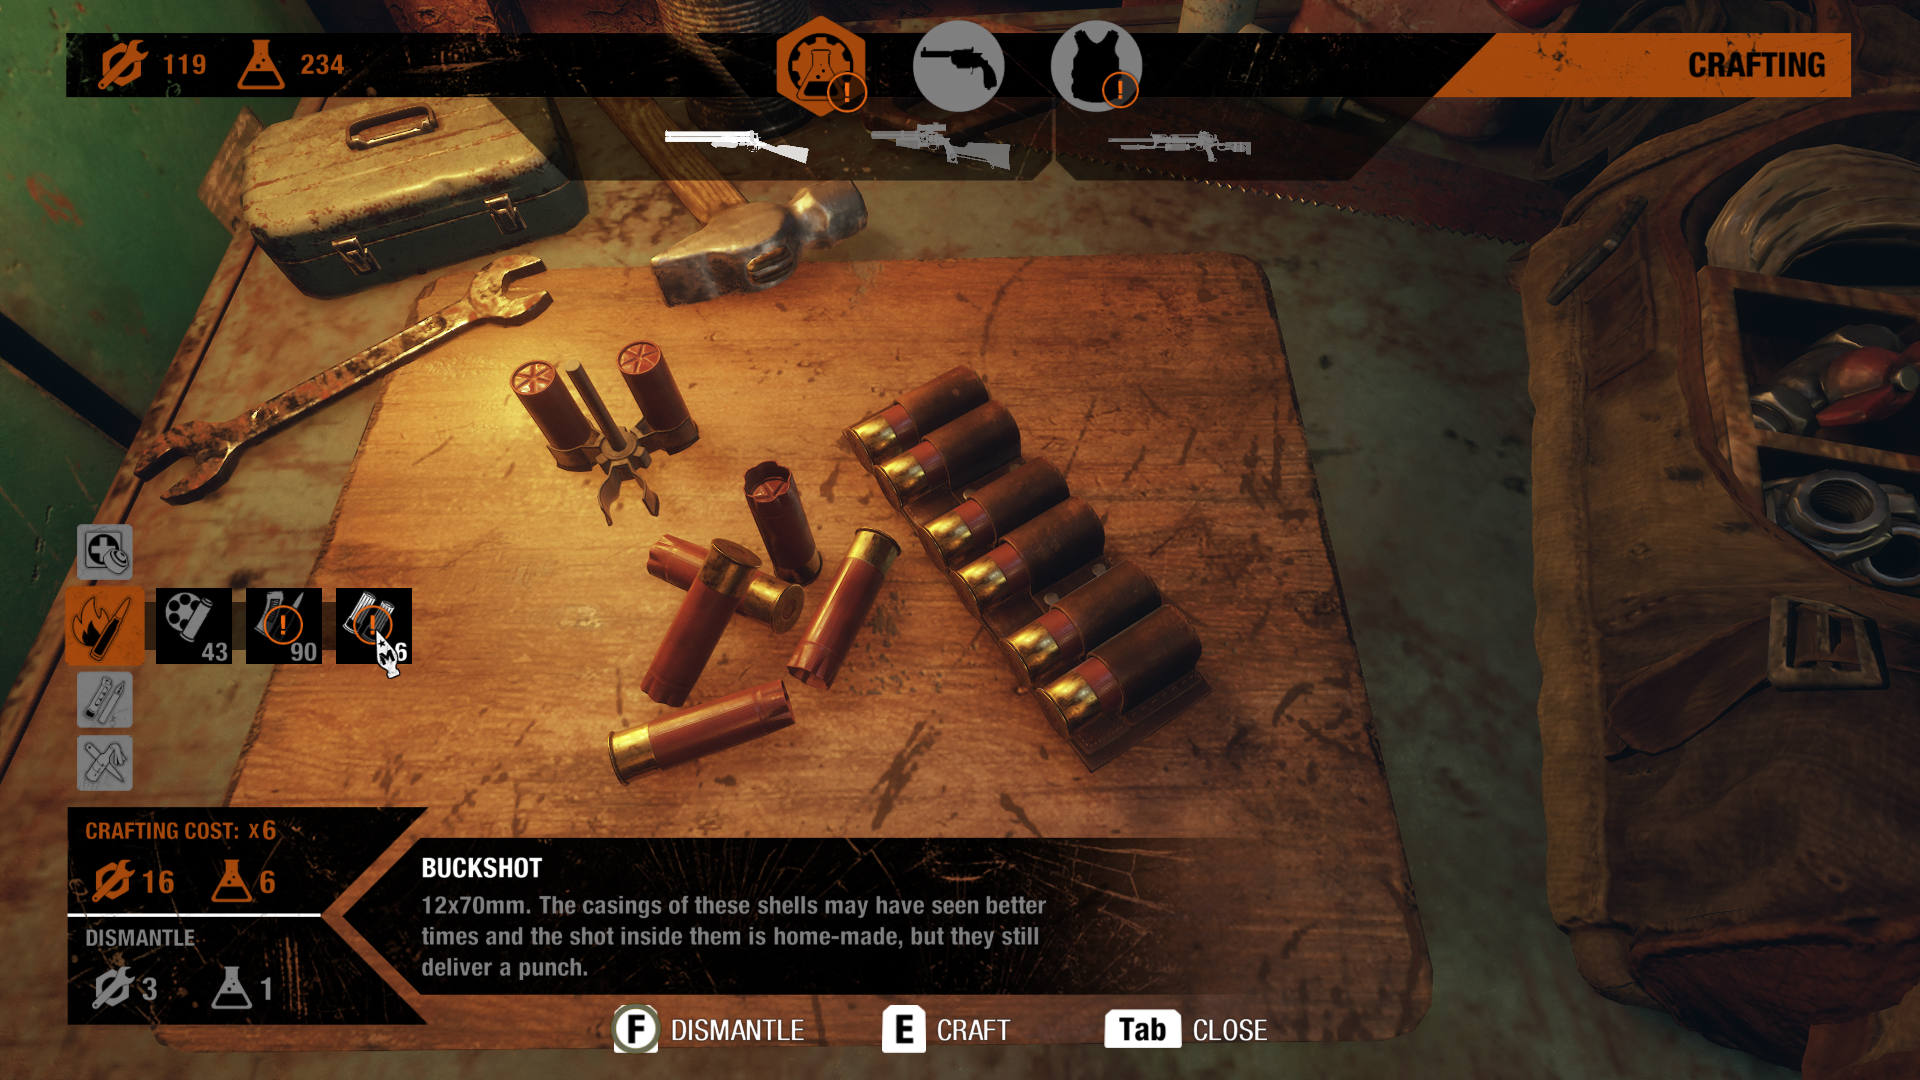
There are only two crafting components: materials, represented by a gear icon, and chemicals, represented by a chemistry flask. You don’t need to worry about the difference between them because most recipes require a bit of both, and you’ll find them in roughly equal quantities.
Where to find crafting components
You can’t miss them. They’re on shelves in buildings, on corpses in the middle of the road, in the boots of rusting cars, lying around abandoned campfires—basically, you’ll find them in any place that looks even remotely interesting.
However, they can be hard to distinguish from other objects because they mostly look like any old junk, so the best thing to do is just mouse over any likely spots. If the object is harvestable, you’ll be prompted to pick it up by pressing E, which will give you anywhere between 1 and 10 crafting components. It’s hard to tell whether you’ll get materials or chemicals (or both) just by looking at the item beforehand.
There are also specific types of containers to look out for that will always contain components, including small blue lock boxes and lockers, which you can open and then loot.
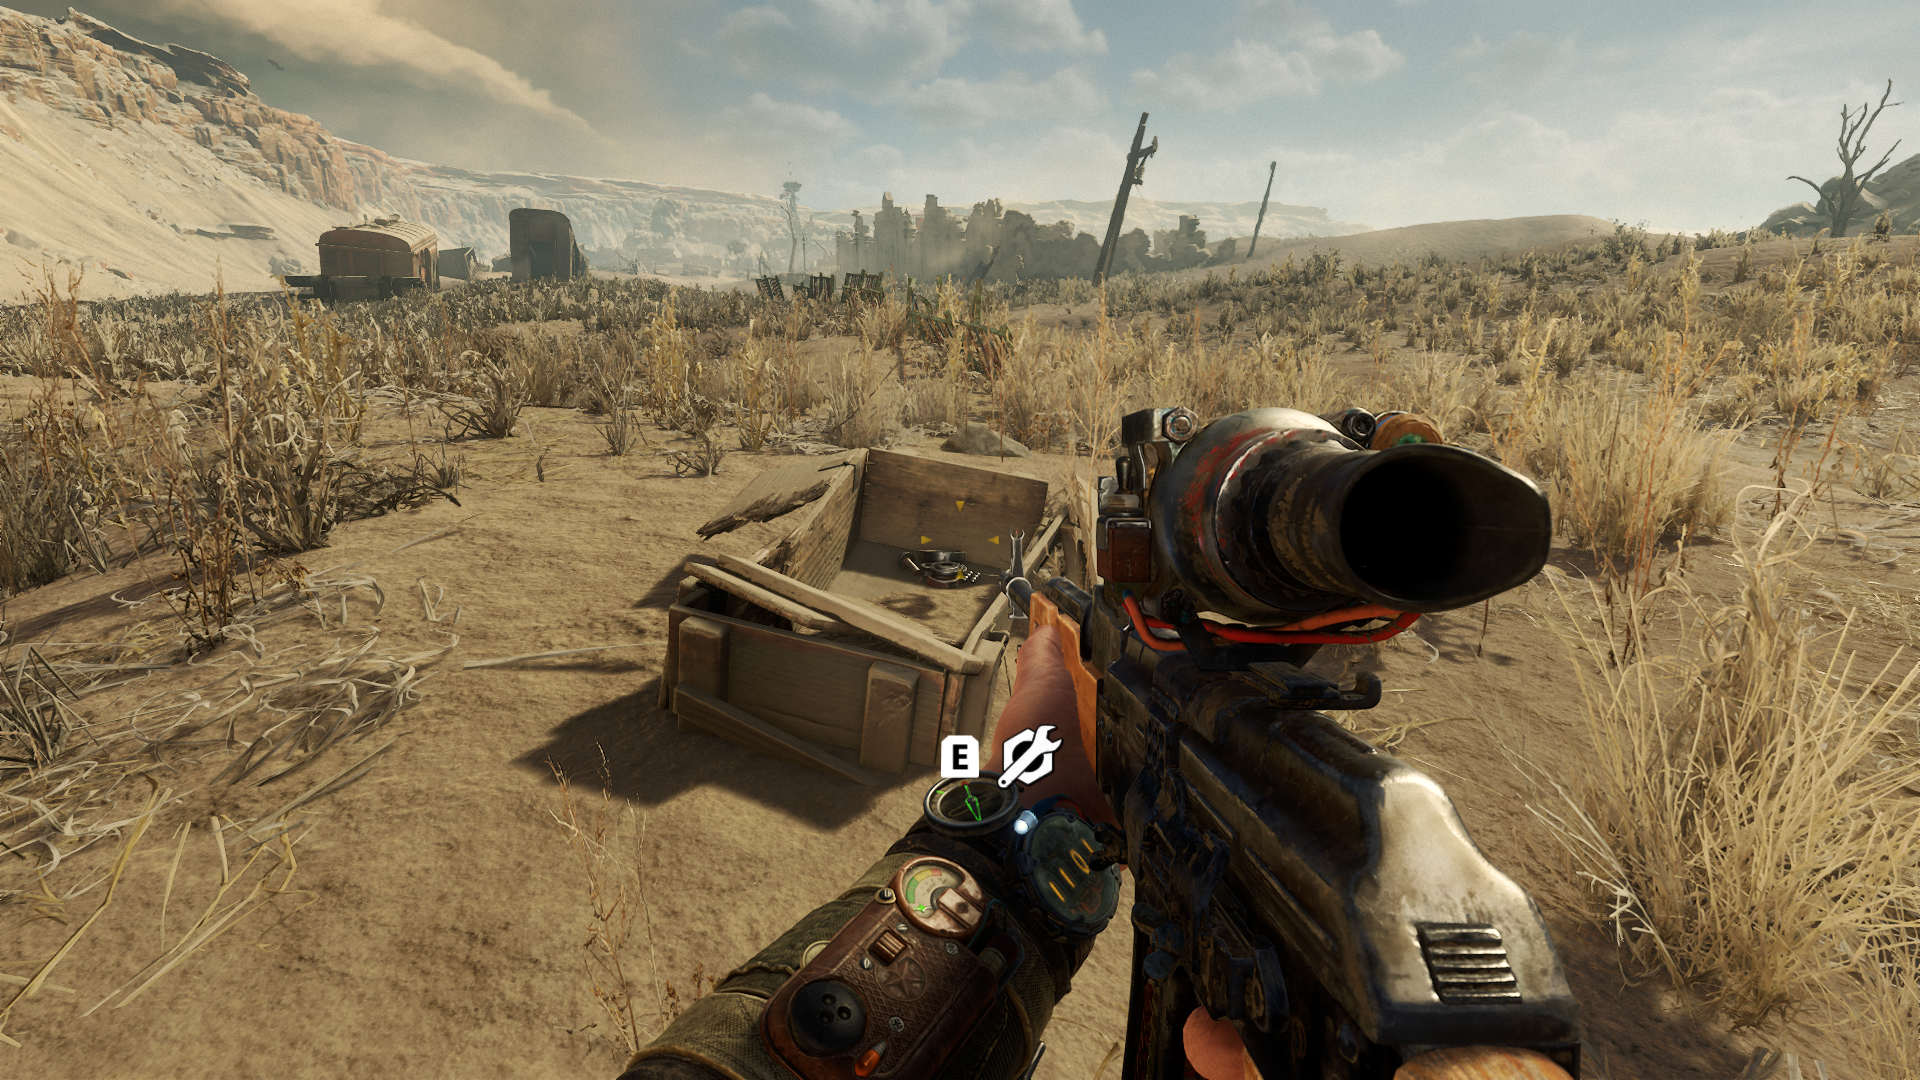
Dead bodies nearly always have crafting materials on them, so make sure you loot all the enemies that you kill. Don’t bother trying to loot monster corpses, though—you don’t get any resources from them.
You should also strip dead enemies’ weapons of their attachments by holding R. If the attachment works with your current weapons it’ll move to your inventory, but if it’s a duplicate of what you already have you’ll get crafting components instead, which is handy.
As a last resort, you can dismantle consumables into crafting components. You only get around 20% of an item’s cost back, so only do it if you’re desperate. It’s usually more efficient to just explore your immediate area.
What to prioritise when crafting
If you have a small pool of resources (less than 100 of each component, say) then you should prioritise med kits. Without them, you’re toast. If you’re in an area where you need to wear your gas mask, make sure you have spare filters, too, because being caught short means instant death. You can craft both from your backpack.
While crafting on the fly with your backpack, the only other thing you can make is ammo for your air-powered weapon slot—most likely the makeshift Tikhar air rifle early in the game. This ammo is cheap to craft, but I’d only recommend it if you’re running low for your two primary weapons, which are likely more powerful than the Tikhar. If you’re well-stocked on med kits and ammo then save your resources instead, because chances are you’ll need to make more med kits at some point.
Some tips on maximising your resources
- To conserve ammo, go for headshots—you’ll drop enemies in one, compared to four or five body shots.
- Avoid taking fall damage. You can’t drop very far before you get hurt, so don’t jump off anything if you’re uncertain, because you’ll need to waste a med kit patching yourself up after.
- If you're low on bullets, opt for a stealthy approach to conserve ammo. it's safer too, which means you'll use fewer med kits.
- Save throwable objects. Generally you won't need them in firefights, and you'll want to hoard them for the occasional mini-boss battles in Metro Exodus. Molotovs are particularly useful here.
- Move quicker in areas with deadly gases. Chances are you ahve five minutes or less of filter time before you start choking, so don't linger.
How to upgrade your gear
While not technically part of crafting, you upgrade your gear—your armoured vest, gas mask, helmet, etc—at a workbench too. It doesn’t cost crafting resources, but you’ll need to find the specific upgrade parts out in the world first.
You can find ammo pouches to add to your vest, or armoured glass for your helmet, for example. These upgrades are unique and you can only select one at a time: you can’t have, say, the armoured glass upgrade equipped at the same time as the reinforced helmet upgrade.
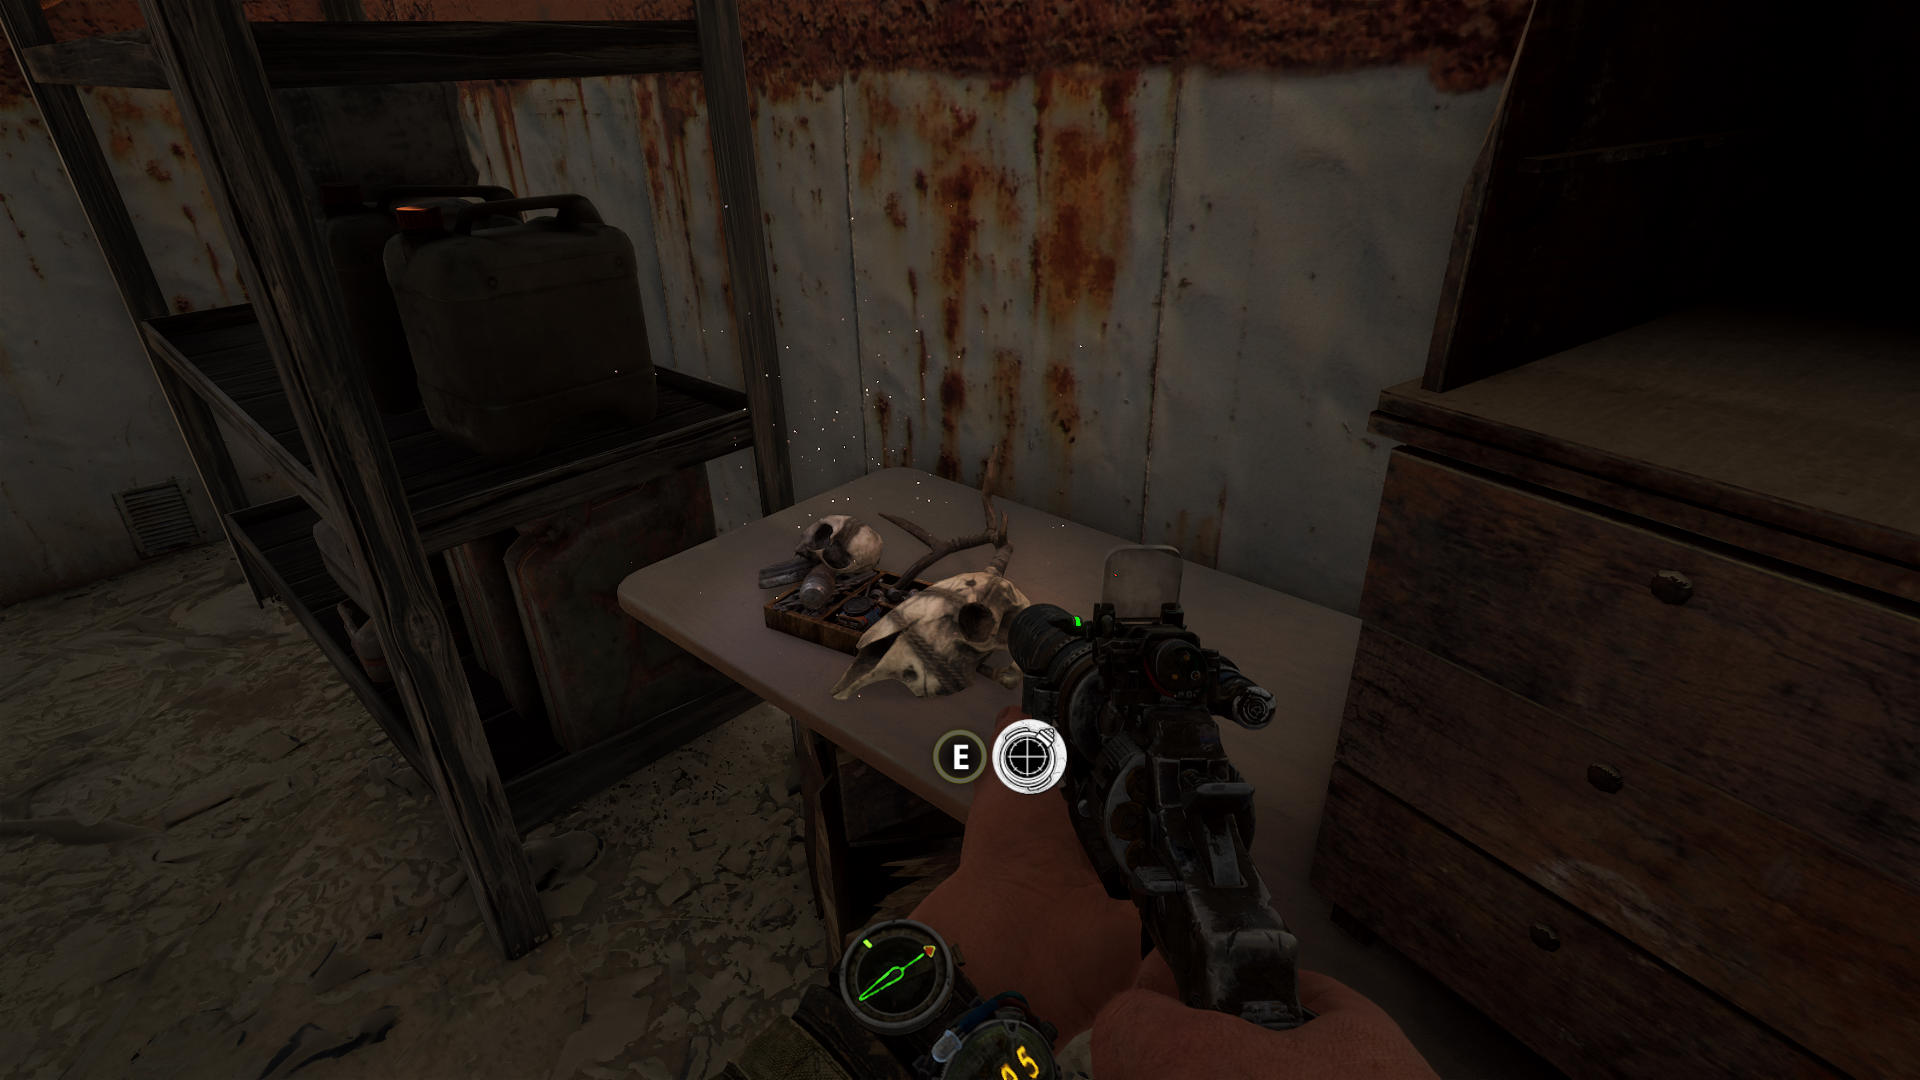
It’ll be obvious when you come across an upgrade because you’ll see the E key prompt alongside an icon of whatever item you’re improving—it’s your wrist guard in the example below. These items are either found during main quests (you’ll have to look in side rooms sometimes), or at major points of interest, such as bandit camps. Once you have the upgrade part, you can improve your gear at any workbench.
You can also upgrade your weapons, which is covered in our Metro Exodus weapons guide.
Samuel Horti is a long-time freelance writer for PC Gamer based in the UK, who loves RPGs and making long lists of games he'll never have time to play.

