The Loop Hero card combinations you need to know
Many Loop Hero card combos can have surprising results.

Looking for the best—or the worst—Loop Hero combos? There are plenty to discover as you play through Four Quarters' auto battler/deckbuilder and each can provide you with various benefits. Some will grant you bonus resources while others will increase your hero's health. Of course, that's providing you don't get too cocky and manage to take your rewards back to your camp—which you obviously will have done if you followed Evan's Loop Hero tips guide.
Not all Loop Hero combos are quite as beneficial, though. In fact, some can be pretty treacherous if you don't keep a close eye on your loop as it evolves. If you place a certain number of a specific tile, you may inadvertently cause a camp to spawn more enemies on your loop. But the risk of having good cards basically turn against you is part of what makes Loop Hero so appealing.
It's not immediately obvious which cards offer this kind of turncoat behaviour. Some cards will explain the consequences of certain positionings, such as when they're placed next to others or alone, but there are still some that will take you by surprise. Half the fun is experimenting with different combos but if you want to take away some of the risk, here are all the Loop Hero tile combos we know so far, including how they work.
All Loop Hero combos we know so far
To help you understand why your board is changing and how to optimise your card placements, below is a list of all the card combinations we know so far. Since there are quite a few, I've divided them by 'good' and 'bad' combo effects and indicated whether the effect originates from a card's location or from their time on the world grid. Each combo is also distinguished by card type: 'Road' means on the loop itself, 'Roadside' means next to the loop, and 'Field' means either inside or outside the loop, but not adjacent to it.
Now, since some effects are good and first and can become bad, and vice versa, Loop Hero's mechanics are more nuanced than these two categories. Equally, cards are good and bad in context: If you're on the edge of death, a combination that spawns more enemies is bad. If not, each slain enemy is a chance for more loot and cards. Regardless, I've detailed everything you need to know about each card so you're well prepared before you place your next card.
So, here are the important Loop Hero combos we know so far:
'Bad' Loop Hero combos

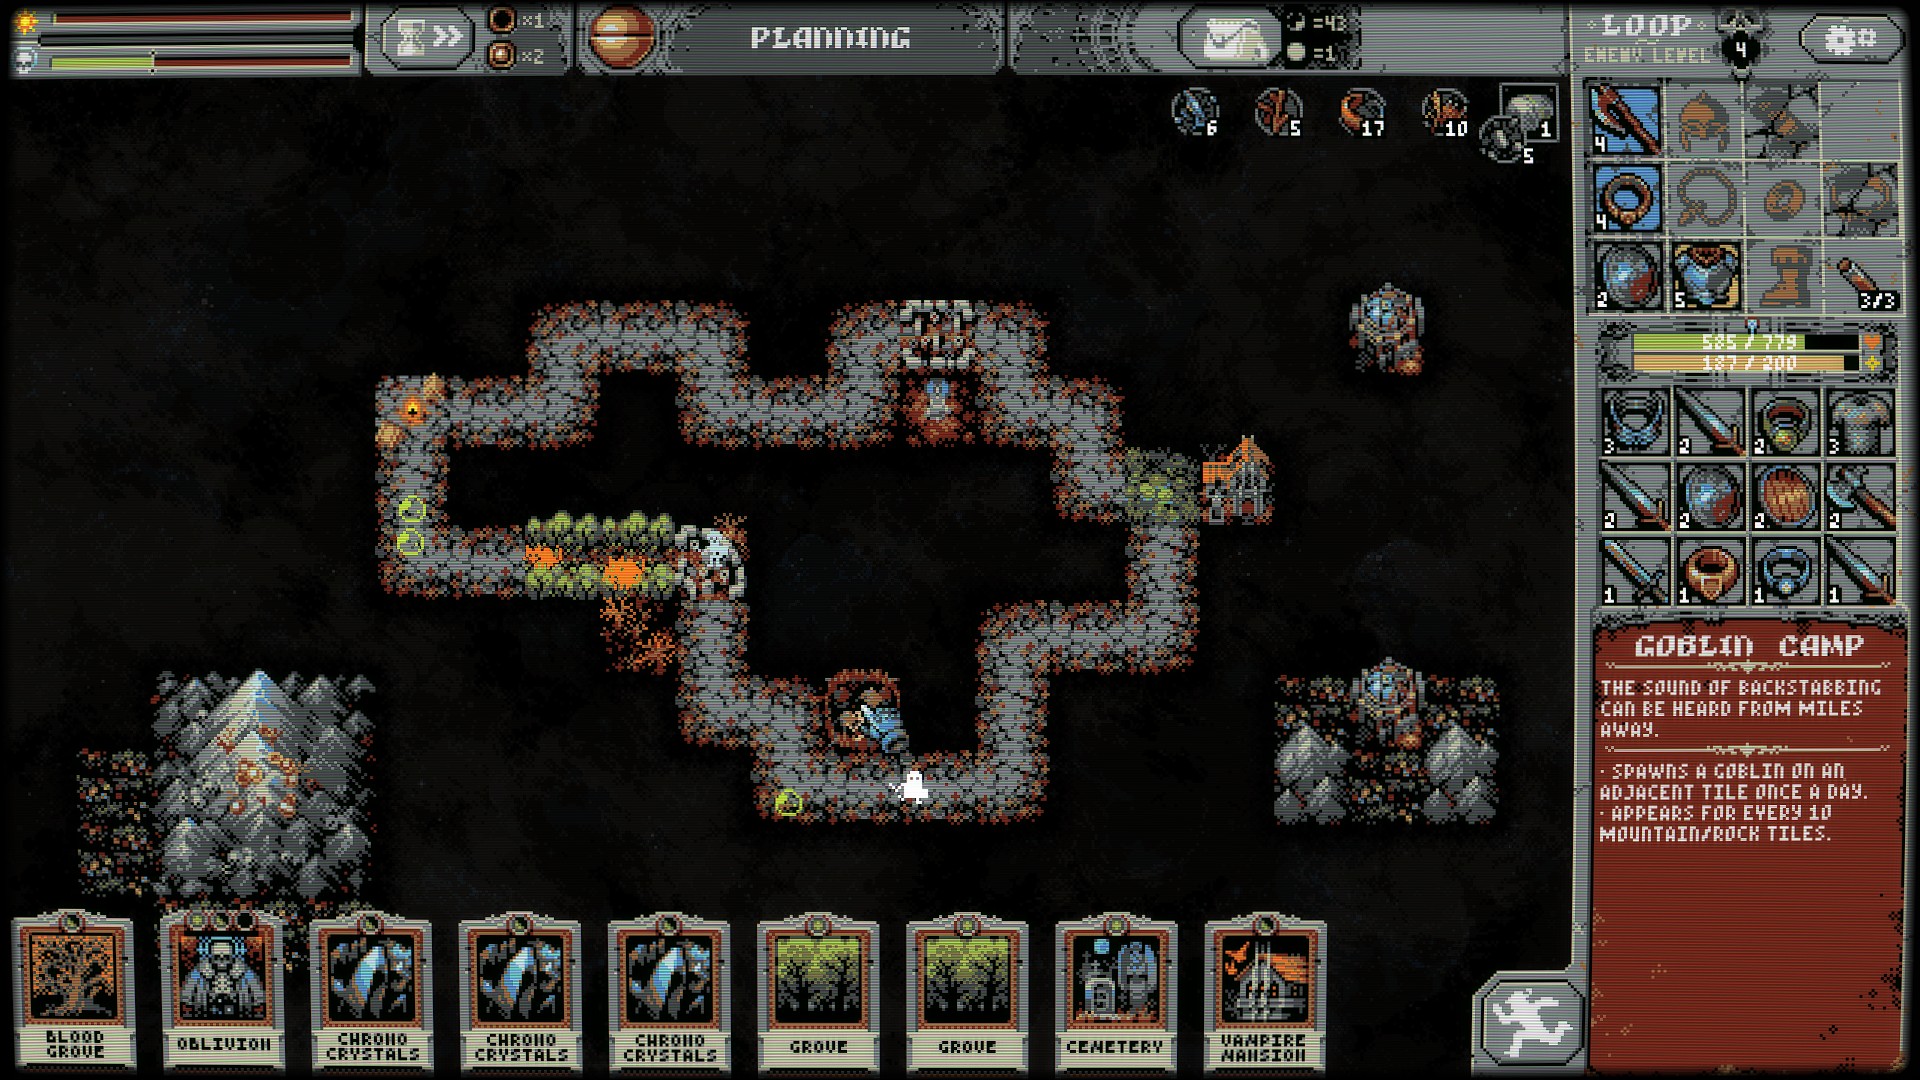
Goblin Camp
The biggest gaming news, reviews and hardware deals
Keep up to date with the most important stories and the best deals, as picked by the PC Gamer team.
Type: Roadside
Triggered by: Placing your tenth Mountain or Rock anywhere on the map, and every tenth Mountain or Rock tile after that.
Spawns a Goblin on an adjacent tile once per day. Watch out for the 30 percent bonus damage Goblins deal when one of their allies are killed. Especially dangerous for Necromancers with low attack (summon) speed.
Goblin Lookout
Type: Roadside
Triggered by: Placing a Swamp next to a Goblin Camp
The same as a Goblin Camp, now with a somehow-even-more-irritating Goblin Archer, which cannot be killed. Place Swamps elsewhere.
Ransacked Village
Type: Road
Triggered by: Placing a Village next to a Vampire Mansion
Spawns Ghouls. After three loops, it transforms into Count's Lands.
Hungry Grove
Type: Roadside
Triggered by: Remove a Grove next to a Blood Grove
Getting rid of a Grove next to a Blood Grove with Oblivion gives you a Hungry Grove. Enemies with less than 20 percent HP are finished off, but there's a chance your hero will be hurt by its leafy tendrils, too.
Blood Path
Type: Road
Triggered by: Two Battlefields placed with an overlapping area of effect
While having as many Battlefields providing you with more loot with each loop as possible is great, beware that placing two too close to each other will form a Blood Path. The downside is that these spawn Blood Clot enemies, but they can be dispatched easily with magic damage. Note that Battlefields in general are less useful to Rogues, who do not earn loot from the treasure chests spawned here.
Overgrown Field
Type: Road
Triggered by: Removing Village next to a Wheat Field
What happens when there's no village to tend their wheat crops? They become overgrown, spawn sentient killer scarecrows every four loops, and they slice wandering heroes with fields of blades. There are better ways to use your Oblivion card.
Reed
Type: Roadside
Triggered by: Placing a River close to the loop
You'll need a bridge for this, but if you place a River card near the road you'll get this Loop Hero combo. It'll spawn a Fishman enemy every few loops, a manageable medium-strength enemy type.
A Village?
Type: Road
Triggered by: Placing your tenth Forest or Thicket anywhere on the map, and every tenth one after that.
In this village-that's-not-quite-a-village you'll find a soldier-that's-not-quite-a-soldier. This mysterious tile spawns the Wooden Warrior enemy every two days.
Abandoned Bookery
Type: Roadside
Triggered by: 20 card exchanges
The Bookery will replace a card you're holding with a random new one as you pass by it. After 20 swaps it collapses and becomes abandoned. To punish your greed, Tome enemies are added to the fight. If the Abandoned Bookery is near a Vampire Mansion or Temporal Beacon, you'll get Vampire Mages and Watcher Mages spawning, respectively.
Bandit Camp
Type: Roadside
Triggered by: Every second Village placed
Good news: Bandits (that spawn from Bandit Camps every two loops) can't enter Count's Lands. Bad news: They have a chance of stealing your stuff, equipped and unequipped, right out of your inventory. They're not too deadly otherwise, but they can hurt your equipment situation bad.
Shipwreck
Type: Field
Triggered by: Placing a Battlefield next to a River
The daily chest reward from Battlefields are handy, but avoid placing them near Rivers. Not only will you get a Siren appearing with every chest, nearby dead enemies have a chance of becoming ghosts. Be careful: Sirens can be quite powerful, especially when mingled with other enemy types.
'Good' Loop Hero combos

Count's Lands
Type: Road
Triggered by: A Ransacked Village lasting three loops
Heals the same amount as a Village, but quests grant better rewards. Worth the inconvenience of the Ransacked Village form that comes before it.
Mountain Peak
Type: Field
Triggered by: Mountains or Rocks placed in a 3x3 grid
Mountains and Rocks can both be placed inside and outside of your loop, but you should make sure you have space for a 3x3 grid of them to maximise your rewards. Not only do you get a bundle of resources for creating a Mountain Peak, but you'll get a hefty extra +48% HP. The catch is the harpies that now spawn from each peak every two rounds, but the health boon is worth it more often than not. Just think twice before you place that 10th Mountains or Rocks tile (Goblin Camp).
Blooming Meadow
Type: Roadside and Field
Triggered by: Placing a Meadow next to any other tile
Don't place a Meadow in the middle of nowhere: Plant them next to any other tile to turn it into a Blooming Meadow and raise the HP your hero gets at the start of each loop by three, rather than two. It's a small boost on its own, but it stacks up nicely with a world full of fields. It also looks lovely.
Empty Treasury
Type: Field
Triggered by: Surrounding a Treasury with tiles
When you fill every adjacent tile with qualifying cards, a normal Treasury will unlock a jackpot of resources. Afterwards, however, a gargoyle spawns from it once every three loops, but the resources are worth the risk.
Burned Forest
Type: Field
Triggered by: Placing a Storm Temple intersecting with Forest or Thicket tiles
Focusing on magic damage? This is how you get loads of it. Storm Temples effect in straight lines outward, north, south, east, and west to the edge of the map. Any Forest or Thickets in this path will transform catch fire, swapping their attack speed benefit for magic damage.
Oasis
Type: Field
Triggered by: Placing a Desert or Sand Dunes next to a River
While Oases reduce your attack speed by 0.5 percent, it affects your enemies more: Their attack speed drop 1 percent. Especially good for the Rogue and Necromancer, who care a lot about winning the attrition battles between enemies.
Chrono Crystals + Blooming Meadows
Type: Tile Synergy
This combo doesn't produce a new tile type, but it's a useful synergy if you're trying to increase your HP regen per day. Chrono Crystals double the effect of a day's passage, so any Blooming Meadows in the radius of these crystals will return 6 HP per day, not the usual 3 HP.
- Loop Hero classes: How to optimise your build
UK — After collecting and devouring piles of print gaming guides in his younger days, Harry has been creating 21st century versions for the past five years as Guides Writer at PCGamesN and Guides Editor at PC Gamer. He has also produced features, reviews, and even more guides for Trusted Reviews, TechRadar and Top Ten Reviews. He's been playing and picking apart PC games for over two decades, from hazy memories of what was probably a Snake knock-off on his first rig when he was seven to producing informative guides on football simulators, open-world role-playing games, and shooters today. So many by now he steadfastly refuses to convey information unless it’s in clickable online form.


