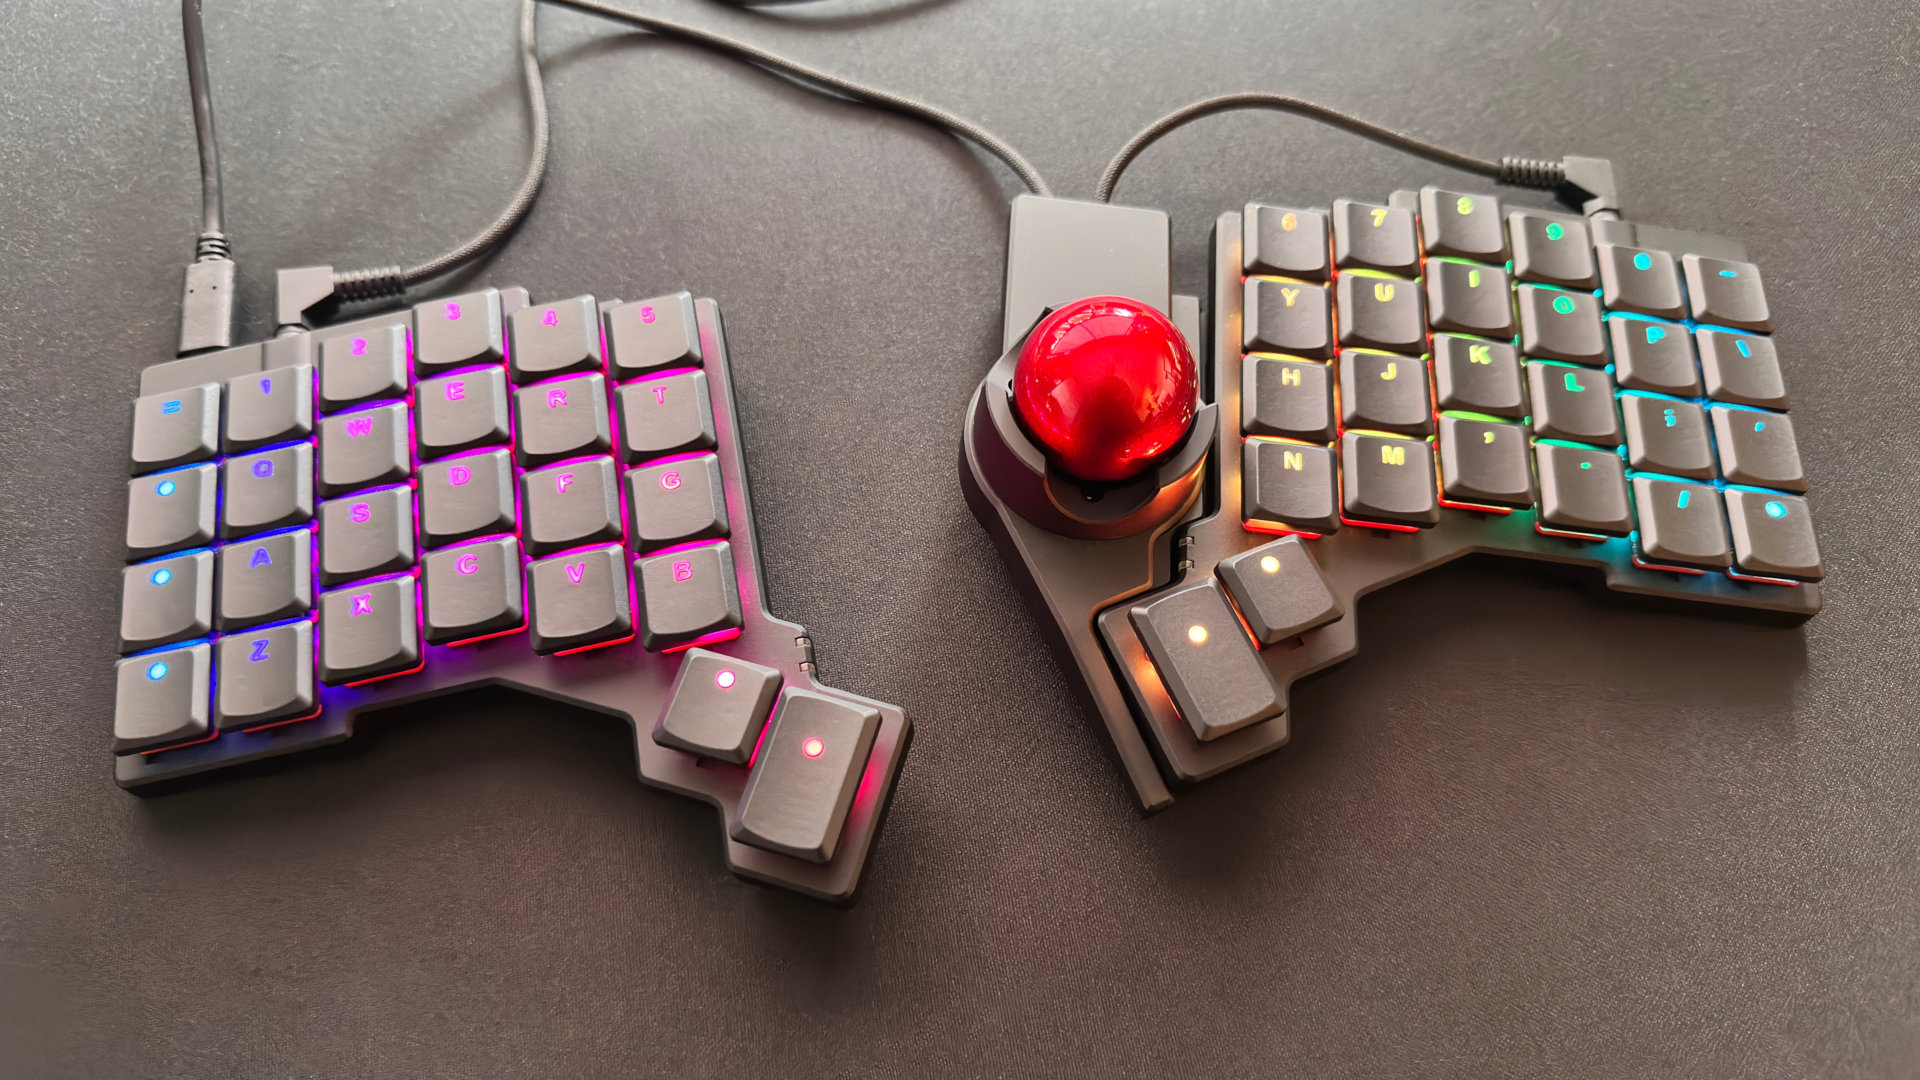
I blew my budget on strobing lights and I'm proud of it
Upgrading an old computer with new aesthetics.

It's no secret that there's a diverse set of opinions on the topic of RGB. Some might express support and admiration, others outright disdain. But love it or hate it, someone must be buying all the best RGB accessories, and that someone is me.
You might be wondering who would take the time and spend the money to put a bunch of unicorn barf inside a PC. It's not like RGB lights will actually make your PC faster. (Or will they?) So, I set out on a voyage of discovery, to pimp my PC. As a first-semester college student with a limited budget, my journey had its ups and downs. I also learned a few things, like the fact that I have little self-control when presented with shiny objects.
Starting down the RGB path
Before heading off to school, I sold my trusty gaming PC to help cover future expenses like books and food. I downgraded and ended up with a cheaper and perhaps questionable old mining rig, What could possibly go wrong with a PC that at one point was cranking away on cryptocurrency calculations 24/7? But the hardware was reasonable, with a Core i5-7600K, Z270 motherboard, and an RX 480 graphics card. The real problem is that it was an aesthetic nightmare.
I'm almost ashamed to even show you the PC, but I do have this image sent to me by the seller. View at your own risk, and don't blame me for your nightmares. For those that don't dare look, the PC was packed into a skinny Zalman case, with an ugly PSU and a $5 boxed Intel cooler, and the RX graphics card was on its last leg. Literally. It mostly died within a month of my starting college, probably with blown VRMs.
I won't be getting any cool friends at college if my computer looks like it was sitting on a Best Buy shelf for the last five years. Something had to be done, so I collected my spare change and set about sprucing it up.
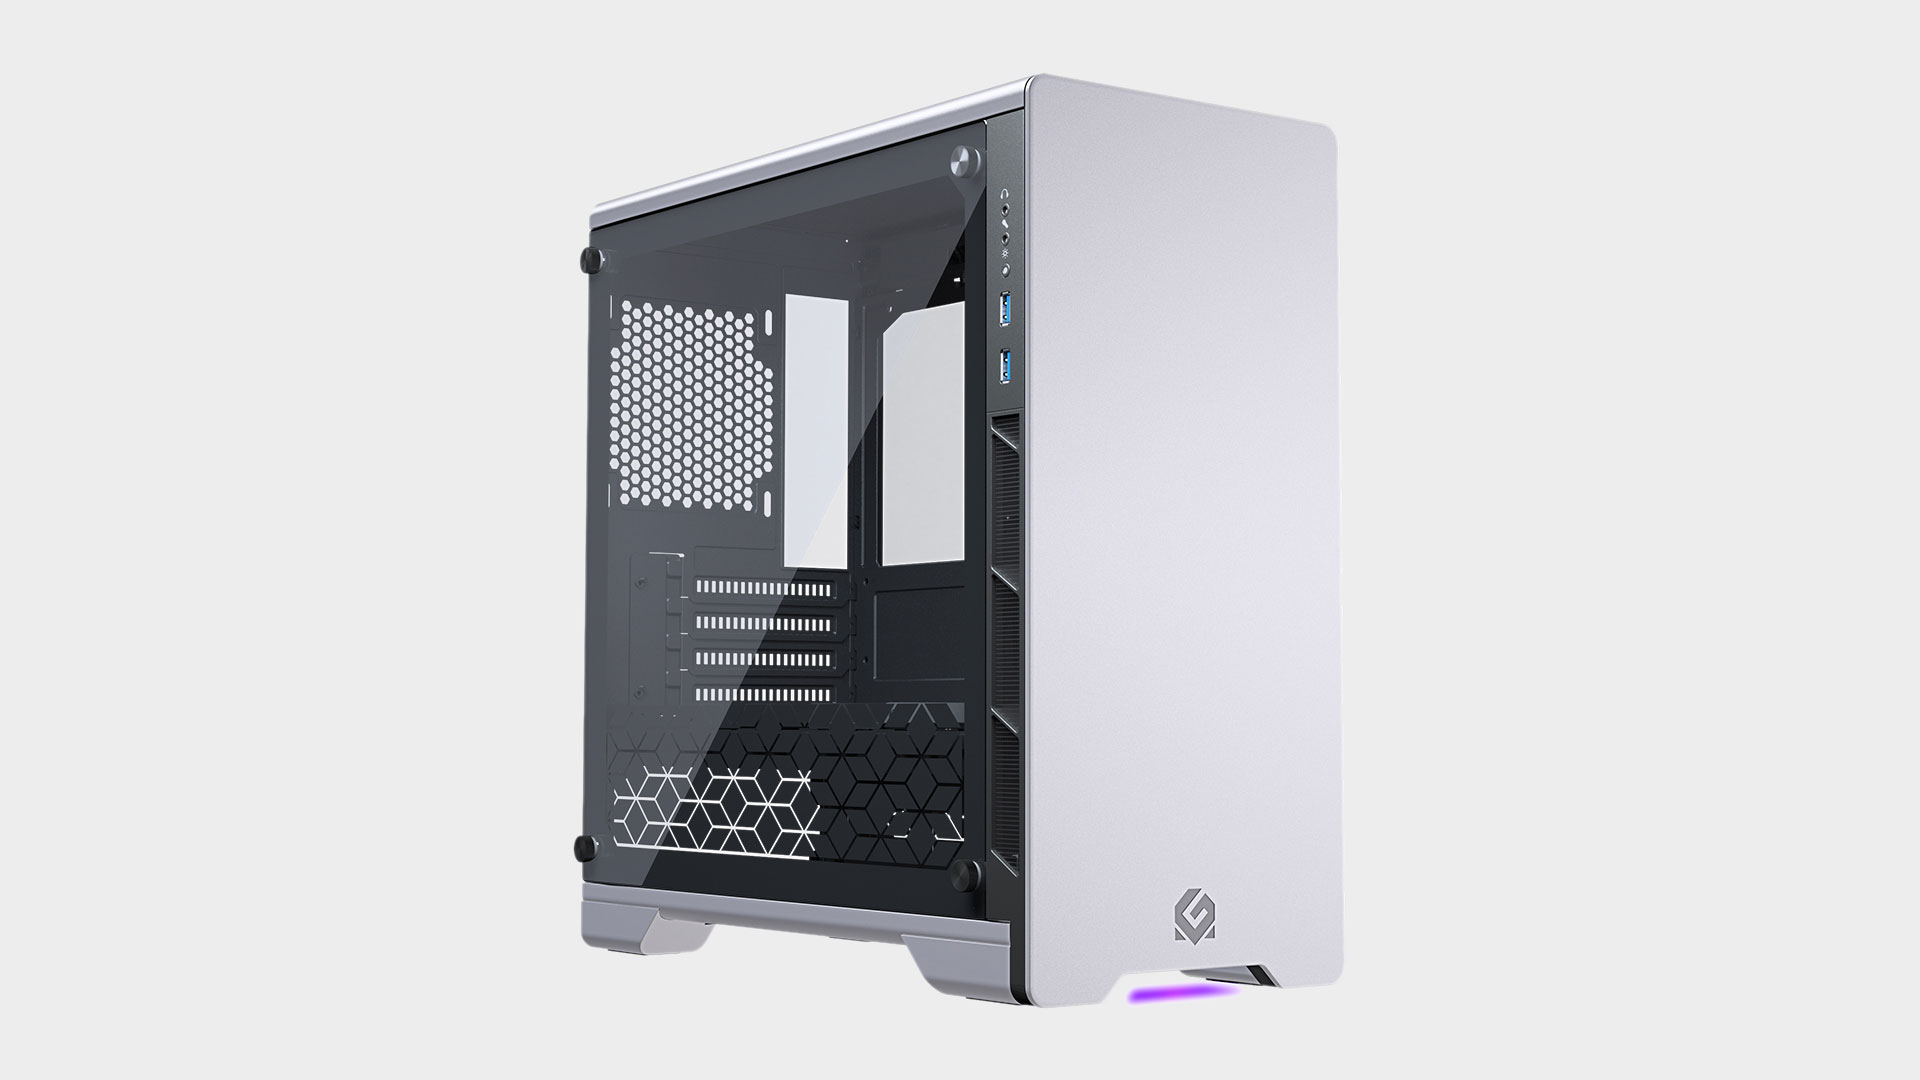
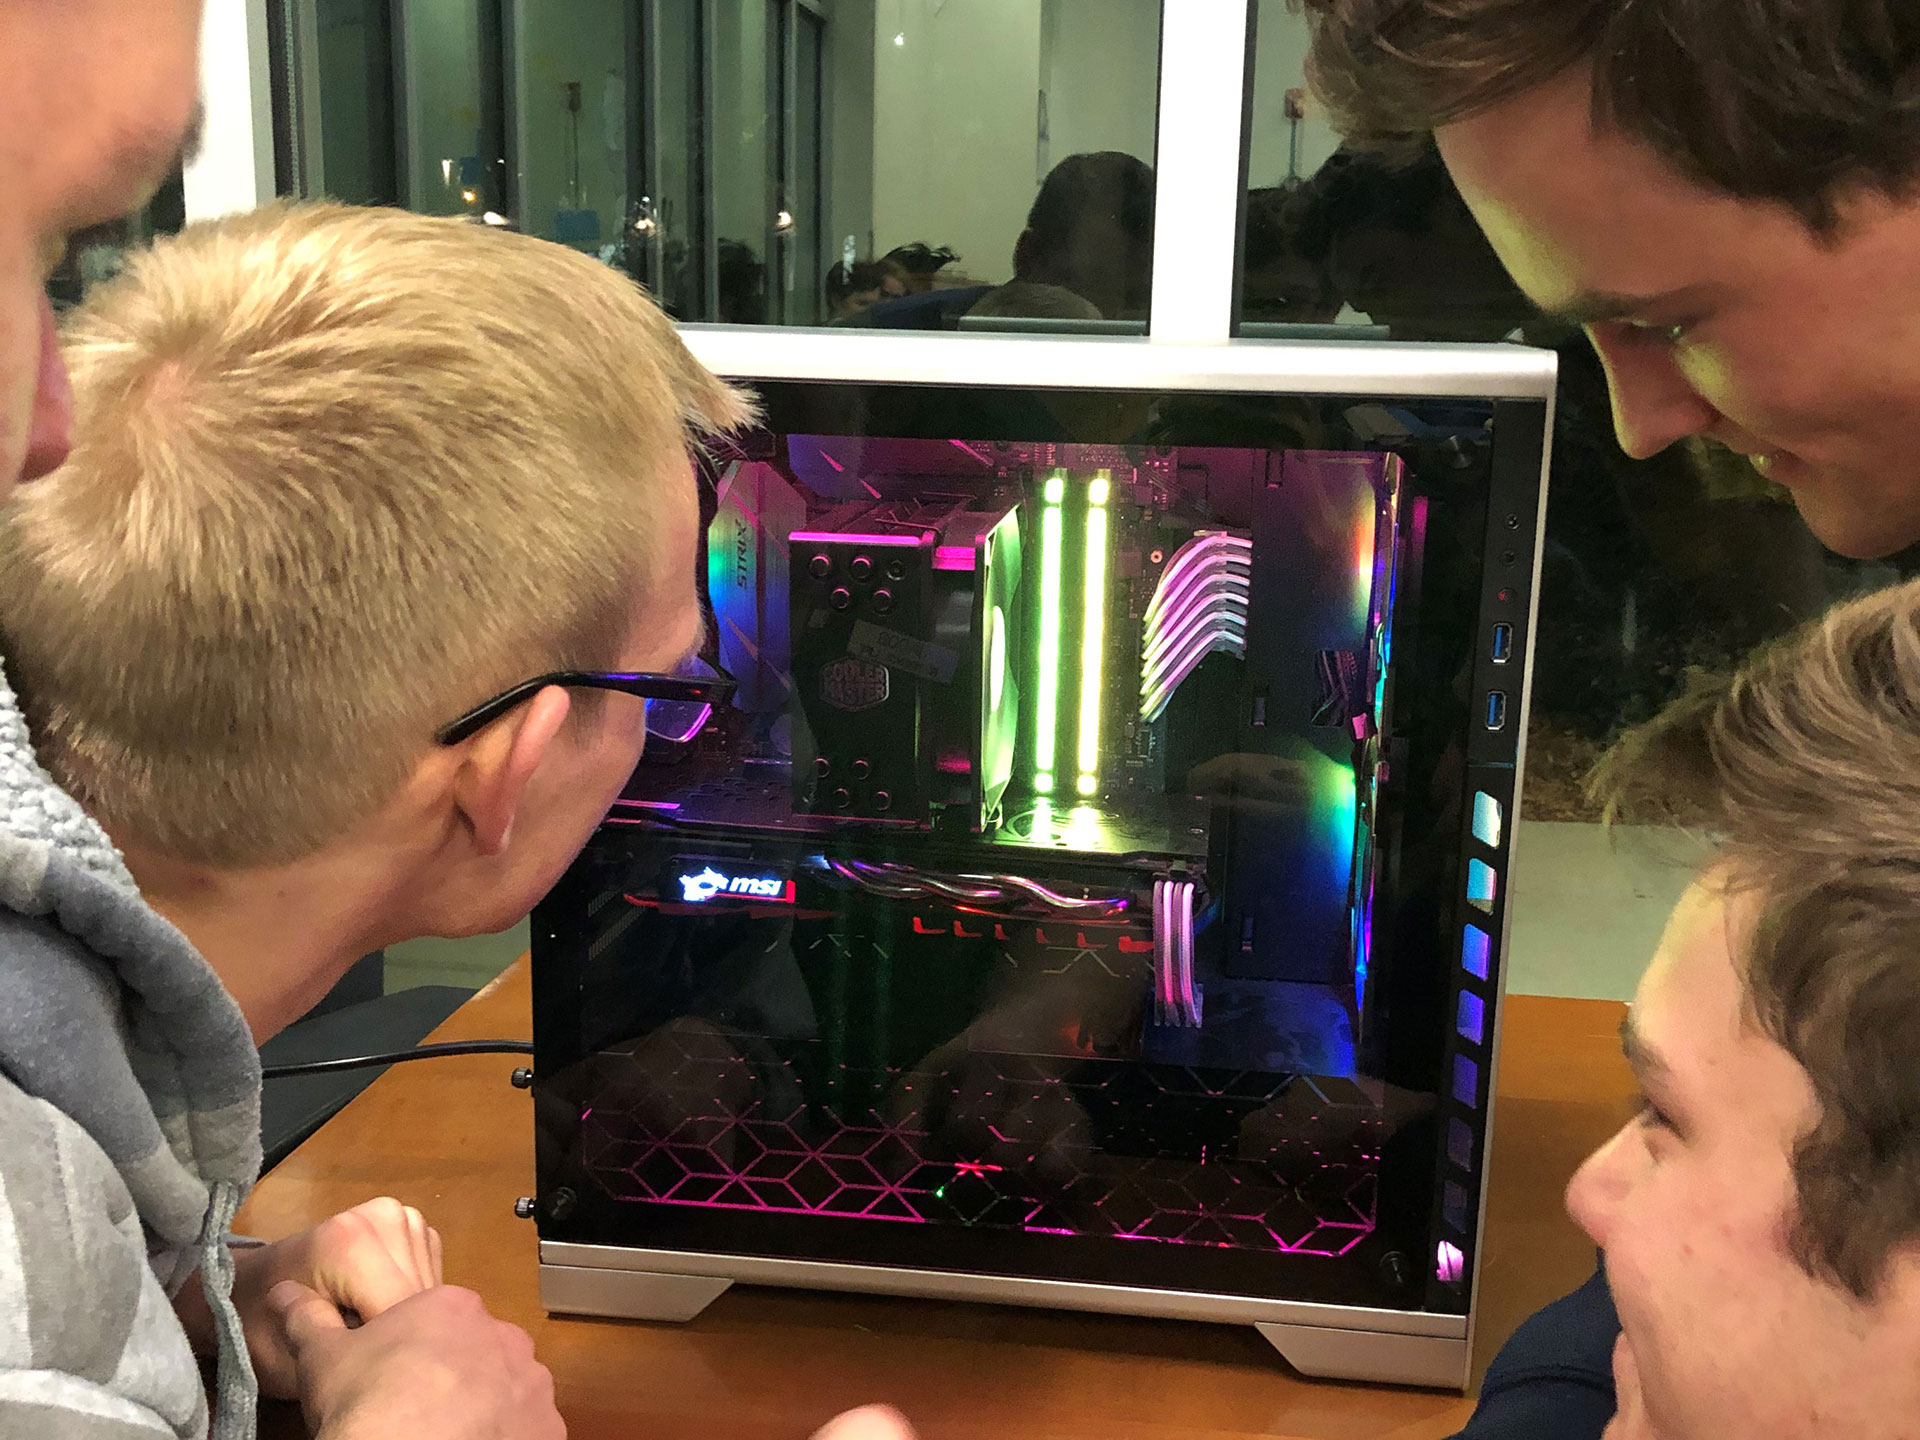
The first step to improving my standing in the PC community was to get a new case and cooler. These are two simple upgrades that have an immediate impact. I chose a Metallic Gear Neo Micro from Phanteks, a smart-looking brushed aluminum chassis with tempered glass, underglow, and nice cable management—and it's surprisingly affordable. The case paired nicely with a Cooler Master Hyper 212 Black, too. (You can't go wrong with the classics.) One quick and painless case swap later, and everything is already looking much better.
Kicking it up a notch
I had a beautiful blank canvas to work with, and my paint of choice is RGB LEDs. My plan was to cram as many LEDs into the PC as possible, and this is where the fun truly begins.
Keep up to date with the most important stories and the best deals, as picked by the PC Gamer team.
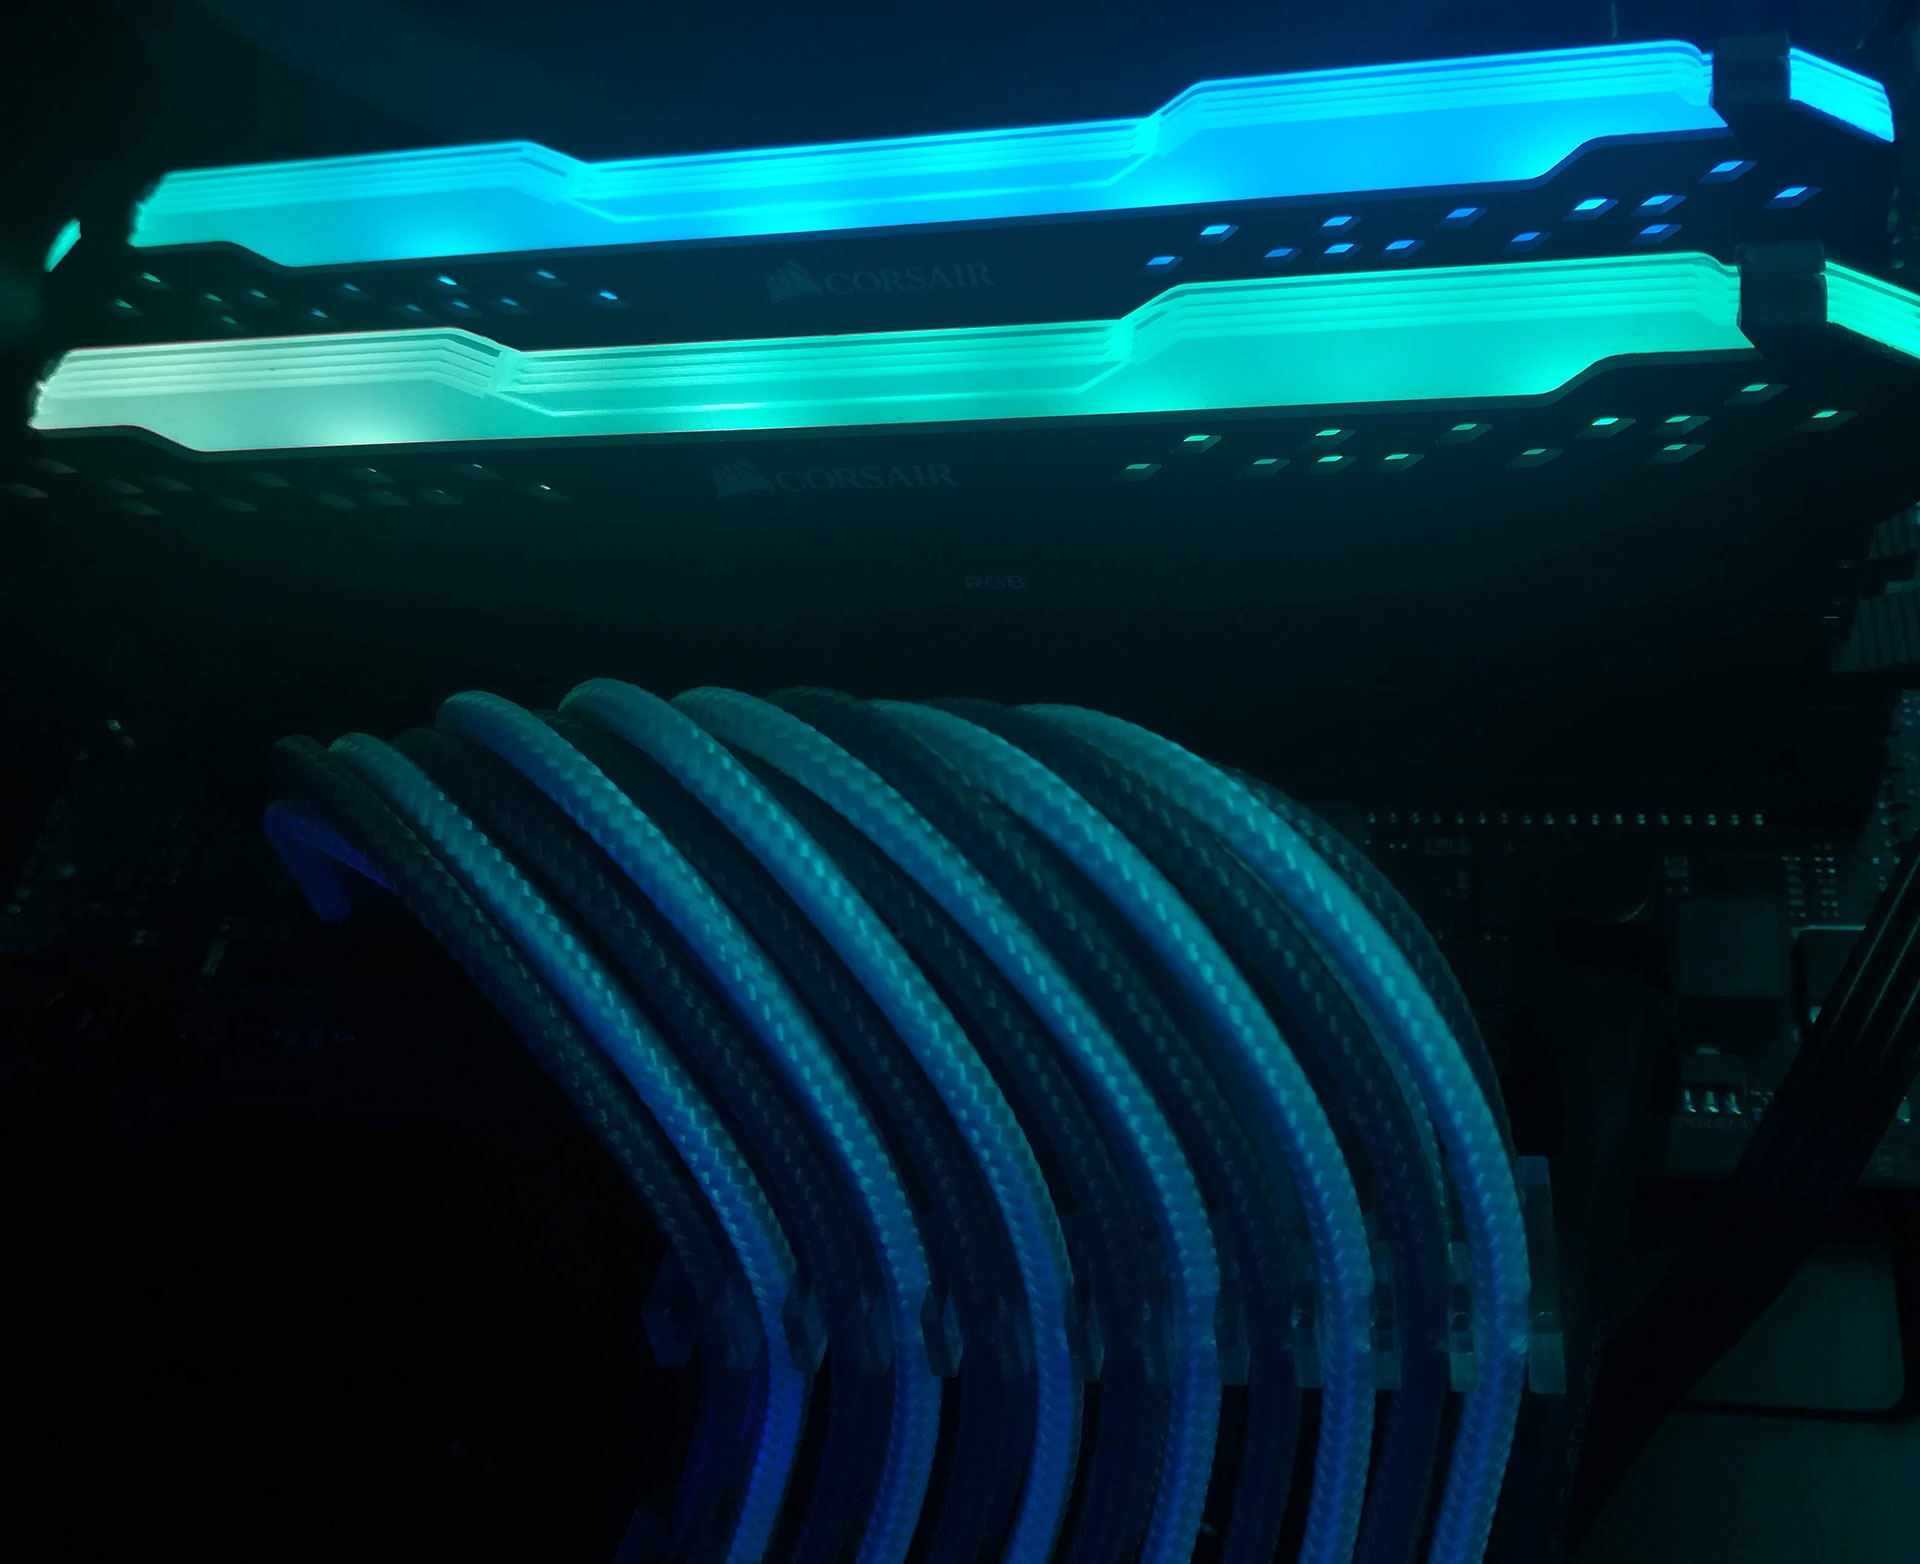
It's easy to add RGB to some areas, like RAM. Many RGB kits only cost $5-10 more than non-RGB variants, which makes them a very budget-oriented upgrade with lots of flair. I flipped the 8GB of Corsair Vengeance LPX for 16 gigs of Vengeance RGB Pro, an improvement in speed, capacity, and aesthetic.
Another component that can help light up your life is case fans. Not only do you get to taste the rainbow, but RGB lighting also contributes a 10 degree drop in temperatures. (Okay, not really, or at least not from the lights. The fan part might help, though.) The single stock case fan was replaced with a kit of Cooler Master's A-RGB fans: three for $40 with a hub.
Lesson 1: Hardware compatibility
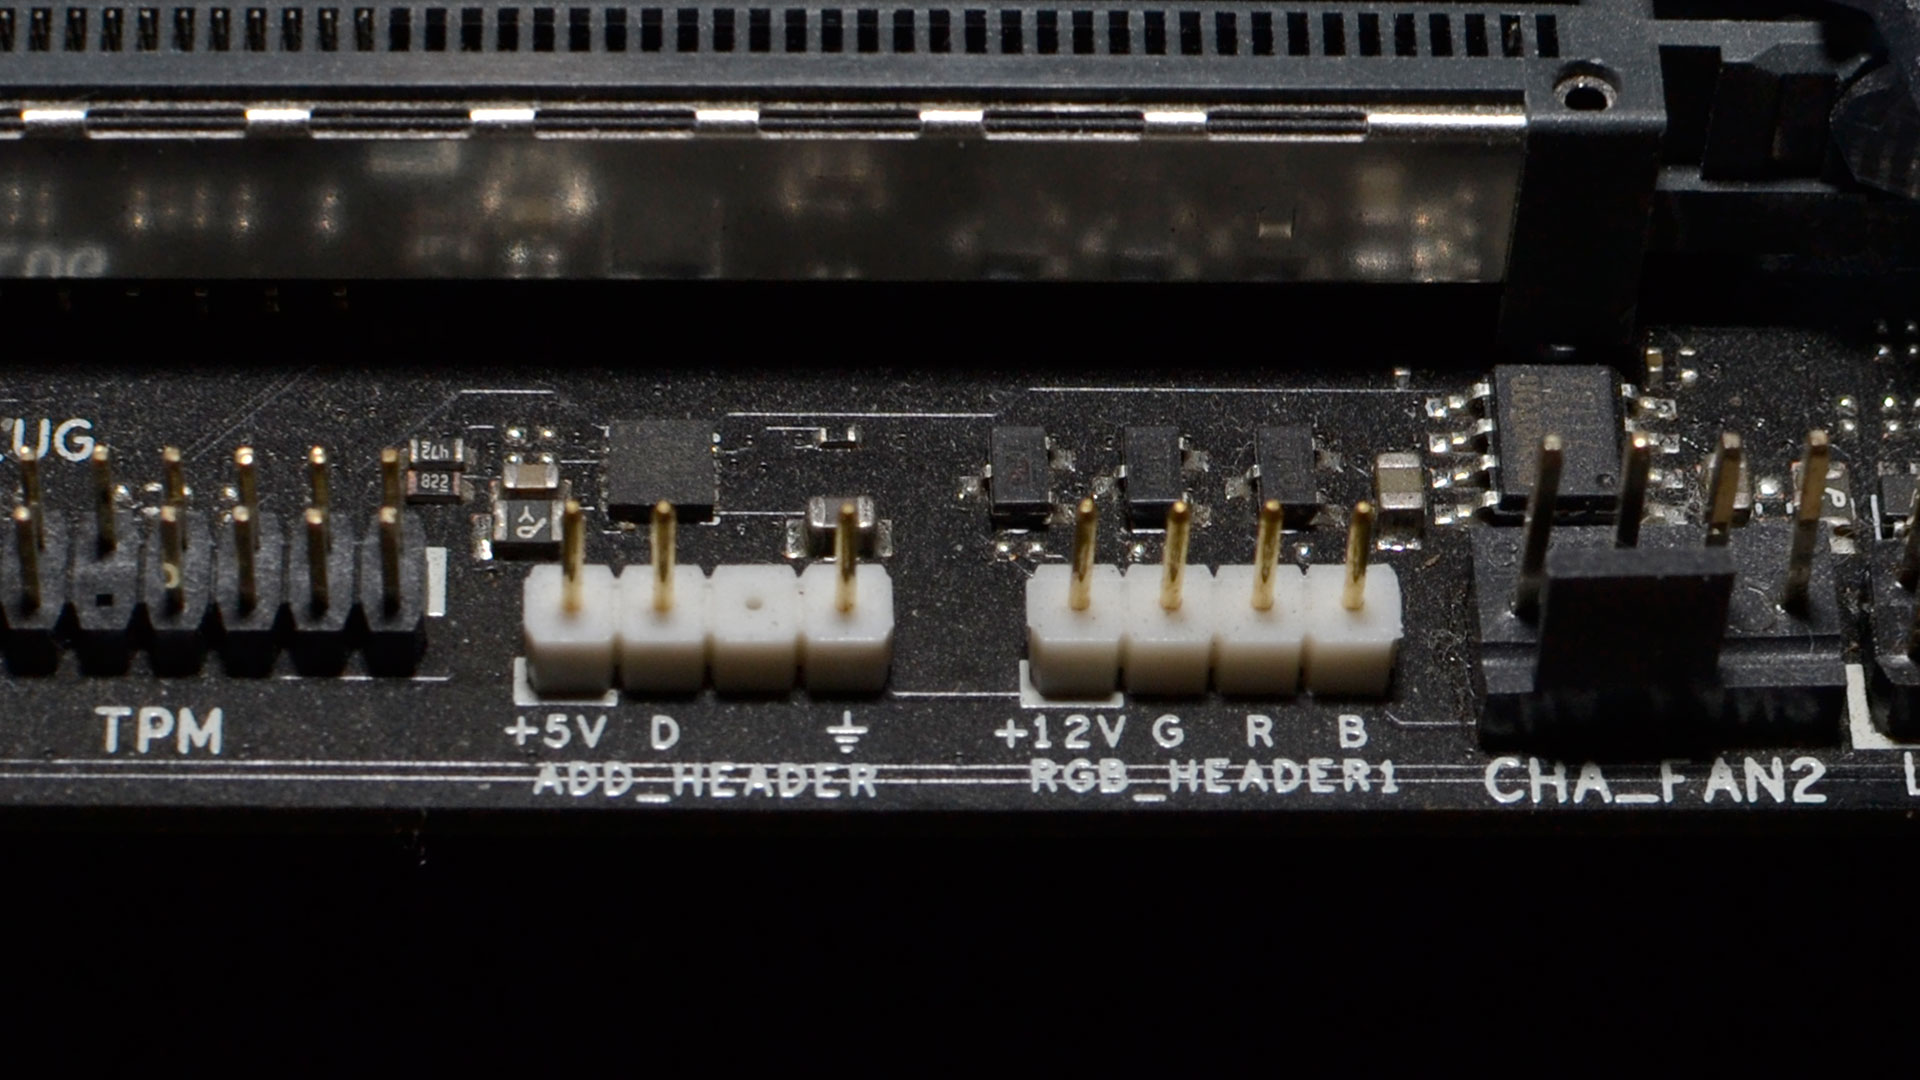
Unfortunately, here's where I learned an important lesson about RGB bling. There's run-of-the-mill RGB and the newer addressable RGB. Early RGB solutions from several years back were simplistic; all of the LEDs would end up with the same color. That was a good starting point, but addressable RGB (ARGB) entered the fray in 2018. These newer light accessories have individually addressable LEDs, with an integrated controller that allows every light in a strip to be individually modified. This allows for more interesting effects and creativity.
Unfortunately, ARGB tech requires a shiny new ARGB motherboard header. Most current-gen motherboards on the market should have this header, but my 7th gen Intel setup had no such amenities. That can also be true of budget motherboards, where ARGB and even normal RGB headers may be omitted in pursuit of a lower price.
With no fancy ARGB headers, I was forced to control the RGB in the fans through the tiny hub and controller. That leaves me with a pre-programmed color cycle mode, a temperature mode, and not much else.
Taking it too far
This is the point when any reasonable person would have stopped their upgrade spree. I'm well over $100 into upgrading my PC almost entirely on visual bling, and the joke has run old. But I couldn't stop here, and unfortunately trouble would soon strike again.
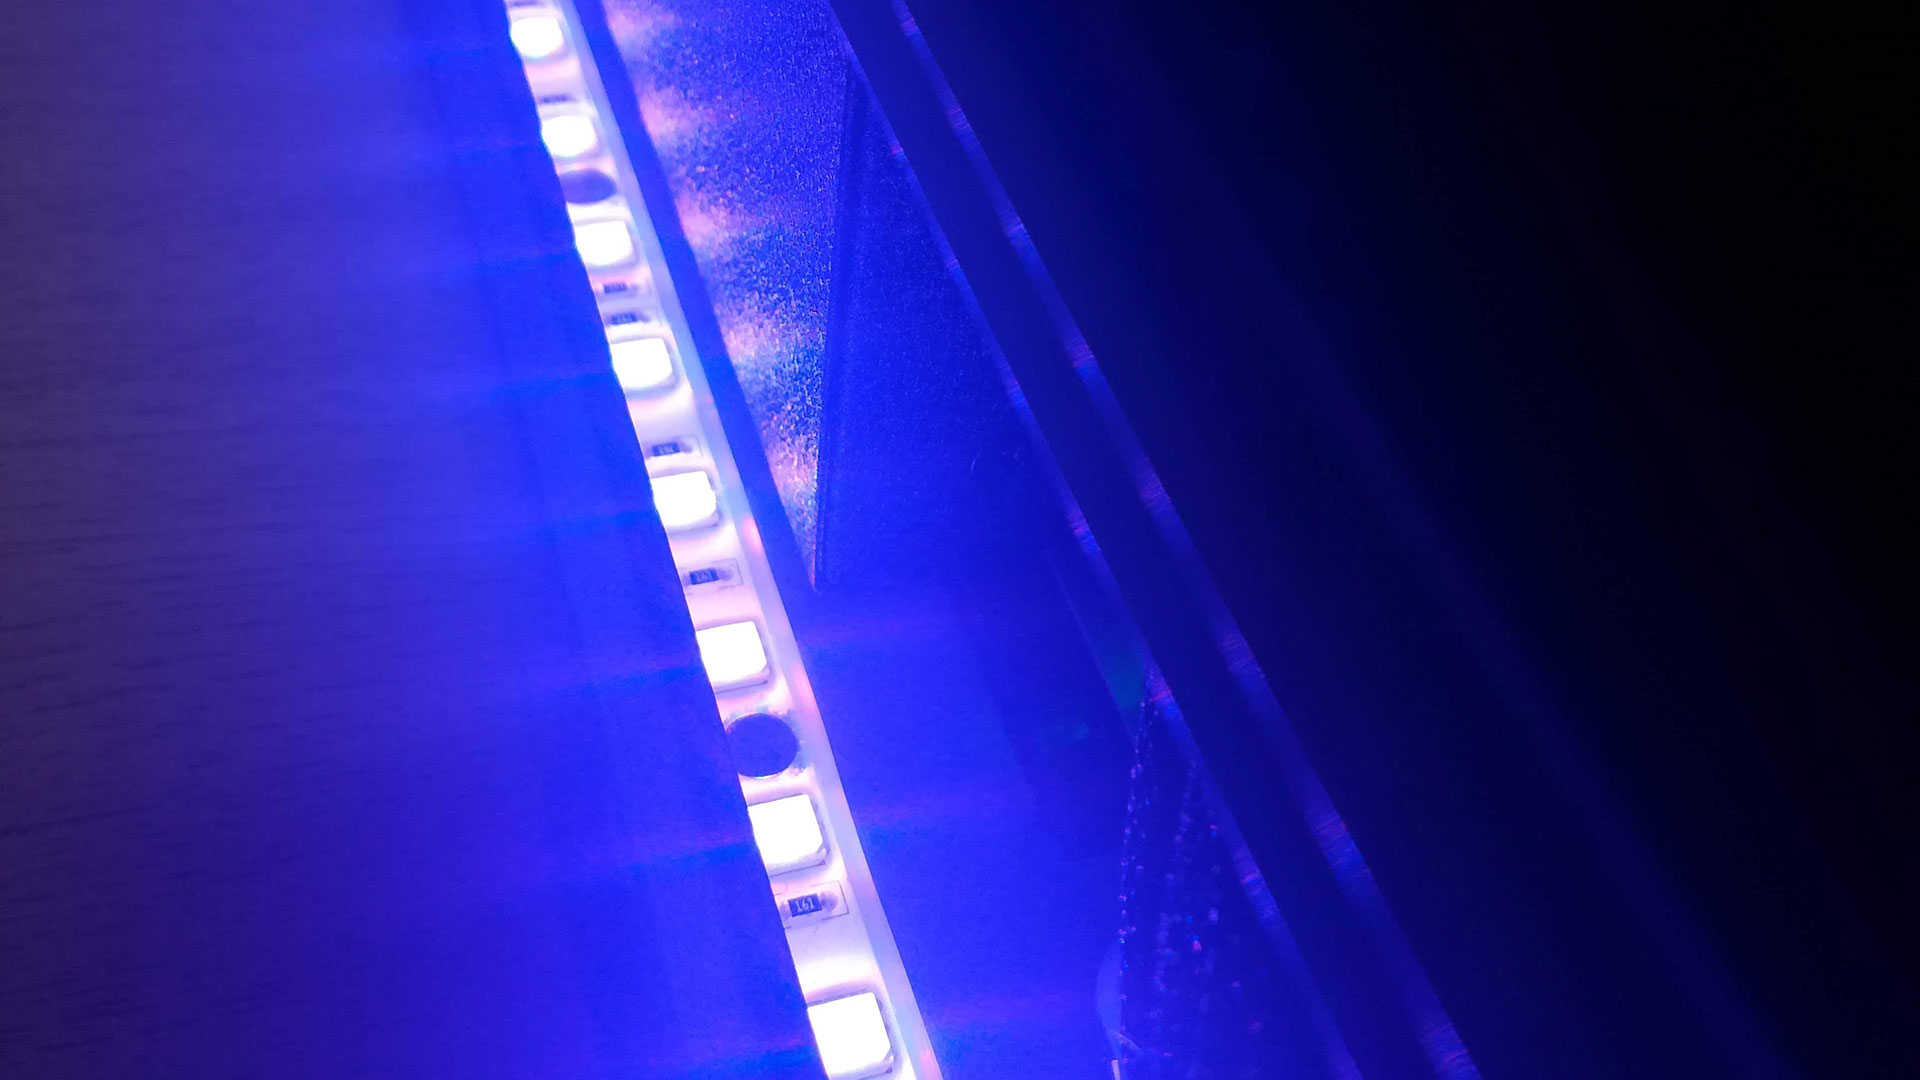
I decided the finishing touch to my upgrade would be some nice RGB strips and sleeved PSU cables. RGB strips haven't changed much since their introduction, though there are some fancier options. Thankfully, using Phanteks' own RGB strips made life a breeze, as they were designed to integrate directly with Phanteks's existing RGB lighting. They are non-addressable and have a smaller color palette than some other hardware, but I chose them for their easy integration and low price.
For PSU cables, I stayed in the Phanteks ecosystem as well, as the price was right. In hindsight, there are better options, like AsiaHorse. You can get higher grade sleeving for about the same price, or instead of using extensions just go all-in and buy fully sleeved cables from a place like Cablemod. (Do keep in mind that only select fully-modular PSUs work with this solution.)
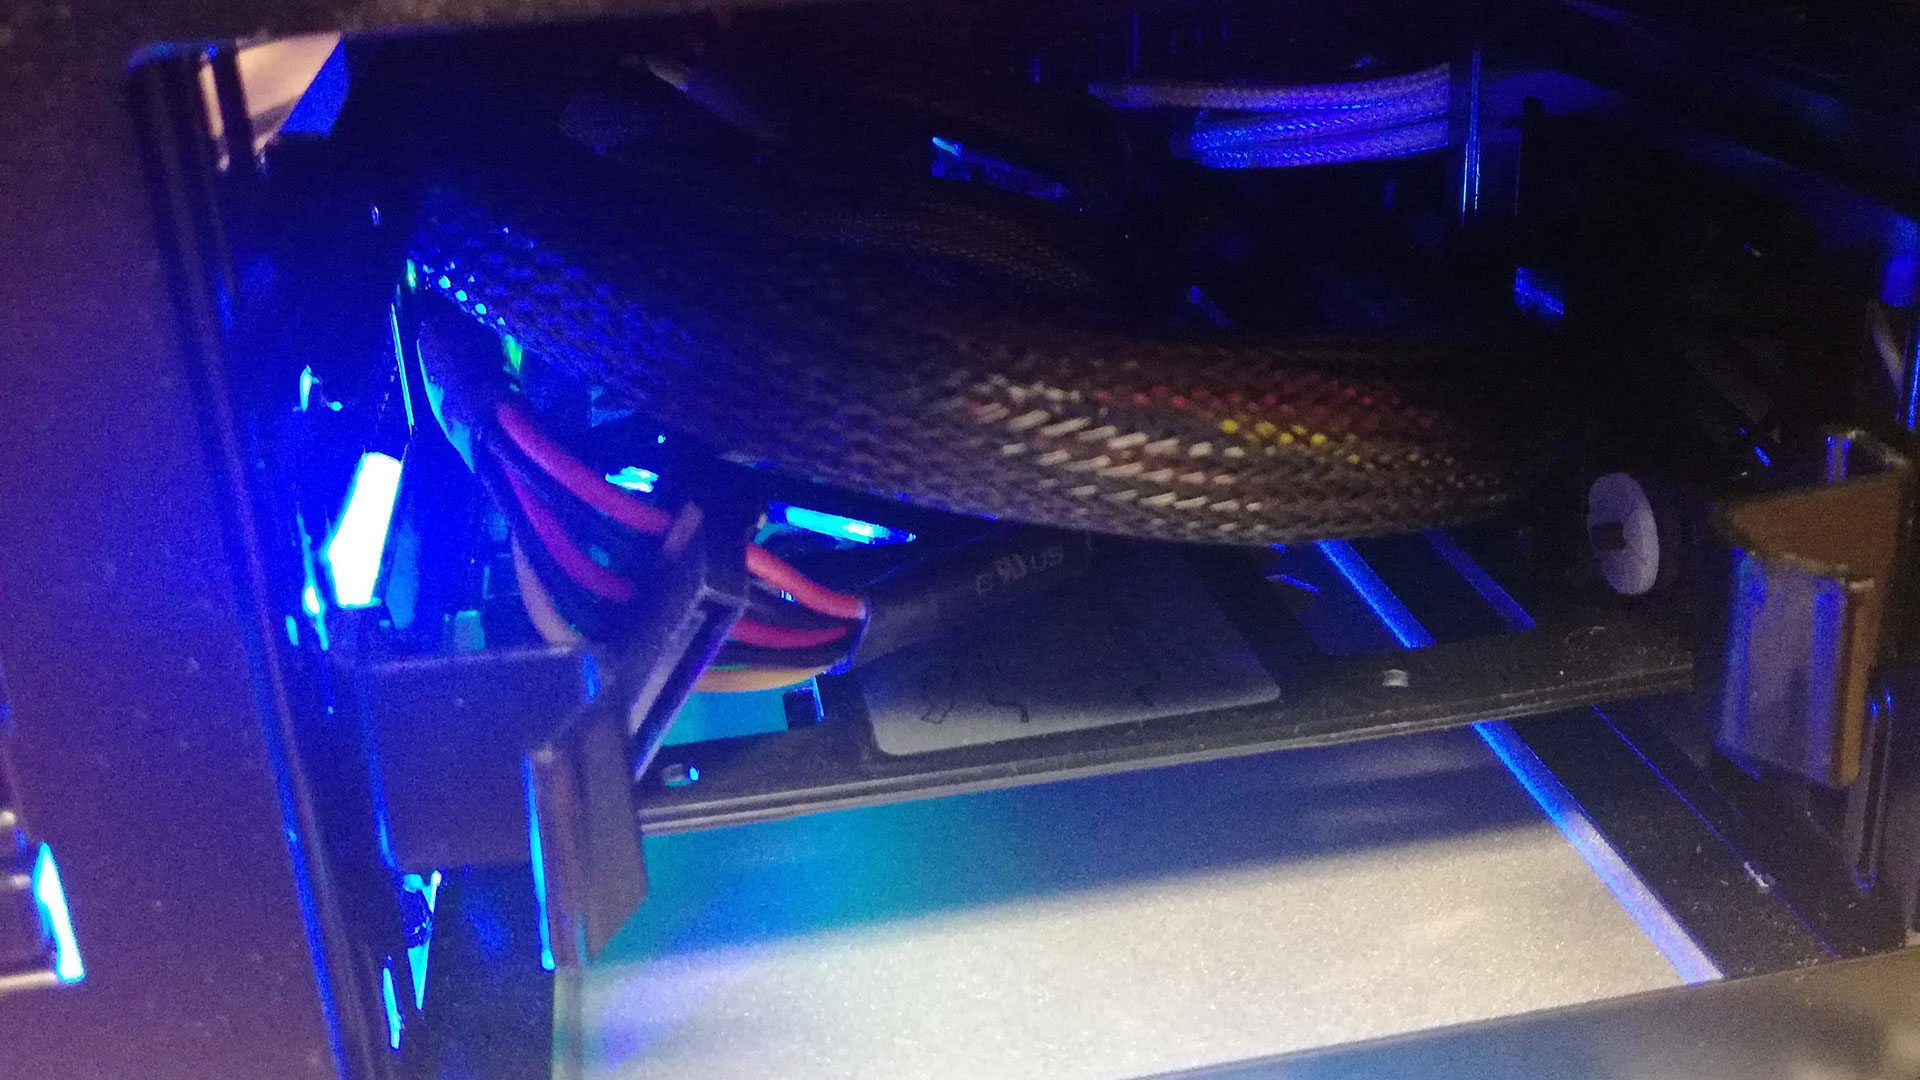
Installing a magnetic light strip and extending a few power cables should have been the easiest part of my build. However, this particular build is housed inside a micro-ATX chassis, which is not ideal for cramming in the extra cable clutter. Eventually, thanks to the good case design and some inventive cable management, over the course of an afternoon I was able to fit every cable I needed into the fun-sized case. Time well spent, though I blocked the 3.5-inch drive bay so goodbye cheap HDD storage.
Lesson 2: Software compatibility
With a properly blinged-out computer, it's now time to turn it on and get those lights flashing. If you're looking for something other than just full-throttle rainbow mode, however, you'll have to dive into software to get everything working together.
The first step is to check your motherboard. Each of the major motherboard manufacturers has its own RGB control ecosystem. Asus has Aura Sync, Gigabyte has RGB Fusion, MSI has Mystic Light, etc. I've got an Asus Strix motherboard so I knew I'd be doing most work through the Aura Sync software.
Next, check your other hardware. Most simple parts like fans and strips are compatible with all of these control methods and simply need to be plugged into your RGB header. However, some brands like Corsair or Logitech have their own specific control systems that don't like talking with your motherboard. One solution is to look for settings to relinquish control to the motherboard (eg, "enable full software control" on Corsair's iCue, with similar names on other platforms).
After getting every peripheral and component synced up, you can create your own effects or browse the internet for premade profiles with nifty effects and colors.
Remorse, missed opportunities, and planning for the future
Over the course of a month, my PC went from looking like absolute trash to being the toast of the town. But at what cost? In the end, I spent around $250 on this massive upgrade process, which is no small sum. After flipping my original PC, I ended up spending around $100 out of pocket for the experience, which is still a crazy amount for pretty lights in a college dorm.
I've also had some buyer's remorse. I grabbed the vanilla Hyper 212 Black, but I really should have just spent the extra $10 for the RGB variant. Additionally, just days after my Phanteks LED strip arrived, Phanteks announced and released a new Neon ARGB strip line. That's the single greatest improvement in RGB strips for this generation, for the same price as Phanteks's fairly average RGB strips. It was disappointing, sure, but these surprise announcements and intense buyer's remorse are just a fact of life in the PC building space.
Is RGB for everyone? Yes, unequivocally. Okay, not really, but you can have my RGB lights when you pry them from my blinking, technicolored hands. There are pros and cons, but even when you're ready to throw a bunch of lights into your PC, there are items that are easy to overlook. Does the software line up? Do you have the right headers on your motherboard? Is there room for all the extra cable management?
Even after all the strife and headaches encountered along the way, I am proud of the end result. With the right lights, you can rep your favorite sports/esports team on gameday, turn on full rainbow seizure mode to impress house guests, and even save energy by replacing the need for a desk lamp. Who doesn't want to do homework by the strobing rainbow light of a PC?
And the best part is that I now have +5 karma on PCPartPicker to show for it. Truly worth every penny.
