How to remove the green from the lit GeForce logo on your Nvidia graphics card
Sick of green? Remove it, or change it to another color.
Oh Nvidia, why must you be green? Are you jealous? If not, please stop ruining my color scheme.
As enthusiasts, we often strive to have the perfectly matched build. The right color of motherboard, cable sleeving, CPU cooler and case accessories. Usually we are able to find a GPU with the perfect cooler to match; however, sometimes reference cards are the only option available. Or maybe you have a smaller case with minimal airflow and require a blower style cooler. Whatever the reason, if you choose to go with Nvidia, you are saddled with a big green logo.
Fortunately for those who wish to have that perfect color match, there is a relatively quick and effective way to finally be rid of that pesky green. You will need a few common tools to do it and a bit of patience, but the majority of the cooler can stay in place.
Here's what you'll need:
- Hex key set
- Philips screwdriver
- Sandpaper (lighter grit is better)
- Patience
The only thing you will need to take apart is the shroud that covers the heatsink itself. The back plate doesn’t need to be touched at all, so set the card down fan side up and let’s start removing screws.
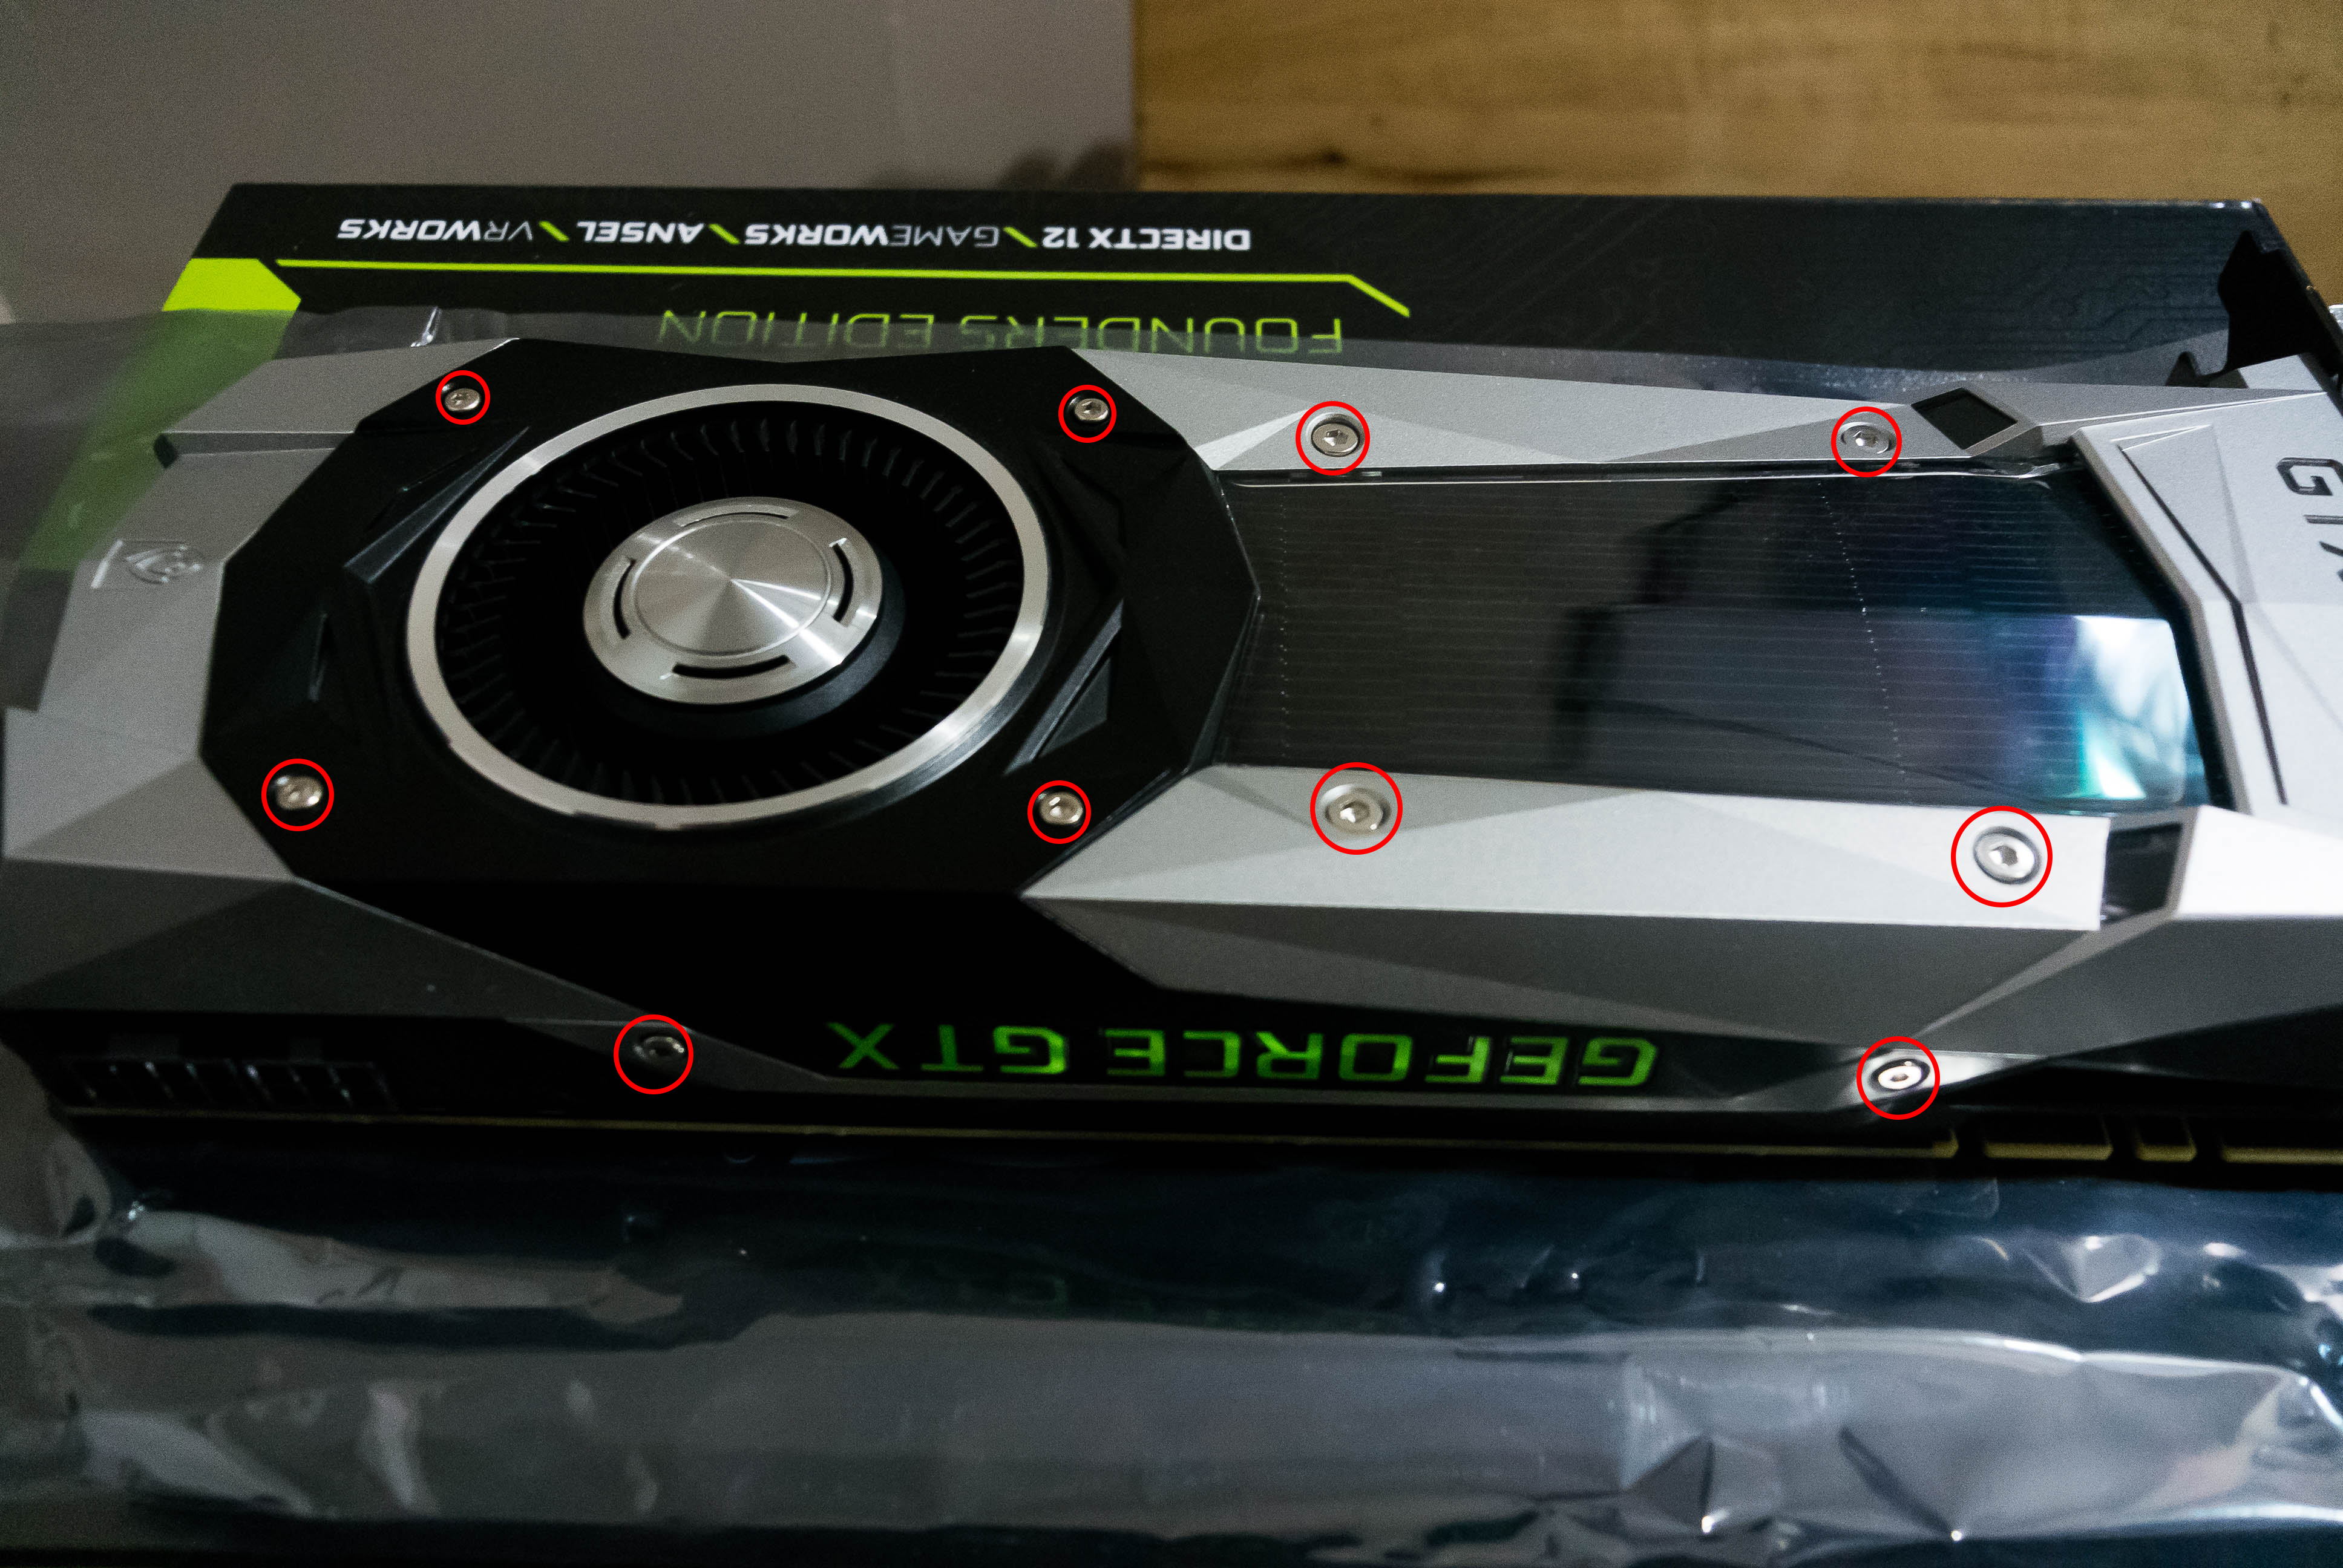
There are 14 hex screws that need to be removed, four of which are slightly larger. Start by removing the three screws on either side of the cover and the four that hold the fan shroud in place. Then remove the other 4 holding the rest of the cover.
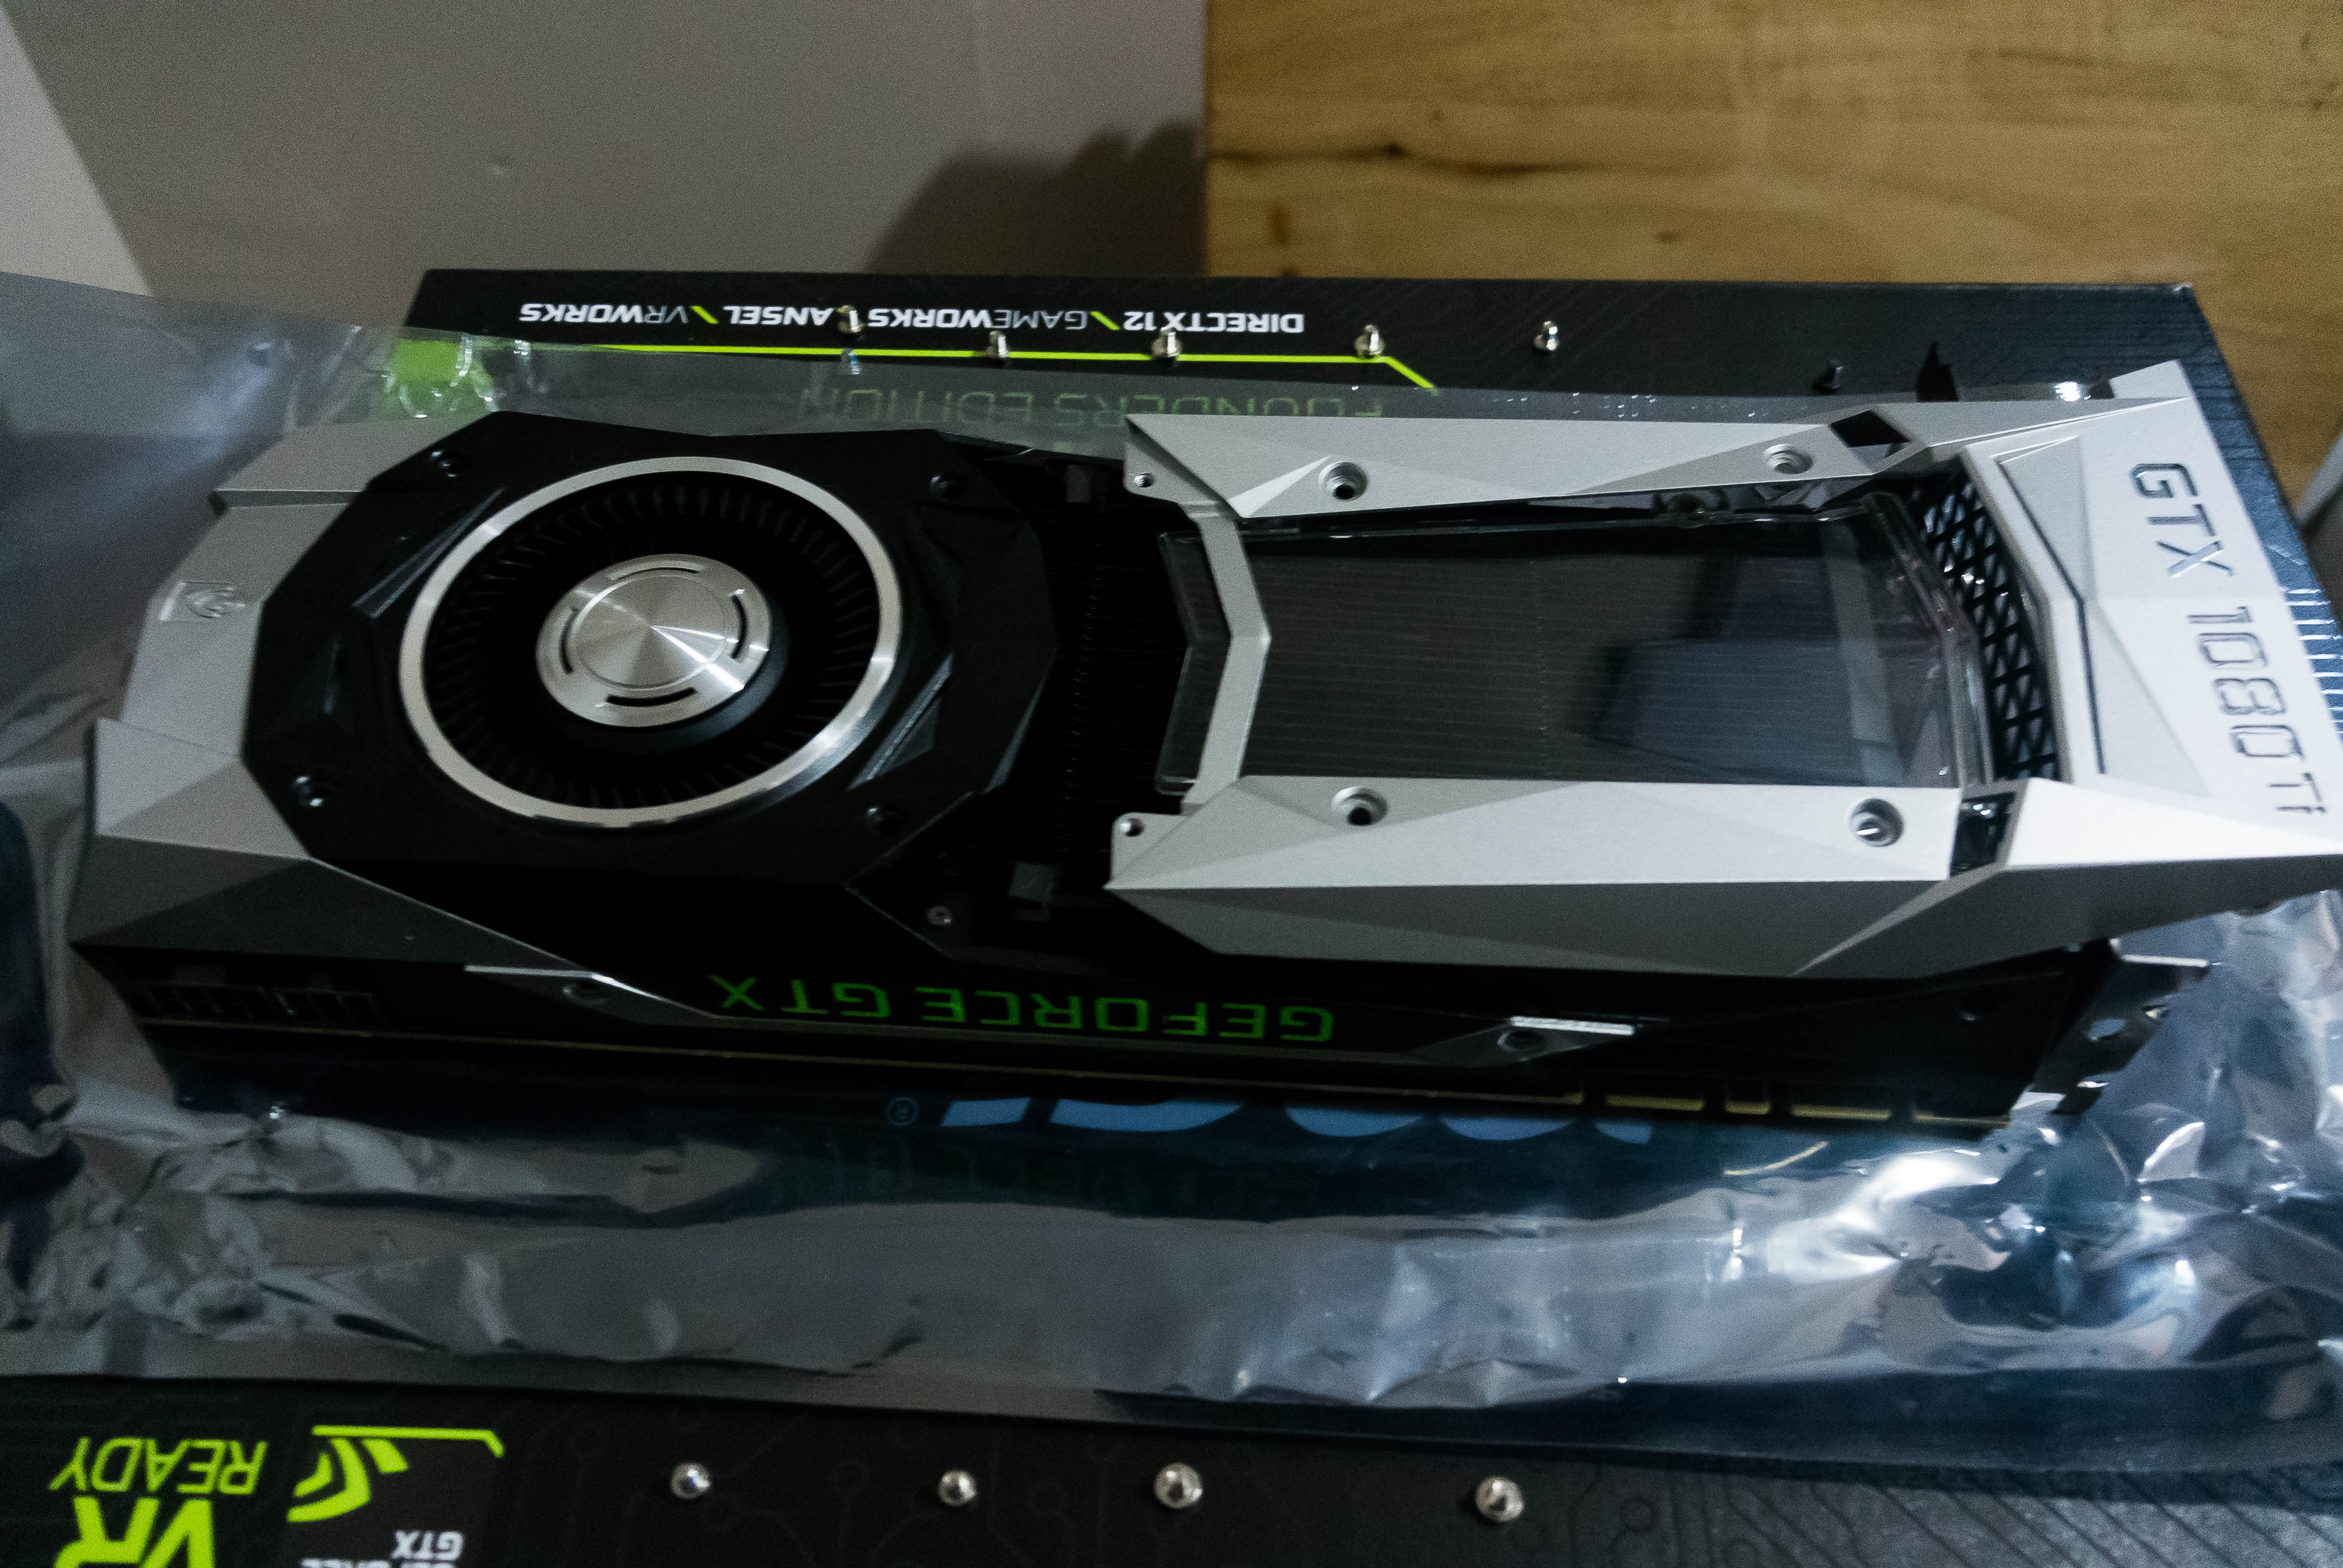
The main part of the cover and the window will slide back and can be pulled off and put aside.
The biggest gaming news, reviews and hardware deals
Keep up to date with the most important stories and the best deals, as picked by the PC Gamer team.
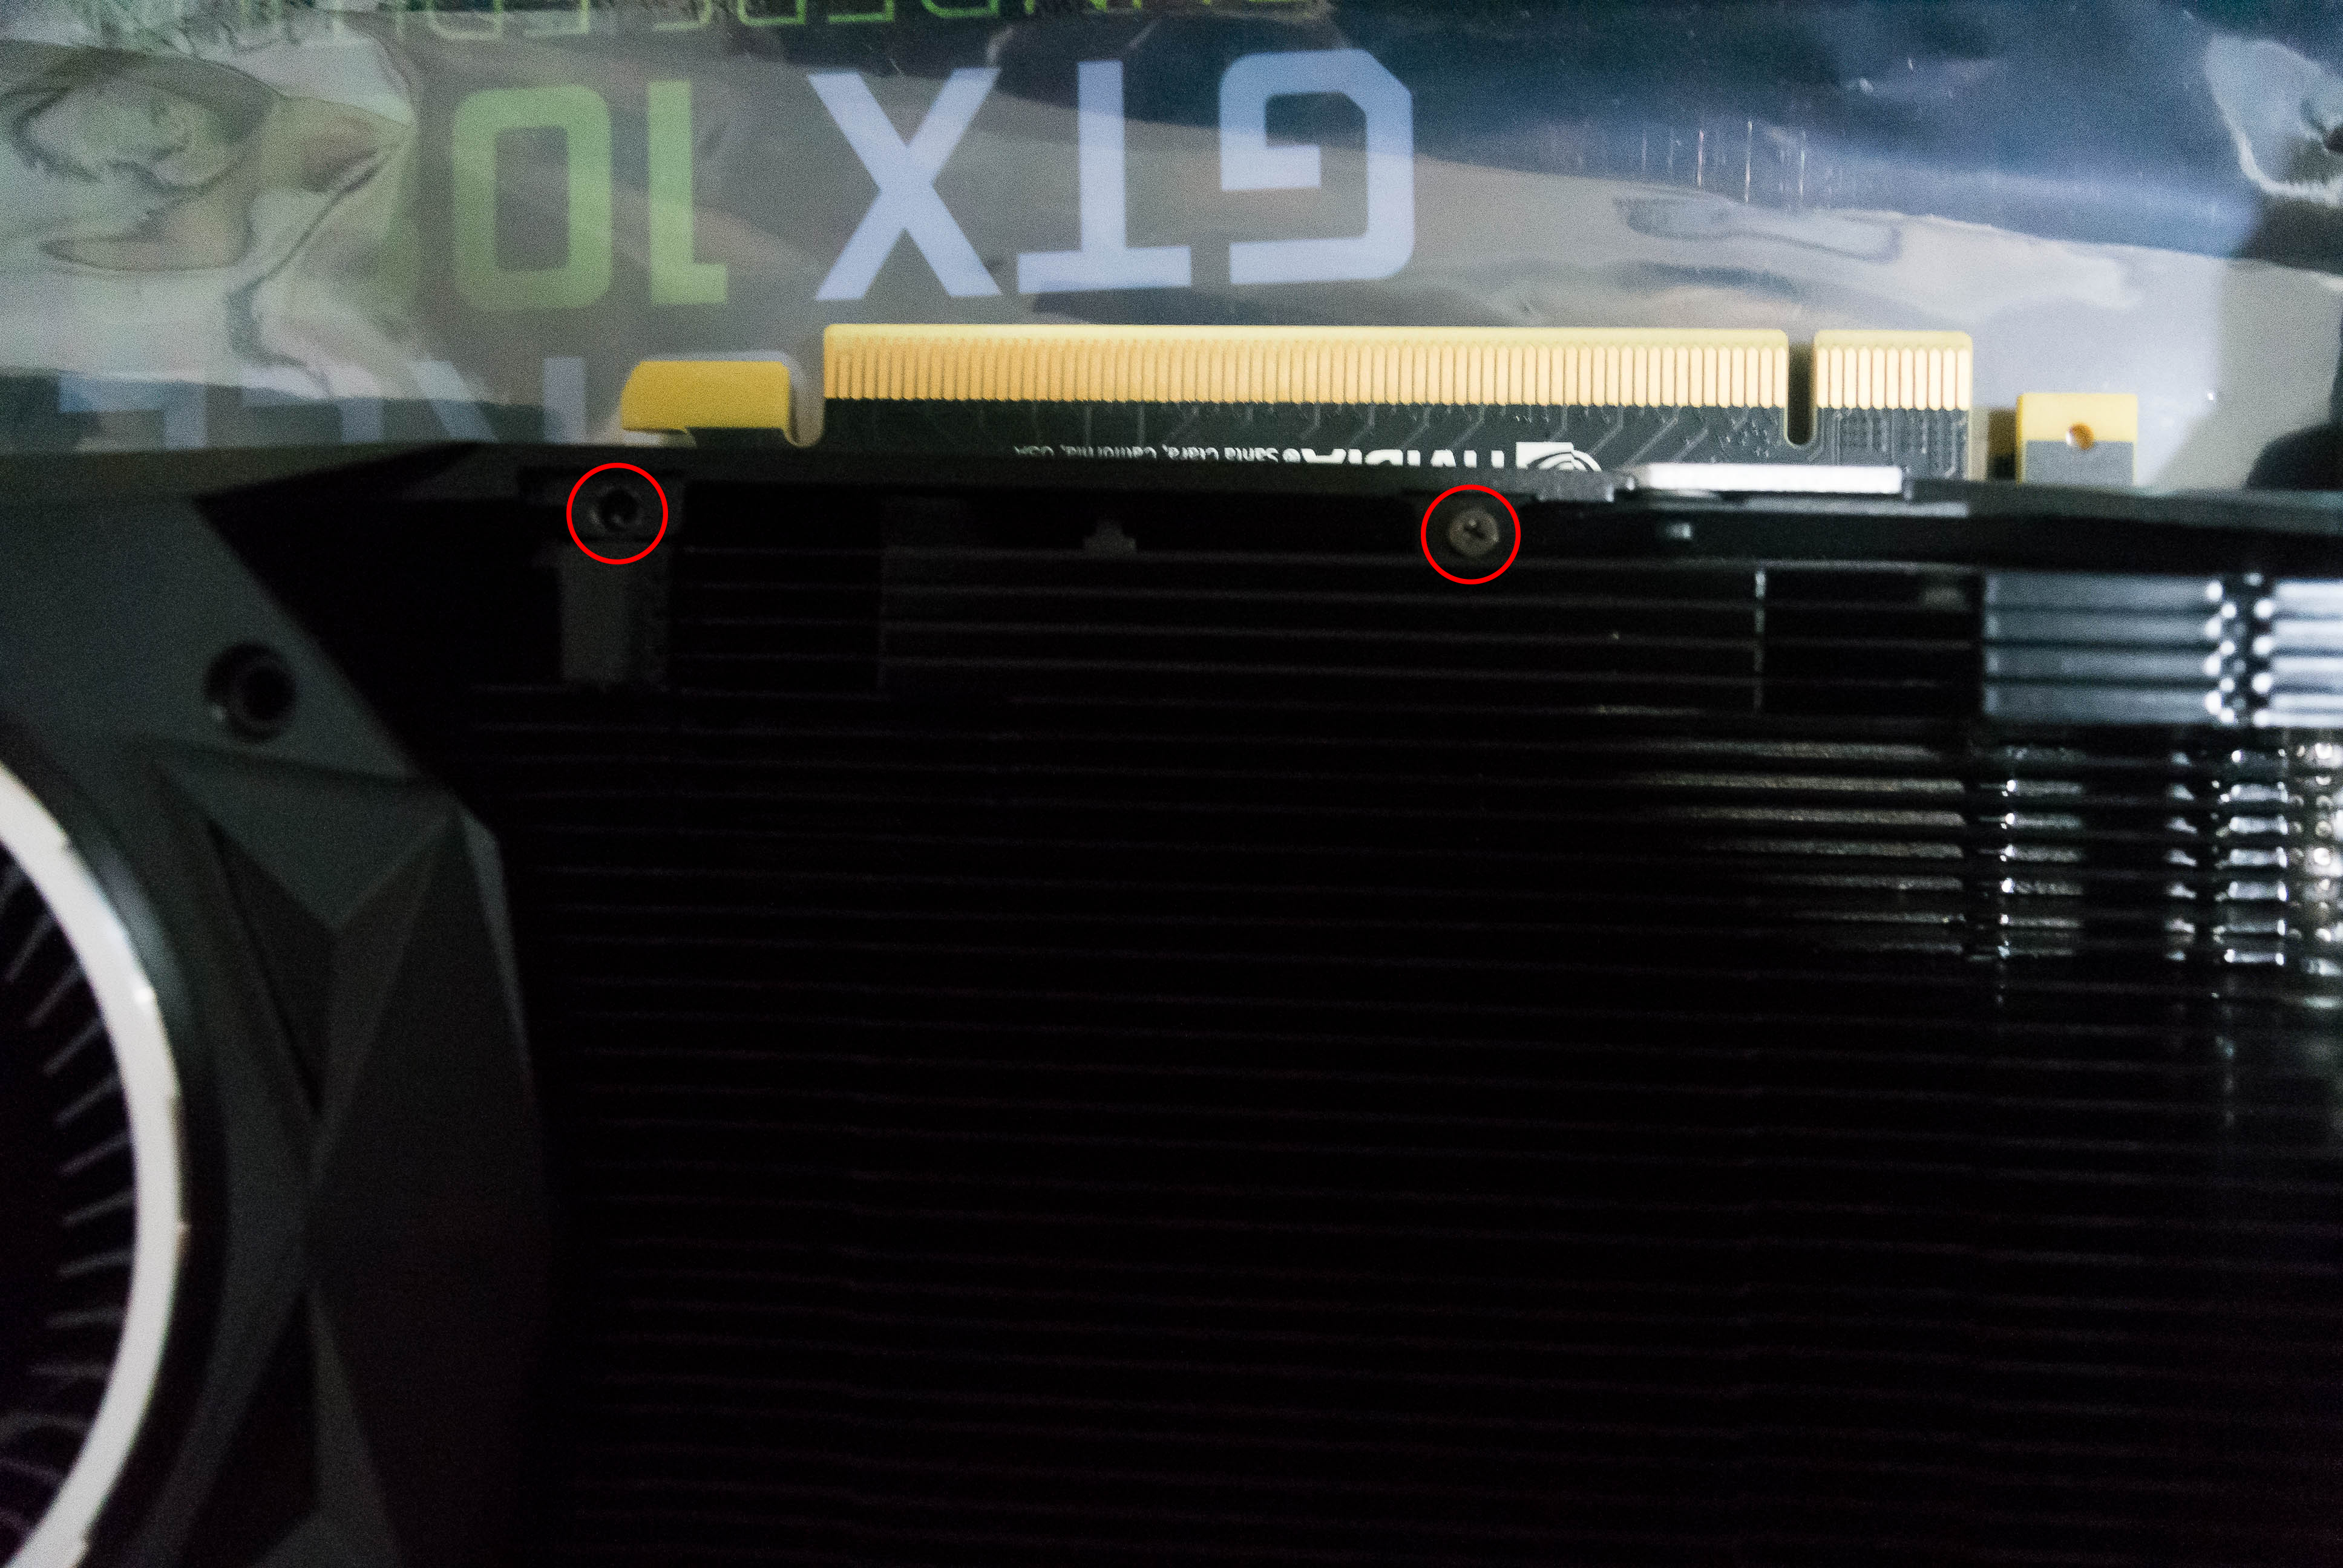
Next you will need to remove the four Phillips screws (two on either side) that are holding the fan shroud in place.
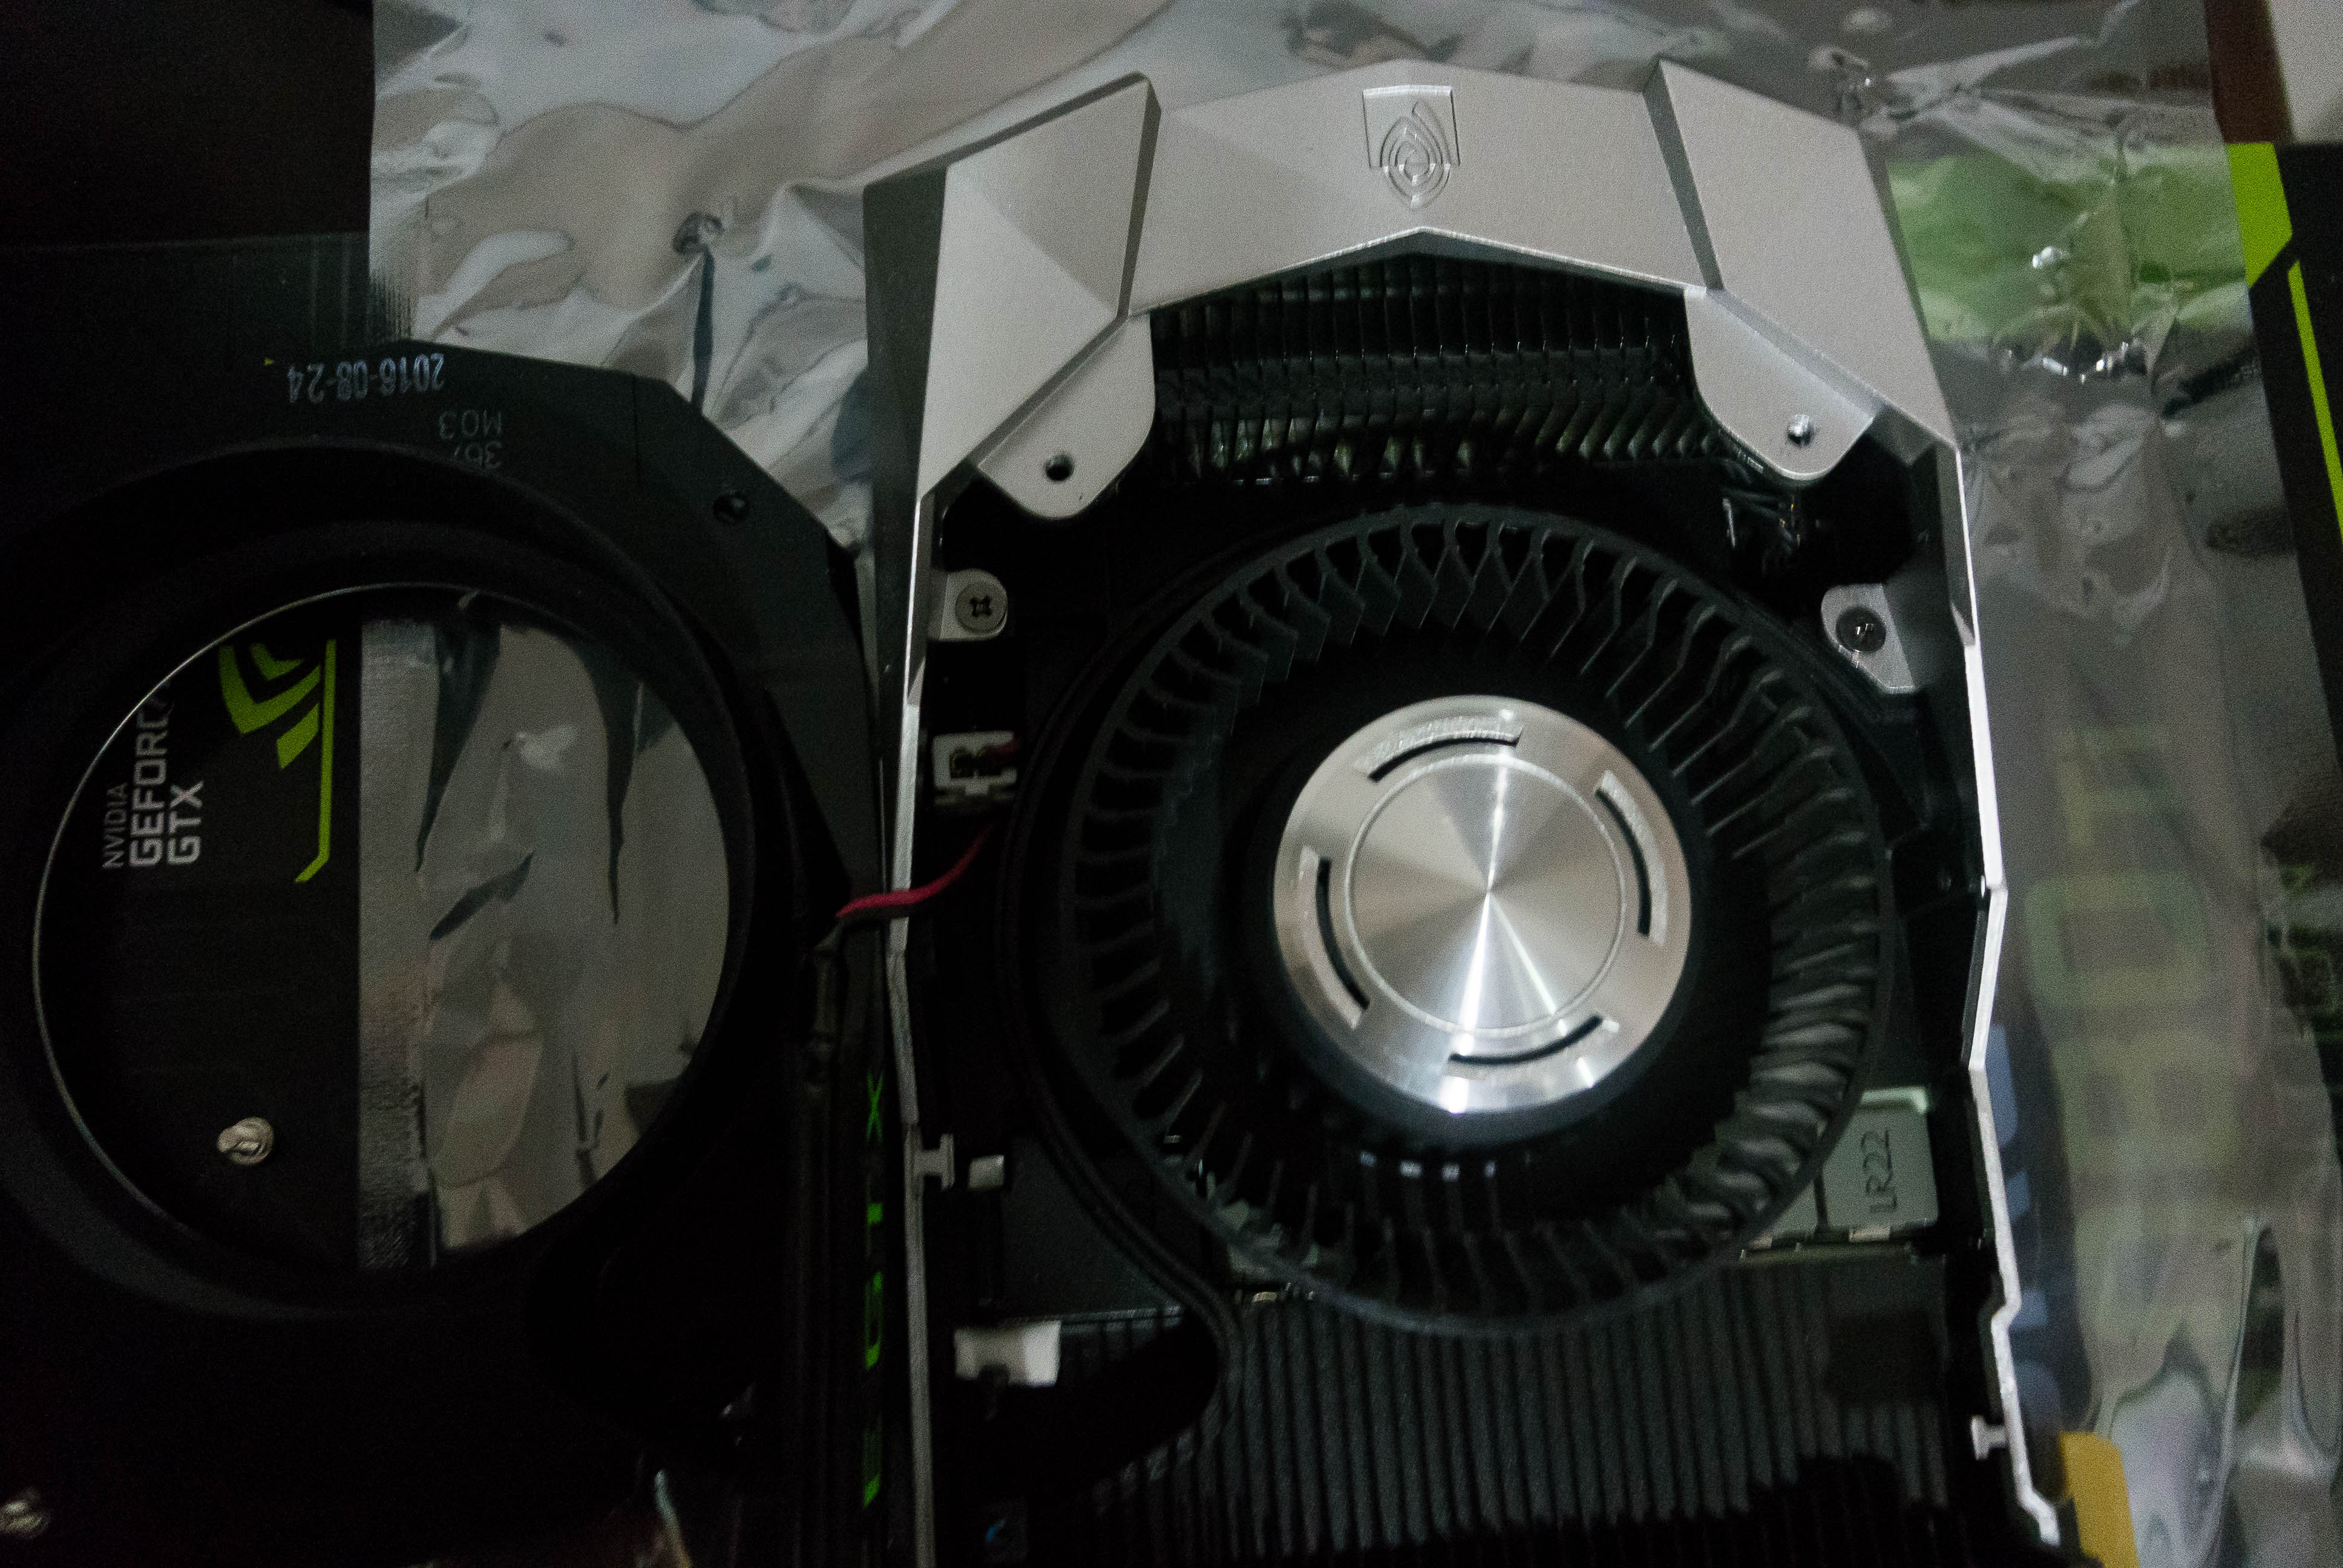
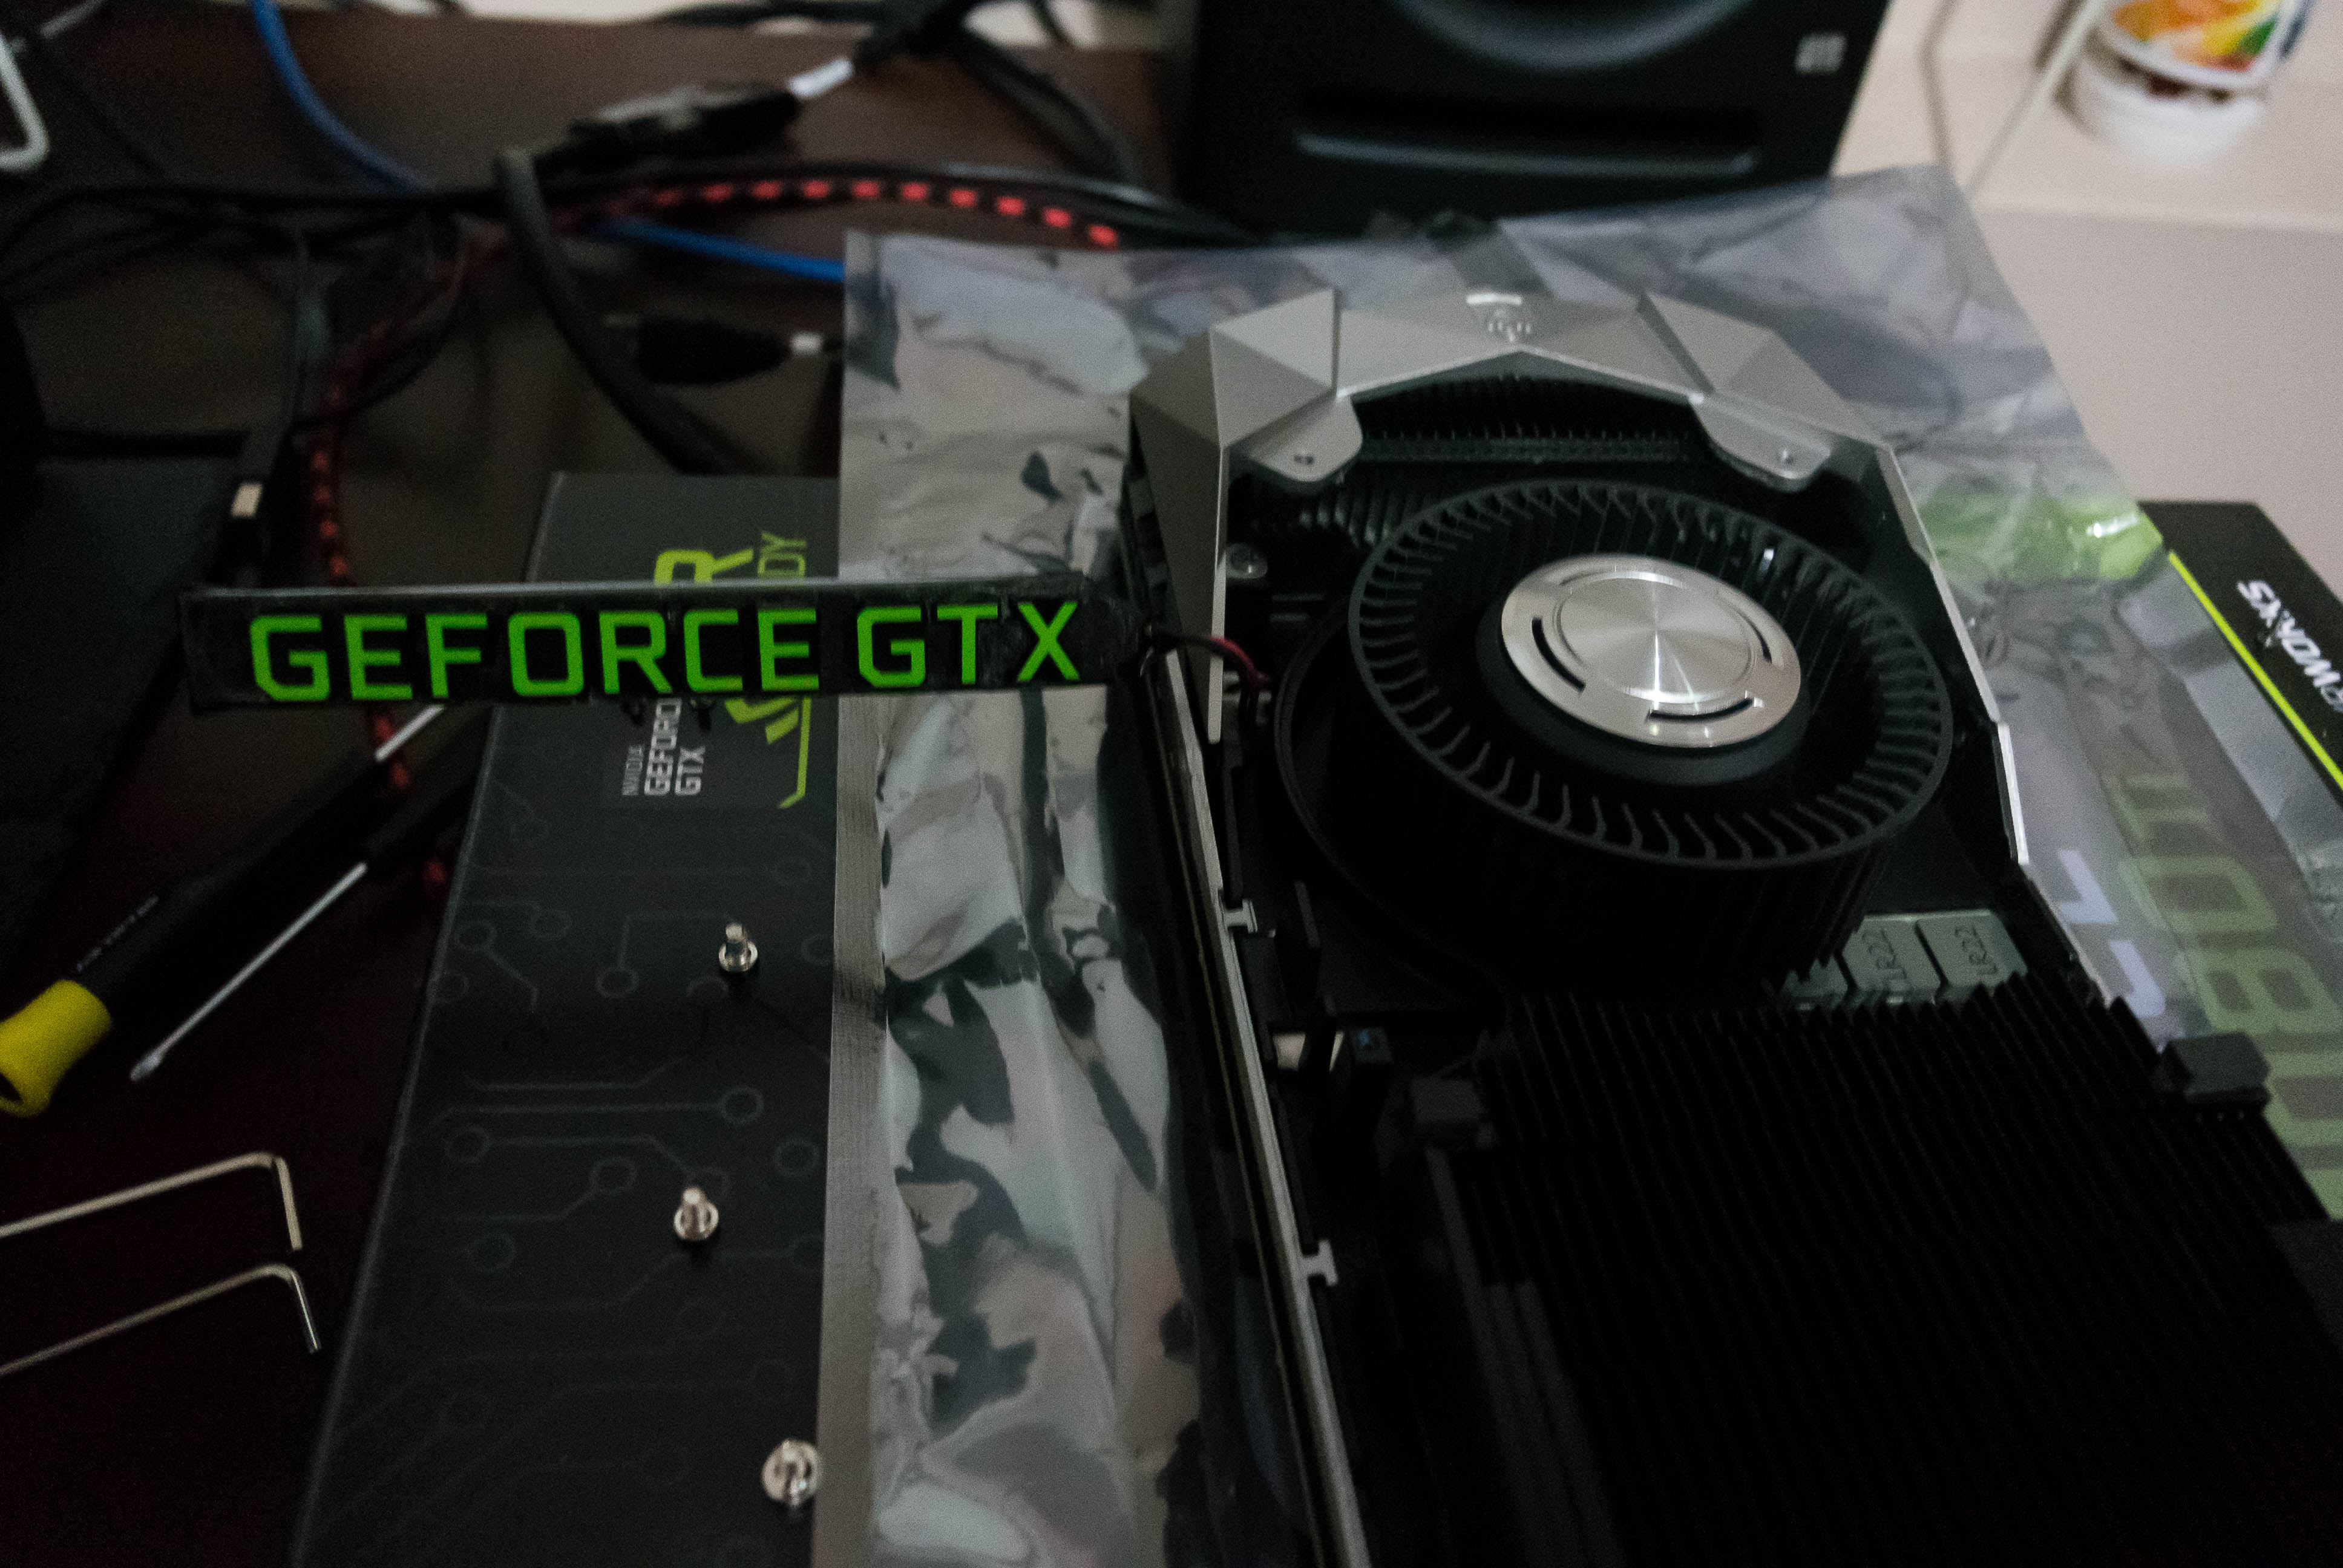
Gently pull the fan shroud over to the side. Be careful not to yank on it otherwise you may pull out the wire that connects the backlighting for the logo. The logo itself is held in by pressure and tape. To remove it, push on the lettering from the front side and carefully pull it back. Once removed, set the fan shroud aside so it is out of the way for the next step.
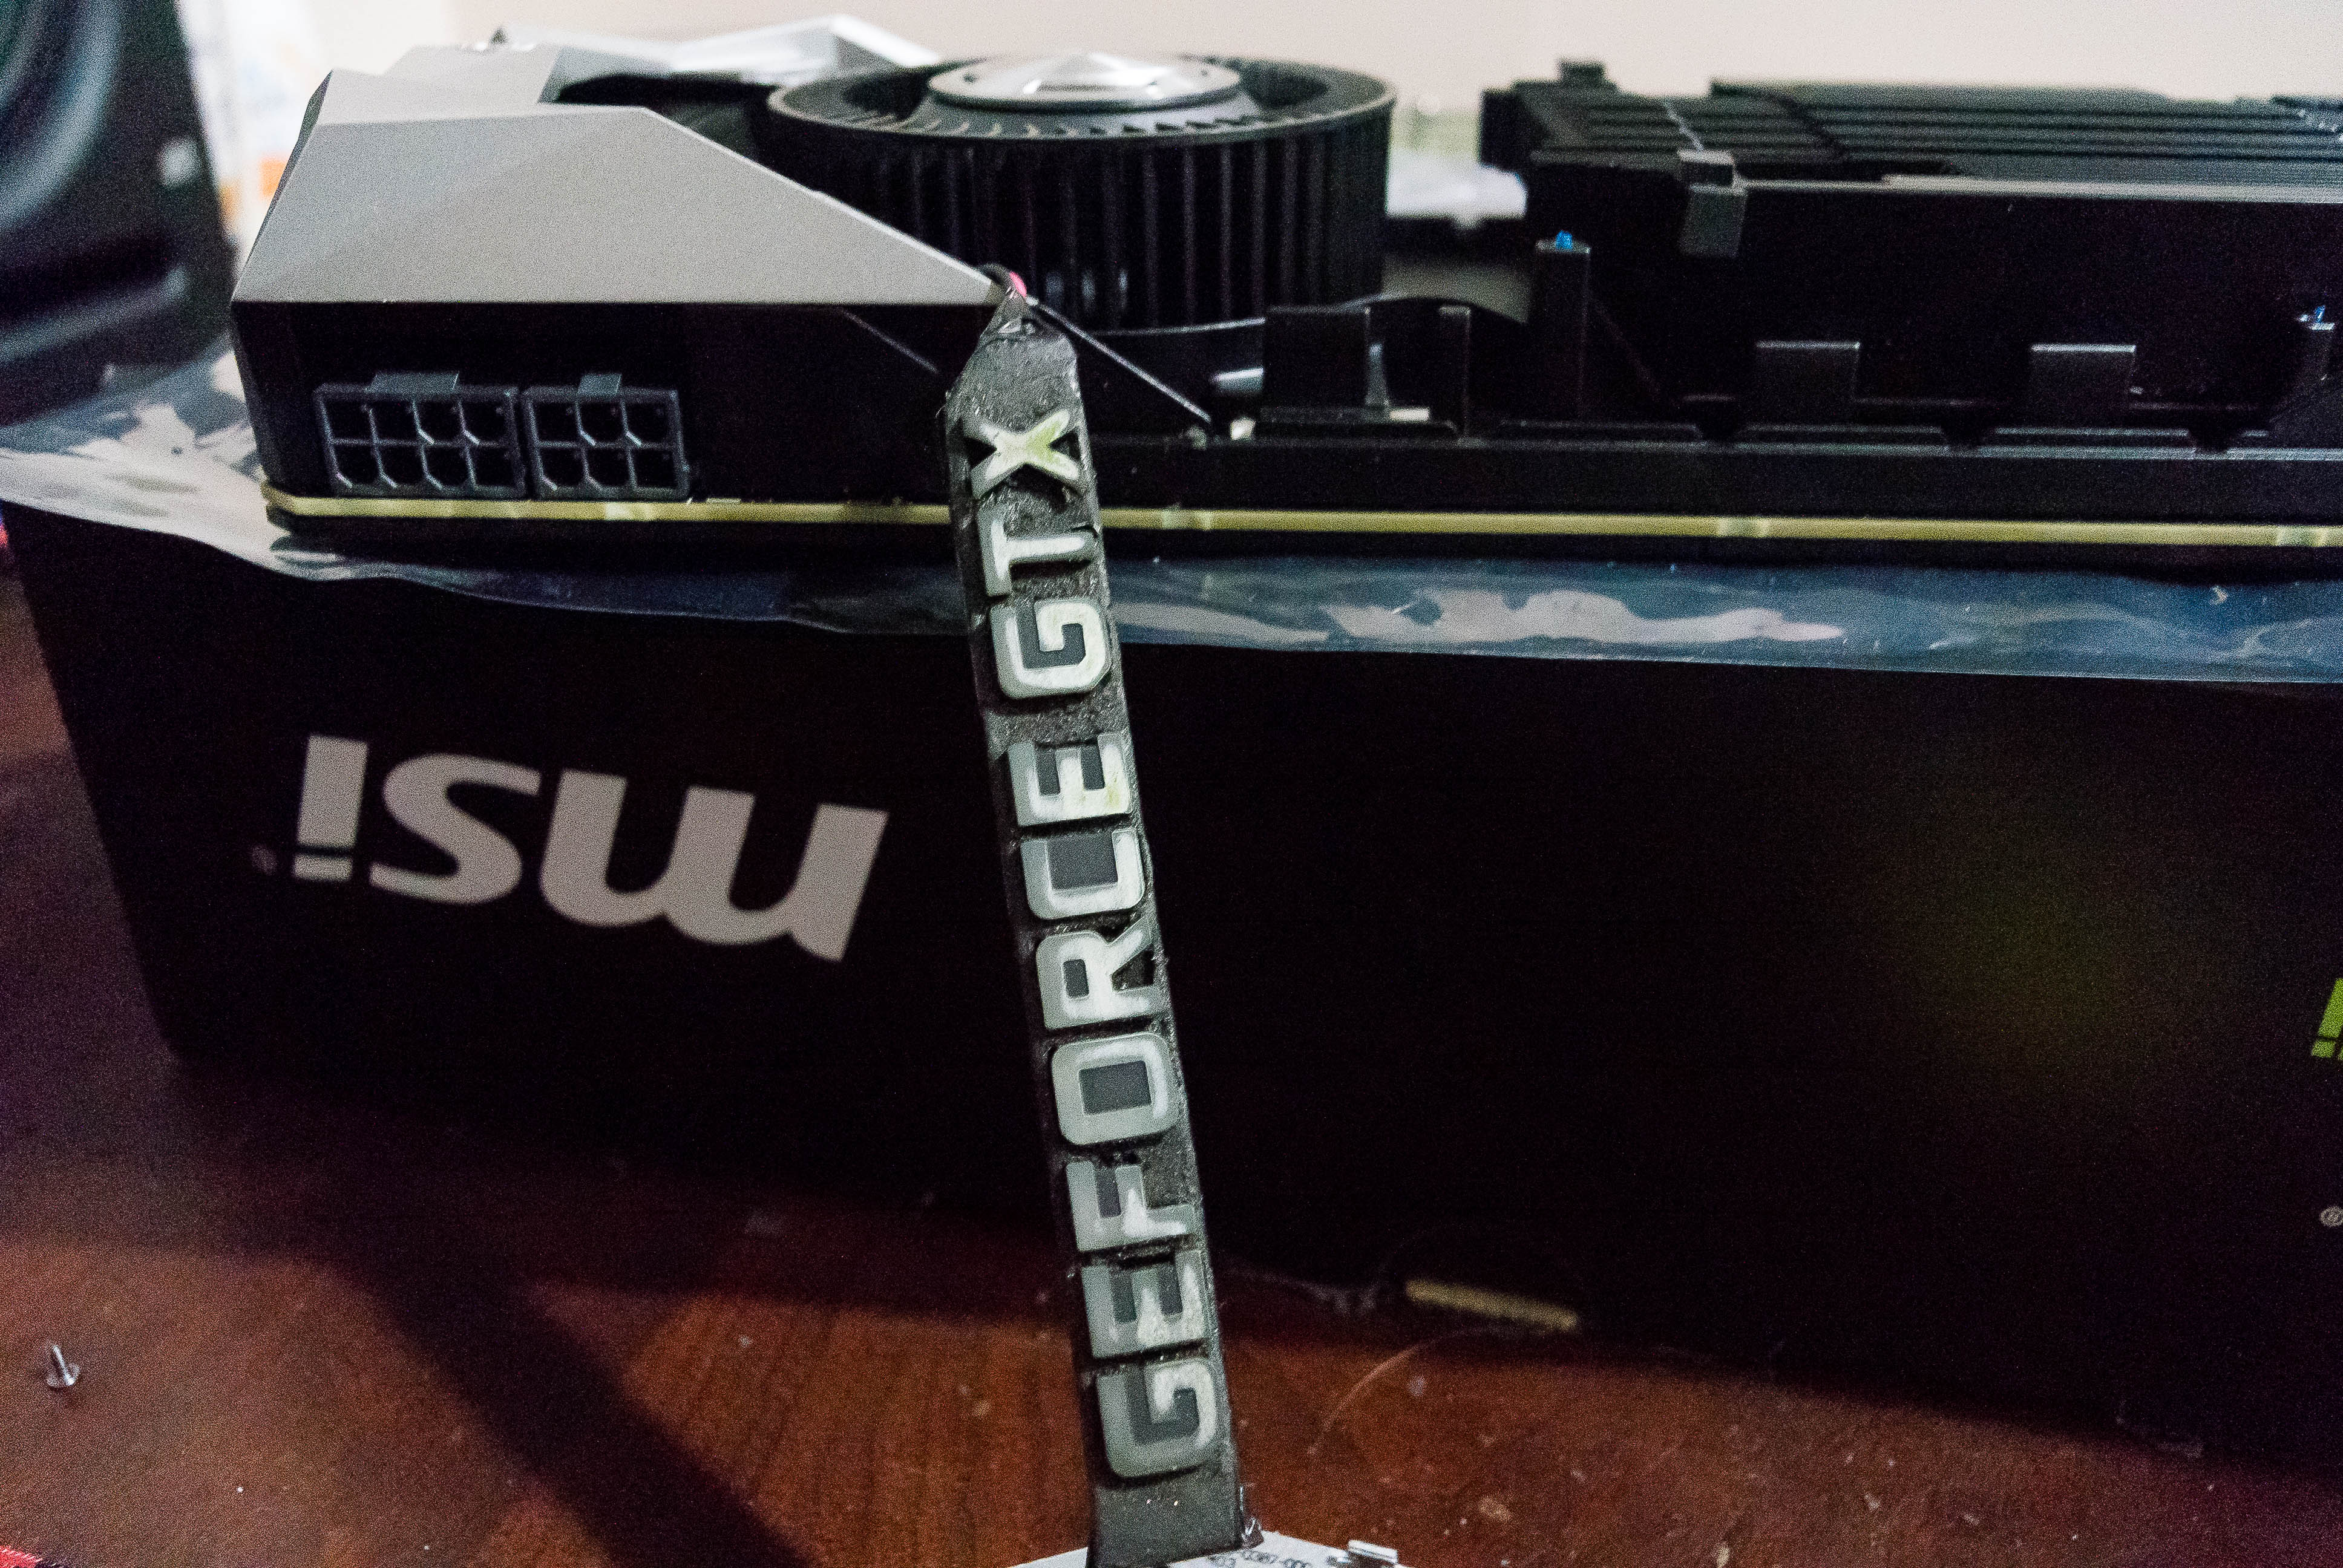
The final and most important step is to sand down the rubber lettering. This is also the most tedious part of the process as it takes a fair bit of sanding to remove all of the color. Beneath the green is a layer of white and beneath that the logo is translucent. You will want to completely remove the white and green from the logo as this will allow the light to shine through white once you get everything put back together. Once you are finished sanding, the reassembly process is just the reverse.
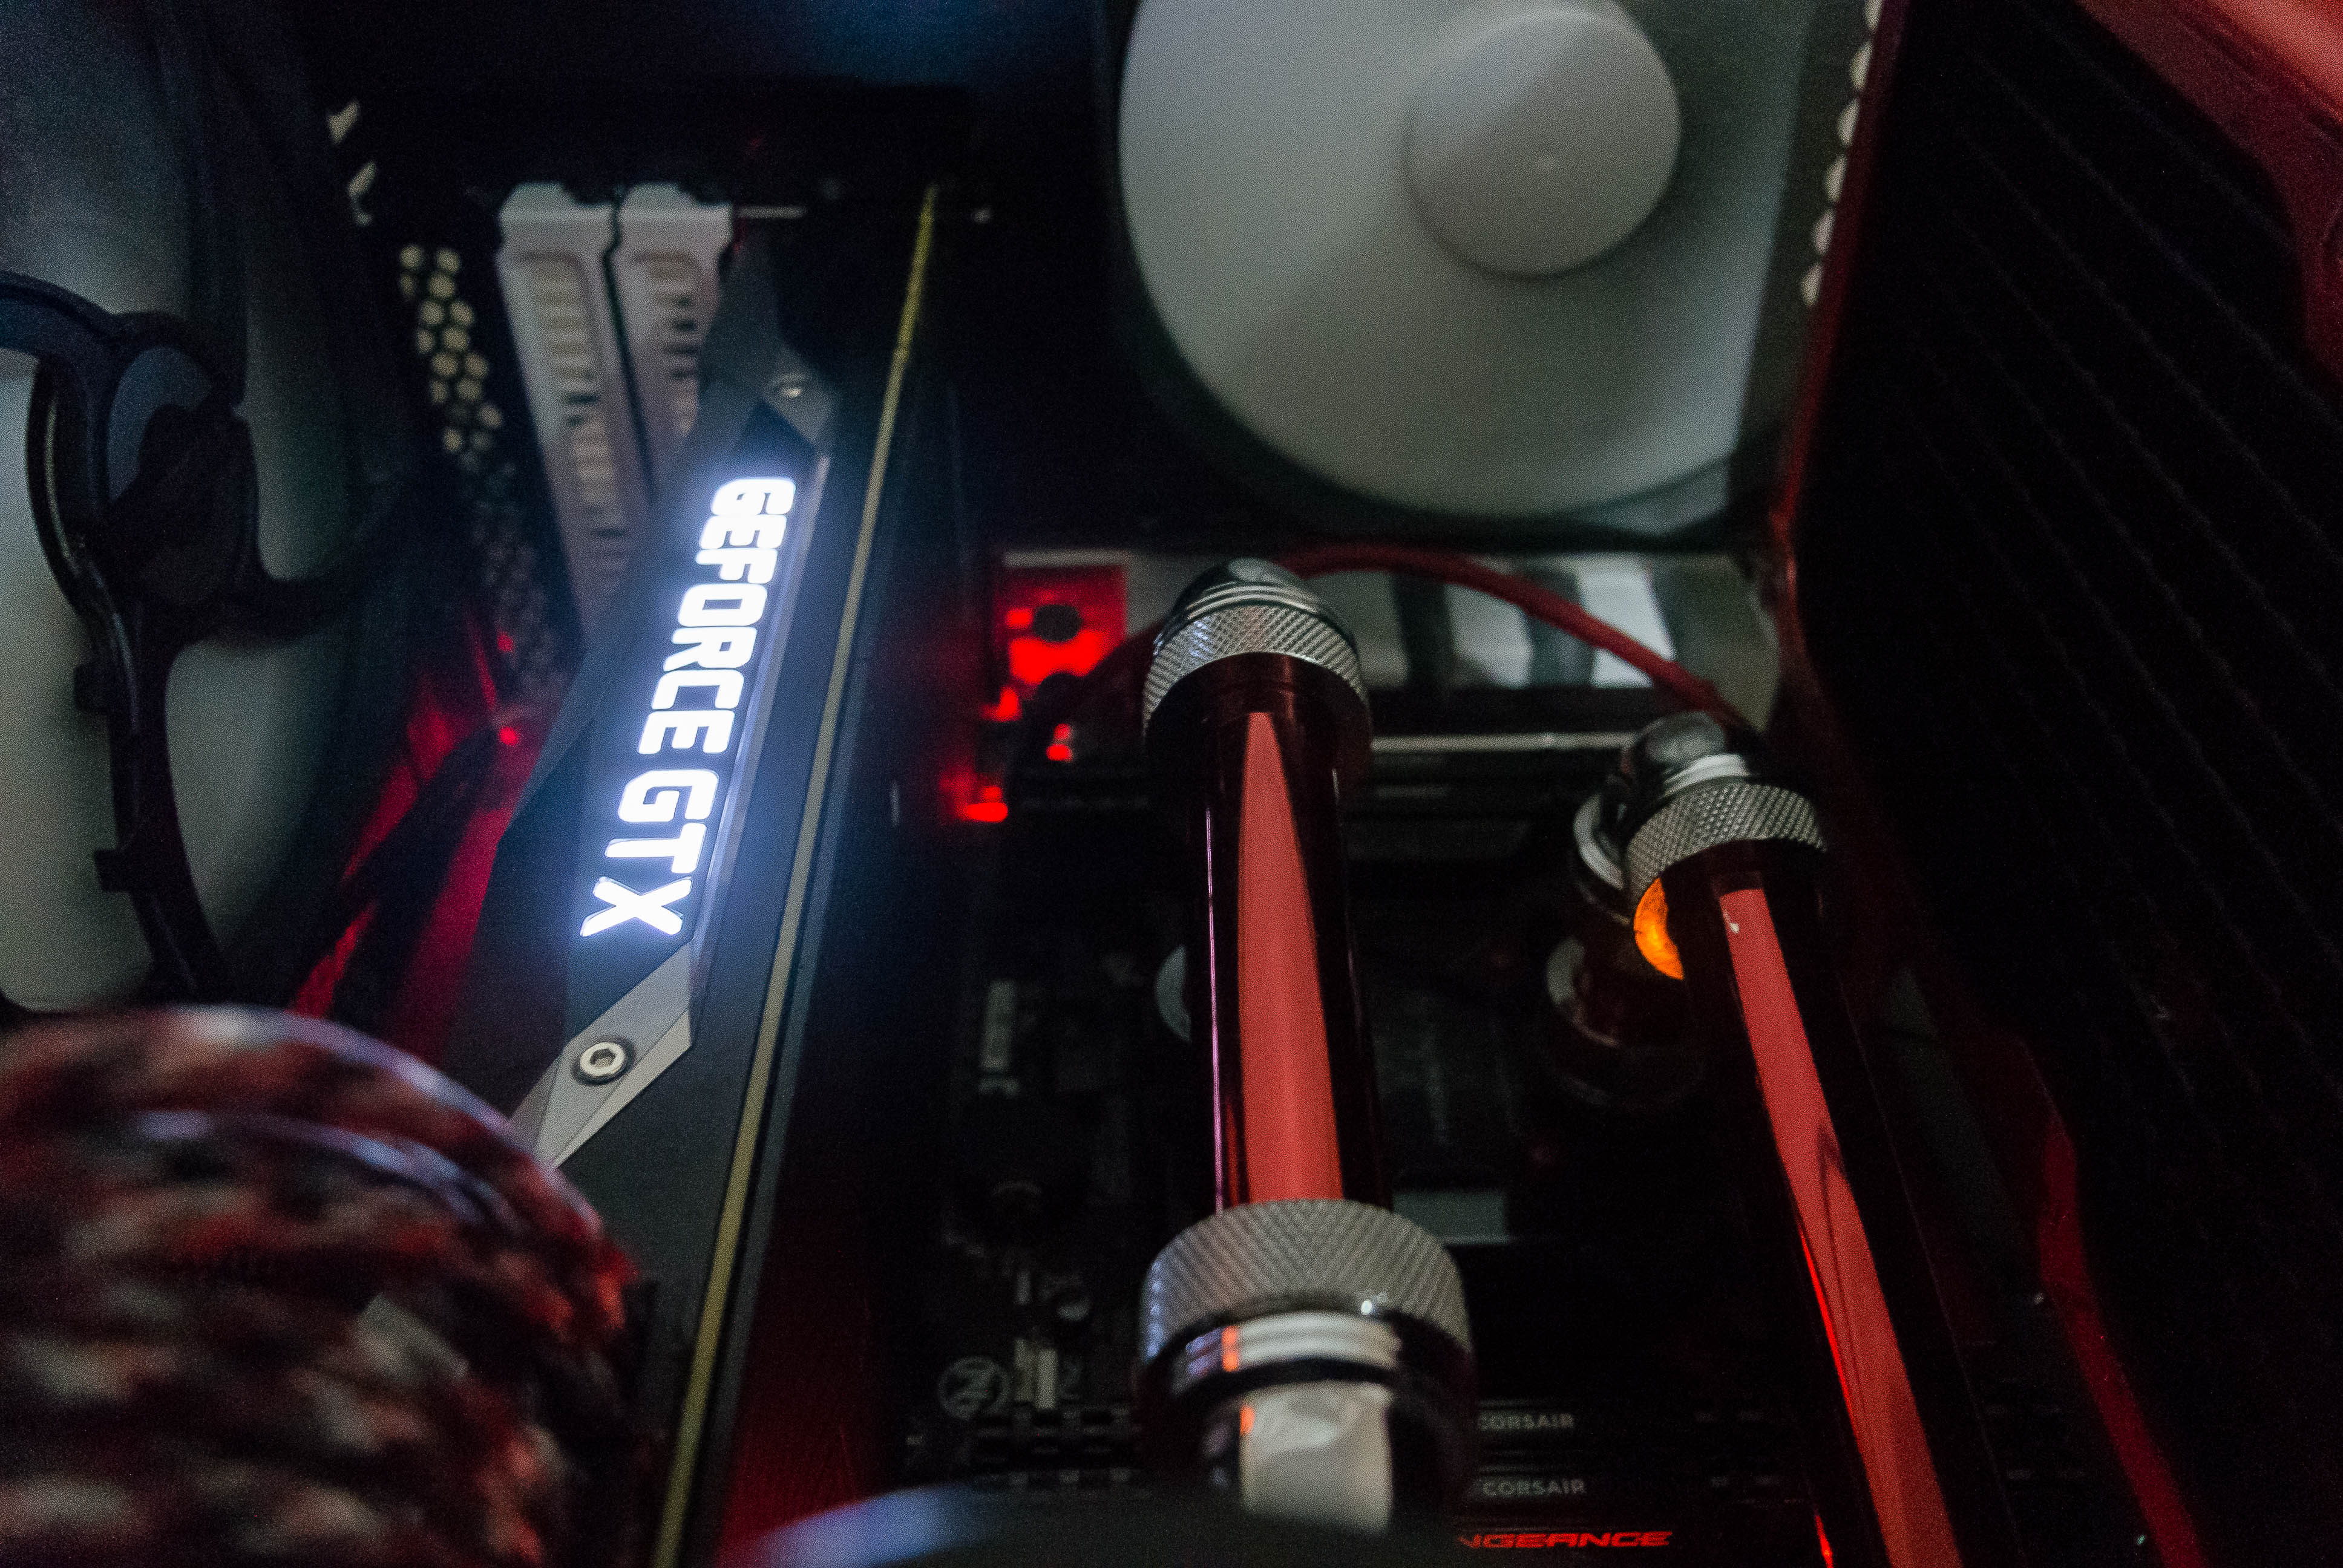
As far as free modifications go, this might have the greatest impact for time spent and the final result is a reference cooler that will fit nicely with nearly any color scheme you may have in mind.

