How to overclock your Intel CPU
Testing for stability
Stability spot checking after each clock increase is a must, and several tools exist for this purpose. AIDA64 is a good choice: it combines system information, synthetic benchmarking, monitoring and stress testing. Run its benchmark before you begin overclocking as a baseline to compare performance against.
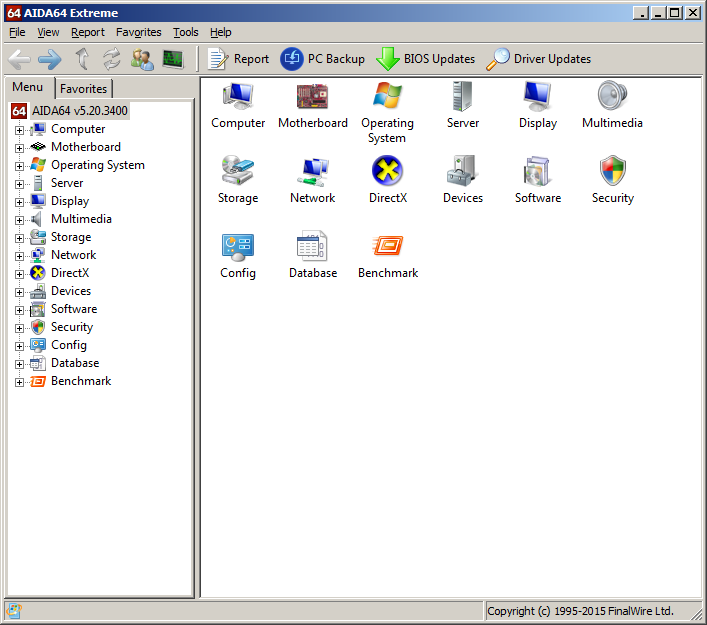
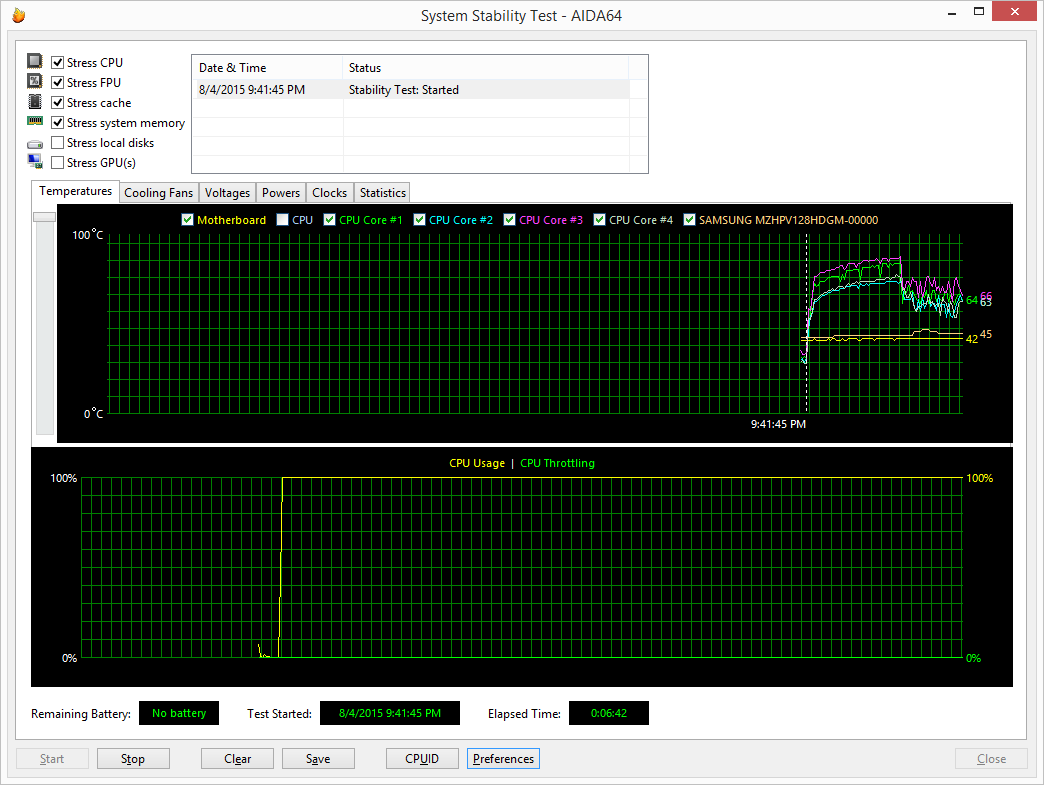
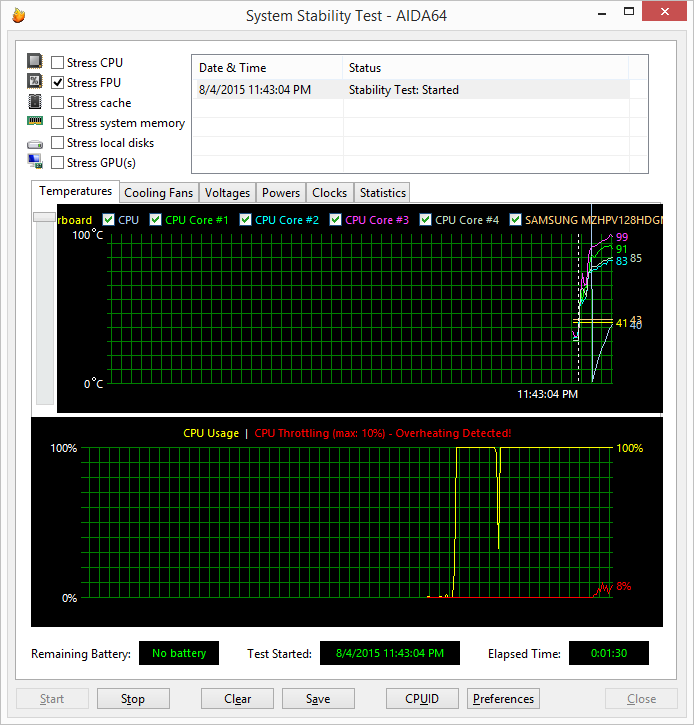
The system stability test on the tools menu is what we’re looking for. Start it up and select CPU, FPU, memory and cache to test general stability, but use FPU alone for temperature. Processors run hot when AIDA’s FPU test is executed by itself, so take solace that actual full-load temps will be a few degrees lower and form a safety margin against throttling.
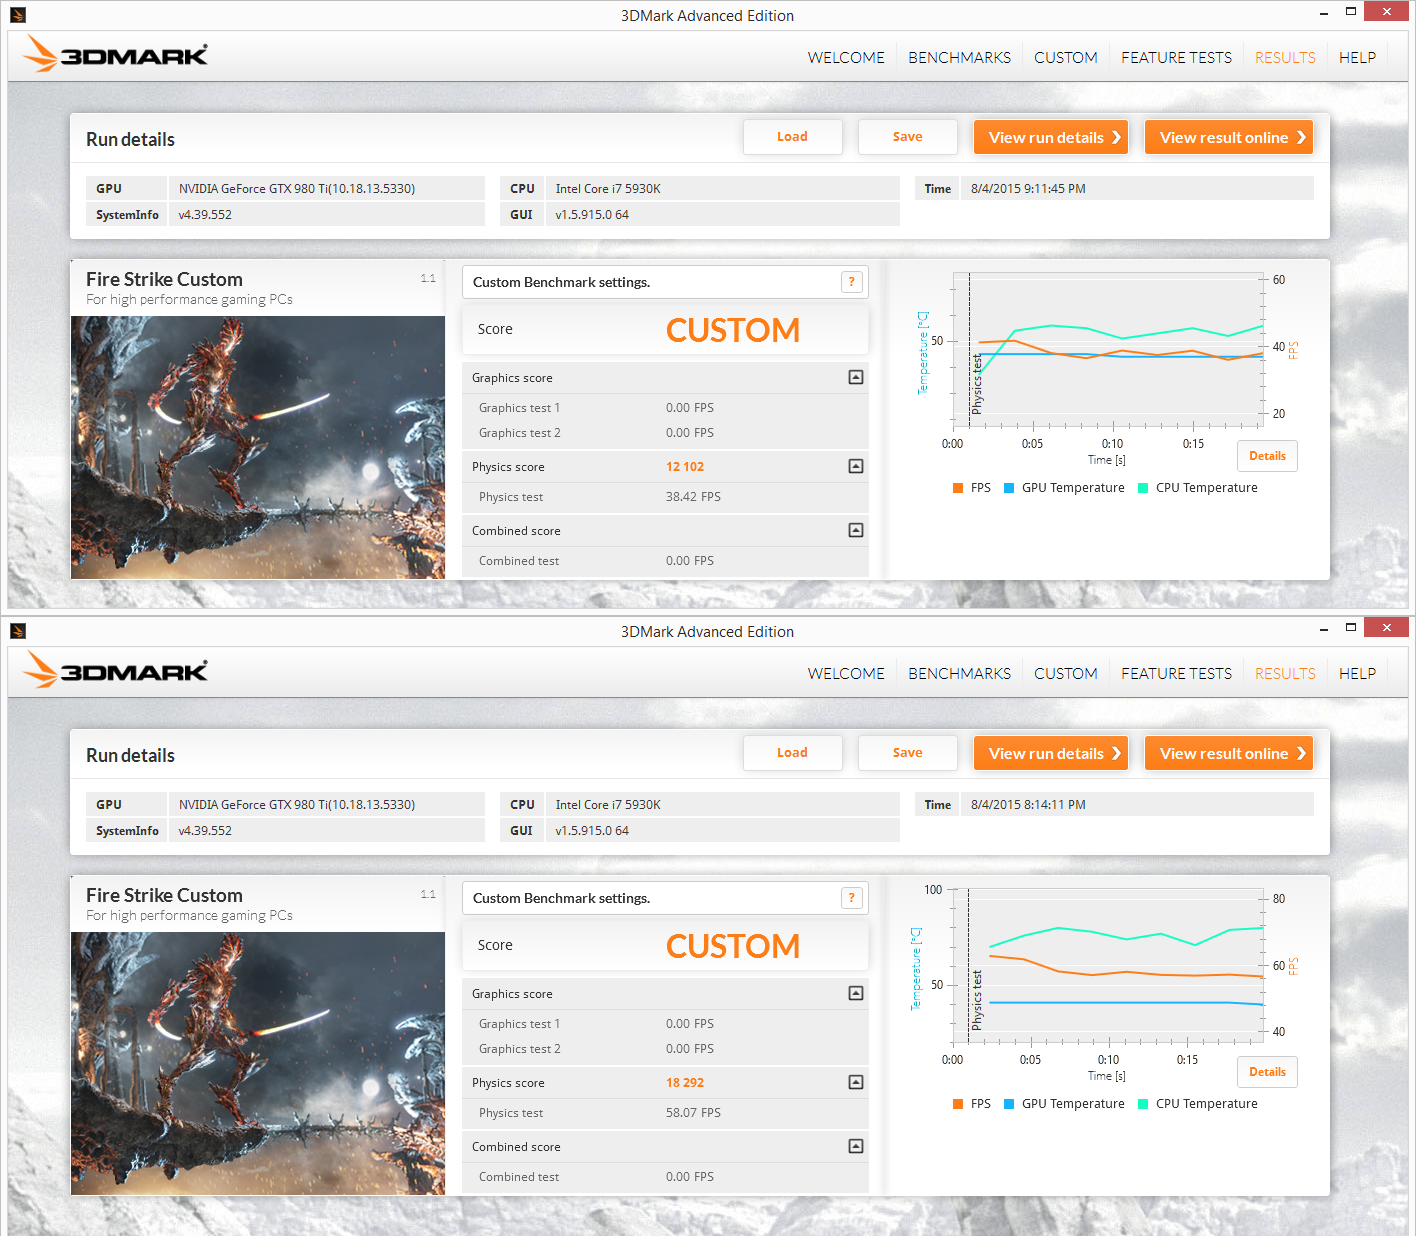
Once you’ve got a stable system, run the benchmark suite and use the compare results with your scores before overclocking.
Power trip
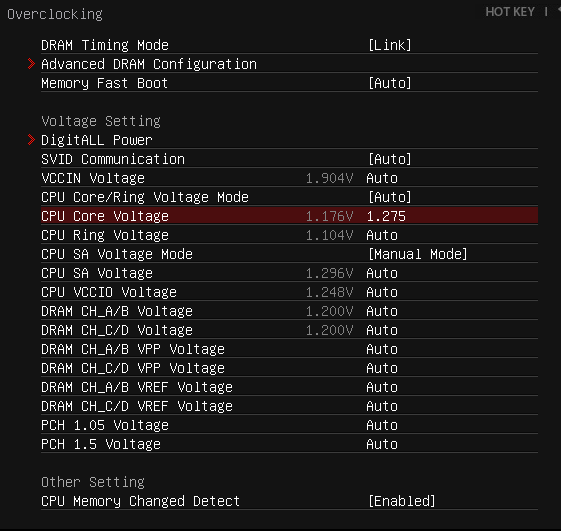
Boosting voltage to the CPU is the next step, and this is one area where it pays to be very careful. The 1.25 starting default voltage is low enough that a boost to 1.275 or 1.28 should result in a few hundred additional MHz to the top overclocking speed. In the case of our test Haswell-E sample, that boost is enough to join the rarified 4.7 GHz CPU club.
Note that as voltages rise, so does the temperature, and the curve is not linear. After 1.3 volts or so, serious cooling solutions are recommended and the clockspeed benefits start to thin out. Stay under 1.3 with 24/7 overclocks for the sake of processor longevity. On Intel’s new Skylake processors, you can stray into 1.3 volt territory, but keep voltage under 1.4 to stay safe.
Haswell processors run hot out of the box, which brings us to how temperature can limit overclock potential. Idle temps will be higher than Sandy or Ivy Bridge, so just make sure they are consistent so you know the cooler is seated properly. Under load, peak temperatures shouldn’t exceed about 80°C. Much past that point and Haswell begins to throttle its speed to reduce heat.
Core and Uncore
When Intel absorbed the Northbridge aspect of motherboard chipset design into the CPU itself, it referred to the transplanted functions as the System Agent, but the quirky term uncore is the one that stuck with enthusiasts. The uncore takes care of all the system processes not performed by the cores or the chipset itself, such as integrated memory controller functions.
Keep up to date with the most important stories and the best deals, as picked by the PC Gamer team.
While boosting the uncore frequency can result in minor performance increases, the main benefits to adjusting the uncore come from reducing it. If your CPU is having problems going past 4.3 or 4.4 GHz, try reducing the uncore speed to 3.4 or 3.5 GHz to see if that frees up additional headroom for the cores to use. Any performance lost with lower uncore speeds is more than returned via higher clockspeeds. If reducing uncore doesn’t help free up more GHz or results in instability, restore it to its former value.
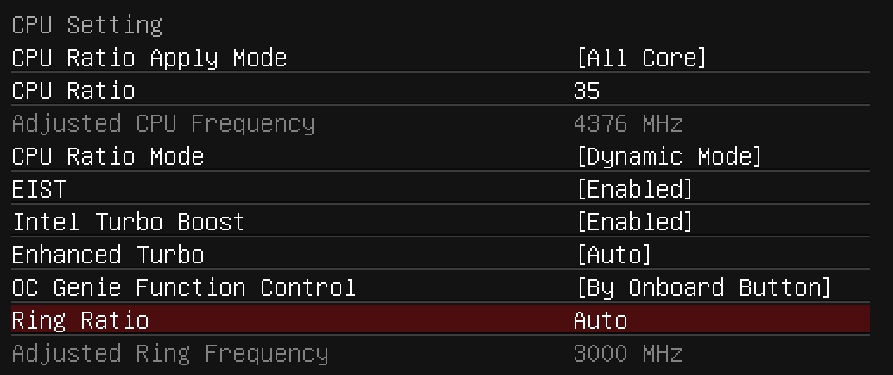
Uncore is also referred to as the cache or ring ratio on some motherboards; the exact term depends on the manufacturer. Everybody seems to have a cute name for it.
On the next page: a quick lesson on DRAM overclocking and wrapping up.

