How to use Roblox Studio
Build your own worlds with the aid of this Roblox Studio guide.
Wondering how to get Roblox Studio? Then you're in the right place. Roblox is more than merely a game for several reasons, one of which is that it encourages players to dip their toes into the world of game design. Alongside the multitude of game modes Roblox offers as standard, players can design their own Roblox scenarios thanks to Roblox Studio.
It takes the building concepts you'd find in a game like Minecraft, but pushes them further, meshing together structures, gameplay styles, and even art styles. But unlike Minecraft, it’s not an easy thing to jump into, and loading up Roblox Studio for the first time can be overwhelming. To help you get started on the path to becoming one of the best designers around, here are a few pointers.
Roblox Studio tips: Practice, practice, practice
Getting better at using Roblox Studio is very similar to getting better at anything else—you need to practice. Don't expect to building a whole new game mode in a couple of hours, it’ll take you some time to learn how to build your own worlds and assets. This might sound obvious, but it's important not to be put off because you can't immediately create everything you want to in exactly the way you imagined.
Be ready to make mistakes
The downside of practicing a lot means messing up a lot. What's important is to learn from those mistakes and use them to improve. A good way to do this is to write down what happened. If you’re serious about getting better, then you should keep a notepad—either digital or otherwise— and write down what happened every time you succeed or fail. Study your failures as well as your successes and you’ll improve much faster.
Play around with the layout of the app
Once you’re more familiar with Roblox Studio, it’s worth reorganising the interface to better suit your needs. If you know you use some tools more than others, then make them the priority. It’s important to feel comfortable when using Roblox Studio, and a clearly arranged interface is an integral part of that.
Enable Snap to Grid
Many of the tools you use will be easier to manage if you enable the Snap to Grid option in the advanced settings. These are normally in the lower-left side of the Studio interface. This option means that your mouse will jump from piece to piece rather than floating about in a more esoteric fashion. It will help you considerably when building up your first creations.
Learn your hotkeys
Many of the hotkeys available in Roblox Studio are the same as other programs. For example, Ctrl + N opens up a new place, while Ctrl + O opens a file that already exists. There are, however, a few specific hotkeys to help you build your worlds in a more efficient way. It’s worth committing these to memory if you’re planning to become a master builder.
The biggest gaming news, reviews and hardware deals
Keep up to date with the most important stories and the best deals, as picked by the PC Gamer team.
- Ctrl + 1: Equips the Select tool.
- Ctrl + 2: Equips the Move tool.
- Ctrl + 3: Equips the Scale tool.
- Ctrl + 4: Equips the Rotate tool.
- Ctrl + G: Groups the selected items.
- Alt + L: Locks or Unlocks an object.
- Ctrl + Shift + G: Fuses parts together into a single part.
- Ctrl + Shift + N: Negates a part, which allows you to make holes.
There are heaps more to learn, but these are the most useful outside of the usual suspect like Ctrl + S to save (which is always an essential bit of knowledge).
Start simple
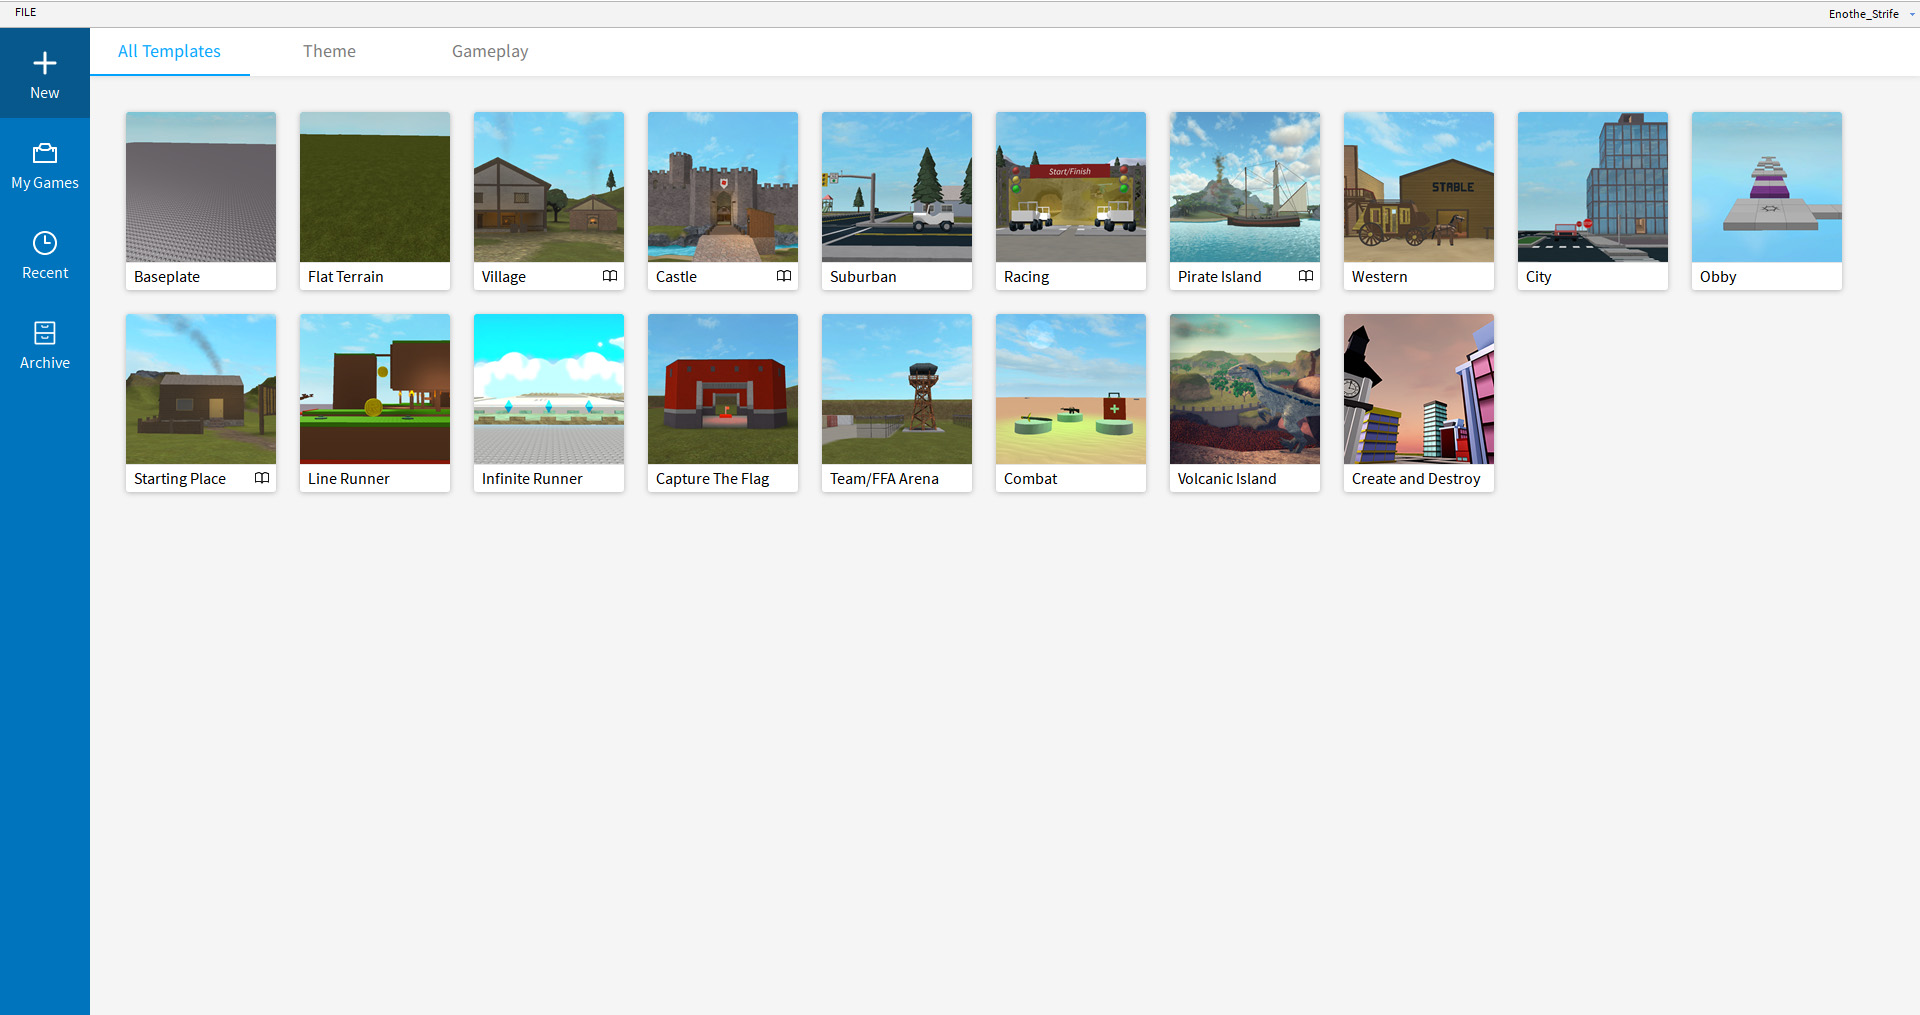
It’s best to start out using the templates provided for you. Each of the standard templates is a great way of playing around with ideas in the early stages. Even when you are more familiar with Roblox Studio, they can be an excellent starting point for the more intricate creations and games. Make sure to explore them all, and you’ll be sure to grow as a creator.
Build an Obby first
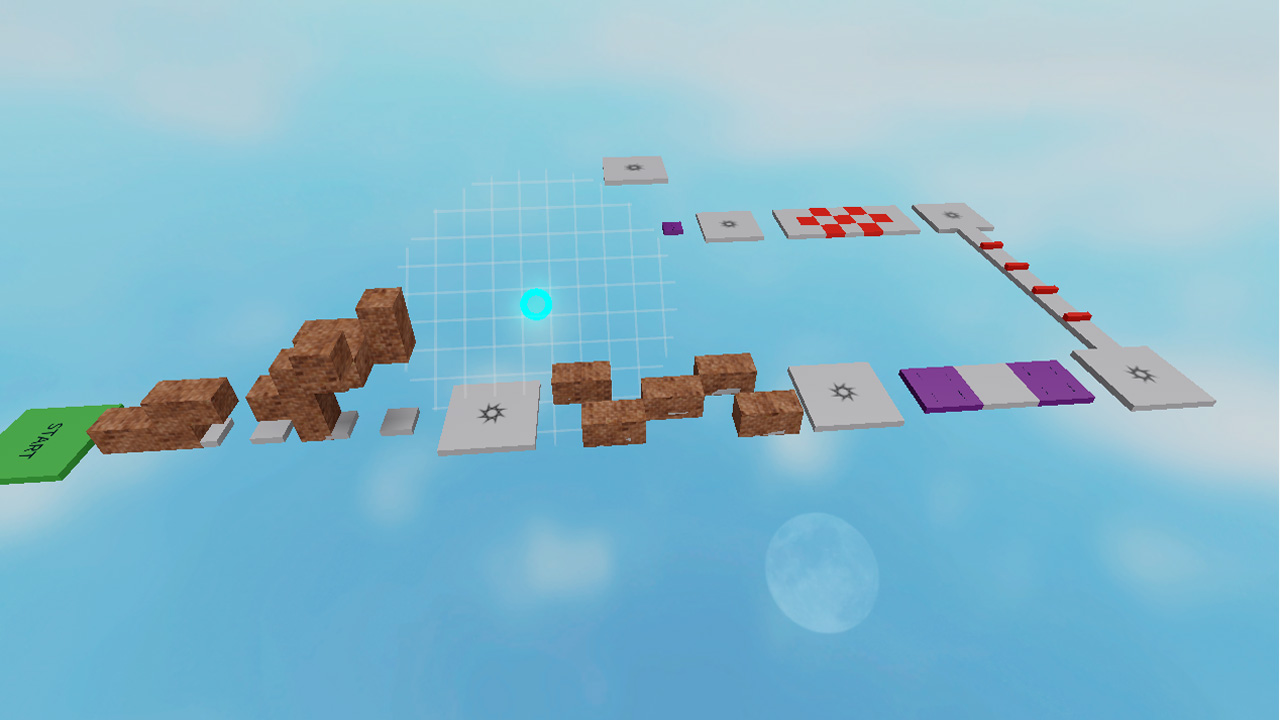
The word 'Obby' stands for Obstacle Course in Roblox. It may be an awkward shortening, but it happens to be the best game-type to mess around with when you first start off. Due to the simpler nature of designing an obstacle course versus something more complex like a shooter, it's much easier to figure out the basics.
Try out plugins
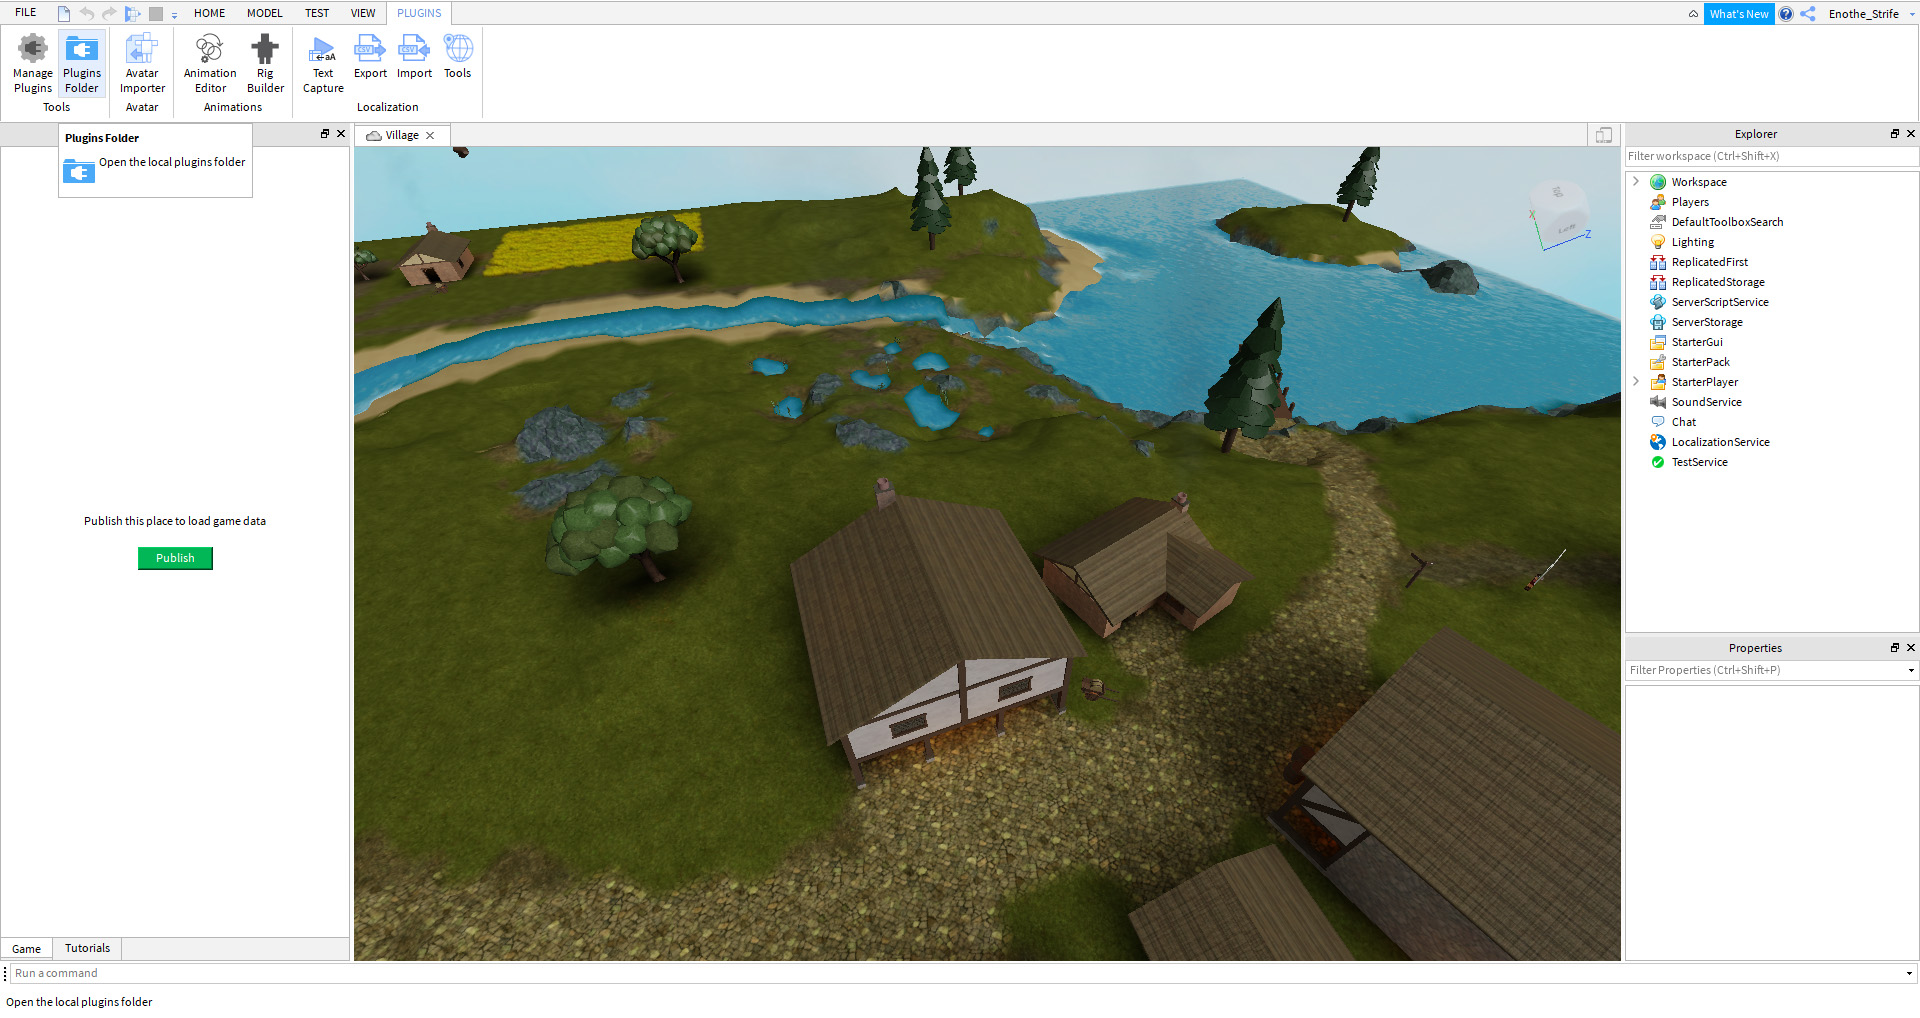
There are loads of helpful plugins available for Roblox Studio. Many serve similar purposes, but there are plenty that complement each other too. One of the most popular plugins among the community is Studio Build Suite. It adds in a few new tools that make Roblox Studio significantly easier to use, which is important when you’re spending hours perfecting your craft.
Switch between 1 stud and 0.2 stud movement
You can change how objects move around in Roblox Studio by altering stud movement increments in the MODEL tab. Movement can range from 1 stud to 0.2. This is useful when you want to make smaller and more detailed adjustments. You’ll generally want to stick with one stud mode, but when tinkering with the specific parts of each object, it’s often better to use the 0.2 stud mode.
Plan your builds
Messing around in Roblox Studio is a good way to familiarise yourself with the basics, but if you want to build something specific, it’s a good idea to plan your map, game, or model before you begin the build. You could use grid paper to plot out where to place objects, or draw out a rough sketch of your model before committing it to polygons. Either way, your project will go smoother if you put time into the preparation phase of creating something new.
Test your creations
Finally, make sure you actually test whatever it is you’re building before making it available for general use. How does your character look in motion? Does this object have the scale you want it to? Can you actually finish the new level in your platformer? Any game developer will tell you that testing your creation is vital to delivering a smooth and enjoyable experience, and if you fail to check adequately, you’ll find your lovingly crafted items being ignored by everyone.
