How to Build: All-in-One PC

Build your own All-in-One PC!
The all-in-one PC is predicted to be one of the hottest PC form factors over the next few years. That’s great for Joe 12-Pack, but for an enthusiast, an AiO is pretty much as monolithic as you can get. Sure, you might be able to add RAM or swap the HDD, but that’s usually the extent of the average AiO’s upgradeability.

Enter Intel ’s new push for the DIY AiO, the first serious attempt at building a standard around this practice. All-in-one bare-bones kits have likely been available before, but Intel’s backing formalizes it as a real DIY category. The big change is the Thin MiniITX, which specifies far slimmer mobo profiles than regular Mini ITX, as well as fixing a spot where the CPU can be installed. The fixed CPU location enables standard heat pipe–type cooling solutions as an option, whereas Mini ITX allowed vendors to put the CPU anywhere on the board.
To get our feet wet, we decided to build a nicely outfitted AiO to see how it would compare spec-wise to a prebuilt peer. The result? You’ll have to read to the end, but we’ll be a clock tease and say that a DIY AiO might be just the way to go.
Choosing the Hardware
The First step of building an AiO is finding the chassis. Since Intel has been the main driver behind a standard, a good place to start is here . The DIY site has numerous resource for builders. We recommend that you start with the Design Component Catalog as well as the Compatibility Matrix . Remember, the standard is evolving and we’re not at the point of desktops, where 98 percent of hardware is compatible. For example, some of the AiO models use proprietary coolers while others can use the standard Intel part. AiO units that don’t use the standard Intel heat pipe should ship with their own. Also keep in mind the thermal constraints of an AiO before you buy the parts.
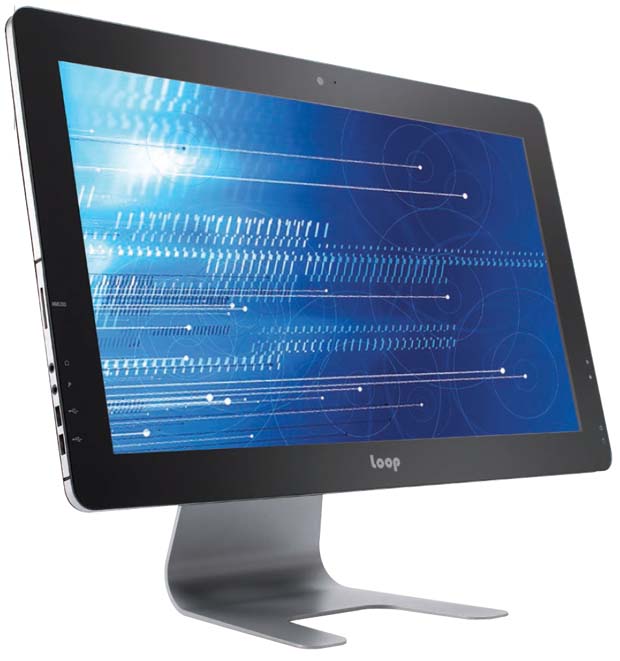
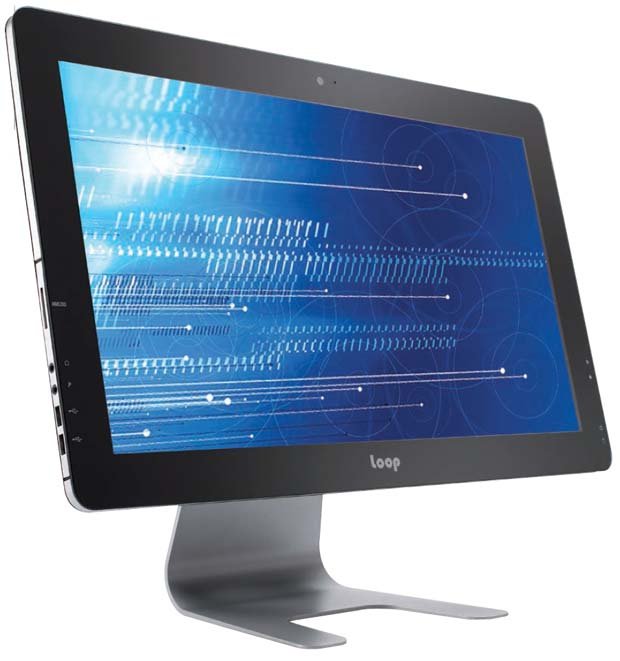
Our build started with a Loop L5 LP-2150 chassis . The chassis features a 21.5-inch panel and normally comes without the cooler and power brick for about $265. We did find some sites offering it packaged with the Intel cooler and a power brick though, for a small savings. The board we used is an Intel DH61AG. It supports an external power brick–type connector and up to a 65-watt TDP desktop processor. For our build, we tapped the quad-core 3.1GHz Core i5-3570S chip, which is nearly the same as the Core i7-3770S save for the Hyper-Threading. For storage, the board supports Mini PCIe SSDs and standard 2.5-inch drives. For our build, we opted for an Intel 240GB 335 Series SSD. Finally, we went with a pair of Patriot 4GB SO-DIMMs.
INGREDIENTS
The biggest gaming news, reviews and hardware deals
Keep up to date with the most important stories and the best deals, as picked by the PC Gamer team.
| | PART | URL | Price |
|---|---|---|---|
| Chassis | Loop L5 LP-2150 | www.loopint.com | $265 |
| Case | Core i5-3570S | www.intel.com | $205 |
| RAM | 8GB Patriot DDR3/1333 | www.patriotmemory.com | $38 |
| Motherboard | Intel DH61AG | www.intel.com | $120 |
| Cooler | Intel HTS1155LP | www.intel.com | $27 |
| PSU | FSP 150-ABAN1 | www.fspgroupusa.com | $48 |
| Wi-Fi | Intel 62230AN.HMWG Wi-Fi card | www.intel.com | $24 |
| SSD | Intel 240GB 335 SSD | www.intel.com | $200 |
| ODD | LG 12.7m GT60N 8x DVD+R combo drive | www.lg.com | $28 |
| OS | Windows 7 Home Premium 64-bit | www.microsoft.com | $99 |
| Total | $1,054 |
Click the next page to see each installation step.

