How to Build a Kick-Ass MAME Arcade Cabinet from an Old PC
Part 4: PC Hardware
At its heart, a MAME machine is really just a fancy enclosure for a computer that emulates old games. This means that everything will be for nothing if you don’t have a computer to put into your cabinet. Fortunately for you, the system requirements for MAME are pretty darn low. If you’ve got a spare computer or parts from the last 5 year, it’ll run MAME just fine. Here’s what we used in ours:
- CPU: Core 2 Duo E6600
- Motherboard: Nvidia 680i
- Graphics: ArcadeVGA card
- Memory: 1GB DDR2
- HDD: 150GB
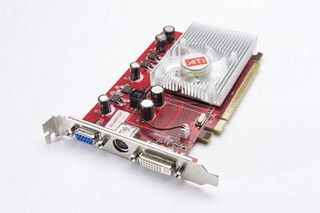
Right about now, you may be asking yourself “What the heck’s an ArcadeVGA card?” It’s one of two specialty bits of computer hardware you’ll need for a MAME cabinet—it’s a special video card which allows you to connect your computer directly to a 15Khz arcade monitor. This is necessary, because sending a stand 31Khz signal to an arcade monitor won’t work and can damage the monitor. Ultimarc makes the cards, which are available for around $100.
The other special piece of hardware you’ll need to order is a keyboard encoder . Remember that all your joysticks and buttons are actually just little microswitches, which complete electrical circuits when pressed. A keyboard encoder is wired to all of your microswitches, and to your computer through the USB or PS/2 interface, and it translates the microswitch signals into key presses for your computer to use with MAME.
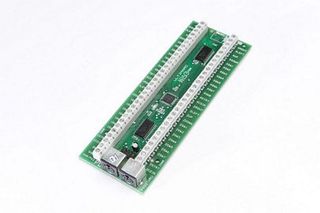
There are several different keyboard encoders available. Among the most popular are Ultimarc’s I-PAC 2 and I-PAC 4 boards, which support up to 32 and 56 inputs, respectively. For our build we chose the I-PAC 4, so we could hook all of our controllers up to a single encoder. When calculating how many inputs you need, bear in mind that a joystick contains 4 individual microswitches.
Mounting
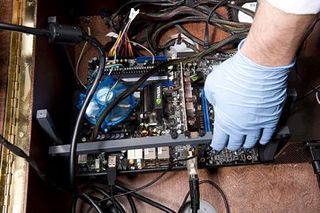
You can mount the computer in the case however you like, as long as there's room. In our cocktail cabinet, the large CRT monitor meant that there wasn't enough vertical space to mount the motherboard into a case. We could have mounted the mobo directly onto the wood floor of the MAME cabinet, but instead chose to build it into a plastic tray, and glue that tray to the bottom of the cabinet.
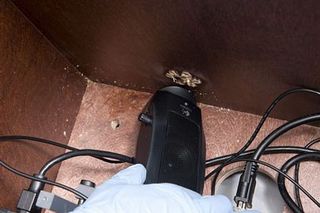
To make way for the speakers, we drilled a grid of holes through the case and hot glued in a couple of simple Logitech PC speakers, facing toward the holes.
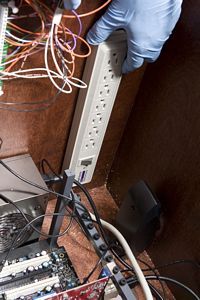
To power everything, we glued a power strip to one corner of the inside of the case. We connected the PC, monitor and speakers to this power supply, and then ran the power supply cable out through a hole in the bottom of the case.
The biggest gaming news, reviews and hardware deals
Keep up to date with the most important stories and the best deals, as picked by the PC Gamer team.
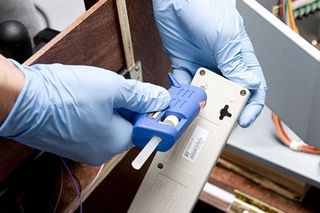
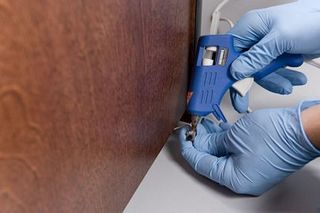
Hot Glue: The solution to all of your problems
To turn the PC on and off, we cut the ATX power button out of a spare case and connected it to the motherboard. We ran the wire through a hole in the floor of the cabinet, and glued it under the bottom panel, facing sideways so that it isn't visible from the outside, but is still easy to access.

Game director Soulframe Liang has used his online nickname for so long he even trademarked it in China, and when Digital Extremes and Tencent came knocking for the Warframe sequel? 'I'm not selling'

Eidos Montreal lays off more employees: 'We don’t have the capacity to entirely reallocate them to our other ongoing projects'
