How do I apply thermal paste?
There are many ways, but only one is the right way.

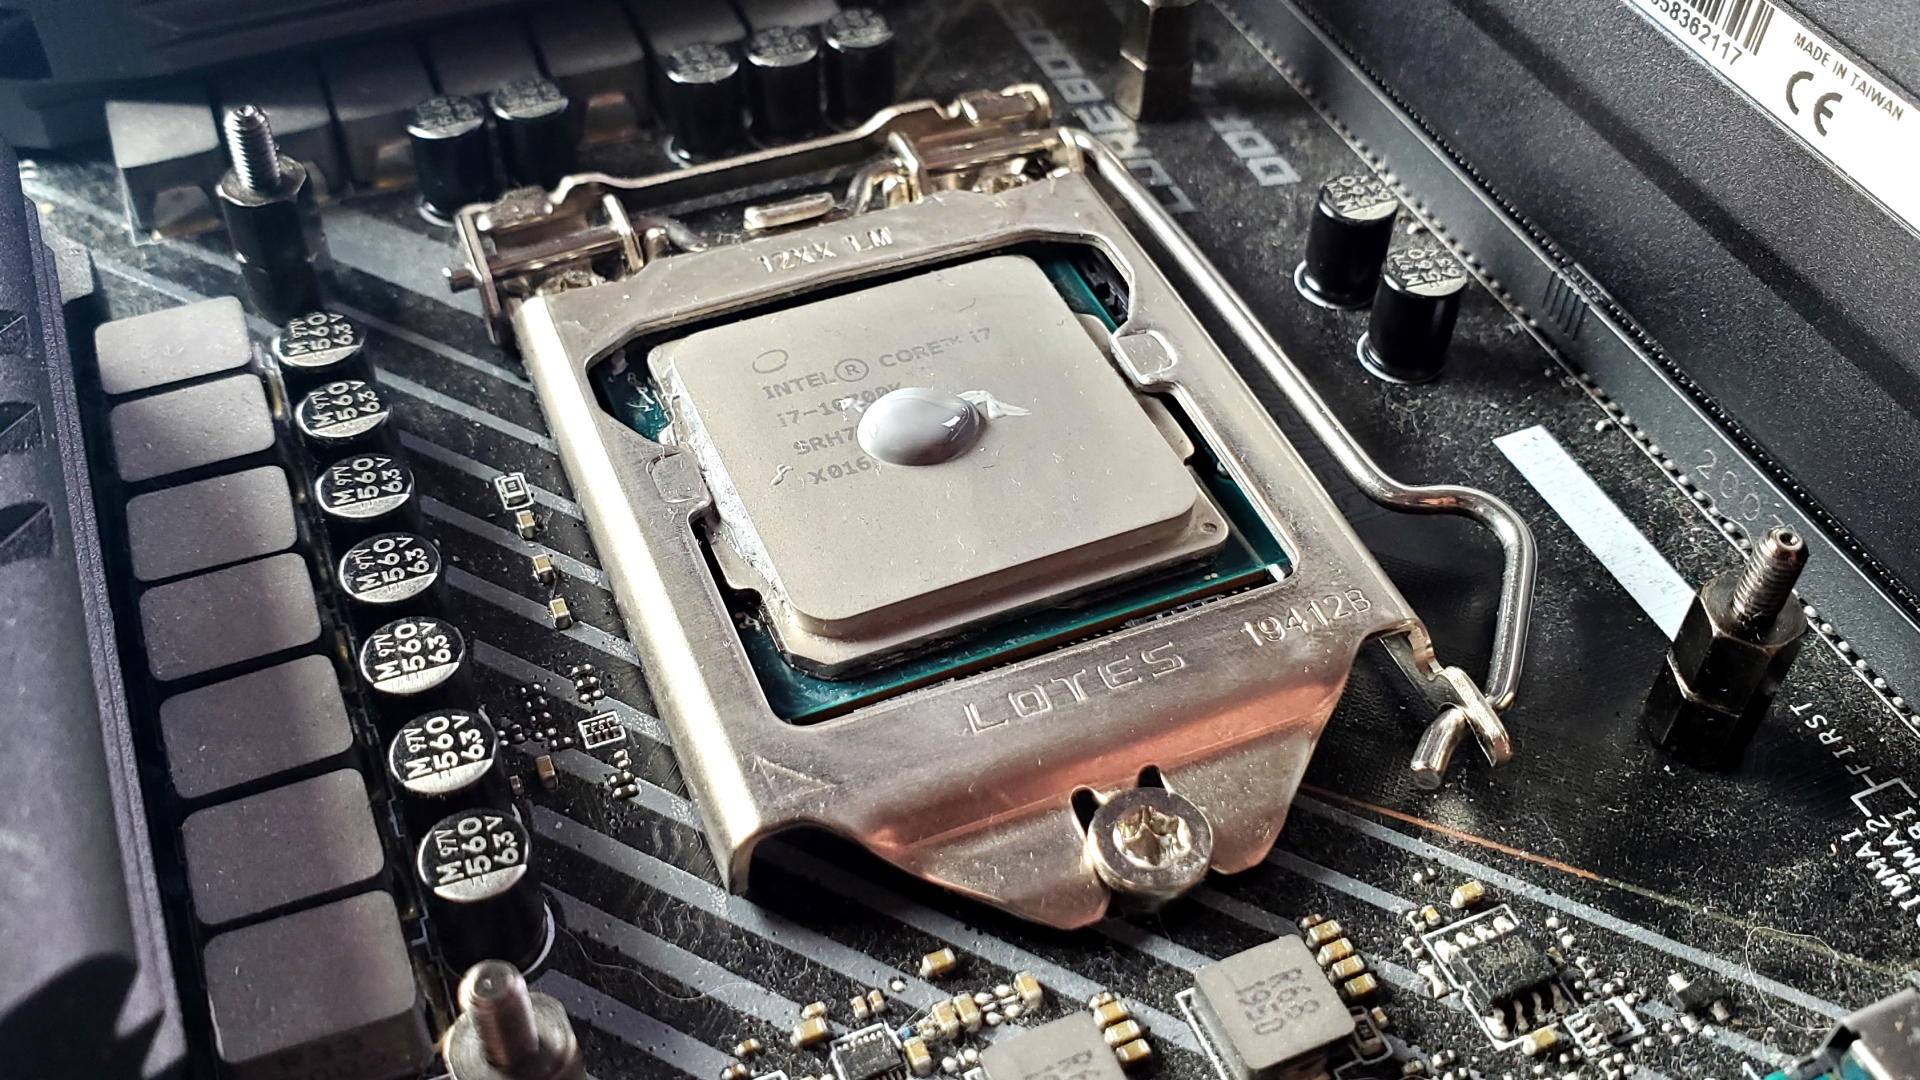
There are many ways to apply thermal paste, which is why it can be a touchy subject among some enthusiasts. Everyone has their own way of laying down paste to get the best results, but from my experience the best temperatures come with the simplest and often minimalist application method—just one dot. This is also referred to as the "grain of rice" method.
There are newer caveats to this, where larger CPUs may require more paste to cover the large surface area, or hit specific hotspots under the heatspreader, but largely the advice remains the same: a wee dab of paste goes a long way.
Before going over my preferred application process, it helps to understand some of the issues that can occur with different application methods. One of the most common methods used is often referred to as the "line method." This is exactly as it sounds. Apply a thin line of thermal paste directly down the center of the IHS (Integrated Heat Spreader) and then allow the pressure of the CPU cooler to spread the paste as you secure it.
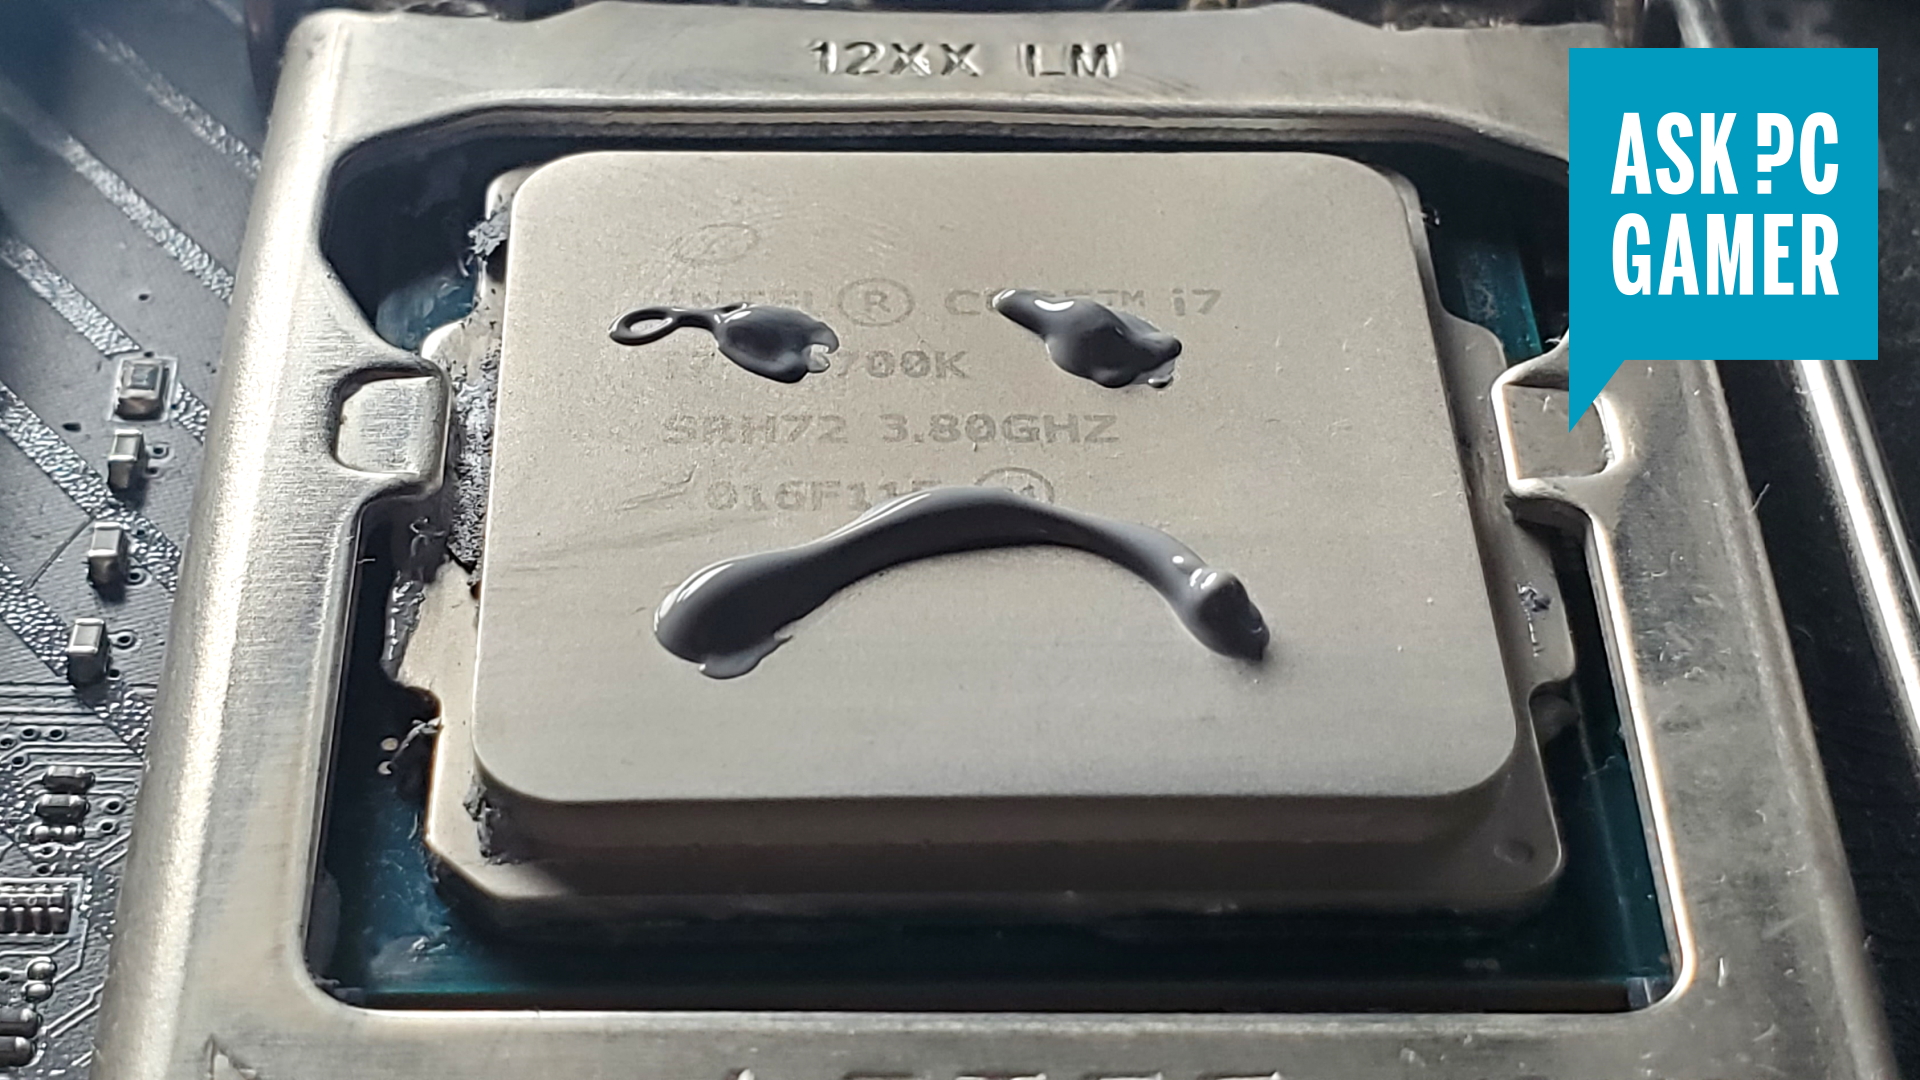
The problem with this method is that the paste doesn’t spread out evenly. In trying to ensure that you have enough paste applied to cover the entire area of the CPU, it's more than likely that you'll end up with too much paste. This negatively impacts performance because excessive paste ends up impeding efficient heat transfer.
If you do not leave enough of a gap between the edge of the CPU and the end points on your line, you also risk having the paste squeeze out of the sides once you have secured the cooler. Not only does this make an unnecessary mess, but if you happen to be using an electrically conductive paste, any contact with the PCB could cause a short circuit, damaging your motherboard and other connected components.
Remember: the goal of thermal paste is to fill in microscopic gaps on the surface of your CPU and your heatsink, not to sit on top of your processor like so much grey cake frosting.
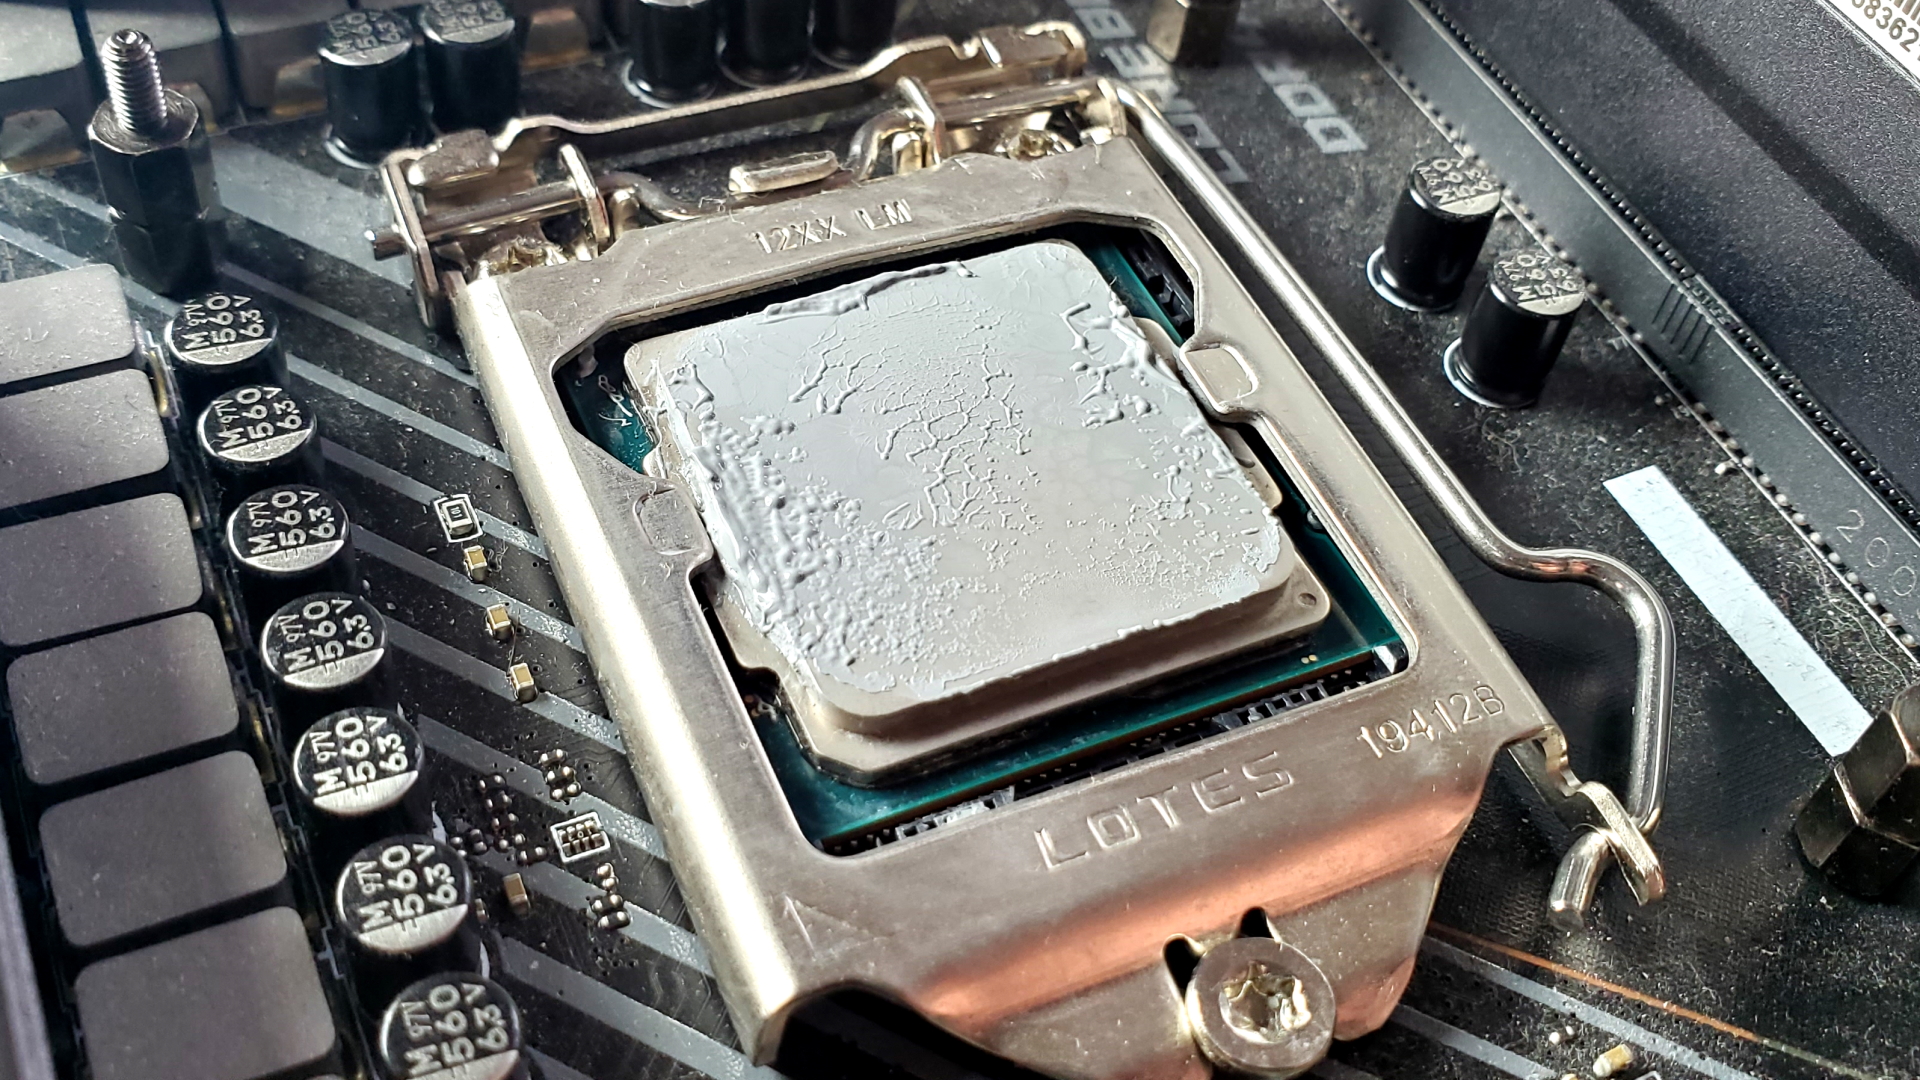
It can be difficult to ensure that thermal paste is spread evenly. Some people recommend (wrongly) that thermal paste should be manually spread across the CPU using a flat hard surface such as a credit card. While this does provide nice looking initial results, and makes it much easier to control the amount of thermal paste applied, it has one major flaw that can greatly impact performance: spreading the thermal paste manually creates small air bubbles. Since air doesn’t conduct heat nearly as well as thermal paste, temperatures can suffer greatly.
The biggest gaming news, reviews and hardware deals
Keep up to date with the most important stories and the best deals, as picked by the PC Gamer team.

Using the Dot Method
The simplicity of this method works to eliminate the issues with other application methods and guarantees great performance and even spread of thermal paste every time, provided you install your cooler correctly. Before you start squeezing the plunger, it's a good idea to make sure the surface of both your cooler and your CPU is clean. A quick wipe with a non-linting towel and some isopropyl alcohol will do the trick.
Squeeze out a small amount of thermal paste onto the center of the CPU. You only need a small dot a few millimeters in diameter. Don’t go overboard or you will sacrifice performance. No larger than a grain of rice or two.
Before installing your cooler make sure all required hardware is in place. If you place your cooler and then realize you forgot a bracket or backplate you’ll have to wipe down and start again. Ideally, applying the thermal paste will be the last step before mounting your heatsink.
Make sure you place your cooler on as straight as possible the first time. If you have to turn it to line up the holes after it's already place, the thermal paste will not spread properly.

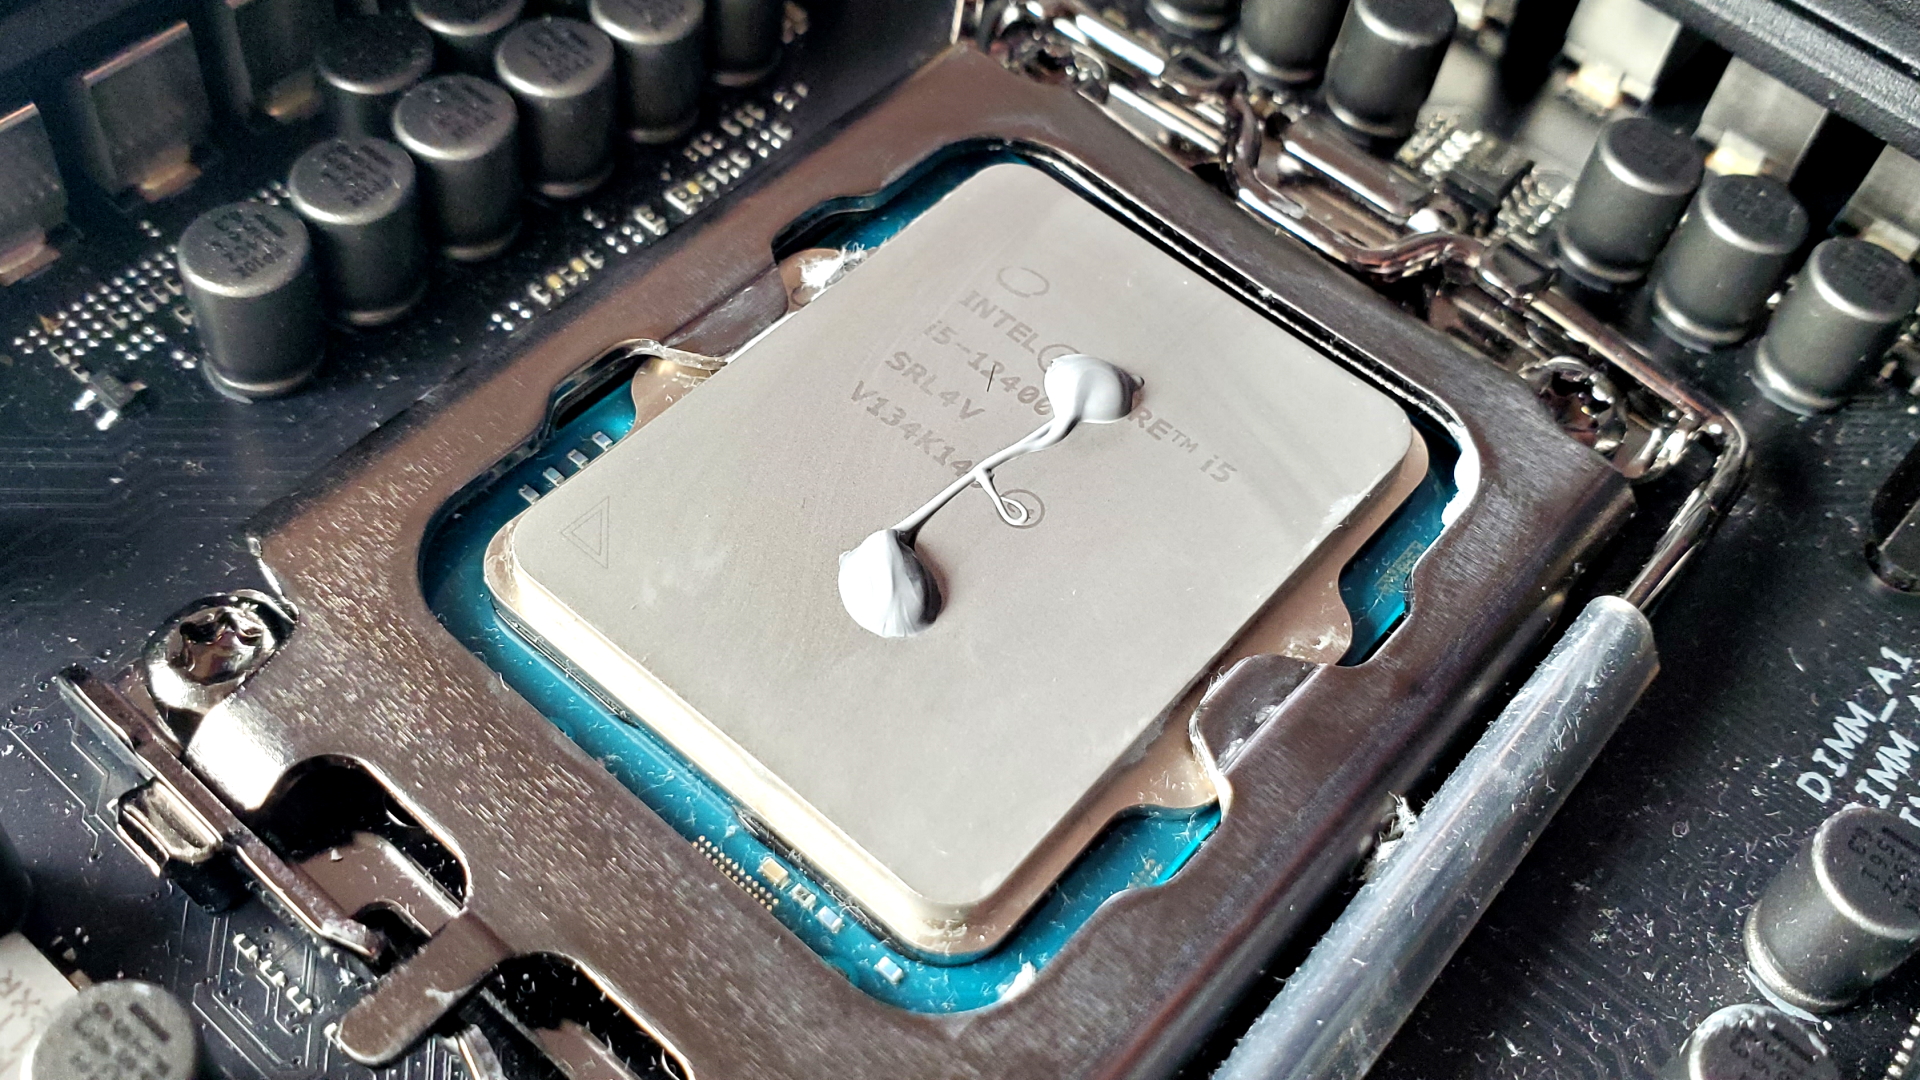
It's worth noting that for larger processors, such as Intel's 12th Gen Alder Lake CPUs, or AMD's Threadripper chips, you will need more than a single dot of thermal paste. Being no longer square means you can no longer rely on one application to spread equally across the surface of the heatspreader, so I would recommend two small dots at either end of the processor.
For Threadripper, maybe three...
So long as the paste spreads across the breadth of the chip you're good. That's important for something like the chiplet-based Ryzen processors, which have three discrete chips that will need effective cooling. If your application leaves a bald spot on your CPU that could lead to overheating and poor performance.

Upon removal of the cooler you can see that this method provides an even spread of thermal paste. There is enough paste to cover the die area without causing it to spill out or creating a thick layer that inhibits heat transfer. Sometimes less is more, and in the case of thermal paste, less is definitely more.

Dave has been gaming since the days of Zaxxon and Lady Bug on the Colecovision, and code books for the Commodore Vic 20 (Death Race 2000!). He built his first gaming PC at the tender age of 16, and finally finished bug-fixing the Cyrix-based system around a year later. When he dropped it out of the window. He first started writing for Official PlayStation Magazine and Xbox World many decades ago, then moved onto PC Format full-time, then PC Gamer, TechRadar, and T3 among others. Now he's back, writing about the nightmarish graphics card market, CPUs with more cores than sense, gaming laptops hotter than the sun, and SSDs more capacious than a Cybertruck.

