Take command over Heroes of the Storm's Warhead Junction
Learn to stop worrying and love the bombs.

One of the larger maps in Heroes of the Storm, Warhead Junction is a three lane map with objectives located around each lane. There are three possible spawn locations on each. Teams must work together to capture the objectives—nuclear warheads, that require a long channel to pick up—and use them to push towards the enemy’s core.

The key skill this map demands is being able to adapt your movements according to the objective.
Choosing your hero
Like most large maps, taking someone with a global ability or focus (Falstad, Brightwing, Dehaka, or The Lost Vikings) is incredibly useful. Otherwise, you need to be able to sustain through long, drawn-out fights. It takes a long time to capture a warhead: if the two teams are in a battle of attrition, someone like Uther or Tyrande as a sole support won’t be able to keep up.

The most important thing to get right on Warhead Junction is movement, however, so just focus on having having a generally strong composition. At least one assassin, a tank, a support, some other damage dealer, and a flexible slot. If you can, try to take one of the shielding heroes—Zarya, Tassadar, or Medivh—as your flexible hero. Shields help a great deal in longer battles.
Laning
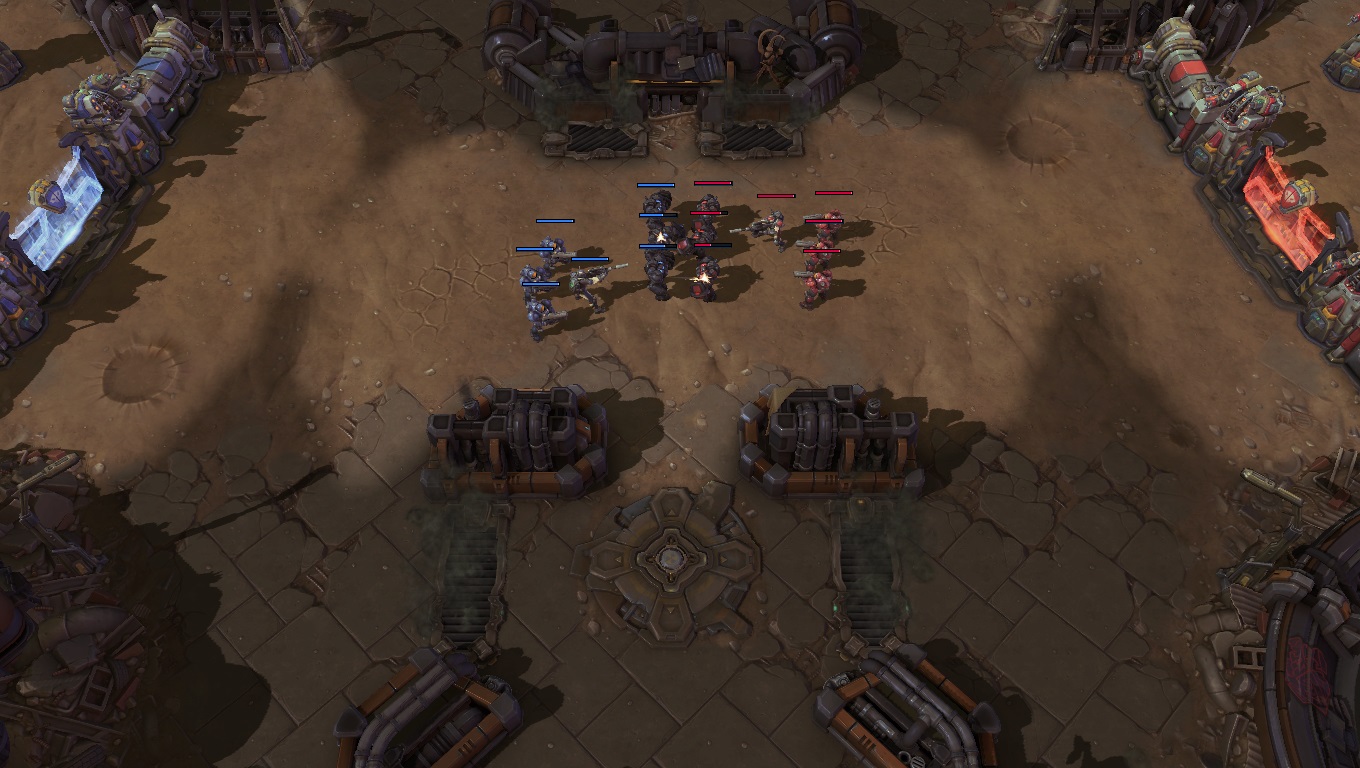
Unlike many other maps, there’s no one true way to lane in Warhead Junction. Typically there will be a 1-3-1 split, but this changes quickly as people try to move between lanes to get a kill. It takes a long time to move between lanes, meaning the split of heroes is sometimes 1-1-1, with two heroes roaming.
If you’ve got a team that relies on getting key talents and drawing the game out, just play safely. Don’t push too far up the lanes unless you can see the entire enemy team somewhere else. On the other hand, if you think you can abuse a weak early game in the enemy or if you can see someone pushing who lacks an escape, assign two people to roaming.
The watchtower in the middle lane makes it tough to roam towards the top lane if you don’t have control of it. If that’s your aim, use three people to wrestle control of it and gain vision over that area. If you’re sat in the top lane, use the Watch Tower to gauge if you’re about to be in trouble.
The biggest gaming news, reviews and hardware deals
Keep up to date with the most important stories and the best deals, as picked by the PC Gamer team.
Nuclear warfare
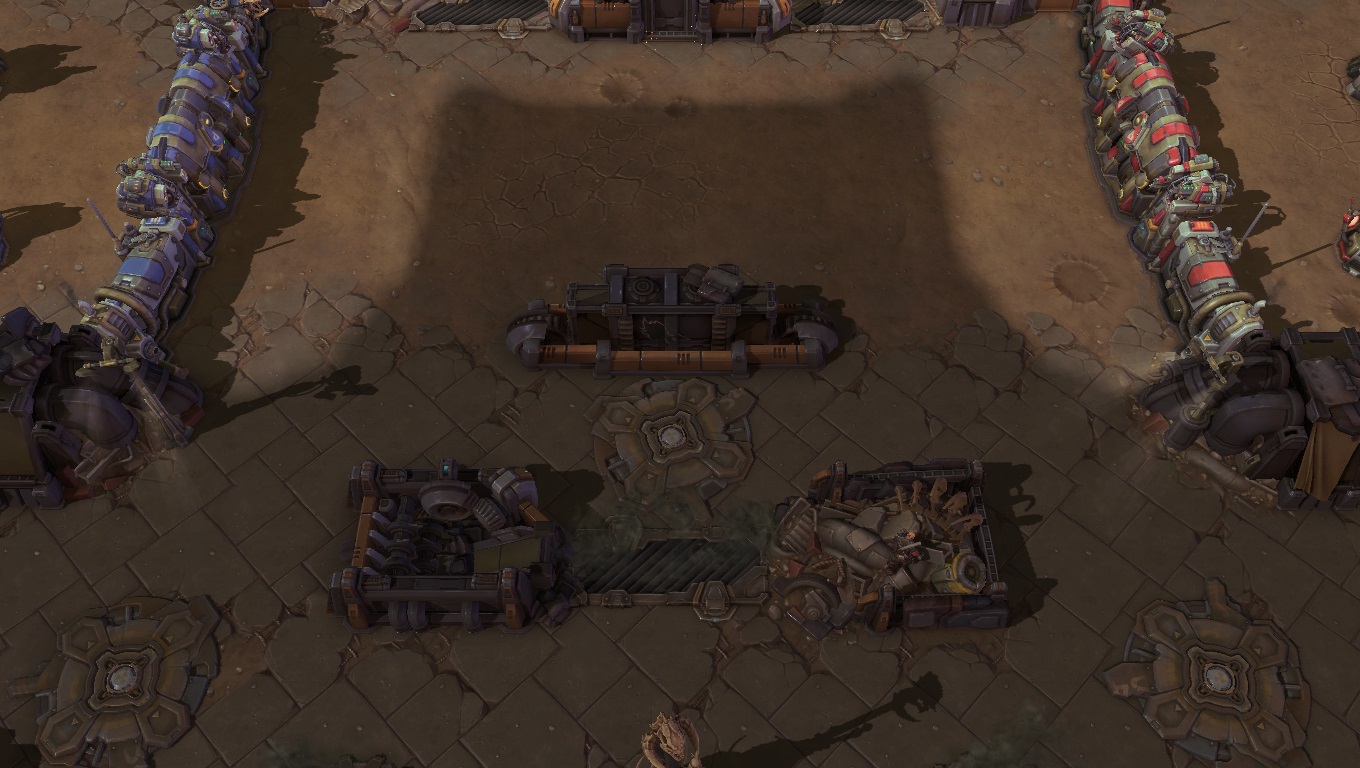
In the first wave of warheads, which spawn two minutes in, they’ll spawn at two of the neutral locations on the map. Each lane has one central spawn location next to it, which is weighted towards neither team.
You’ll only have 20 seconds to move around the map to get in position for the warheads, but with a whopping five second channel time on a warhead it’s still possible to interrupt the enemy if you do get there late.
If you think you can anticipate the way the enemy will be moving, you can take advantage of it. If you’ve got control of the central watchtower, it’s possible to get an accurate count easily.
Try to either match the enemy’s numbers and set up before them, ambushing an opponent to force them back, or outnumber them at one warhead to go even on warheads captured and maybe use that numbers advantage to nab a kill.
Use that first warhead to take out the front wall of a fort as well as the nearby fountain. See below for just how to fire it to get damage across as many structures as possible. In the first two waves, fire your warheads as soon as possible.
That’s a lotta nukes
In the next wave, four warheads will spawn. Two will spawn in two central locations, while each of the others will be weighted towards one team. Here’s where your ingenuity will come into play.
If you’re ahead you can go for the warhead toward the enemy’s side: the benefit of this, if successful, is that one allied hero can safely channel your team's equivalent warhead to capture that without fear.
If you over-commit to this, however, you’ll be sacrificing at least the other two warheads in other lanes, and if it’s unsuccessful, maybe the warhead on the enemy’s side too. The longer it takes, the longer you’re out of lanes and losing experience on top of everything else.
If you’re even or behind, know where your opponents are and anticipate their movements to go even on warheads if you can. The warhead on your side is safer in terms of its location, but you can also be sure that at least one enemy will be nearby—for that reason, if you’re looking to go for that warhead, do so with an escort.
The fallout
Later, the nuclear warheads will spawn in the same order: two, then four, then back to two. At this point you need to start making conscious decisions about what to do with your warheads. The centre of each explosion deals increased damage, and if you fire a couple at once you can easily take out structures. With a little co-ordination, a rush on the enemy is a viable tactic to take down a keep.
If you’re ahead, maintain control of warheads when they spawn and use a creeping barrage of nukes to reach the enemy core. Maintain your advantage by not getting heavily outnumbered at the warheads—remember that if your enemy is pushed back to their base, they won’t be able to fire a warhead at your structures.
If you’re behind, use the warhead phases to set up teamfights in your favour. Outnumber the opponent when you know their location to claw back some experience.
Later on, warheads will often be more plentiful as teams hold on to them. This results in some chaotic teamfights. While using a warhead on enemy heroes is rarely a good thing—the firing time is long enough for them to run away—it can be effective during boss fights. Fire the warhead on the capture location of a boss to force the enemy to either run away or take a huge chunk of damage if they desire to contest it.
This sort of tactic was used at Blizzcon, even, resulting in utter chaos.
The two bosses on Warhead Junction are incredibly strong but difficult to capture. They’re heavy on area of effect damage and force heroes to avoid regularly-spawning locusts, meaning they’ll whittle down the whole team rather than just one target. It’s best to take out a boss when the enemy is either taking the other boss and you’re unable to contest that or when the enemy team are all dead.
There’s two ways to win on Warhead Junction: push with a boss after wiping out the enemy team, or push with warheads.
The former relies on winning teamfights. That's a goal to look towards if you’re ahead, while the latter strategy is often more available to teams who are behind. If you’re ahead, winning is common sense: maintain control of objectives, don’t get greedy, and build your lead until you can finish. If you’re behind, Warhead Junction is unique in that one good move can snowball the game into a victory for your team.
Focus on abusing predictable movements when the warheads spawn to get a numbers advantage, and regain control of the map with warheads themselves. This map rewards last-ditch attempts at victory with a rush of warheads. Even if you’re behind: one teamfight, won through a successful ambush, can lead to a barrage of warheads on the enemy’s core. If you’re able to land two on it, that should lower its shield and decrease its HP dramatically. A couple of nukes is all you need here, because there’s no mutually assured destruction at Warhead Junction.
Find all of our other Heroes of the Storm guides below:
Dragon Shire guide
Garden of Terror guide
Cursed Hollow guide
Blackheart’s Bay guide
Sky Temple guide
Tomb of the Spider Queen guide
Battlefield of Eternity guide
Infernal Shrine guide
Towers of Doom guide
Chromie guide
Medivh guide
Gul’dan guide
Auriel guide
Samuro guide
Varian guide
Braxis Holdout guide

