Improve your strategy in Heroes of the Storm's Braxis Holdout map
Braxis makes perfect.
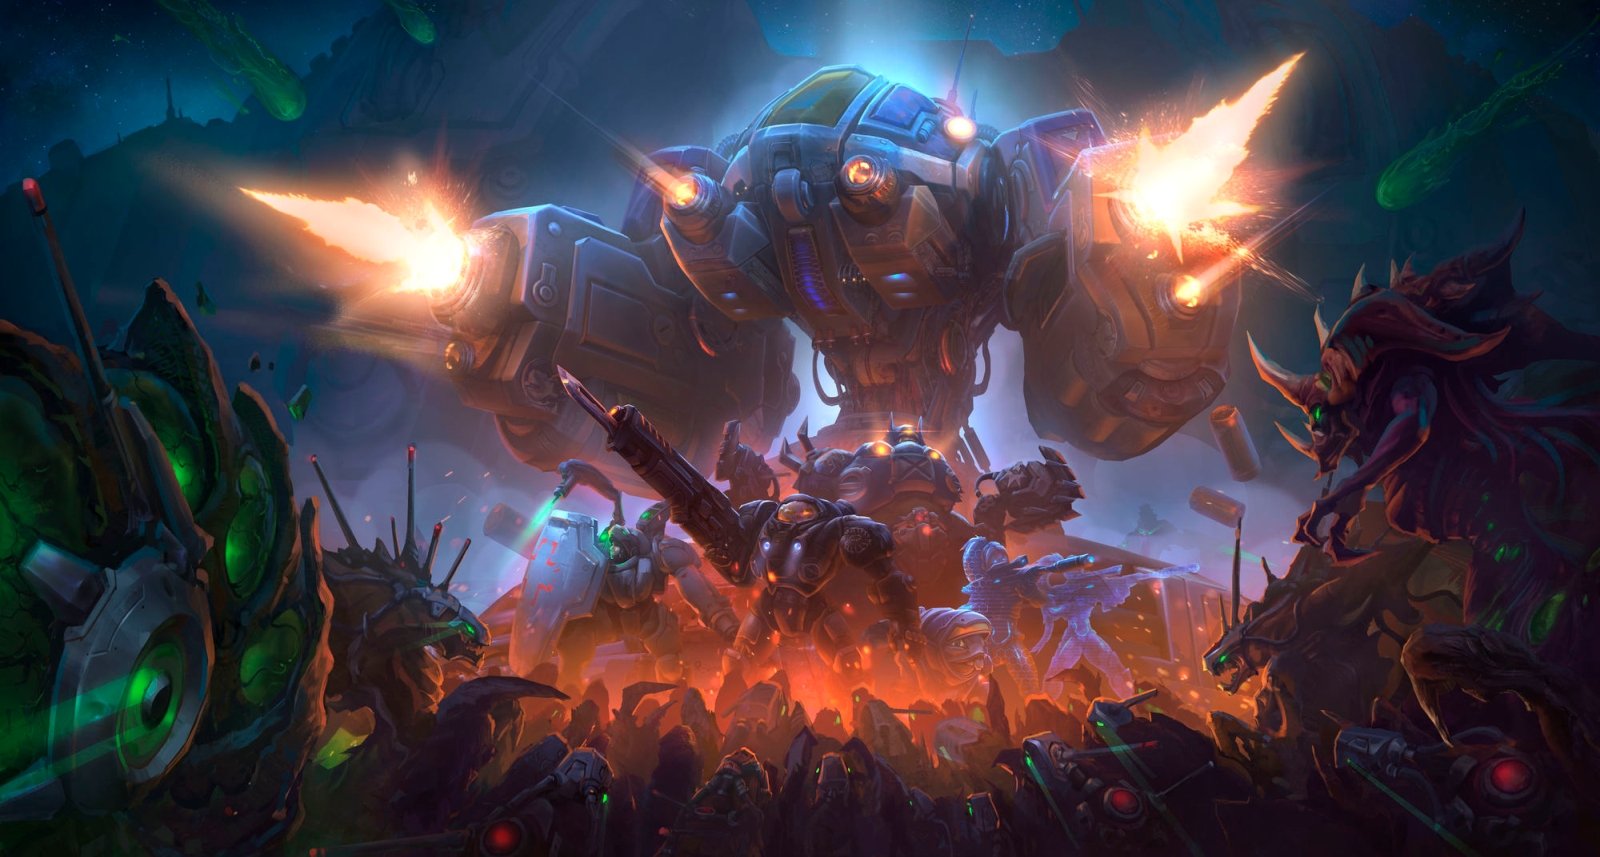
The Zerg Rush. To many StarCraft players, it’s one of the defining strategies of the series. It’s also the key to one of Heroes of the Storm’s maps, Braxis Holdout. On a facility far off in space, the Terrans were researching the Zerg. Now, you get to use them as a weapon against the enemy.
One of Heroes of the Storm’s two-lane maps, Braxis Holdout is a large map that rewards teams who can split themselves up effectively. What differentiates the map from other two-lane options is that the centre of the map isn’t the primary objective, instead there are two objectives just off to the side of the lane.
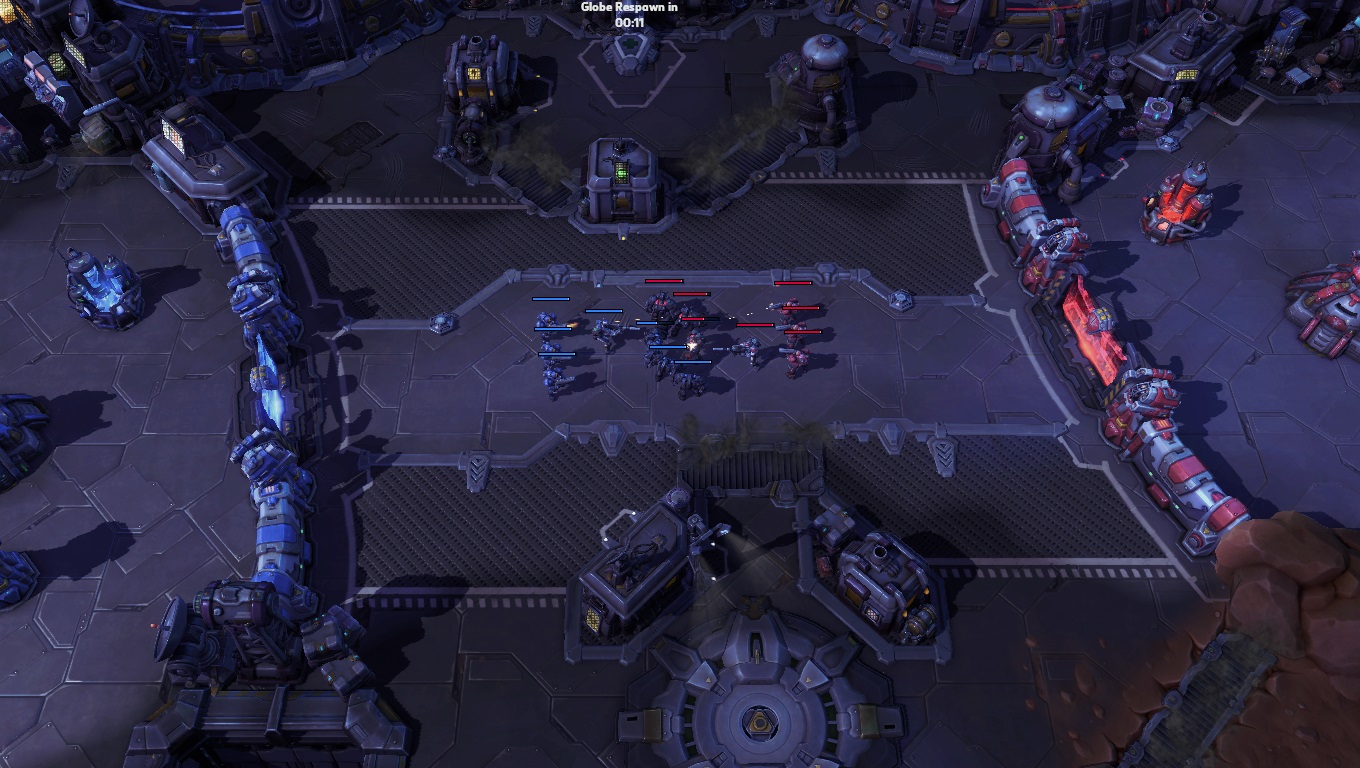
When the objectives activate, controlling both will cause your holding pen to fill with Zerg units. Once a team fills their pen, both open and begin to attack the enemy in the nearby lane. It's simple, really. The challenge is controlling both points at the same time—a feat reminiscent of Dragon Shire’s primary objective. The difference here is that it’s not a situation where the loser gets nothing: both holding pens open, so if the team that doesn’t reach 100% gets even something it can change things up dramatically.
Choosing your hero
Because of how much of an advantage vision in the lane and dominance early on is, heroes with superior wave clear are useful here. On top of often being better at controlling the lanes and objective, these heroes are also good at clearing the Zerg waves themselves. Even if you lose the objective, having a hero or two who can deal lots of area of effect damage to non-heroic targets is useful. There will be a lot of Zerg to kill if you do lose the objective.
For this reason, try to have someone like Gul’dan or Kael’thas on the team, as they’ll both control the lane and clear out the Zerg. Teams often split to send one person to the top lane and the rest of the team south, so it’s also useful to have a strong solo laner like Thrall, Alarak, or Rexxar. Otherwise, stick to a normal team composition. Global mounts can be strong here, with Dehaka and Brightwing being especially useful if you’re confident.
Laning
Split up the team with one going top and four going to the bottom—you’ll need at least one tank, one healer, and one assassin to clear waves in the group down below, plus something else to round that out. Otherwise, focus on soaking experience and clearing out minions. If you’ve got someone with the potential to catch enemies off guard (Artanis, Tyrande, E.T.C.), you can look to take advantage of poor positioning, but it’s not key.
If anyone on the team has picked a talent that focuses on collecting regeneration globes, try to maintain control of the side area with the globe generator. It’s a constant supply of mana and health, and means talents like Mana Addict for Kael’thas can be completed quickly.
The biggest gaming news, reviews and hardware deals
Keep up to date with the most important stories and the best deals, as picked by the PC Gamer team.
Capturing the beacons
Things get interesting when the beacons activate—and you’ve got a few ways to play it. If both lanes are dominating and able to control their respective beacons in a 1-on-1 and 4-on-4, keep at it. No reason to change it up. The key is to be aware of how the enemy plans to respond.
If there’s a stalemate or your opponent has control, you’ve got to get your thinking cap on. The best method to regain control of beacons is by poking the enemy down—forcing them to back off and heal—or by playing the numbers advantage. Allies need to move between the beacons to control at least one until you can catch the enemy unawares or at a disadvantage.
Unlike other maps, it’s very safe to move between lanes early on because of the way that the map is shaped. The boss and the large horizontal walls prevent ambushes in the centre from being too common until later on in the game. When you’re not trying to win even fights, this should be your priority, and something to learn over time: how and when to move between lanes to gain an advantage. For example, if you’re the sole support, don’t leave three members of your team alone on the bottom lane with low health. Know when they’ll be safe and when they’ll need you.
Zerg rush
At levels 1, 4, 7, 10, 13, 16, and 20 you get a new talent. If you hit one of these thresholds before the enemy, you’ll have a major advantage in a fight.
If you’ve managed to fill your pen, move the group of four to whatever lane your Zerg will be pushing, and leave the solo laner to deal with the enemy’s Zerg. Push down the enemy. If you’ve got a talent advantage, just push that advantage as far as you can, winning the first big Zerg push can set up a win later on.
If you’re on the receiving end of a full pen of Zerg, do the reverse. The solo laner should soak experience in the empty lane, while the other four clear out the Zerg. Use ranged area of effect abilities to wipe out the backline of Zerg, while melee tanks and assassins deal with the huge Ultralisks.
Returning to lanes
Once the Zerg have been killed, return to lanes. If you lost a fort in the rush, you’ll have to start backing up heavily—it’s easy to get flanked otherwise.
After about two minutes, start taking mercenary camps, as they’ll be a helpful distraction when the beacons activate again, and will force your opponent to either defend the lanes and lose control of beacons or lose structures.
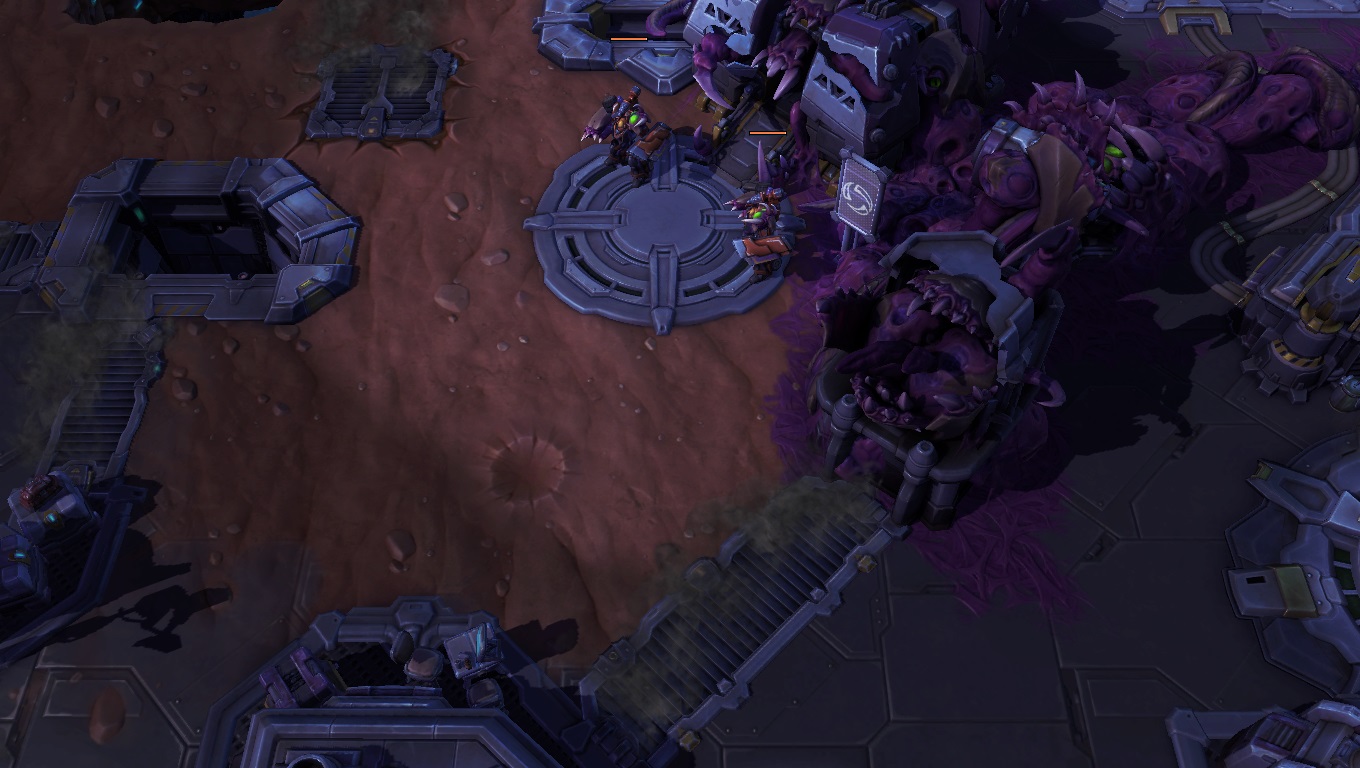
Never take them without vision, though—the Firebat mercenaries are next to a stretch of fog that can be used to ambush you. Always stick as a group and never take the mercenaries alone, just so the enemy can’t pick off an easy kill.
When the beacons activate again, push an advantage if you’ve got a talent up on the enemy, or play the map to gain a numbers advantage and control the beacons. Even if you’re behind on levels and structures, by watching where the enemy are and outnumbering them, you can claw back a victory.
Closing the game out
Unlike other maps, the boss on Braxis Holdout is not a tempting objective. While it can close out a game, it’s only possible to take when the entire enemy team is out for the count. Seriously. That’s not a challenge.
Instead, use the Zerg waves. They’re incredibly strong at pushing, and mean the opponent won’t be focusing your team directly. On top of that, they’re great bodyblockers: skillshots are hard to hit when there’s a swarm of Zerglings at your feet.
If you’re behind, again, the key to victory is outnumbering the enemy as they’re forced to split up to capture the objectives. Outnumber the opponent and take any chance you get if you’re behind, because otherwise it’s easy for the enemy to secure victory once they’ve got a lead.
While the Zerg are the main force in this map, it’s all about just moving around the map in more efficient ways than the enemy. Force fights where you outnumber them, and back off otherwise, or you’ll find a lot of Zerglings on your doorstep.
Find all of our other Heroes of the Storm guides below:
Dragon Shire guide
Garden of Terror guide
Cursed Hollow guide
Blackheart’s Bay guide
Sky Temple guide
Tomb of the Spider Queen guide
Battlefield of Eternity guide
Infernal Shrine guide
Towers of Doom guide
Chromie guide
Medivh guide
Gul’dan guide
Auriel guide
Samuro guide
Varian guide
