Master Heroes of the Storm's Dragon Shire map
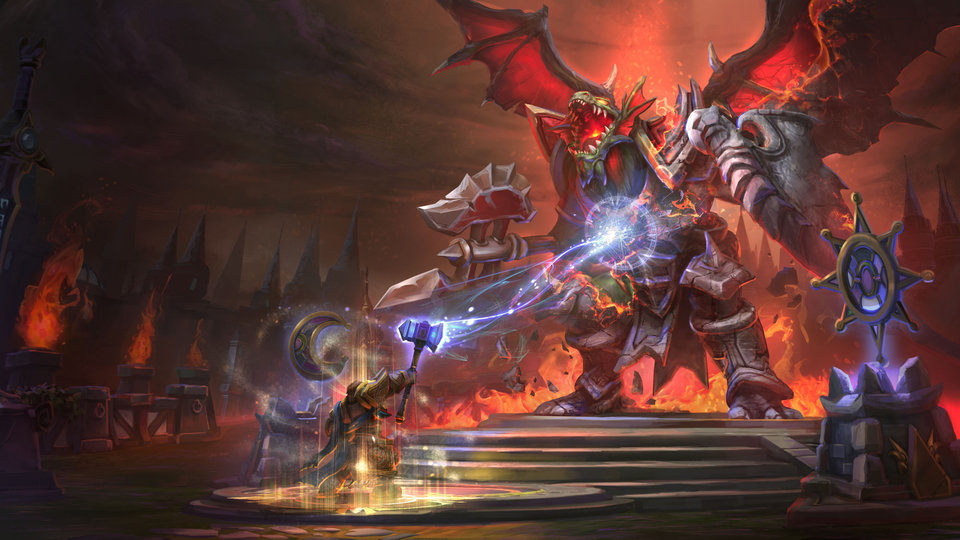
There are a couple of maps in Heroes of the Storm characterised by player-controlled behemoths, and Dragon Shire is one of them. When captured, the key objective lets a player become the Dragon Knight, a beast that tears through structures and enemies for a limited time. Given the static placement of objectives, it’s a map that can be won with some strategic planning.
The basics
Dragon Shire has three lanes, with each team usually splitting into two groups. The first is usually one player sat in the top lane, while the others rotate back and forth between the middle and bottom lanes. Being a medium-sized map, a team that can move intelligently between lanes will be at an advantage, but the top lane is just that bit too far away for any regular movement between it and other lanes.
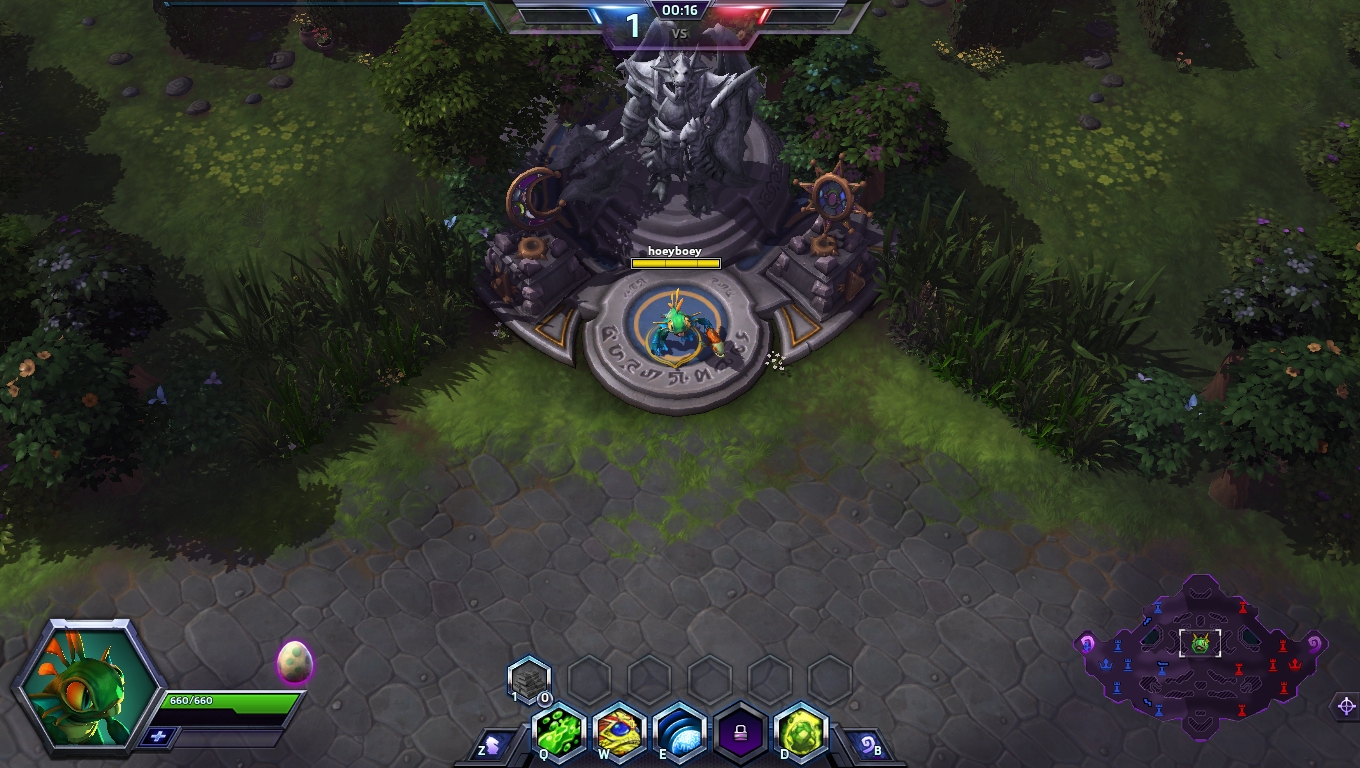
The main objective, a statue of the Dragon Knight sat in the middle lane, is activated by capturing two shrines, one on the top lane, one on the bottom lane. After a team captures both shrines by standing on them for a few seconds, a teammate can initiate a short channel to become the Dragon Knight. The opposing team can either try to recapture those shrines or interrupt the players trying to take control of the Dragon Knight.
Picking your hero
There’s one major factor to be taken into account when choosing a hero for Dragon Shire: someone is probably going to be sitting on their own at the top of the map. It’s helpful, therefore, for one player to pick a hero that can both survive a surprise attack from someone attacking up midlane and dominate the lane one on one. Strong heroes for this role would be Zagara, Tassadar, or Chen. Controlling the lane means controlling the shrine, putting your team one step closer to capturing the Dragon Knight.
Laning
Once you’re in the game and sat in your lanes, your primary objective should be to establish lane dominance without pushing too far forward and putting yourself at risk of being flanked. While taking structures is a huge bonus, preparing for the Dragon Knight is your main focus when laning.
If you’ve got a strong team composition to set up kills, such as the deadly combo of Diablo’s Overpower into Tyrande’s Lunar Flare or strong divers like Muradin, you might want to look for opportunities to roam between lanes. Keeping up (or ahead) in experience is key, however, so don’t put yourself in danger. This period doesn’t last long, though, as the shrines will activate 1 minute 20 seconds into the game.
Once the shrines activate
If you’ve had a strong start, try to capture the shrines. Make sure you’ll be safe, though—it’s very easy to get boxed in while capturing, so watch out to see if the enemy team is looking for your blood. Just stand in the outlined area to capture the shrine, but if there’s an enemy in the area too, the bar above it, indicating control, won’t budge. You’ve got to have the shrine all the way at your end to make it yours, and it’s possible to delay an enemy just by standing on it.
The biggest gaming news, reviews and hardware deals
Keep up to date with the most important stories and the best deals, as picked by the PC Gamer team.
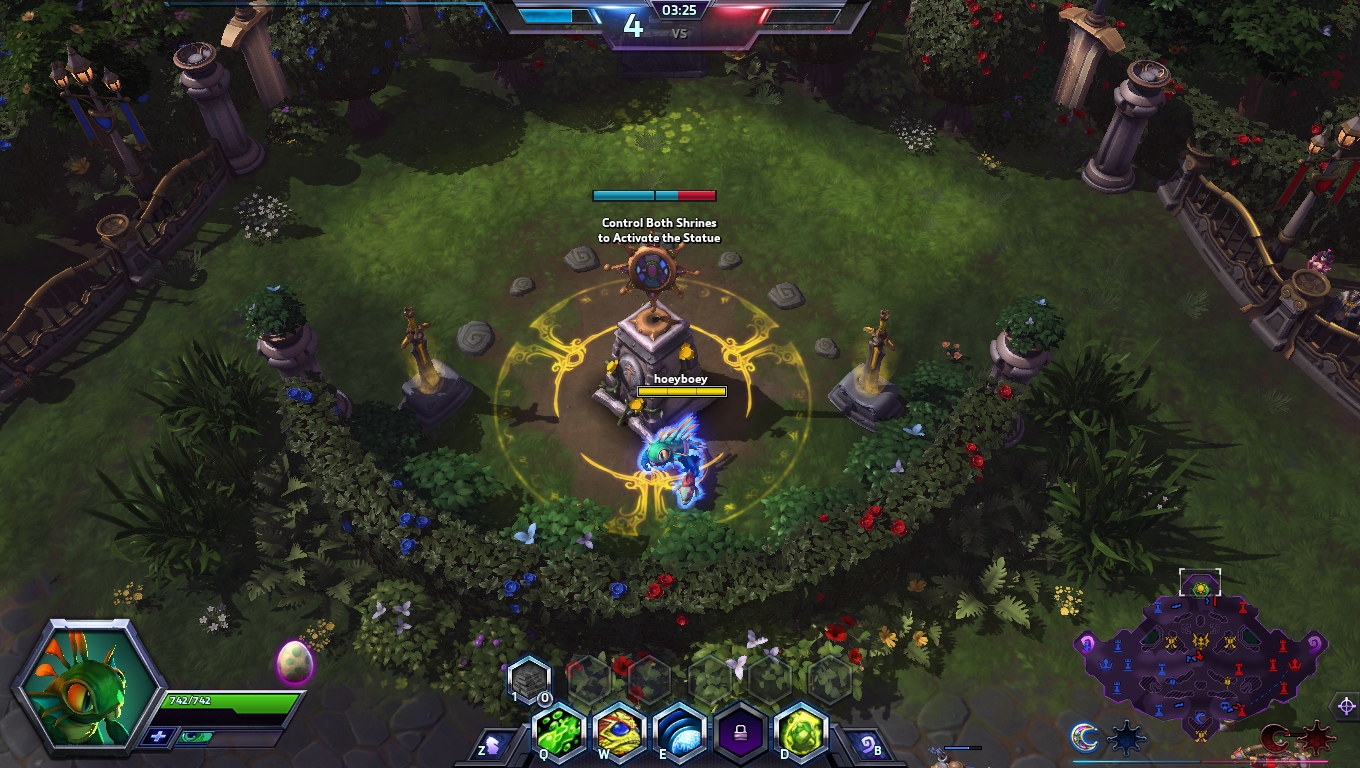
When you have both shrines, a couple of members of your team should make their way to the statue in midlane. If possible, try to get a specialist or tank to take it—the Dragon Knight itself fulfils a similar role to those two, and so momentarily losing them won’t break your team composition apart.
It will be clear if the statue is active for you, as beams of light will travel from the shrines to the statue in the middle if both are owned by one team.
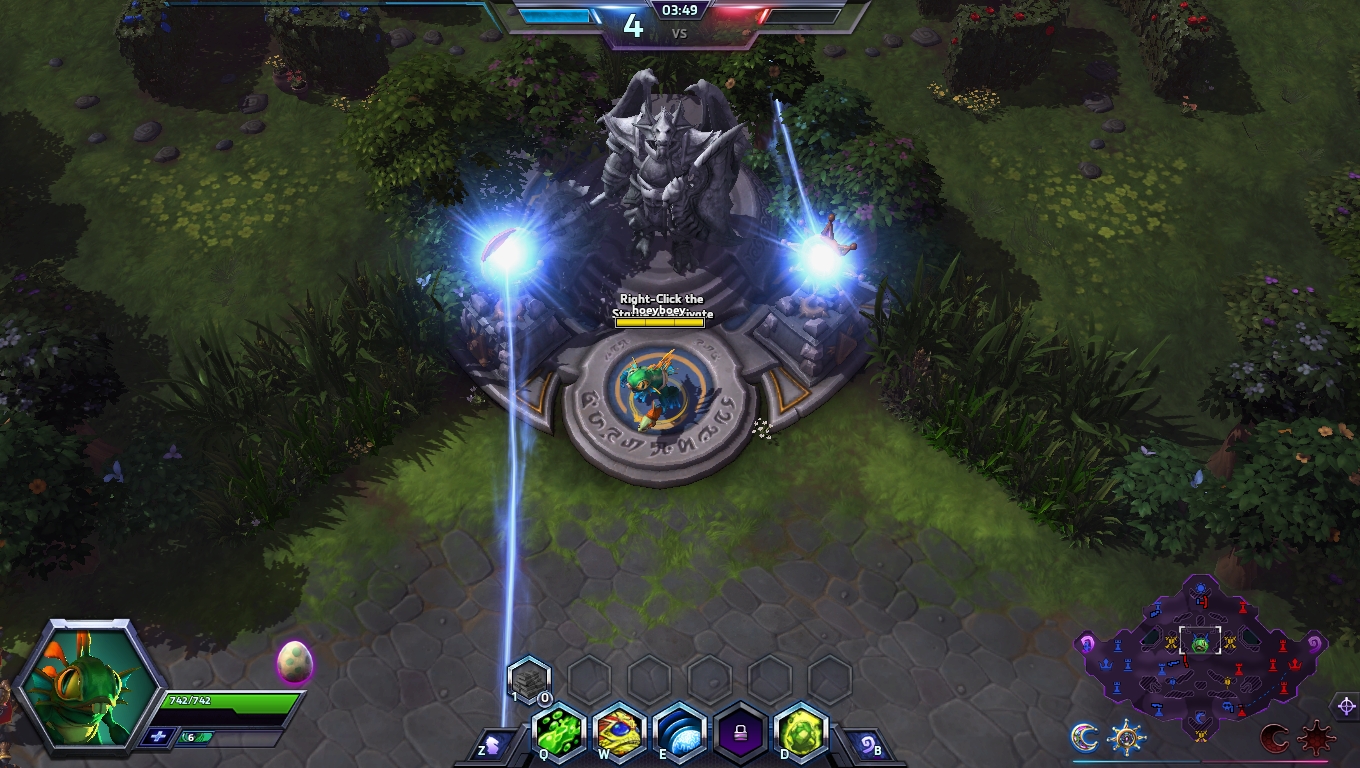
If you’re losing the battle for shrines, try to just delay them from taking the Dragon Knight for as long as possible. If they bring more people to the middle lane to take it, have a teammate take back the undefended shrine. This is where those poking heroes can be a lifesaver.
The great red dragon
Let’s do a quick run through of the Dragon Knight’s abilities:
Passive: It deals 50% more damage to structures, takes 50% less damage from structures, all crowd control effects are halved in their duration, and, upon death, it explodes and deals damage around it.
Q: Flame Breath: it spews fire in a cone that deals some initial damage and burns anyone standing in the cone for a few seconds.
W: Savage Charge: after a short channel, it charges an enemy and knocks them across the map.
R: Leave Dragon: does exactly what it says on the tin, the player leaves the Dragon Knight.
Flame Breath is on a short cooldown, so it should be used whenever available to whittle down enemy minions, structures and heroes. Savage Charge is useful for removing an enemy from a fight or interrupting channeled abilities (like Li Li’s Jug of 1,000 Cups). You won’t typically use Leave Dragon ever: it’s simply there as an option.
When you’re playing as the Dragon Knight, barrel down middle lane. Forget minions—your allies should clean them up behind you, or your Flame Breath can clear them up if needs be. Wail on those turrets like they’re second breakfast, but try to stand in the position below. If a teammate is the Dragon Knight, try to keep the enemy team from focusing them down, let your ally do the work on structures while you push heroes away.
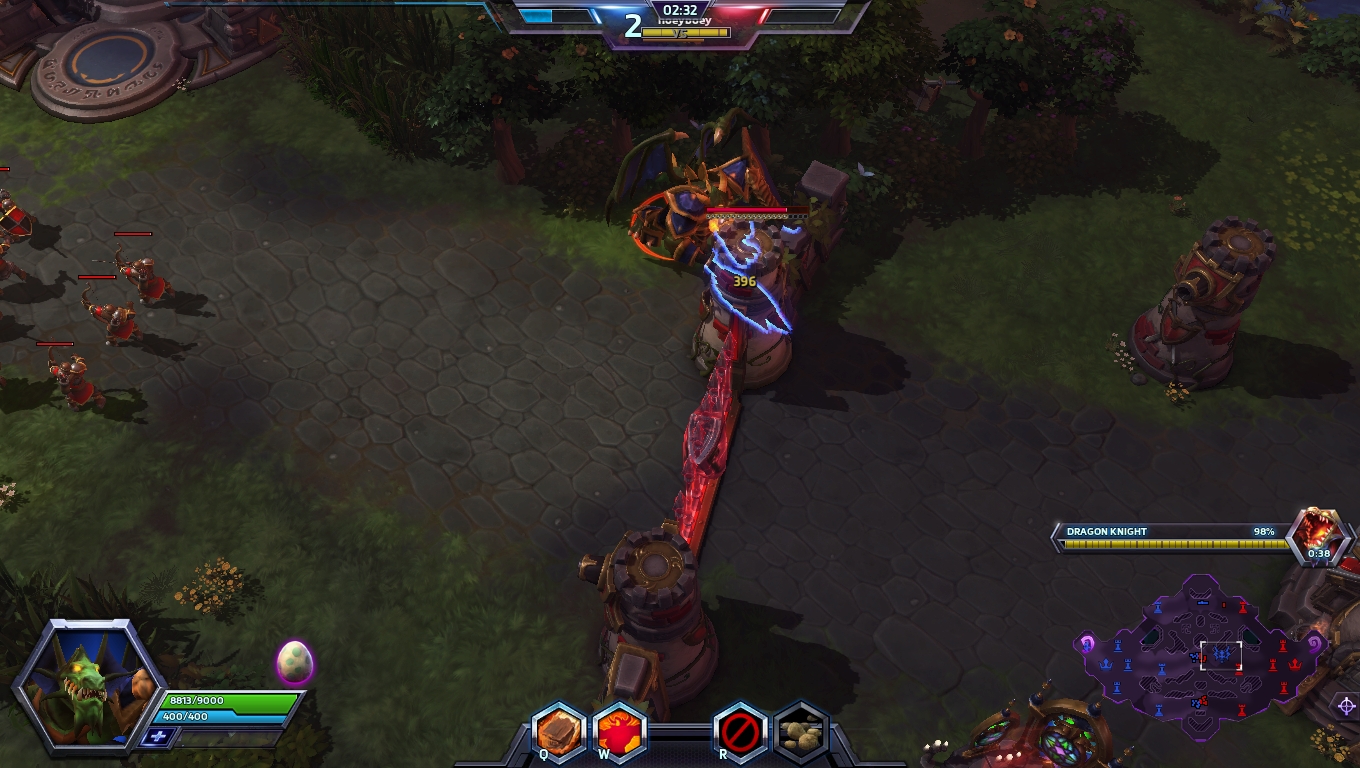
From here, only one turret will shoot you. While the Dragon Knight is strong it’s not invincible, so try not to take unnecessary damage.
If the enemy has captured the Dragon Knight, your team needs to group together and defend against its onslaught. While you’ll lose experience by leaving lanes, losing structures is worse. Work together to disrupt and delay or kill the enemy Dragon Knight as fast as possible, and once it’s down, return to soaking up experience in lanes.
When the Dragon Knight dies the person inside pops out wherever it fell, finding themselves at the mercy of the enemy. Make sure to watch where you are if you die or the timer runs out, as it’s easy to be caught behind enemy lines.
Using your mercenaries
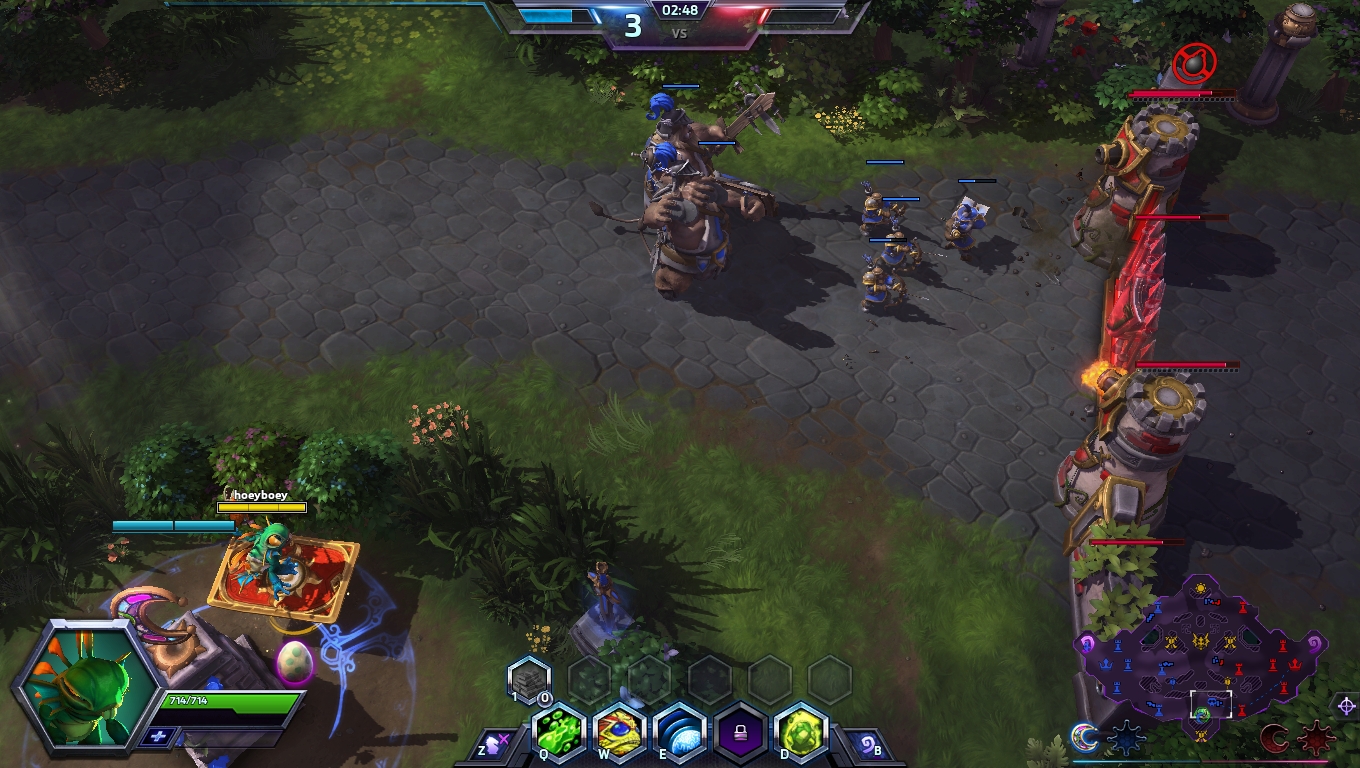
In each map there are neutral mercenaries between the lanes that only attack in retaliation, and can be killed to force them into joining your team.
There’s a 30 second warning before the shrines become active, and this is a good way to ensure that you’re using the mercenaries right. Rather than being used to siege directly, mercenaries are an efficient way of forcing the enemy team to move away from the shrines. By capturing them as the shrines become active, the enemy will be forced to choose: contest the shrine or defend their structures from imminent doom.
Closing out
After the Dragon Knight dies, it’s back to controlling the lanes and the shrines. While they won’t activate again for a few minutes, keeping the pressure on ensures you’ll be ready for when they do. Continue to outwit, outmaneuver, or overpower your enemies when contesting shrines, and make sure you’re aware of when they’ll respawn. If you’re ahead, make sure not to die at the wrong moment through cockiness. If you’re behind, play defensive and wait for enemy mistakes.
Make sure to stay flexible, though. If you’ve got a team that’s strong at teamfighting, you might want to let the enemies take shrines, bait them into the statue and start a fight. If you’re full of lane-dominating heroes, just focus on keeping control of the shrines and stay sharp. You can win Dragon Shire without committing to a single big fight as long as you maintain map control, so that should be your goal. After all, there’s few wars that can’t be won if you can control a dragon.
Find all of our other Heroes of the Storm map guides below:
Garden of Terror guide
Cursed Hollow guide
Blackheart’s Bay guide
Sky Temple guide
Tomb of the Spider Queen guide
Battlefield of Eternity guide
Infernal Shrine guide
Towers of Doom guide
