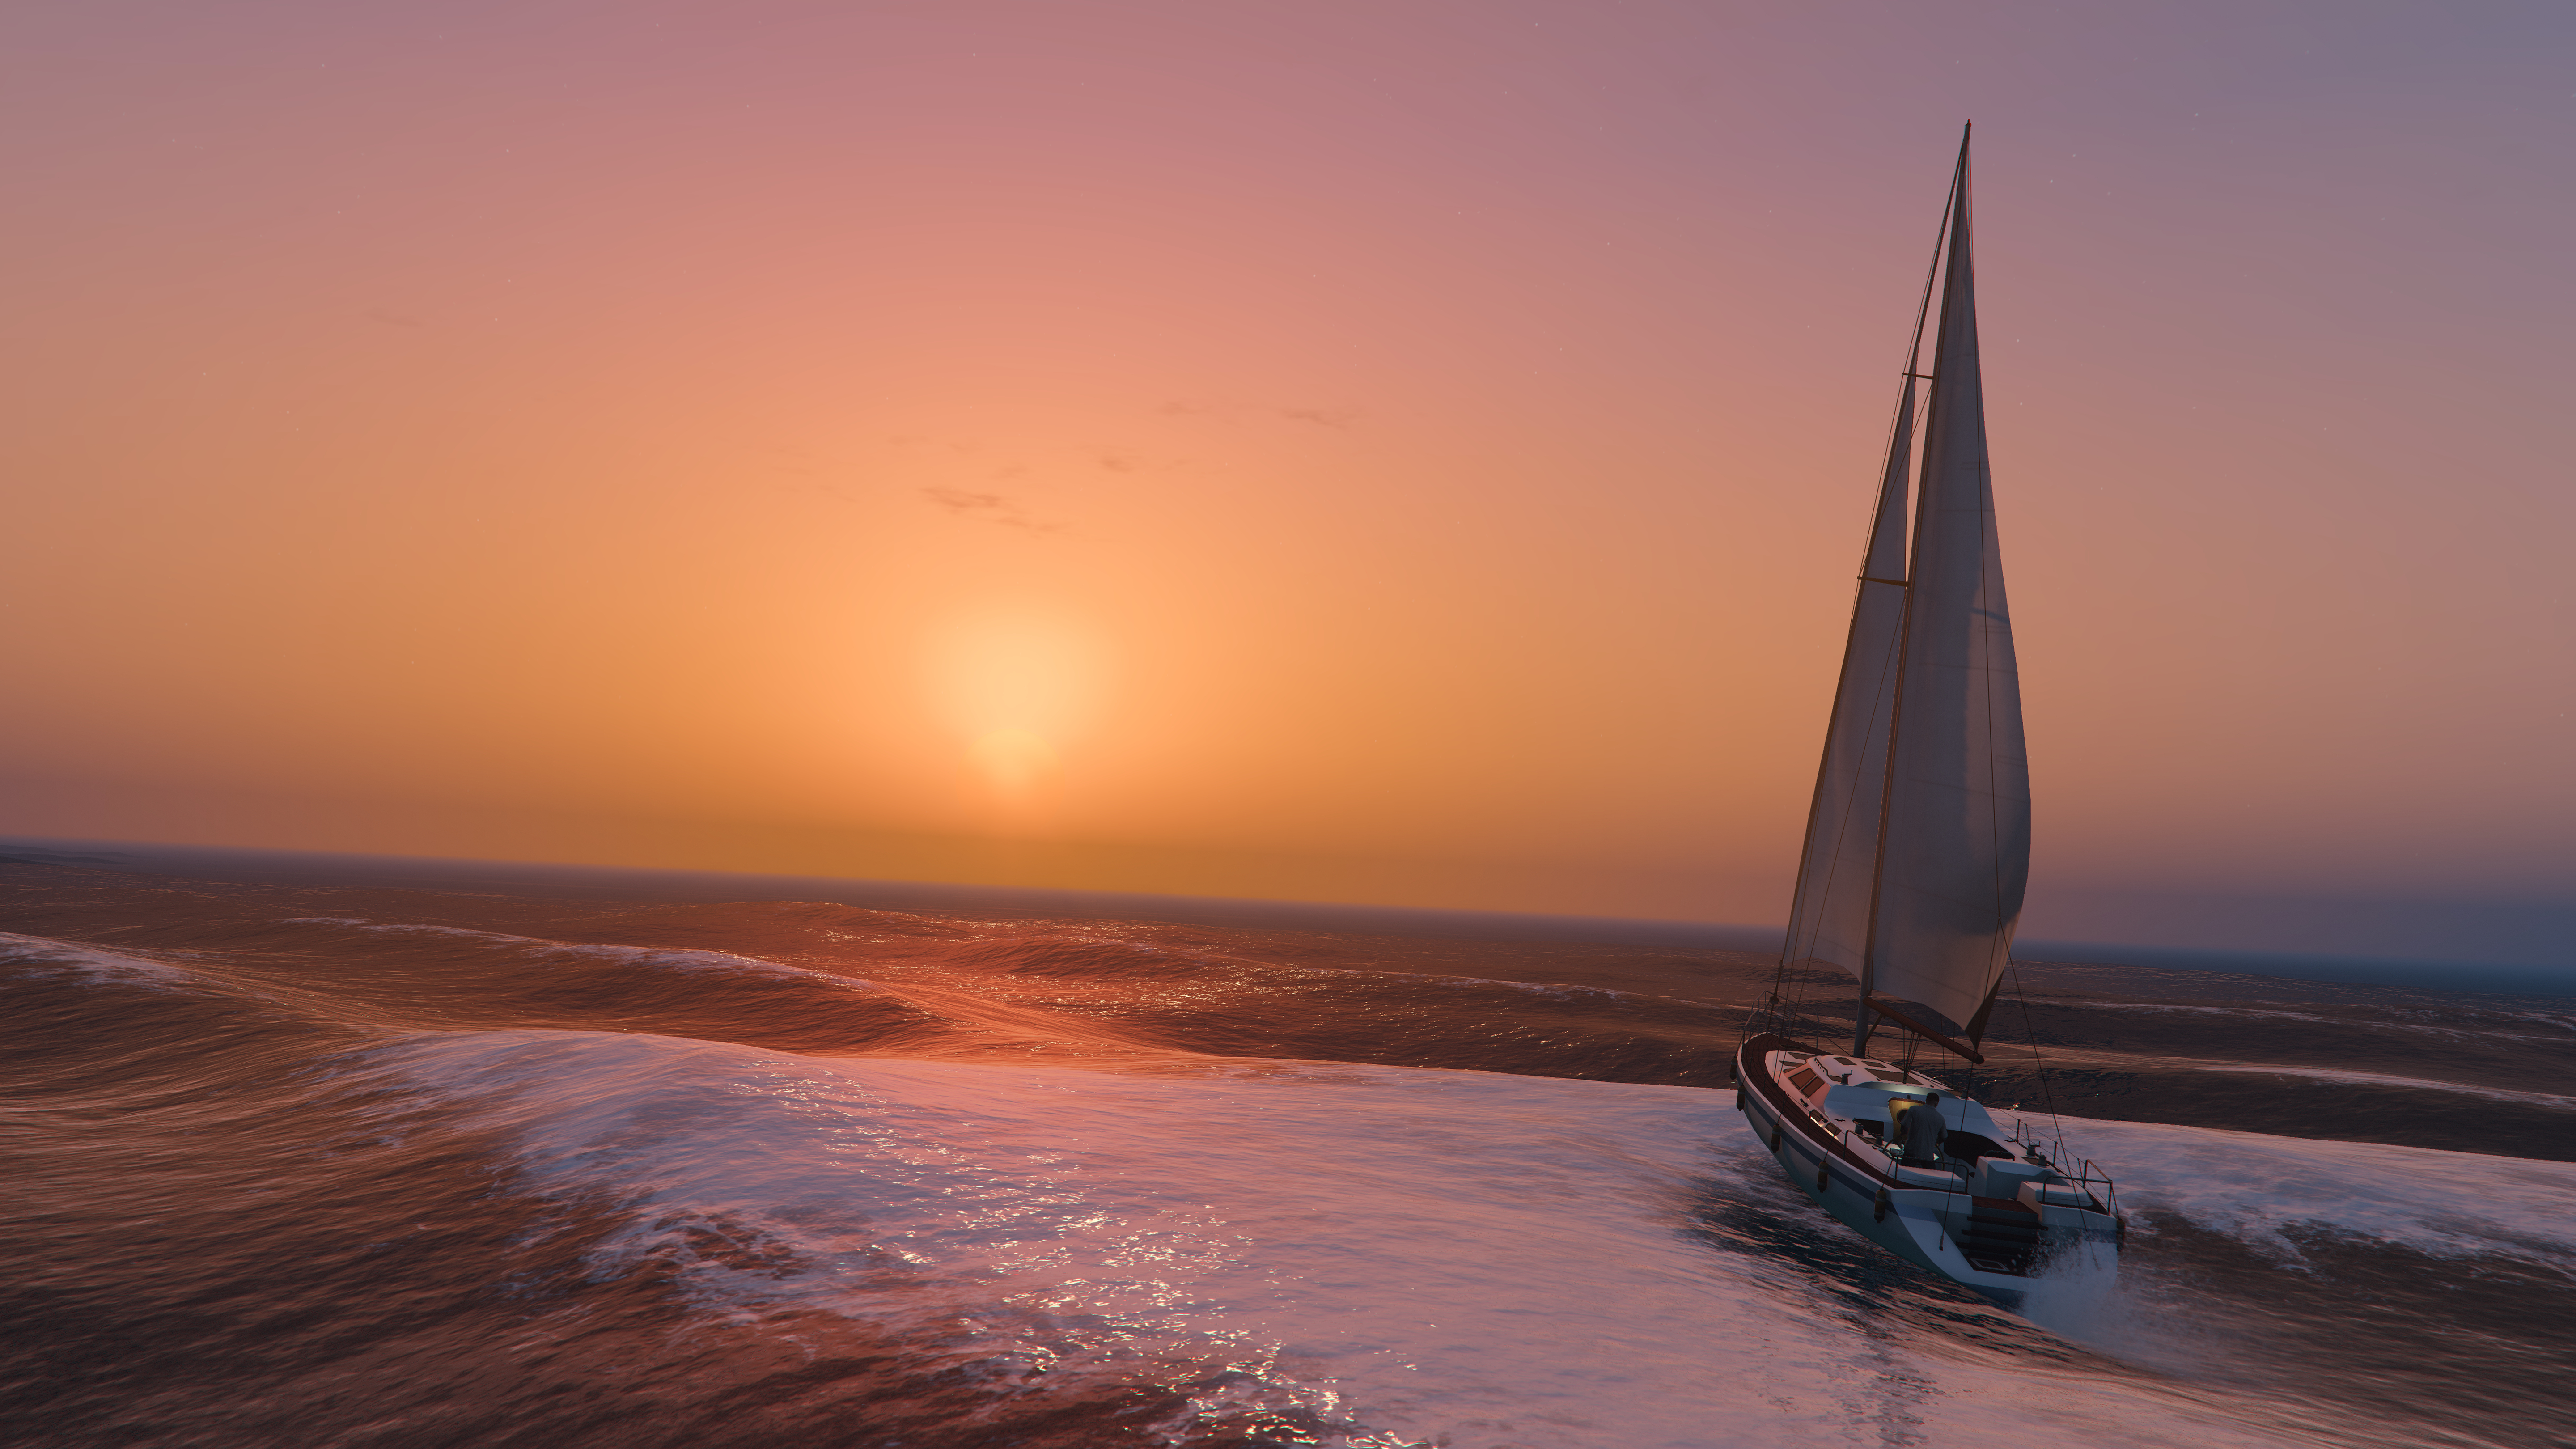
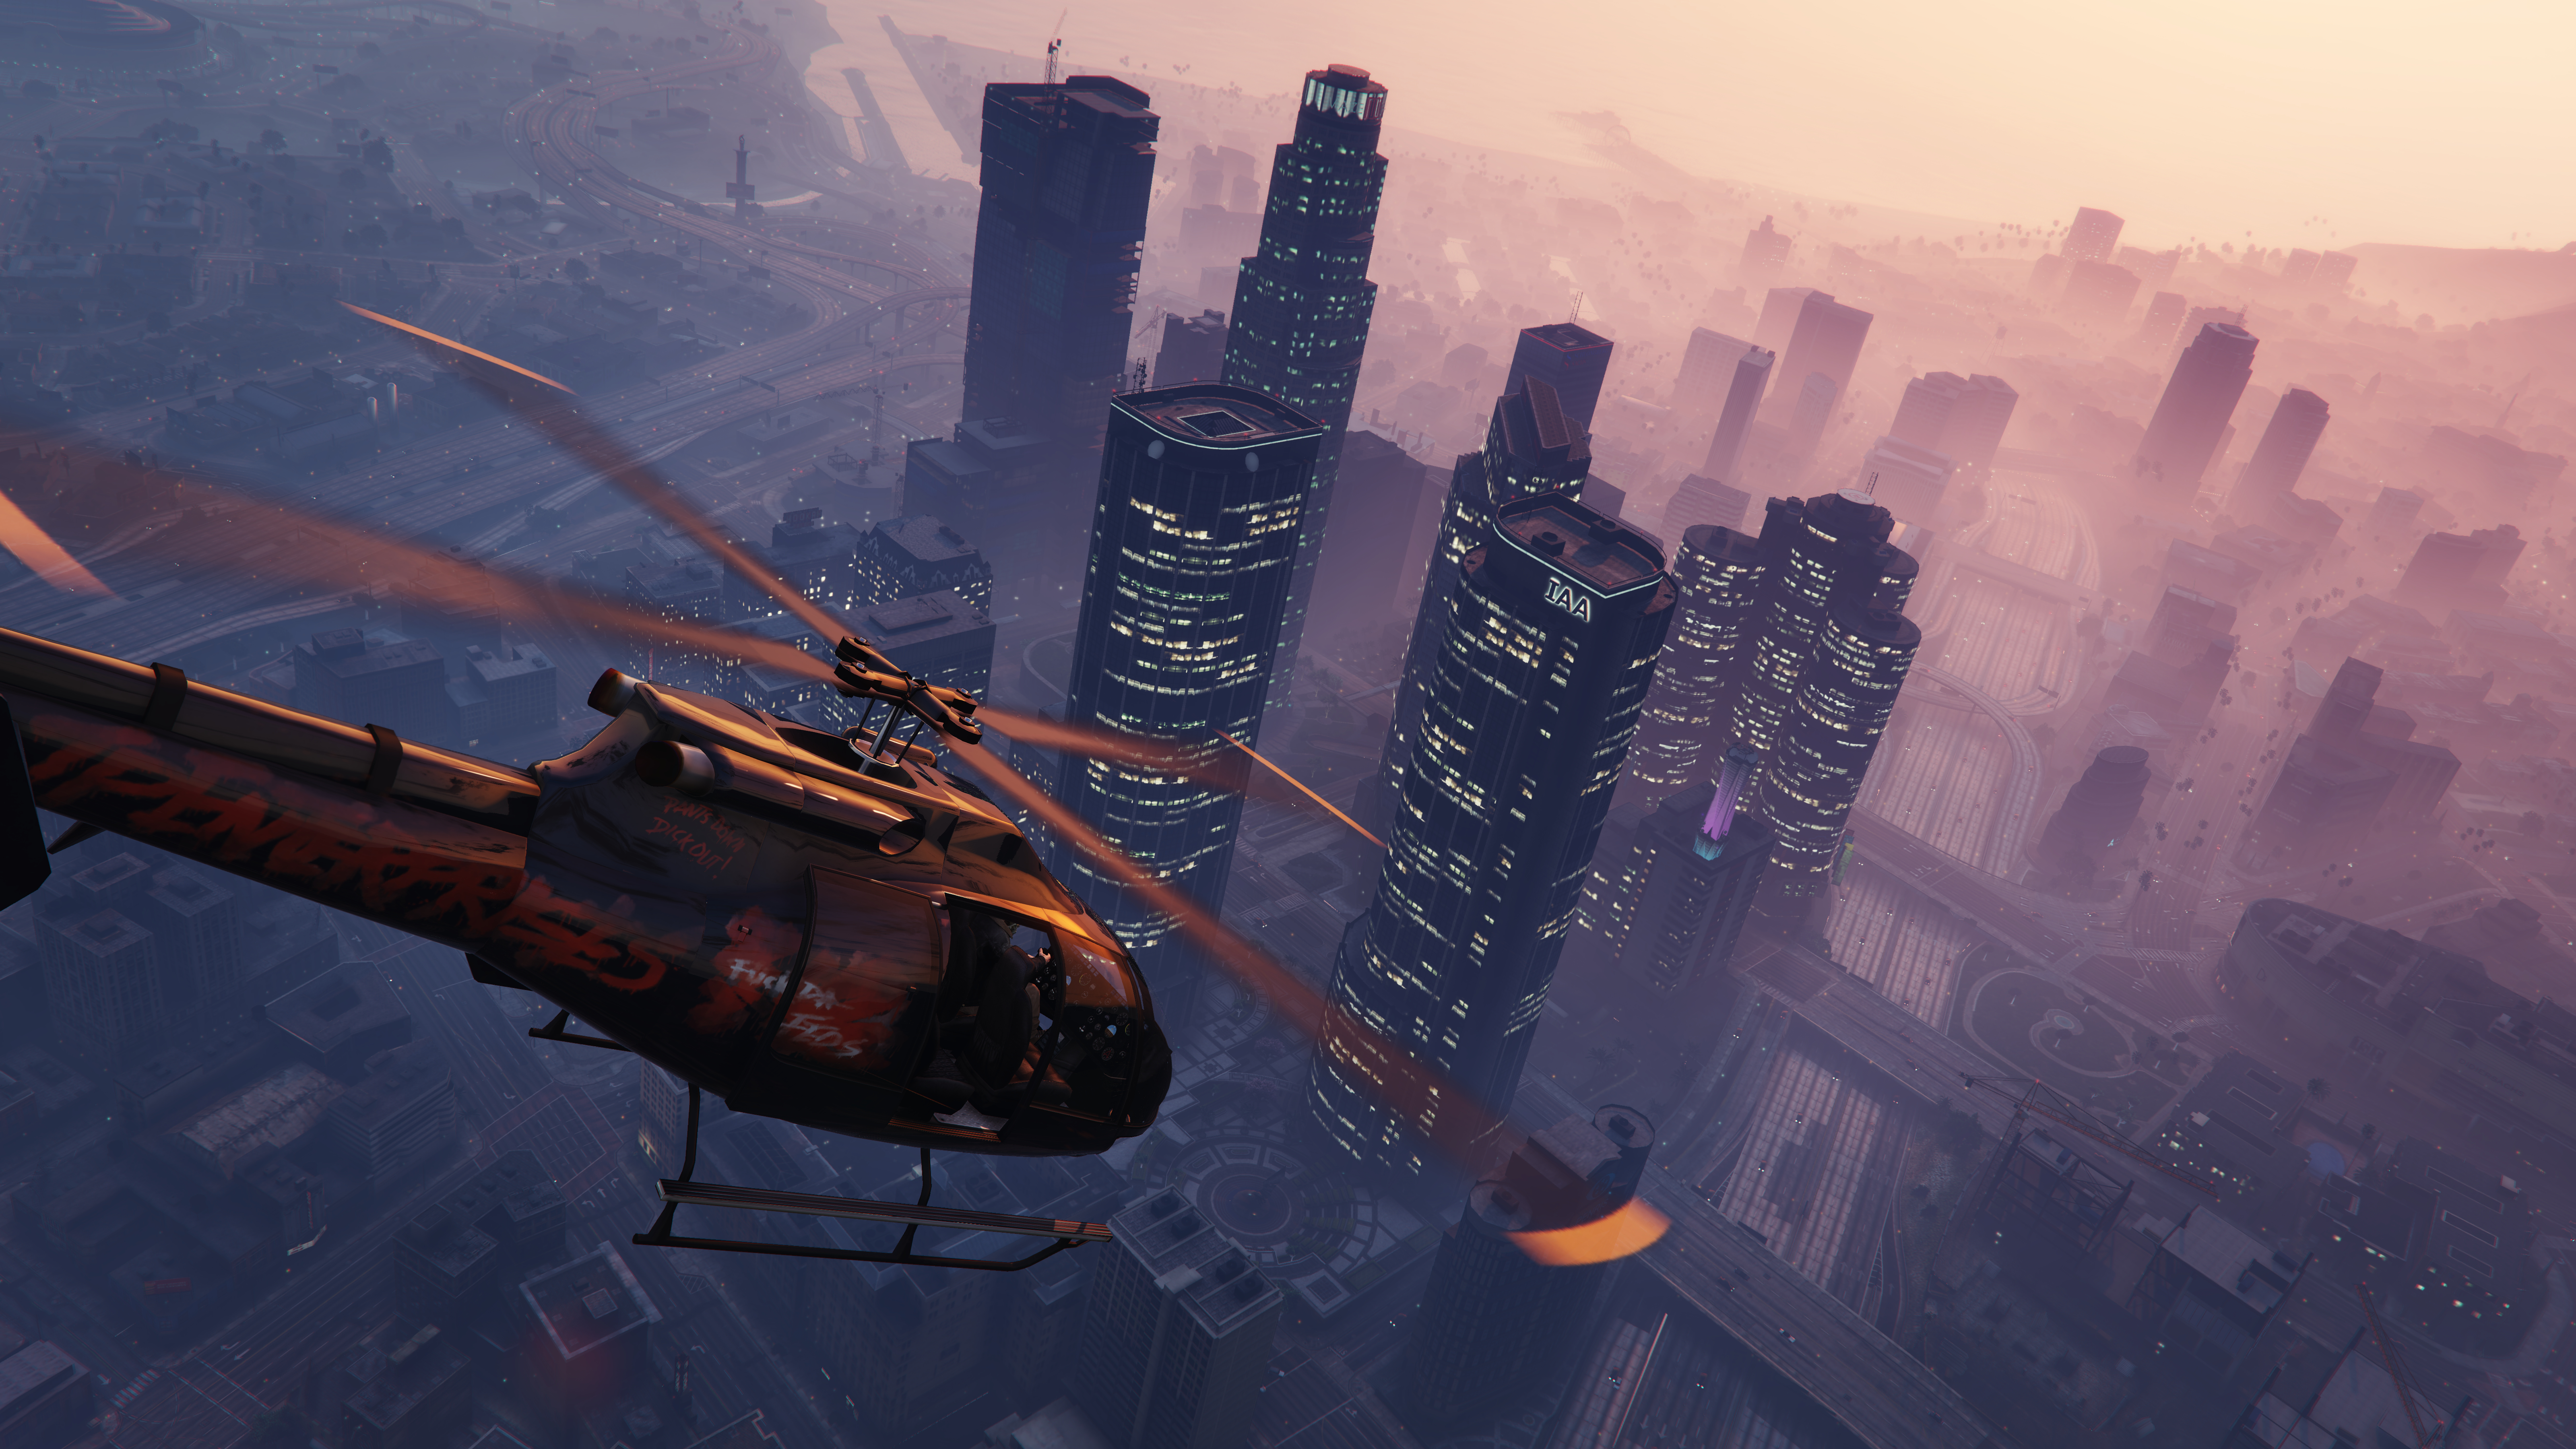
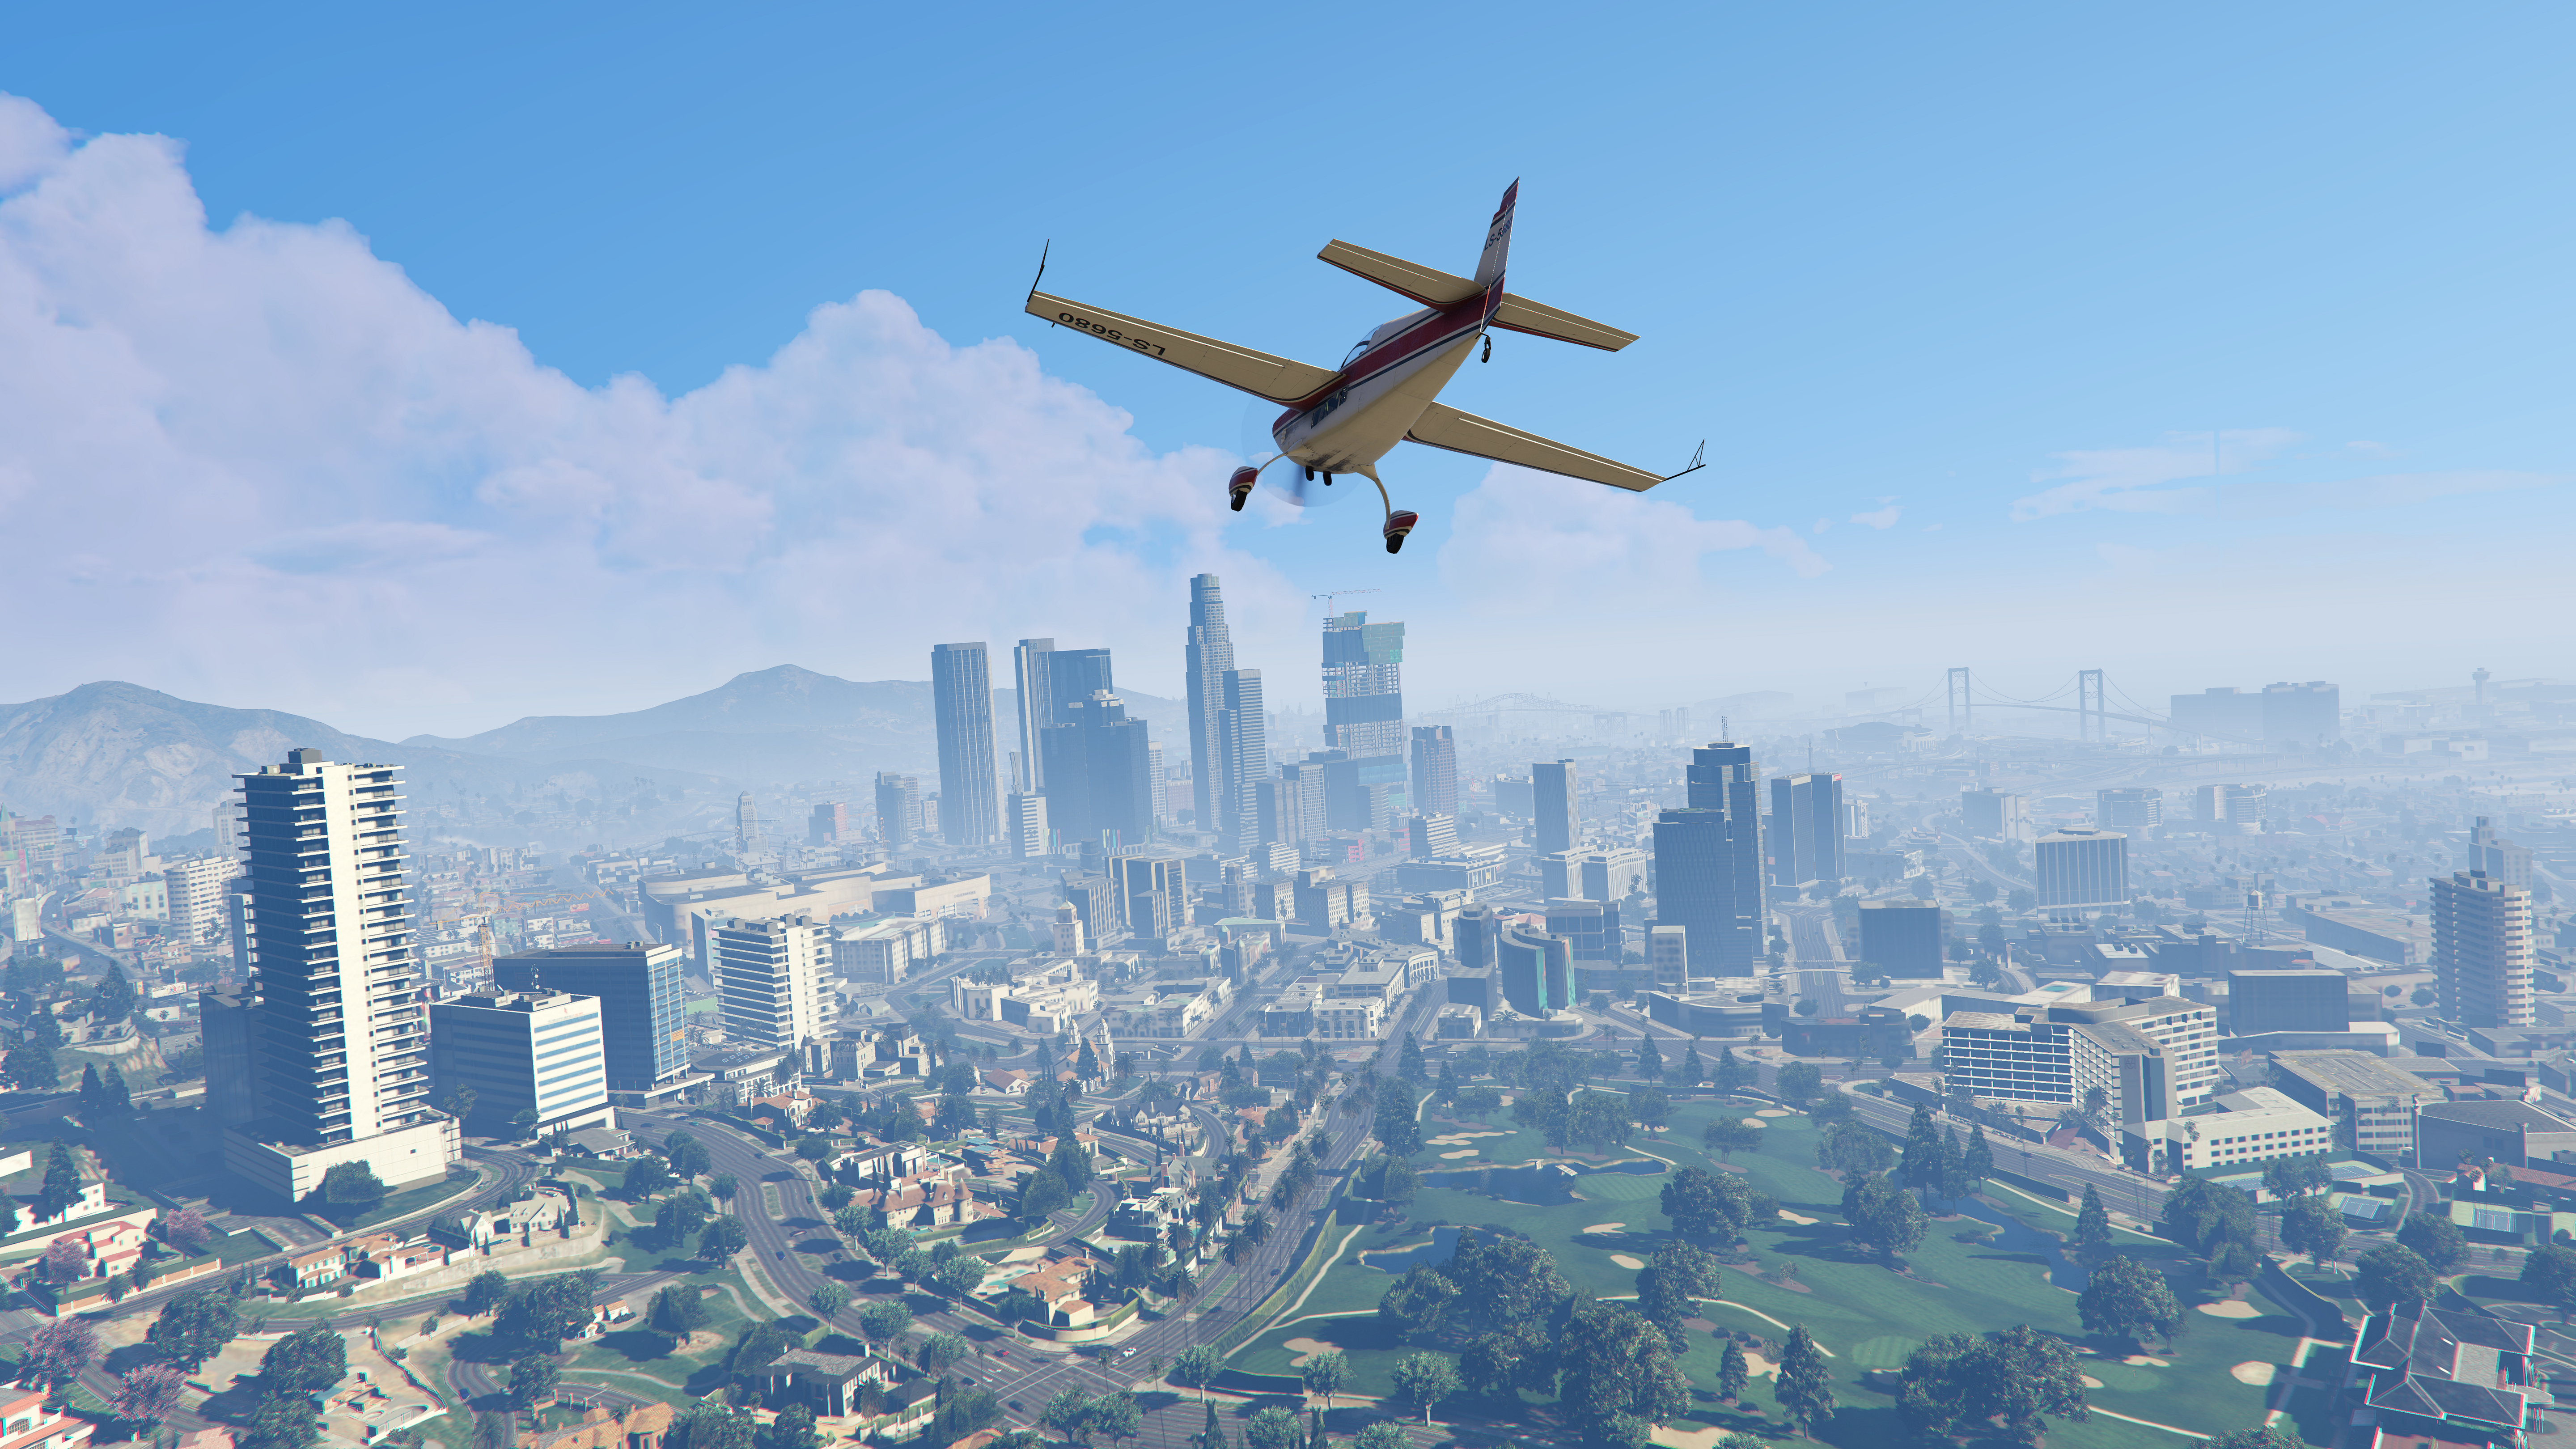
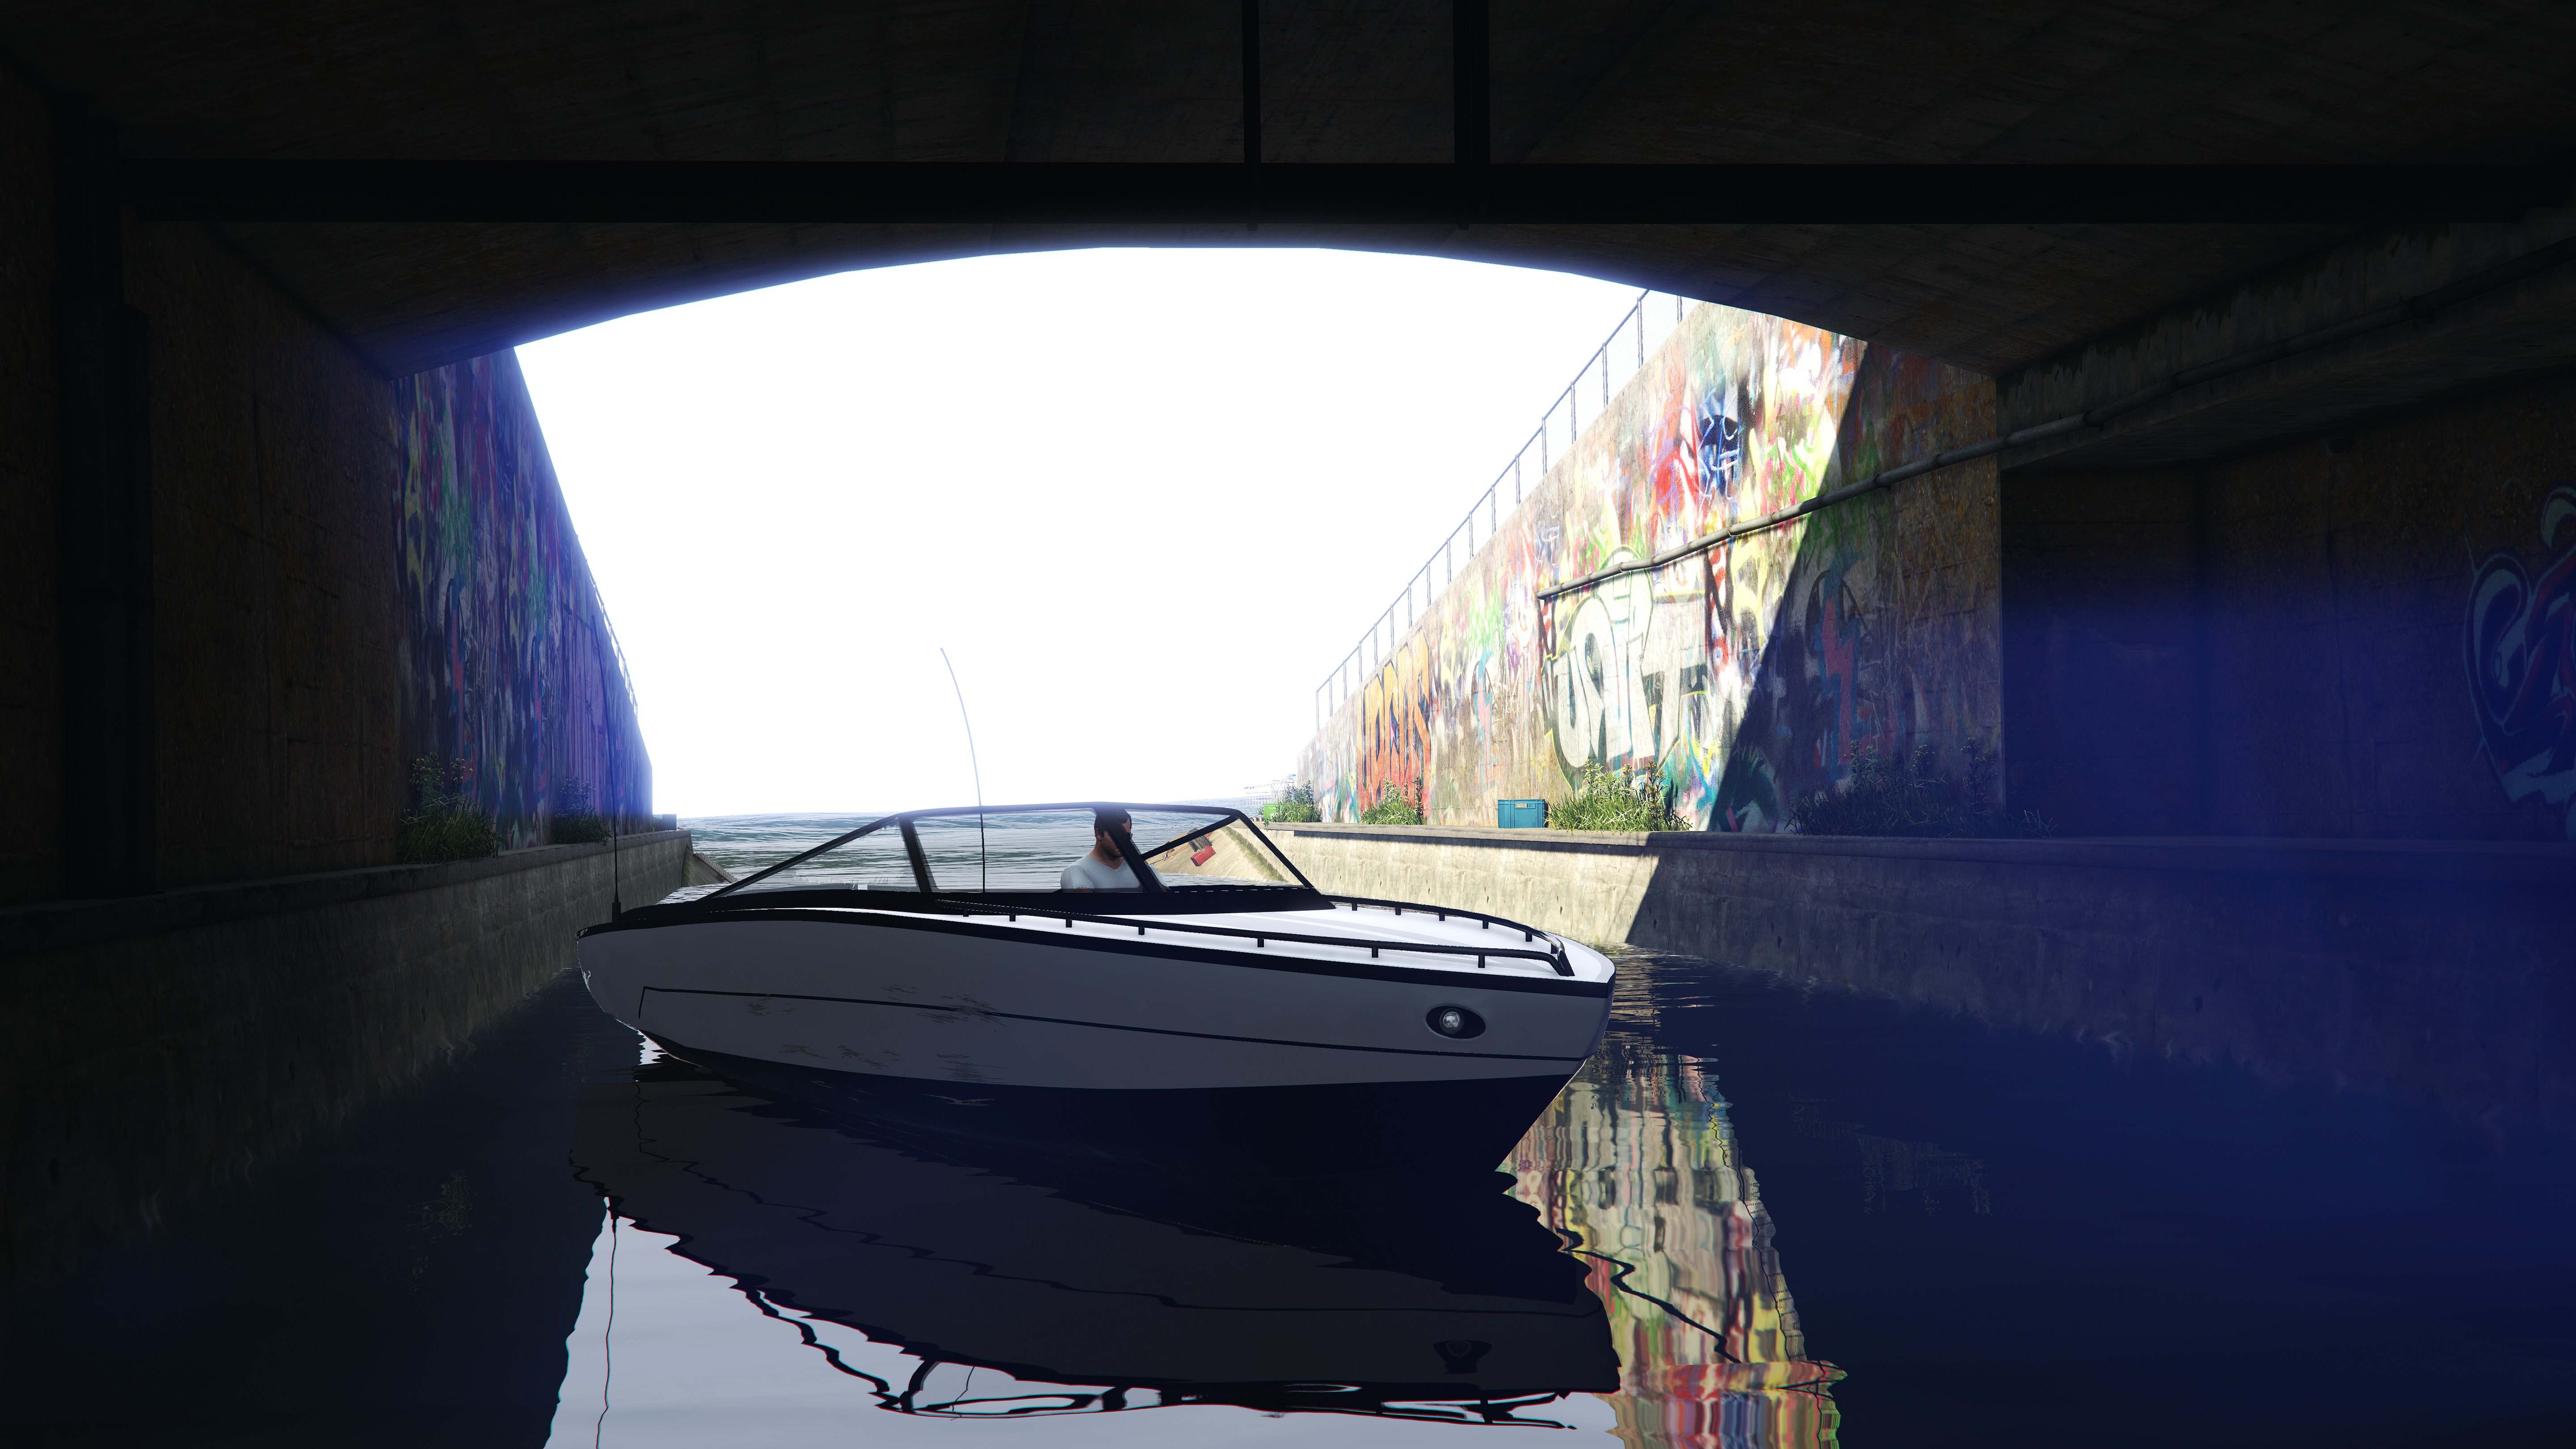
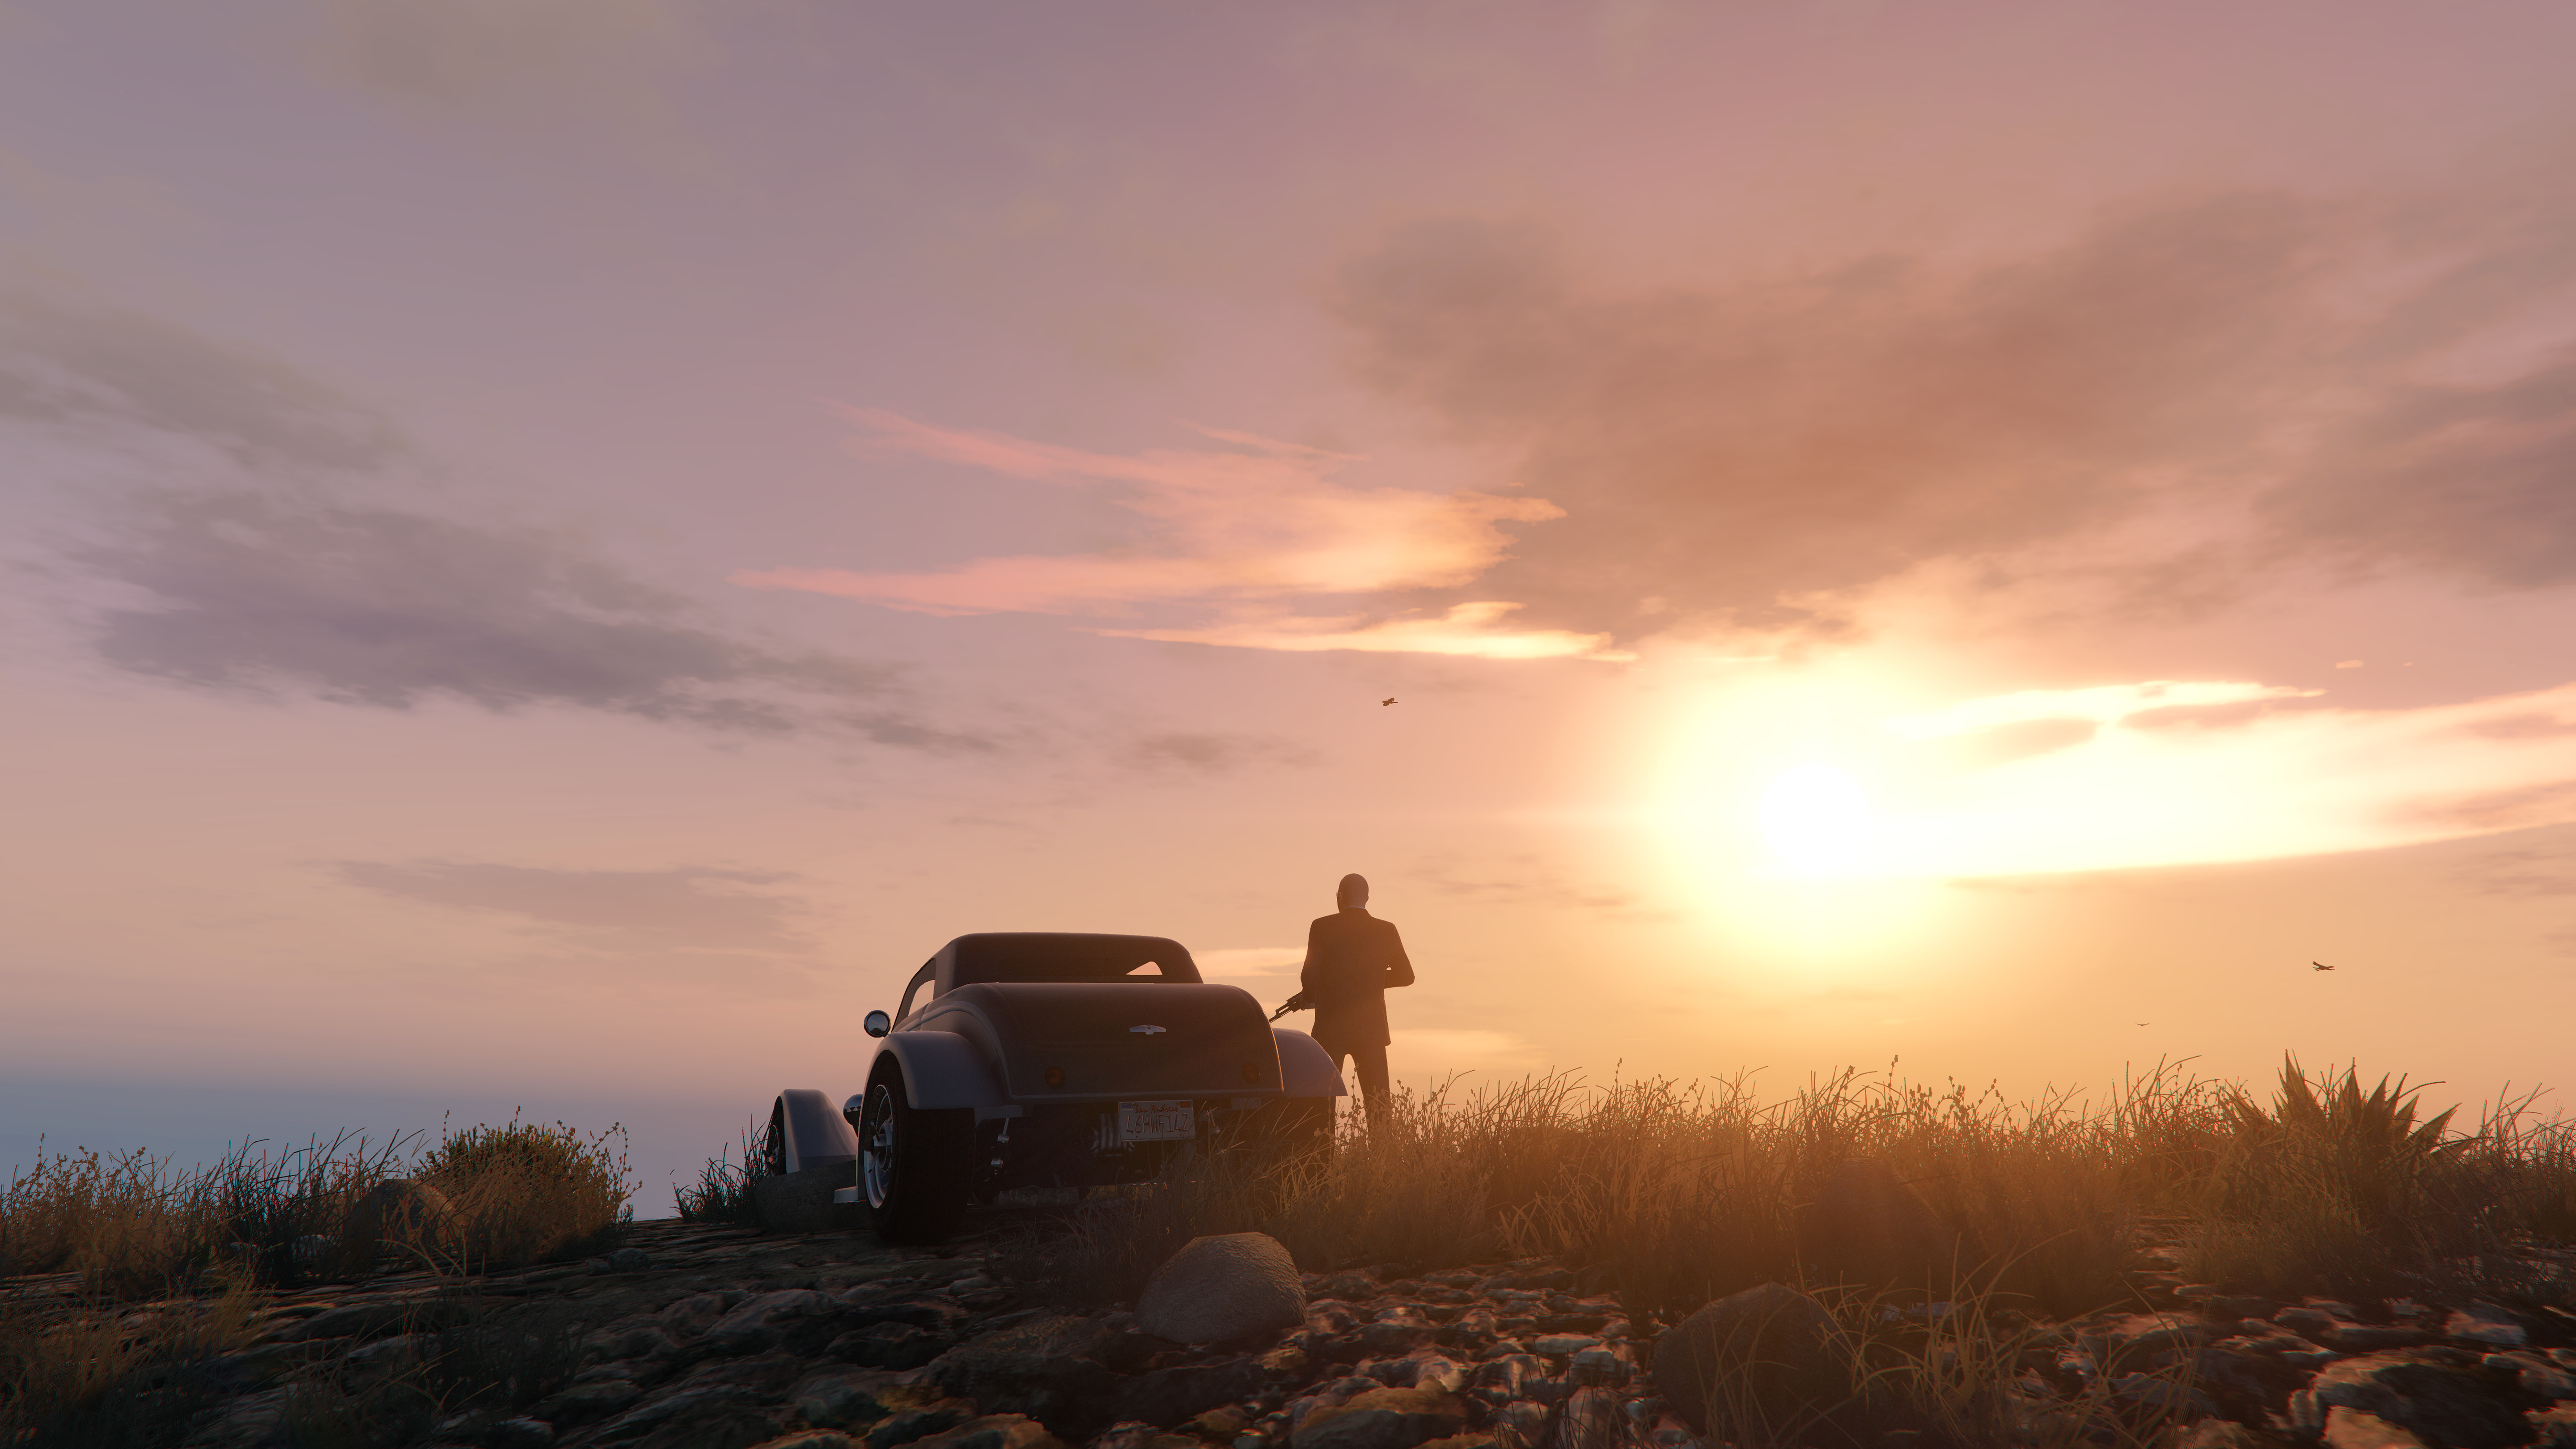
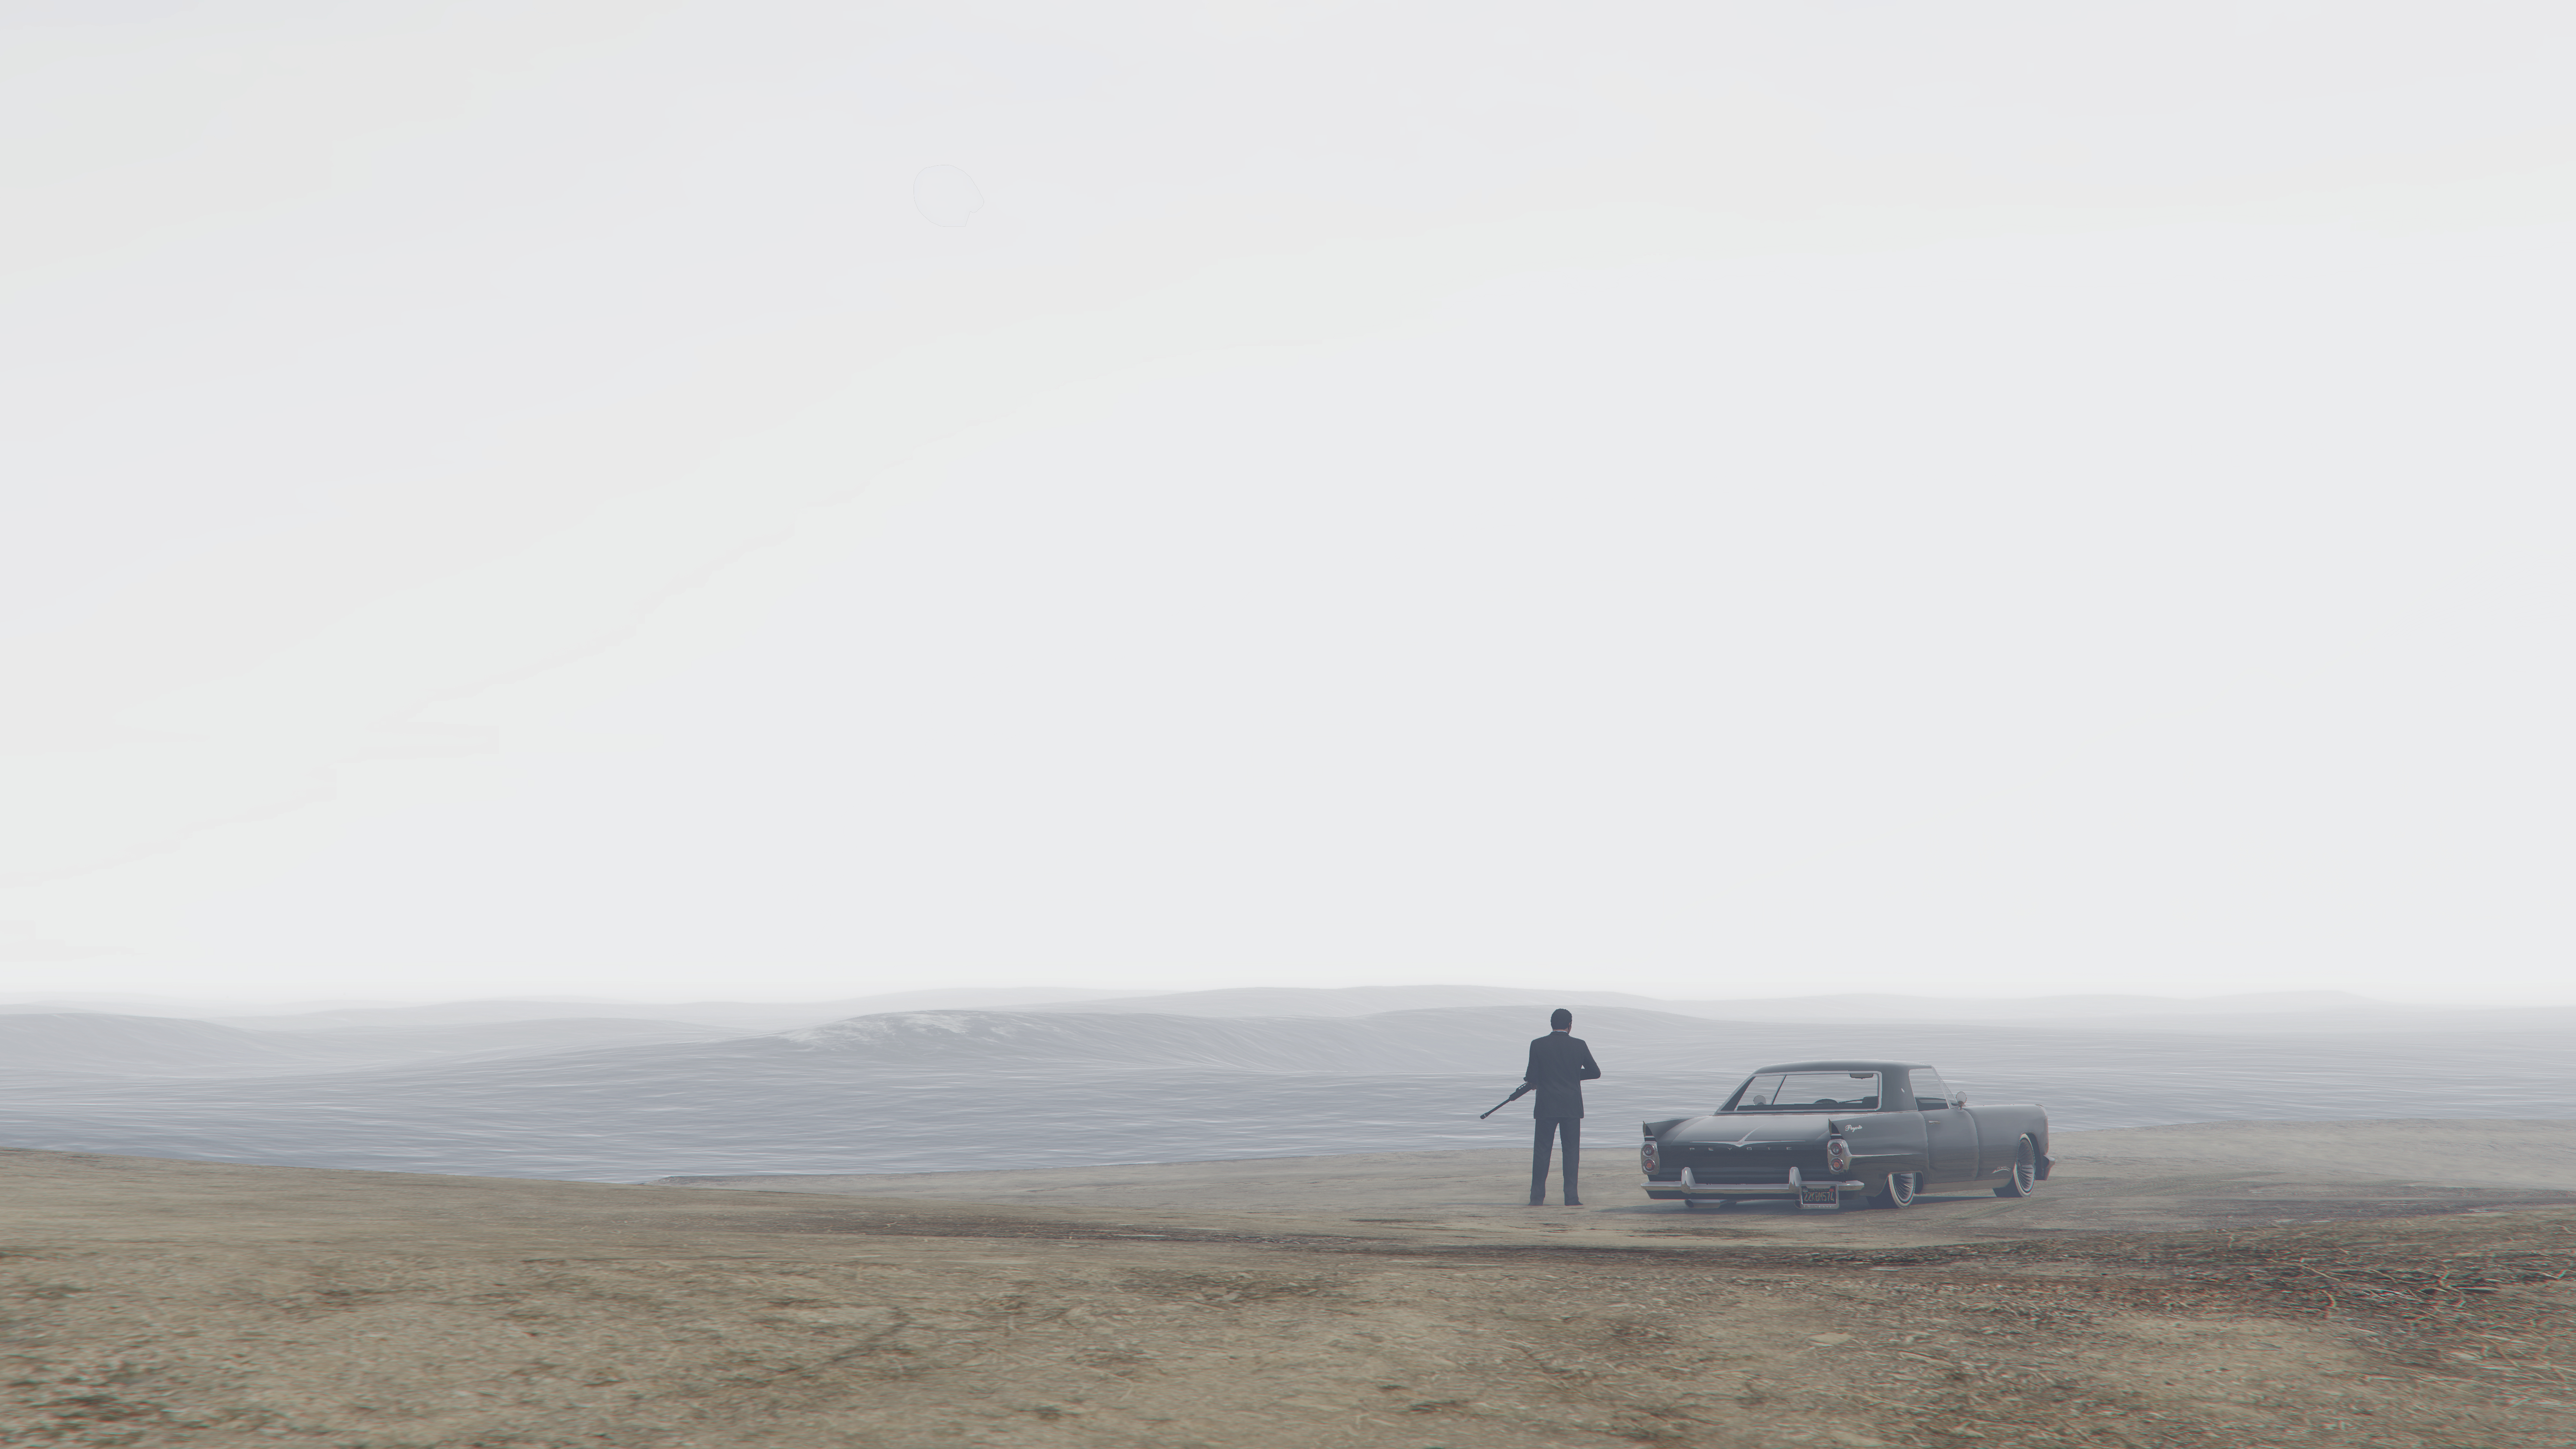
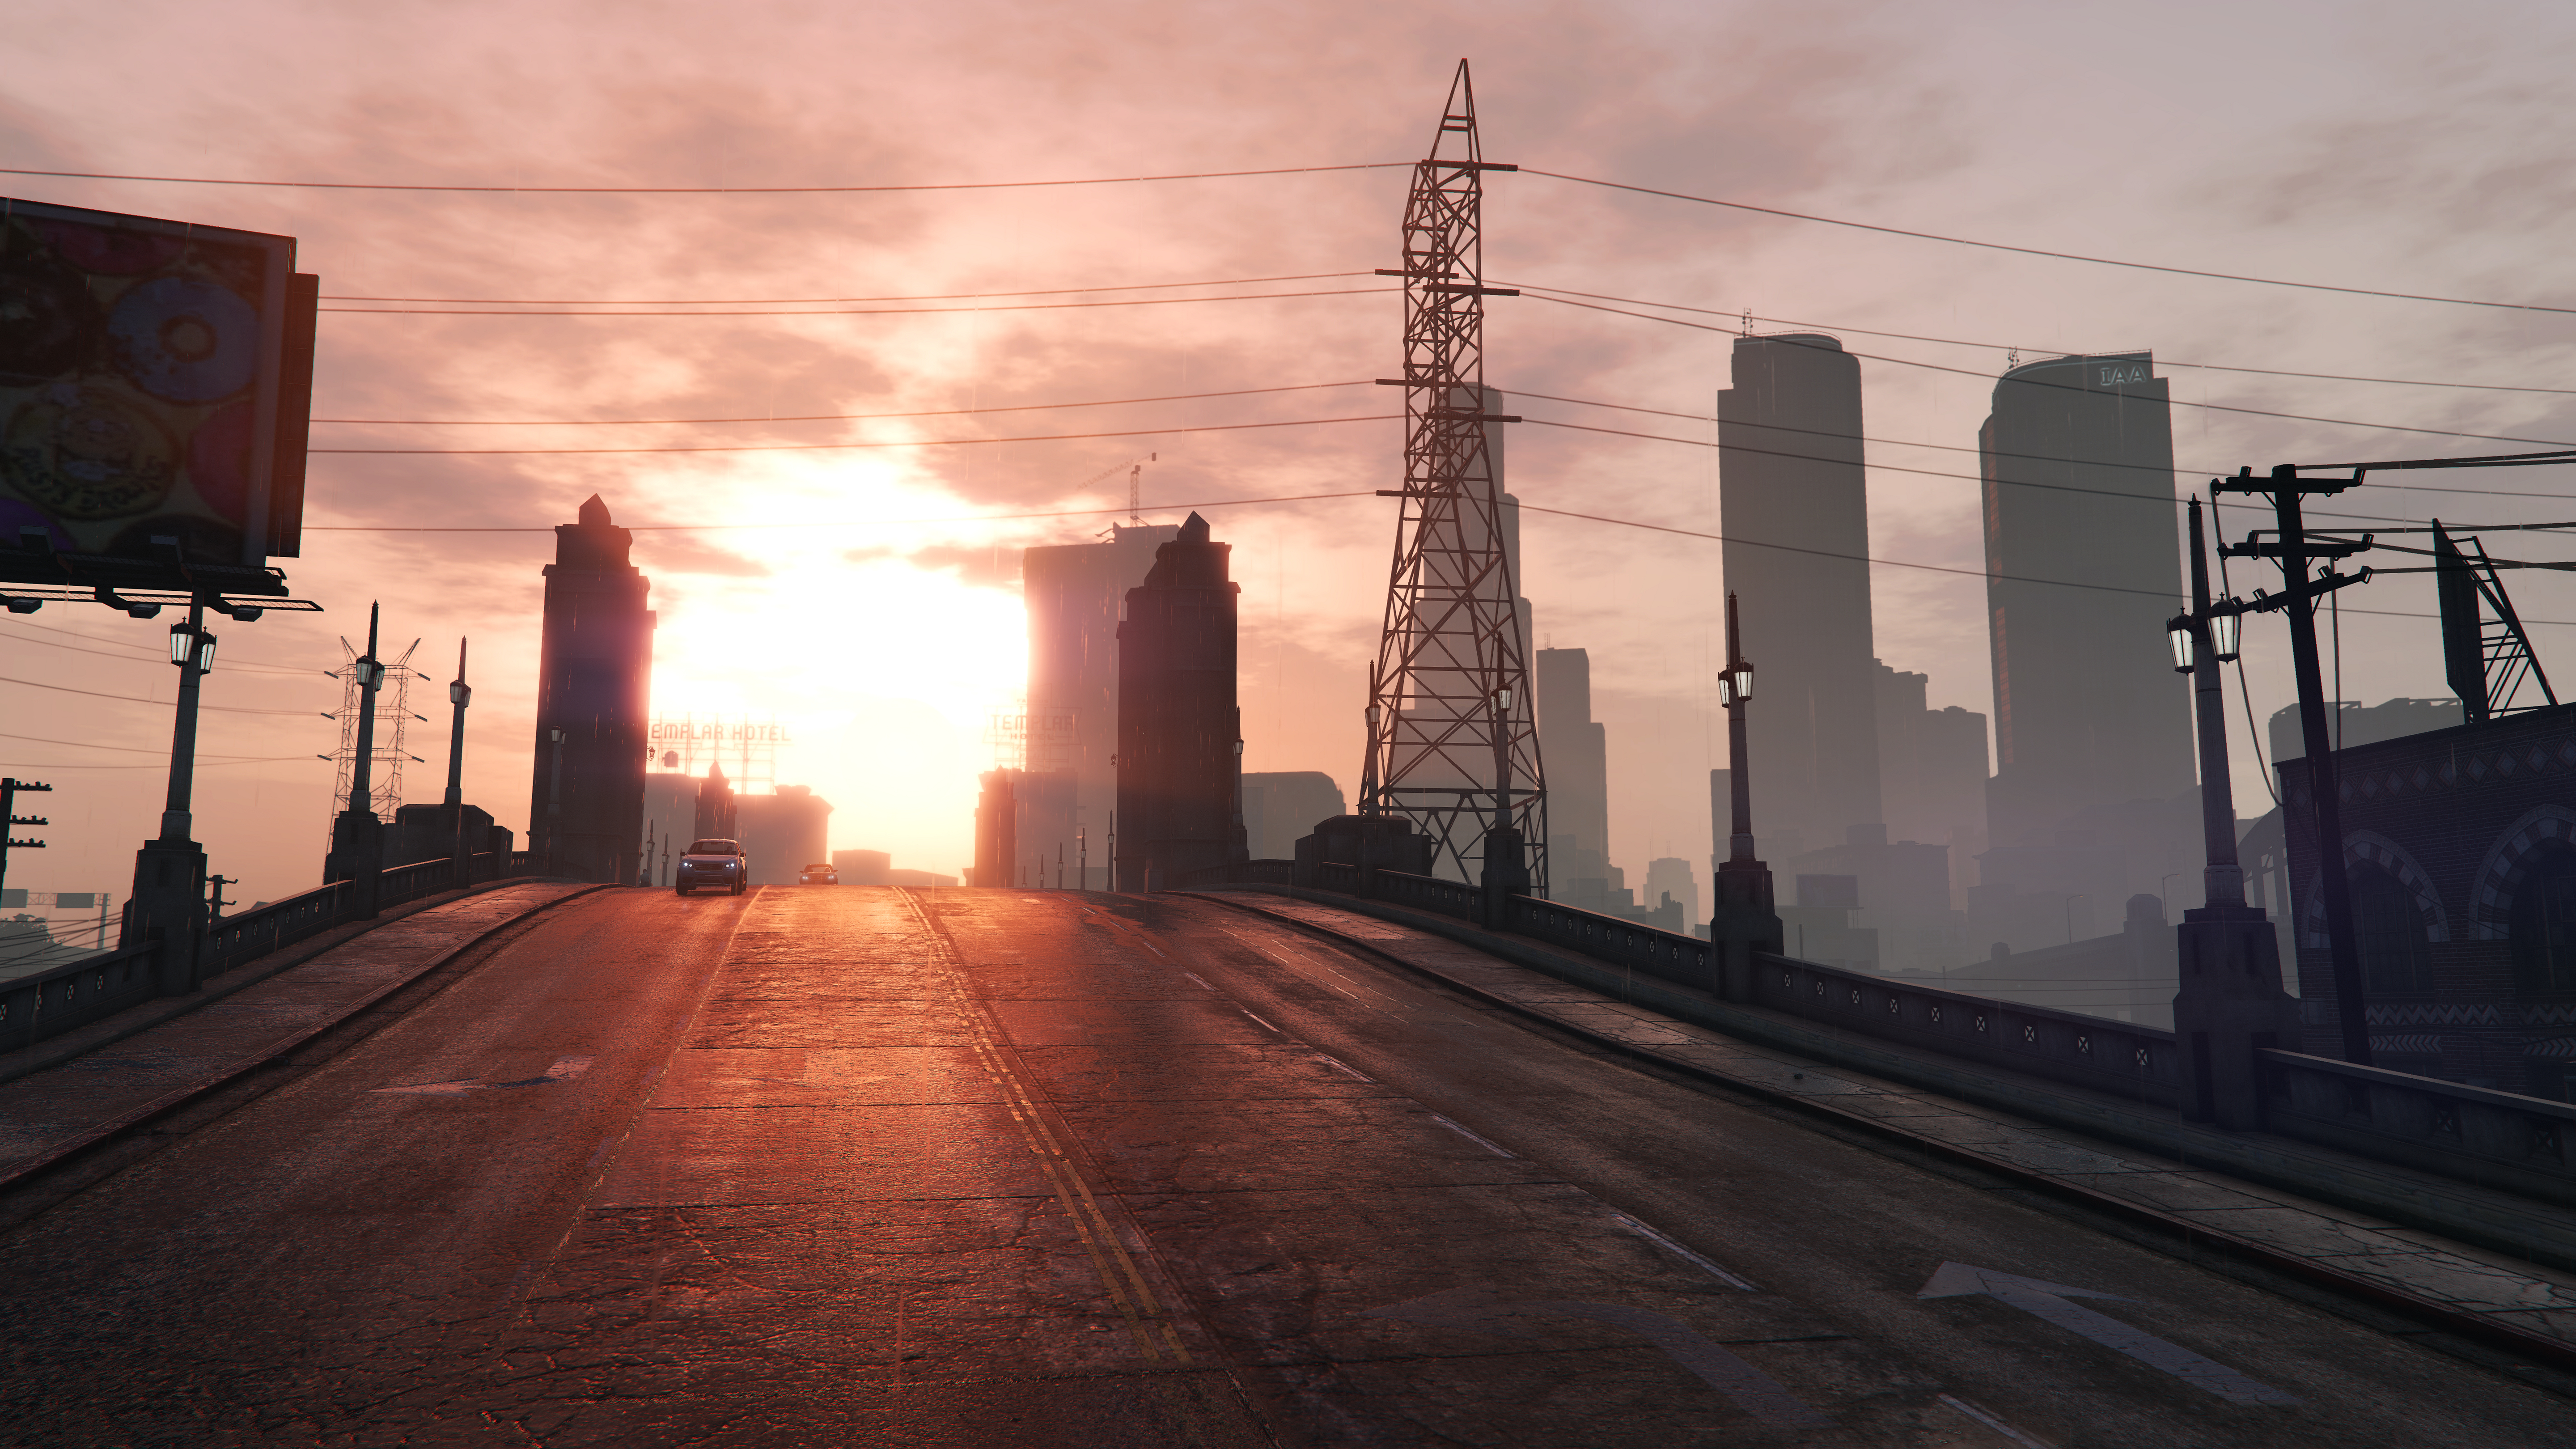
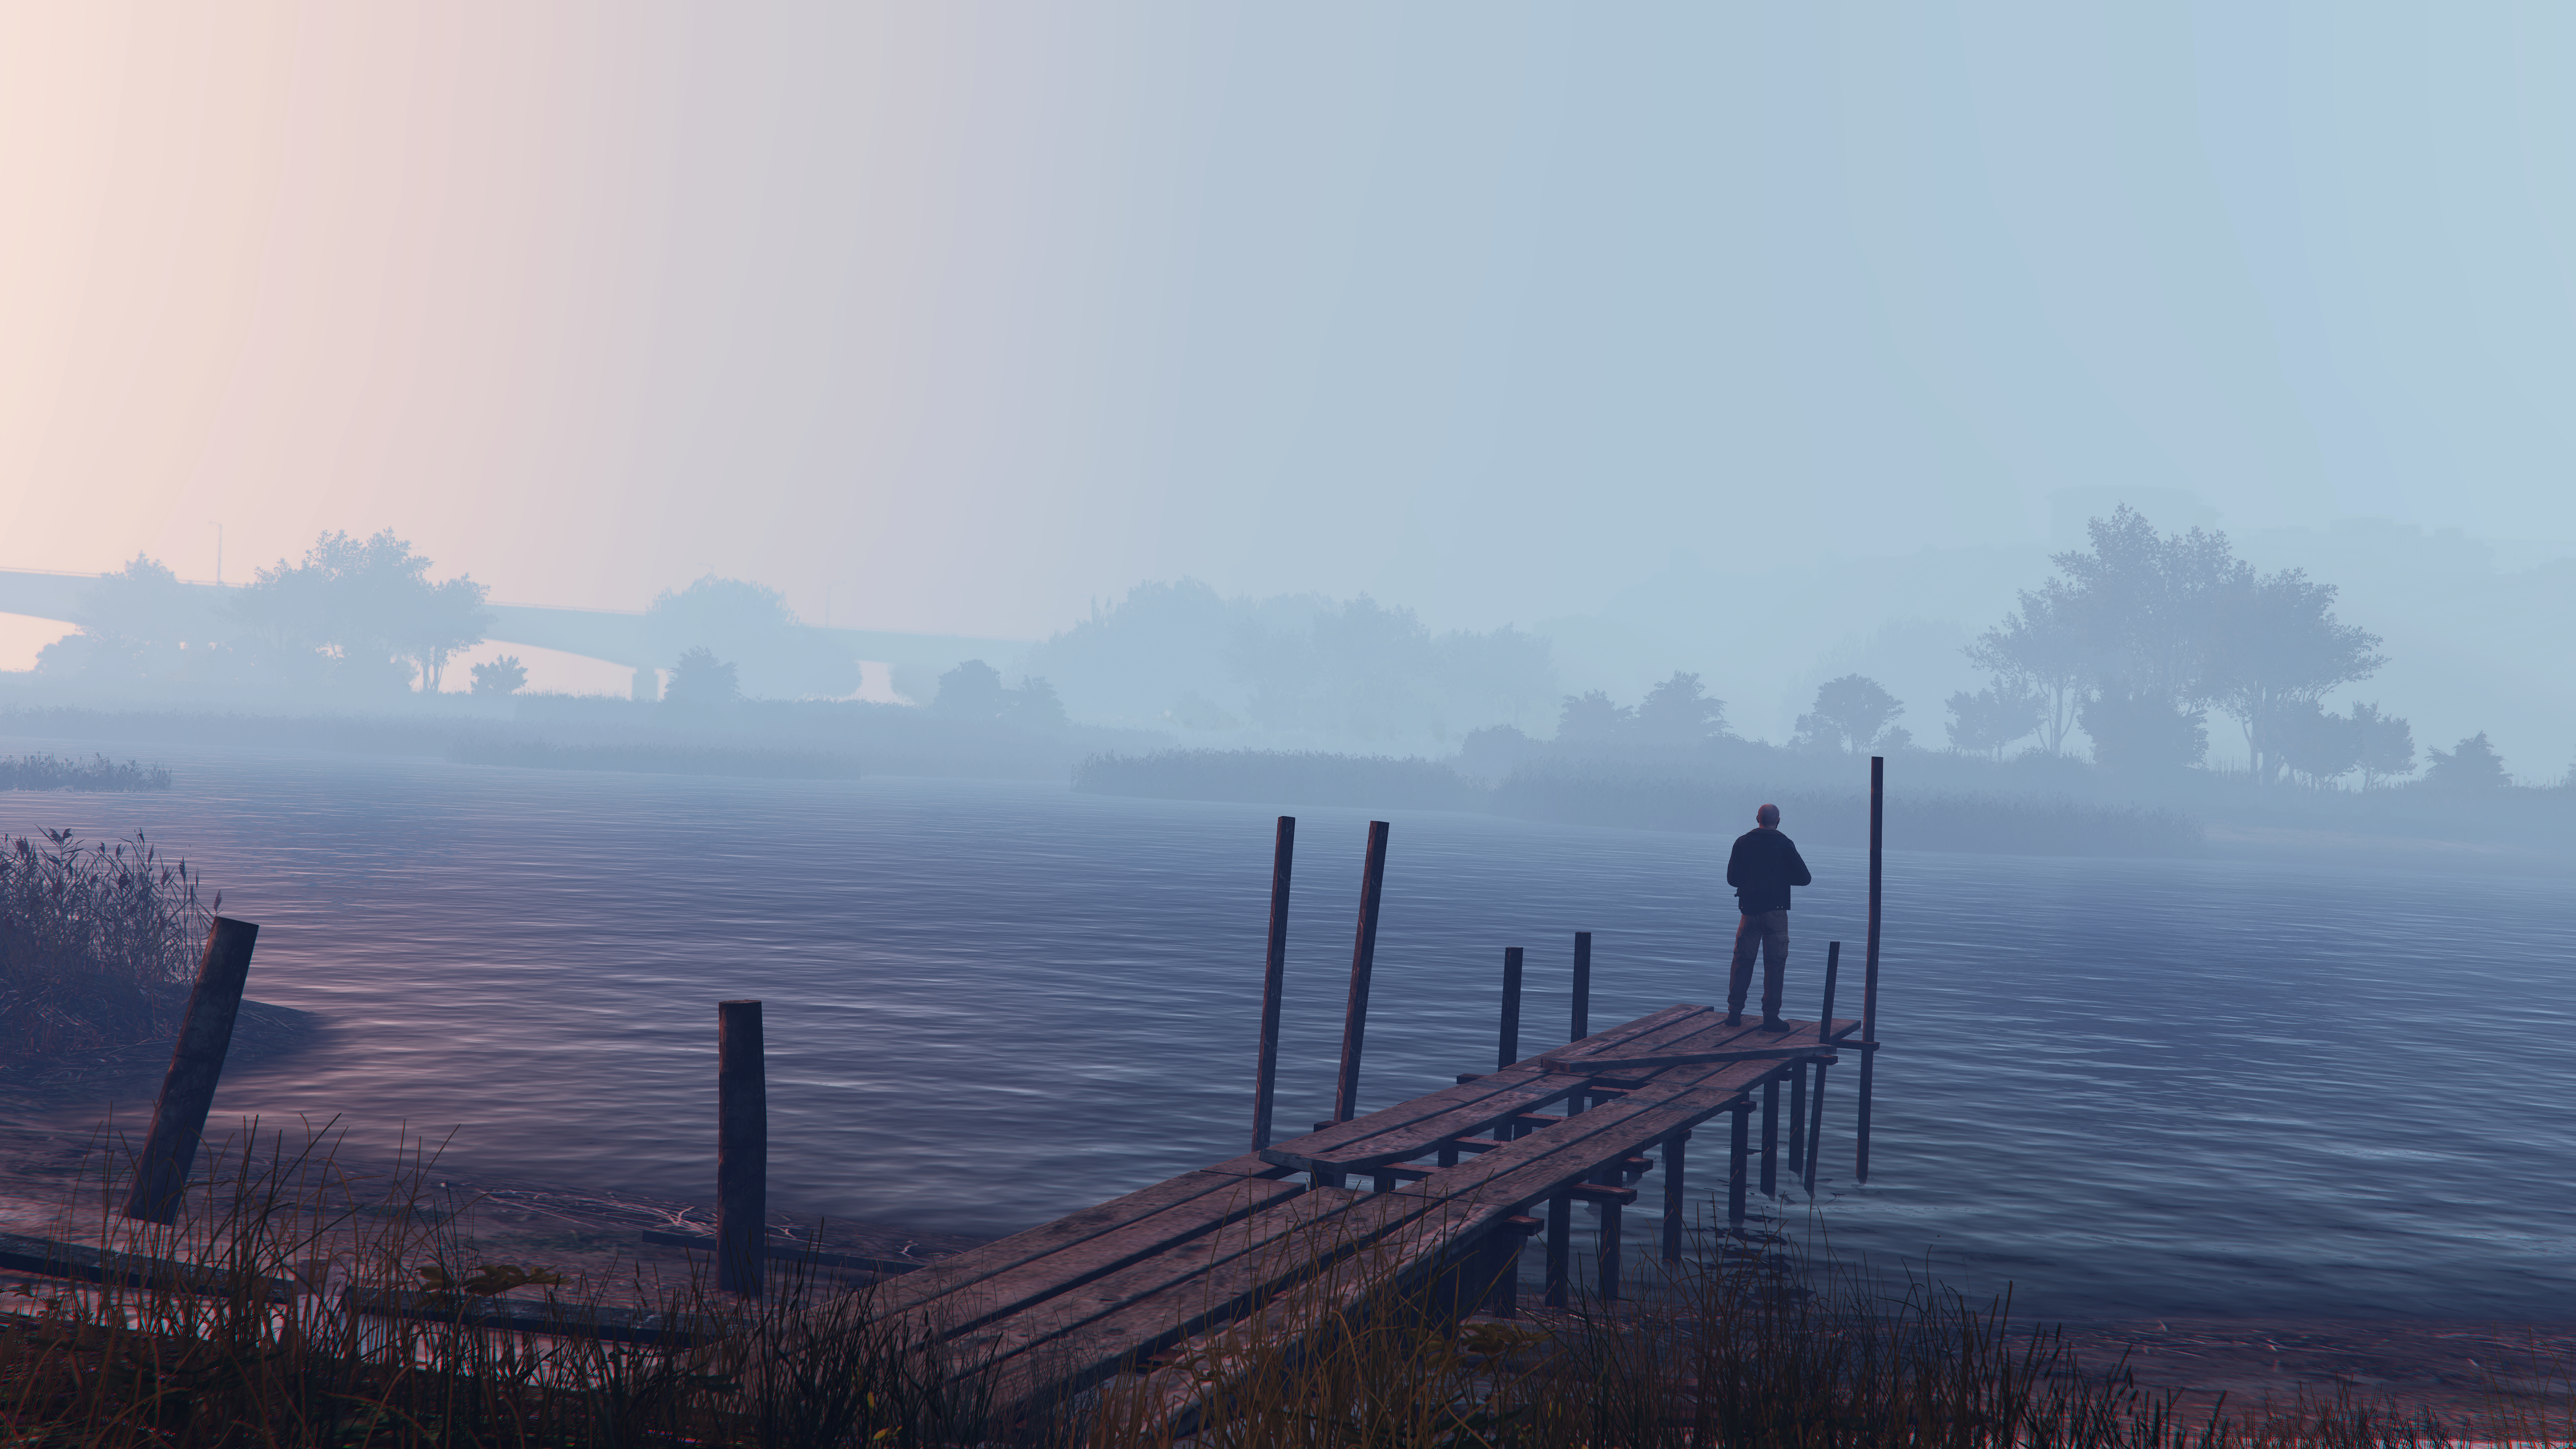
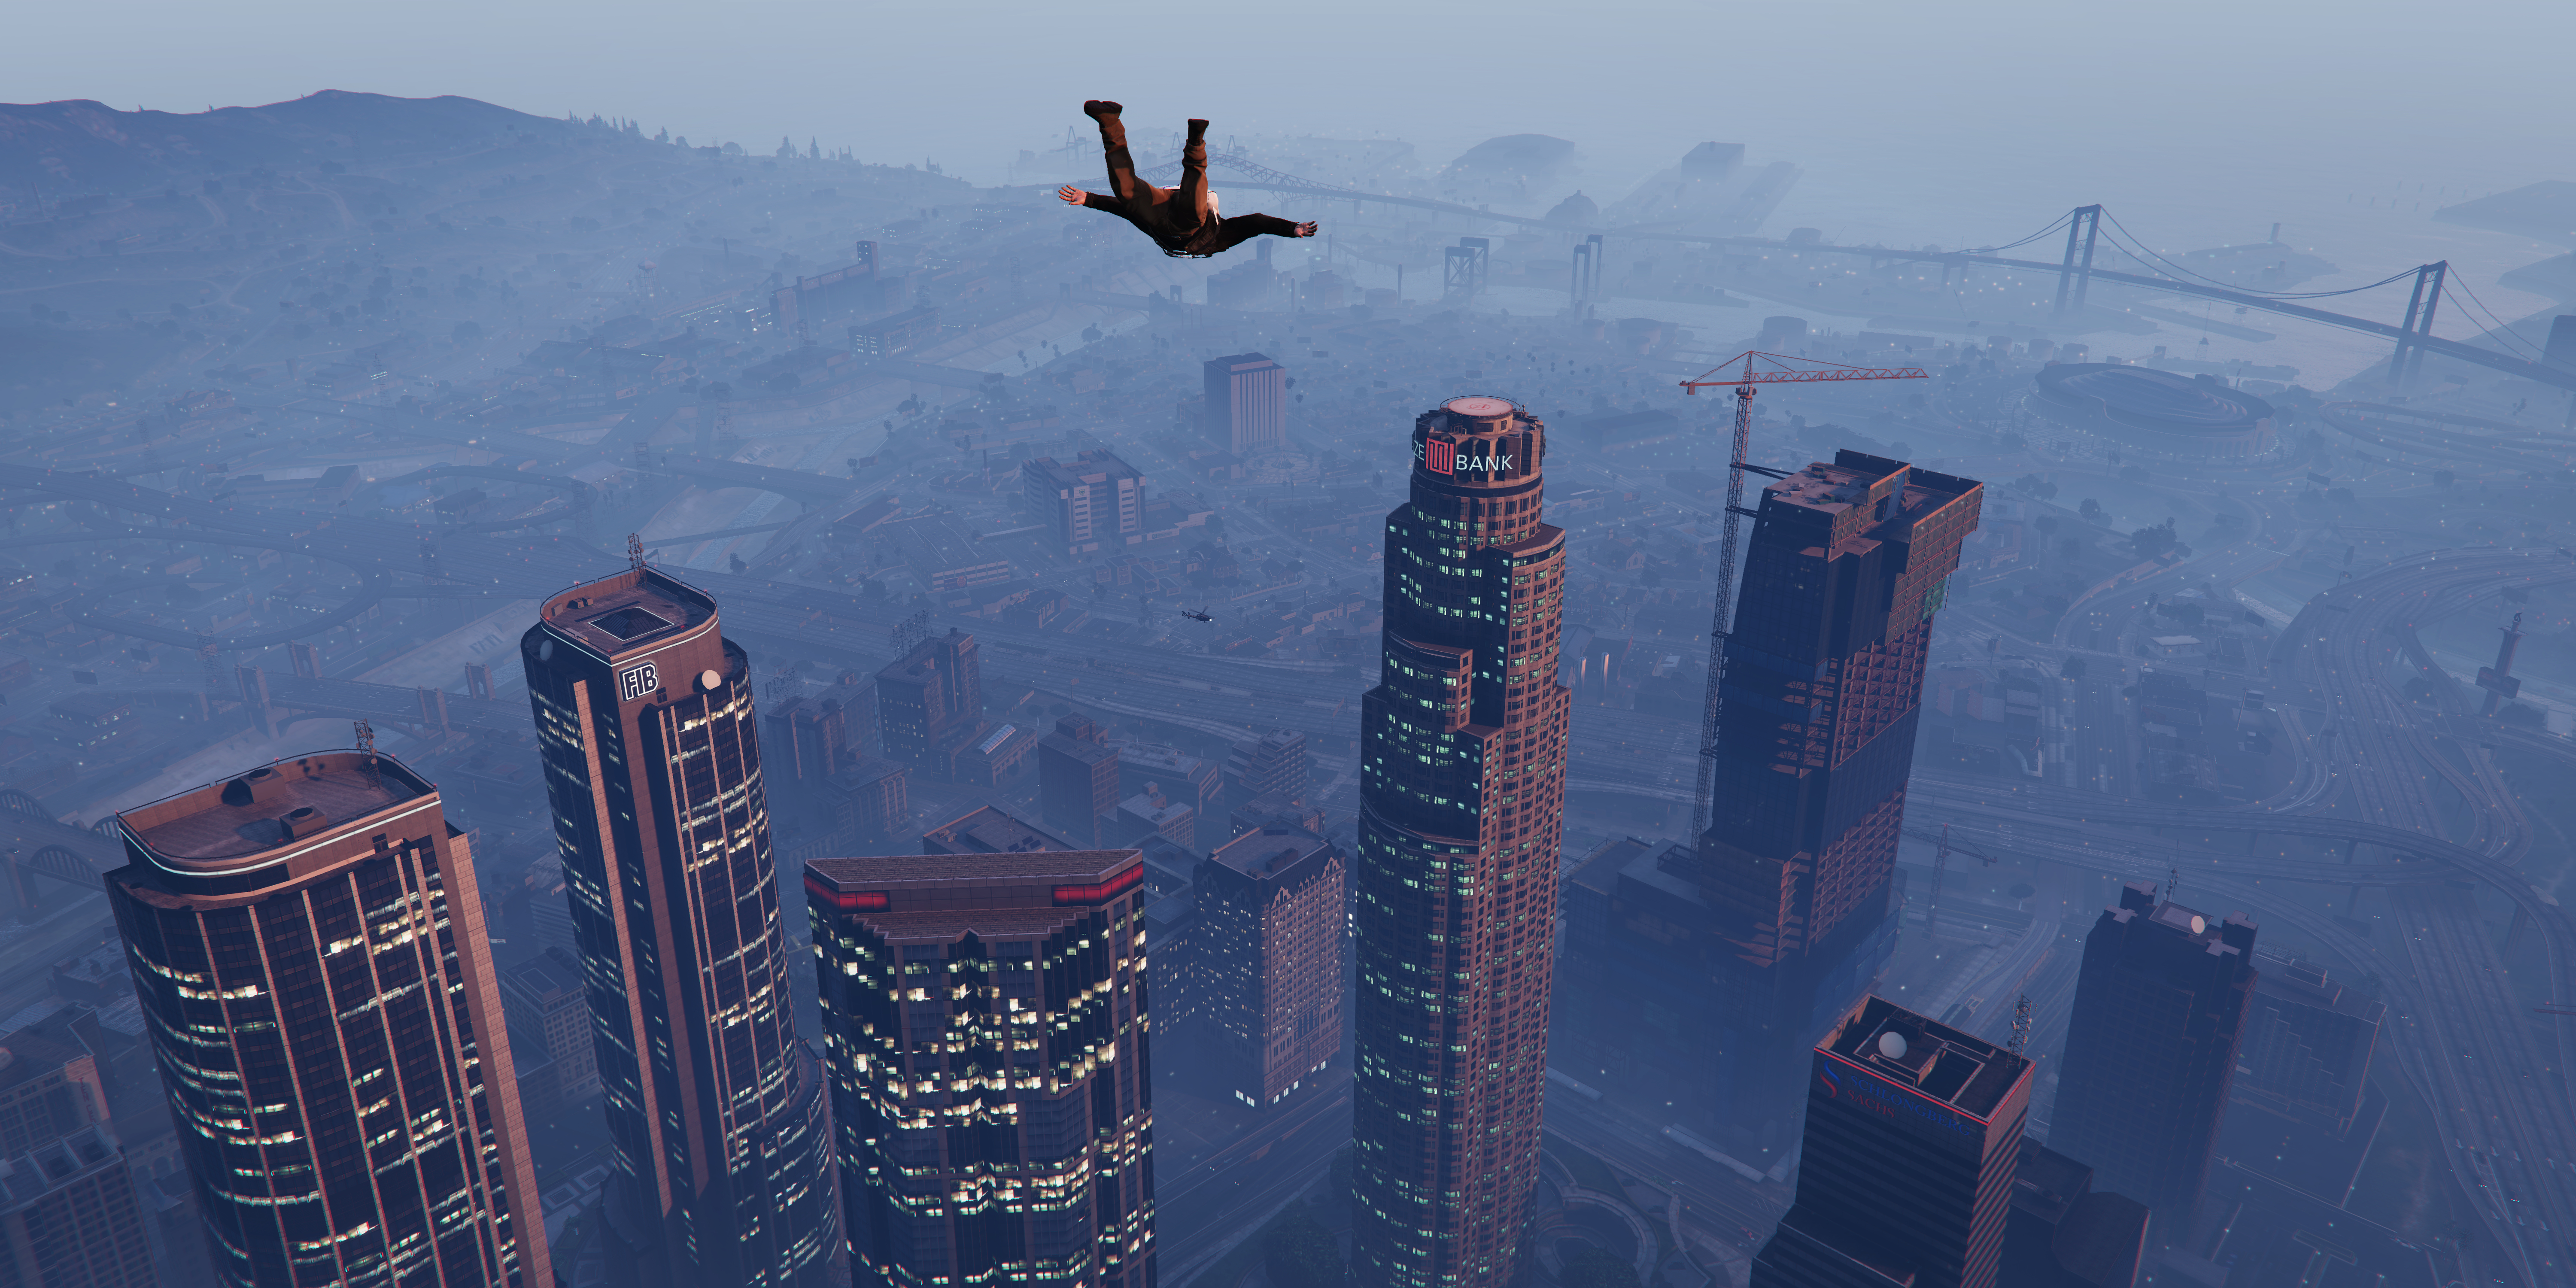
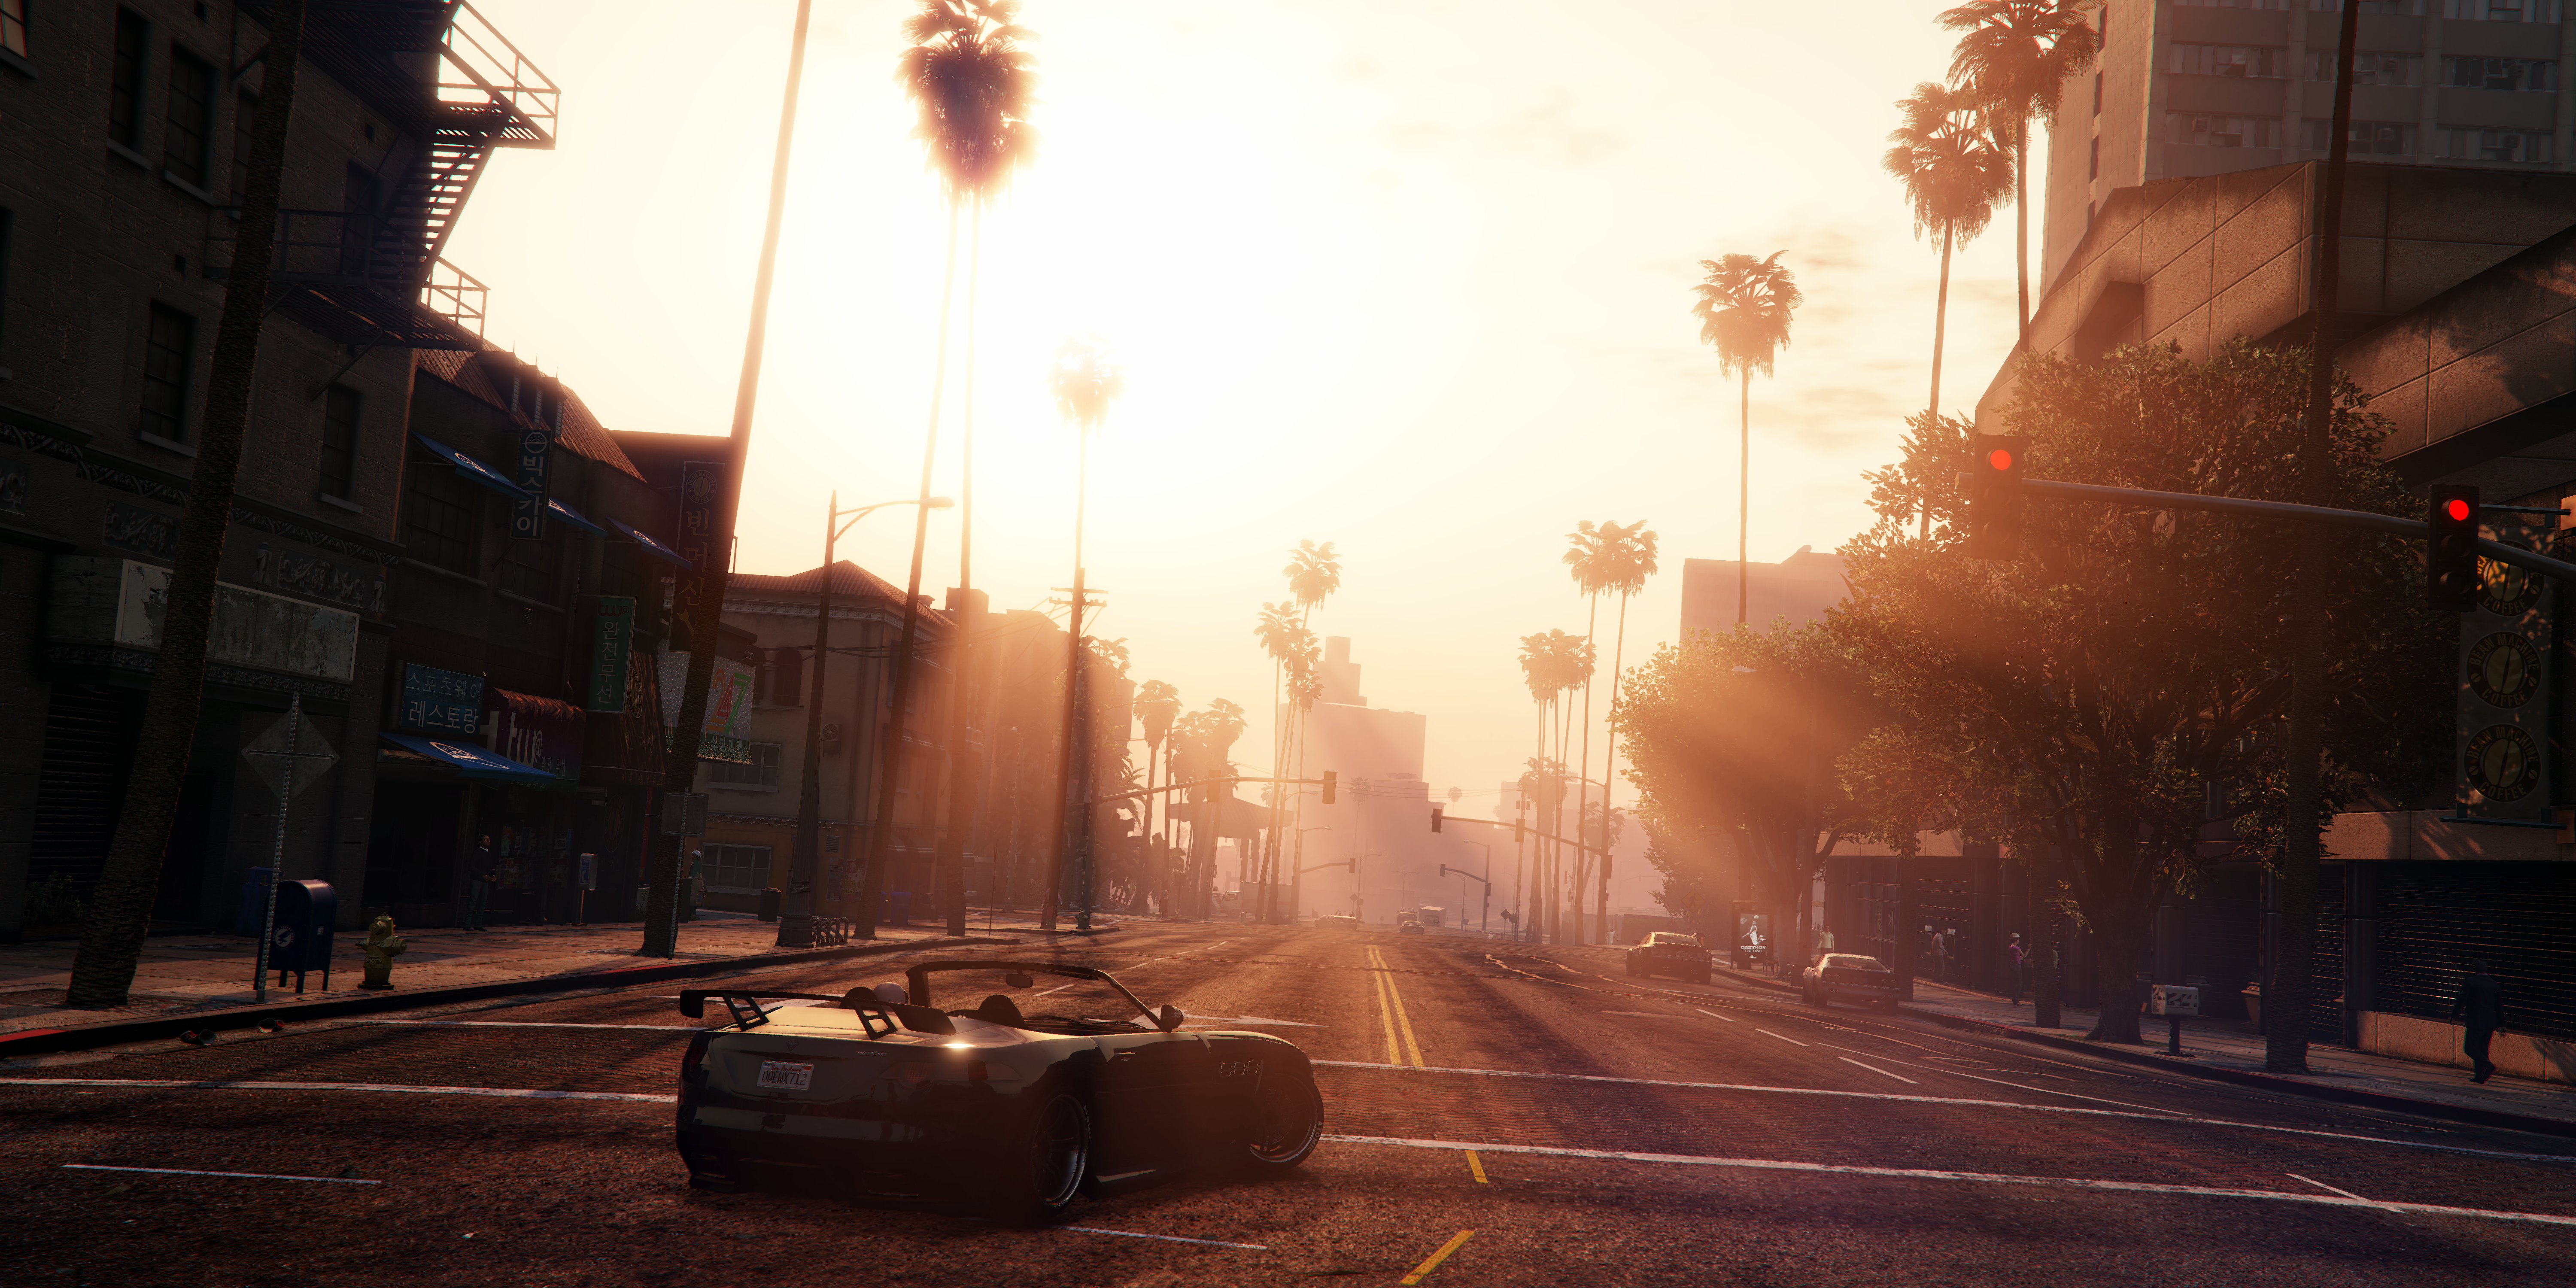
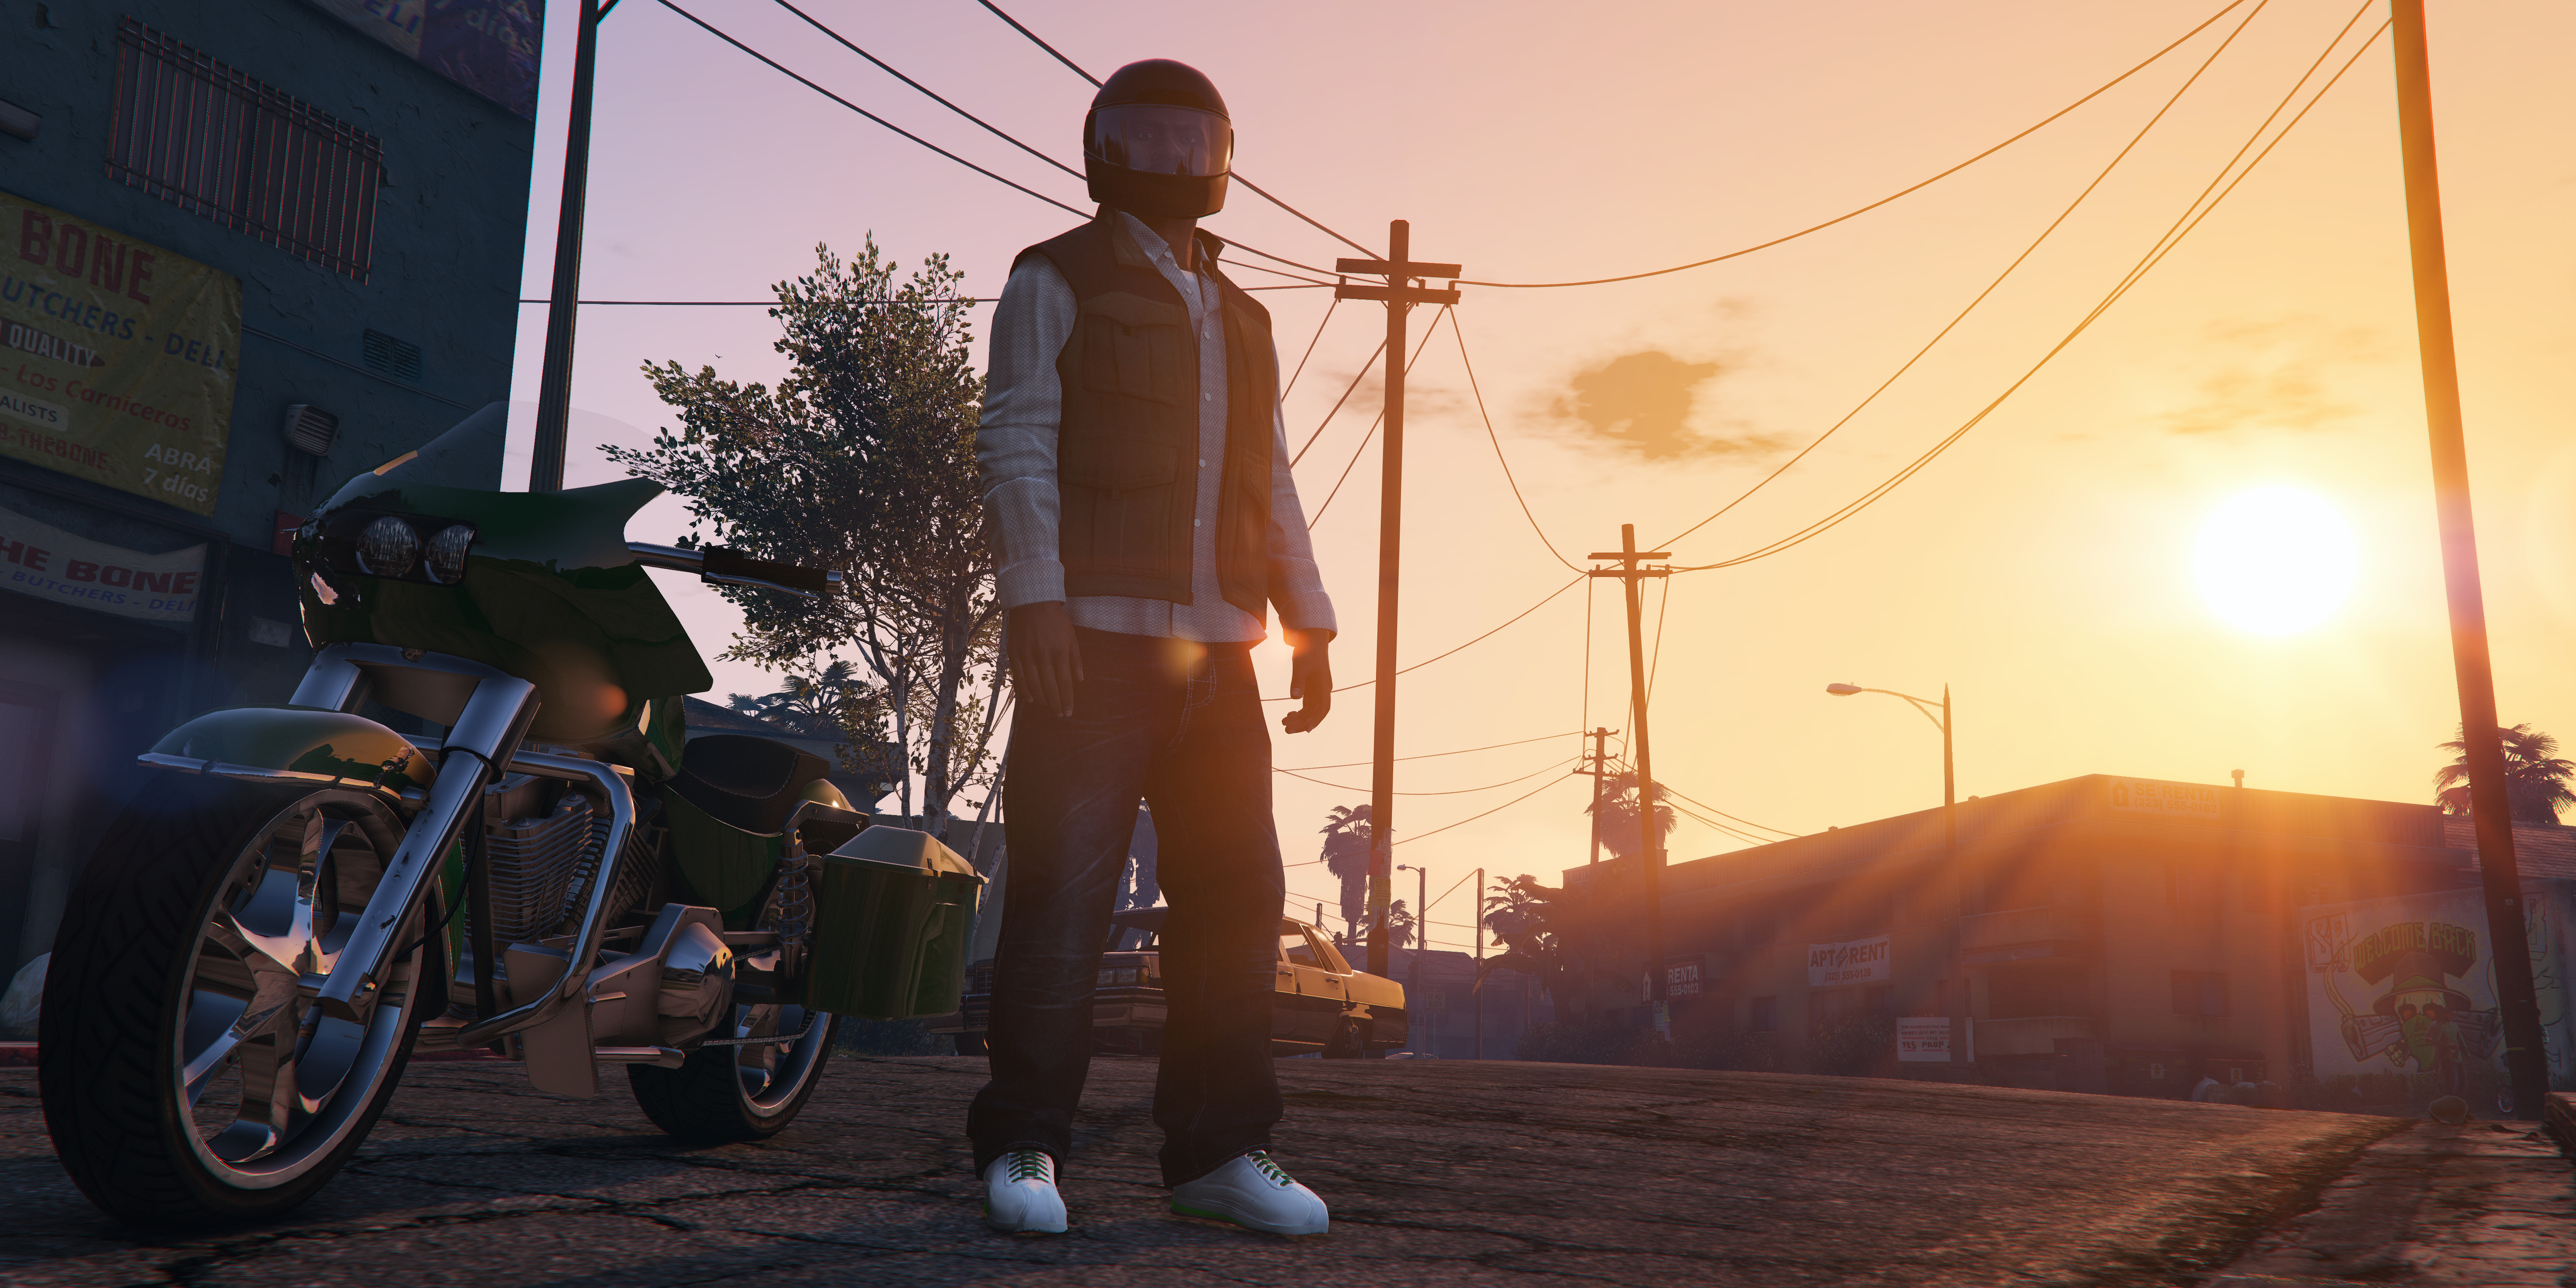
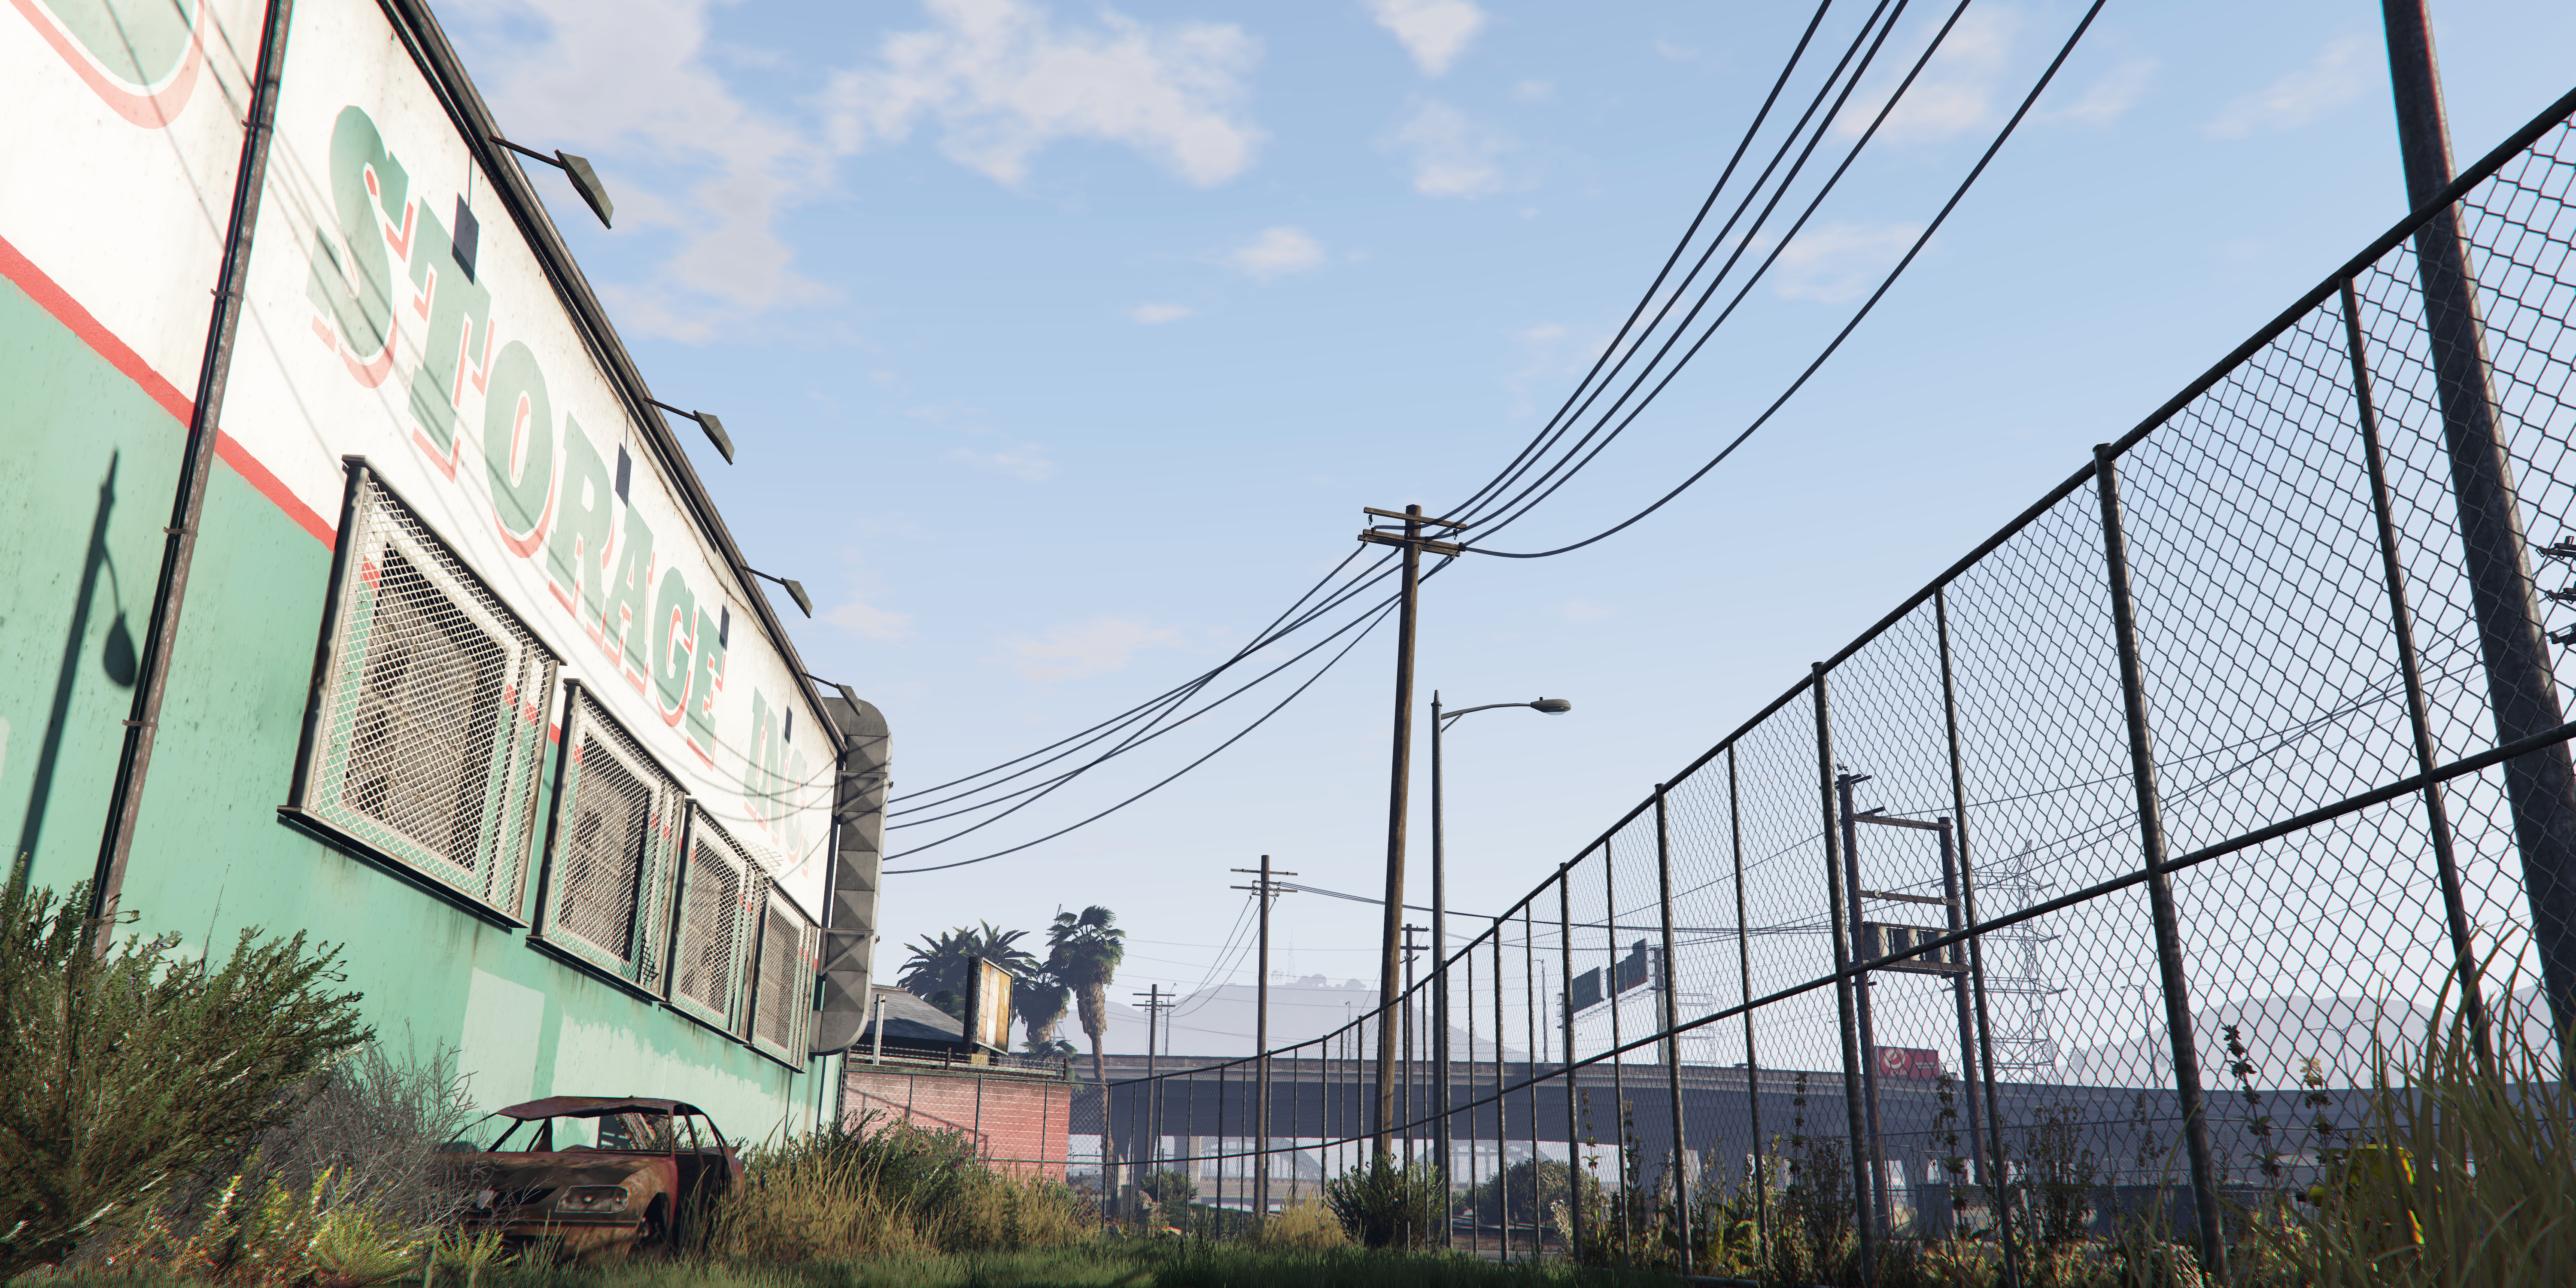
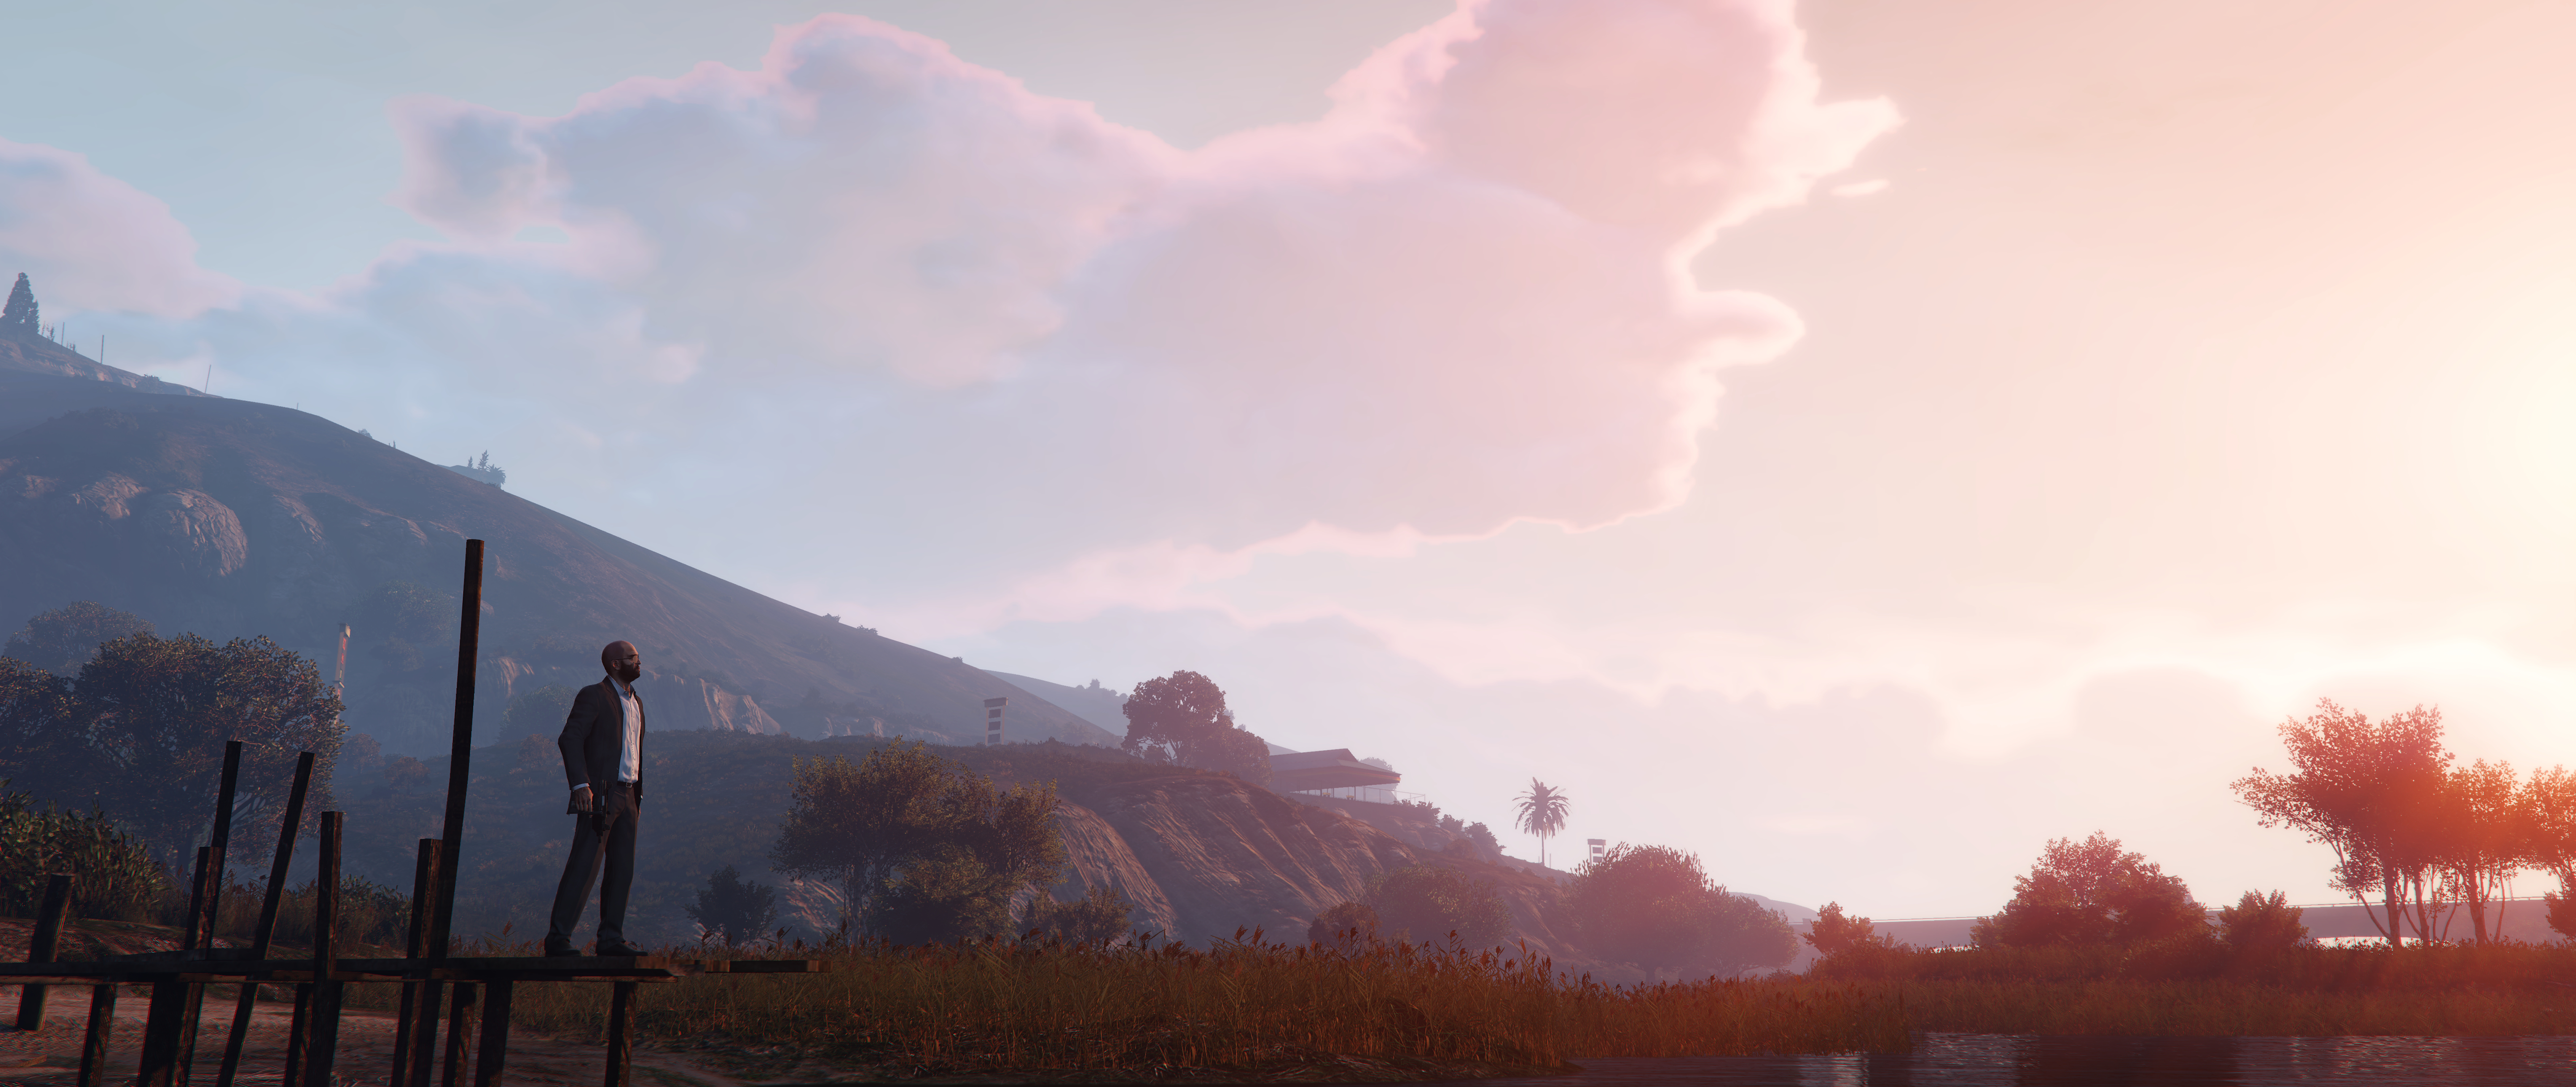
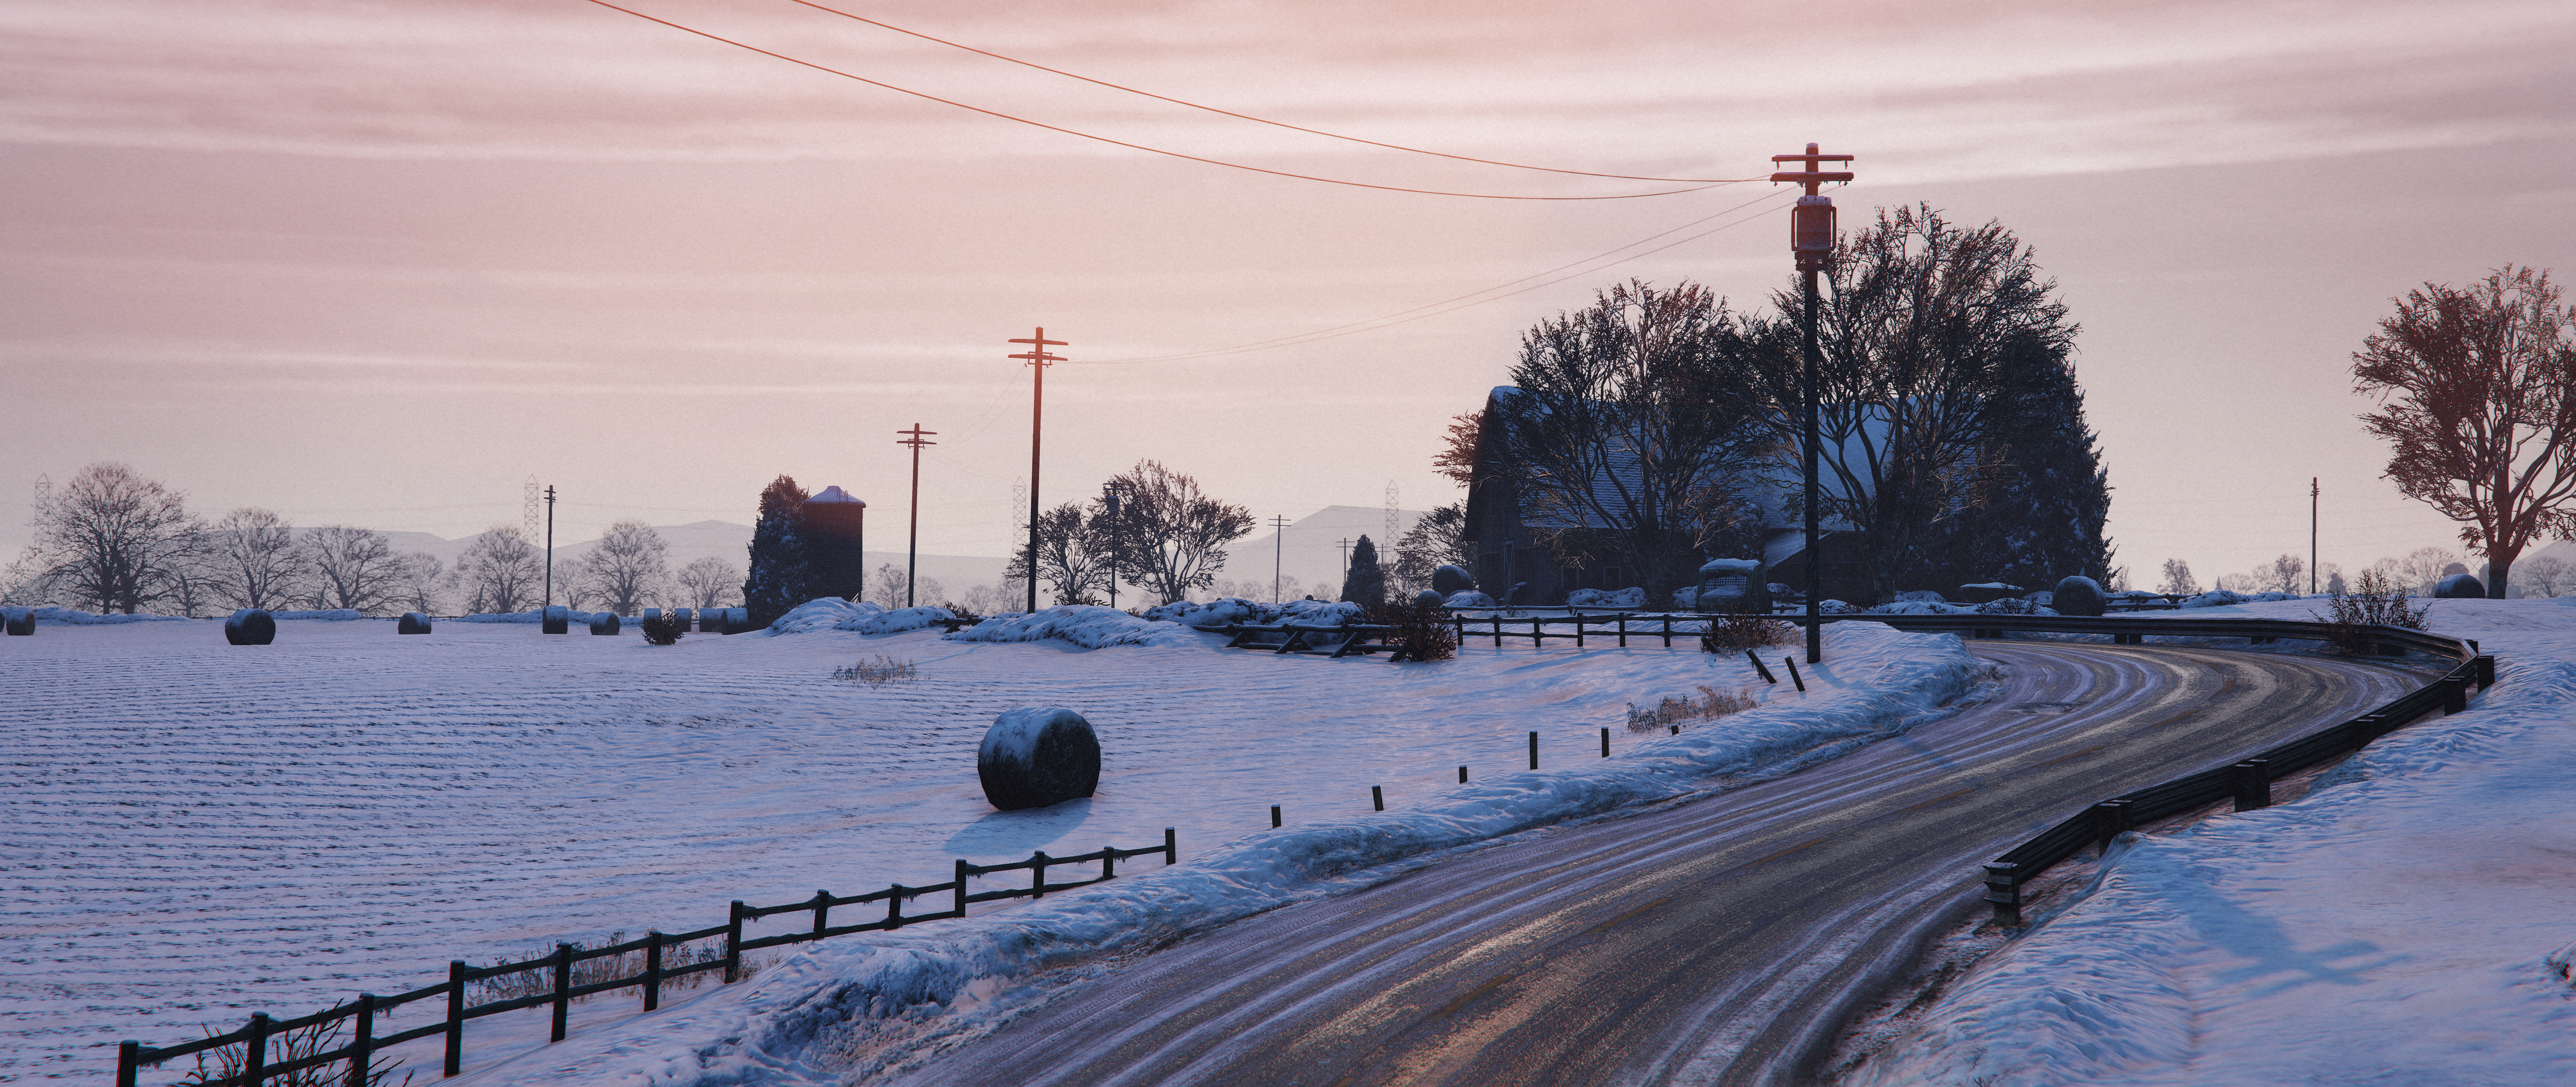
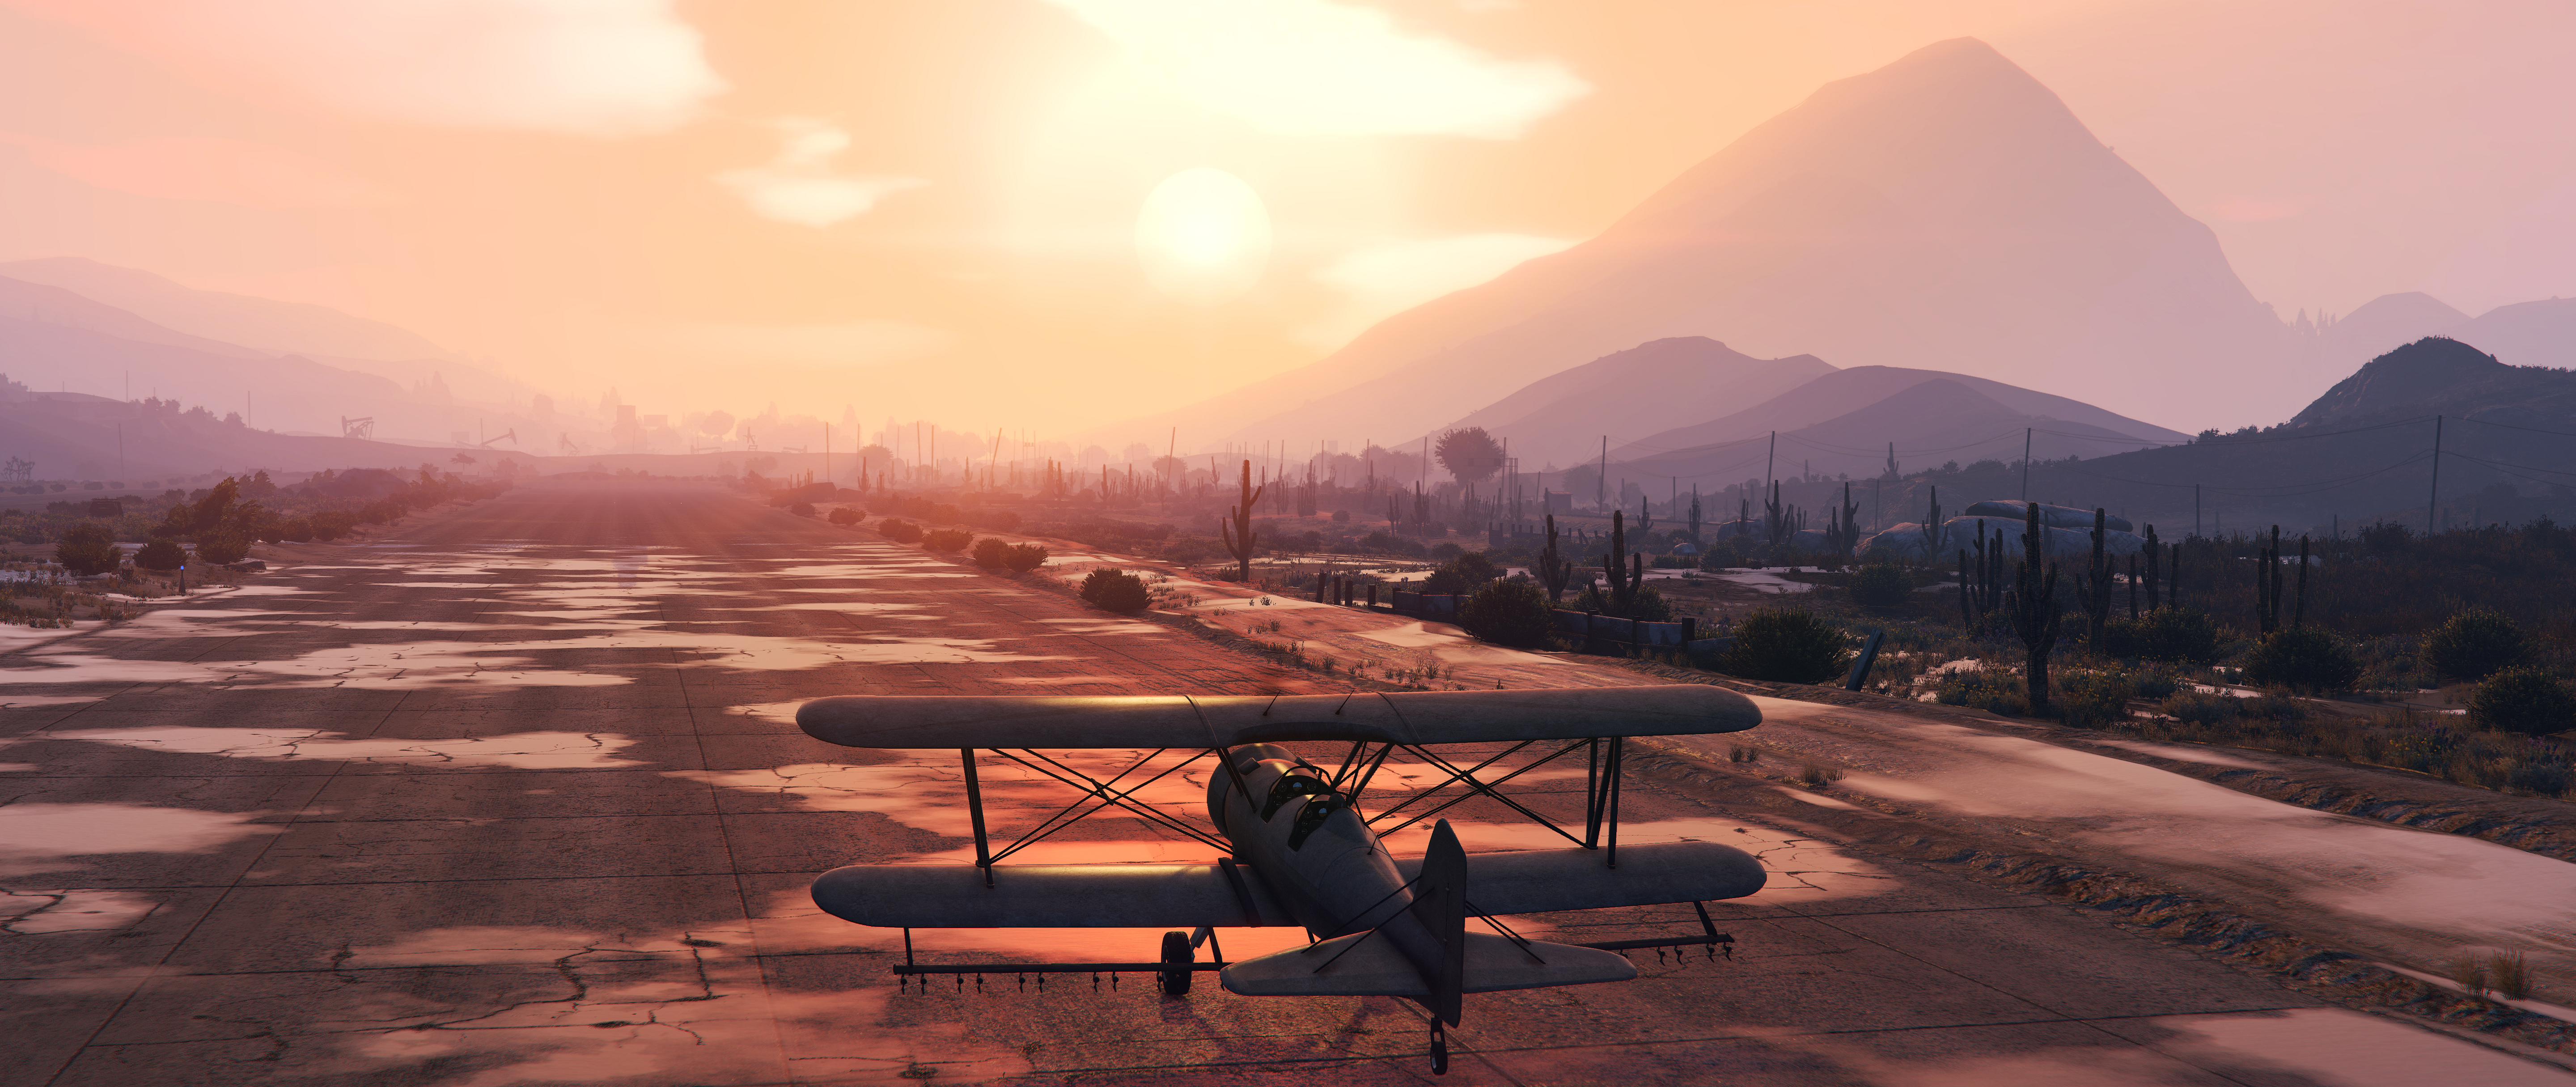
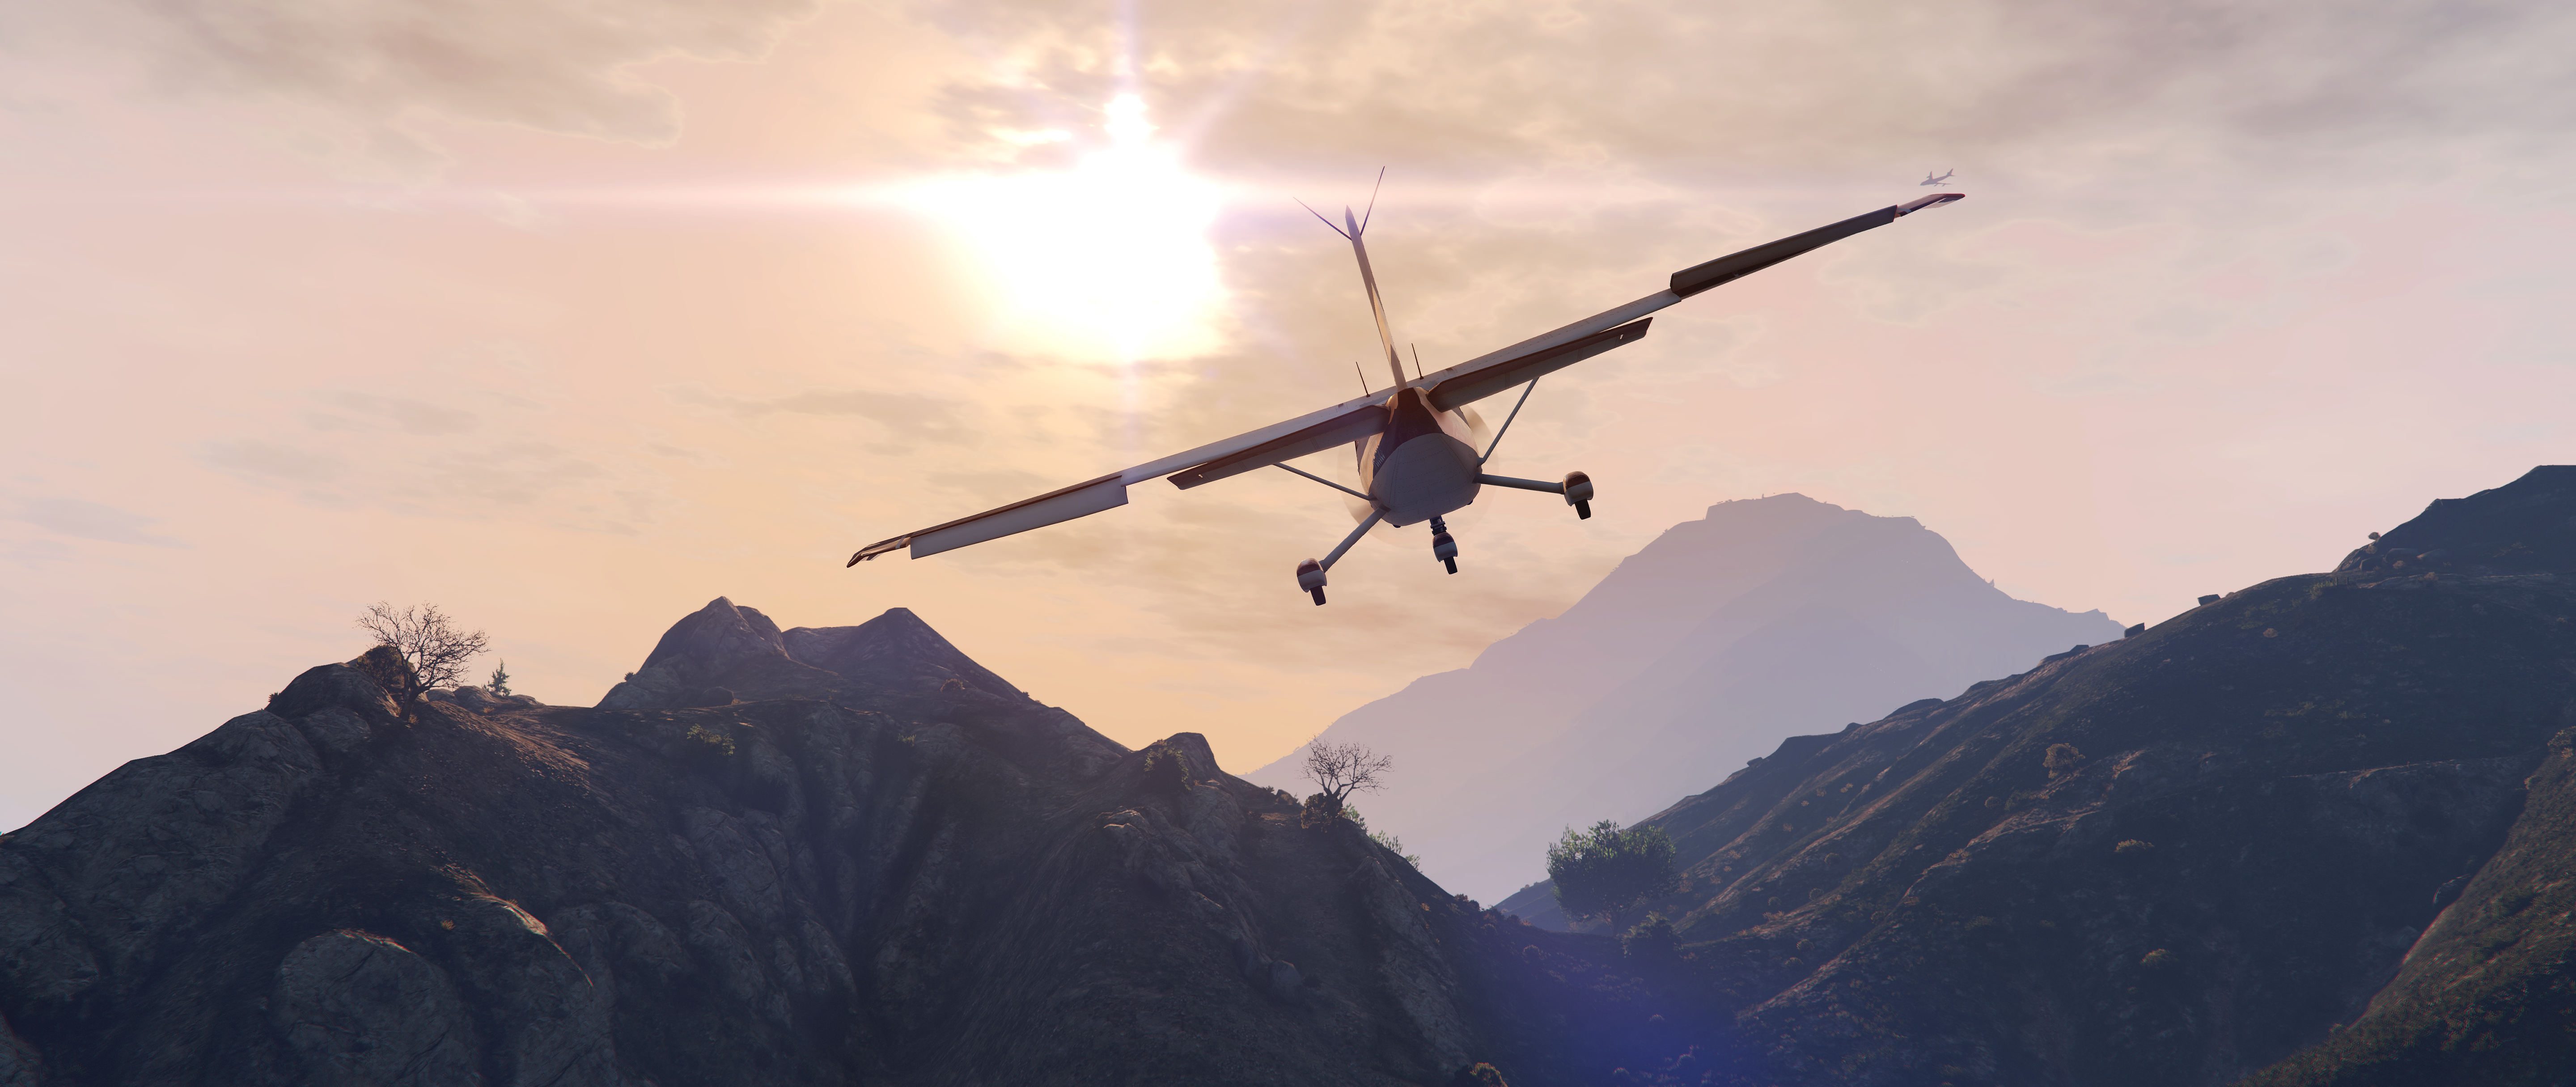
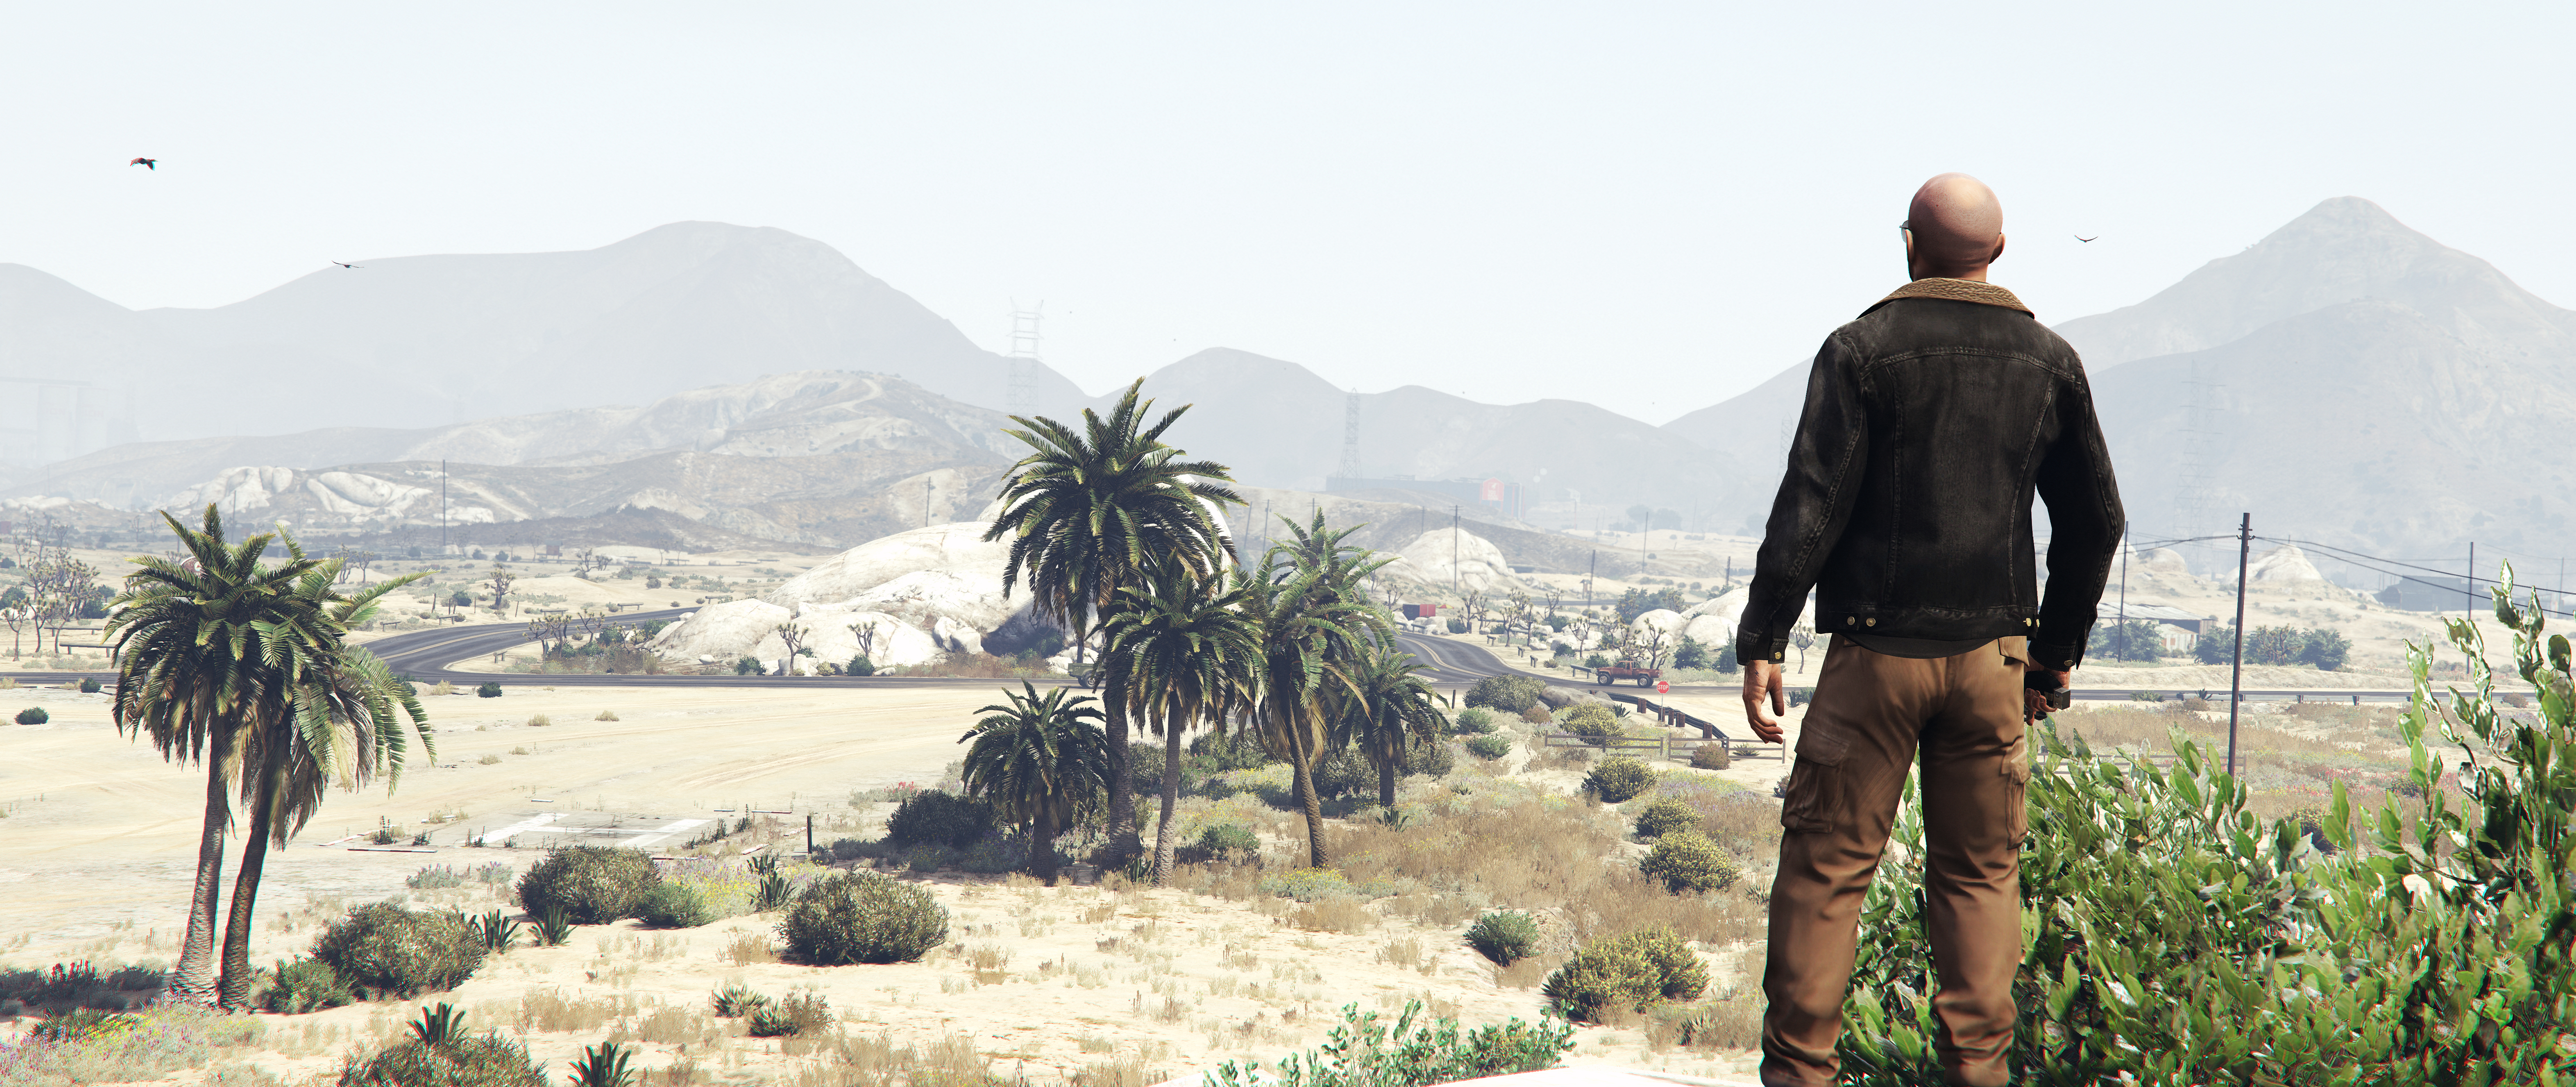
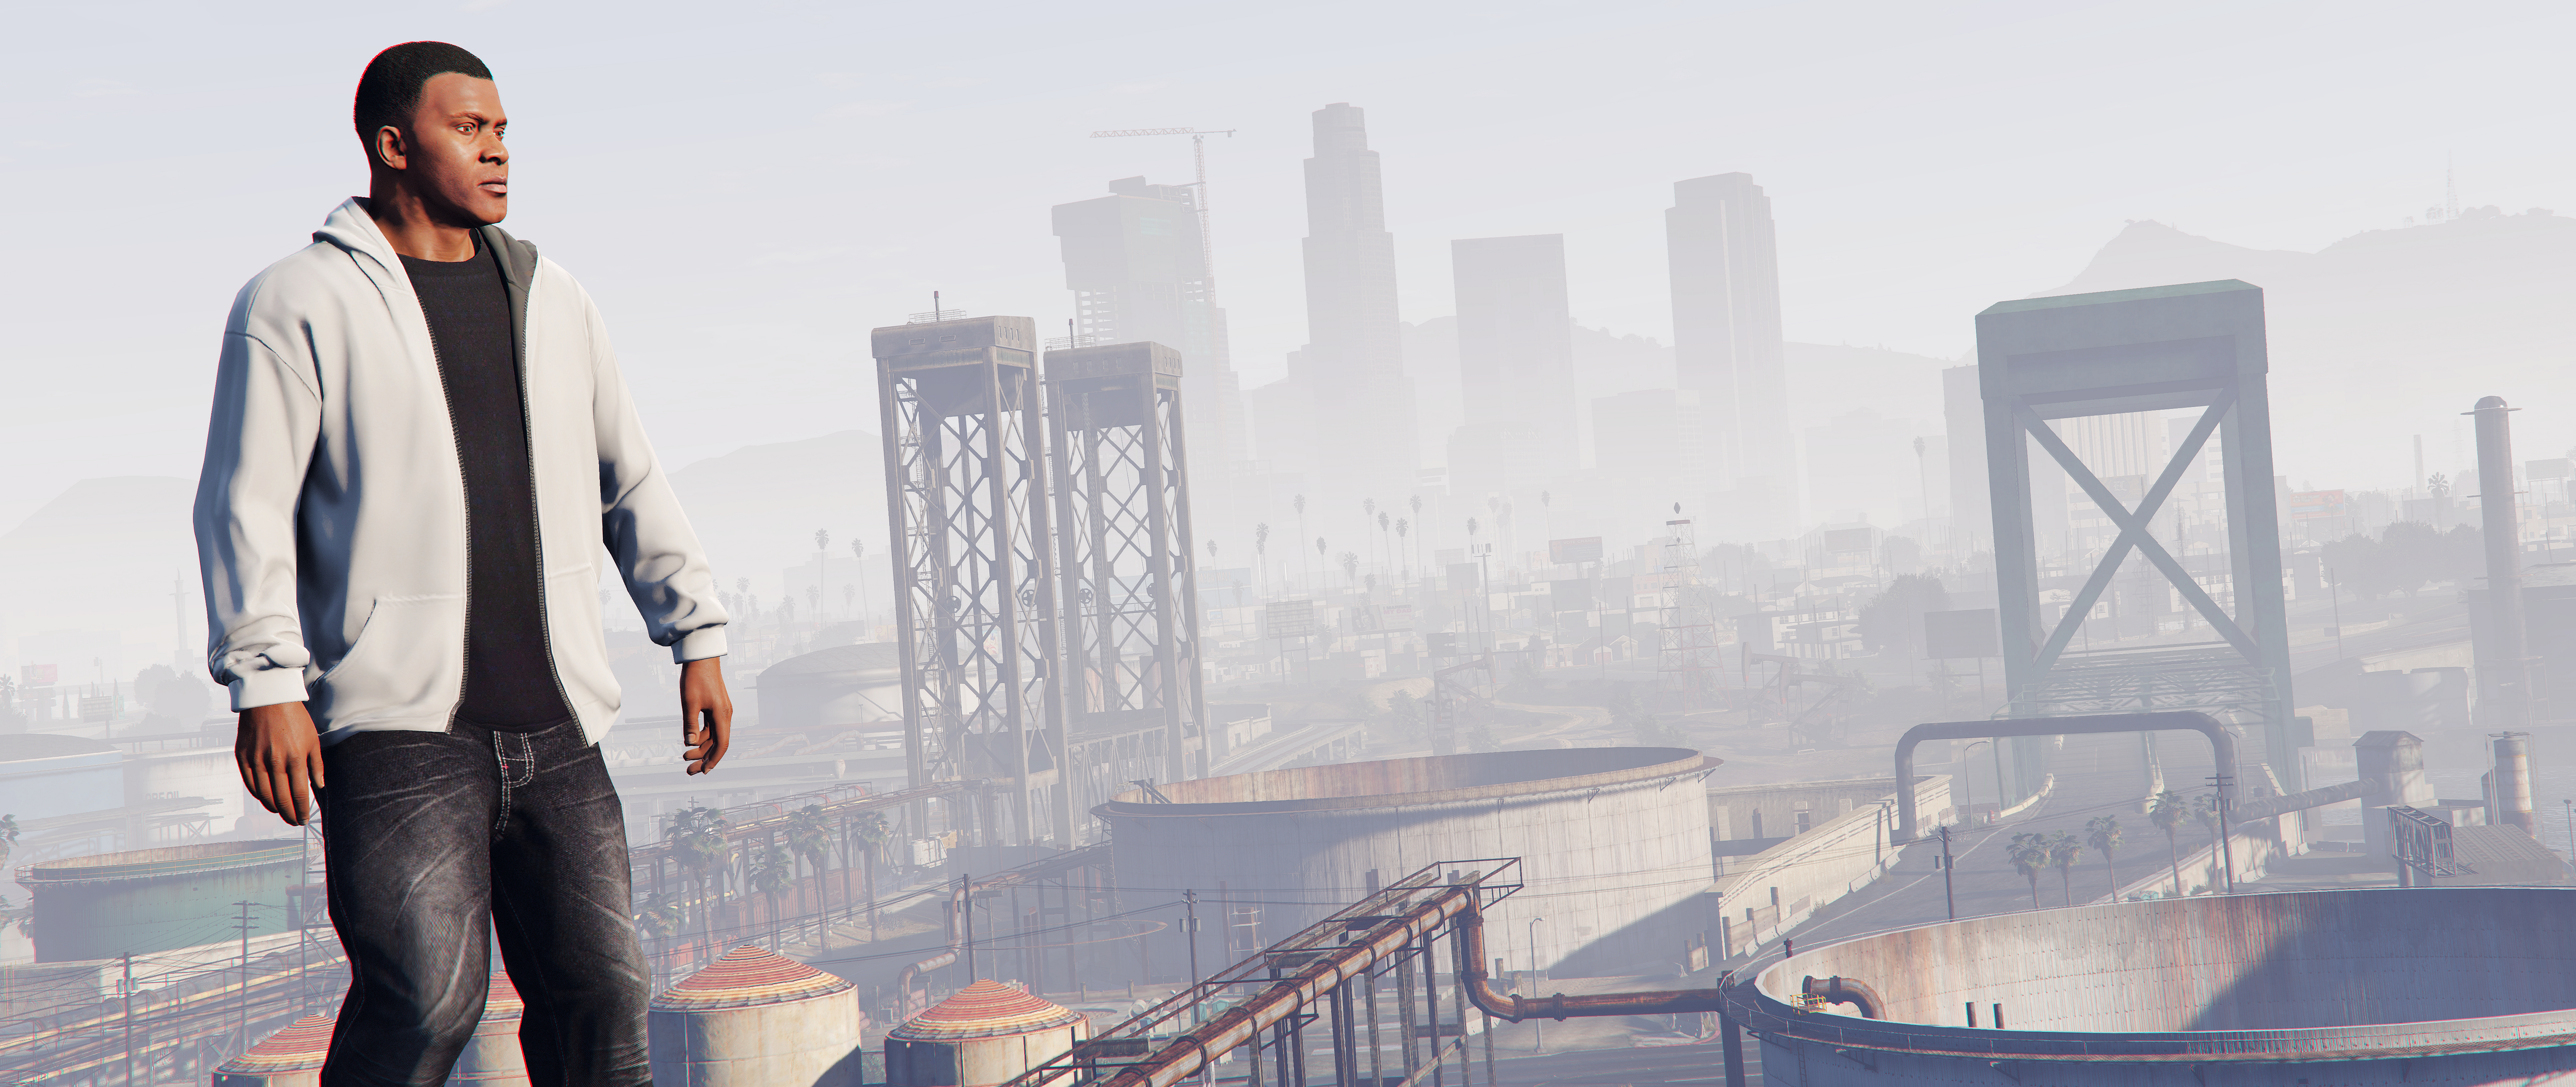
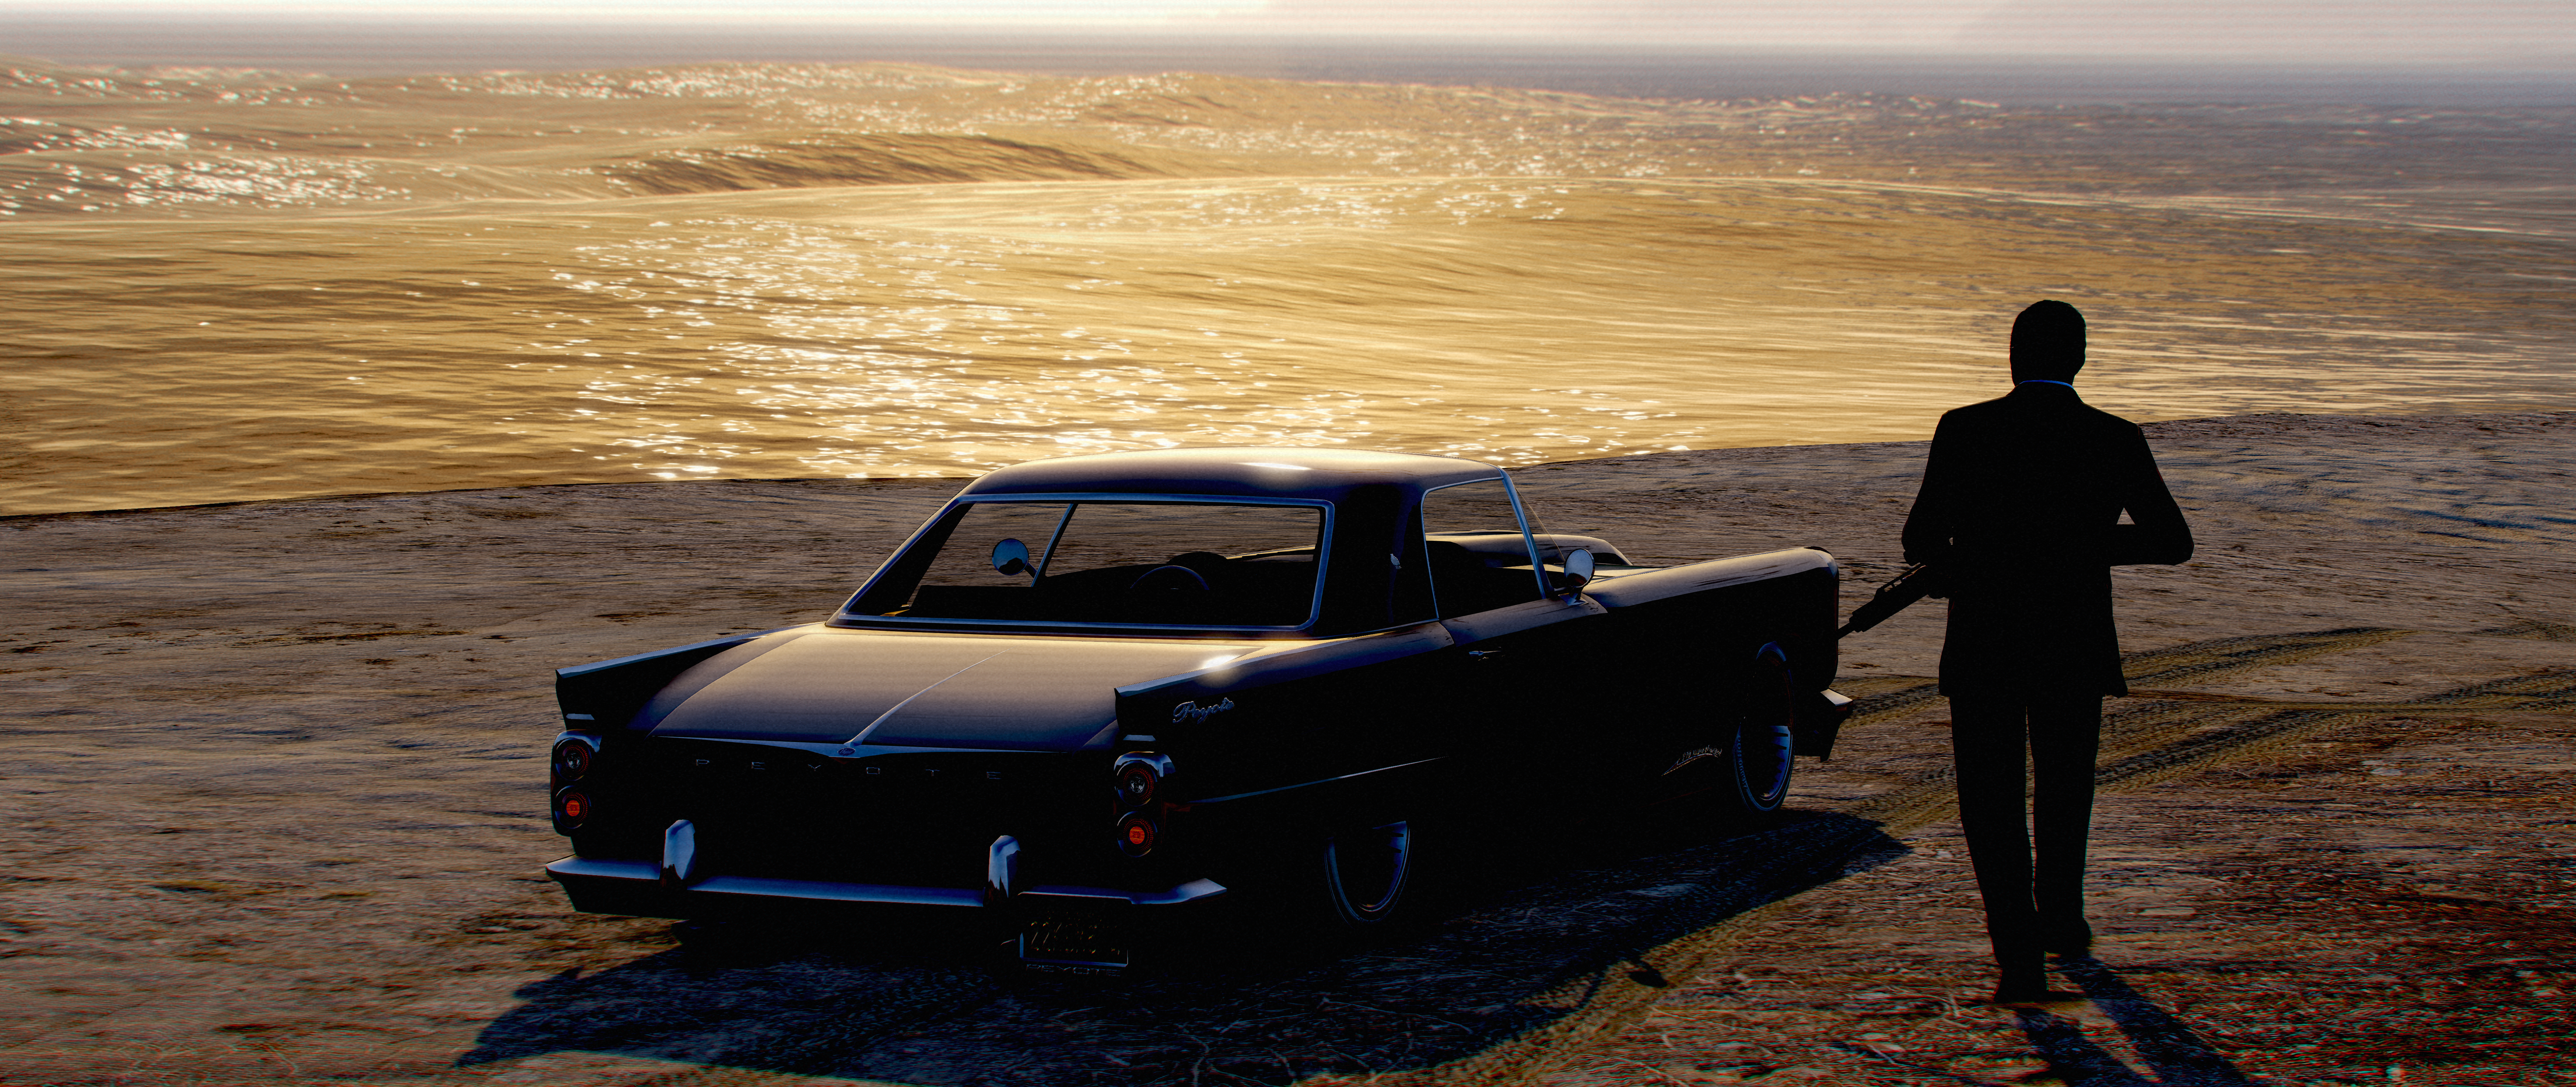
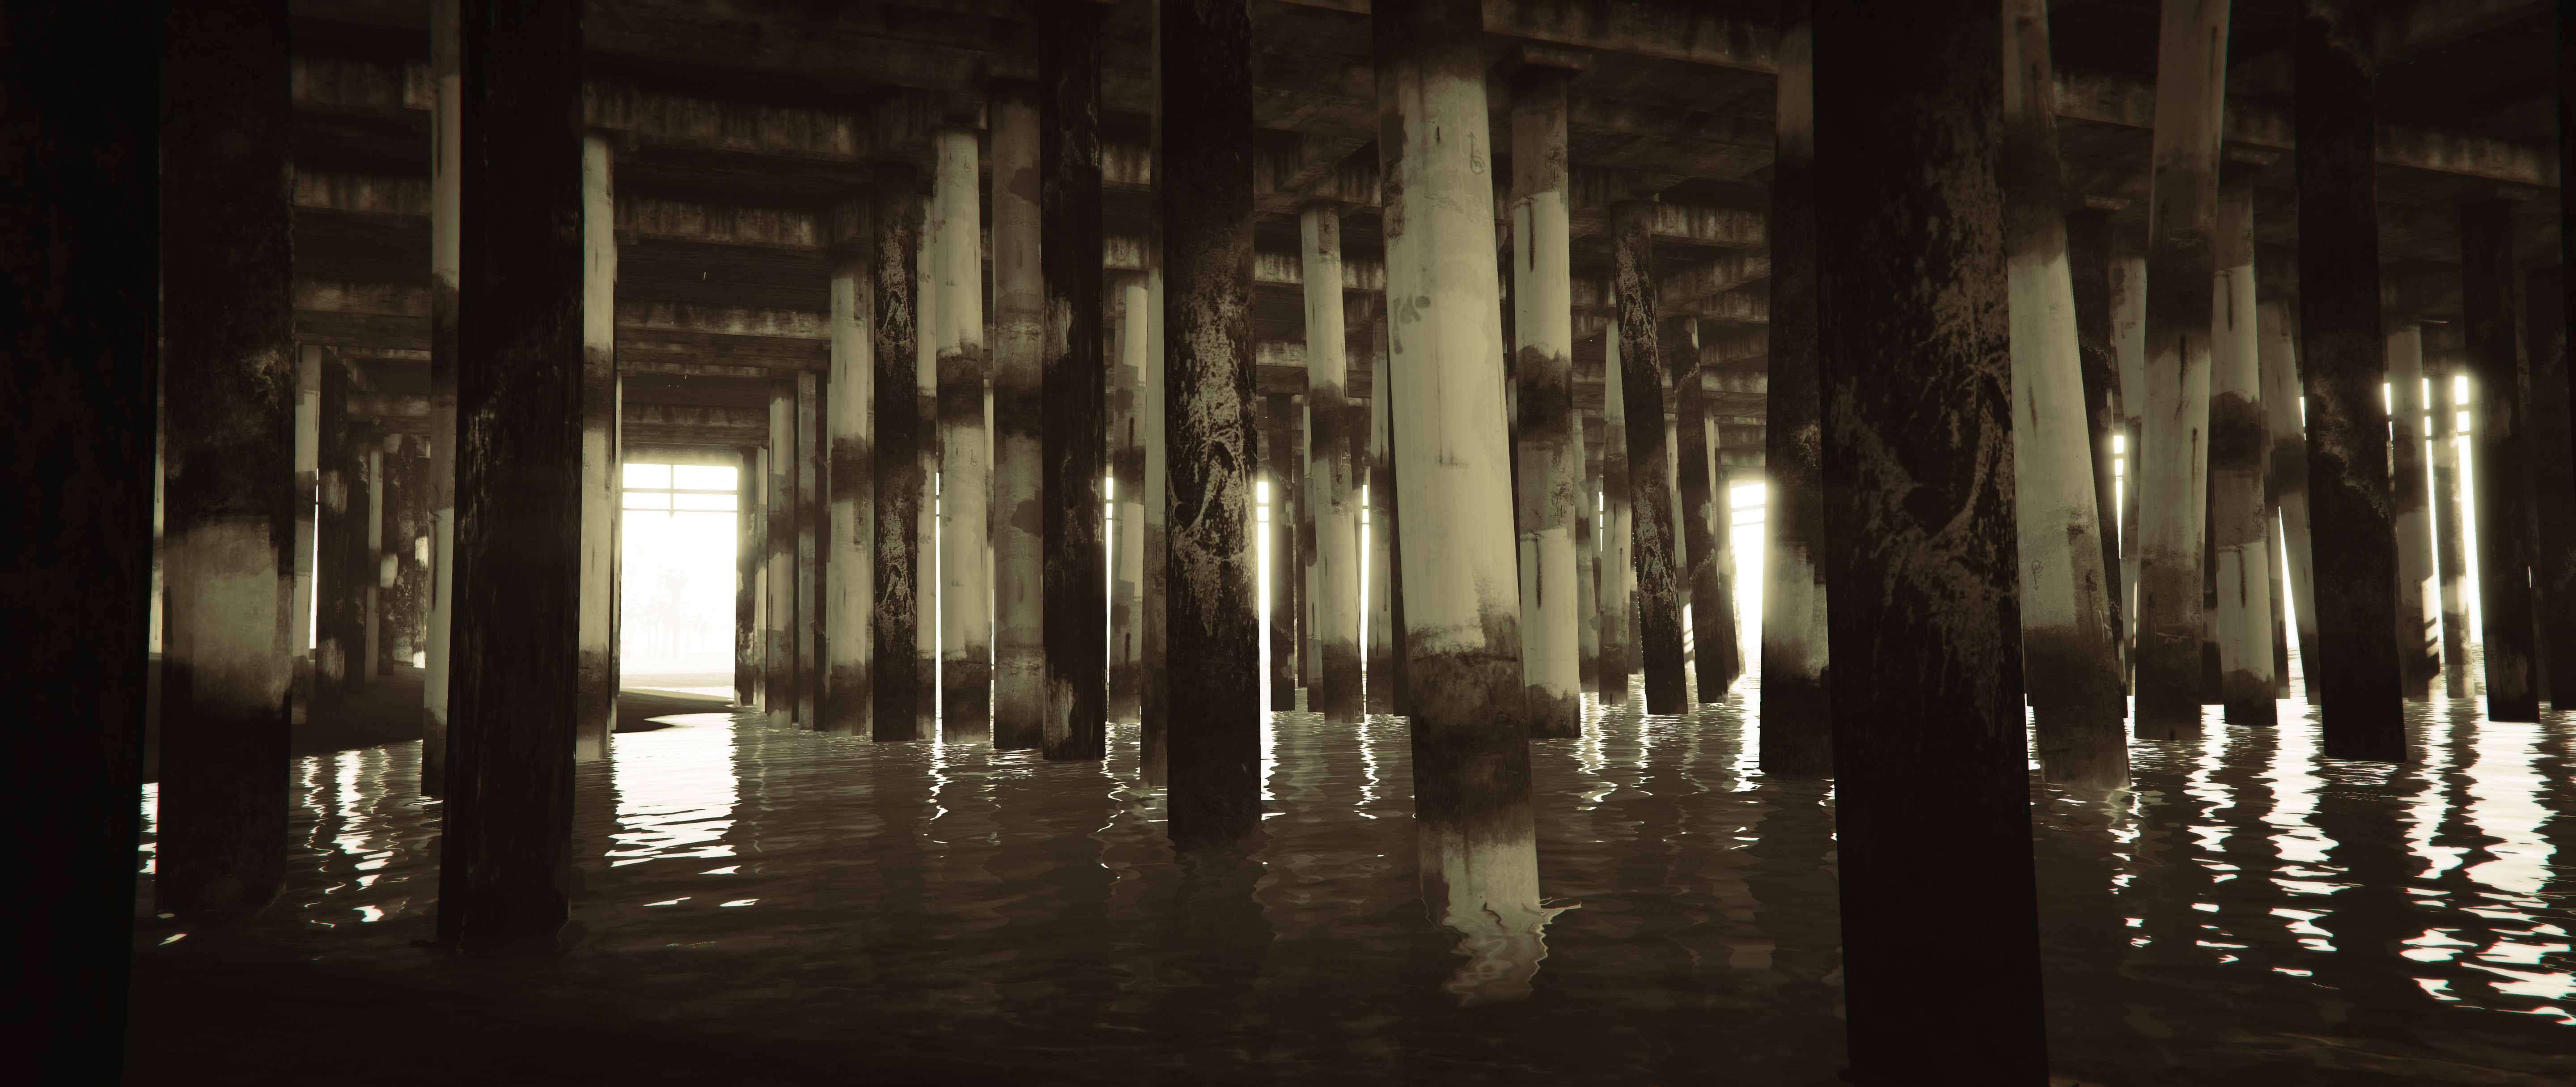
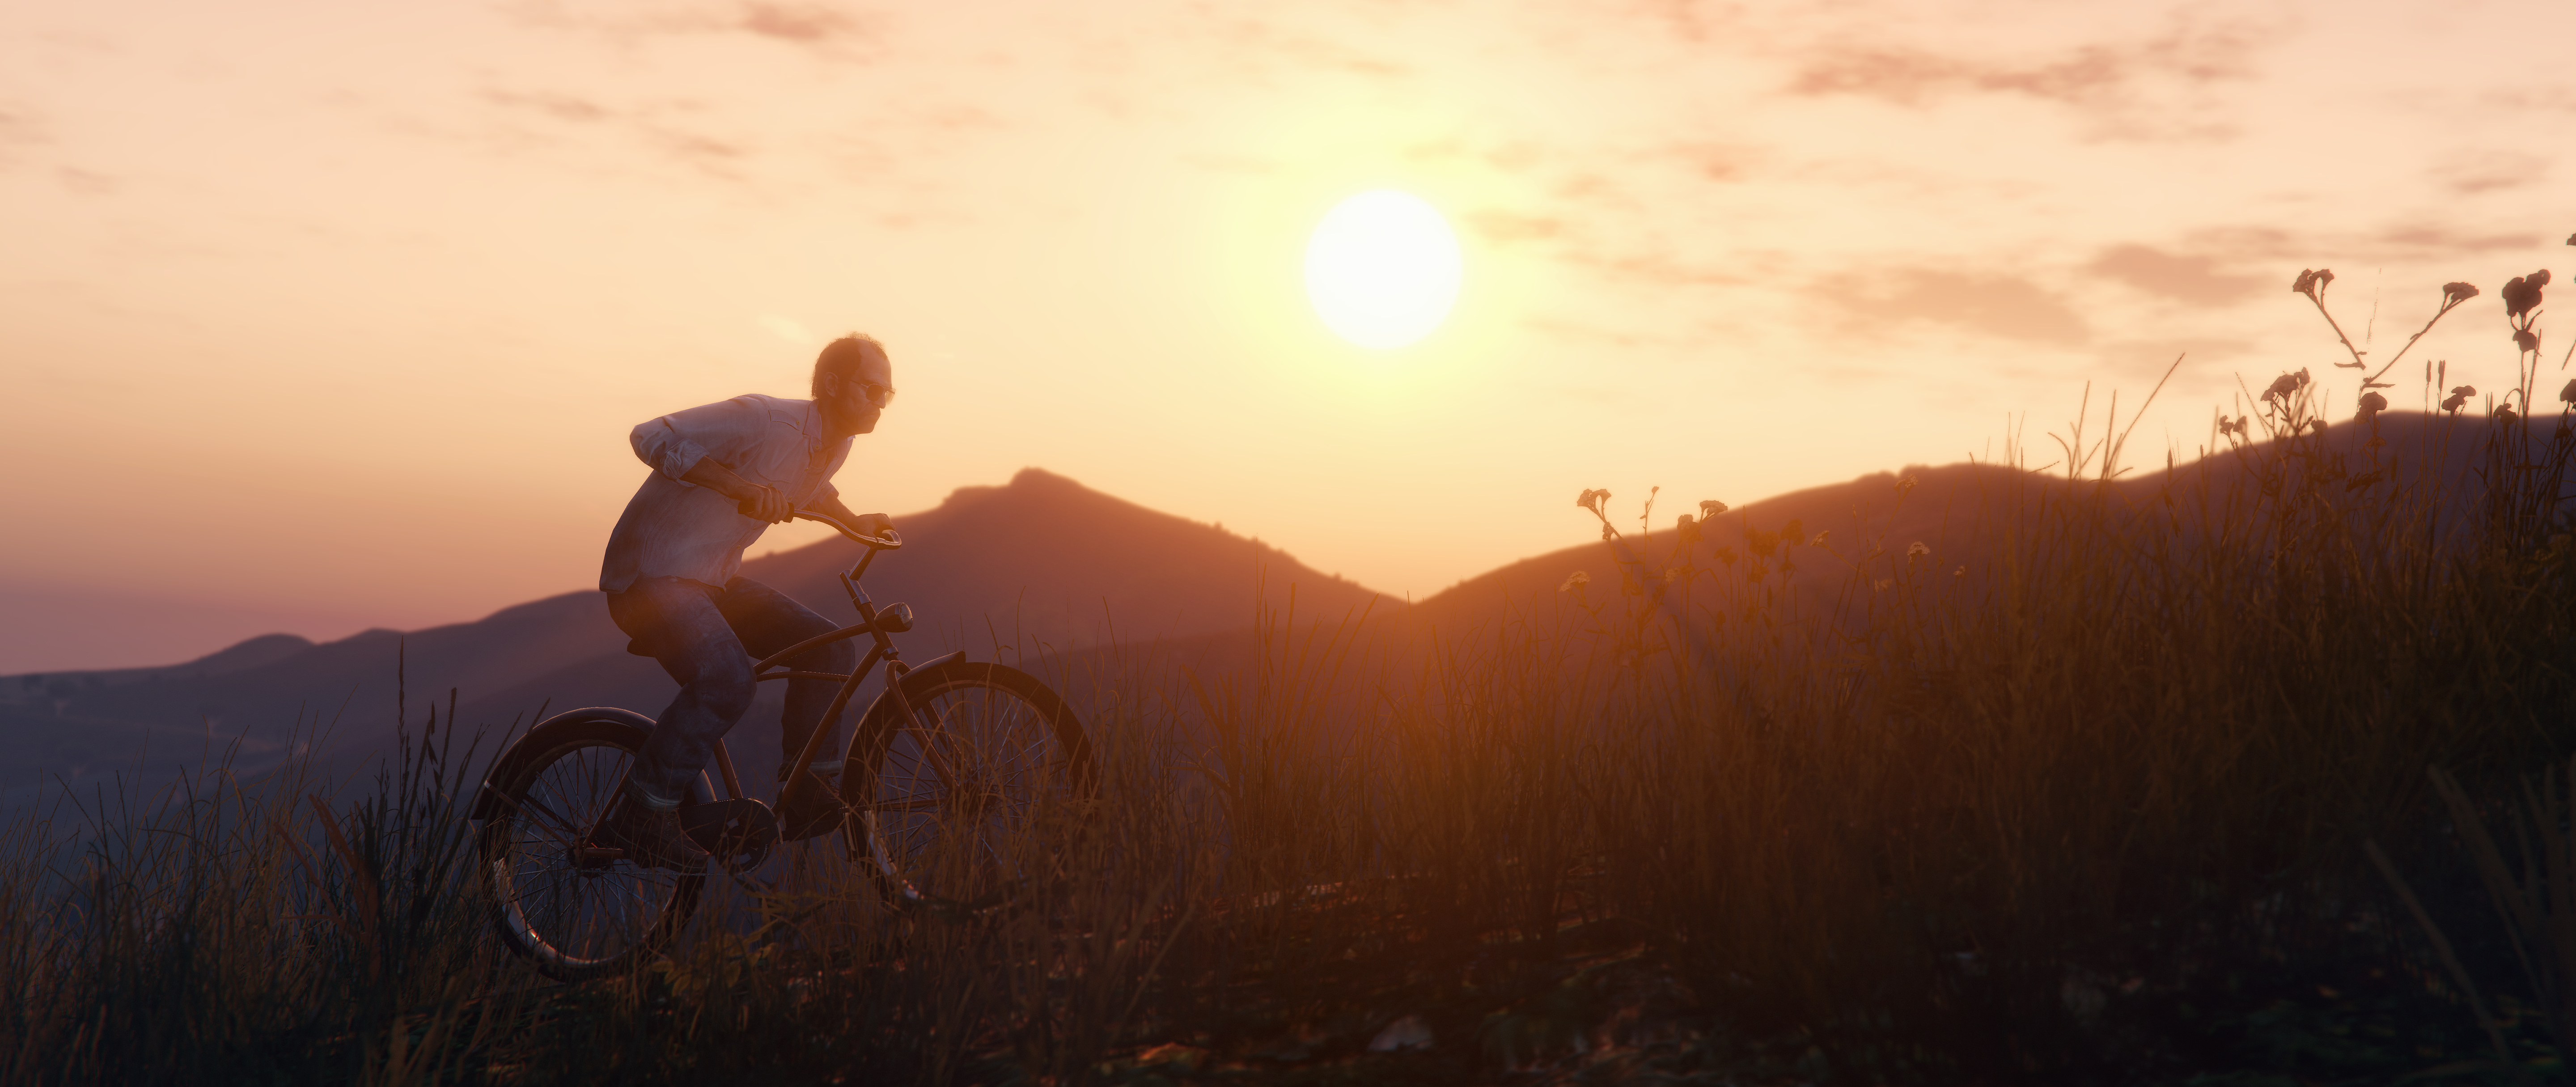
GTA 5 6K gallery: Still life in Los Santos

Pixel Boost is our weekly series devoted to the artistry of games, and the techniques required to run them at high resolutions. Gallery by James Snook.
Remember to click the image expand icon for a full-size download.
All screenshots were captured with the GTA5 editor. The process for this is as follows:
1. While playing, begin recording a clip by pressing F1.
2. Press F1 again to stop recording. The clip will be saved.
3. Press escape and find the Rockstar Editor in the menu along the top.
4. Create a new project and add a clip to the timeline.
5. Edit the clip to launch the editor.
6. Once in the editor, you can go to any moment in the recorded clip. You have access to various camera angles (including a free camera limited to a 50 meter radius around your character), filters, depth of field, and other useful tools for recording movies and capturing screenshots. You can also press H to toggle the HUD.
I did use editor filters for some of the screenshots, but many of them are using the default colors and depth of field. I used ReShade to inject SMAA (as I personally prefer that over the in-game FXAA) and to capture the screenshots. I played the game in windowed mode and used SRWE to resize the window for higher resolution screenshots (this does work in the editor). As far as I know, this will not work on Windows 8.
Screenshot comparisons: In GTA5, there are negative side effects (aside from performance) when rendering at high resolutions. Certain post processing effects, as well as SSAO, do not scale correctly with resolution. Here are some comparisons which should hopefully show this:
Weaker sunrays at higher resolutions
Exaggerrated \ inaccurate SSAO
Reduced depth of field \ funky SSAO on rocks
The benefits to playing at a higher resolution are reduced aliasing, sharper textures, and increased details (foliage, fine details, etc).
More grass drawn at higher resolutions
Sharper textures \ more definition in the finer details
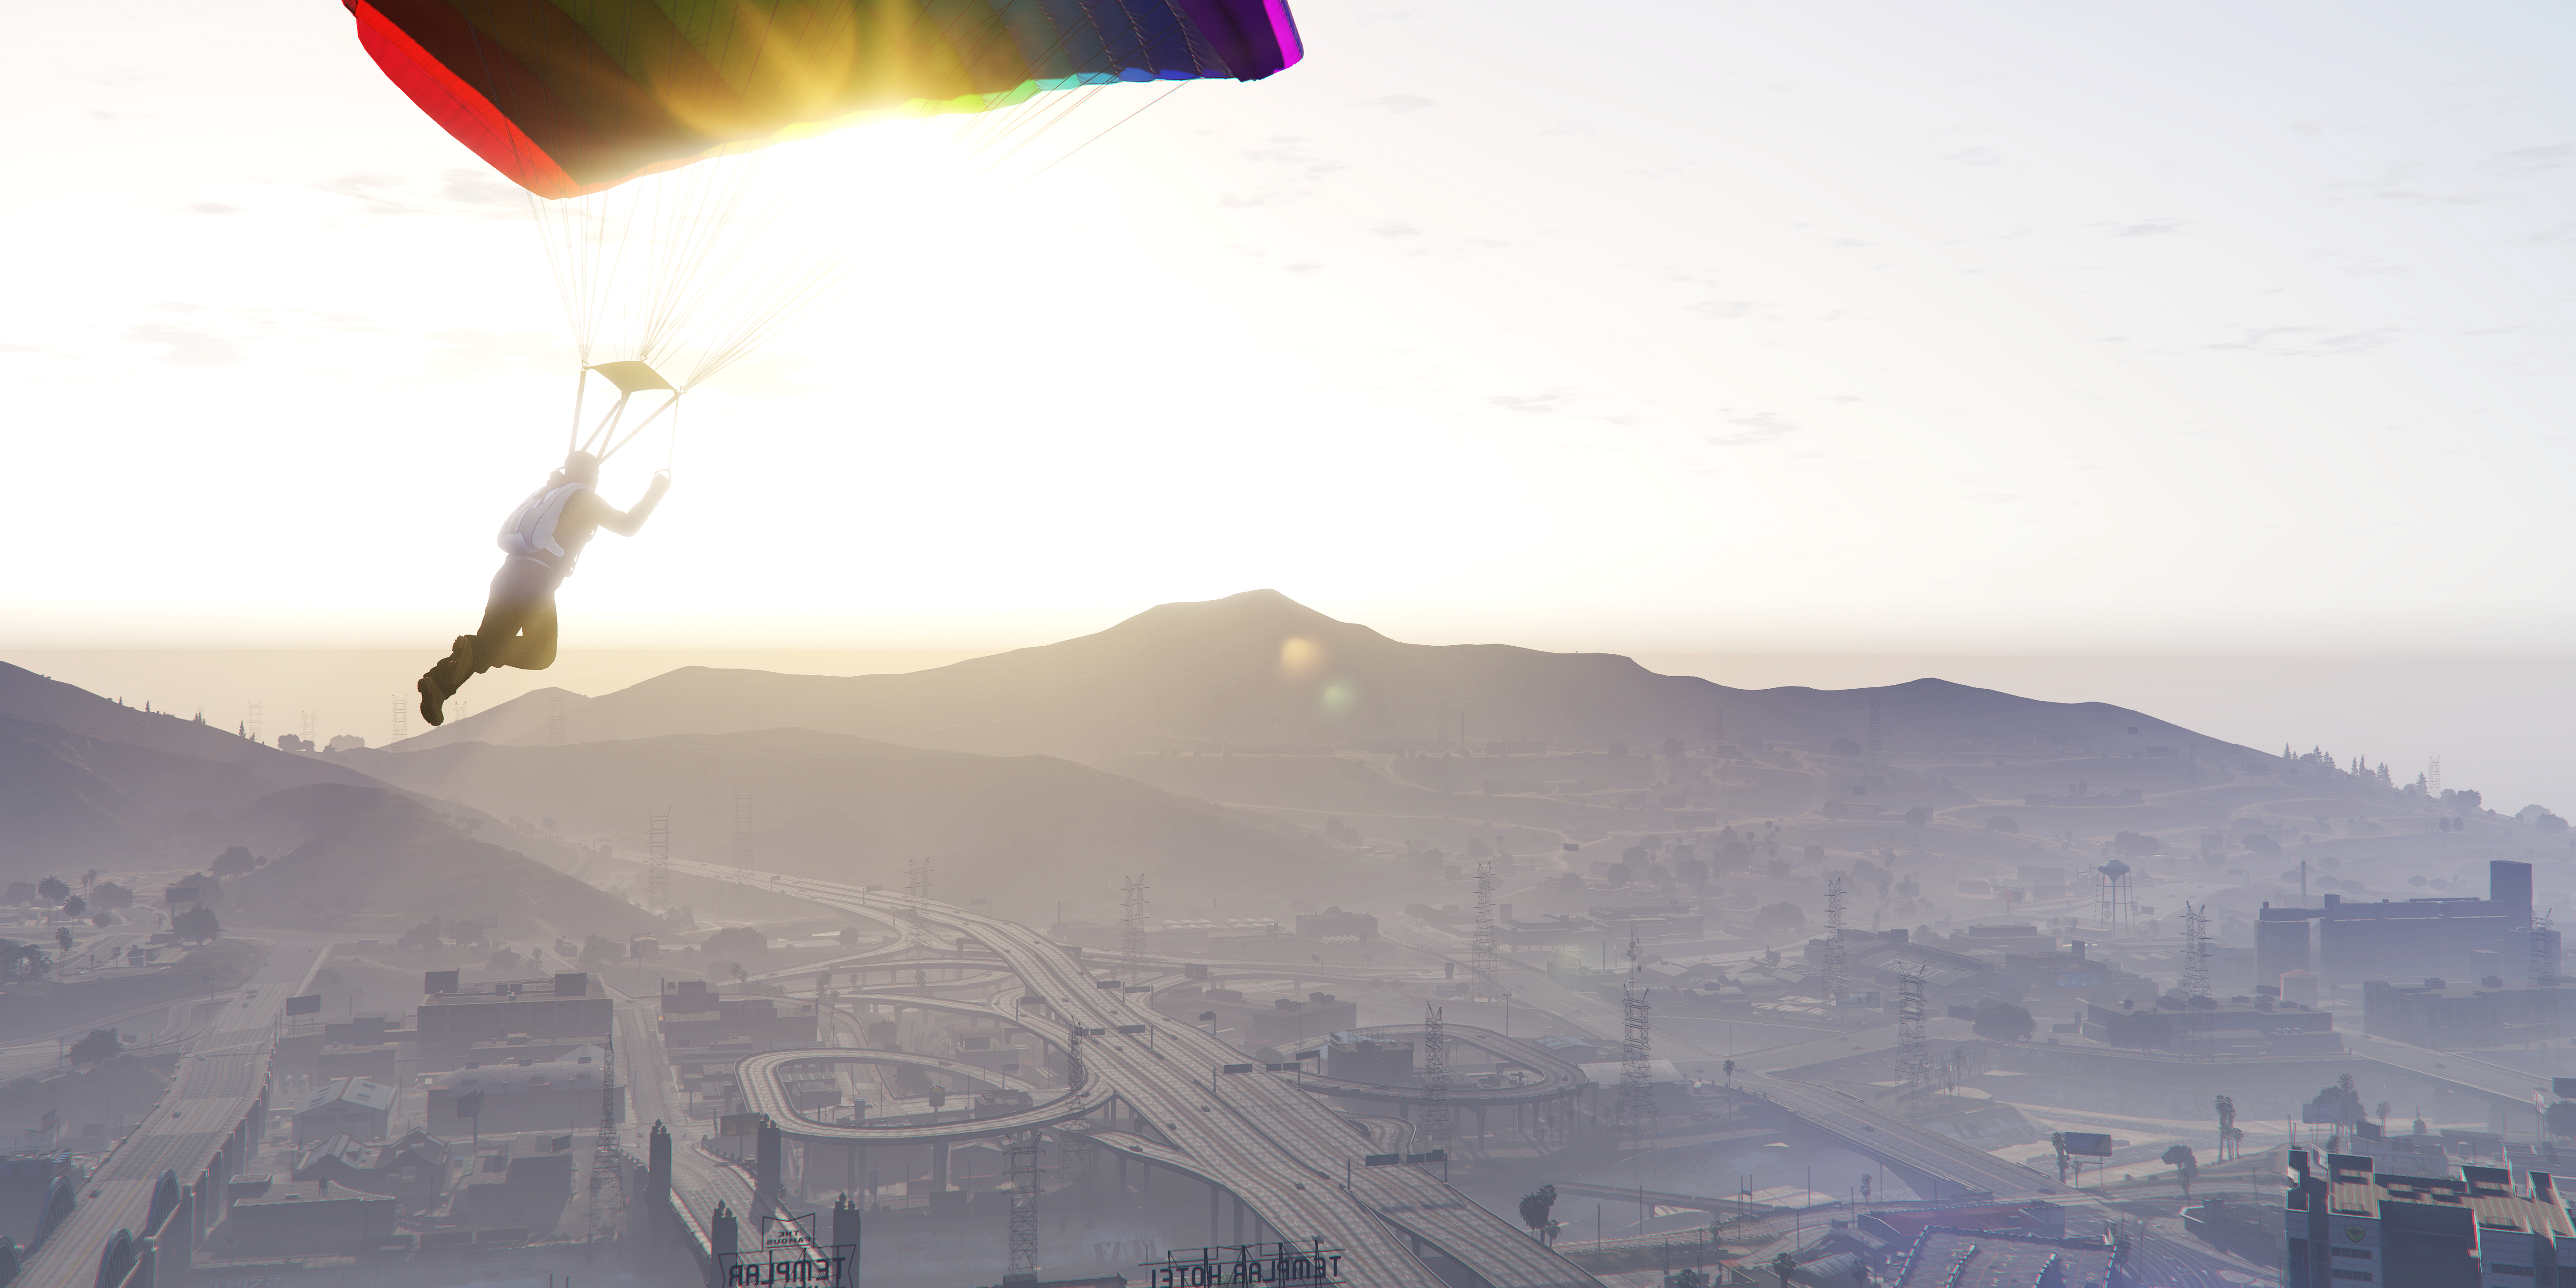
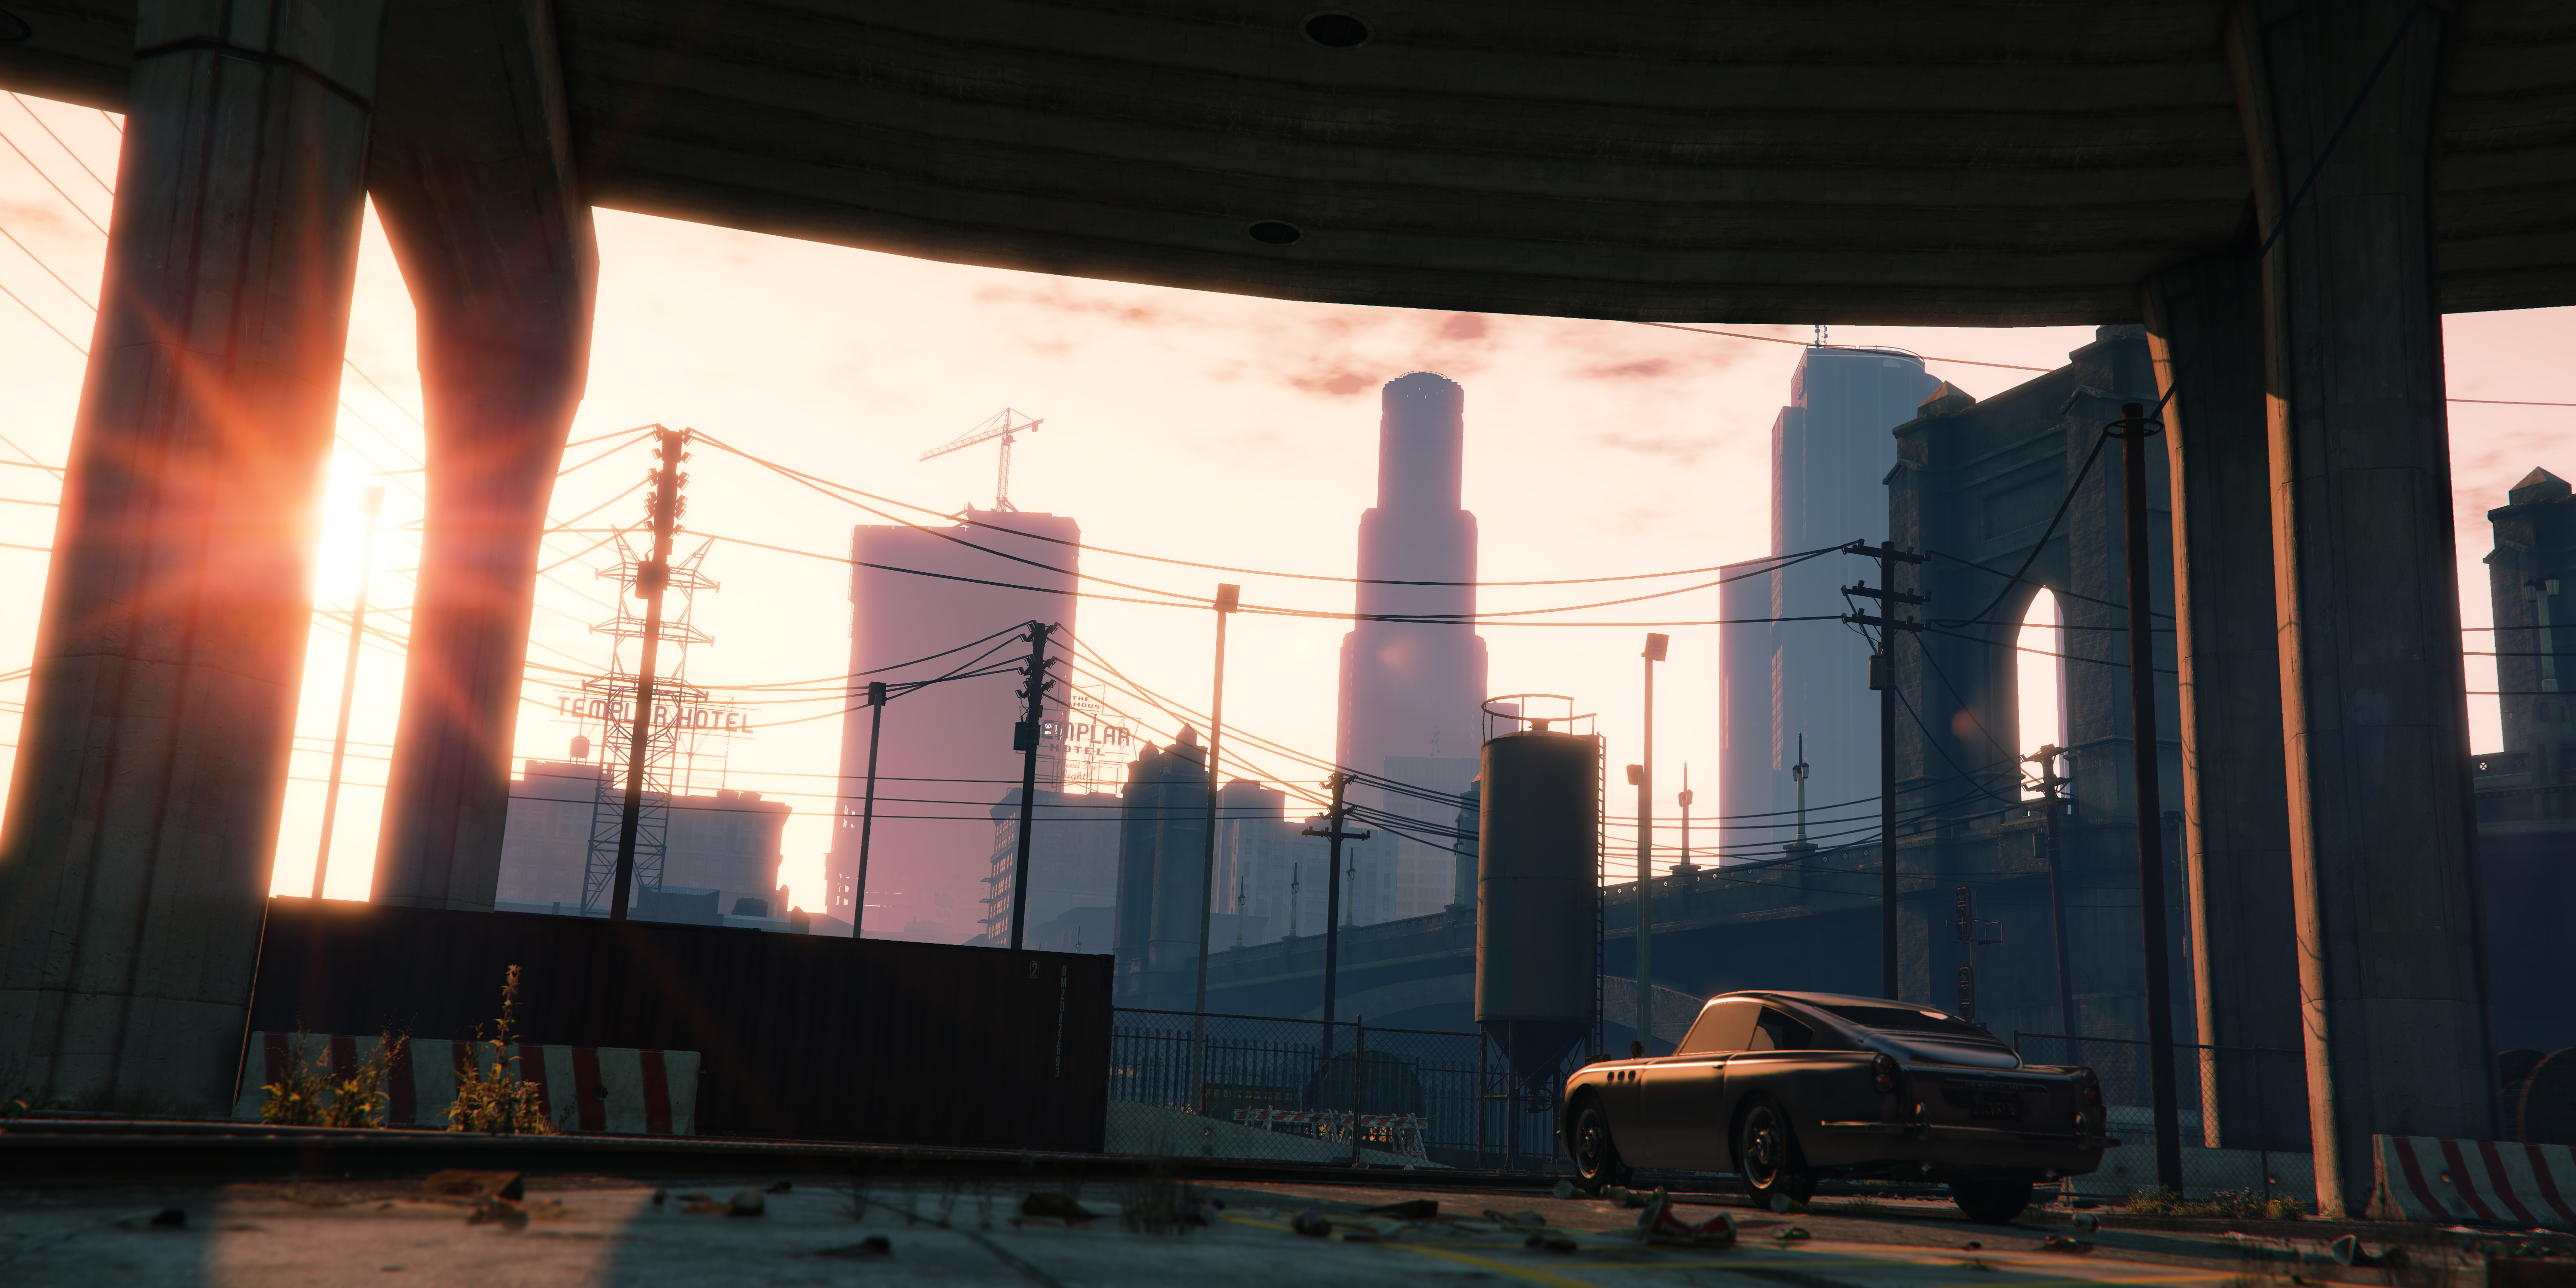
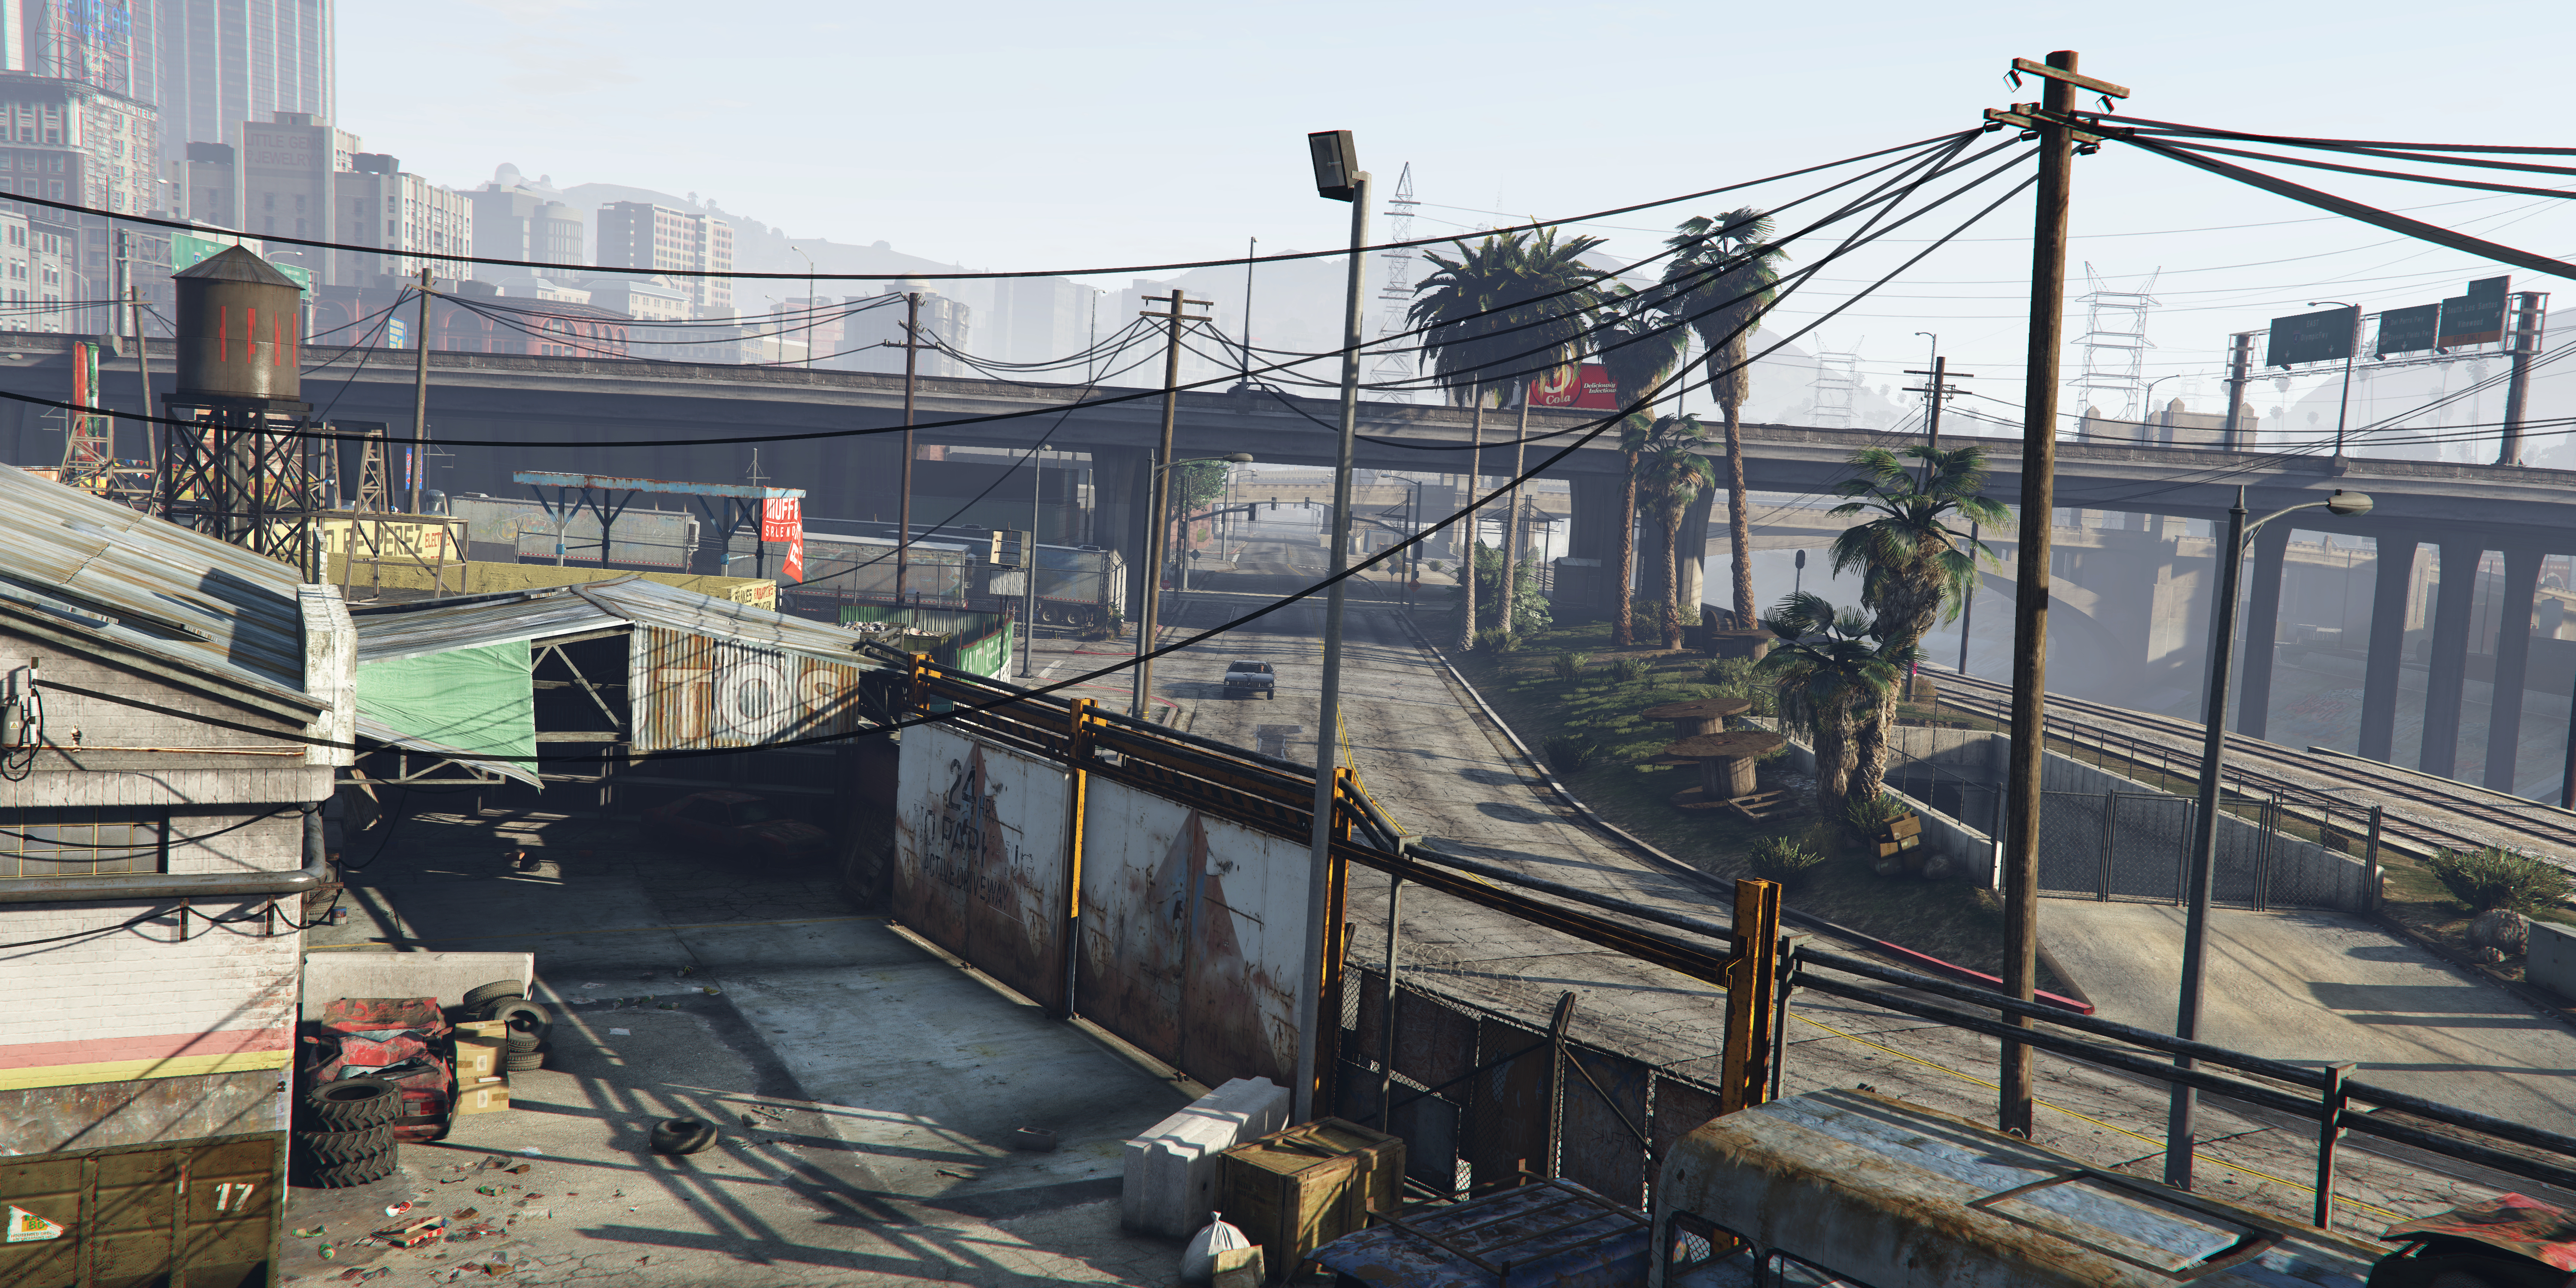
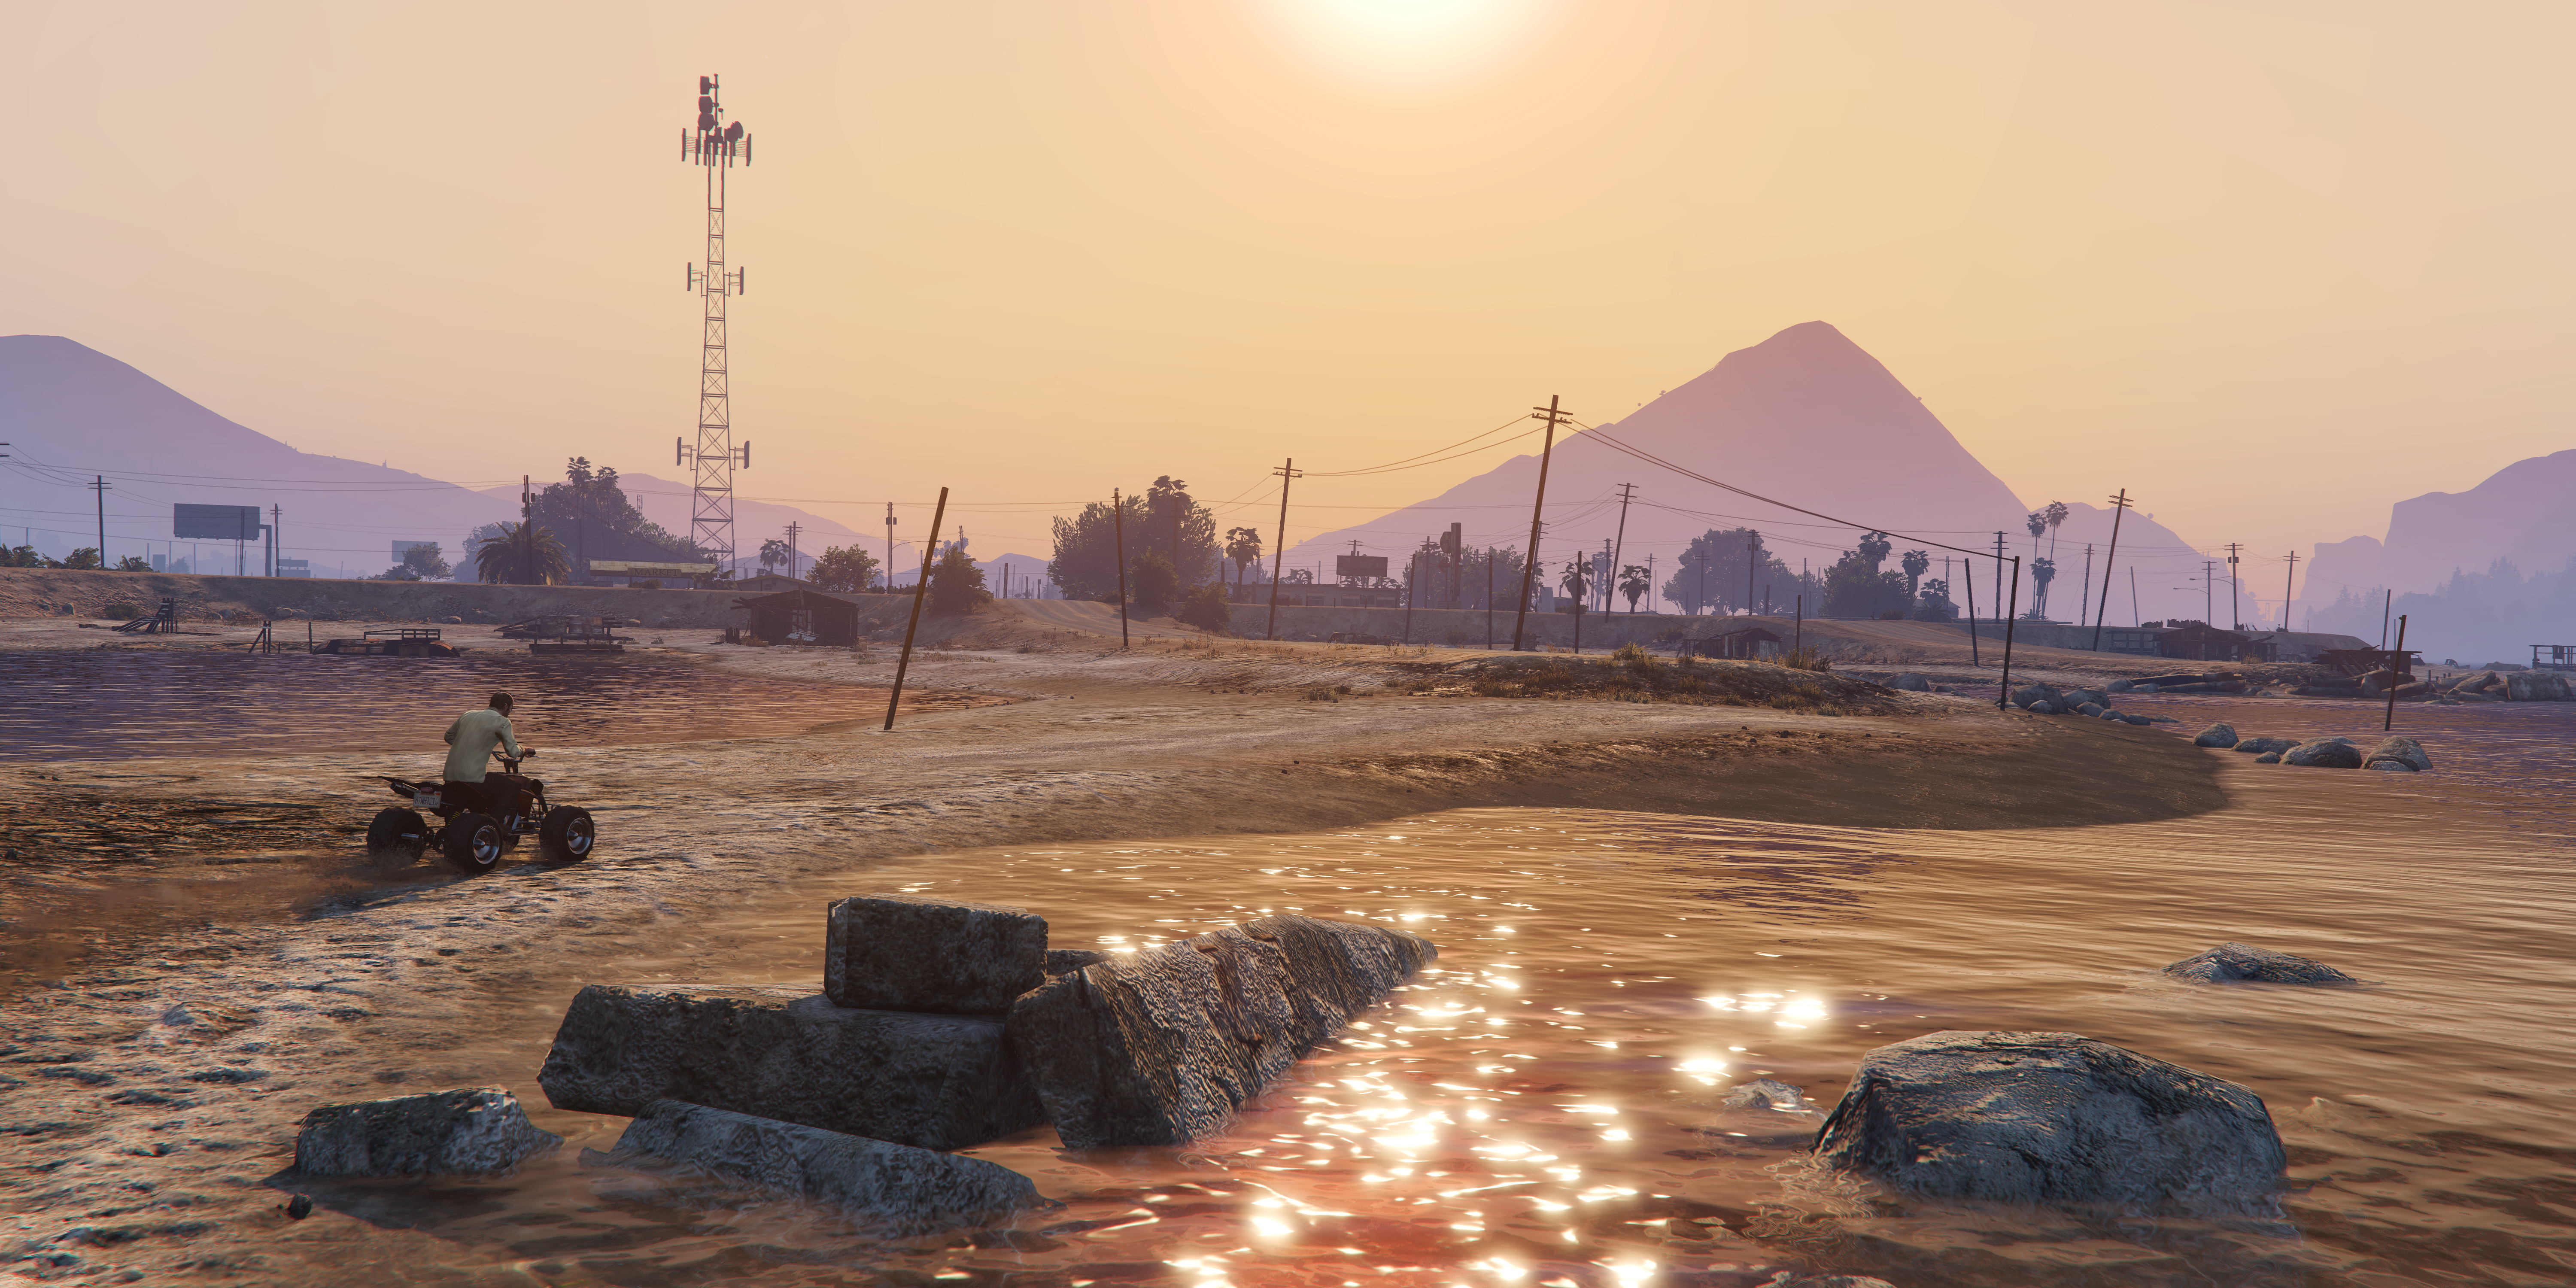
The trade-off between image quality and post processing effects will be a matter of preference. I found that my game runs faster and looks better at 4K w/ no AA than it does at 2560x1440 with 4xMSAA. I did not do comparisons to see if MSAA increased the amount of grass rendered because you can not change graphics options in the editor, so a 1:1 screenshot comparison would have been more difficult.
