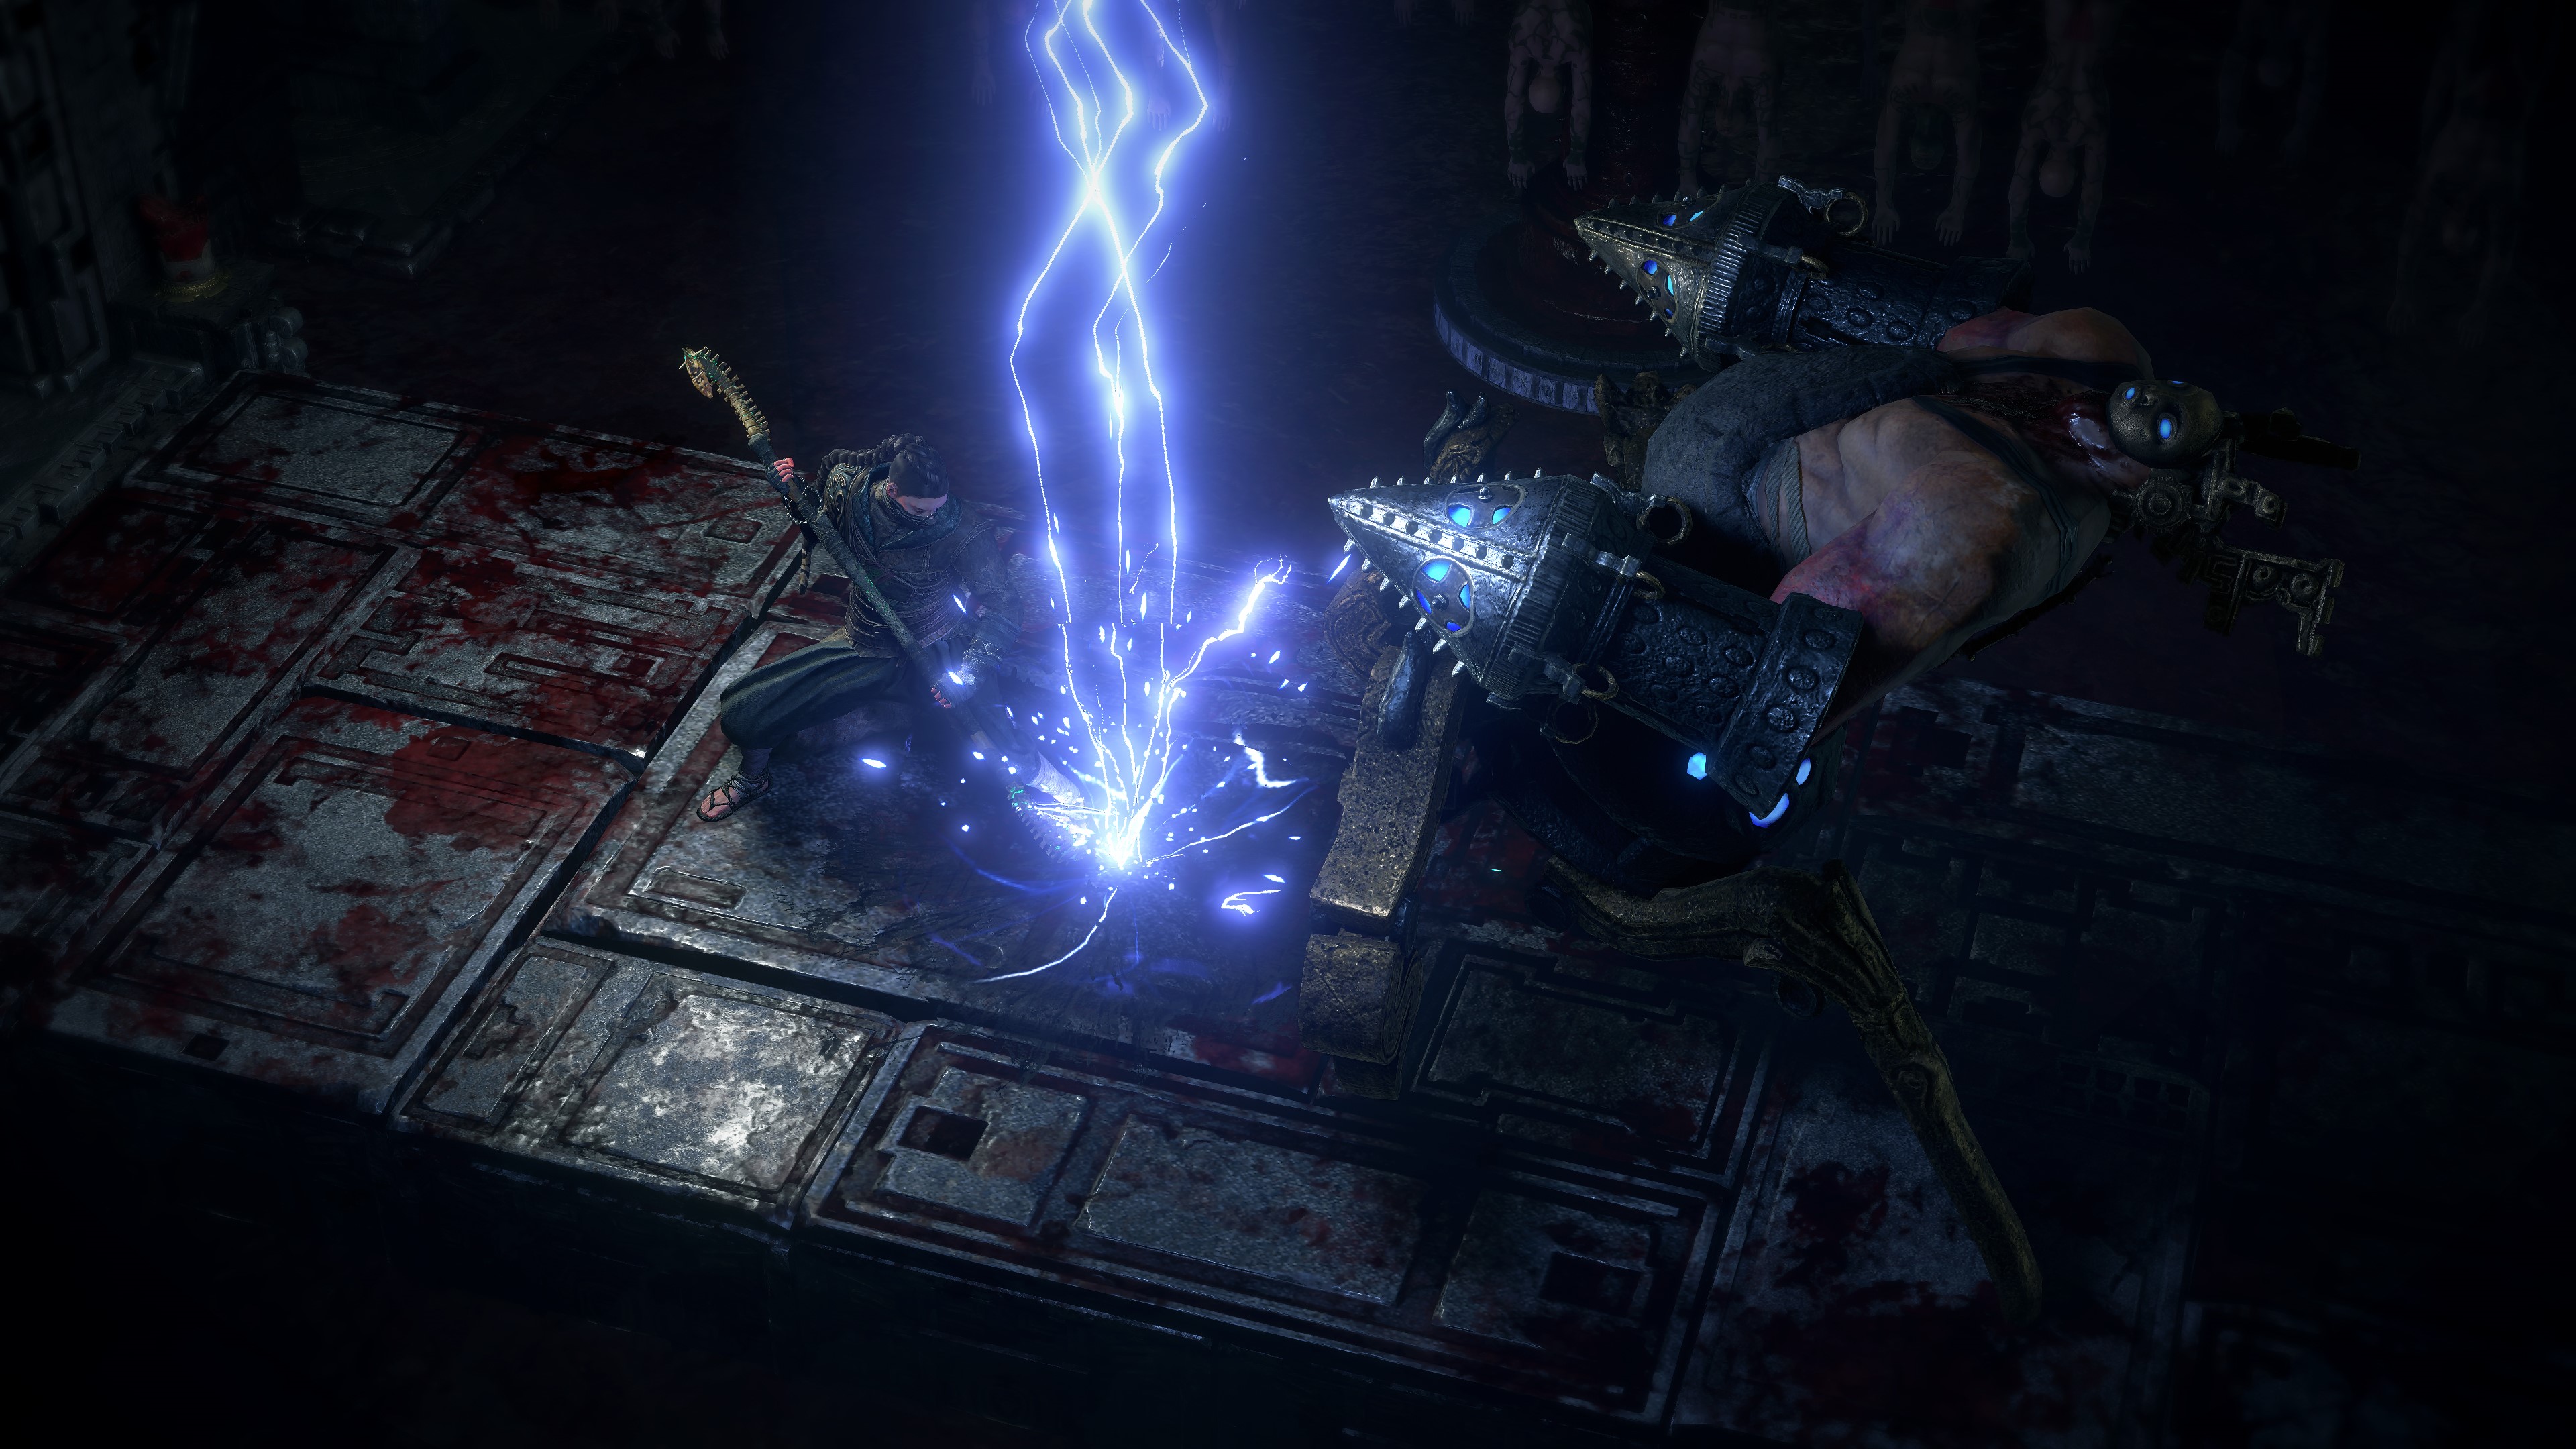
Best Monk build in Path of Exile 2
The only thing better than lightning is really cold lightning.

Keep up to date with the most important stories and the best deals, as picked by the PC Gamer team.
You are now subscribed
Your newsletter sign-up was successful
Want to add more newsletters?
Now that we're a month into the early access period for Path of Exile 2, we've got a clearer picture of what some of the strongest builds are. By far my favorite is the dual Herald Invoker, which boasts incredible clearspeed, great boss damage, and solid survivability with arguably one of the game's most powerful Ascendancy nodes, and Protect me from Harm.
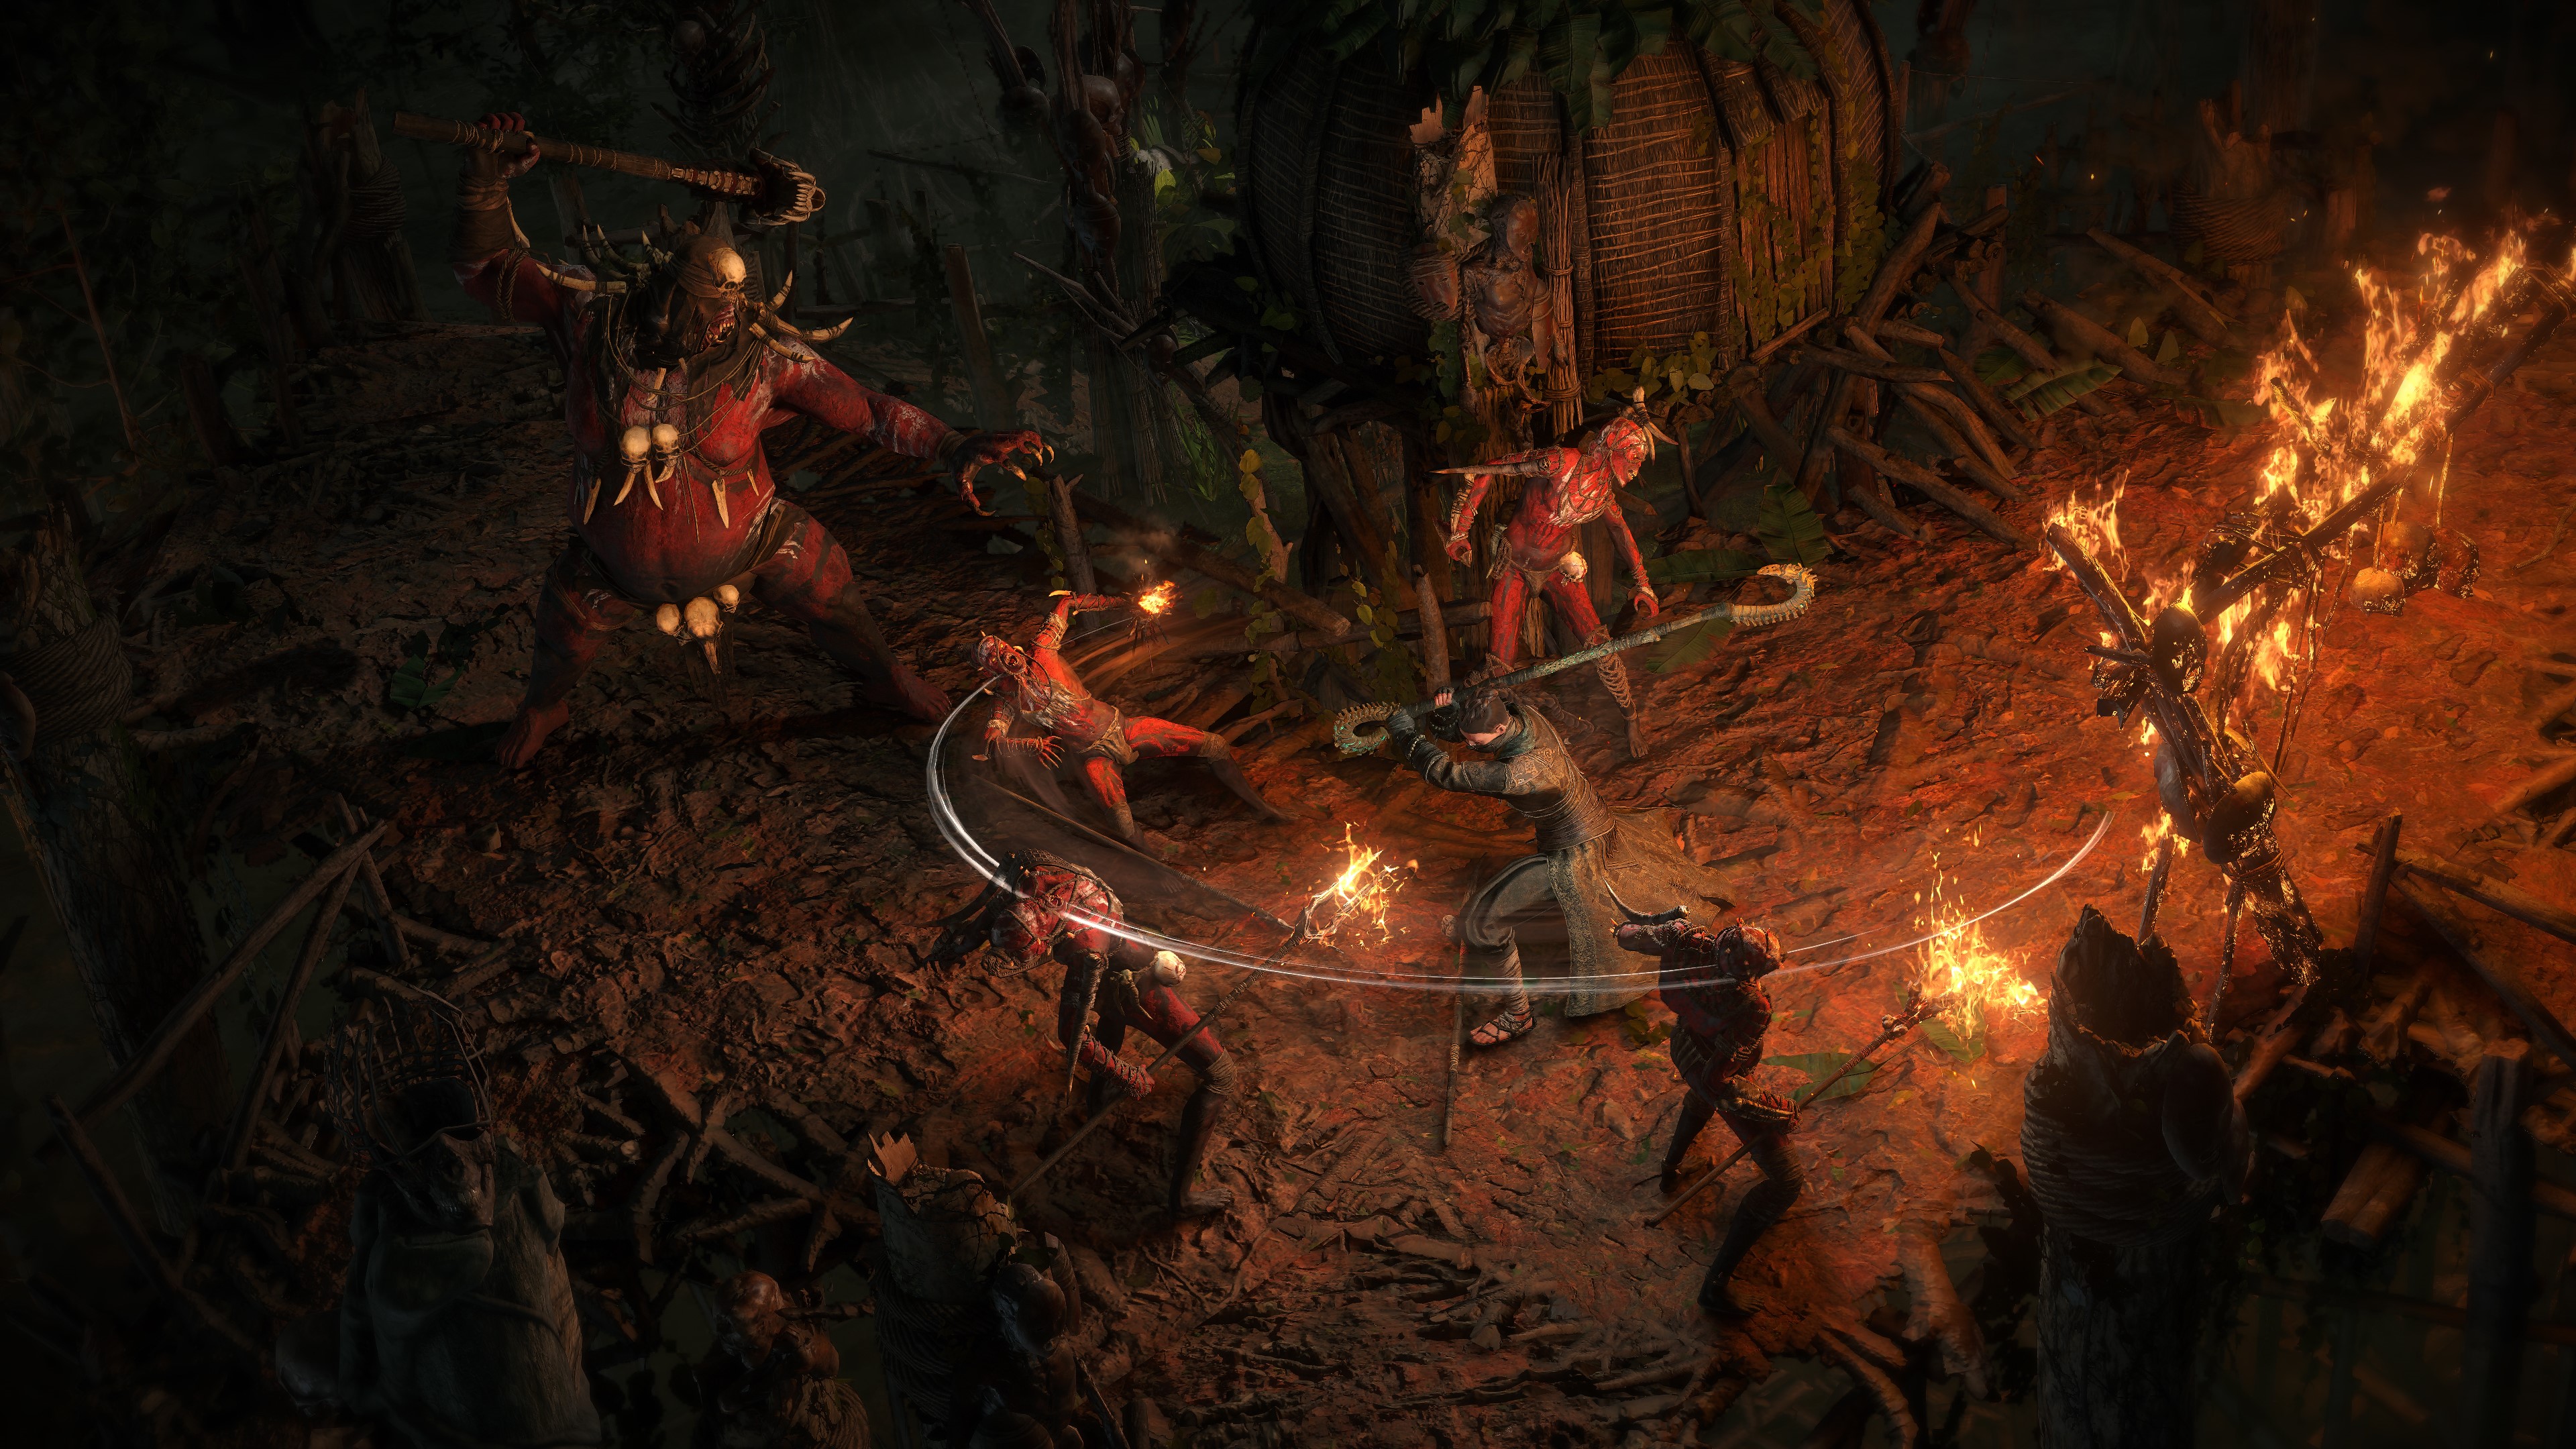
There are a few ways to build the character, whether you use Ice Strike, Storm Wave, or Tempest Flurry. No matter what active skill you use though, they all function mostly the same. By converting huge amounts of physical damage to both cold and lightning, you're able to shock and freeze enemies, proccing Herald of Thunder and Herald of Ice to explode whole screens of monsters. Put the icing on the cake with Tempest Bell for bossing, and you've got a potent combination that can dumpster just about everything the game has to offer.
I built my Invoker off Tuadh's excellent guide here, using Tempest Flurry as the main skill of choice. His Profane Ritual tech for getting power charges was an elegant solve to that problem, and it's gotten me through basically all of the pinnacle content despite me having the reflexes of a potato. One notable weakness of the build is simulacrum—the monsters don't leave corpses, so you don't have anything to fuel your Profane Ritual and you don't get Herald explosions. I'm not totally sure the problem is solvable unless they change delirium, so if that's what you want to do, probably just go build a spark archmage like everyone else.
Article continues belowPath of Exile 2 Sorceress build: Making magic
Path of Exile 2 Warrior build: Shock and awe
Path of Exile 2 Mercenary build: Hail of bolts
Path of Exile 2 Witch build: Summoned army
Lightning and Ice Invoker
Check out the video above for more details, but I'll go over all the key concepts (and how my build varies from Tuadh's) here.
Key Skills
I'll list the skills roughly in the order you acquire them. One note on leveling—Tuadh recommends using Glacial Cascade, but I found the skill to be incredibly mopey. I had better luck just sticking with Falling Thunder and Killing Palm until I got a level 5 skill gem for Tempest Flurry, but your mileage may vary.
Tempest Flurry
- Martial Tempo: Supported skills have 25% more attack speed
- Lightning Infusion: Supported attacks gain 25% of damage as extra lightning damage, deal 50% less cold and fire damage
- Overcharge: 75% increased magnitude of shocks inflicted with supported skills
- Rage: Supported skills grant 3 rage on melee hit
Tempest Flurry is our main attack skill, but not really our main source of damage. The fourth attack in the sequence has huge shock chance to activate our Herald of Thunder, and it attacks quickly, making it the perfect enabler for Tempest Bell. Martial Tempo gives us the attack speed to supercharge both of these, and Rage gives us a nice stacking damage buff for everything we do (try and get a rage on hit jewel too, if you can).
Tempest Bell
- Concentrated Effect: Supported skills do 40% more area damage, have 50% less area of effect
- Overabundance: Supported skills have +1 to limit, 50% less skill effect duration
- Close Combat: Supported skills deal 25% more attack damage to enemies within 1 metre of you
- Heavy Swing: Supported skills deal 35% more melee physical damage, have 10% less attack speed
We stack Tempest Bell to the moon with damage because it's our boss killer. Build up combo charges with Tempest Flurry, drop the bell on the boss's head, and then keep smacking it to give them a gigantic headache. We shock and freeze through the bell, which multiplies the hurt and locks the boss in place, often resulting in a monster that just sits there getting its ass kicked. It's also the most satisfying skill in the entire game, dropping down with a huge donnnng!
Keep up to date with the most important stories and the best deals, as picked by the PC Gamer team.
Herald of Thunder
- Primal Armament: Supported skills deal 25% more weapon elemental damage
- Lightning Mastery: +1 to level of supported lightning skills
- Longshot: Supported skills deal 35% more attack damage to enemies further than seven metres from you
- Innervate: Attacks gain 35% of damage as lightning damage for three seconds on killing a shocked enemy with supported skills
This is the endgame setup for Herald—when you first get it, use Primal Armament, Elemental Focus, and Lightning Infusion. This will be your first spirit gem after you kill the King in the Mist in Act 1 and your primary source of AoE damage while leveling. After we get Polcirkeln and set up dual Heralds, switch to these support gems.
Profane Ritual
- Unleash: Supported spells gain seals over time, and reoccur for each seal when cast
- Arcane Tempo: Supported skills have 25% more cast speed
- Profusion: Supported skills have 50% chance to grant an additional charge
There are a number of ways to gain power charges as a monk, but I like Tuadh's solution here. Using Profane Ritual on corpses gives us power charges, often filling us up to the full four on one cast with this configuration (I recommend taking an additional power charge on the tree). Power charges are required for our next skill, Charged Staff, which is a huge multiplier to our damage and area of effect. Note that you'll potentially want to swap to a Lingering Illusion setup for giga bosses, but honestly with this build most of them die so fast that not being able to generate more power charges during boss encounters hardly matters.
Don't level this skill up! It does everything we want at level 7, and the intelligence requirement will quickly get out of hand.
Charged Staff
- Persistence: Supported skills have 40% more skill effect duration
- Rising Tempest: Supported skills deal 12% more elemental damage for each skill used recently of a different elemental type
- Lightning Exposure: Supported skills inflict lightning exposure for 8 seconds on shocking an enemy
- Conduction: Supported skills have 100% more chance to shock
This is what we'll be using our power charges on, firing up the lightsaber and turning our Tempest Flurry into a shockwave-throwing powerhouse. Tuadh had Innervate socketed here, but it wasn't proccing the buff for me so I swapped it to Lightning Exposure. These five skills will get you all the way through the campaign, along with as many of the following defensive spirit skills you have room for given your gear.
Wind Dancer
- Clarity: 30% increased mana regeneration while a supported skill is active
- Blind: Supported skills have 100% chance to blind enemies on hit
The supports on Wind Dancer, Ghost Dance, and Grim Feast will depend on how much spirit you have. With the Ascendancy node Lead me through Grace that will depend on your body armour. Mine at time of writing has 800 evasion and 300 ES, so if you want to set the gems up this way that's your goal. Allocate the skills first, then add support gems as you need them or have room.
Ghost Dance
- Herbalism: Supports persistent buff skills, causing you to gain increased life recovery from flasks while the skill is active
- Precision: 30% increased accuracy rating while a supported skill is active
Wind Dancer gives us additional evasion rating if we haven't been hit for a while, and Ghost Dance will pop and recover our energy shield when we get hit. Together they provide a beautiful defensive layer for our evasion and energy shield hybrid Invoker.
Grim Feast
- Cannibalism: 4% of life recovered on a kill while a supported skill is active
Man, this skill is just broken. Like, to the point where I wouldn't be surprised if it got hit with a nerf sometime soon, so look out for that. In any case, Grim Feast lets us eat little spirits from fallen monsters to recover our energy shield. That's not all though—it also lets us overflow our ES, effectively doubling our pool. It's cracked.
Herald of Ice
- Cold Penetration: Supported skills penetrate 30% cold resistance
- Cold Mastery: +1 to level of supported cold skills
- Magnified Effect: Supported skills have 40% more area of effect
- Execute: Supported skills deal 40% more damage with hits against enemies that are on low life
The final tool in our arsenal; Herald of Ice will cause icy explosions when we kill frozen enemies, resulting in screenwide waves of icy death. The reason I've listed this last is that we're primarily a lightning build, and we need a couple key things to make this work. The first is a unique ring, Polcirkeln, which you should be able to pick up for a couple exalts on the trade site. It will allow us to shatter chilled enemies as if they were frozen, vastly lowering the threshold needed for cold damage. The second is the Ascendancy node I am the Blizzard, which nets us an additional 10% of our damage as cold damage.
With these two things, a couple of nodes on the tree like Essence of the Mountain, and potentially a little flat cold on your quarterstaff or other ring, we'll be able to chill enemies, proc Herald of Ice, and destroy giant waves of Breach monsters with glee. Or, you know, quiet acceptance and serenity.
Passive tree
Tuadh's final passive tree is here, for reference.
I won't go over the passive tree in painstaking detail, because he does a pretty great job laying it all out in the first video he put up on the build—including priorities as you level, which is super handy. A couple notes, however.
- General Electric, Falcon Technique: I pathed to these nodes a little earlier than recommended, as attack speed really helps the build feel cozy
- Lust for Power: Turning down an extra power charge for three points seemed totally bonkers to me, and the small nodes giving us 40% increased ES every time we cast Charged Staff is really great. You can wait until your last few points to take it though.
- Mental Toughness: As you progress toward endgame and level up your skill gems, mana can start to become an issue. Try and get at least one giant mana roll on your gear, and if you're still having issues take this node. It helps tremendously
- Immaterial and Shimmering: These defensive nodes are hugely efficient and come with a little bump in movespeed. With 35% boots and a few movespeed jewels I sit right around 50%, which makes these gigantic maps they've stuck us with a little less painful.
- Proficiency: Getting this huge chunk of 25 dex helps a lot to keep up with your skill gems. If you're having trouble hitting your attribute requirements, head here
Ascendancy

This build is an Invoker, one of the strongest in the game in my humble opinion. The first node you'll want to take near the end of Act 2 is I am the Thunder, giving you some more damage and creating shocked ground when you shock enemies. Then path over through Lead me through Grace and Protect me from Harm. Lead me through Grace will let us scale our spirit by having big evasion and energy shield on our body armour, so when you complete your second Ascendancy that's a good time to go shopping.
Protect me from Harm is an absolutely broken defensive layer, giving us a giant chunk of physical damage reduction at bargain prices. With my current gear I'm sitting at just under 80% chance to evade with it allocated, and it's giving me a whopping 70% physical damage reduction. Crazy.
Finally, take I am the Blizzard with your last points. Once you're strong enough to complete your 4th Ascendancy and pick this up, I recommend making the swap to Polkadancin and the Herald of Ice setup.
Gear and stat priorities
| Quarterstaff | Adds physical, cold, lightning damage / % increased physical damage / % increased attack speed |
| Body Armour | + to maximum energy shield / + to evasion / % increased evasion and energy shield / + to maximum life / % to resistances |
| Gloves | Adds physical, cold, lightning damage / % increased attack speed / + to maximum life / % to resistances |
| Boots | % increased movement speed / + to maximum life / % to resistances |
| Rings | One ring Polcirkeln / Adds physical or cold damage / % to resistances |
| Amulet | + to level of melee skills / + to maximum life / + to maximum mana / % to resistances / + to dexterity / + to intelligence |
| Helmet | + to maximum energy shield / % increased energy shield / + to maximum life / % to resistances / % increased rarity |
| Belt | + to maximum life / + charm slots / % to resistances |
Look for a stick with %phys, flat phys, and either flat cold or flat lightning for prefixes. Essentially, physical damage scales best with all the damage conversion we have, and the flats are nice to have. For suffixes there's some flexibility—attack speed is best in slot by a mile, and I recommend against trying to go for crits in this build. Mine has a fat chunk of dex which helps a lot, and a tremendously helpful affix is gain mana per enemy killed, which can help with the mana issues the build sometimes has.
For your body armour you'll want evasion and energy shield, full stop. We scale our spirit with these because of our Ascendancy, so it's critically important to have a lot. A big life roll is great, and from there look to fill out your resistances. Note that spirit does nothing for us, so don't pay extra for a stat you don't need!
Like our body armour, we have a specific defensive requirement here for the helmet, and that's a huge energy shield roll. These two slots will provide us with most of our base ES, without which all of our scaling doesn't do much good. Try and get the highest number you can (which will also give us evasion with Subterfuge Mask). A big life roll is good here as well, and this is another slot with good affix weighting to get resists. This is also a great place to get rarity, which unless they nerf it is hugely valuable up to about 100%.
For gloves, get Hand of Wisdom and Action. It's a little spendy, but absolutely blows everything else out of the water even though we're not stat stacking. I resisted this purchase for a long time because I had a nutty 500 evasion pair with a chonky attack speed roll, but you get what you pay for. Until you can afford Hand of Wisdom, go for gloves with attack speed, flat phys, lightning, or cold, and life and resistances.
Movespeed is king on boots, obviously. That's the most important by a country mile. After that, try and get life and resists, preferably on an evasion base. Stun threshold is a surprisingly effective stat here as well.
In the belt slot, this build actually isn't a bad home for Headhunter if you wanna do super juiced Breach maps. I haven't had a chance to test it just yet, but I thought I'd throw it in here if anyone really wants to have some fun. Otherwise use this slot to shore up your defenses with life and resistances. When you have more currency to spend, make sure to get a three slot belt so you can run freeze and stun charms, which helps a lot since we're otherwise pretty weak to those mechanics.
Since we're running Porkipig in one of our ring slots we'll unfortunately only get one other, so make it count. This is a great place to get chaos resistance with an amethyst ring, and a huge flat cold roll is incredible.
Lastly, on your amulet you'll want life, mana, resistances, rarity, and stats. Getting +3 to level of melee skills is best in show, but beware the mana costs. If you have Hand of Wisdom, dex and int rolls are great here, and it's a good place to get rarity. For an anoint you'll want Lightning Rod eventually—lightning damage is lucky is an absolutely massive damage increase, and unmatched anywhere else on the tree. Unfortunately, it's also massively expensive. I think I paid ten divines for the mats for mine.
Until you wanna spend that kind of dough you can grab Acceleration, which feels really good with move speed and skill speed. Another choice is Self Mortification, which gives us extra stun threshold based on our ES. This is particularly good if you don't have a belt slot for a stone charm.
Russ has been playing PC games since the top of the line graphics were in ASCII and has been obsessed with them just about as long. After a coordinated influence campaign to bamboozle his parents into getting a high speed internet connection to play EverQuest, his fate was well and truly sealed. When he's not writing about videogames, he's teaching karate, cooking an overly complicated dish, or attempting to raise his daughter with a well rounded classical education (Civilization, Doom, and Baldur's Gate, of course). He's probably mapping in Path of Exile right now.
