How to complete the Count Ymir quest in Elden Ring: Shadow of the Erdtree
Solve the Ruins Maps to uncover their secrets.
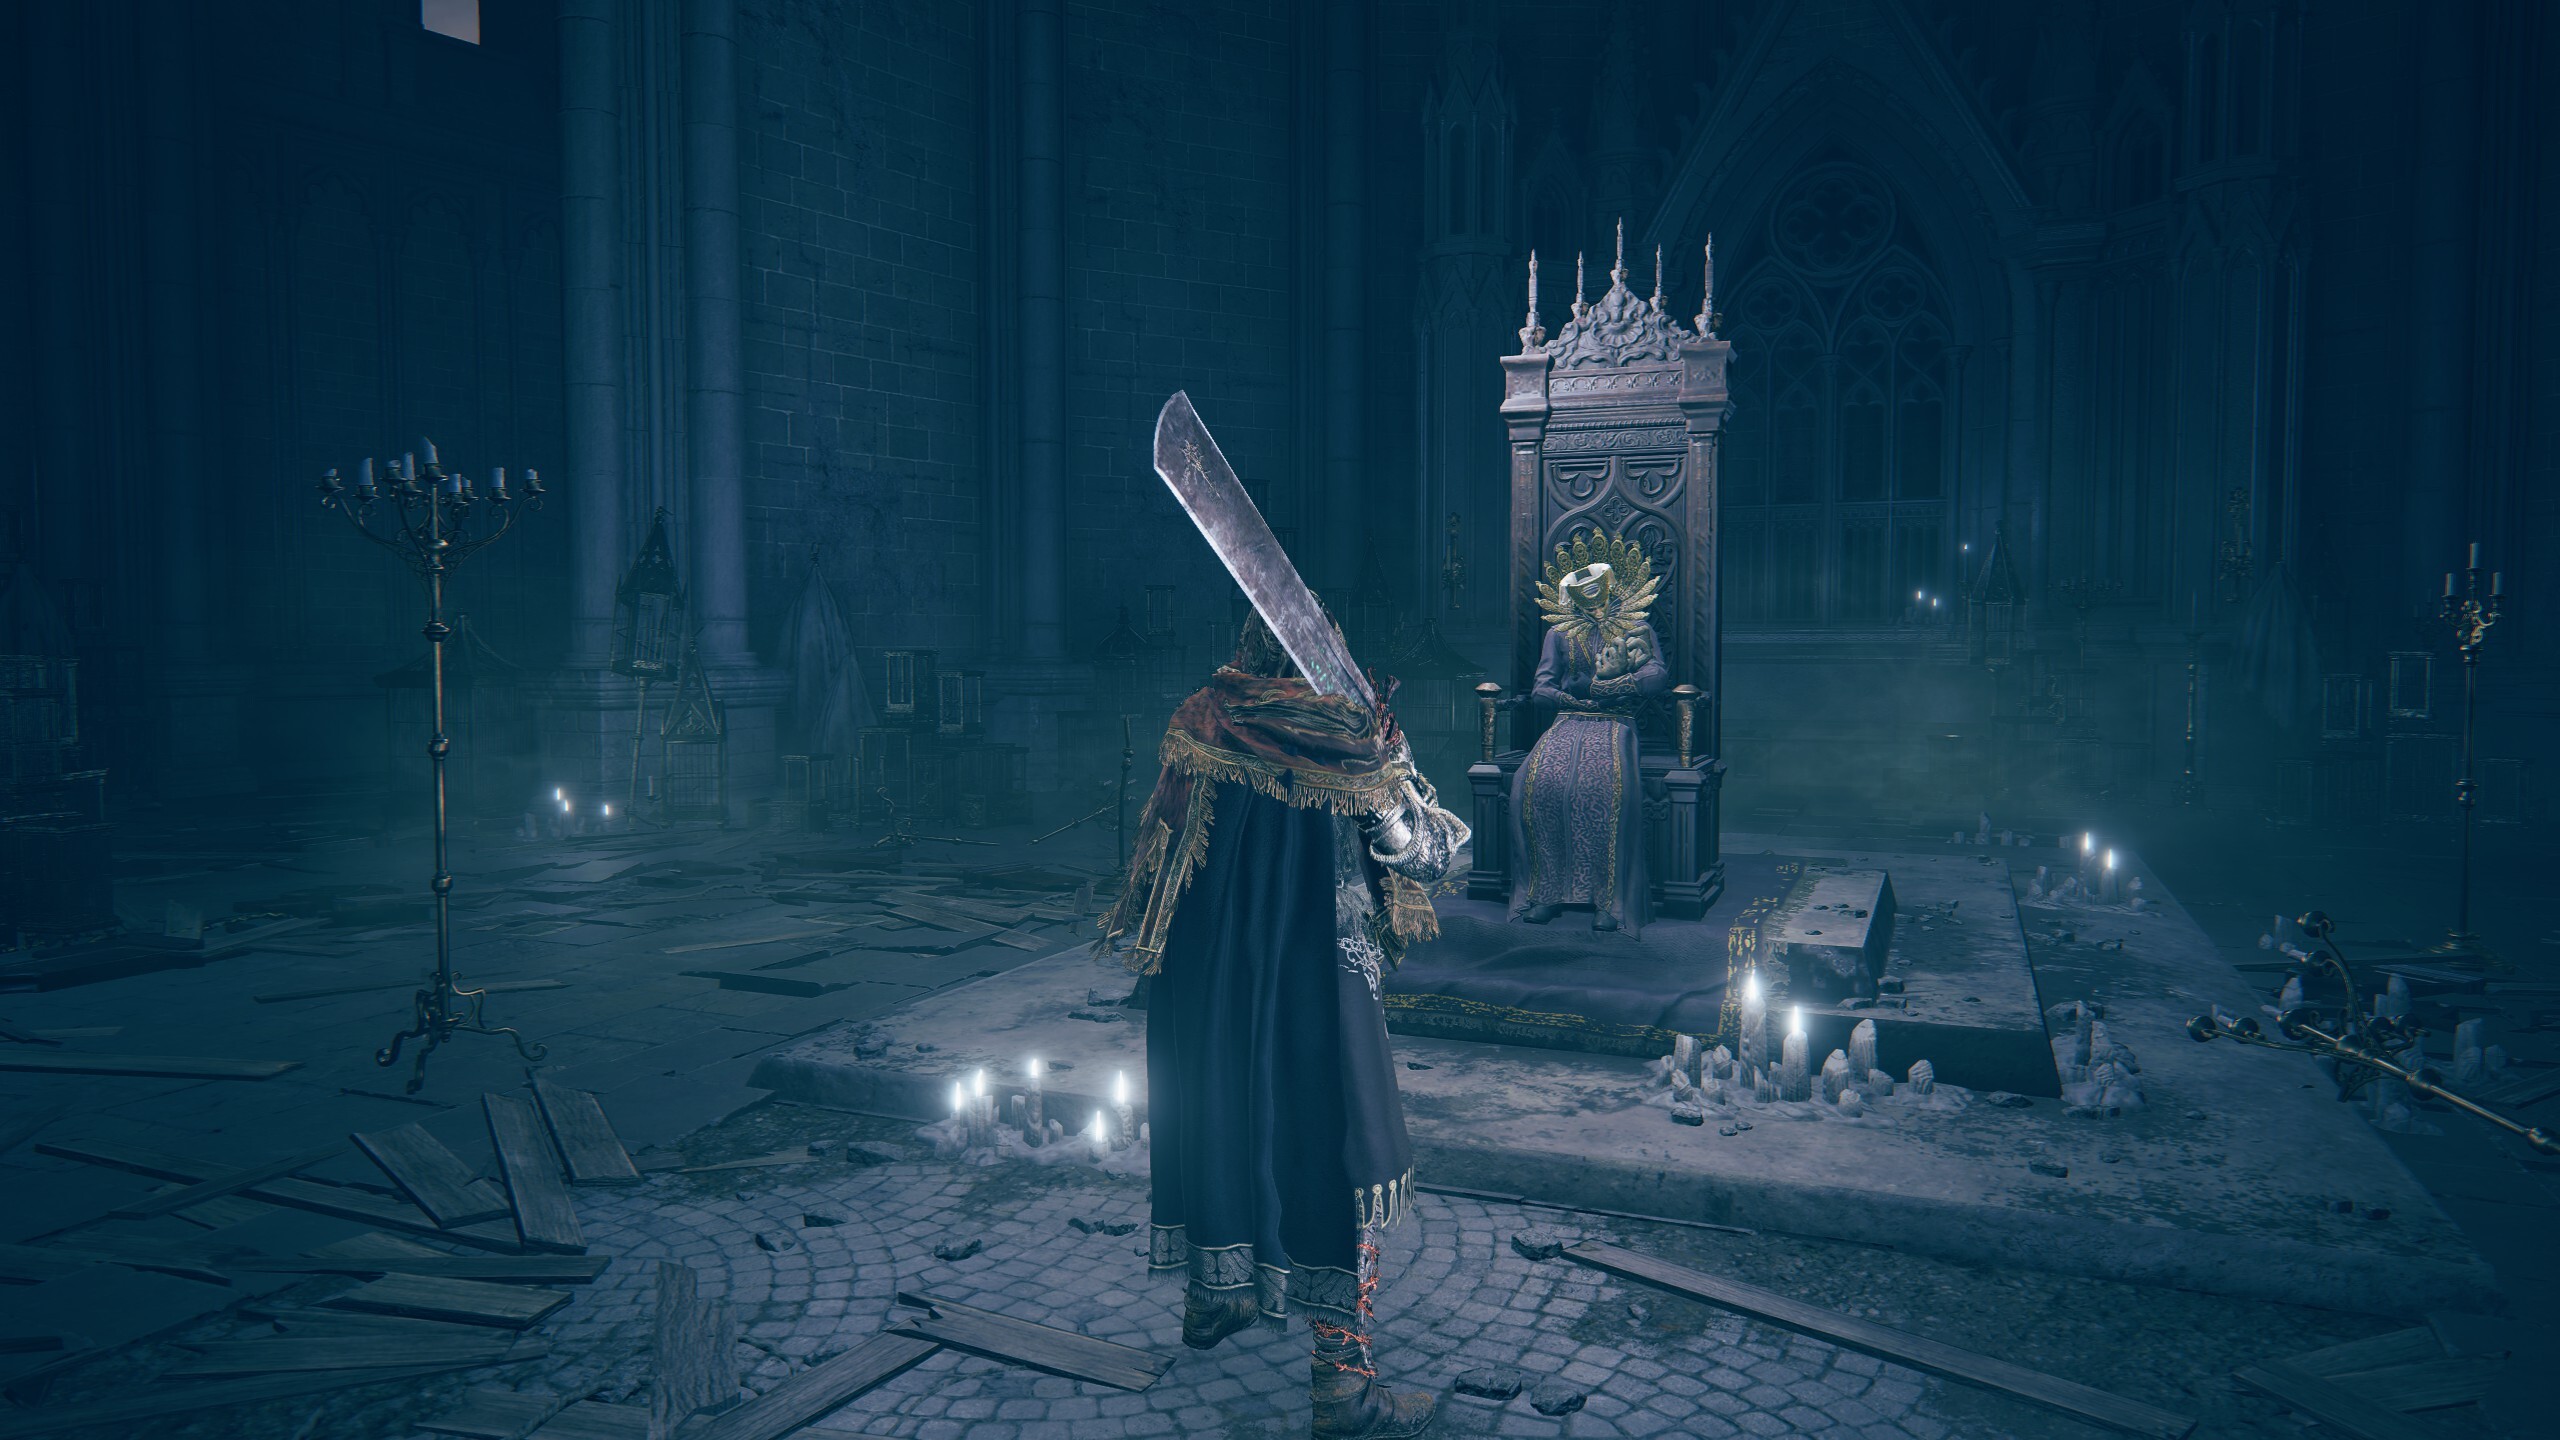
The Count Ymir quest is relatively straightforward as Elden Ring: Shadow of the Erdtree encounters go. For one, he doesn't move around so you won't lose track of him at some predetermined point in the story—yes, I'm looking at you, Ansbach—and the tasks he gives you are also pretty clear. That said, you might find yourself scratching your head trying to figure out how to get to certain locations.
As well as giving you access to a couple of handy talismans, a weapon or two, and a potential spirit ash, Ymir has some interesting lore to impart too. While I've tried to keep them to a minimum in this guide, beware of spoilers ahead. If you're ready to continue your journey, however, here's how to complete the Count Ymir quest in Elden Ring: Shadow of the Erdtree.
Elden Ring Count Ymir quest steps
There are quite a few steps that you'll need to work your way through to complete Ymir's quest. Here's a brief overview of what you need to do:
- Head to the cathedral in east Scadu Altus, and exhaust Ymir's dialogue to get the Ruins Map and Hole Laden Necklace.
- Speak to Jolan leaning on a pillar nearby.
- Travel to the first location and use the Hole Laden Necklace to receive a Crimson Seed Talisman.
- Return to Ymir at the cathedral and he'll hand you a Ruins Map (2nd) and a Beloved Stardust talisman.
- Find the "O Mother" gesture and use it in front of the headless Marika statue in the room next to the Shadow Keep Back Gate site to unlock the way to the ruins beyond.
- Ring the bell to receive a Cerulean Seed Talisman +1, then return to Ymir at the cathedral.
- He'll hand you a Ruins Map (3rd). Rest at the grace then head back inside and examine his throne to have the floor slide back. Head down the ladder.
- Defeat Swordhand of the Night Anna and blow the bell at the far end of the cavern to be transported to a boss fight.
- Once the boss is dead, head back to the cathedral and examine the throne again to be invaded by Swordhand of the Night Jolan. Defeat them to be thrown into another boss fight.
- If you rest at the grace and return to Jolan, you can speak with her one last time for additional rewards.
Where to find Count Ymir
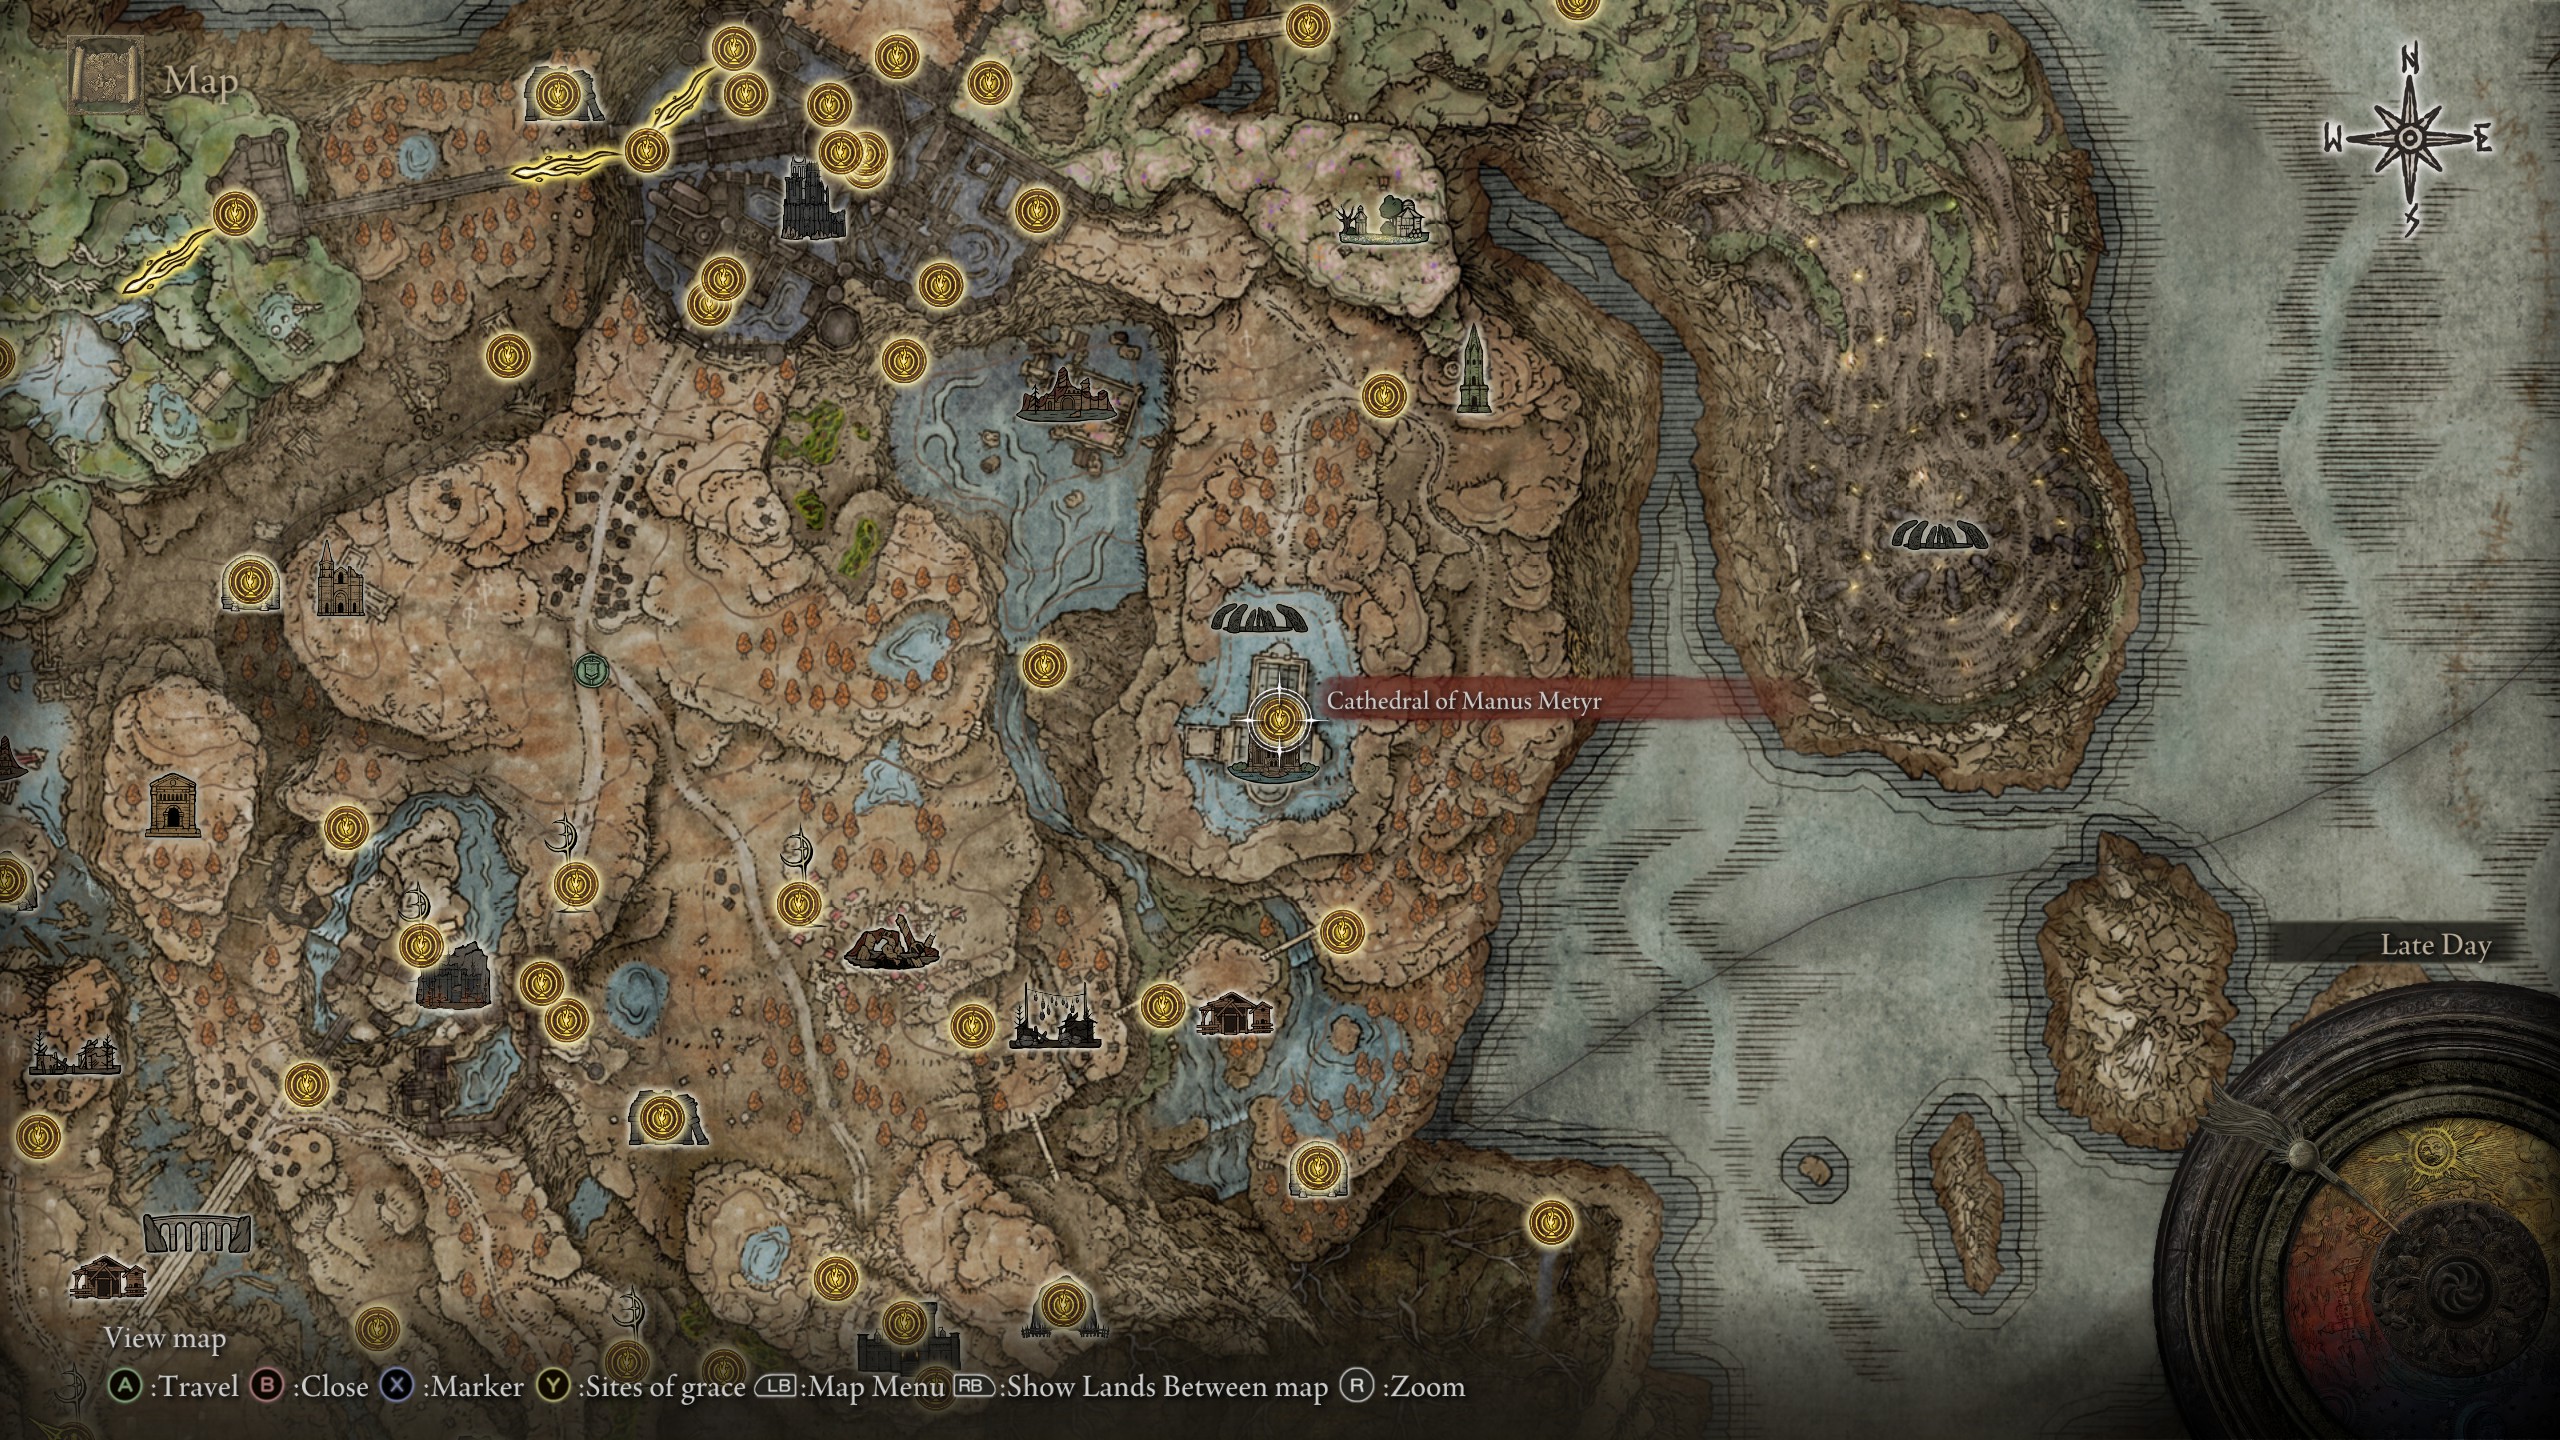
You can find Count Ymir at the Cathedral in eastern Scadu Altus. It's found to the northeast of Moorth Ruins, which has a tunnel running beneath that brings you out in Bonny Village, to the south of the cathedral. The building itself is hard to miss as it's massive and is perched in a shallow lake on top of higher ground. See the screenshot above if you're having trouble finding it.
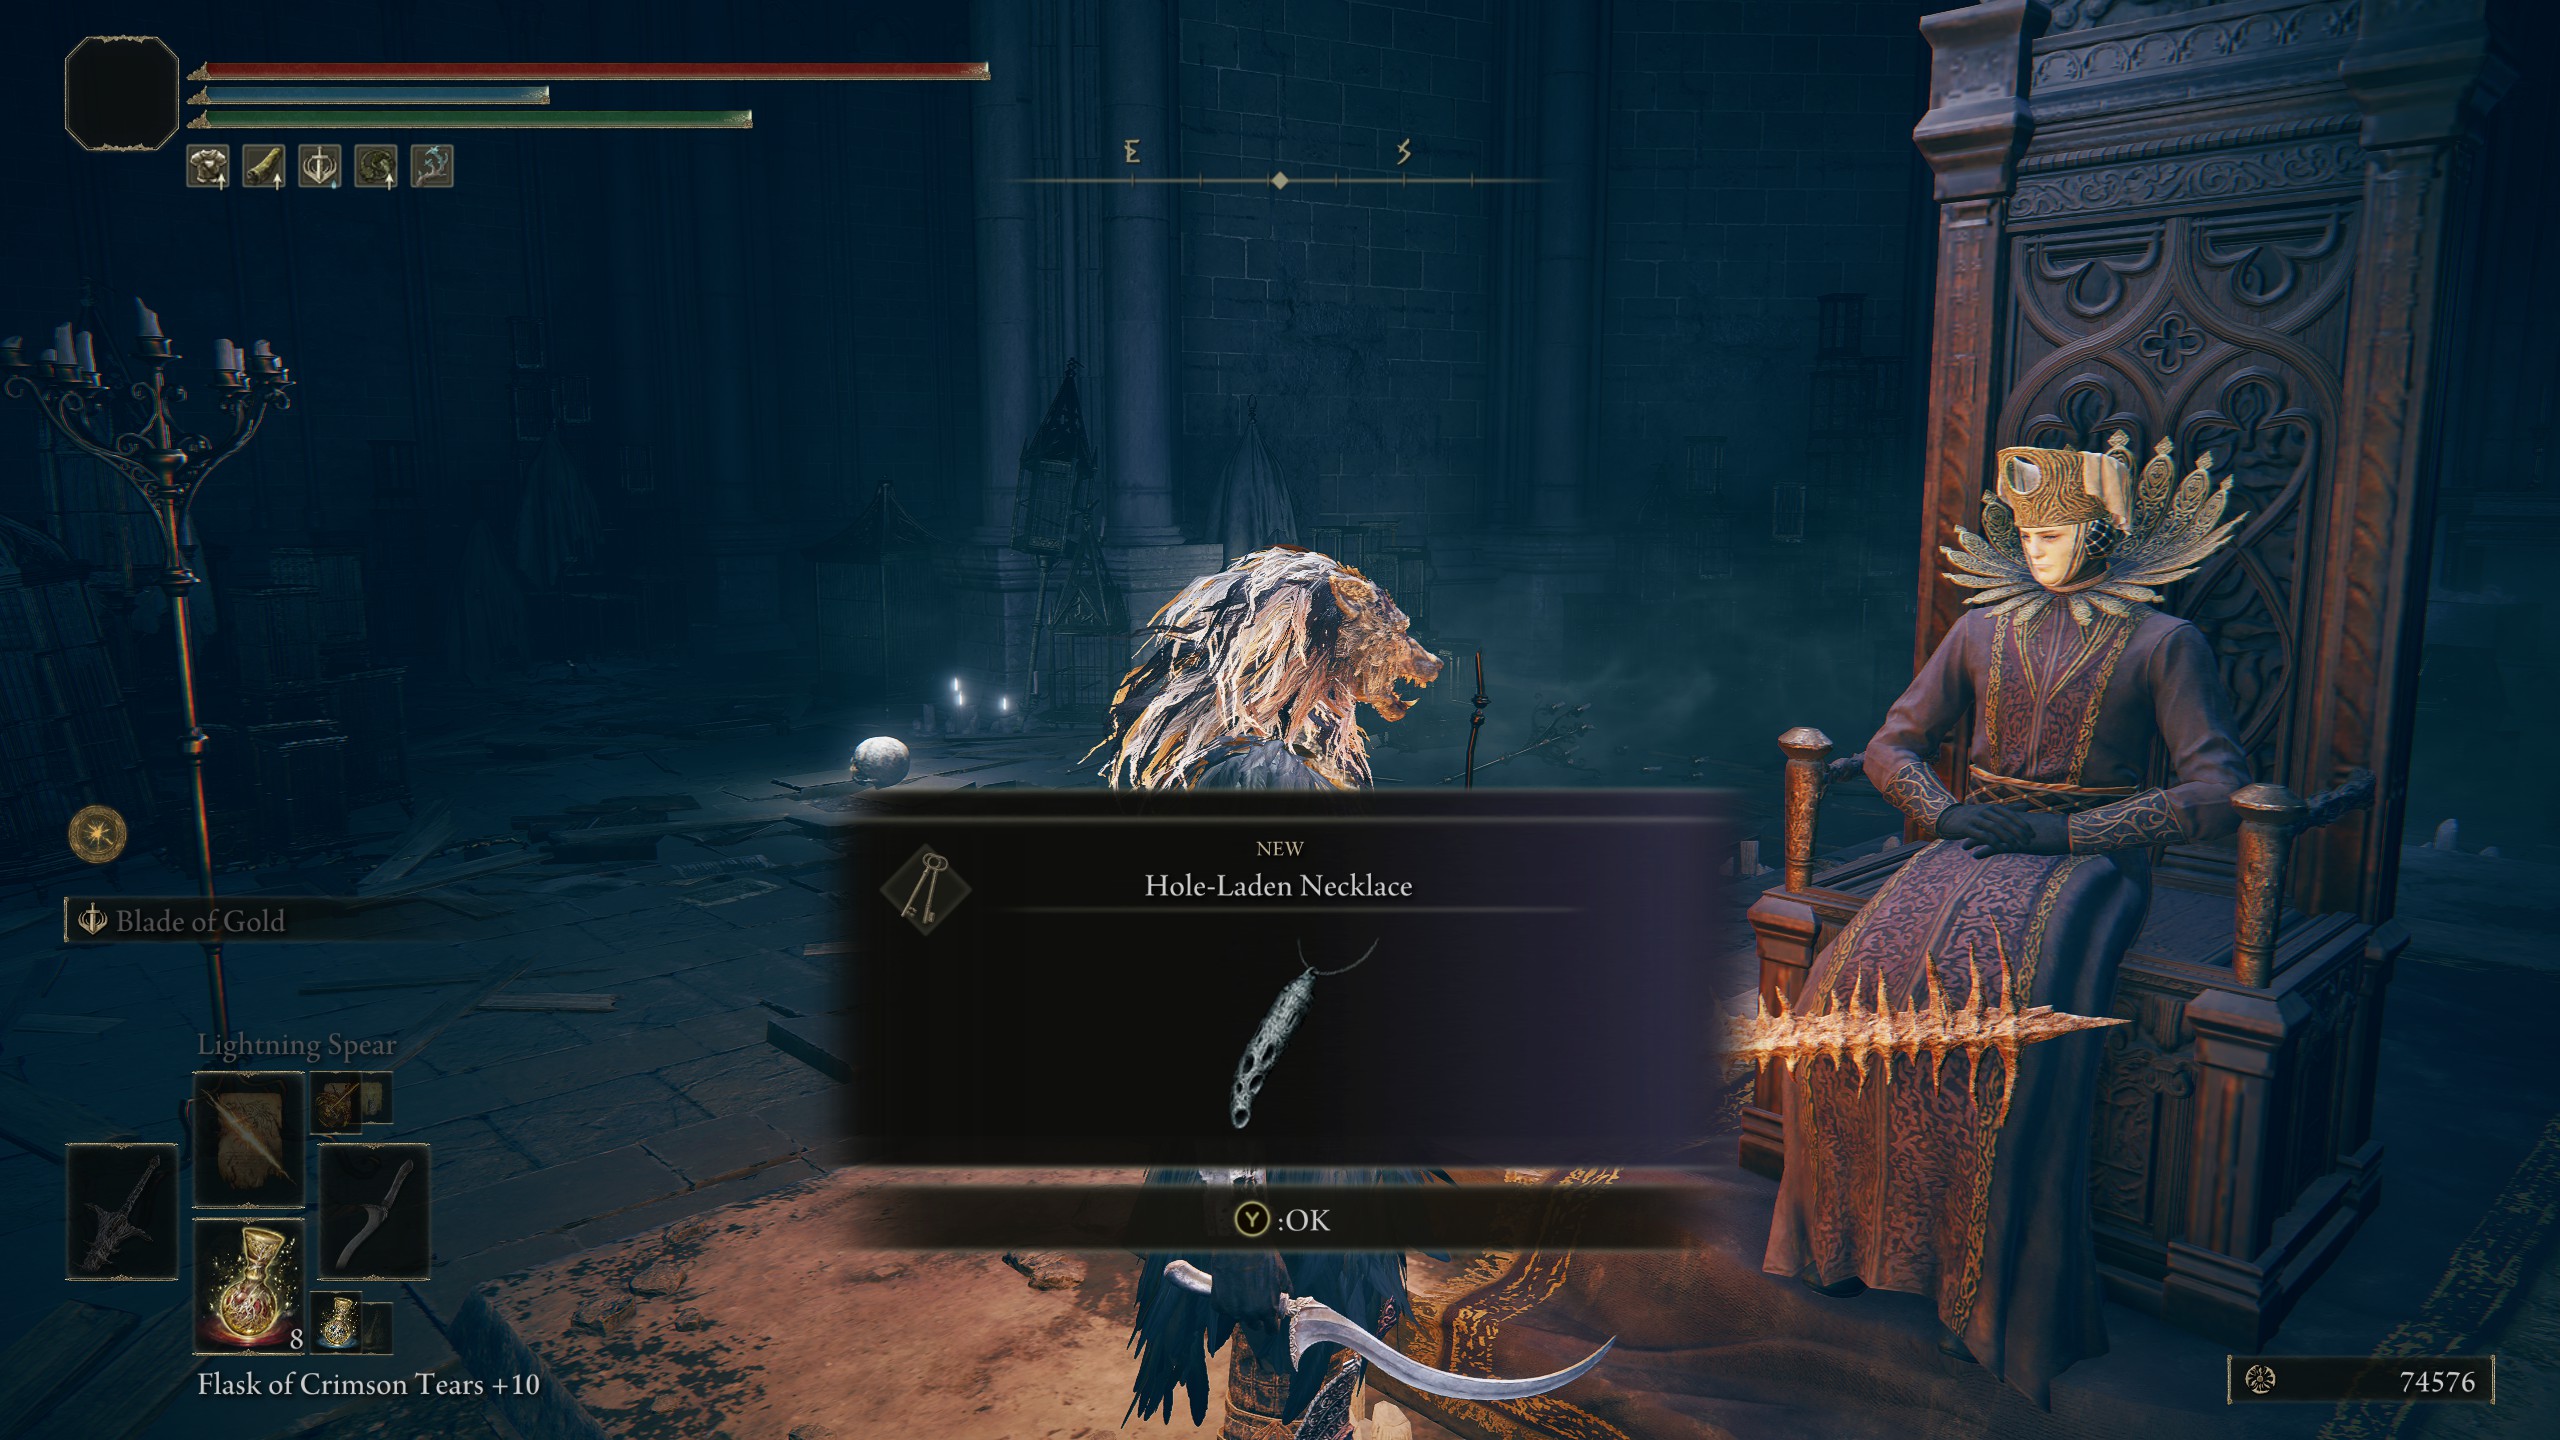
You'll find Ymir sitting on the throne at the far end. Talk to him and exhaust his dialogue and he'll give you Ruins Map and Hole Laden Necklace. He'll also sell you sorceries if you're a magic user, including the new Miriam's Vanishing spell.
Open your inventory and locate the Ruins Map under the Info tab. Examine it and look for the same location on the DLC map—that's where you need to go. Don't worry if you can't figure it out, I'll show you where in the next section.
Before you leave, you can also talk to Ymir's bodyguard, Swordhand of the Night Jolan leaning on a pillar near the side entrance. She's not feeling particularly talkative though and will basically tell you to leave her alone after a short conversation.
If you rest at a grace and go back into the main hall, you'll see Ymir talking to and cradling a small finger creeper. I'm not even going to begin to try unravelling the reasoning behind the name he gives it.
Erdtree map fragments: Uncover the Land of Shadow
Scadutree fragments: How to level up in Erdtree
Erdtree bosses: A full hit list for the DLC
Leda quest: Track the Erdtree main quest
Sir Ansbach quest: Help the former servant of Mohg
Hornsent quest: Complete the quest for vengeance
Ruins Map: Finger Ruins of Rhia location
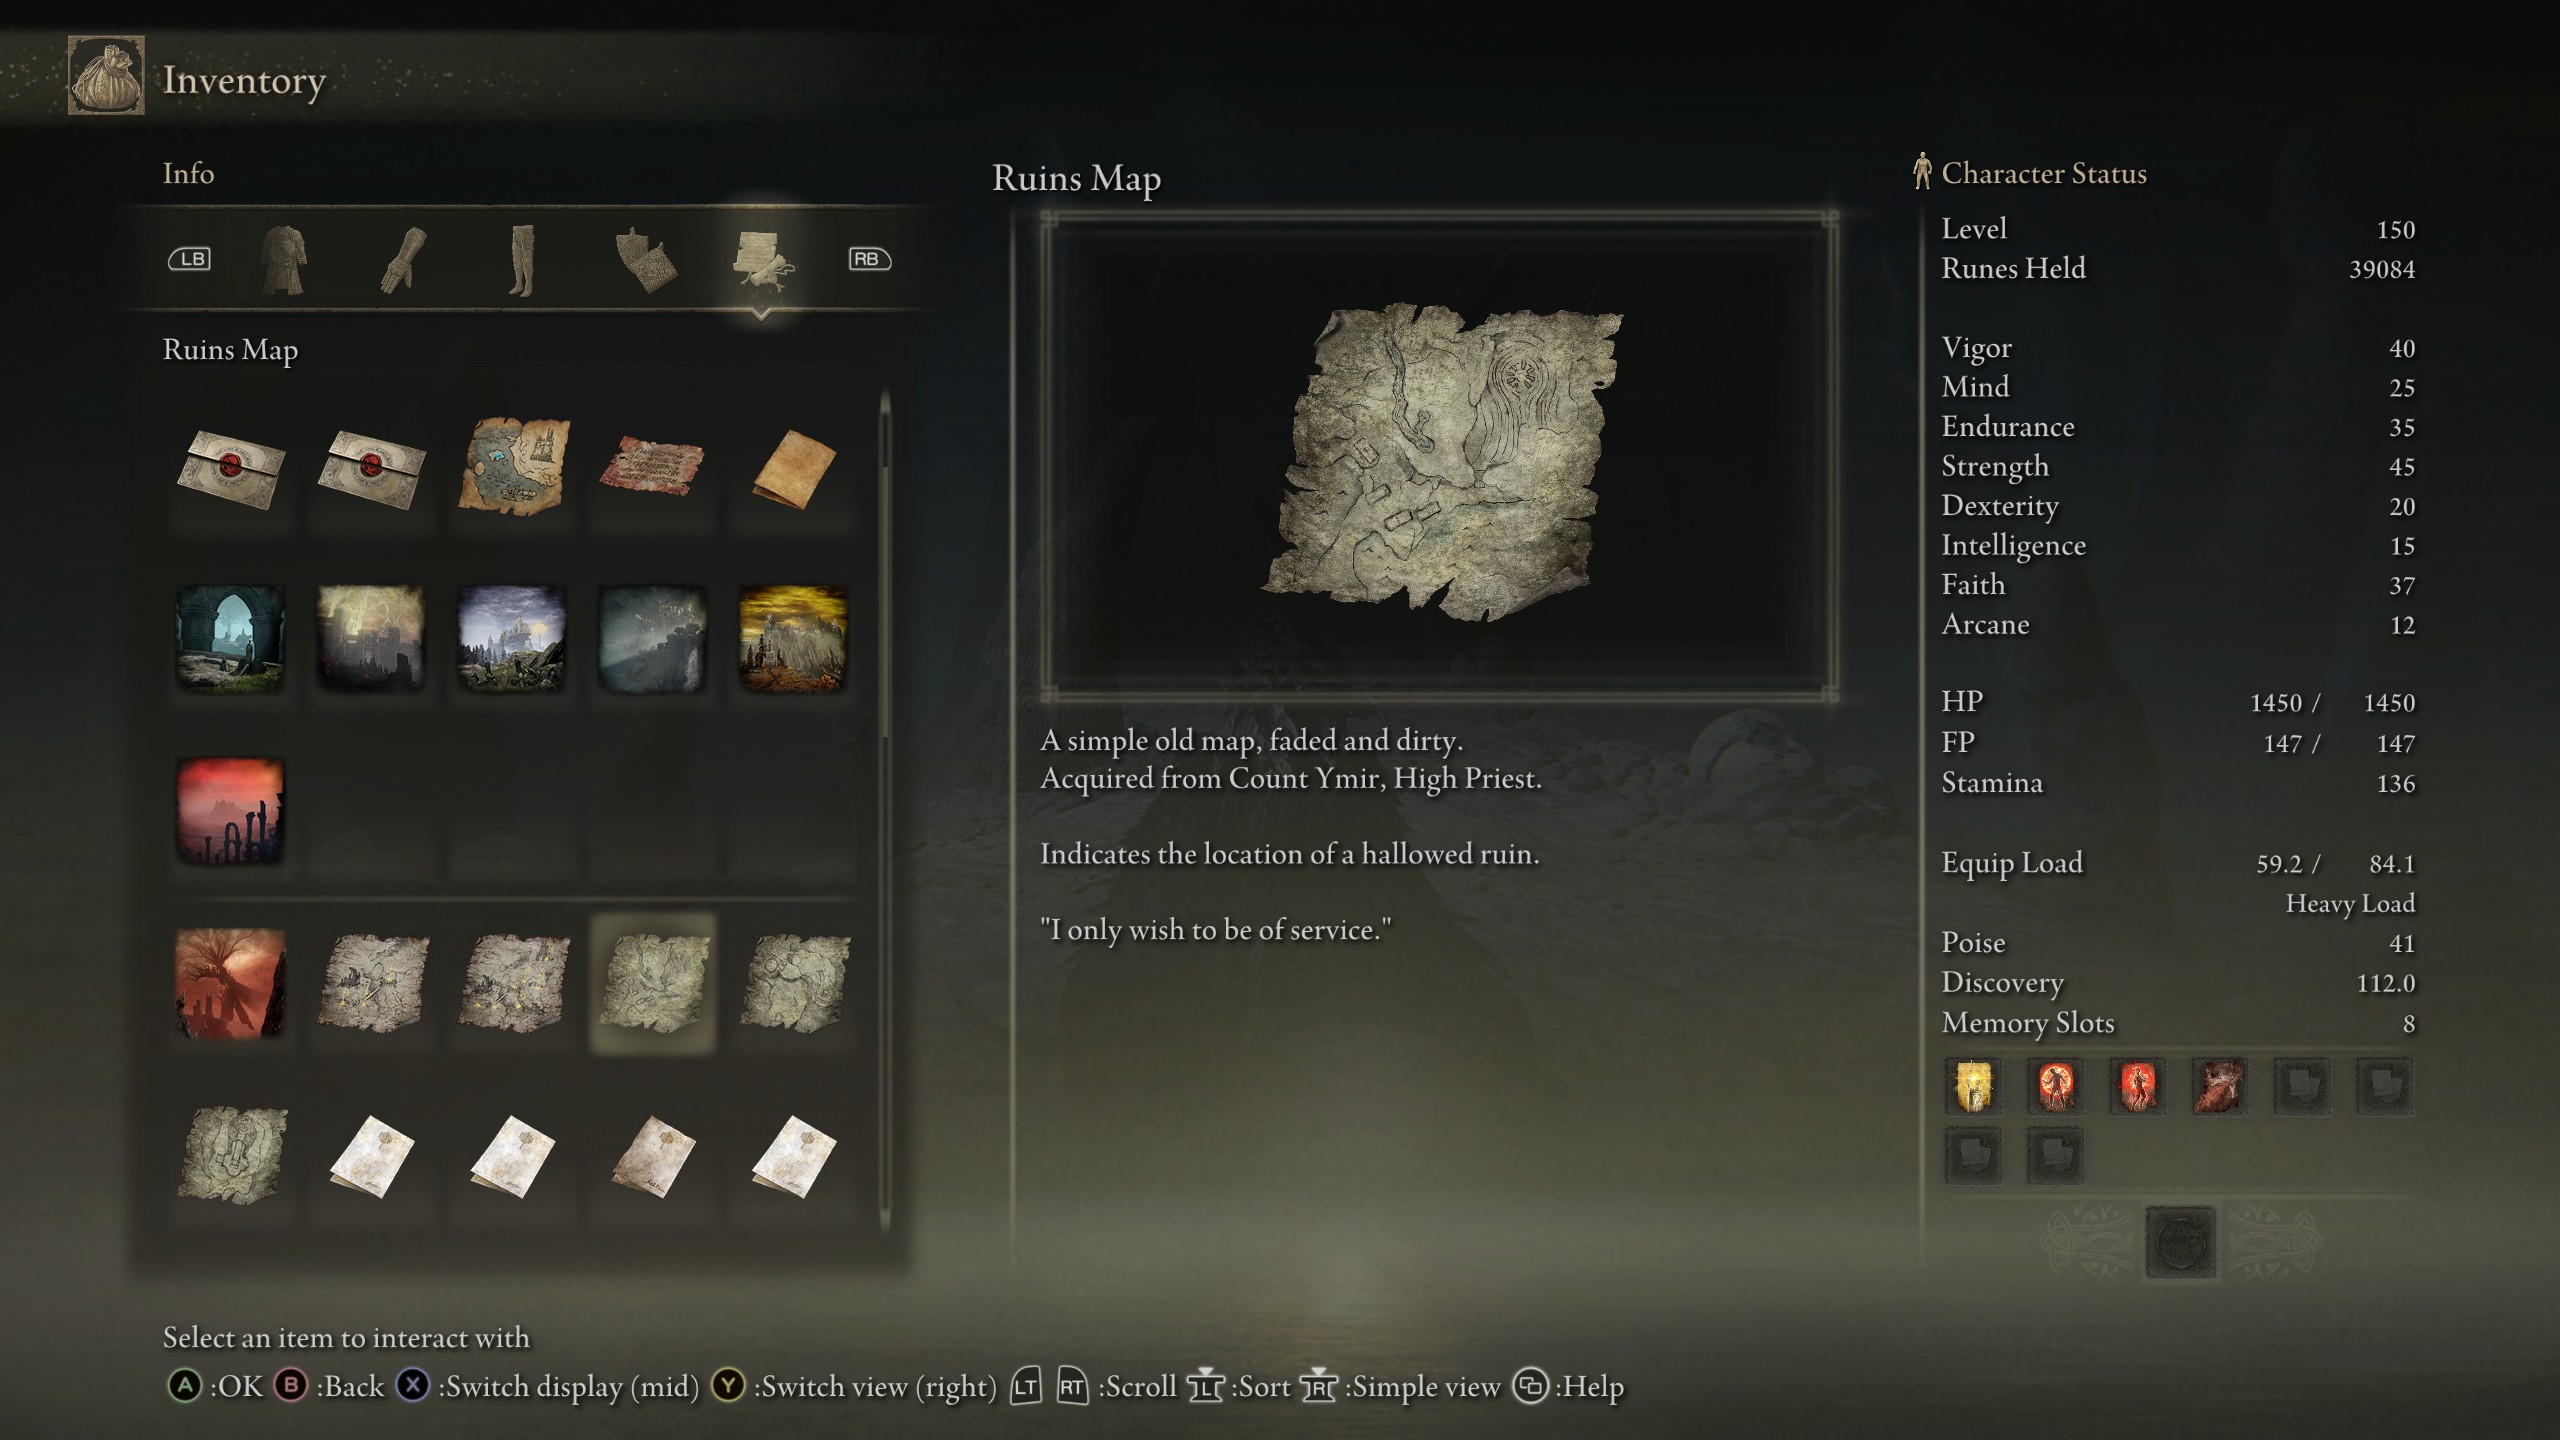
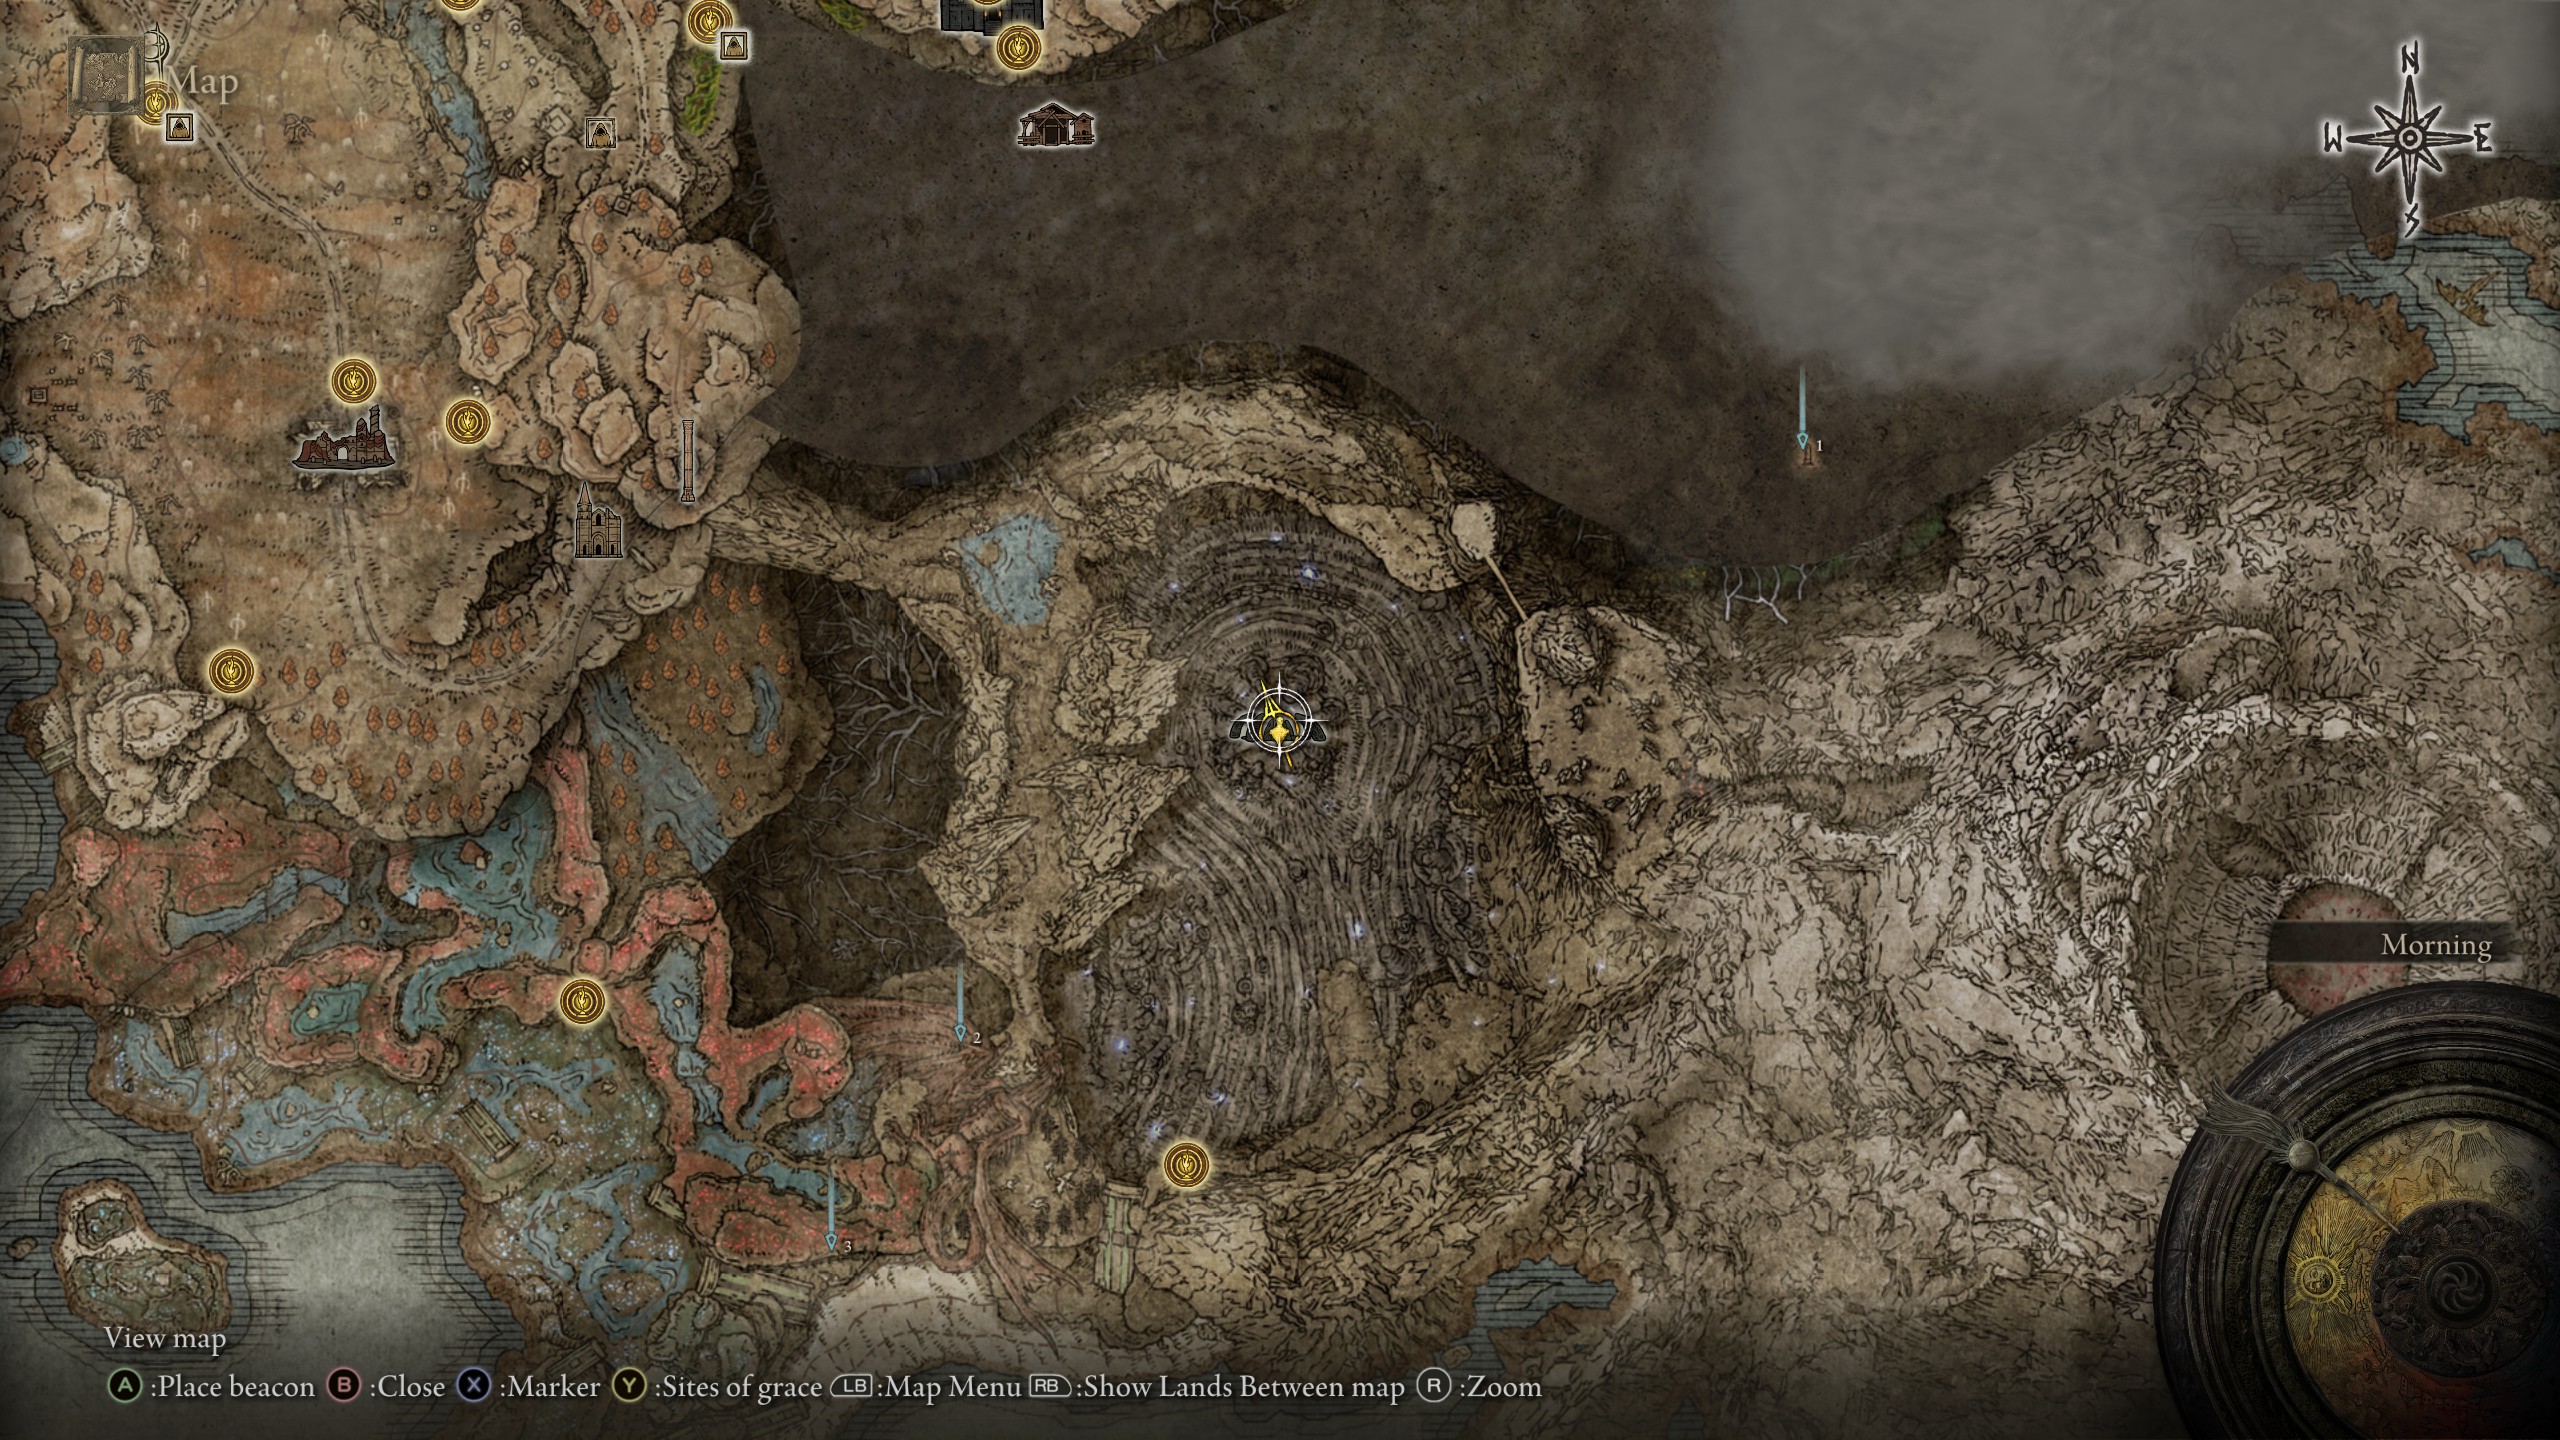
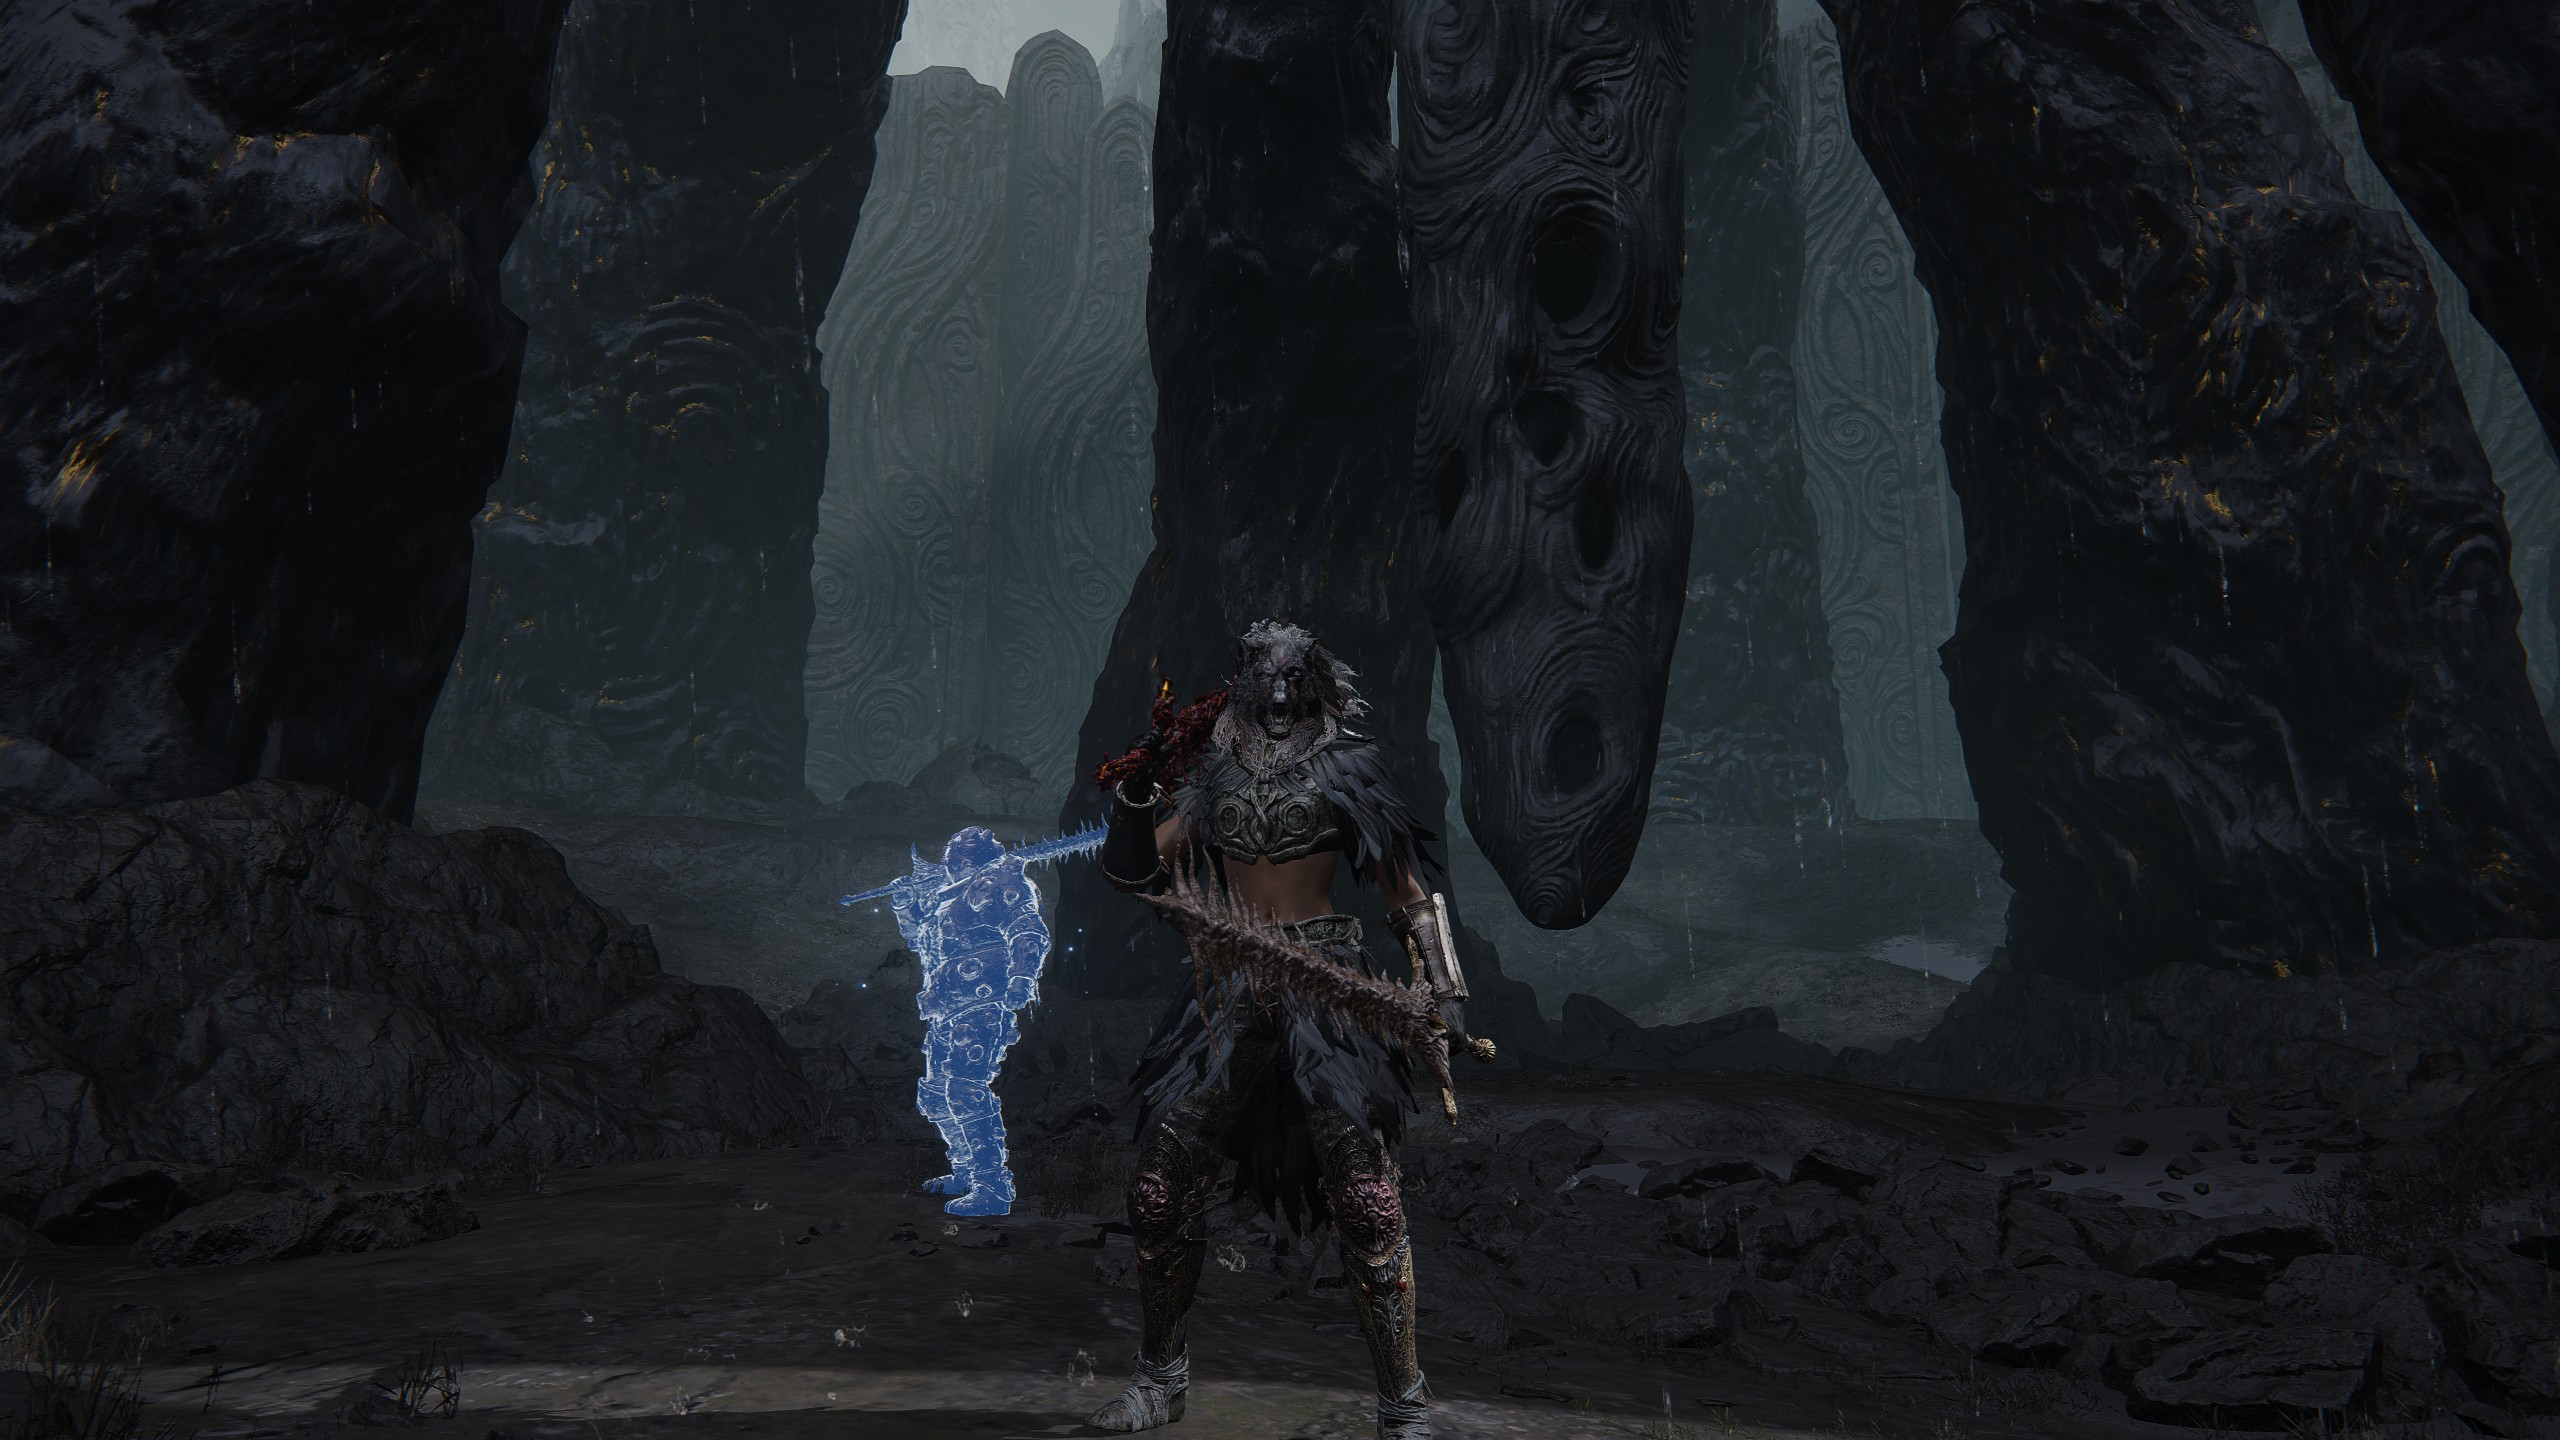
The first Ruins Map map shows an area found in the Southern Shore region of the Shadow of the Erdtree map. If you've not been to that region yet, check our map fragments guide for directions. Once you hit the Cerulean Coast site of grace, you can follow the route below:
- Head directly south across the field of blue flowers and up the slope in front of you to find the Cerulean Coast Cross site of grace.
- From here, start working your way down to the beach to the northeast. There's a series of drops if you backtrack slightly from the cross—you'll know you're heading the right way because you'll see big finger creepers at the bottom.
- Follow the beach around to the east until you spot the big coffin ship wedged between the two cliffs. Head to the left at the top to find the Finger Ruins of Rhia site of grace.
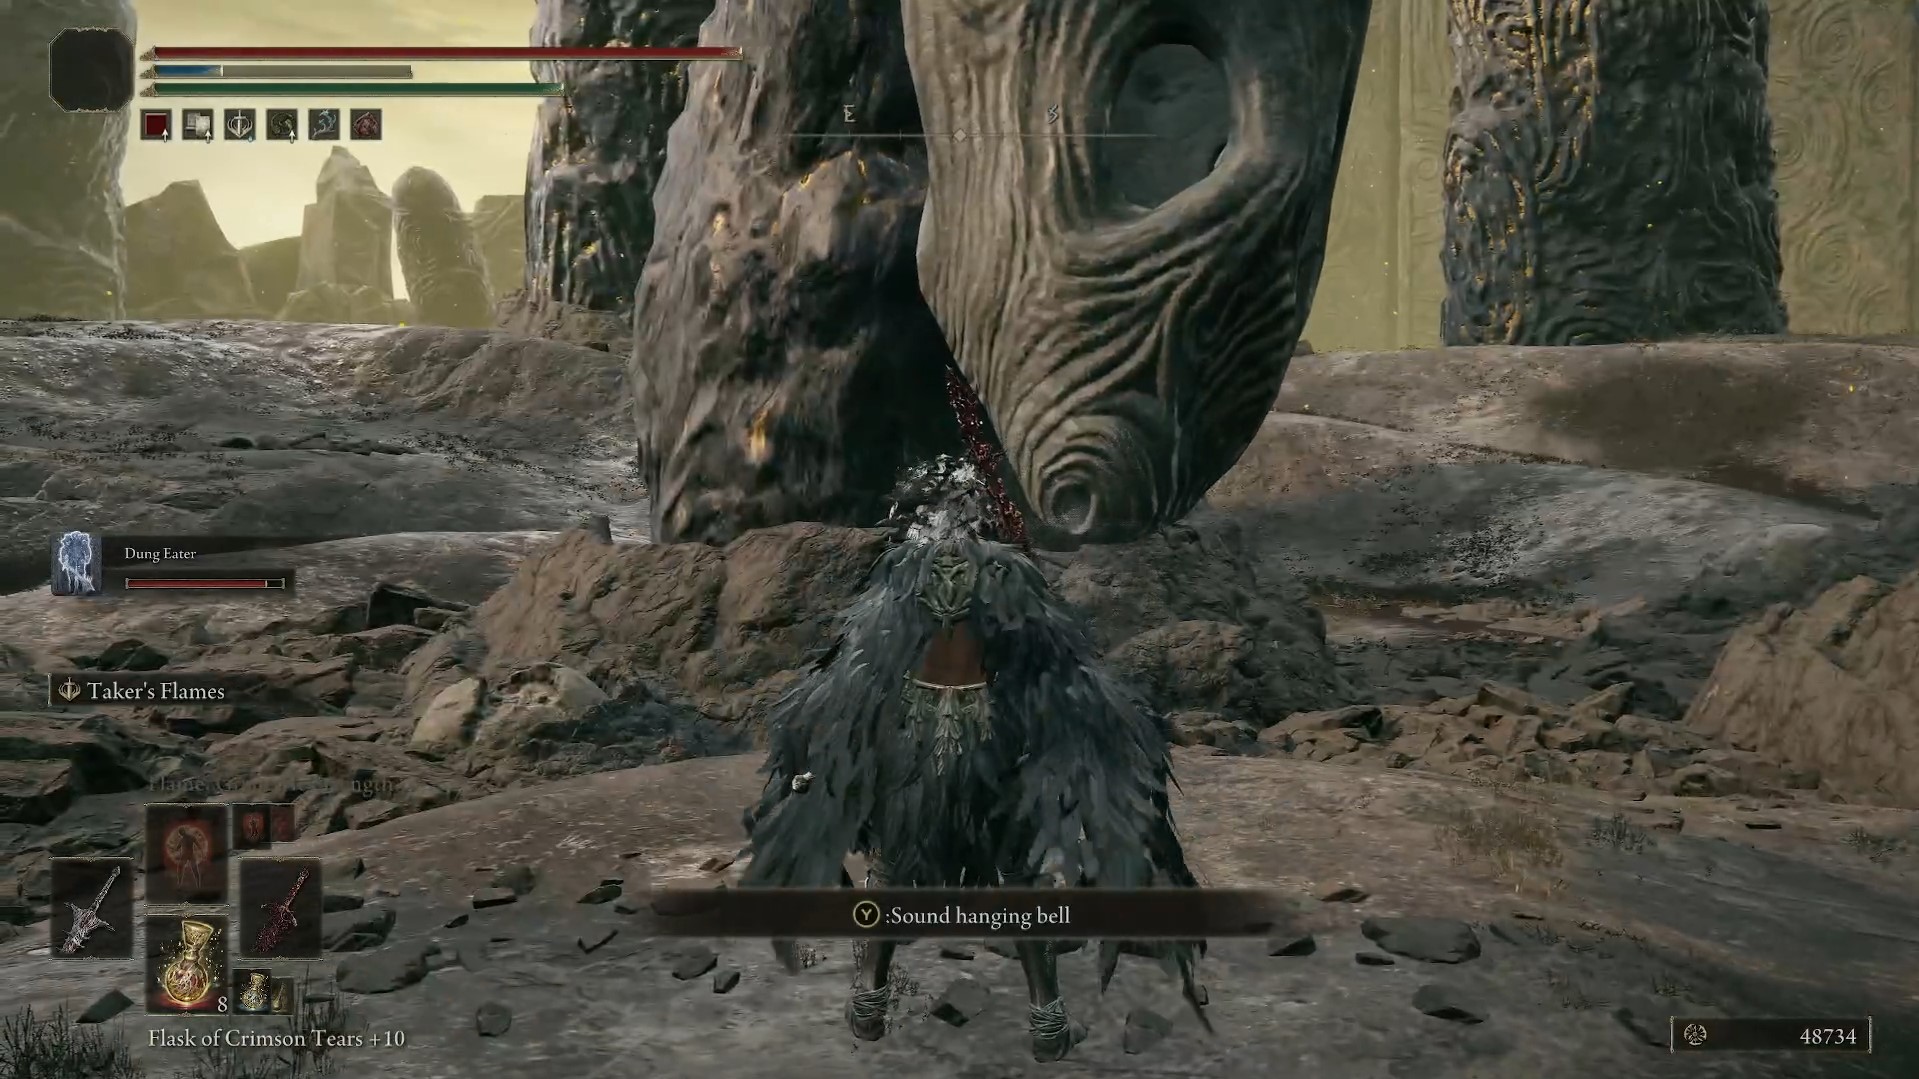
Make your way down into the ruins and use the Hole Laden Necklace at the very centre, where you'll find a hanging bell, similar in appearance to the necklace you received. Approach it and you'll get the prompt to "Sound hanging bell". You'll receive a Crimson Seed Talisman.
Now you can return to Ymir at the cathedral and he'll hand you a Ruins Map (2nd) and a Beloved Stardust talisman. You'll also get some lore from him here, about the world in general, and about Miquella.
Note: If you return to Count Ymir between visiting the first and second ruins, he'll be outside talking to a gravestone, allowing you to inspect his throne and giving you access to the area below the cathedral. You'll be invaded by a Swordhand of the Night who'll drop the Claws of Night weapon. You can also discuss this encounter with Jolan. After you rest, Count Ymir will be back on his throne and will have a little extra dialogue about your excursion.
Where to find the Ruins Map (2nd) location
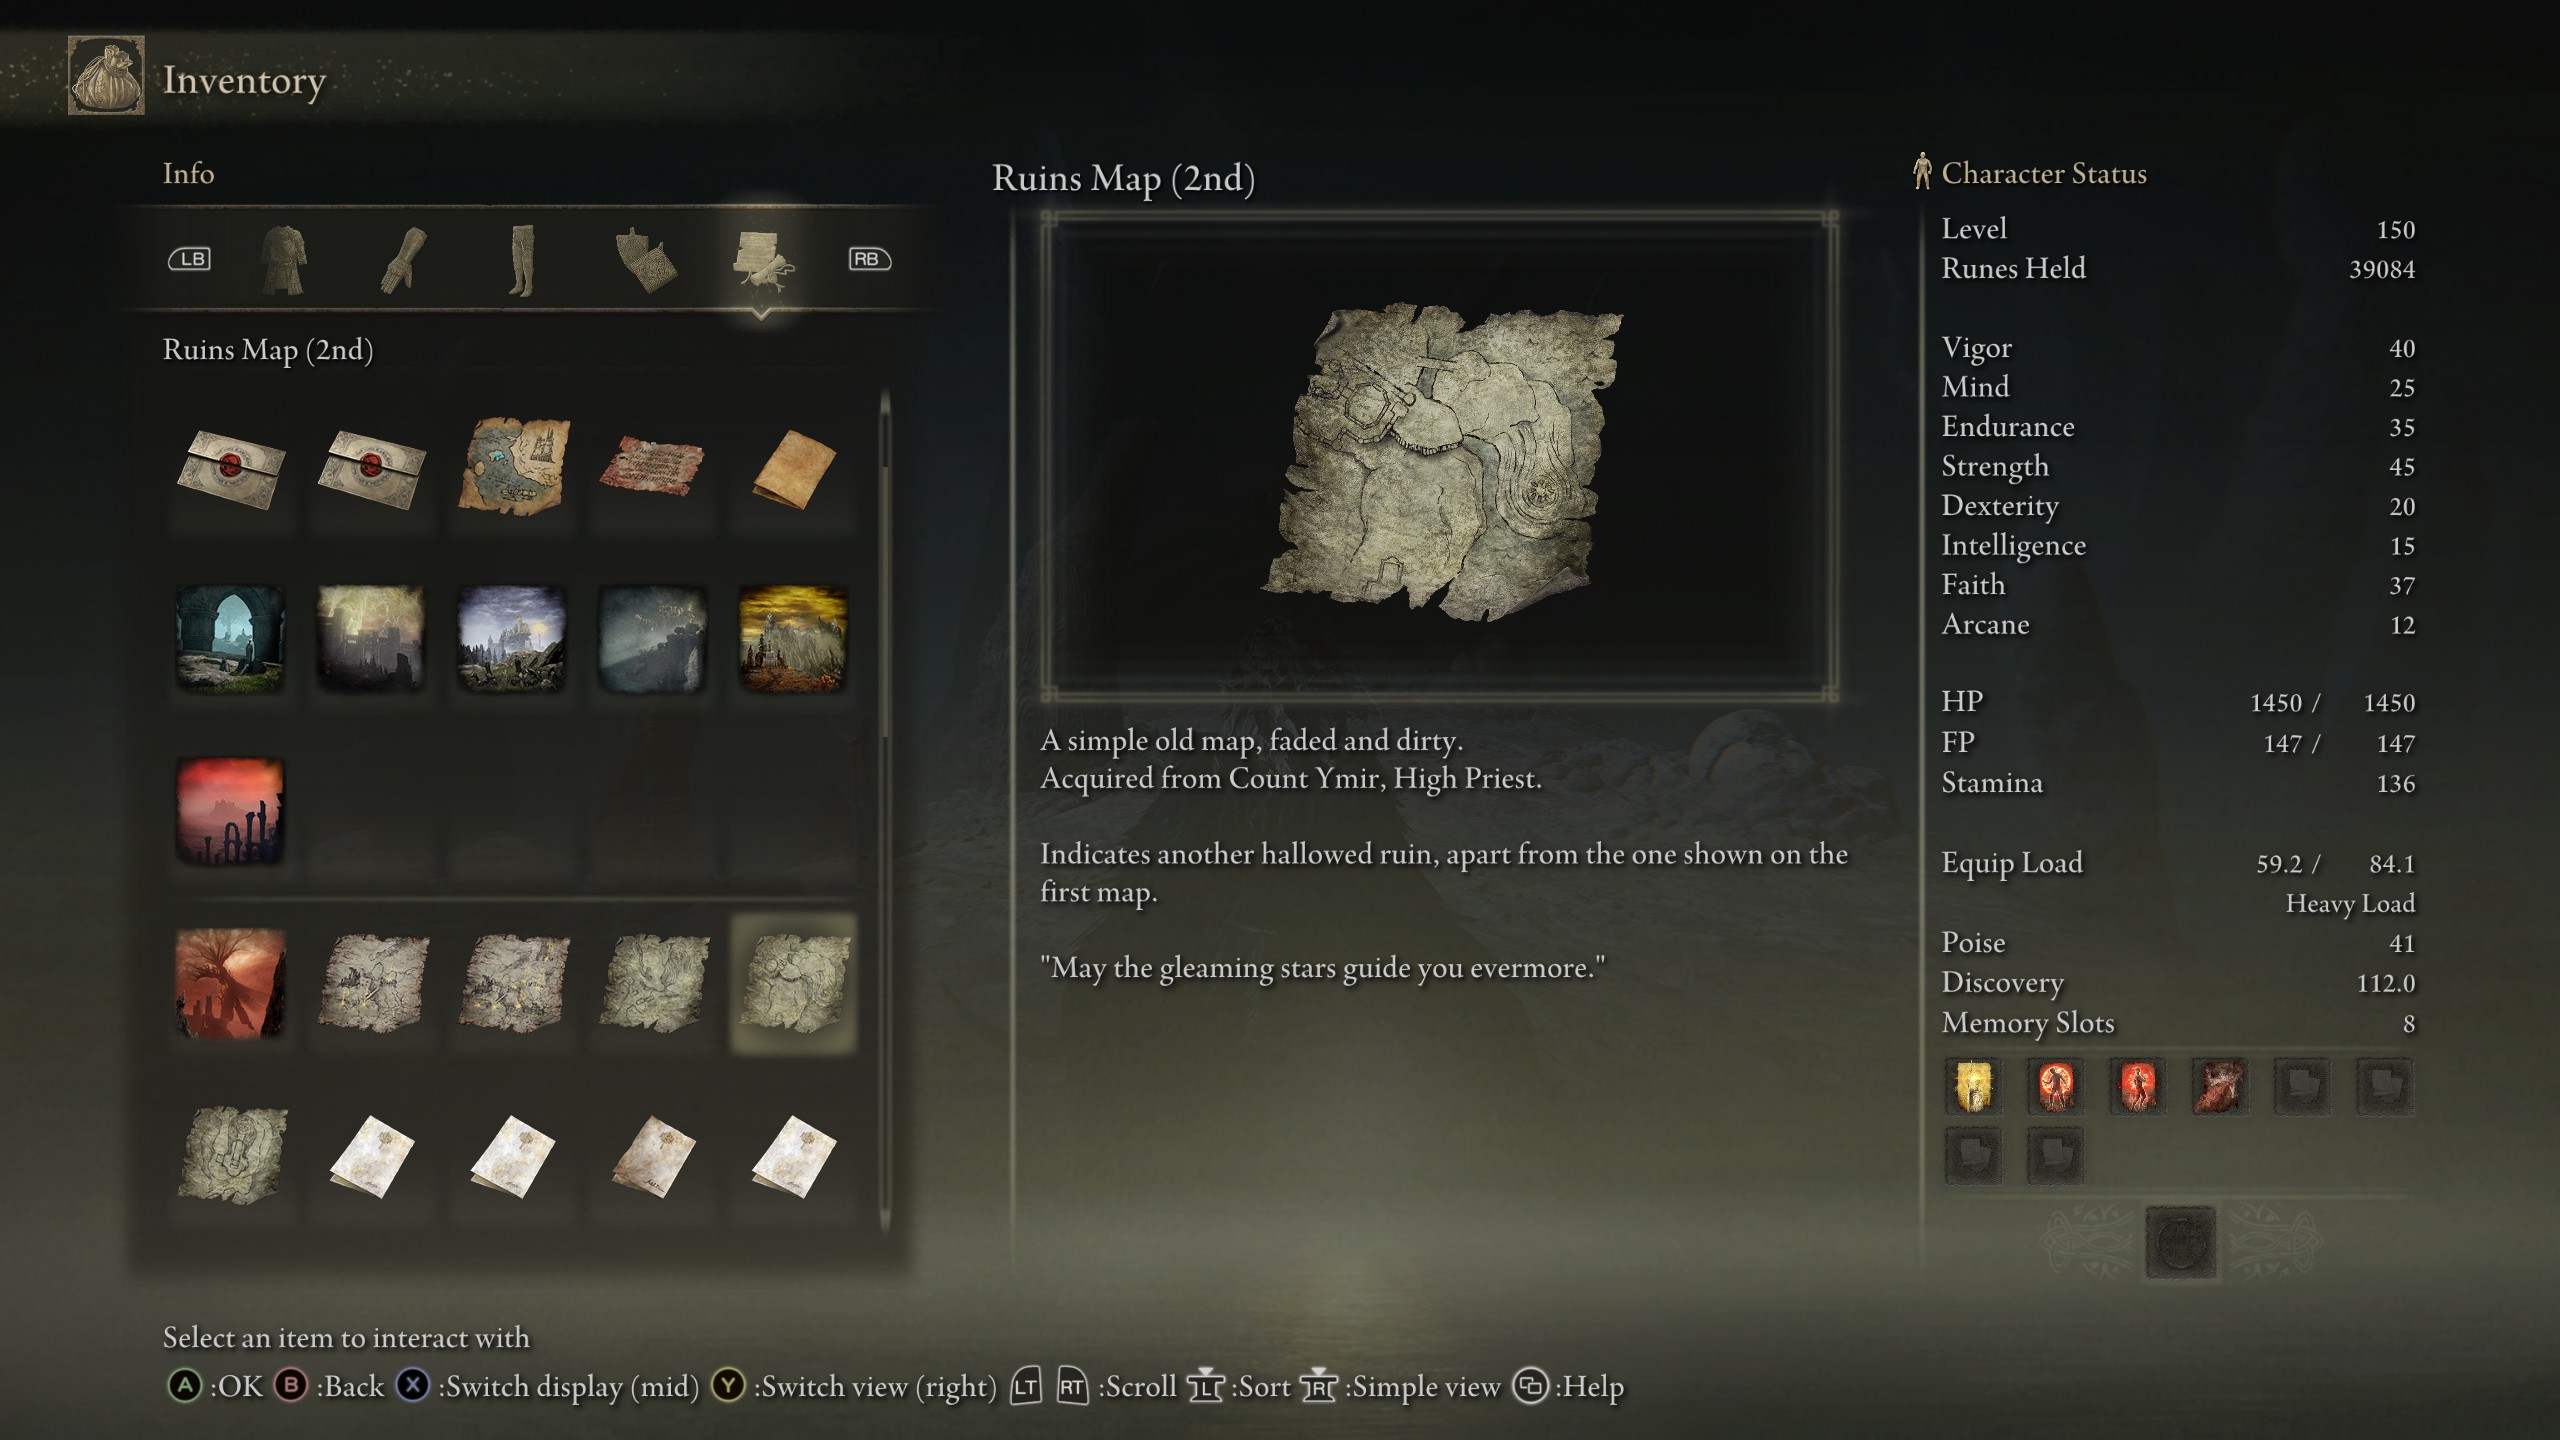
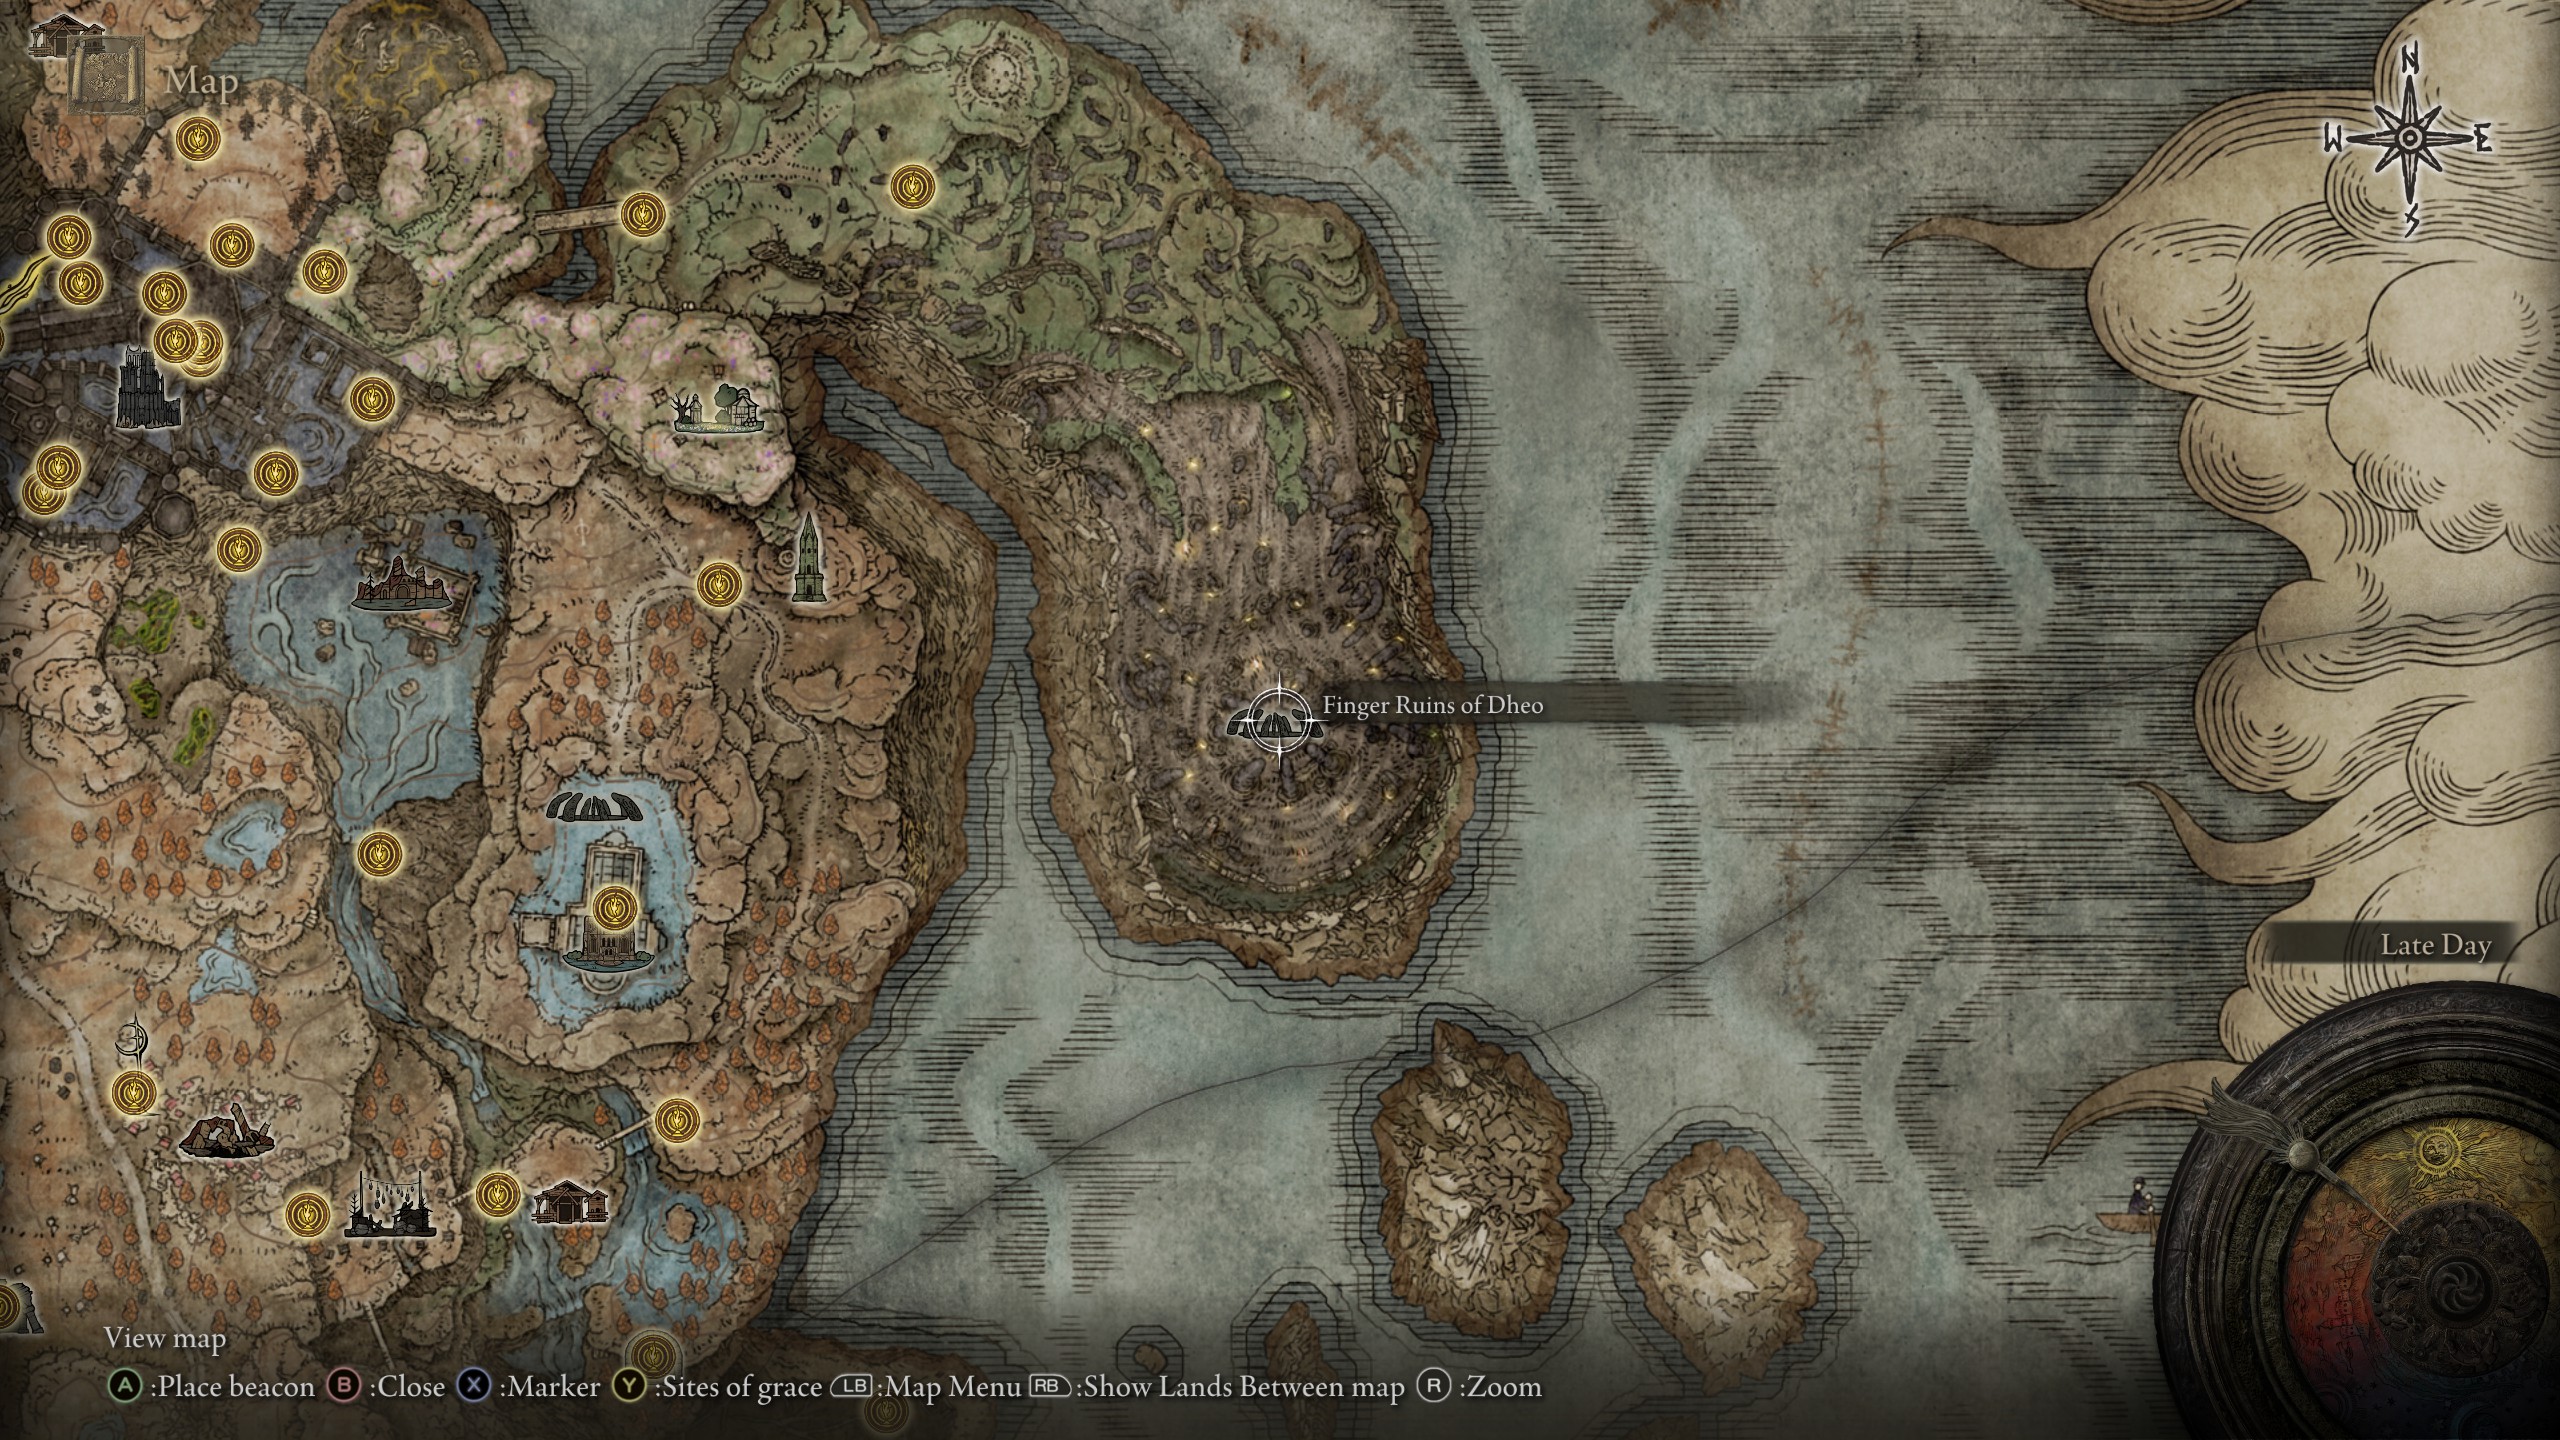
The second ruins you need to reach are directly east of the cathedral, requiring you travel through the eastern Church District entrance of the Shadow Keep to find the route to access them. Specifically, you'll need to solve the statue riddle in the room next to the Shadow Keep, Back Gate site of grace to reach the peninsula beyond.
This area is very rich in lore, so it's worth taking your time to have a good look around. Before you go too far though, notice the summon sign on the main road heading east. You can summon Swordhand of the Night Jolan to help you fight the Tree Sentinel boss here, so be sure to summon her for a little aid..
Make your way to the ruins in the southern area of the area, but look out for the worm enemies here as they hit quite a bit harder than the variants at the previous ruins. Ring the hanging bell here to receive a Cerulean Seed Talisman +1, then return to Ymir at the cathedral.
Where to find the Ruins Map (3rd) location
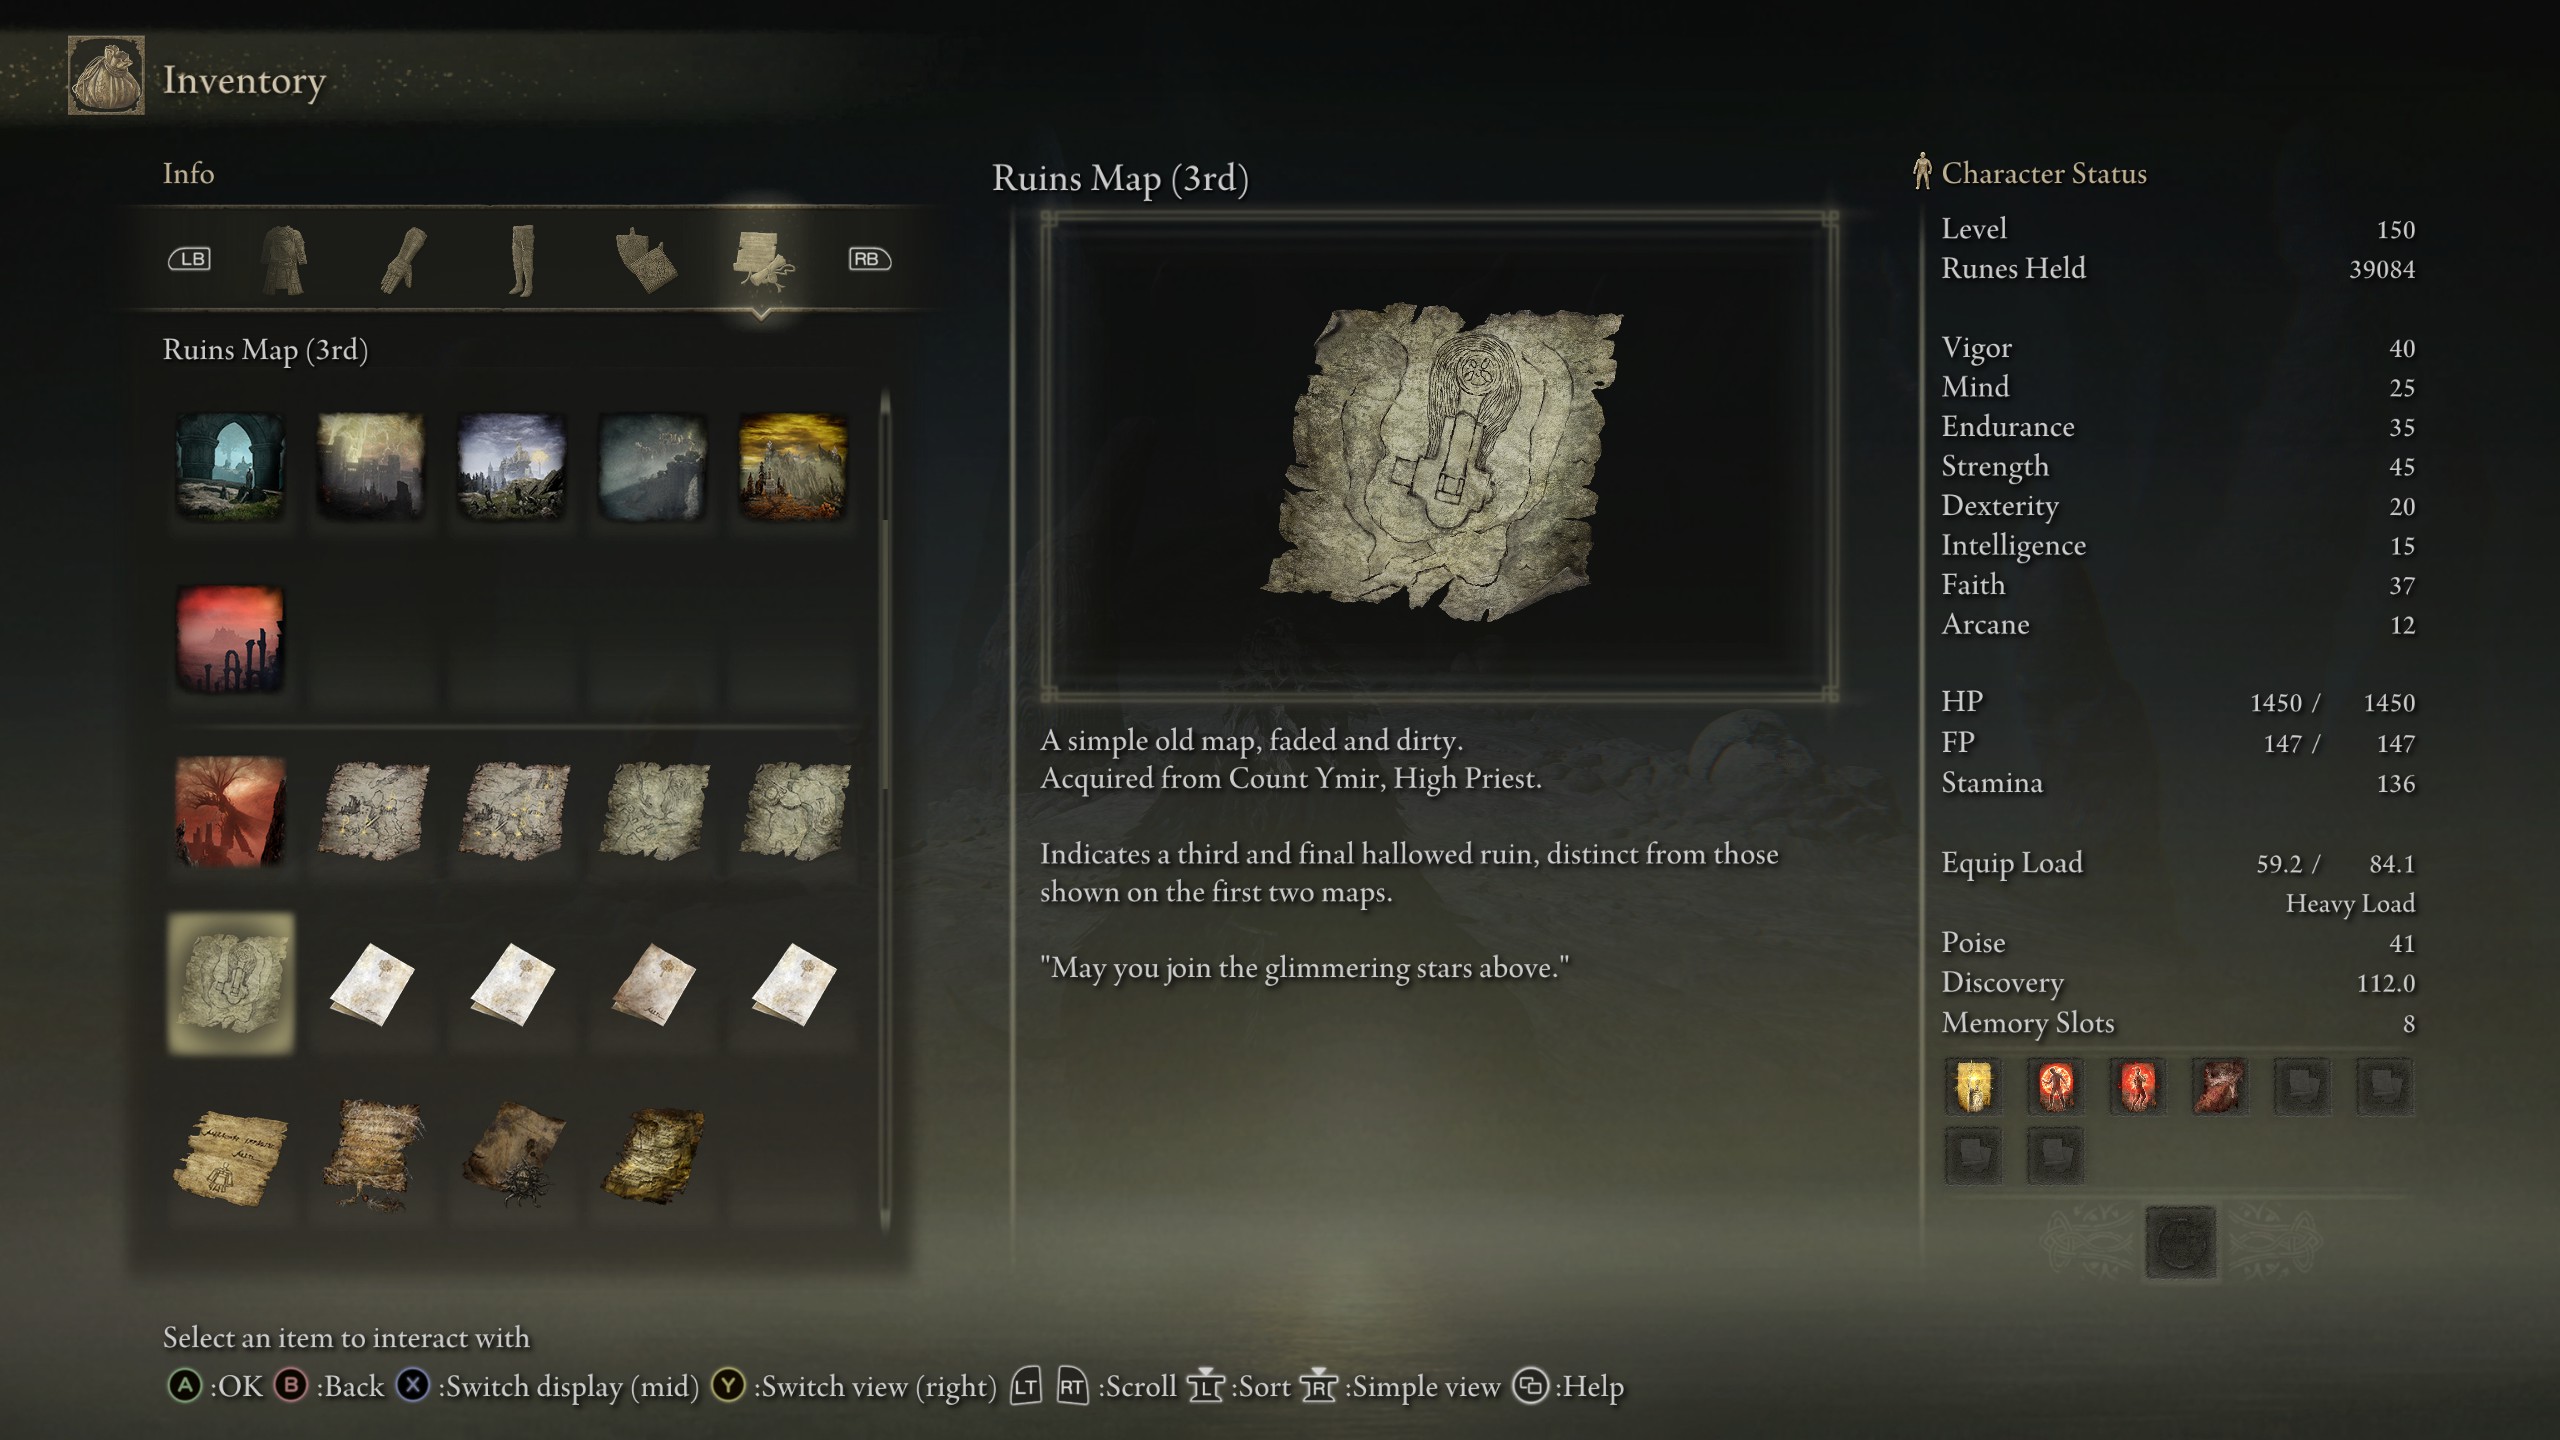
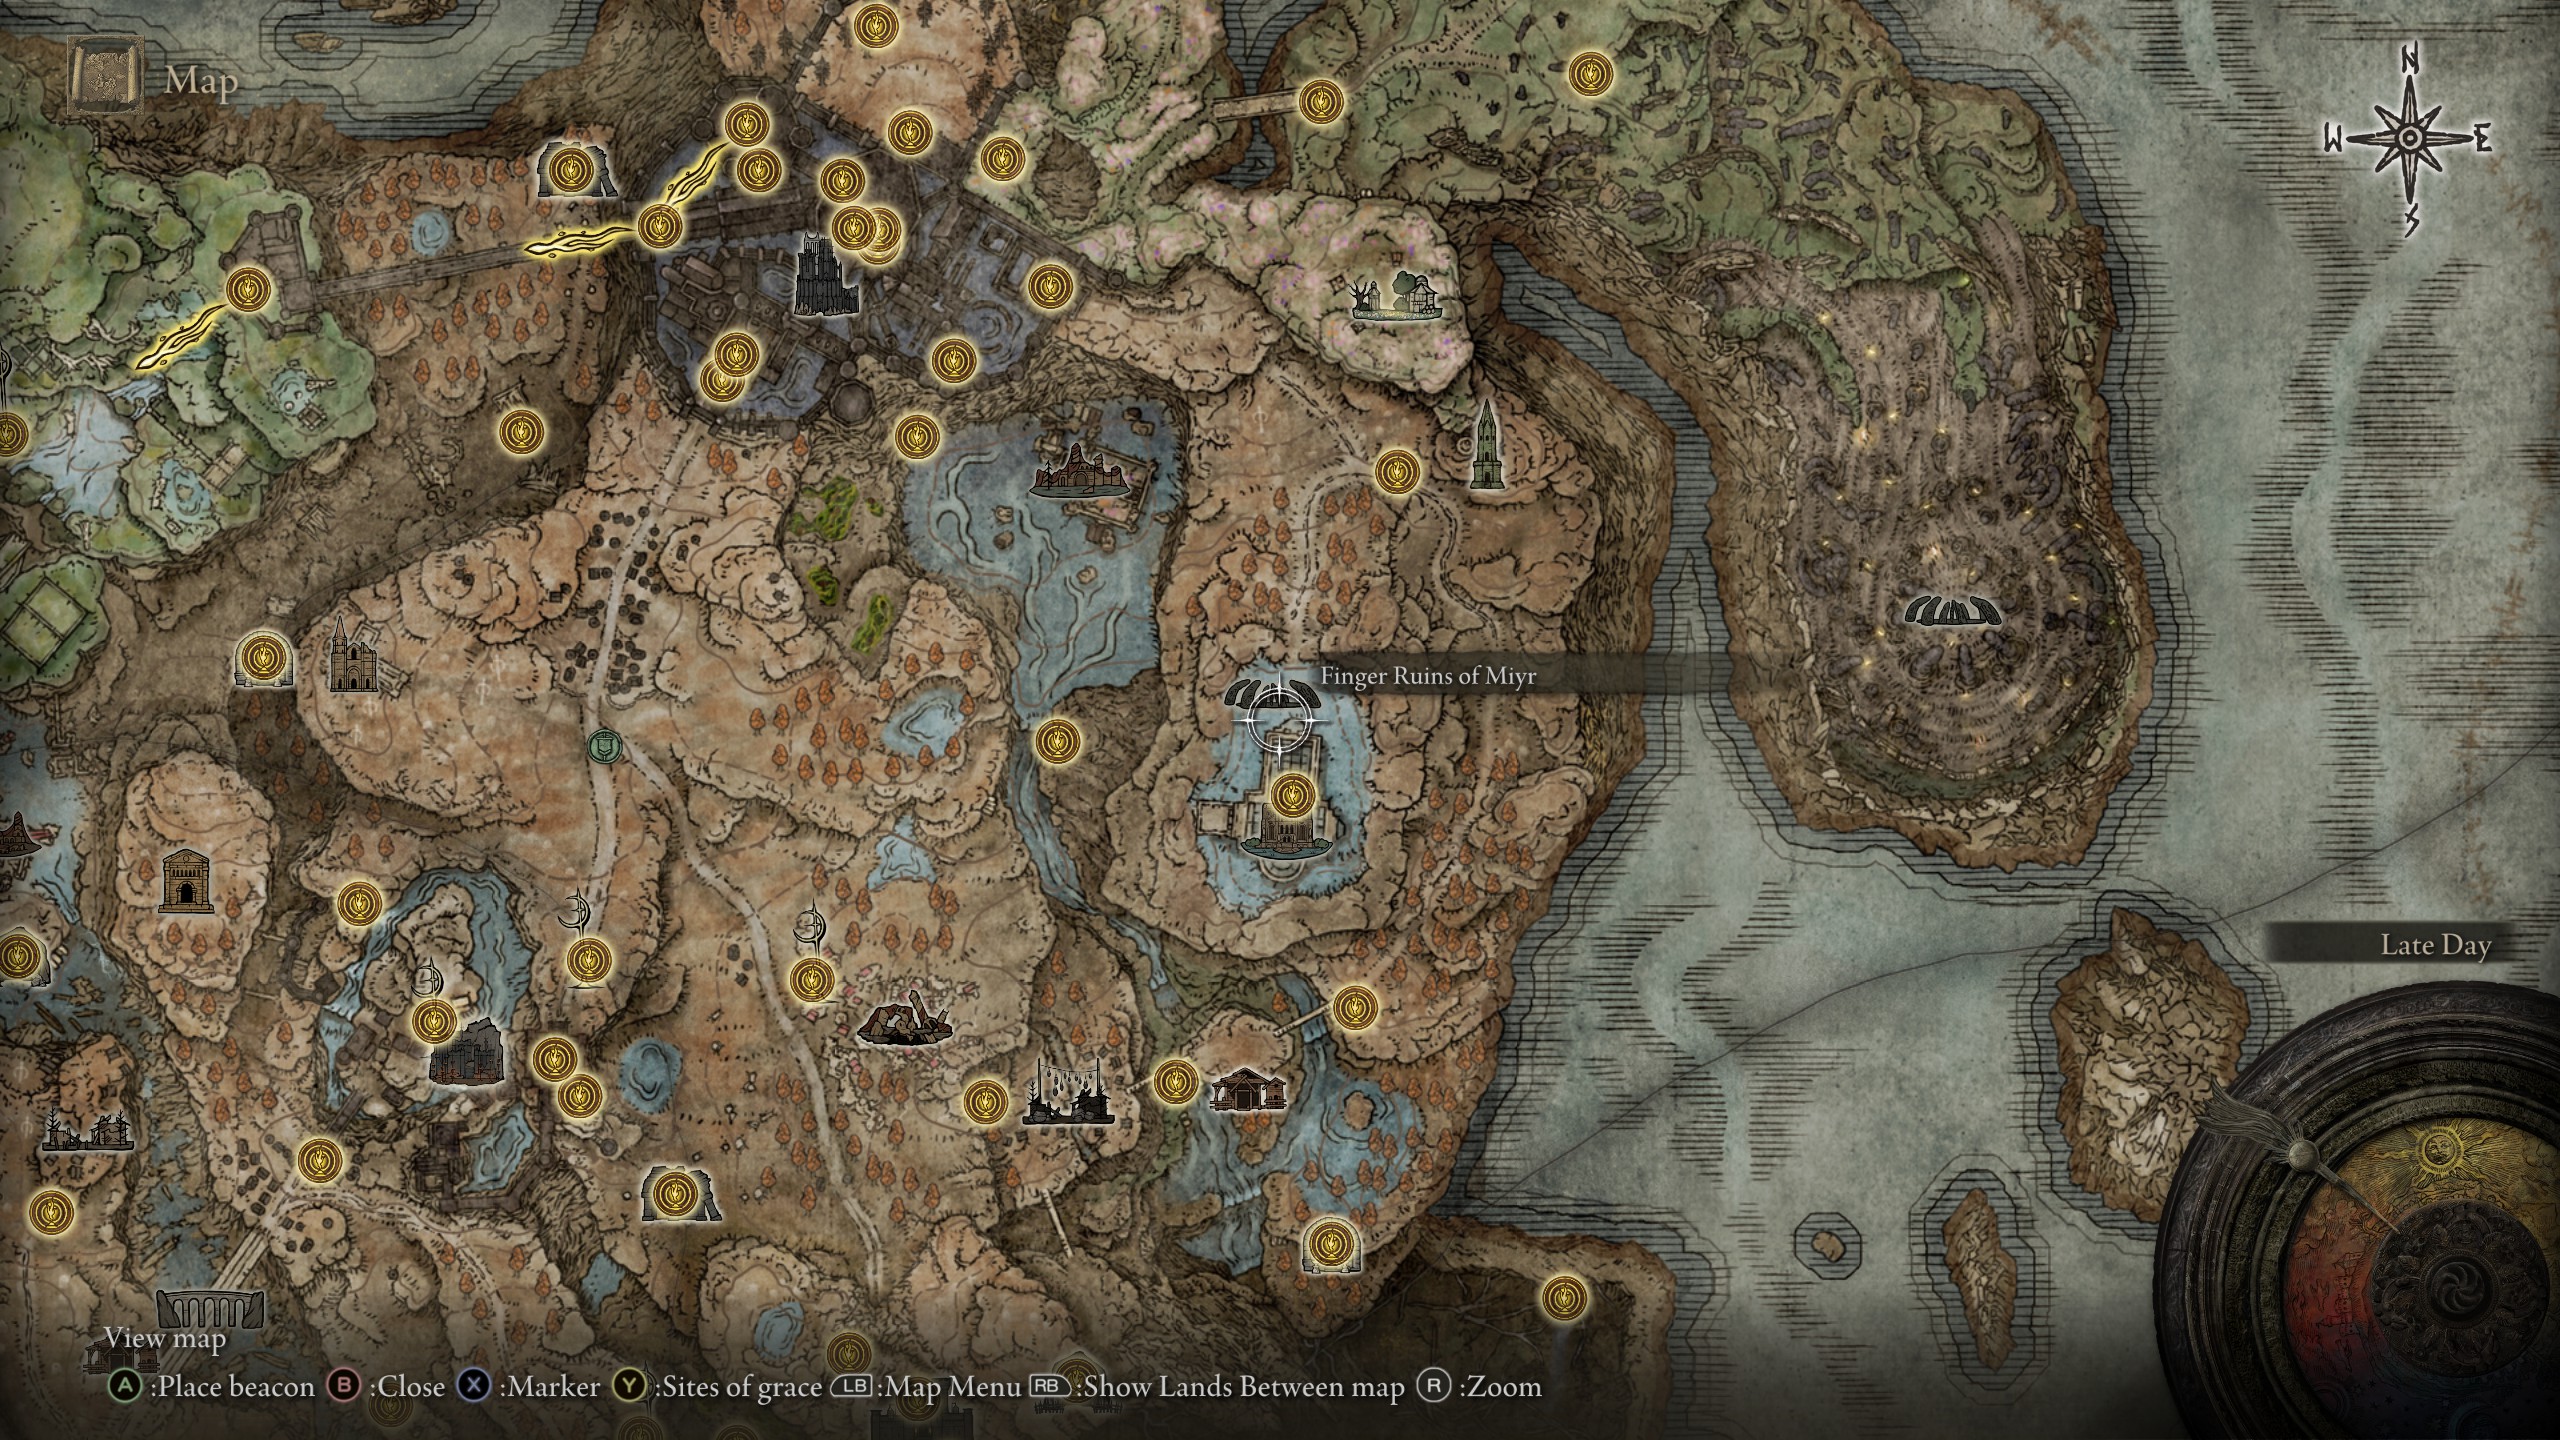
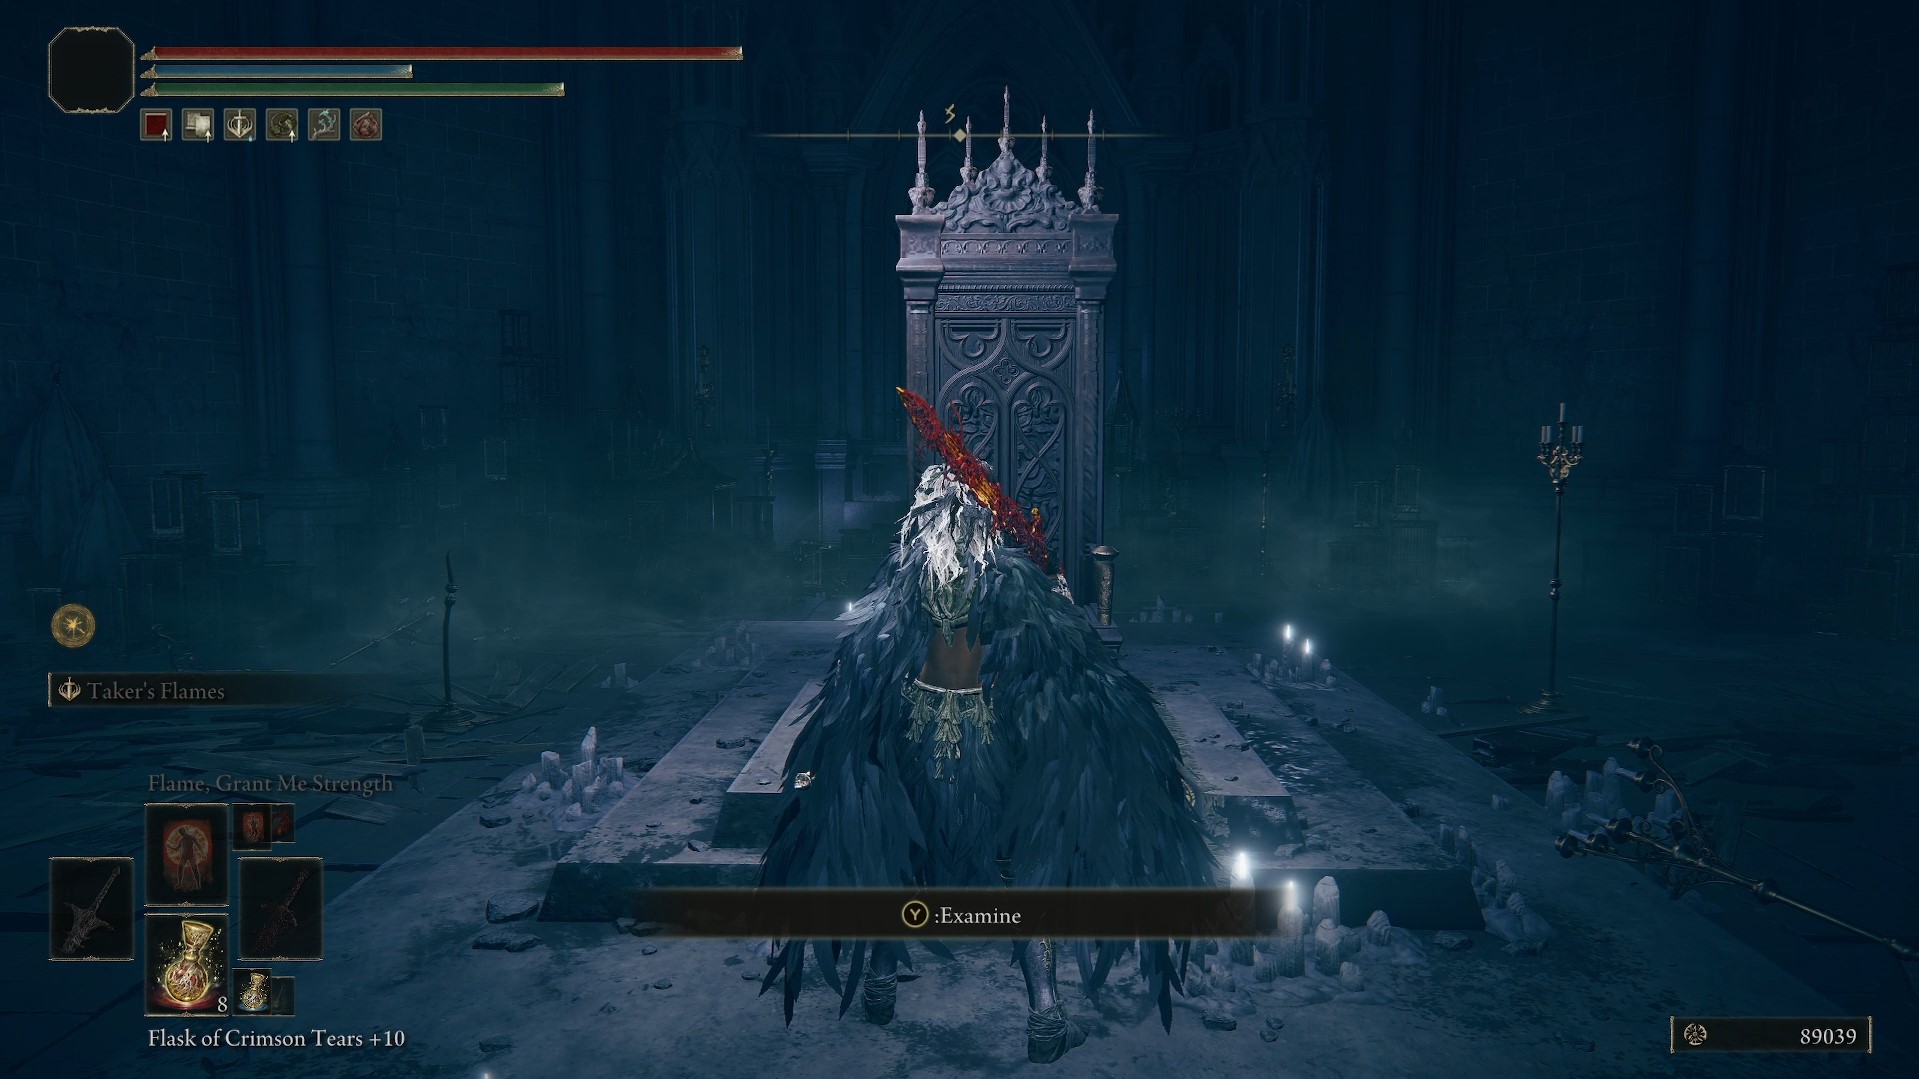
Back at the cathedral, Ymir will hand you the Ruins Map (3rd), which is the final map, plus you'll have the option to find out more lore tidbits. Rest at the grace point then head back inside and you'll find that he's missing from his usual spot. Take the opportunity to examine the throne to have the floor slide back to reveal a ladder, then head down into the final ruins.
Start making your way along the platform and you'll get invaded by Swordhand of Night Anna. Once defeated, she drops the Claws of Night weapon, which are basically fancy Hookclaws that can throw out magical projectiles. If you choose to, you can head back up to the cathedral and talk to Jolan and tell her about the Swordhand you just fought.
Now all that's left to do is ring the bell at the far end. Be warned that once you do, you'll be transported to fight a boss so make sure you're prepared before you do so.
How to defeat Metyr, Mother of Fingers
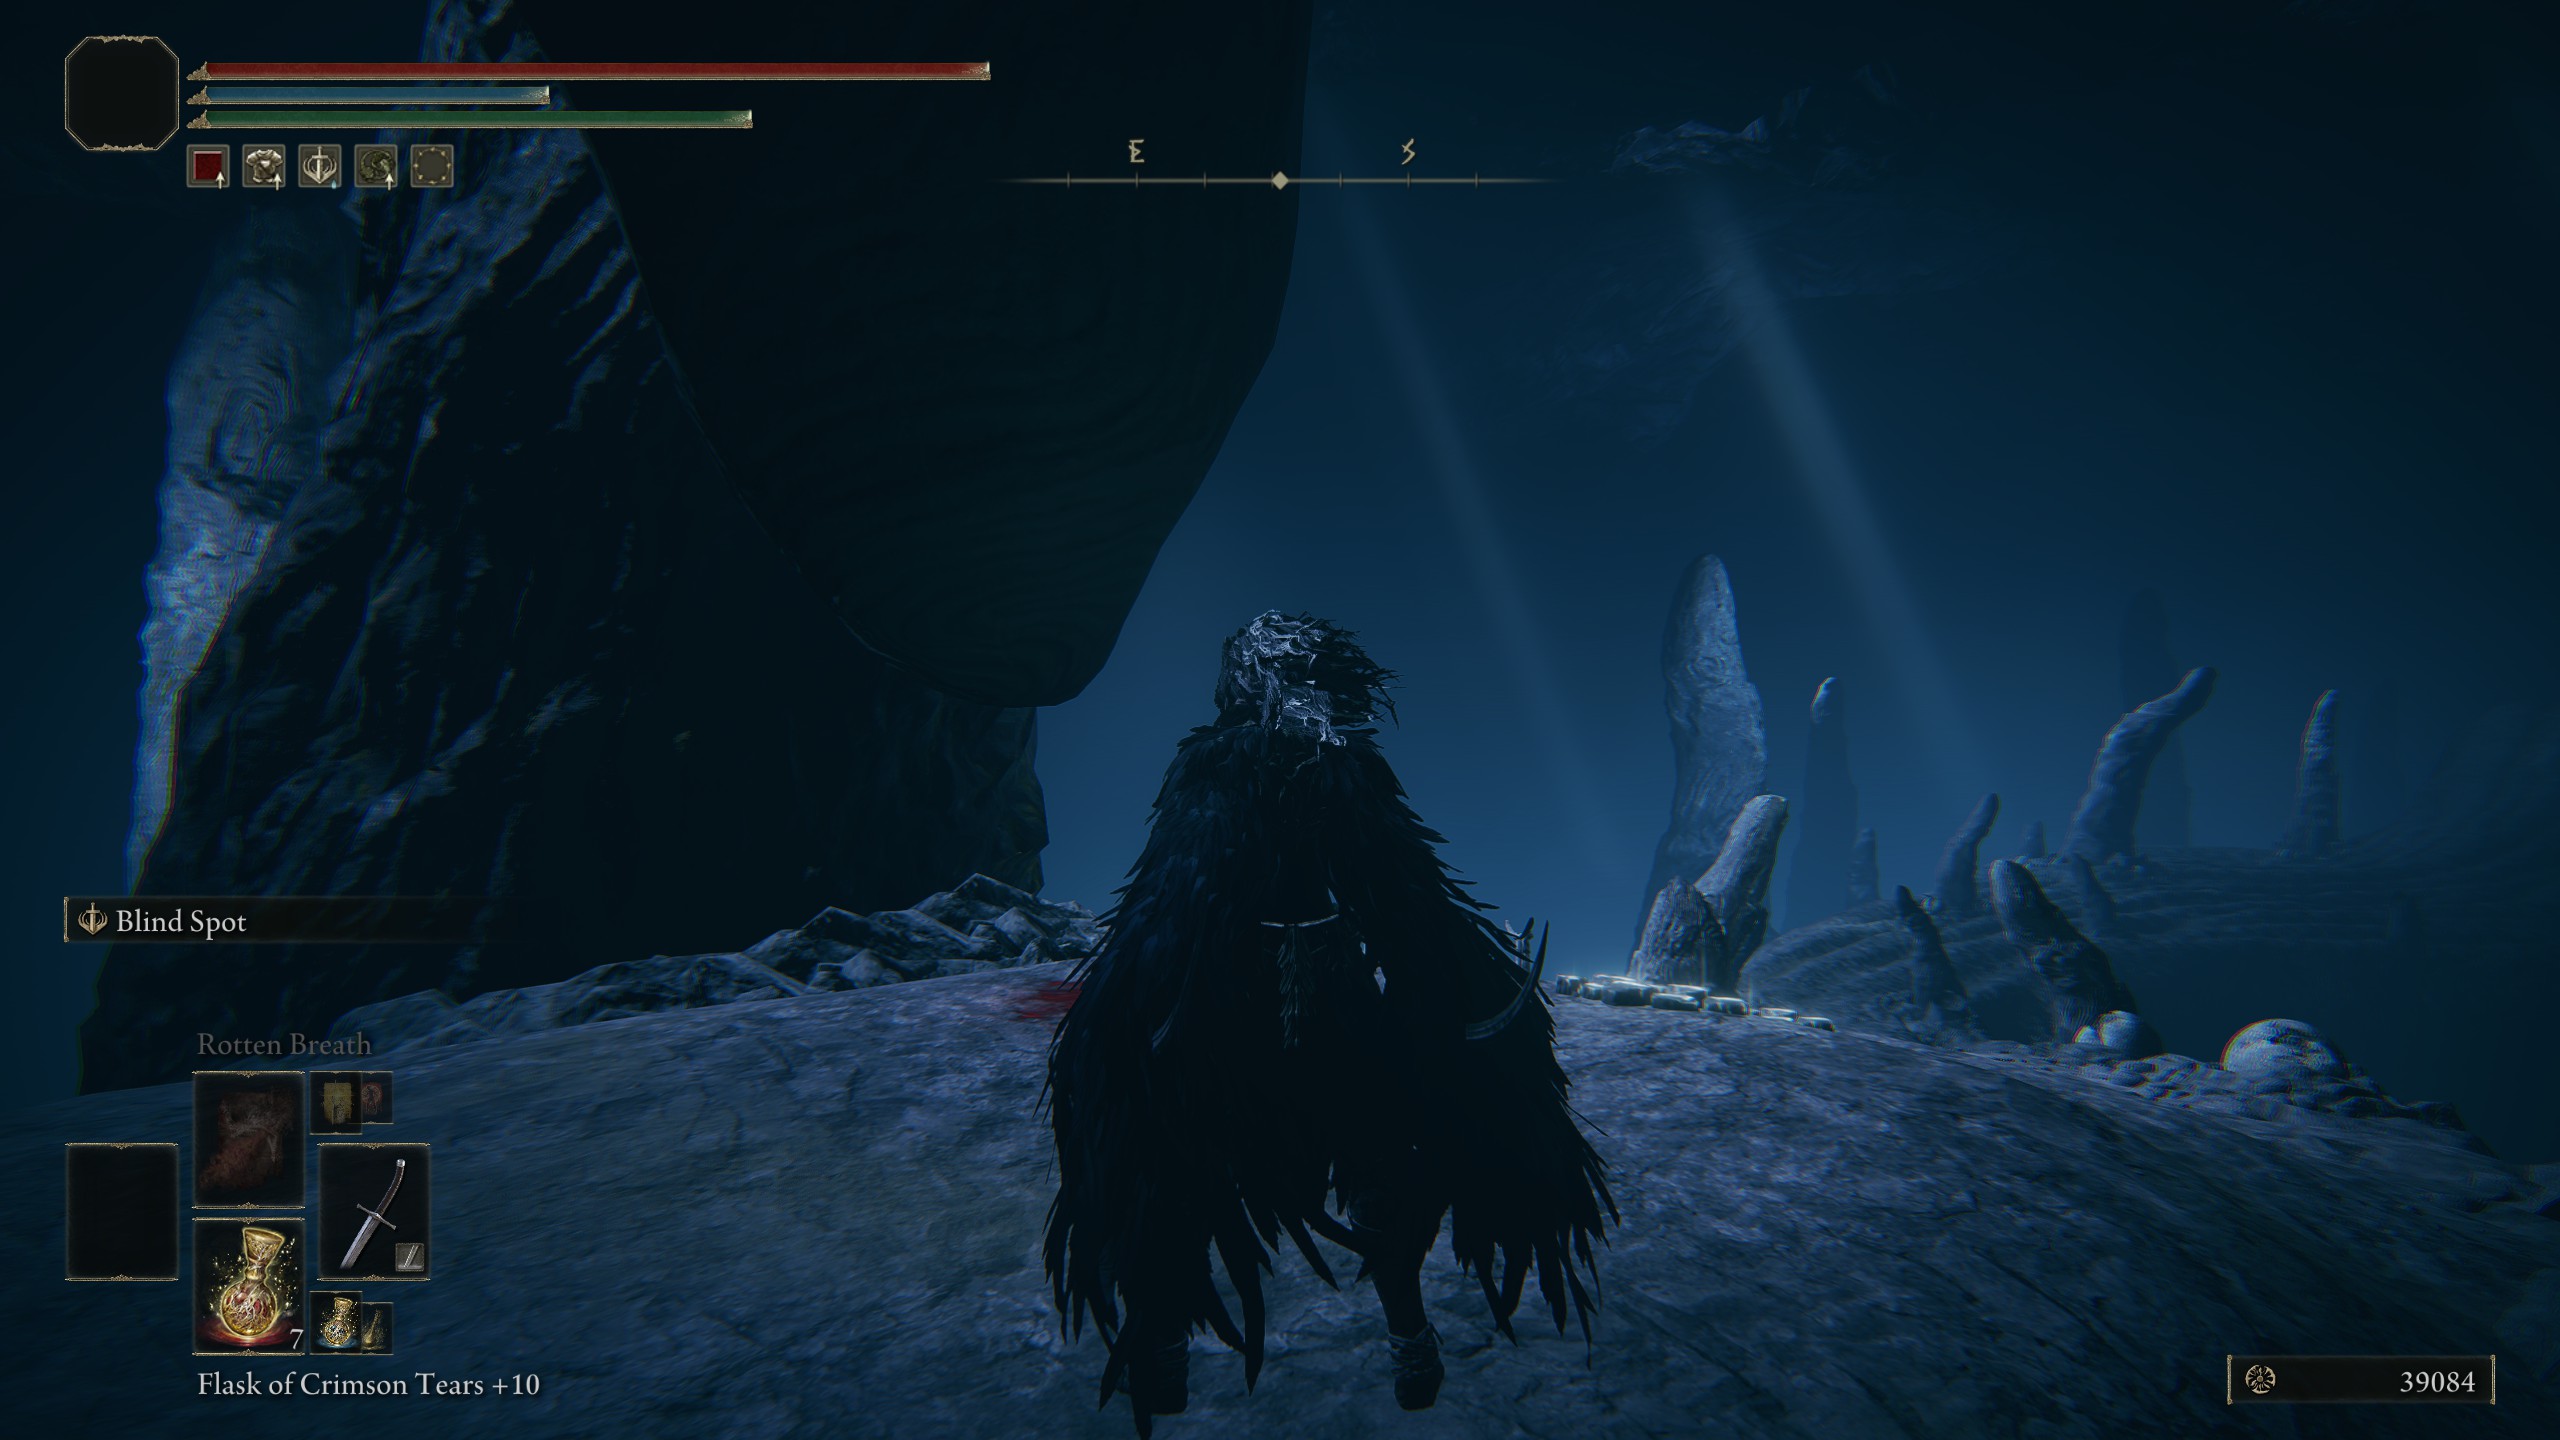
This boss is pretty nasty if you're not prepared or if you're under levelled.
- Avoid the large AoE explosion at the beginning of the fight by either moving away from the boss and into one of the gaps in the pattern on the ground or timing a roll.
- The lasers it likes to shoot can be rolled through too, into the direction they're coming from. If you fought Dragonlord Placidusax in the main game, you'll be familiar with this move.
The most difficult attack to deal with, by far, is when it produces a microcosm—a black ball of energy—above its tail and starts casting big gravity spells. This happens when the boss health gets close to 50%.
One is a large AoE with two explosions, both of which can be dodged with correct timing, and the other has rotating beams coming out of each side of a large gravity ball. The latter seems to be survivable by either backing far away and doing your best to dodge through the beams, or staying closer but keeping an eye on the spell animation on the ground.
Once you've beaten the boss, you'll be rewarded with the Remembrance of the Mother of Fingers. Now it's time to head back to the cathedral.
Examine the throne once more to be invaded by Jolan claiming you've hurt Count Ymir. Kill her and Count Ymir will appear as a boss, though thankfully, he's pretty easy. He'll throw various spells at you and will summon finger creepers to aid him, but he's nowhere near as tough as the boss you just defeated.
Once you've taken care of him you'll get his High Priest outfit and the Maternal Staff which boosts finger sorceries.
If you rest at the grace and return to Jolan's usual spot by the pillar, you can speak with her one last time. You'll have the option to use one of two items on her, both of which can be obtained during the Fire Knight Queelign quest. You'll receive a different reward from her, depending on the item used.
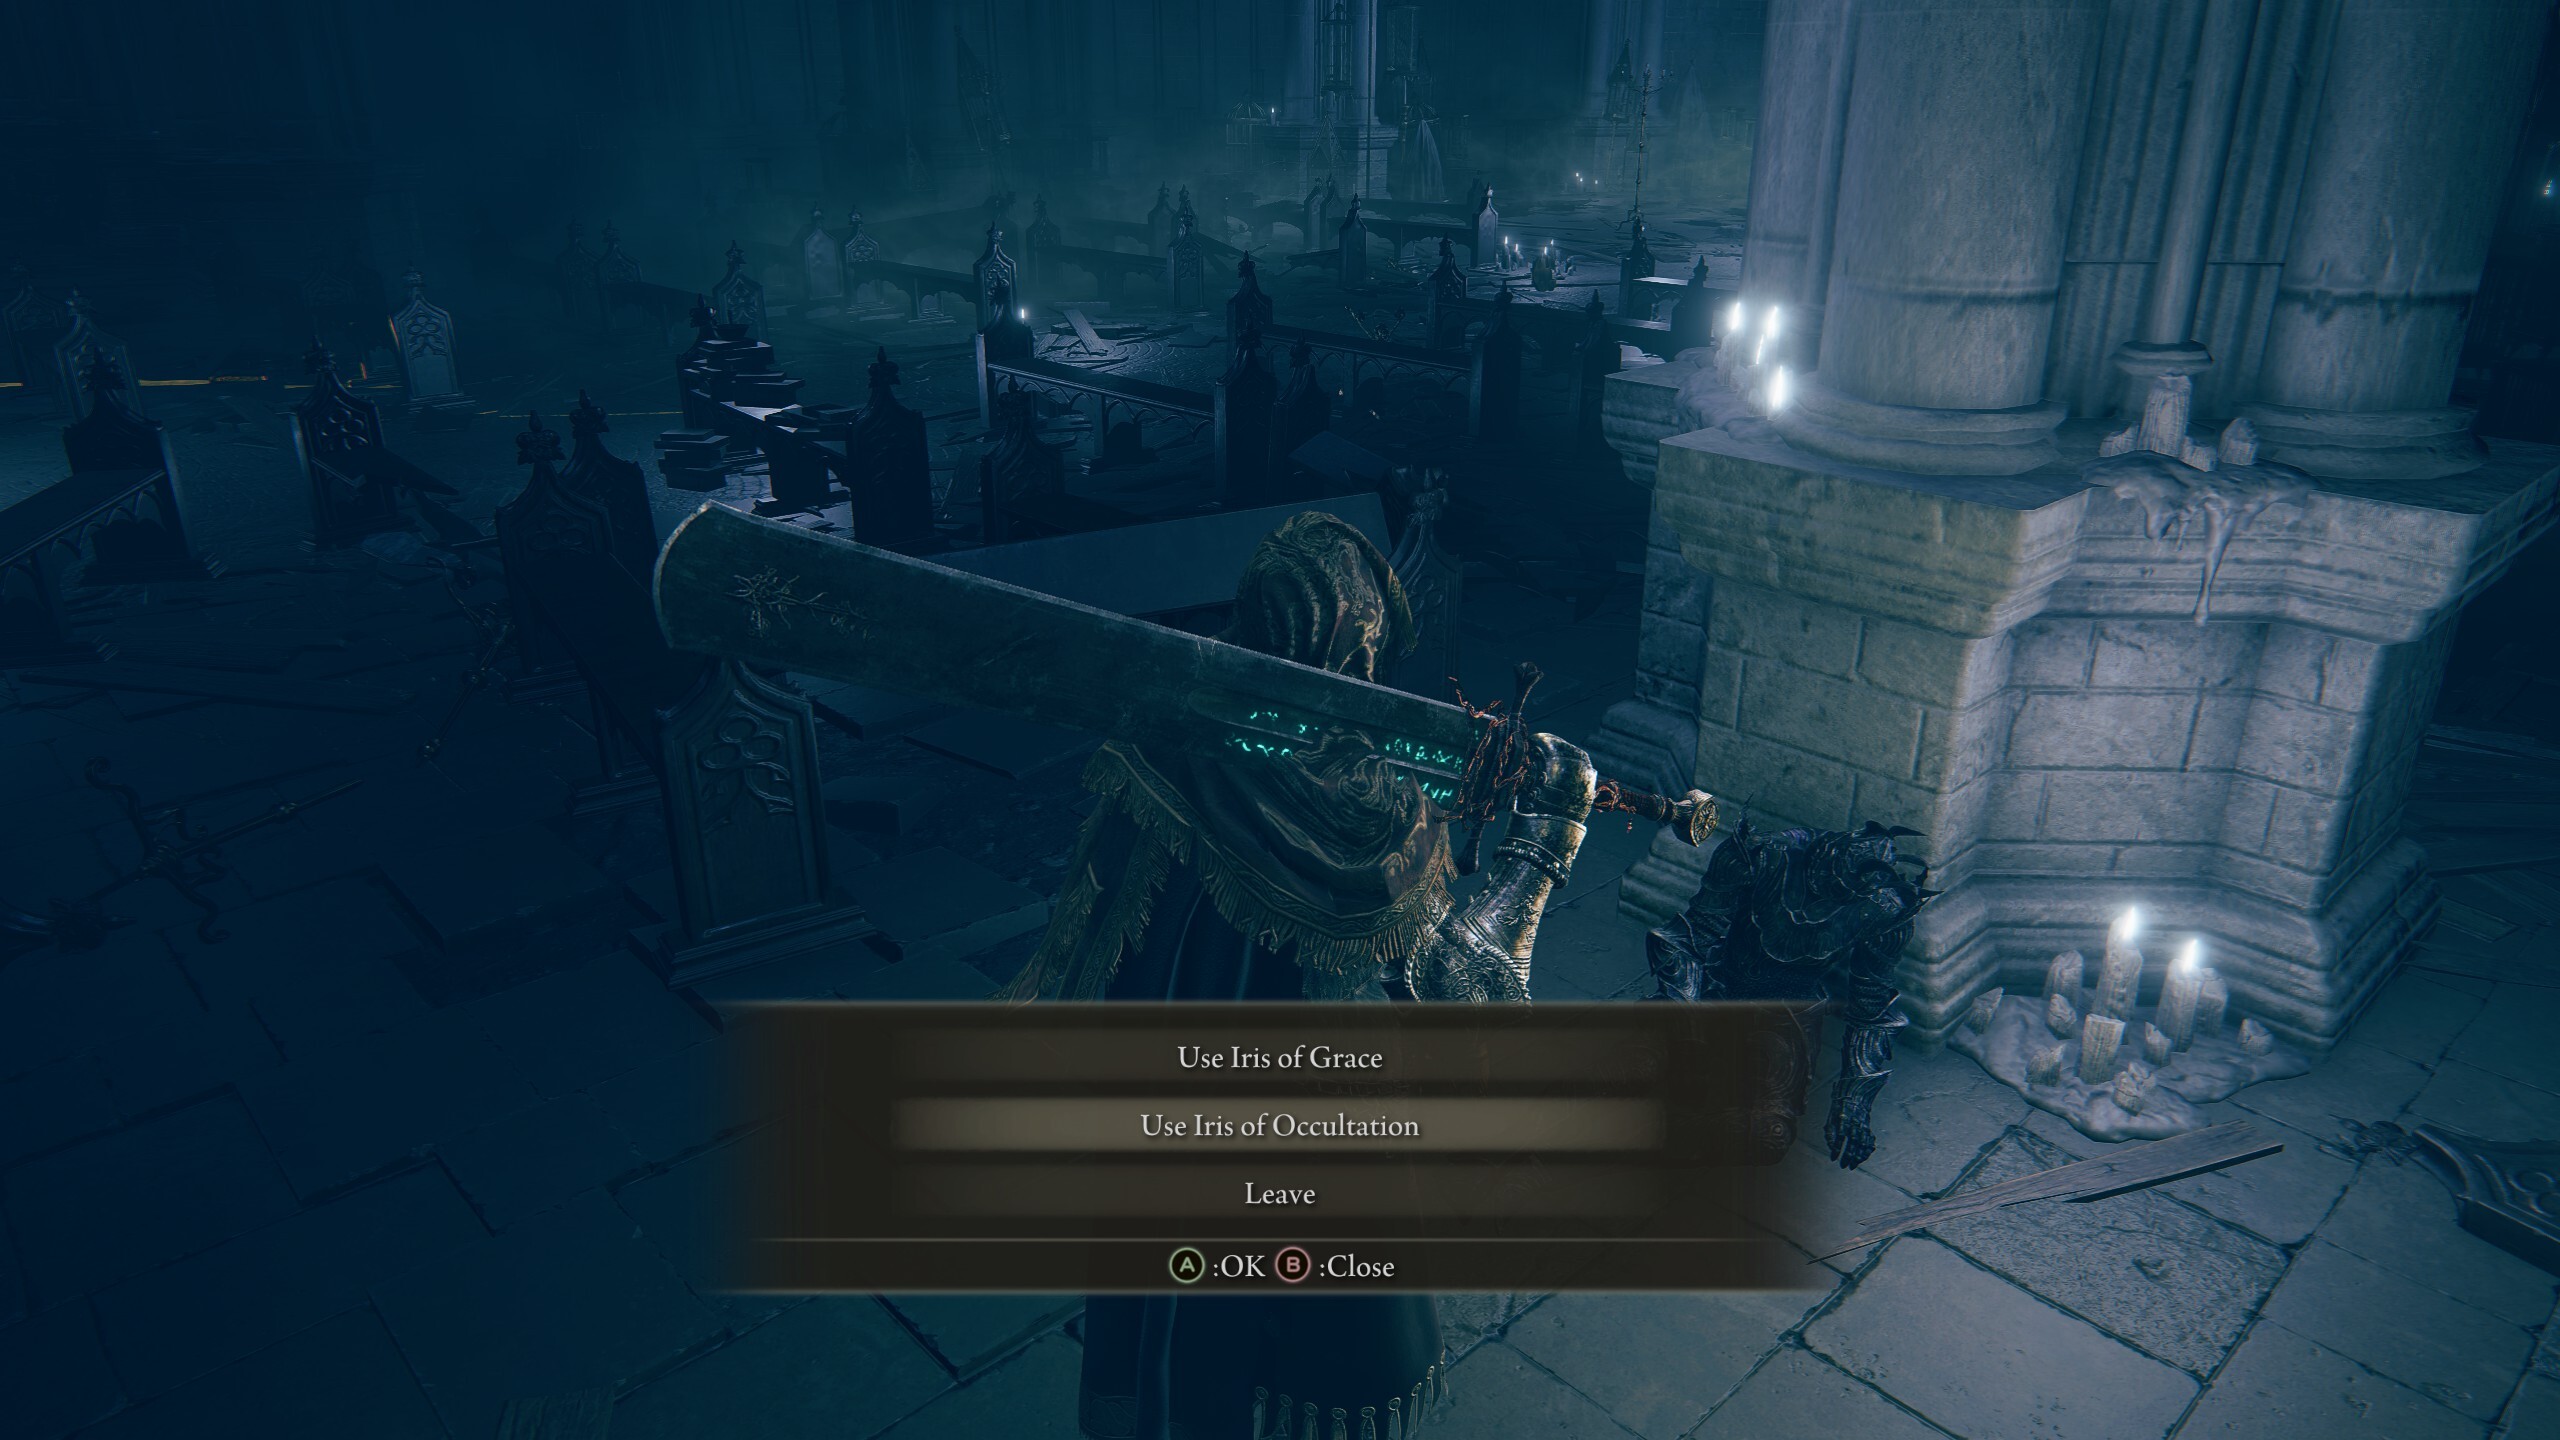
If you rest at the grace and return to Jolan's usual spot by the pillar, you can speak with her one last time. You'll have the option to use one of two items on her, both of which can be obtained during the Fire Knight Queelign quest. You'll receive a different reward from her, depending on the item used.
- Iris of Grace: You'll get the Swordhand of Night Jolan Spirit Ash
- Iris of Occultation: Use this to get the Sword of Night which is an unblockable katana.
If you go outside to the grave that Ymir was talking to afterwards, you'll get the Cherishing Fingers spell.
The biggest gaming news, reviews and hardware deals
Keep up to date with the most important stories and the best deals, as picked by the PC Gamer team.

Sarah started as a freelance writer in 2018, writing for PCGamesN, TechRadar, GamingBible, Red Bull Gaming and more. In 2021, she was offered a full-time position on the PC Gamer team where she takes every possible opportunity to talk about World of Warcraft and Elden Ring. When not writing guides, most of her spare time is spent in Azeroth—though she's quite partial to JRPGs too. One of her fondest hopes is to one day play through the ending of Final Fantasy X without breaking down into a sobbing heap. She probably has more wolves in Valheim than you.
