How to beat the final story trial of Shadowbringers
The FFXIV Seat of Sacrifice trial brings the expansion's story to a bombastic close.

Need a hand with the FFXIV Seat of Sacrifice Extreme trial? The latest update of Final Fantasy XIV, 5.3 brings all kinds of new content such as dungeons, raids, and much more. However, what we're really interested in is the final story trial in the Shadowbringers expansion: The Seat of Sacrifice. If you haven't got this far, know that there will be full spoilers for the trial from here on out
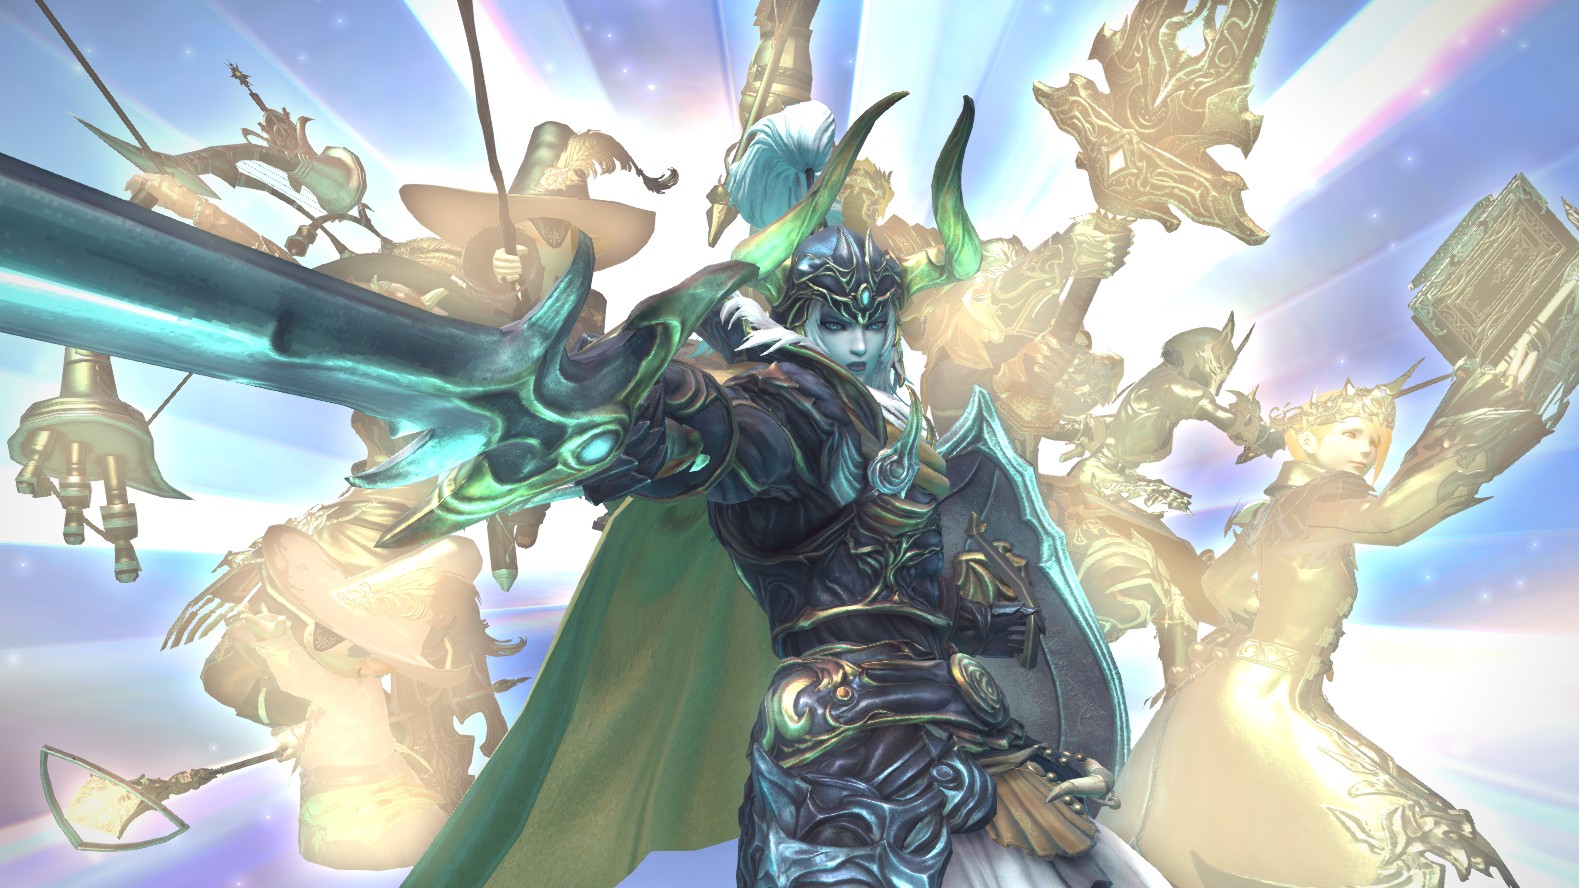
So, here I'll be helping you out with the Extreme version of the FF14 Seat of Sacrifice trial, and its main boss, Elidibus, the Warrior of Light. This fight will be the ultimate test of your positioning, coordination, and preparation, so I'm going to break down the best ways for you to optimize your approach, stage by stage.
How to complete the FFXIV Seat of Sacrifice trial
Preparation and party positions
Before you start, let's talk positioning. What you want to do is a clock formation, with tanks and healers on cardinal positions, and the four DPS in inter-cardinal positions. You will also need to coordinate assigned pairs and two light party groups for later stack mechanics. Once that's done, it’s time to begin the fight. But first, a note: Never go to the prismatic border, as you’ll get a Bleed debuff.
Phase 1
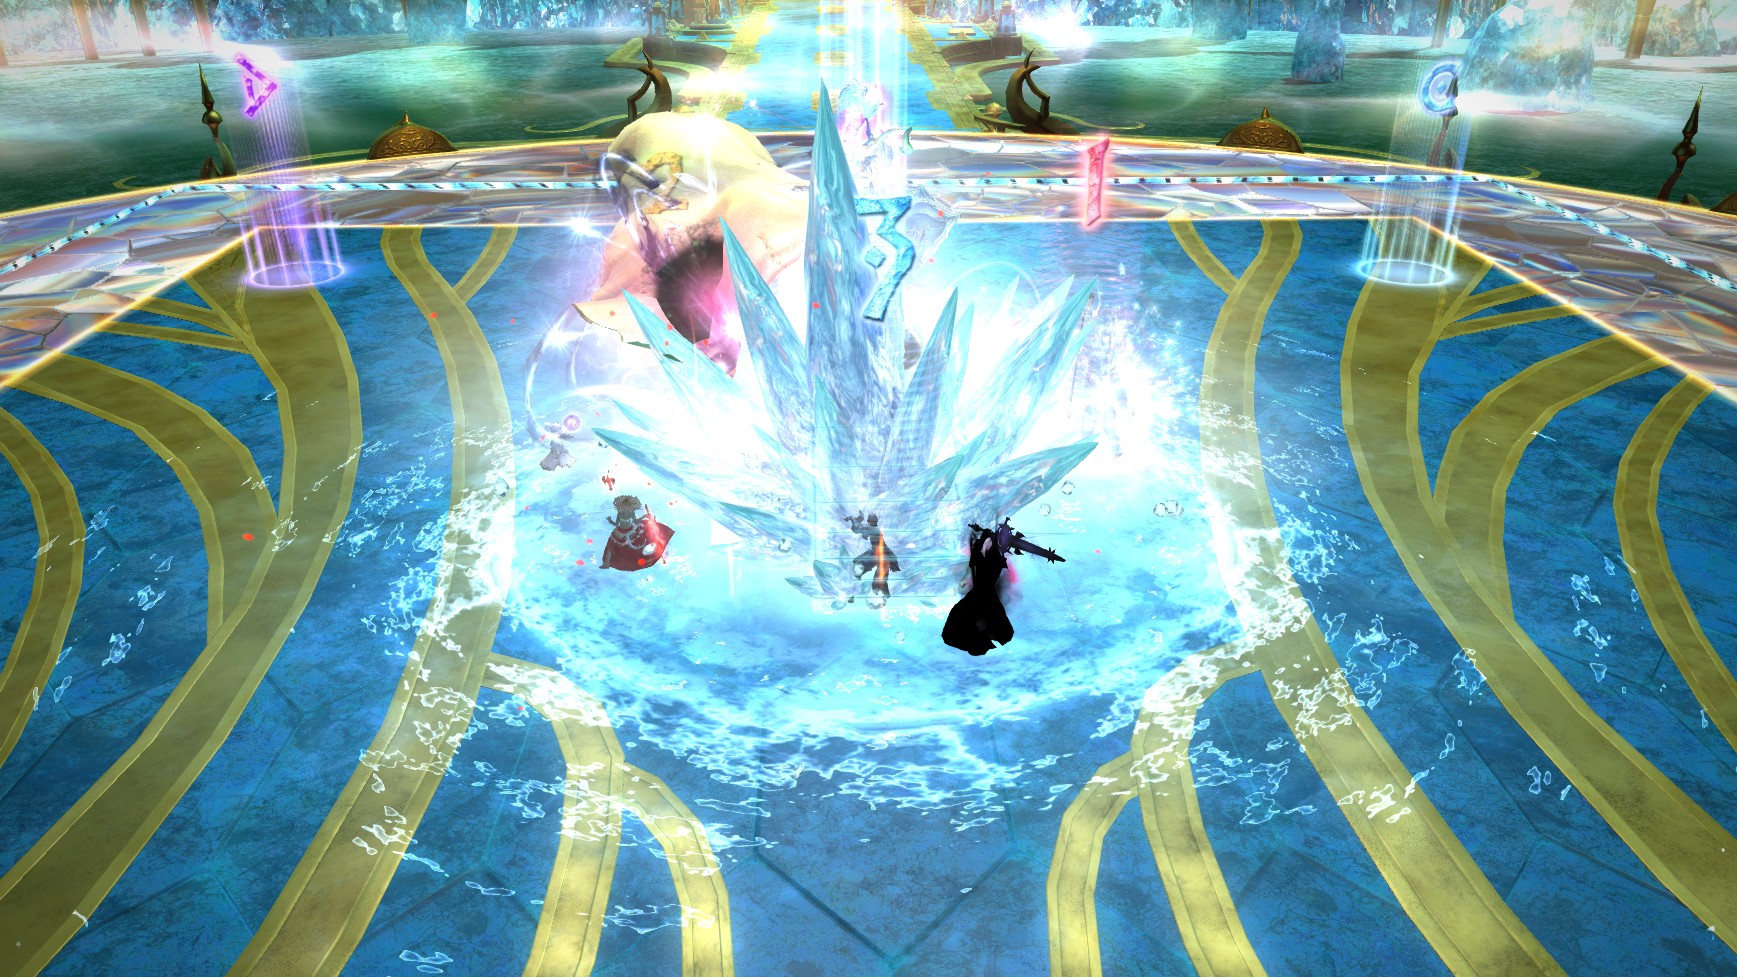
The fight starts with the Warrior of Light using Terror Unleashed and then Solemn Confiteor. First, heal to 100 percent HP to wear off the debuff, stick together until the AoE is fixed on the ground, and then run. After that, he will use To The Limit to fill his LB bar followed by the party-wide AoE, Absolute Stone III and then Limit Break (3) - Radiant Meteor.
If you have the designated pairs on each cardinal point to endure each meteor, you should be fine. After that, the boss uses Imbued Sabers, twice, followed by Imbued Coruscance. The elements used on Imbued Saber will be the same ones he will use in Imbued Coruscance, so pay attention since it uses both elemental effects together. Absolute Blizzard III hits you unless you keep moving, and Absolute Fire III hits you unless you stop. You will also need to watch his sword because that determines the AoE: If the sword has rings, go under the boss, if it doesn’t, run.
At this point, the Warrior of Light casts To The Limit, followed by Swords of Light. Stay in the center, identify which side doesn’t have a sword running across it, and go there while sticking together, because Absolute Holy, a stack AoE on a random player, will happen right before the pattern finishes. After this, Limit Break (2) - Radiant Desperado requires you to stack in two light party groups. If you assigned the groups in the way I suggested in the first section of this guide, it should be easy to overcome. To The Limit will be cast again, followed by a second Imbued Saber + Coruscance, which will always be the opposite of the former.
Immediately after, the boss uses Limit Break (1) - Radiant Braver. You need to go with both tanks on a cardinal, both healers on another, and all four DPS on another so they occupy three separate cardinals and you’re not at risk of overlapping. The tank buster attack The Bitter End will hit next, and you will need to do a tank swap by Provoke. Bahamut will be summoned by the Summon Wyrm spell, followed by another Solemn Confiteor. These are easy to dodge, as you will only have to watch out for Absolute Flash; Whomever gets the marker must get some distance away from the rest of the team. Elddragon Dive will do raid-wide damage to close out Phase 1, so prepare for that.
The biggest gaming news, reviews and hardware deals
Keep up to date with the most important stories and the best deals, as picked by the PC Gamer team.

Phase 2: Adds
In this phase, the Warrior of Light summons two Tank Specters of Light, which will need to be spread away from each other and fought by two separate light party groups, or they will be tethered. While you watch for their respective tank buster attacks, a Bard Specter will also be summoned, who will cast Deluge of Death—damage stack flares—on all the DPS. Go to the inter-cardinal borders so they hit safely, and then go back to stack with the healers when they get the Katon: San marker. At the same time, two Meteor Impact towers will appear, which need to be soaked by two people in each one, so the distribution of the members is vital.
After this sequence, four Bahamut adds appear to tether random players. They need to be led by the tethered players outside of the center before they use the conal AoE, Flare Breath. And then, simultaneously, both tank Specters will start casting the heavy tank busters, Berserk and Deep Darkside, which you must interrupt. After killing both spectral tanks, the Warrior uses the raid-wiping Universal Crossover. You need to use the tank Limit Break 3 and damage mitigation skills from the healers. If you survive that, you will be ready to tackle the final Phase.

Phase 3: Specters of Light
This phase can start with one of four possible Specters of Light patterns, so you'll need to be prepared for any of them. After the first pattern fight is done, spread out on your clock positions, as the Warrior casts Quintuplecast, a following of all the Absolute spells, followed by Sword of Light and Elddragon Dive. After this, he summons the three other Specters one-by-one, and finishes with the last DPS check, Enrage.
White/Black Mage
After the Specter summoning, To The Limit is cast. Pay attention to the bar to know which Limit Break comes after. The Specters will summon eight puddles like Meteor Impact, which will need to be soaked by two people. Mind the timing of the duos soaking them because you can’t soak a tower right after doing one. After that, an Imbued Saber and Coruscance will happen, and a Summon Wyrm, followed by the Limit Break.
Summoner
After casting Imbued Saber, the main boss will summon the Specter, who also summons the four Bahamuts from the add phase, and a Warrior Specter that marks four players. Solemn Confiteor will be cast, so after those AoEs are on the ground, the non-marked players need to get the tethers from the wyrms. The marked players need to get away from the wyrms reach since they can’t afford to be hit with both Perfect Decimation and Flare Breath. After this, a Summon Wyrm will happen and the proper Imbued Coruscance, closing with an Elddragon Dive and The Bitter End.
Ninja
The Warrior of Light will then cast Imbued Saber, and summon the Specter. Solemn Confiteor will be cast next, and then the ninja will use Suiton: San, a tidal wave that knocks you back. So be careful about baiting that AoE to the ground, and go as close to the spout as you can. It also gives you four split-damage stacks, so you need to group in four pairs. That will be followed by an Imbued Saber + Coruscance, Elddragon Dive, and The Bitter End.
Dark Knight
The Warrior will cast To The Limit and then summons the Specter. Pay attention to the bar to know which Limit Break comes after. The Specter will cast Brimstone Earth, marking four players, while the main boss casts Solemn Confiteor. Wait until the AoE’s are on the ground, and then the four marked players need to go to inter-cardinal corners, since Brimstone markers drop expanding puddles that must not overlap. After that, three players will be marked with Deluge of Death and a fourth with a stack marker. Spread those into cardinals so they hit as far as possible, and then prepare for the Limit Break.

