Essential PC Building Tips
Cooler and Storage Tips
With instructions typically smaller than a Bazooka Joe comic strip, the process of mounting a cooler is often the most challenging task. Here are a few tips to keep you out of trouble.
TIP 1: Inside or Out?
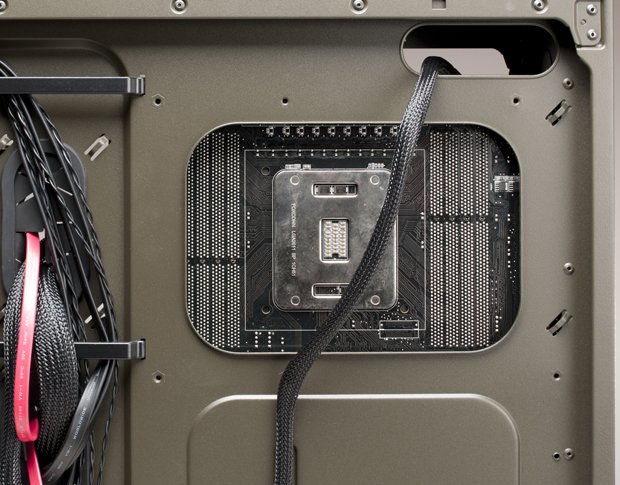
Most new cases have big cutouts in the mobo tray to allow you to install a CPU cooler and its backplane after you’ve installed your motherboard, but those are more useful for someone swapping out a cooler in an existing build. You should install at least the cooler’s backplate and mounting system onto the motherboard before putting the motherboard into your case. It’ll probably be easier to install the cooler and RAM as well, to make sure they play well together. The only reason to install the cooler after the motherboard is in the case is if it’s a tricky fit, or there’s stuff (like the ATX12V/EPS12V 8-pin connector or a motherboard mount) you won’t be able to reach once the cooler is installed.
TIP 2: RAM Clearance
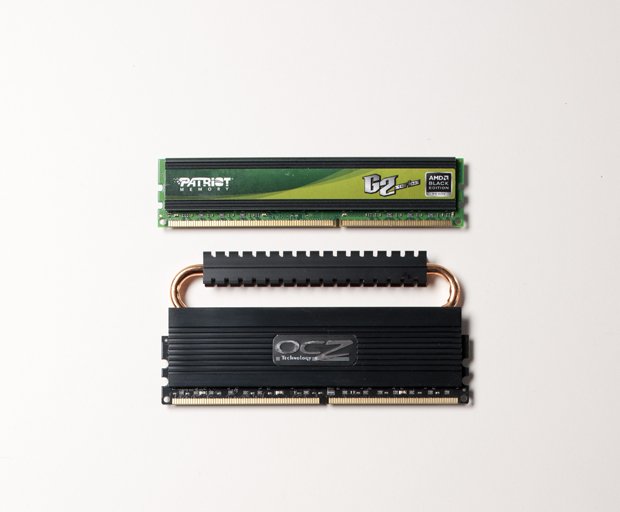
Certain big CPU coolers like the Noctua NH-D14 or Phanteks PH-TC14PE overhang one or more RAM slots, so RAM with big heatsinks may not fit. RAM heat spreaders are almost entirely for looks, while the cooler is mostly for performance, so when in doubt, go with the CPU cooler.
TIP 3: Use the Right Parts
Aftermarket cooler makers are notorious for not clearly labeling the brackets, screws, and bits that ship with their coolers. Sometimes it’s a faint ink stamp on the bag that you can hardly read. So before you rip open the bags like a kid on Christmas, make sure you only open the bag you need. They’re usually separated by socket type. You don’t want to use the bracket for AM3+ with the screws for LGA1155 and the mount for LGA2011.
The biggest gaming news, reviews and hardware deals
Keep up to date with the most important stories and the best deals, as picked by the PC Gamer team.
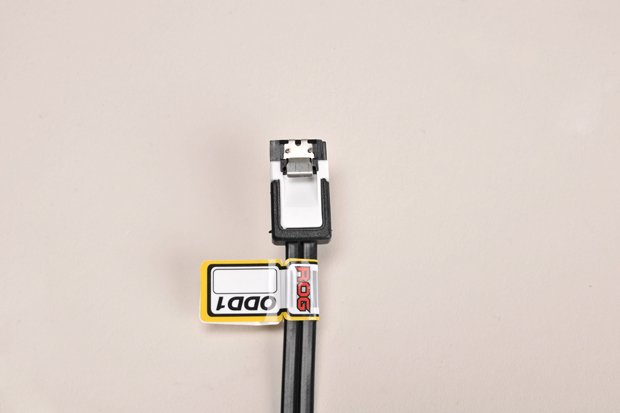
TIP 4: Label Your Cables
When you install your cables, we recommend that you install more cables than you need. If you are only running three drives in your box, go ahead and plug in the SATA cables for four or five and run the cables to where those drives will go. This saves you the trouble of having to pull your GPU should you need to add a second SSD or HDD down the road. While you’re at it, consider labeling the cables so you know which cables go to SATA 6Gb/s and which go to SATA 3Gb/s on your Intel board. AMD users, use your Nelson Muntz laugh on the Intel users.
TIP 5: Torque Talk
Read the instructions then read them again. Most of the time you’ll tighten the mounting screws until they stop turning. Don’t overtighten from that point or you could damage your mounting screws, backplate, cooler, or even motherboard.
[missing]
Tips for a Successful Install
If you’ve successfully built a PC and it boots in one step, you’re in great shape. But that’s only half the battle. Now, you must install your OS to get it up and running. Here are a few handy tips to get your system going without issues.
TIP 1: Disconnect Extra Drives
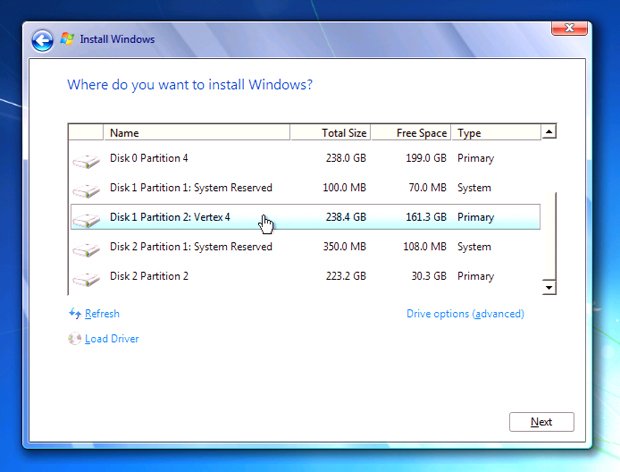
If you’re installing the OS on a machine with multiple drives, disconnect any secondary or tertiary drives from the system before installing the OS. Additional drives can, on occasion, “confuse” the Windows installer, and more importantly, if you have a second drive with data files on it, you’re unlikely to accidentally wipe it out by installing the OS to the wrong drive.
TIP 2: Forego the Windows Update Drivers
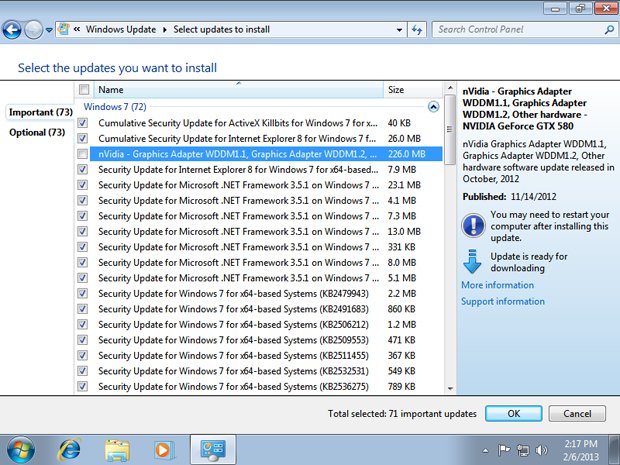
Don’t forget to install the latest drivers for your video card before you run Windows Update. If you update Windows first, it’ll try to find drivers on its own, and they could either be Windows native drivers (which will suck for gaming) or an out-of-date version of the correct drivers.
TIP 3: Download the Latest Drivers
The motherboard DVD or CDs are usually pressed very early-on in the development of the product, so the drivers and software are likely to be immature. To get the freshest install, download the latest LAN drivers for your board and install them to get Internet access for your machine. Now, download the latest drivers from your motherboard maker’s website.
TIP 4: The Proper Driver Order
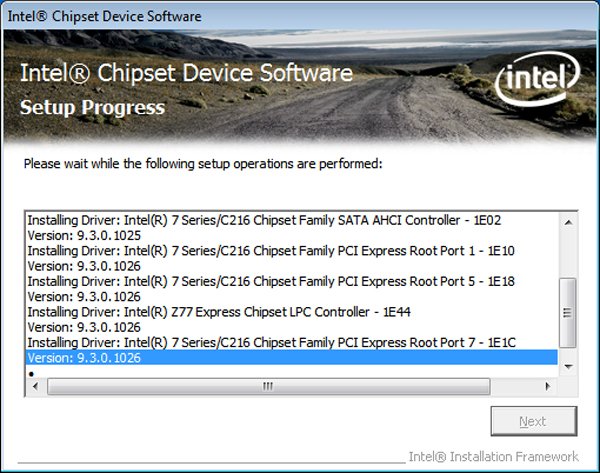
When installing drivers (besides the LAN driver to download the other latest drivers), our motto is an easy one to remember and follow: “Chipset drivers, then the rest.”
Troubleshooting Tips
There’s nothing worse than flipping the power switch on a new PC and having absolutely nothing happen. Rather than running to the Internet to return all of the hardware you just bought, there’s a certain order of business you should follow when she won’t boot.
Check Your Power
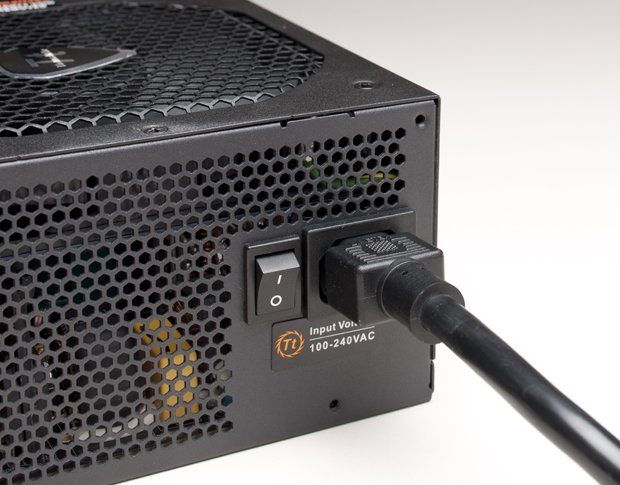
On any DOA new build, start by first checking if the power switch for the front-panel connector is wired up correctly. If your motherboard has a built-in power switch, try that. Now start looking at your power connectors. Check the Main Power Connector, the major power umbilical that plugs into your motherboard, to make sure it’s firmly in place, as well as the ATX12V/EPS12V connector near the CPU socket. Also check the auxiliary power to the GPU. And of course, check the cables to the PSU as well as the PSU’s power switch. Of course, you’re sure your monitor is powered up and the video cable is in, right? If you’re not sure if your PSU is even firing up, consider starting the unit using our short-circuit trick on page 25, with a single case fan hooked up to it.
Reseat
Once power is eliminated as a culprit, it’s time to start checking the components. Turn off the PSU or just unplug it and begin reseating components. Start with the RAM, and then move to the GPU and other add-in cards. Pay particular attention to the RAM. First, make sure you have them installed in the right slots. Certain Intel CPUs won’t fire up at all if the RAM is in the wrong slot. On the off chance you have bad RAM, try running just one DIMM at a time. Remember that when the PSU is hot, power is going to the RAM, CPU, and PCIe cards and there is always a remote chance of damaging the components if you muck with them with the power on, so switch it off.
Reset the CMOS
Cut the power to the system and then find the jumper on your motherboard, or use the external CMOS reset button on your system to reset the board’s settings. If you can’t find the CMOS reset, simply remove the coin-cell backup for 10 seconds and then replace it. If you’re lucky, some unusual board state was causing the boot problem.
Check the POST Code
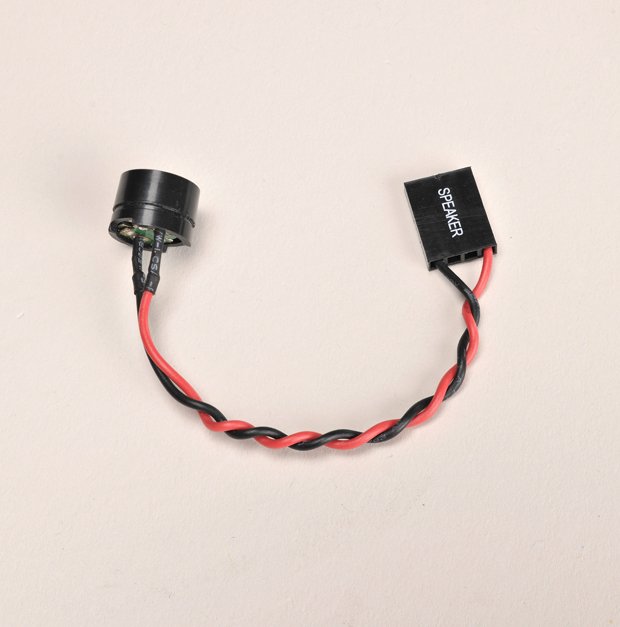
If your machine starts to POST but hangs, look up the board’s LED POST error in the manual to see if you can gauge where in the process the PC is hanging. If your machine doesn’t have a POST code, try listening to the system’s beep codes. This is a series of Morse Code–like short and long beeps that can tell where the hang-up is. If your board isn’t making any beeps, it’s possible you don’t have an internal speaker hooked up, as many mobo makers leave these off for cost reasons. We actually keep handy a speaker that can be plugged into any motherboard. They’re available online for about $5 and every builder should have one.
Pull Extra Parts
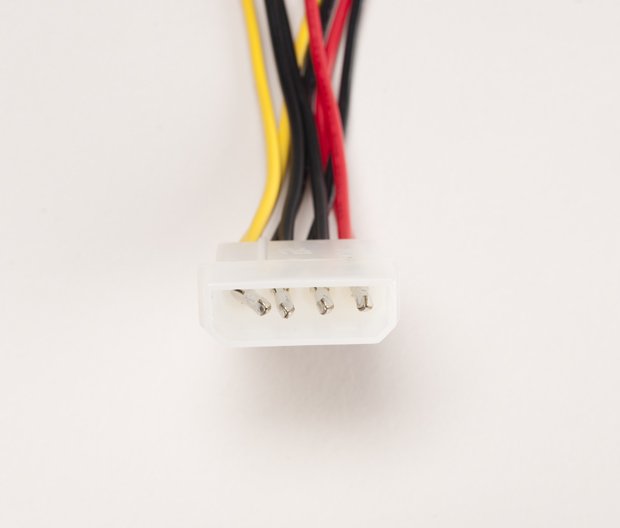
You’ve just finished the easy part of your troubleshooting. Now it’s time to look at more serious matters. Pull all extraneous hardware from the system that you don’t need, such as soundcard, and PCIe adapters other than the GPU, and unplug all of the drives from the motherboard and PSU as well as any extraneous items such as fan-bay adapters and lights. Four-pin Molex adapters are prone to shorting out if the pins aren’t properly lined up when you plug them in. This can cause the system to fail to POST, as the PSU senses a short and shuts down. Again, you can try booting the box after you unplug each device if you want to isolate it. We usually unplug everything and if it boots, start plugging in each device until we can repro the problem.
Reseat the CPU
At this point, you’ve exhausted all the low-hanging fruit. Now it’s time to take more drastic measures. The first step is to pull the processor. A badly seated processor could prevent the system from booting. Once the CPU is out, grab your flashlight to look at the socket for bent pins. A botched CPU install can do this. If the socket is clean, replace the CPU and try booting the box again. If it’s still dead, it’s now time to pull the entire motherboard out of the system. It’s possible you’re grounding out the board against the case. You can try reseating the board or possibly booting the system using the CPU’s integrated graphics chip. We don’t recommend that you try to fire it up externally with a discrete GPU, as the unsupported video card could damage things even further.
It’s Probably Your Motherboard
You’re now nearly out of options, but if you can beg, borrow, or steal a CPU for you board, you can try a CPU swap on the off chance you have a dead chip. Be advised, the chances of getting an out-of-the-box dead processor are extremely rare. More likely, you have a bad motherboard—or perhaps a board that won’t work with your CPU without a BIOS update. Still, if the board won’t fire with a known good CPU, a piece of RAM, and nothing else hooked up to it, the board is probably to blame.
