Essential PC Building Tips
Time-tested tips for PC building that will help you avoid common pitfalls and enjoy a more fulfilling DIY experience
PC building: PC builders don’t drop out of their mommies with a Phillips head screwdriver in one hand, a Leatherman in the other, and start winning PC-building contests. No, most experienced PC builders accumulate their knowledge through horrible mistakes, case scars and flesh wounds, and the sorrow of having to completely take apart a machine they just assembled because a single, crucial step was neglected at some point in the process.
But it doesn’t have to be that way. Budding and even experienced PC builders can benefit from the wisdom of others. Thus, in an effort to spare you years of apprenticeship and trial-by-fire—not to mention an unplanned appearance on The World’s Funniest PC-Building Mistakes—we’ve assembled the very best PC building tips we've acquired over our years of building, including some choice pointers from the professionals.
Prep Your Case Properly
Fight the urge to begin screwing down components faster than you can tear open an antistatic bag. Instead, take a step back, breathe three times, and plan out your build.
TIP 1: Have a Cable Plan
You’ve finished installing all of your case’s hardware and, like a number of PC builders, you’ve saved your cable routing for last. D’oh! It will always go a lot smoother if you plan out how you’re going to stuff the various cords around your case before you fill your system with hardware—especially if you’re going the full distance and deploying a ton of fans, a huge CPU cooler, water-cooling tubes, etc. For example, trying to run the ATX12V/EPS12V cord from your power supply to the top of your motherboard might very well require you to remove your aftermarket CPU cooler if it’s blocking access to the connector. Save yourself a lot of time and heartache by connecting that cable… first!
TIP 2: Plan Your Part Order
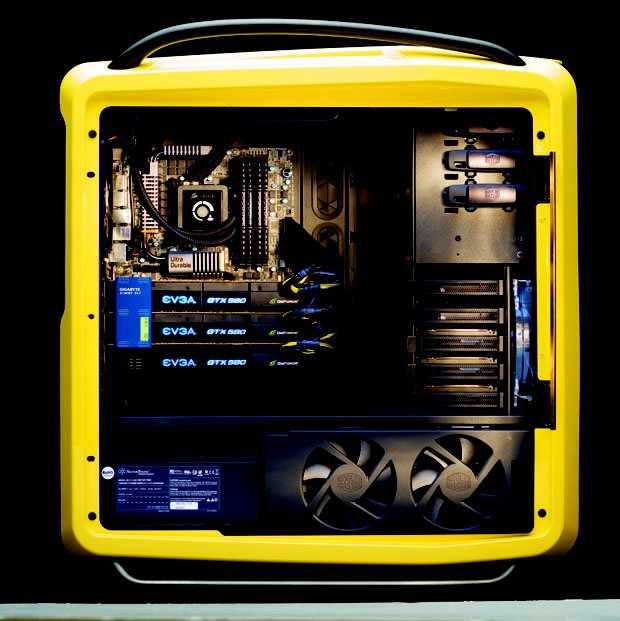
If you’re rocking a case the size of the monolith from 2001: A Space Odyssey, skip this tip. Folks with smaller chassis, however, will want to keep build order in mind as they go about creating their masterpiece. We recommend going outside in: Get the fans, hard drives, and optical drives situated before you drop in your motherboard, video card, and power supply. As in the step before, the power-supply cables will prove to be an interesting challenge—make sure you’re saving space in your cramped chassis for your rat’s nest of cables if your case doesn’t present you with an easy way to stuff them between the back of the motherboard tray and the side panel.
The biggest gaming news, reviews and hardware deals
Keep up to date with the most important stories and the best deals, as picked by the PC Gamer team.
TIP 3: Our Stand on Standoffs
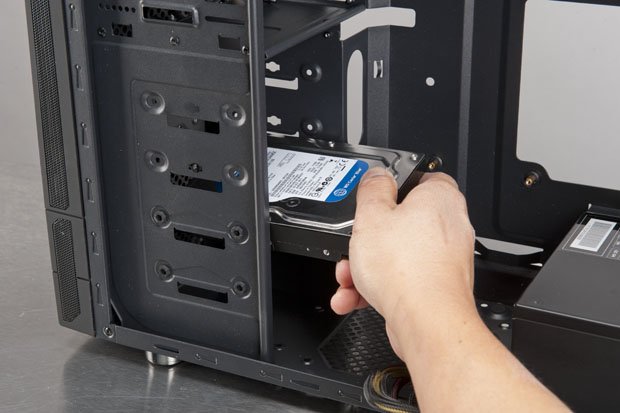
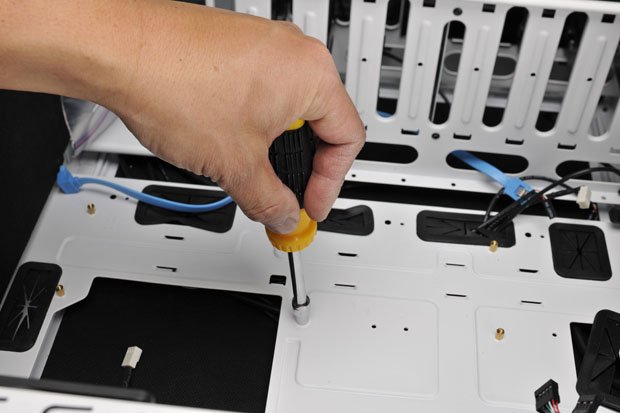
Ask anyone how tightly you should turn the standoffs for your motherboard and you’ll get a thousand different replies. Some recommend going fingers-only tight—but that might very well cause the standoff to turn out with the screw the next time you pull out your mobo. You could grab a 5mm or 3/16-inch socket to give your twisting a bit more oomph, but you don’t want to tighten the standoff so much that it strips the metal of the hole on the case itself. Our expert recommendation? Finger-tighten if you’re the cautious type. If you’re daring, use a tool to give the standoffs a spin until they stop moving, then go one-quarter of a turn past that. No more!
TIP 4: Short Your PSU
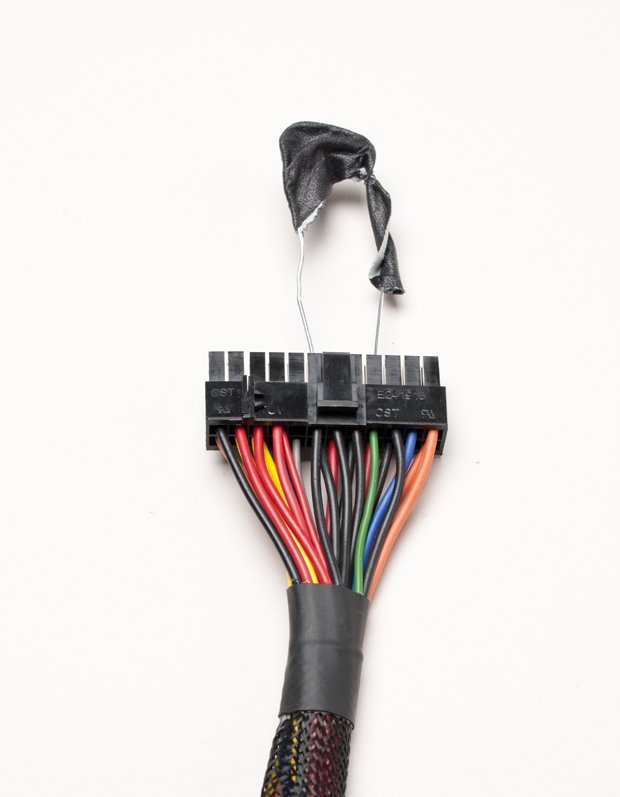
There are times when you might need to fire up your power supply to test something on your chassis—lighting or fans, for example—but you don’t want to boot (or haven’t even connected) the rest of your system. This is an essential step when you’re priming the pump for a liquid-cooling setup. Grab a paperclip, unfold it, and cover its central portion with electrical tape, for safety’s sake. (Yes, we know this is a risk-free procedure, but still.) If your standard ATX12V PSU is color-coded, jam one end of the paperclip into the big ATX Main Power Connector for the green wire and the other end into any black-wire connection. Plug in some kind of device to your PSU—such as a fan, to put a load on it—and then plug your PSU into the wall. Voilà—on it goes, and you can commence testing.
Step 5: I/O Shield Insertion
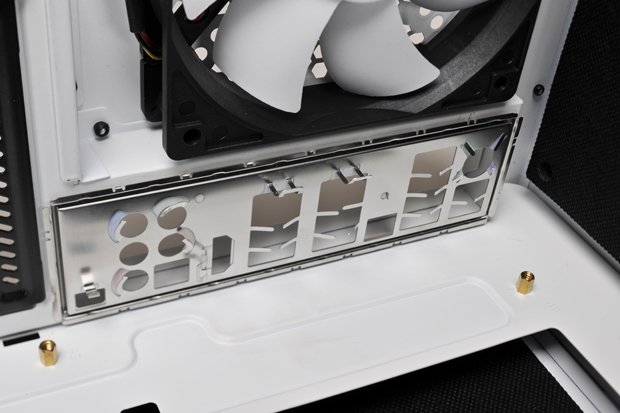
I wish we had we a nickel for every time we forgot to install the I/O shield after assembling more than 90 percent of our system. Here’s the deal: Grab it out of your motherboard box and, before you install the motherboard itself, push the I/O shield firmly into place on the rear of your chassis. Remember, you install this sucker from the inside, facing out—the recessed area outlining the I/O shield should snap right into the appropriate area on the inside-rear of your chassis. If you’re still a little confused, remember: The bent notches around some of the cutouts on the I/O shield should be folded facing into your case, not the other way around.
TIP 6: Consider Front- Panel Compatibility
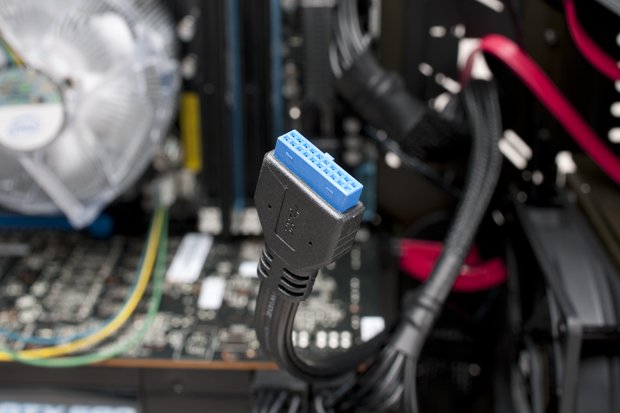
Does your front panel match your motherboard? This can be an issue when you’re upgrading parts piecemeal. Suppose, for example, that you’re rocking USB 3.0 pass-through cables on your case (they look like standard USB cables), but your upgraded motherboard supports an internal header for USB 3.0. Or, worse, what if your case only supports USB 2.0? You’re going to want to take inventory of just what your motherboard and case can handle as far as connections go. If they don’t match up, make some adjustments—assuming you use these connections—before you go through the laborious process of building your rig. Incidentally, we have plenty of fixes for this issue, if a new mobo (or case) is just out of the question.
STEP 7: Count Your Mounts
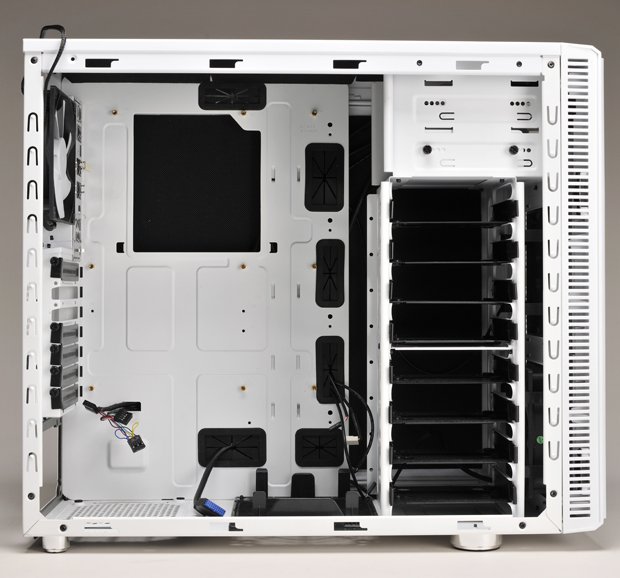
It goes without saying, but make sure you take a look at your case and install your motherboard’s standoffs in the correct spots for your ATX/microATX/Mini-ITX/etc. motherboard. Ignore the other holes, lest you accidentally put a standoff where it shouldn’t be and short-circuit your motherboard. You’ll want to install as many screws as you have standoffs; if you’re missing a few screws, then at least try to attach your motherboard to your tray in an even fashion— perhaps making an “X” pattern instead of going for the full, nine-standoff grid, for example. When in doubt, make sure you’re “distributing the weight,” as it were!
Click the next page to read whether or not you should build of buy pre-built PCs!
