How to kill an Eidolon Teralyst in Warframe: Plains of Eidolon
Killing an Eidolon won’t be easy, but our guide will show you what steps to take.
Despite unlocking early on in Warframe’s campaign, Plains of Eidolon isn’t really where new players should be spending their time. That goes double for raids on the lumbering juggernauts that give the update its name: the Eidolon Teralysts. But hunting them is key to what might be Warframe’s most impressive addition to date. Killing the bosses is the most reliable way to earn 'Sentient Cores,' allowing you to rep up with the update’s new faction and access new gear. It’s also the only way to fully upgrade your Warframe character’s newly updated skill tree in the reworked Focus 2.0 system.
So let’s walk through all the steps necessary to kill one of these impressive buggers. After all, we wouldn’t want to put all those hours of grinding to waste, now would we?
The first steps
Before engaging an Eidolon Teralyst, Warframe’s new kaiju-sized bosses, it’s helpful to complete The Second Dream, The War Within, and Saya’s Vigil story quests. This might take you dozens of hours to complete on their own. That wait is worth it, though. Besides making more narrative sense, completing the trio of quests unlocks access to The Quills syndicate inside Cetus—the settlement where the hunt for your first Eidolon begins.
To find The Quills, head to the steps outside the door leading to the Plains in Cetus. Look to the right, past a small hut, and you’ll see a semi-hidden second staircase leading to a blue door. Approach it and enter Operator mode (which you should know all about if you’ve played The War Within). This unlocks the door and grants you access to The Quills’ services, as well as a free “Mote Amp” that will enhance your Operator abilities. Since you need those abilities to fight the Teralyst, this is a pretty big upgrade that you shouldn’t skip.
Next, you should consider your more conventional equipment. Not all frames or weapons are created equal on the Plains of Eidolon. You want to focus on tanky, independent frames that can take a beating and don’t rely on large groups of enemies to sustain themselves.
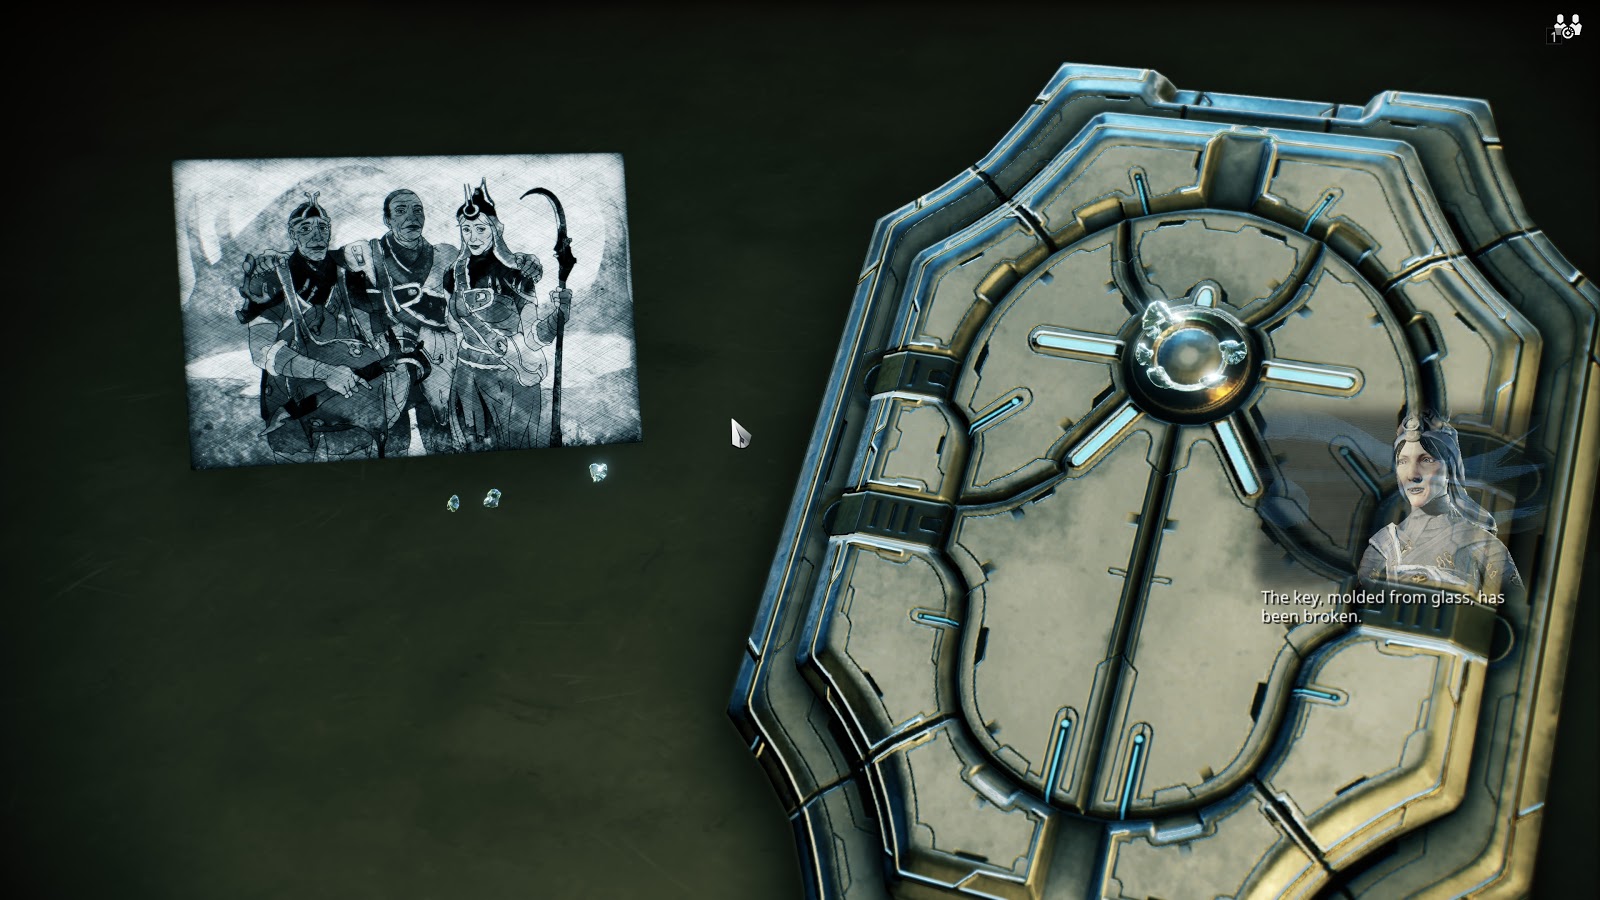
Rhino and Frost are solid contenders. Meanwhile, Trinity’s healing and energy generating abilities are particularly useful—especially between the multiple stages of the fight. But it’s actually Chroma (with his elemental modifier set to Cold) that seems to be an early favorite. Not only does he reduce and reflect damage directed at himself, his Vex Armor skill also buffs nearby allies with the same effect.
Whichever frame you choose, make sure you’re packing the right damage. Eidolon Teralysts have both Alloy Armor and Robotic class health. Meaning Radiation and Piercing damage types are your overall best bets. By contrast, Magnetic, Slash, and Electricity will take a dive against the creature’s outer shell. Mod yourself accordingly—preferably with high damage-per-shot, long-range weapons like sniper rifles.
The biggest gaming news, reviews and hardware deals
Keep up to date with the most important stories and the best deals, as picked by the PC Gamer team.
The hunt begins at dusk
Once preparations are complete, it’s time to actually go Eidolon hunting. Which, in turn, means finding the darn thing. To do that, you’ll need to hit up the Plains of Eidolon at night. The Plains operate on a day/night cycle that changes based on real-world time: 100 minutes of daytime, then 50 minutes of nighttime, and so on. Eidolon Teralysts are only active during the night portion, so you can’t just go searching whenever you feel like it.
There are a number of player-made applications and websites for keeping track of the cycle, like this one here. Otherwise Konzu—the bounty vendor in Cetus—seems to refresh his stock of tasks at the dawn of each day. So you can speak to him, check his timer, and math out the minutes to get an in-game idea of when Teralysts will appear and disappear.
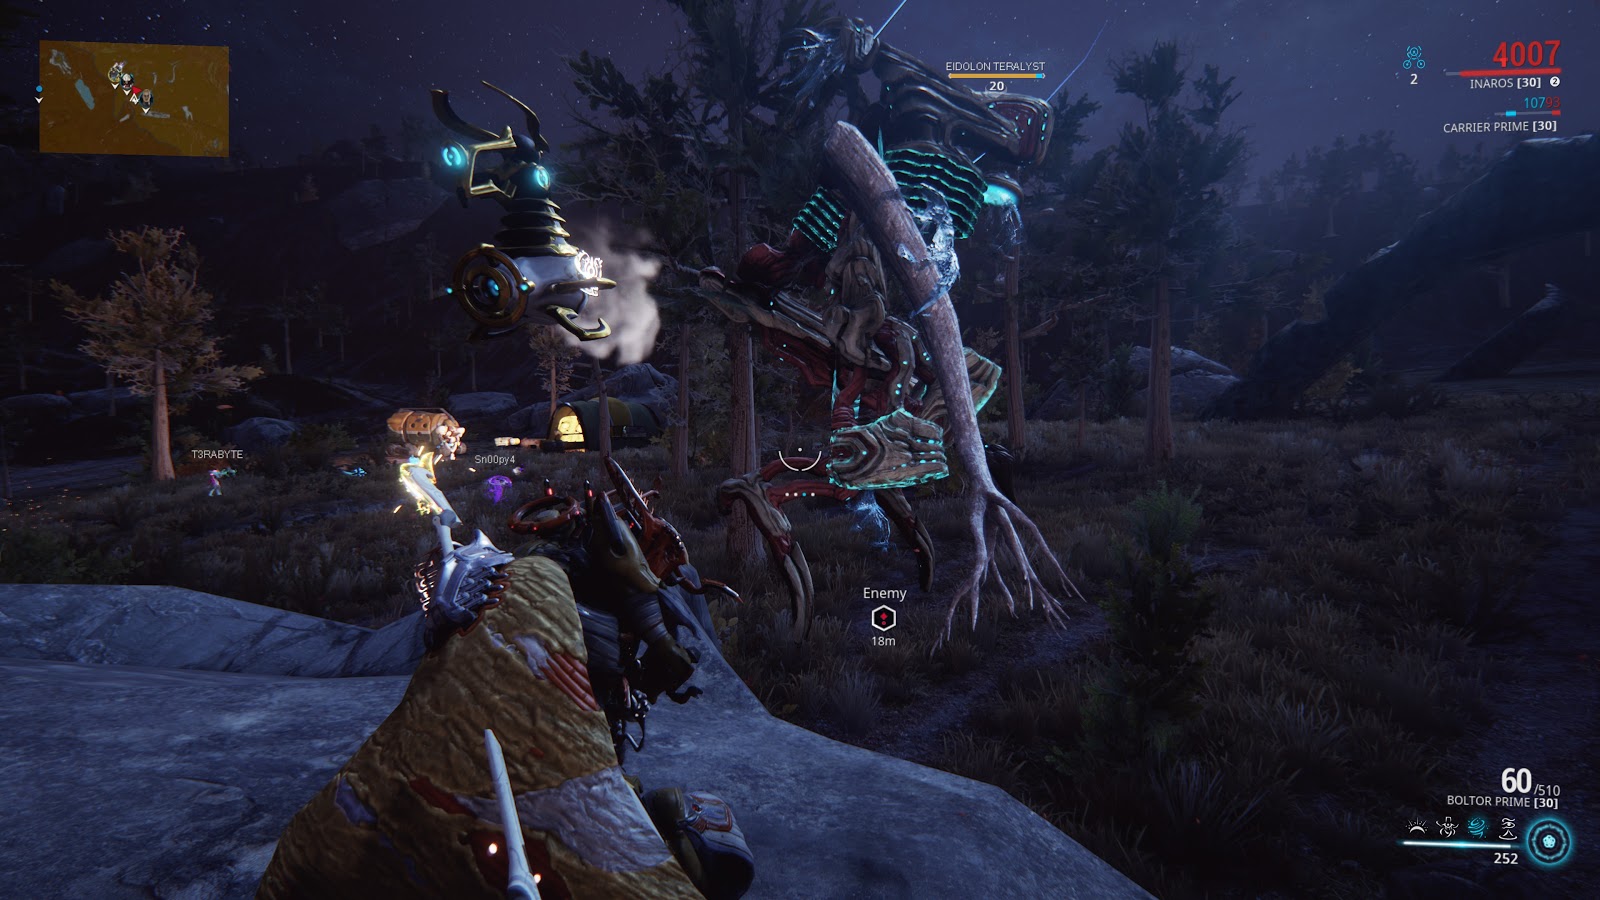
Speaking of which, the Eidolon’s location is telegraphed by a glowing pillar of blue light when you first enter the Plains at night. If you miss the tell, you and your squadmates will need to split up and track it down manually. Even that isn’t too bad, given how big and loud the ornery bugger is. Just make sure to mark it with a helpful waypoint if you spot it.
Phase One: Eidolon Lures
Note: At the time of release, Eidolon Lures appear to be bugged. This might be fixed in time, but for now only host players should hack and order lures to tether Teralysts. There is a chance that the devices will not function correctly if other teammates hack them instead.
Now comes the fun (and difficult) part: killing the thing.
Eidolon Teralysts start off immune to conventional damage. That is until you drain away their sliver of shields with your standard Void Beam in Operator mode. This is where the Mote Amp you acquired earlier comes in handy, as it increases your damage output, Operator health, and puts the Void Beam on a separate mana bar from the rest of your abilities.
Of course, the boss won’t take your Void Beams lying down. The Eidolon will swing its arm-like limbs in wide arcs to damage nearby attackers, fire homing bullets that are dodged by constantly moving, and create shockwaves that must also be dodged by strafing or jumping over them.
Assuming you survive long enough to drain its shields, an Eidolon Teralyst will become vulnerable to mundane weaponry—but only on the glowing blue weak points at its leg and arm joints. If your team is communicating, it’s best to focus fire on one weak point at a time. Just be aware that destroying a leg will cause the boss to fire mortars of acidic goo, while each destroyed arm will produce more seeking projectiles.
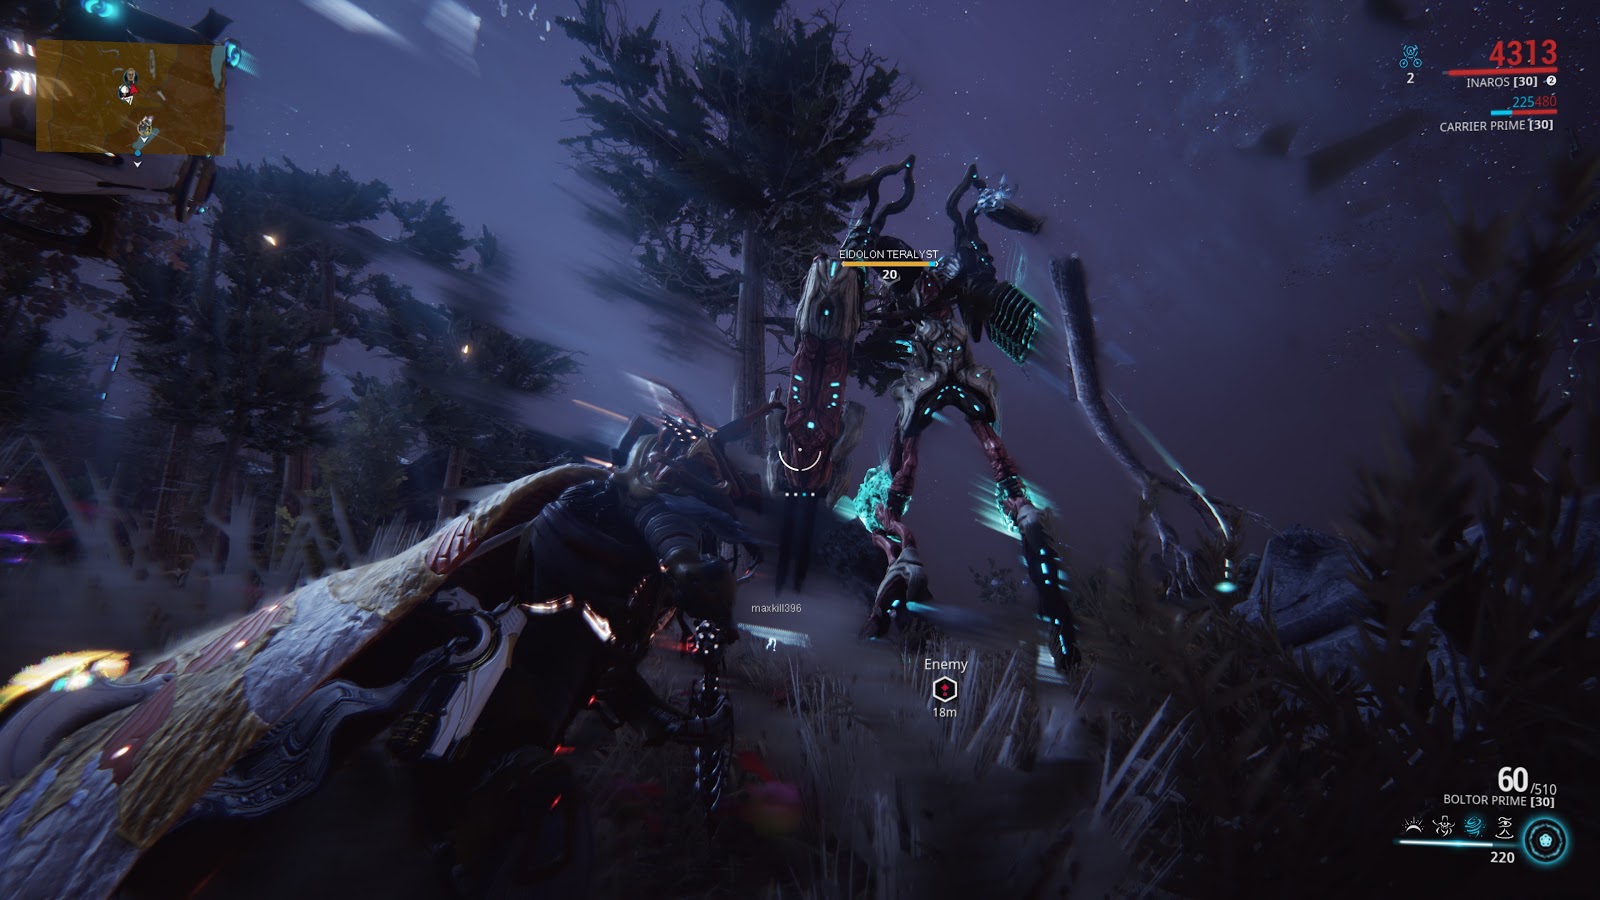
You also need to contend with smaller Eidolon Vomvalyst enemies that flank the true boss. These aren’t too terrible on their own, but add to the general chaos of the fight. More importantly, they’re vital fuel for the Eidolon Lures scattered across the open zone.
To find lures, check nearby Grineer encampments. They should be stocked with one or two of the useful tools apiece. You can disable them by damaging them, then approach them to hack them in the usual method. This will turn a lure to your side, similar to a Corpus Bursa, and allow you to command them to follow or hold position.
Normally, killing a Vomvalyst converts it to a ghostly form that can only truly be killed by Operator abilities. But killing one near an Eidolon Lure causes the device to absorb that enemy’s essence, instead. Three dead Vomvalysts will fully charge a single lure, while a fully charged lure will tether the Eidolon Teralyst in place between stages of the fight. More than that, tethering two full lures to the boss just before it dies will increase its chances of dropping better loot.
Phase Two: The weak points
Destroying an Eidolon Teralyst’s weak point triggers two things. First, the enemy sends out a massive shockwave that you must run away from as quickly as possible to dodge. Your friendly representative from The Quills will usually warn you as this is about to happen.
Secondly, the Teralyst will teleport away to some random part of the map—wasting precious nighttime as you and your allies search for the beast all over again. Thankfully, the teleportation can be blocked by a single charged and tethered Eidolon Lure. So if you’re worried about how long it’s taking you to slay your prey, keep a lure handy just in case.
At this point, Vomvalysts become more of a nuisance. They’ll try to regenerate their master’s shields after its first weak point is destroyed. You can tell this is about to happen when the giant rears back and roars for help. After two limbs are severed, and the Teralyst’s health reaches approximately 50 percent, they start expelling their own AoE attacks as well. So be sure to cull the minions from time to time.
Likewise, the Teralyst itself becomes a bit more vicious after losing two body parts. It’ll rain bullets from the sky and expand the scope of its shockwave attacks. Running and jumping away are still your best methods of evasion.

After three weak points bite it, the boss’s attack patterns remain the same but they ramp up in intensity. More Vomvalysts will spawn. The Teralyst will attack more frequently. More bullets and shockwaves will need to be dodged. Just keep up the pace and focus fire on the final weak point.
The Final Phase
When said soft spot is finally gone, the giant Eidolon will fall to its knees (if you can even call them that). More Vomvalysts will appear and try to heal their fallen master one last time, so continue to pop them as quickly as possible.
Whatever health the Teralyst has left after this death knell is all it has left for the remainder of the fight. With no weak points remaining, you should pour your bullets into its head-like appendage while avoiding the same attacks you’ve come to know and love from phase three.
And that’s it. It’ll likely be a long road (at least for first-timers), but with a competent crew and the right gear, taking down the titular Eidolon shouldn’t be too much of a hassle. Just make sure to keep moving, manage your Eidolon Lures, and revive any fallen allies as quickly as possible.
Reaping the rewards
Of course, none of this would be worth it without the promised rewards. Warframe is all about that loot, after all. Here’s a quick rundown of what you can expect in return for killing an Eidolon Teralyst.
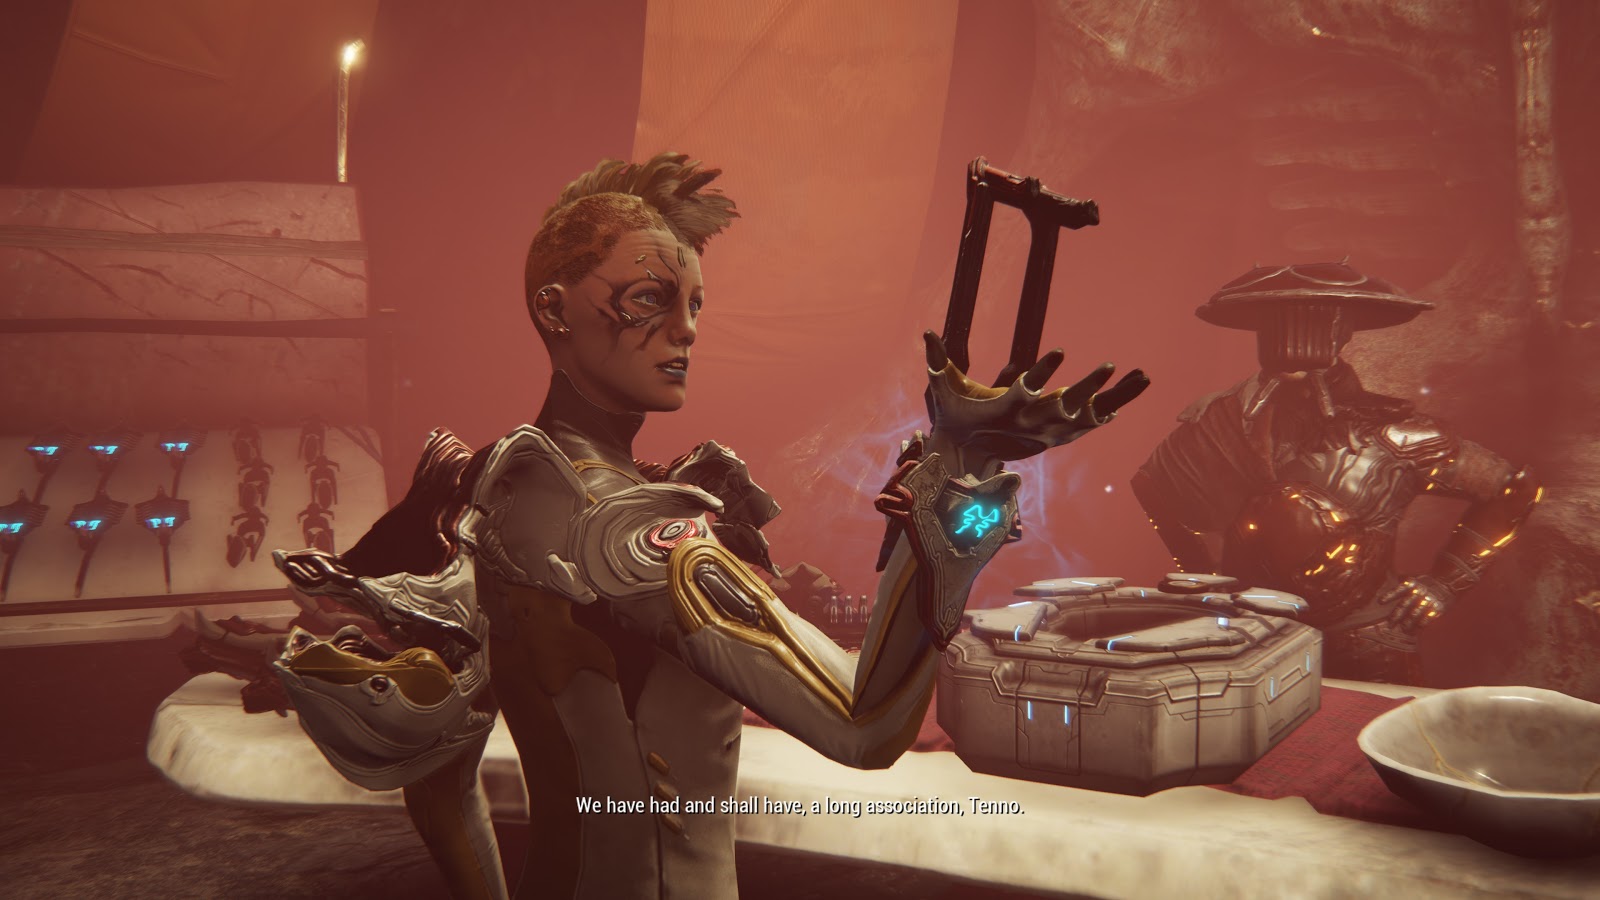
Intact Sentient Cores—which can also drop from Vomvalysts—along with Exceptional and Flawless Sentient Cores are used to earn reputation with The Quills. Bear in mind that flawless cores, which offer the most rep, only drop if you have two Eidolon Lures tethered to the Teralyst at the end of the fight.
The other Eidolon-exclusive drops are Eidolon Shards. Normal shards should also be brought to the Quills to craft into special enhancements for your Operator and frames. Brilliant Eidolon Shards, like their Core cousins, also only drop when Teralysts die near two charged lures. But they can be used to fully upgrade Way-Bound passives after you unlock them with cores.
Difficulty aside, hunting Eidolons can be awfully rewarding. The upgrades they unlock are permanent and can be shared across Warframes and Focus schools—assuming you’ve got time to grind. Just console yourself with the knowledge that it only gets easier as you unlock more enhancements and Way-Bound passives along the way.
