The Division 2 crafting guide
Tailor the best high-end gear in DC with our Division 2 crafting guide.

The Division 2 Review
The Division 2 settings and performance
The Division 2 fast leveling guide
The Division 2 solo player guide
The Division 2 specializations guide
The Division 2 crafting guide
The Division 2 perks guide
The Division 2 gear sets guide
The Division 2 endgame and World Tier 5 guide
Crafting was an important part of fine-tuning your gear for maximum effect in The Division, and with The Division 2 the system has been massively expanded and given greater prominence throughout the game.
It can be somewhat overwhelming at first, though, so getting to grips with the basics of crafting is vital.
How to unlock crafting
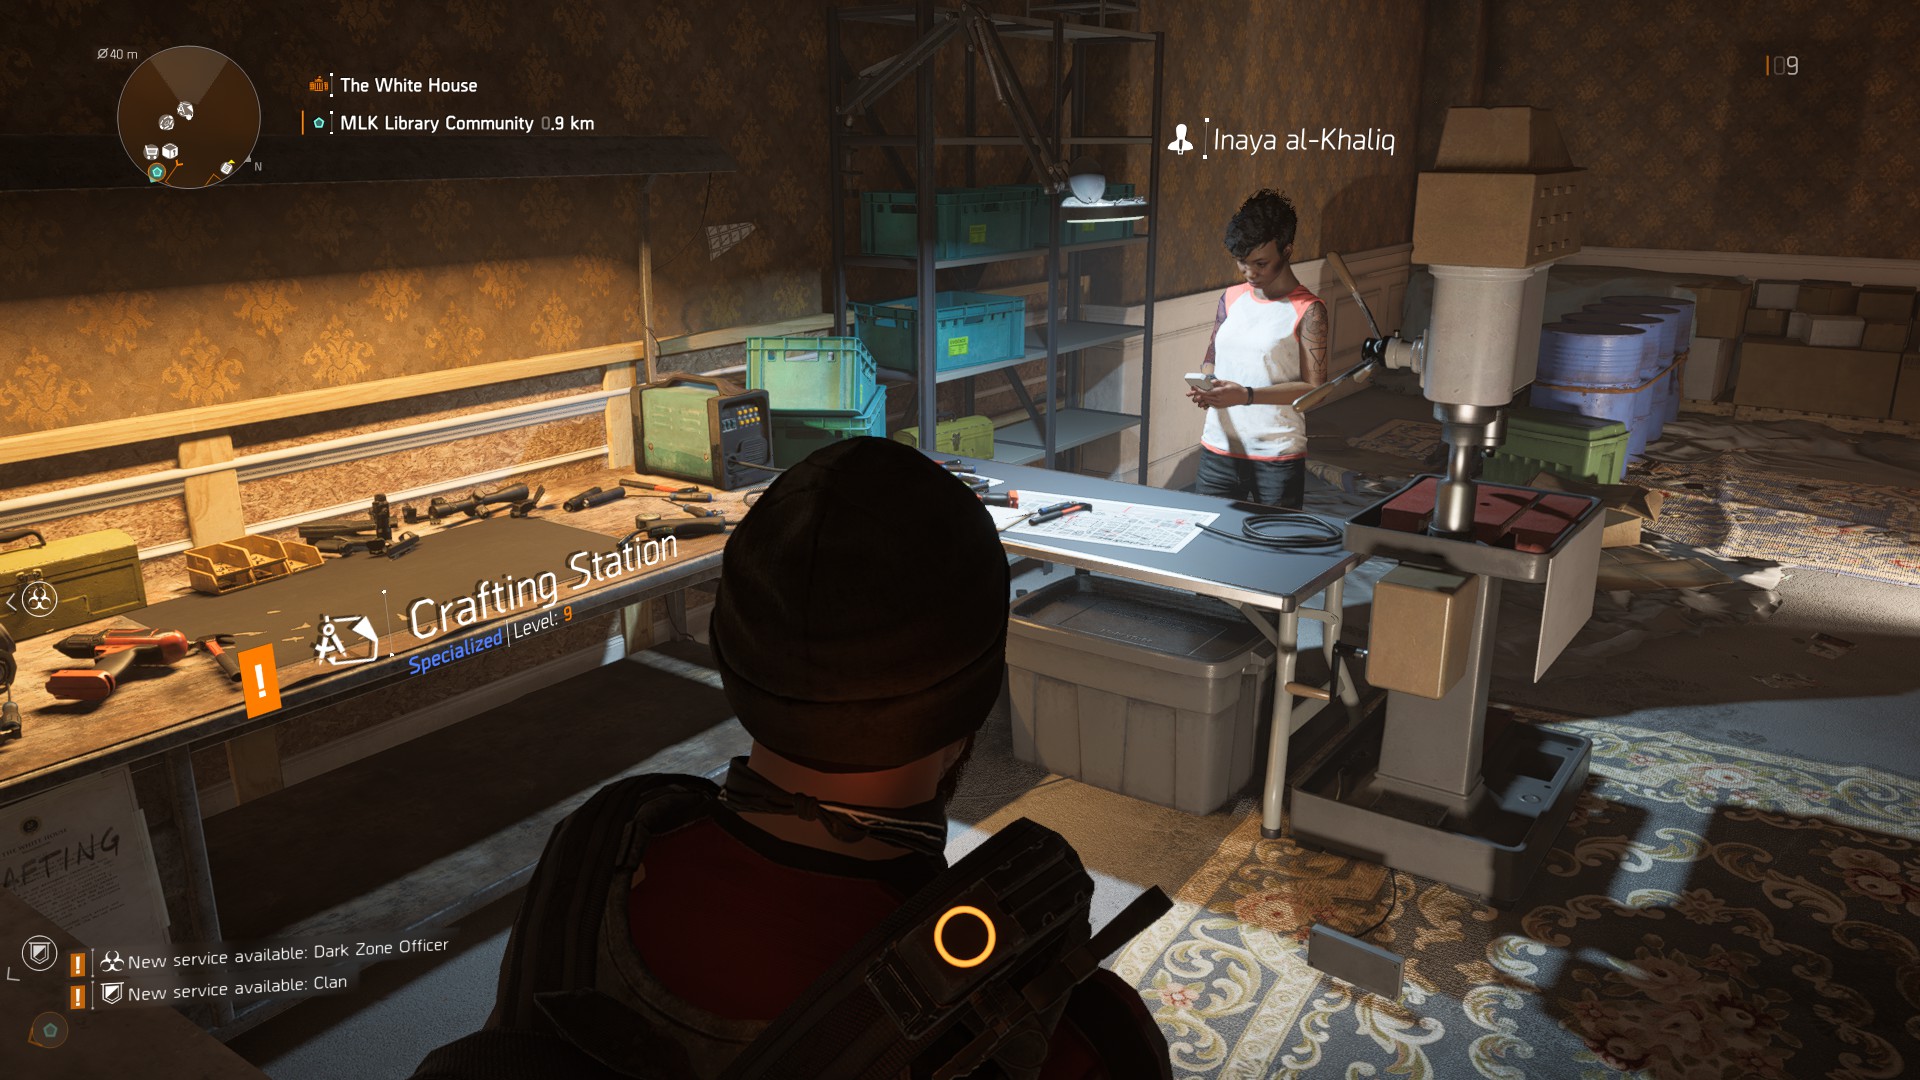
Crafting is the first big upgrade you’ll unlock for the White House, and it’s earned by completing the Grand Washington Hotel story mission for the Theatre settlement. Once you’ve headed back there after completing the mission, you’ll be able to recruit Inaya al-Khaliq, the crafting manager.
She’ll quickly relocate to the White House and can be found on the ground floor around the corner Coop Dennison, the skills guy you met at the start of the game. You won’t need to directly talk to Inaya again, as the crafting bench should now be up and running.
When to craft
Honestly, unless you’re at level 30 and facing the endgame, you don’t need to worry about crafting at all. The big reason for this is the resources needed to craft can be put to much better use in other ways that help speed up the leveling process.
The second reason for side-lining crafting until you hit The Division 2’s endgame is that anything you make will likely be outdated in just a few levels time. Gear you find in the environment is perfectly fine for the levelling game, and you’ll be switching out your gear for things with better stats almost constantly. There’s no point in wasting your resources and gear to make a gun you’ll discard a few missions later.
The final reason to wait is that the White House crafting station upgrades as you level with new blueprints, and stronger enemies will drop rarer materials. You’ll want to save as much as you possibly can for when you finally are able to make gear worth keeping.
The biggest gaming news, reviews and hardware deals
Keep up to date with the most important stories and the best deals, as picked by the PC Gamer team.
How to find materials
To craft an item, you’ll need a blueprint, some Division credits, and the correct materials. You find each type of material in a different way, although you can stumble across all materials during regular play also.
Some materials are gained by deconstructing junk items you no longer need. The most common are receiver components, earned by deconstructing weaponry, and protective fabric from gear (both can also be found in smaller quantities spread throughout the map), and printer filaments from mods. Less commonly, you can find ceramics, steel, and polycarbonate when deconstructing loot, although there are much better ways to get these.
The Division 2 hyena key locations guide
The Division 2 Dark Zone key guide
The Division 2 masks locations guide
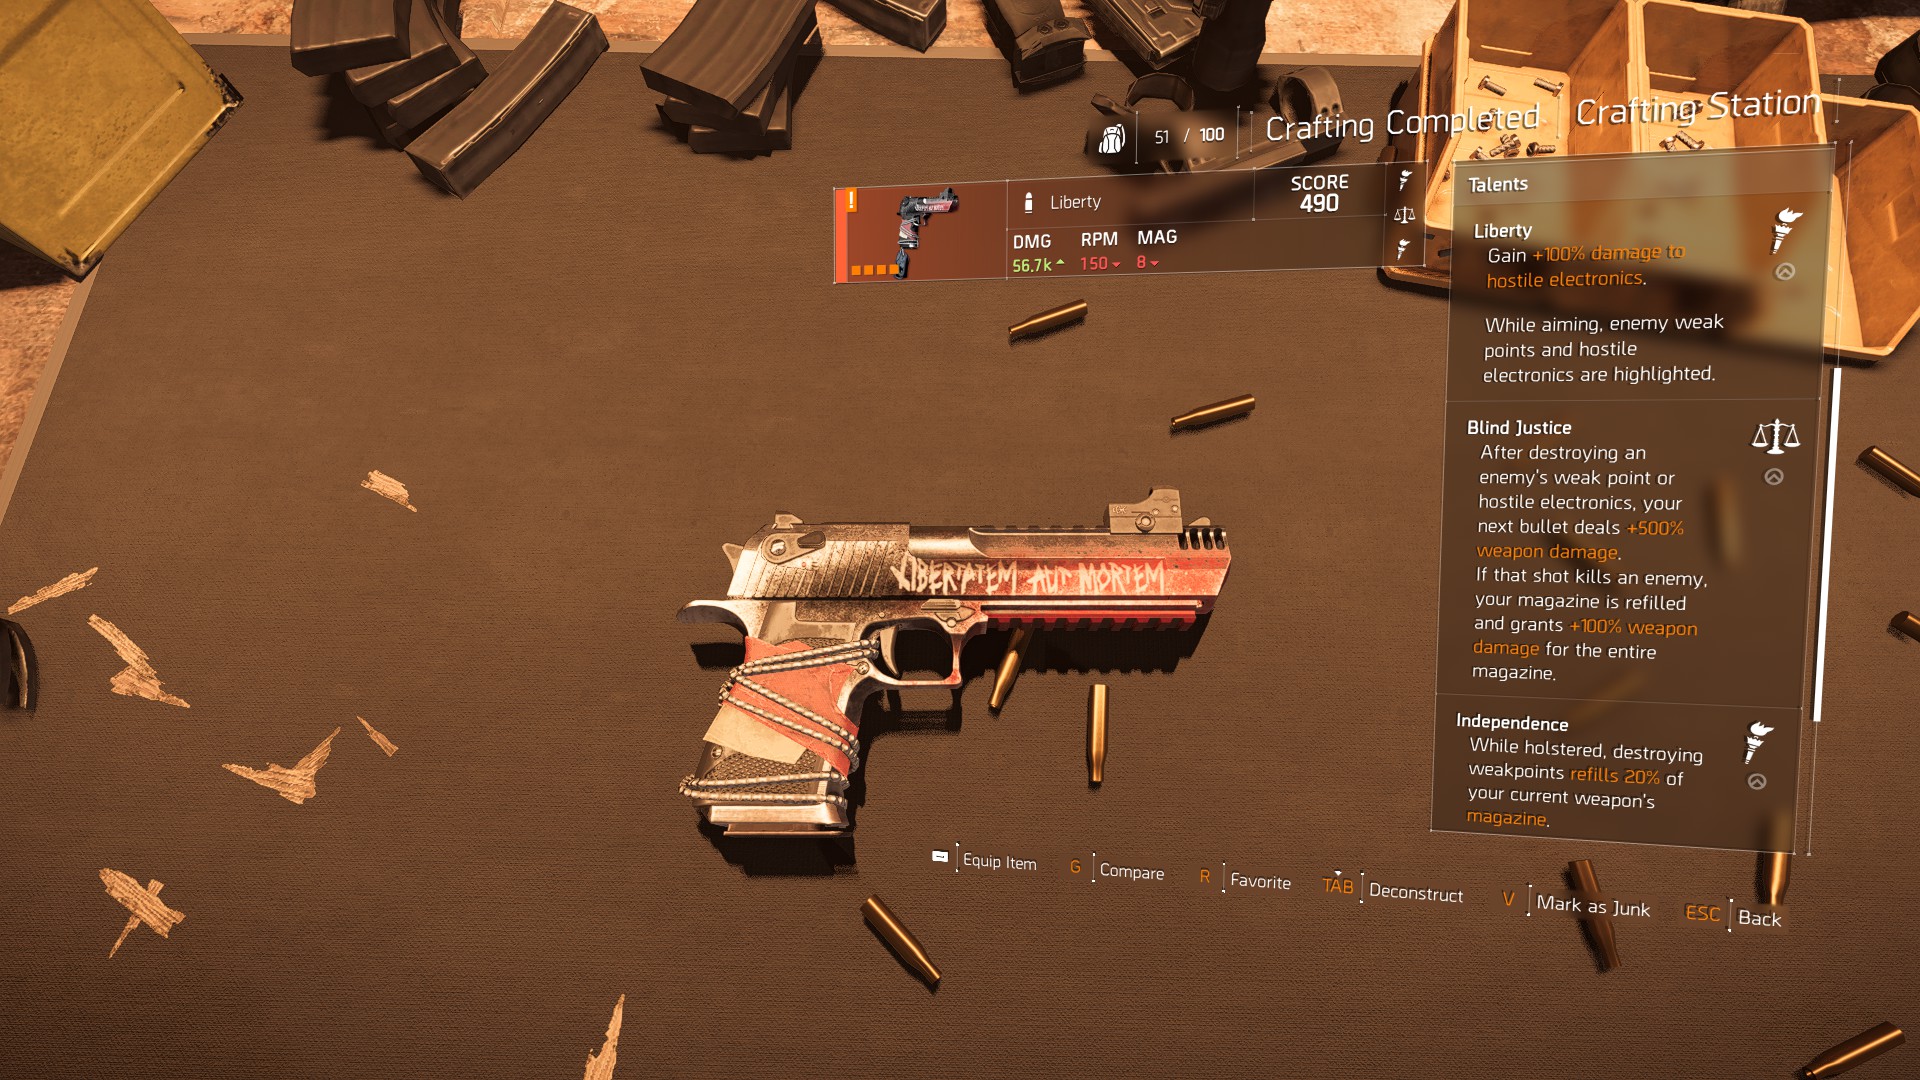
The Division 2 Liberty exotic pistol guide
The Division 2 Chatterbox exotic SMG guide
The Division 2 Sweet Dreams exotic guide
The Division 2 Pestilence exotic LMG guide
The Division 2 Merciless exotic rifle guide
The Division 2 Nemesis exotic rifle guide
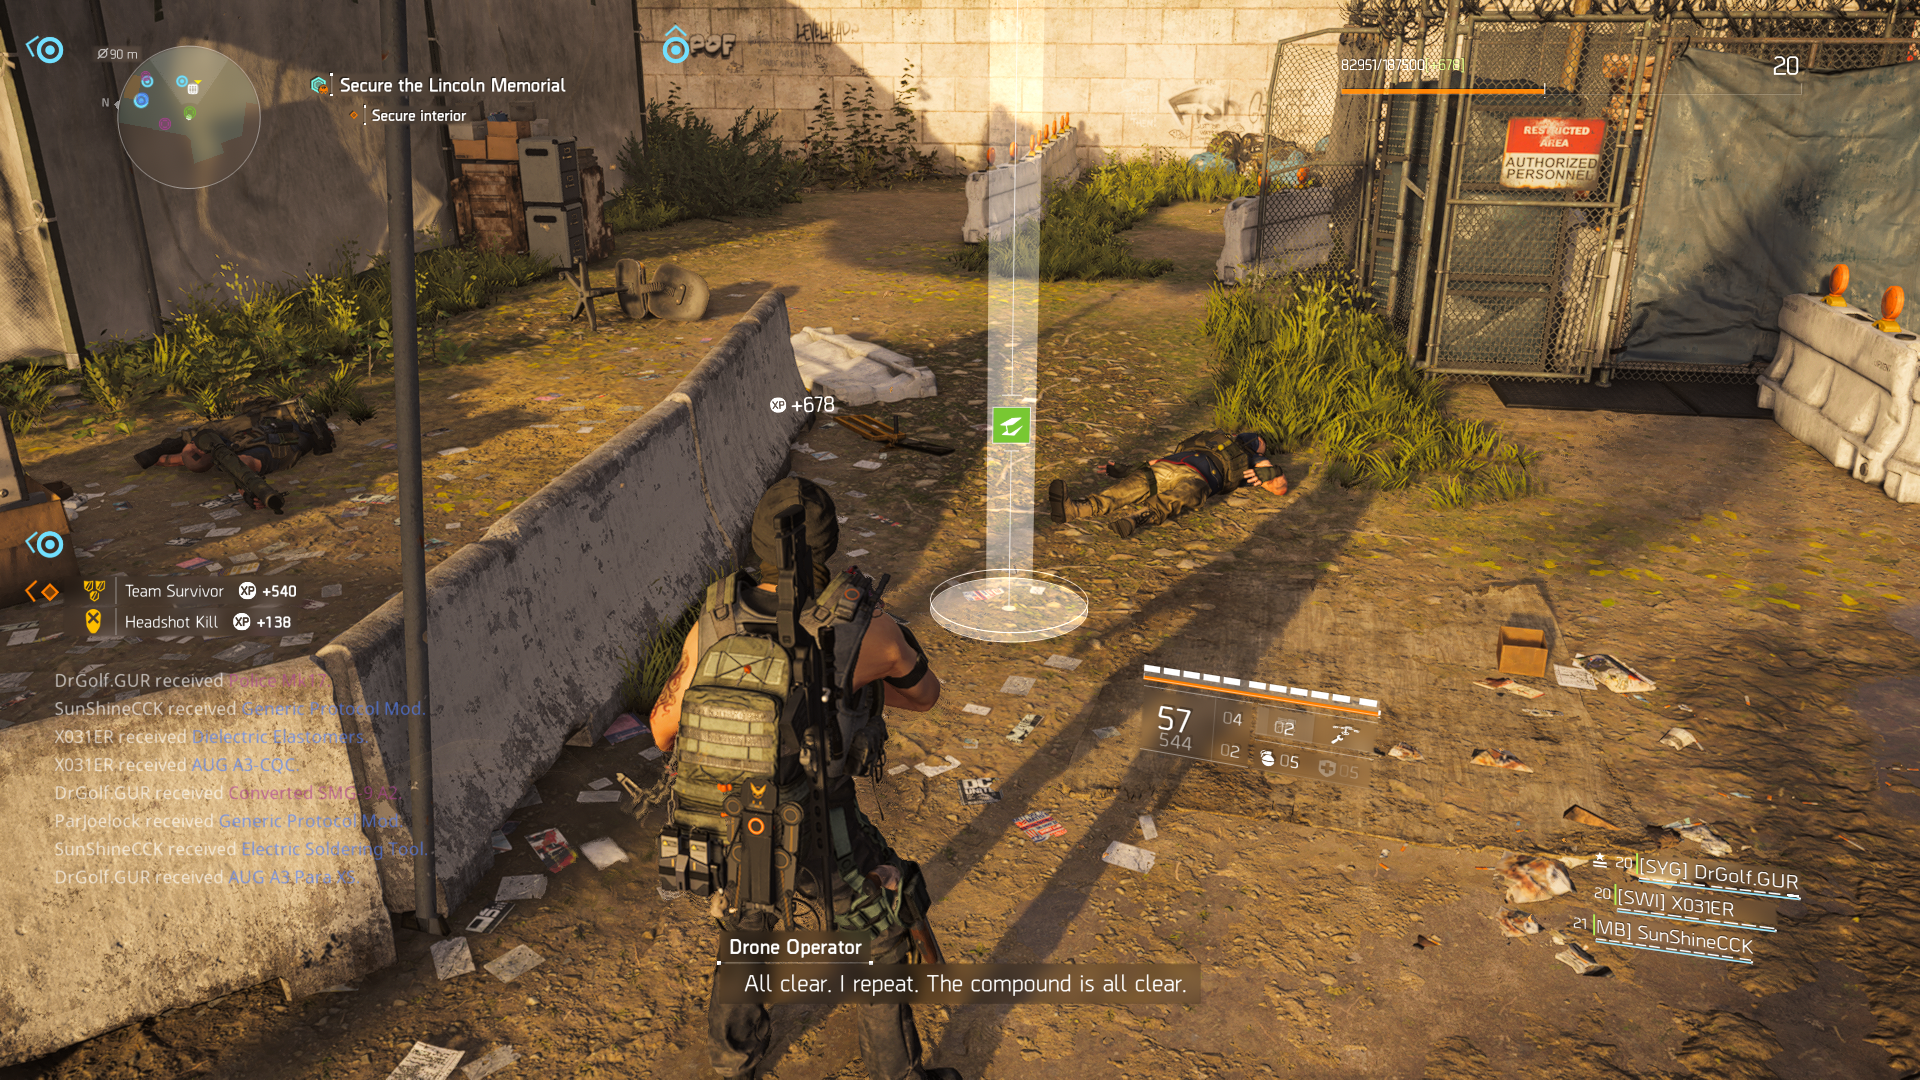
Different enemy factions are more likely to give specific materials as rewards, too. Killing Hyenas may net you polycarbonate, and higher-level (purple and yellow health bars) Hyenas sometimes also drop precious electronics. True Sons often drop steel, and higher-level ones can also drop carbon fiber. Outcasts, meanwhile, drop ceramics, and the stronger ones also drop titanium.
Finally, there is another tier of materials that tend to only drop once you’re in the later stages of the game. Because the game is so new, and not many people are even at the endgame yet, a lot of these materials are still being discovered. However, most of them (Richter & Kaiser GmbH Shielding, Providence Defense Grade 3 Fibers, and Pistol Trigger and Mechanisms particularly) drop when you kill Elite enemies or higher (yellow health bars and named bosses), which are found in their highest numbers in Strongholds. If a recipe requires materials with a brand name (like Richter & Kaiser GmbH Shielding), you’re also able to more reliably acquire those materials by deconstructing high-end equipment (yellow backgrounds in the inventory menu) of the same brand.
Of course, you may get lucky and find some of these materials in other places—everything is spread out everywhere to an extent—but if you’re farming for that sweet new piece of gear, you’ll want to focus your efforts on where you’re most likely to get what you need.
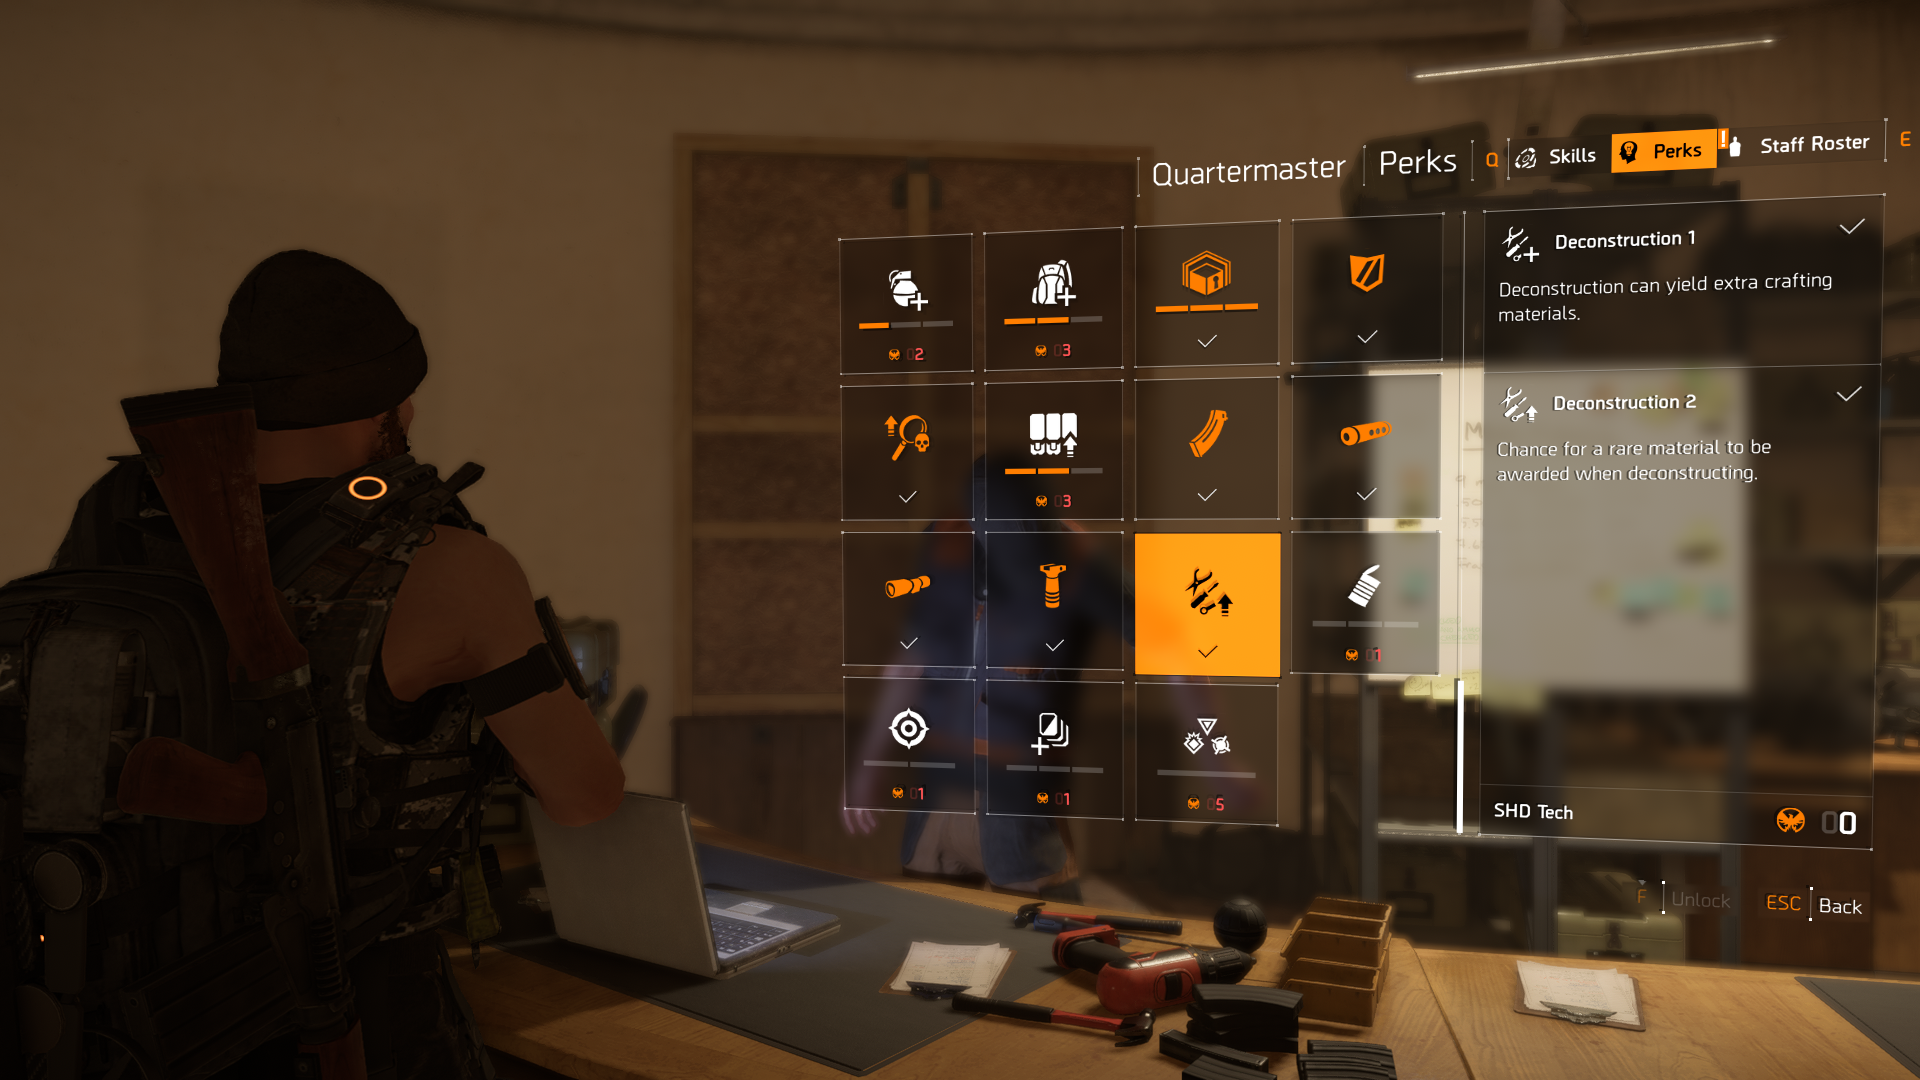
A crucial thing to remember for crafting is to unlock both levels of the Deconstruction perk at the White House. The first level increases how many materials you can get when dismantling equipment, while the second one allows for higher-tier and rarer materials to drop during deconstruction. Take these early on in your crafting process to maximise how many materials you get, and you won’t have to spend as much time grinding enemies for a single bit of ceramic or scrap of electronics.
Get the blueprints
Blueprints are another crucial part of crafting, but fortunately they (mostly) aren’t based on random loot drops like materials. Completing the story, certain side missions, and other events in the open world reward blueprints, which unlocks that item for construction at the crafting bench.
The best way to figure out which missions give what blueprints is to check the rewards panel in the map screen. Hover over a mission or activity and it will show you the rewards for completing it, letting you focus on getting the blueprints you want (you want all of them. They’re like Pokemon but not as cute).
Getting Division credits
The last component for crafting is the funds needed to produce the item. This is why it’s not recommended you get heavily into crafting before the endgame, as Division credits don’t start reliably pouring in until then. Crafting in The Division 2 is expensive.
Before level 30, the two best ways to get Division credits are by selling unwanted gear to vendors (which isn’t recommended, as that gear could also be deconstructed for materials or donated to projects for extra XP), or by completing the weekly challenges on the Uplay club. A few of those down can net you a couple thousand credits, and there is also a one-time reward available through Uplay that grants you a few more.
If you’re at the endgame, though, funds shouldn’t be a problem. Go play endgame content and sell unwanted gear with impunity, the credits will soon be rolling in and you’ll be able to craft to your heart’s content.
Let’s be honest, crafting isn’t the most exciting thing in The Division 2. With a sprawling world, plenty of endgame activities, the Dark Zone, Conflicts, bounties and more all calling for you, sitting at a bench is probably the last thing you want to do.
However, being able to produce the right gear for the right loadout will prove useful during the endgame. Understanding this admittedly fairly opaque system is essential to being a powerhouse for taking on DC post level 30, and so it never hurts to familiarise yourself with it beforehand.
