Destiny 2: Shattered Throne map and dungeon guide
With our Shattered Throne guide and map you'll be able to destroy Vorgeth and Dul Incaru without losing your mind.

The Shattered Throne is the closest thing Destiny 2 has to a dungeon. Where Strikes exist as straightforward missions meant to be farmed, the Shattered Throne in more like a mini-raid, featuring two bosses with unique mechanics and platforming across huge environments. It's also only available once (per character) every three weeks. If you're not into raiding, Shattered Throne is probably the best activity in the game, both for loot and for a good time. In this guide, we'll go over how to beat each part of the dungeon, with tips that will make the main encounters much easier.
First things first: to begin your adventure, you'll need to get to the dungeon's entrance. The fastest way to get to Shattered Throne is to head straight from the Dreaming City's landing zone while hugging the left wall. Keep going until you come to the large building where the Oracle is located. To its left, you'll find a bridge next to a cliffside path leading downward. Follow this path until you reach a portal. Go through it and follow the hallways until you see a room with a thin beam of light running through it. The Shattered Throne entrance is in the back of this room. Refer to this GIF if you get lost:
Part one: the labyrinth

Once inside the windy, monochromatic Ascendant Realm, you're going to need a map. Handily I've made one, and it should serve better than the MS Paint ones doing the rounds. The map covers the first and most complex area in the Shattered Throne, colloquially known as the labyrinth. The goal here is to clear out all seven temples in the labyrinth—marked by the symbols in our map—in a specified order. The order is different every time, so it's important to know how the temples interconnect. That said, you'll always start and end at the lower, middle temple marked by the 'diving bird' symbol.
When you start the encounter, head straight until you reach the diving bird temple, then kill the yellow-bar ultra inside. Another symbol will appear on the floor. Find that symbol on the map and head to the corresponding temple next. Follow our map and repeat this process until you wind up back at the diving bird cathedral. A final mini boss will spawn. Kill it to claim your powerful loot, then drop down to the next section.
The hardest part of this encounter is not getting lost. The temple bosses themselves aren't that dangerous—most can be sniped with ease. Be careful of the Taken Thrall that spawn on the mainland, not to mention the Taken Phalanxes that spawn on some floating platforms. Taken Hobgoblins will also spawn all around the labyrinth, and be especially wary of them. They've abruptly ended more solo flawless runs than some bosses, I'm telling ya. Otherwise, just follow the map and methodically shoot stuff.
Part two: the hike
At the bottom of the hole you'll find a linear path. Follow it until you drop down again into an open area. Equip something with decent range to clear out the Taken Vandals sniping from above. Otherwise, just press onward. Once you reach the top, you'll find another miniboss in front of a big door. You know what to do.
This door leads to a massive hallway with a broken bridge down the middle. There are Taken Hobgoblins and Knights along the far walls, and Taken Phalanx on the bridge. Again, you're going to want a bow, a sniper rifle, or some other long-range weapon. You can pick off most of the Hobgoblins and Knights from the doorway. After that, push up along the edges of the room, snipe the Phalanx in the middle, and jump over to the bridge. Snipe the rest of the Hobgoblins before moving up, then take the left path onward.
The biggest gaming news, reviews and hardware deals
Keep up to date with the most important stories and the best deals, as picked by the PC Gamer team.
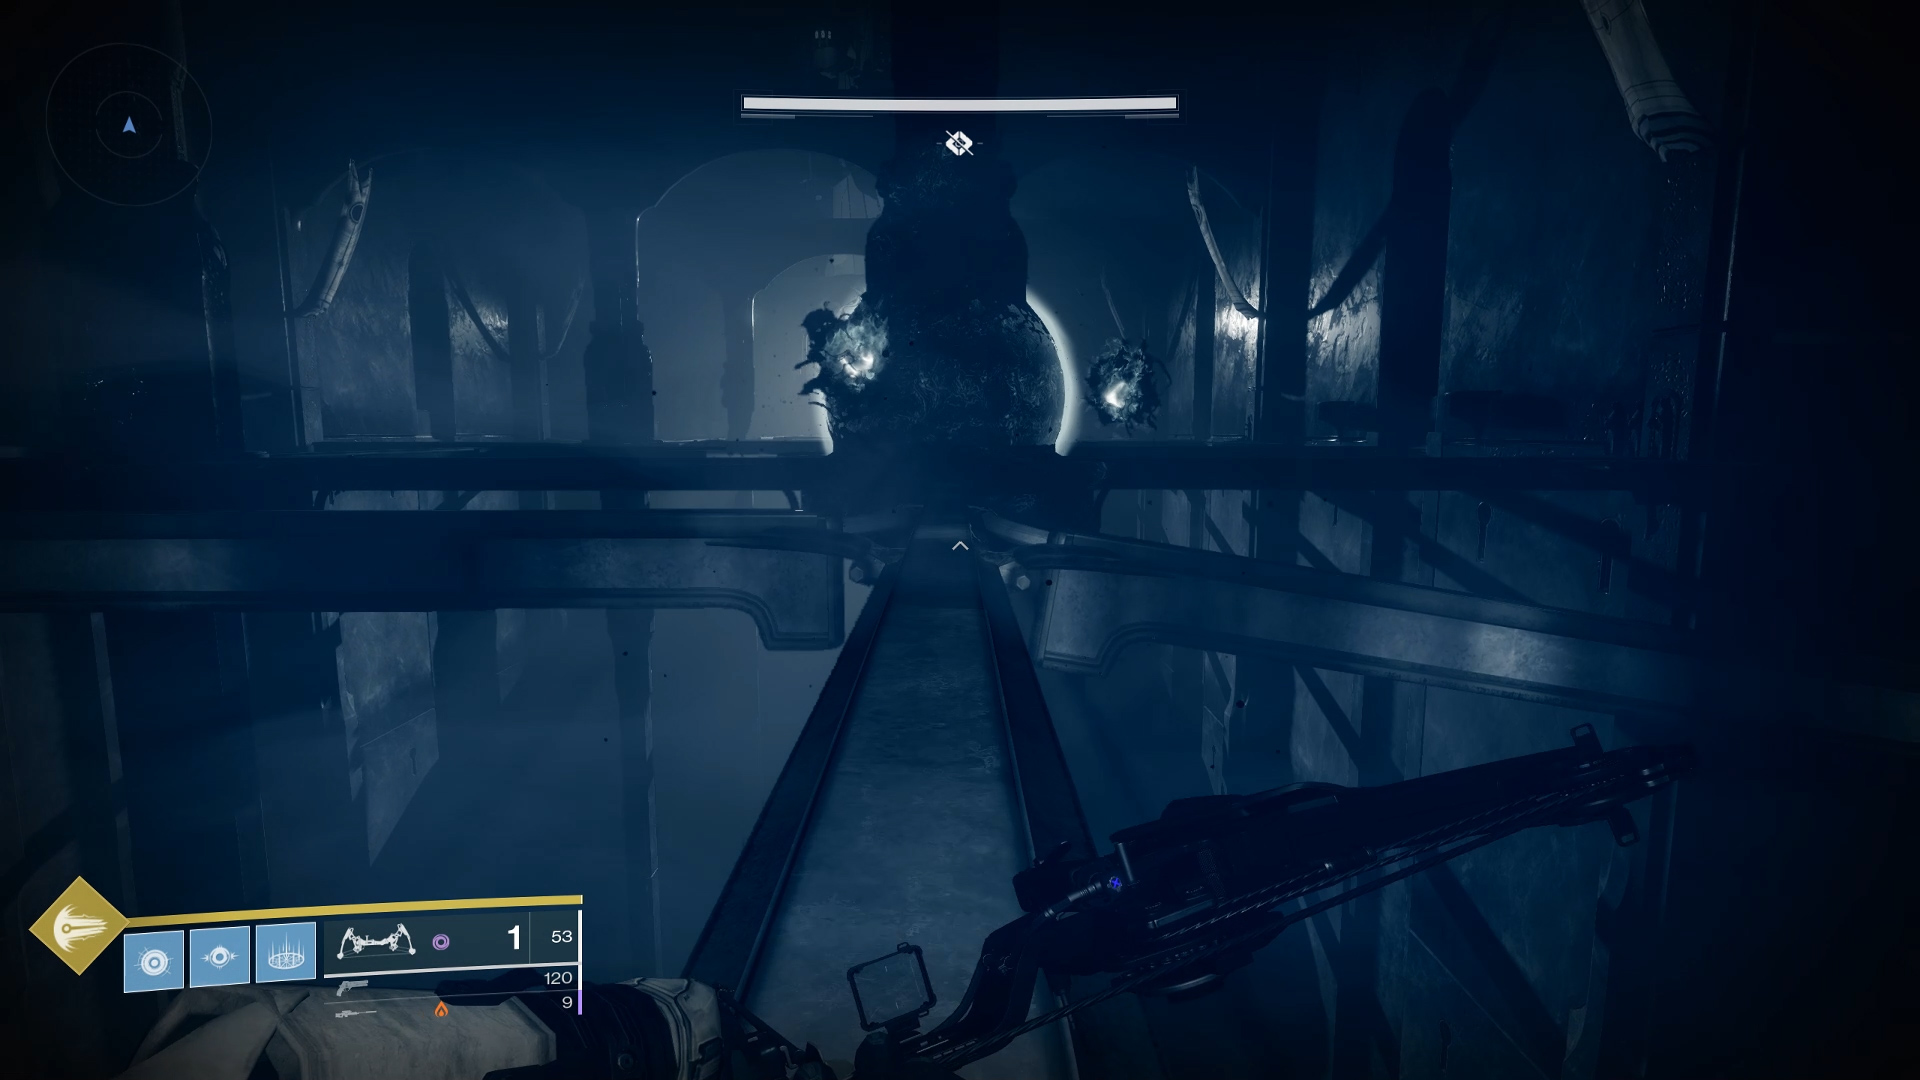
Now it's time for some more harrowing platforming, this time with a Dark Souls flavour. You'll come to a large chamber with thin beams criss-crossing it. As you may have guessed, you need to get to the doorway on the far left of the room without falling to your death. The thing is, as you move up, Taken Ogres will spawn on some of the circular platforms. These Ogres will knock you off in a heartbeat, so as soon as you see or hear them spawning, back up and get your sniper out. Stay outside their range and pick them off. Rotating Taken orbs will also spawn on some of the platforms, but you can avoid these with some judicious jumping between the beams. As long as you deal with the Ogres promptly and mind your jumps, you should make it to the end fairly smoothly.
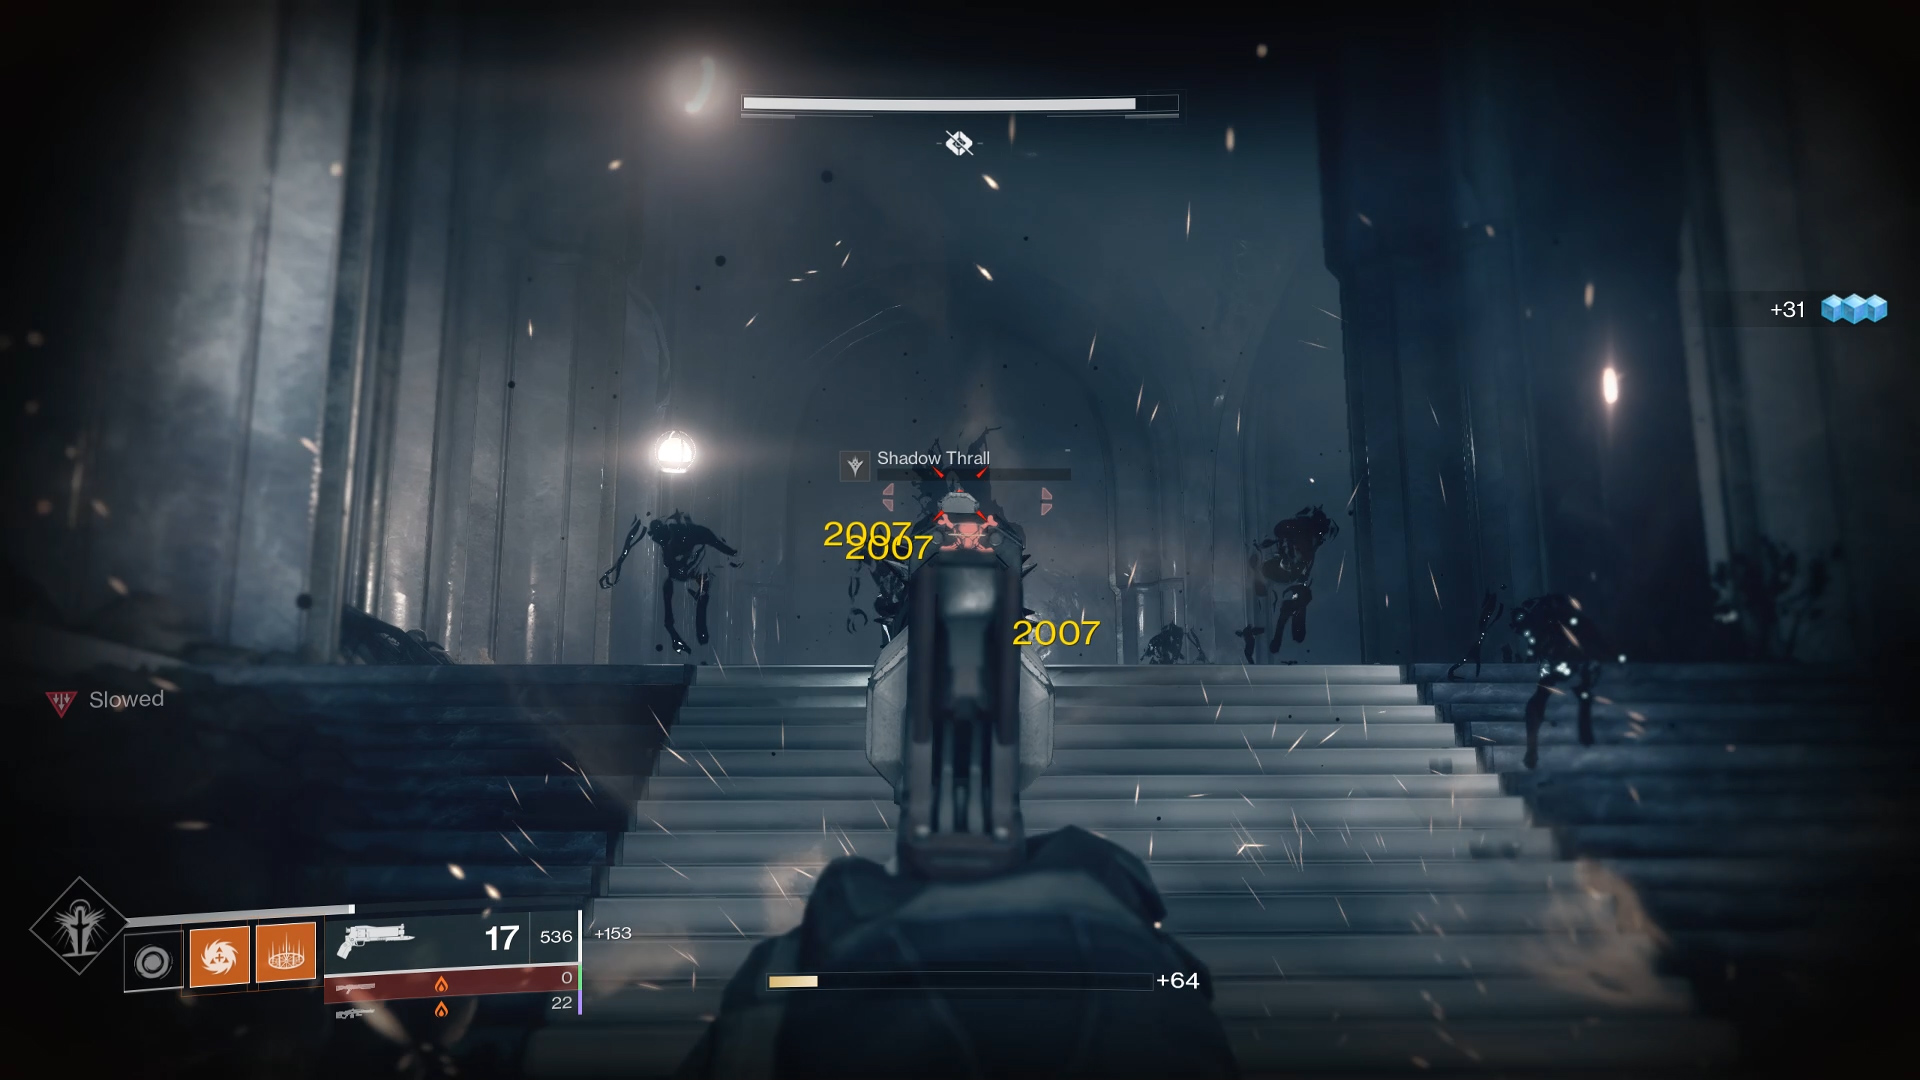
The next section is a throwback to the Crota's End raid from the original Destiny. Simply put, it's a hallway full of Shadow Thrall. Your goal is just to make it to the end, but the kicker is that you're suppressed the whole time, meaning you can't run, double-jump, or naturally regen health. That said, all you need to do is bring your preferred form of alternative healing—like a Warlock healing rift, the Hunter Exotic Wormhusk Crown, or the Exotic hand cannon Crimson - to totally bulldoze this part of the dungeon. It's really not that hard: stick together, hug the left wall, and hold W. If you get surrounded, just chuck an AoE grenade. Make your way to the end and jump through the shimmery barrier to drop down into a small chamber. Head to the cathedral in the distance to start the next encounter.
Part three: Vorgeth, the Boundless Hunger
It's time for the first boss of Shattered Throne. Vorgeth is a massive Taken Ogre guarded by four Wizards, each with their own retinue of enemies. The goal of this encounter is to kill Vorgeth's Wizard guards, collect the orbs they drop, and deposit all four orbs in one of the lanterns in the middle of the arena. This will lower Vorgeth's shield, letting you DPS him. Getting to that stage requires a lot of careful timing and cover shooting, so let's go over the fight.
When you first drop down, you'll be caught between two Wizards, with one immediately to your left and one on the wall to your right. Each Wizard is guarded by four Taken enemies—two Vandals and two Goblins—which can deploy shields, so you'll want to deal with them first. Use the pillars to the right of the starting point to shield yourself from Vorgeth and the rightmost Wizard as much as you can. You want to kill the Wizard to your left as quickly as possible, so don't be afraid to dump some heavy into it.
When a Wizard dies, it'll drop a purple orb that gives the Petitioner's Mark buff. You need to get four stacks of this buff to extinguish a lantern, but if you die, you lose all your stacks. At the same time, if you don't get a new orb and refresh your buff every 45 seconds, you'll die. In other words, you have 45 seconds to kill the next Wizard from the time you pick up an orb. With that in mind, don't grab the first orb immediately. Instead, work on the next Wizard and its guards first. Once you kill a few of them, grab the orb and push up, moving counterclockwise around the arena. This path minimizes downtime and leaves you less exposed to Vorgeth.
The Wizards have void shields, so bring a long-range void weapon. Most anything will work in a group, and the Hammerhead machine gun will chew through both the Wizards and Vorgeth. The Subtle Calamity void energy bow is also great for soloing this encounter. It will one-shot the Vandals and Goblins and two-shot the Wizards' shields, plus you can take cover while charging your shot.
Time your orbs carefully and move from Wizard to Wizard. Note that everyone receives Petitioner stacks when an orb is collected, so only one person needs to survive the entire phase. You'll know when you've gotten all four orbs because your buff will change to Petitioner's Burden. Now it's time for the lanterns. Choose one away from Vorgeth's current position, move up to it, extinguish, and retreat to DPS Vorgeth.
Whisper of the Worm and machine guns are very strong here. For supers, use Celestial Nighthawk Golden Gun, Chaos Reach or Well of Radiance. Titans can apply Melting Point and go in with Hammer of Sol. Vorgeth will periodically launch volleys of homing shadow orbs during this phase, and they will kill you if you don't shoot them down. Make someone the designated orb wrangler if you feel the need. You only need to kill three orbs to be out of danger, but it doesn't hurt to shoot all four. If you're in a Well of Radiance, you can safely ignore the orbs.
Aim to kill Vorgeth in the first DPS cycle. The second rotation of Wizards will be much more difficult because you'll be exposed when the DPS cycle ends. If you don't kill him on the first try, get to whatever cover you can find, melt the closest Wizard, and start working counterclockwise once again. When Vorgeth dies, you'll get your loot.
Part four: Dul Incaru
The remaining path forward is long but straightforward. There are plenty of enemies and some dangerous jumps involving wall-mounted boopers that will knock you off ledges, but it's nothing complicated or new. Again, just follow the bad guys and keep moving up. You'll eventually come to a small temple area that is home to the final boss of the Shattered Throne: Dul Incaru, the Eternal Return. She's easier than Vorgeth, but also a very different fight, so let's go over the mechanics.
Dul Incaru is guarded by three Taken Champions—ie big-ass knights. These Champions drop orbs when they die, and you'll need them to DPS Dul Incaru. The buff these orbs provide is time-limited, so try to kill all three Champions and then grab their orbs at the same time. If you take too long killing the Champions, Dul Incaru will summon a crystal at the back of the room that makes them immune. If this happens, kill the crystal ASAP—a shotgun works great—and then get back to the Champions. Taken Psions will also spawn in throughout the fight, and they'll multiply if left alone, so kill them as quickly as possible.
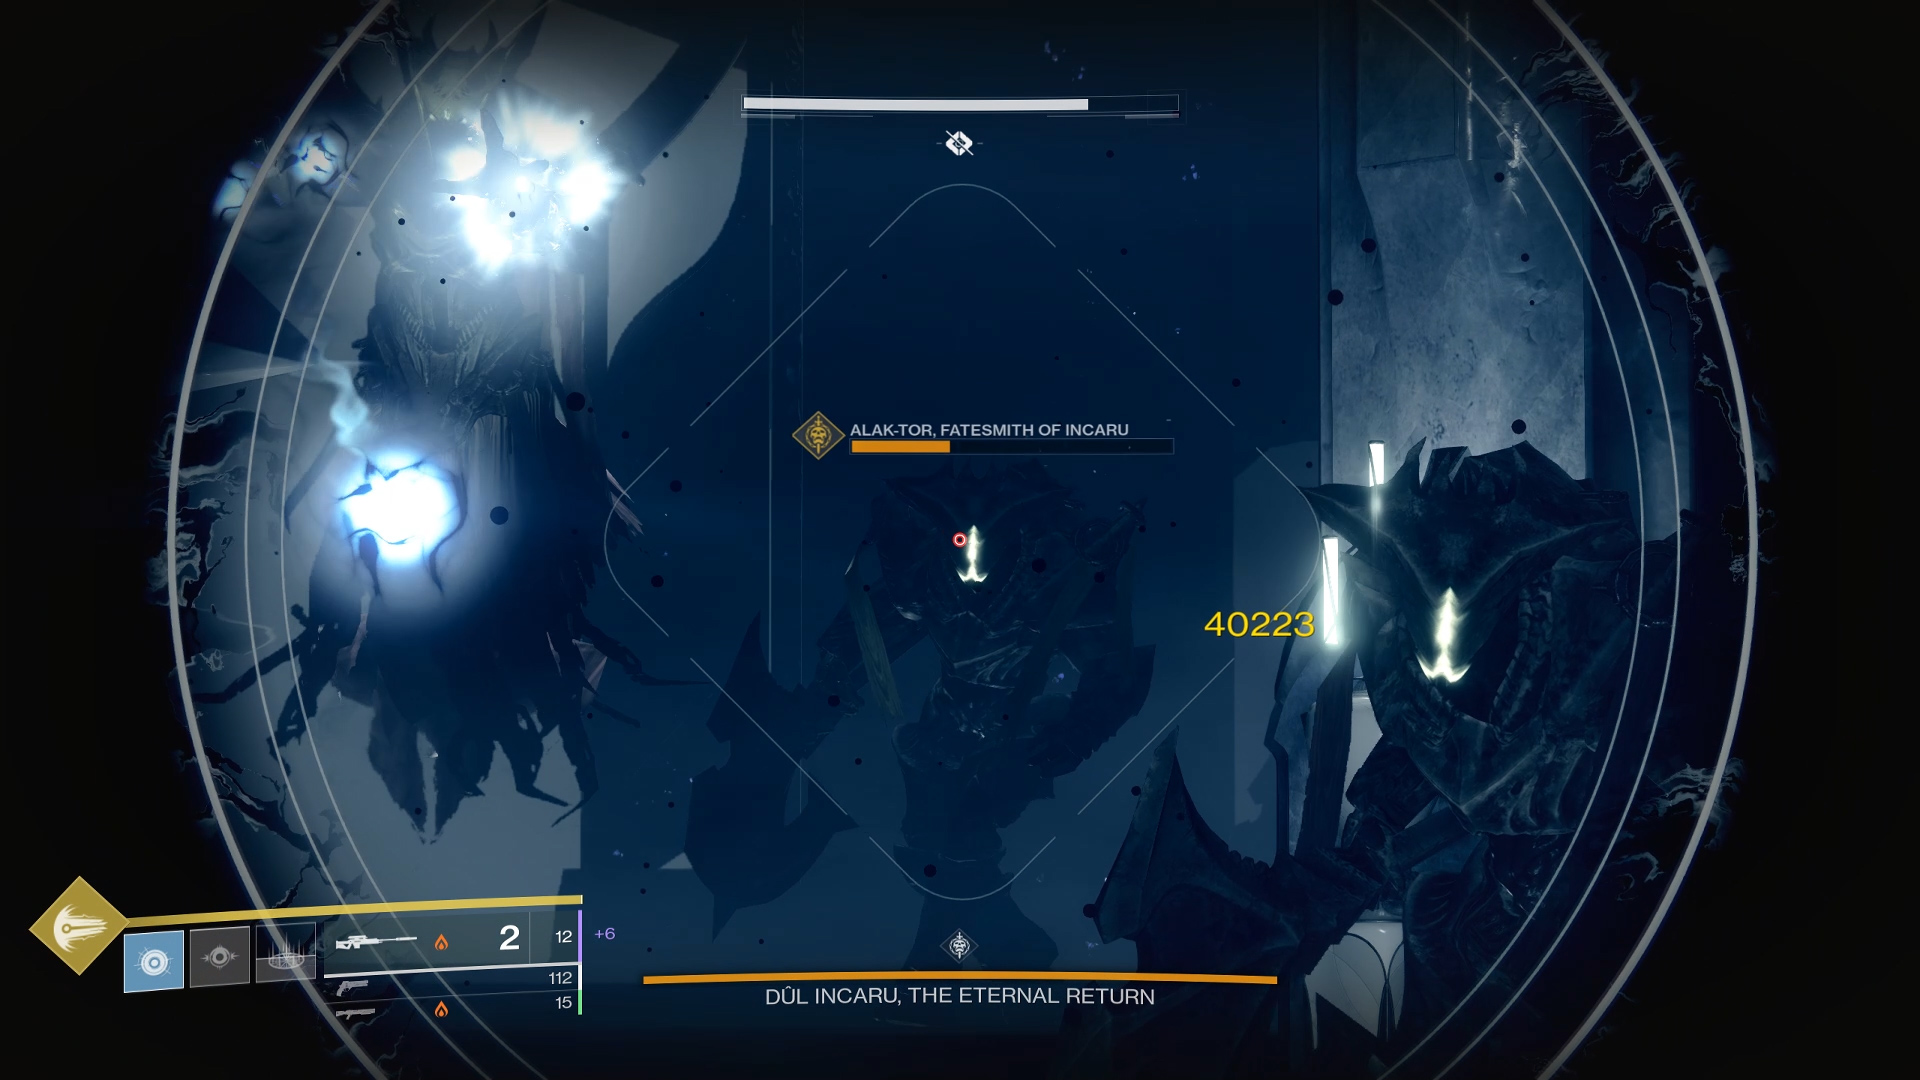
The tiny arena is really the biggest obstacle here. It doesn't offer much cover to hide from Dul Incaru's attacks, and it's so small that you can't put much distance between you and the Taken Champions. When you start the fight, get out of the entry doorway and move to one of the sides, as these offer better cover. Whisper of the Worm is great for killing the Champions because they're so easy to headshot, plus it will stagger them.
Once you get all three orbs—aim for at least two, but three is ideal—start damaging Dul Incaru. Use the same weapons and supers that you used for Vorgeth. The buff for this fight is tremendous, so no matter what you use, you will absolutely light her up. Whisper of the Worm, for example, does one million damage per headshot with three orbs. So yeah, she's probably going to die in one DPS cycle.
If everything goes according to plan, Dul should die shortly after you grab the final orb. Voila! Shattered Throne down. Now try it solo. Then try it solo without dying. The strategies in this guide will work for groups and solo players, so godspeed.

Austin freelanced for PC Gamer, Eurogamer, IGN, Sports Illustrated, and more while finishing his journalism degree, and has been a full-time writer at PC Gamer's sister publication GamesRadar+ since 2019. They've yet to realize that his position as a staff writer is just a cover-up for his career-spanning Destiny column, and he's kept the ruse going with a focus on news, the occasional feature, and as much Genshin Impact as he can get away with.

