How to complete the Grasp of Avarice dungeon in Destiny 2
Conquer the 30th Anniversary activity and bask in bounteous, pirate-themed loot.
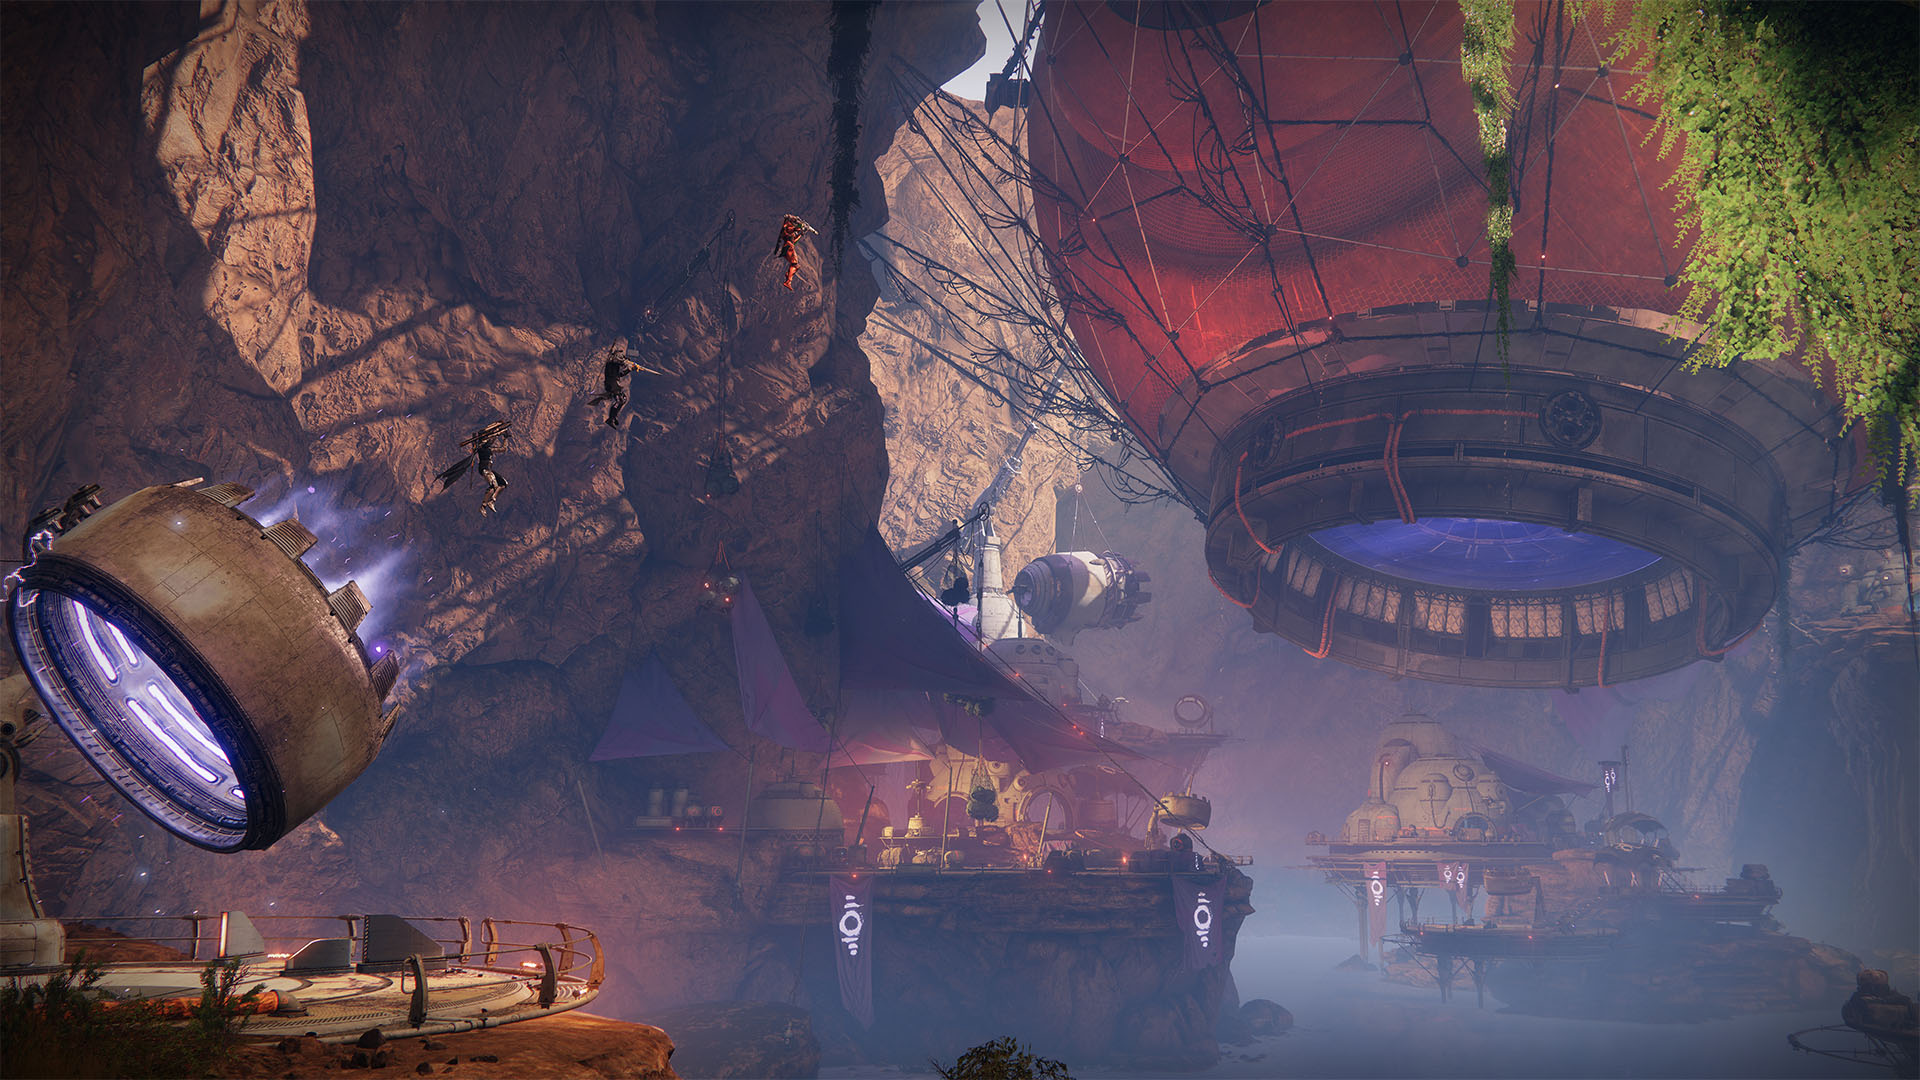
The Destiny 2 Grasp of Avarice dungeon headlines Bungie’s 30th Anniversary, along with Gjallarhorn, Forerunner, and more. The pirate-themed excursion is full of fun, explosions and riches. There are secrets aplenty within its depths, as well as loot to earn and bosses to conquer.
If you are wondering how to get the best out of it, here's your guide through the depths of the new activity.
Destiny 2 Grasp of Avarice guide: All steps and encounters
Opening the cave
The first part of the dungeon is a throwback to the infamous loot cave in the original Destiny. Landing in the Cosmodrome, you'll approach a cave where endless Hive will spawn. Once you start shooting, it won’t take long to figure out something's up. Every enemy who dies drops an engram and initially looks like an exotic, but will quickly turn red. If left long enough they will explode.
Picking one up gives you the debuff 'Burdened by Riches,' which lasts for 30 seconds. If you pick up another, it refreshes the charger and produces another stack. Be careful to manage your timer: If it reaches zero, you die.
Inside the cave is a crystal. If you stand by it, you will notice that your timer freezes and your stacks will decrease. This is a depositing mechanic. To open the cave and continue through the dungeon, deposit 50 Burdened by Riches.
Travelling to the first encounter
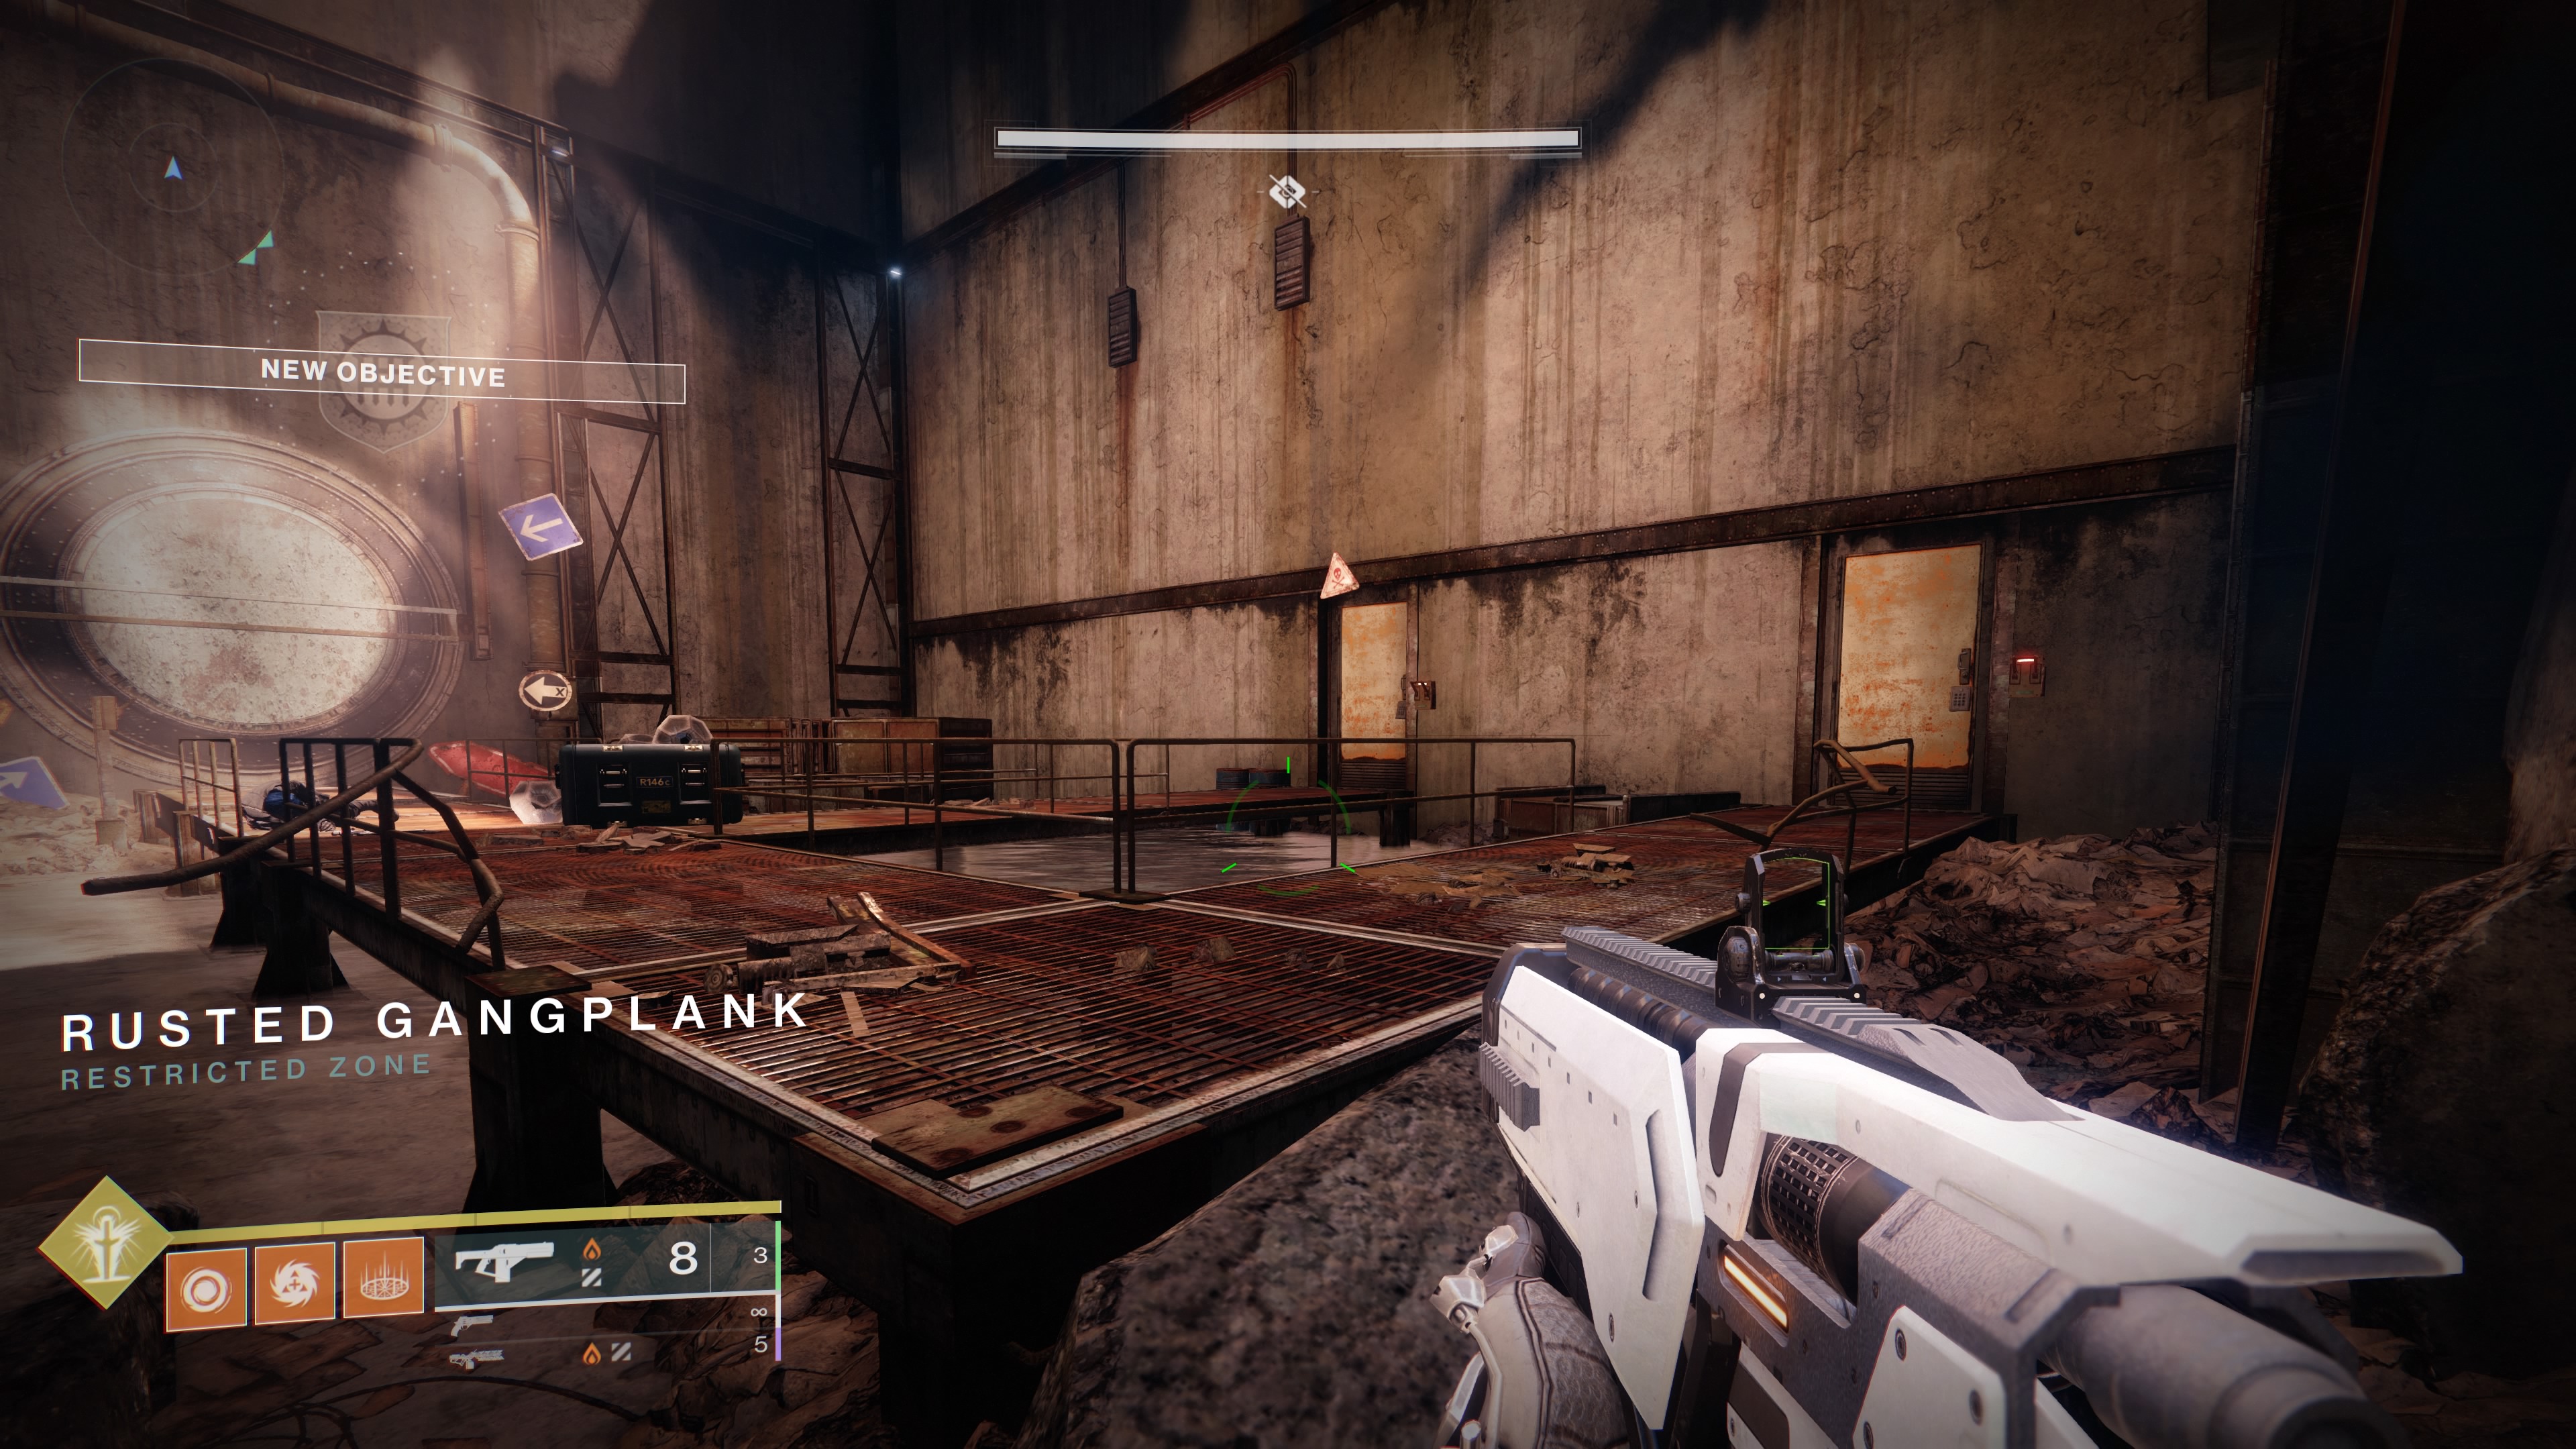
Make your way through the cave, defeating any Hive that get in your way. Eventually, you will come to an outside clearing, where you will find several doors. The dungeon has traps laid throughout, and opening the wrong door or not watching your step will leave you impaled on spikes. It’s fun to figure out the route and also, watch your friends die as they guess wrong.
Once you've had a chuckle, the solution is this:
The biggest gaming news, reviews and hardware deals
Keep up to date with the most important stories and the best deals, as picked by the PC Gamer team.
- Open the door on the left.
- Jump over the pressure pad in the door to the terminal and activate it.
- Leave the room and enter the tunnel that’s now open.
- Jump across, though be careful: the platform will give way when you stand on it. Underneath it is a little compartment you can jump on to activate the next switch.
- Leave the way you came and then find scenery you can jump up.
- Vents at the top of the wall will now be open. You want the furthest on the right.
- Step on the pressure pad and jump up.
- Continue heading upward on the scenery. Watch for the pressure pad on the platform next to the pipes that will kill you.
- Once up, jump across, avoid falling down and carry on through.
- Continue on until you find a new open area.
- Jump into the open hatch on the left side.
- Kill Thralls, avoid the pressure plate and find a terminal. Activate the switch.
- The door you came through will close and another will open. Leave through the opened door and then go through a new open hatch across from you.
- Activate the switch in there, then jump across the newly open door.
- Activate another switch, and a big door will open on the other side of the area. A Shrieker will spawn too so be careful.
- Get to the newly-opened door, kill the Hive and go to the back of the room. Activate the switch.
- A similar room will open up on the other side of the arena. Jump across and kill the Hive. You will then be faced with two doors. You will want the one on your right.
- You will then enter a circular room. Kill any lingering Hive and then jump to your right.
- There will be another switch. This will open a door on the opposite side of the room.
- Kill any Hive there and then open another door with yet another switch. The one on the opposite of the arena is now open.
- Kill Hive and yup, you guess it, flip the switch.
- The next door will open on your left and Fallen will come out. Kill them, and the Vandal will drop a Scorch Cannon.
- Take that and run to the previously-unopened door.
- With the Scorch Cannon, fire a rocket at the weird-looking terminal next to the door. You will either have to do this repeatedly or charge up a shot fully to open the door all the way.
- Jump across and head up the stairs, but watch out: a huge cylinder will fall down the stairs and crush you, so zip into one of the side compartments on the side to avoid it.
- Then continue through, until you enter a garage.
- Look for boxes that lead into a vent. Go inside and continue.
- Then in the next room, jump from platform to platform to the ajar door. You’re now in your first encounter.
Phry’zhia The Insatiable
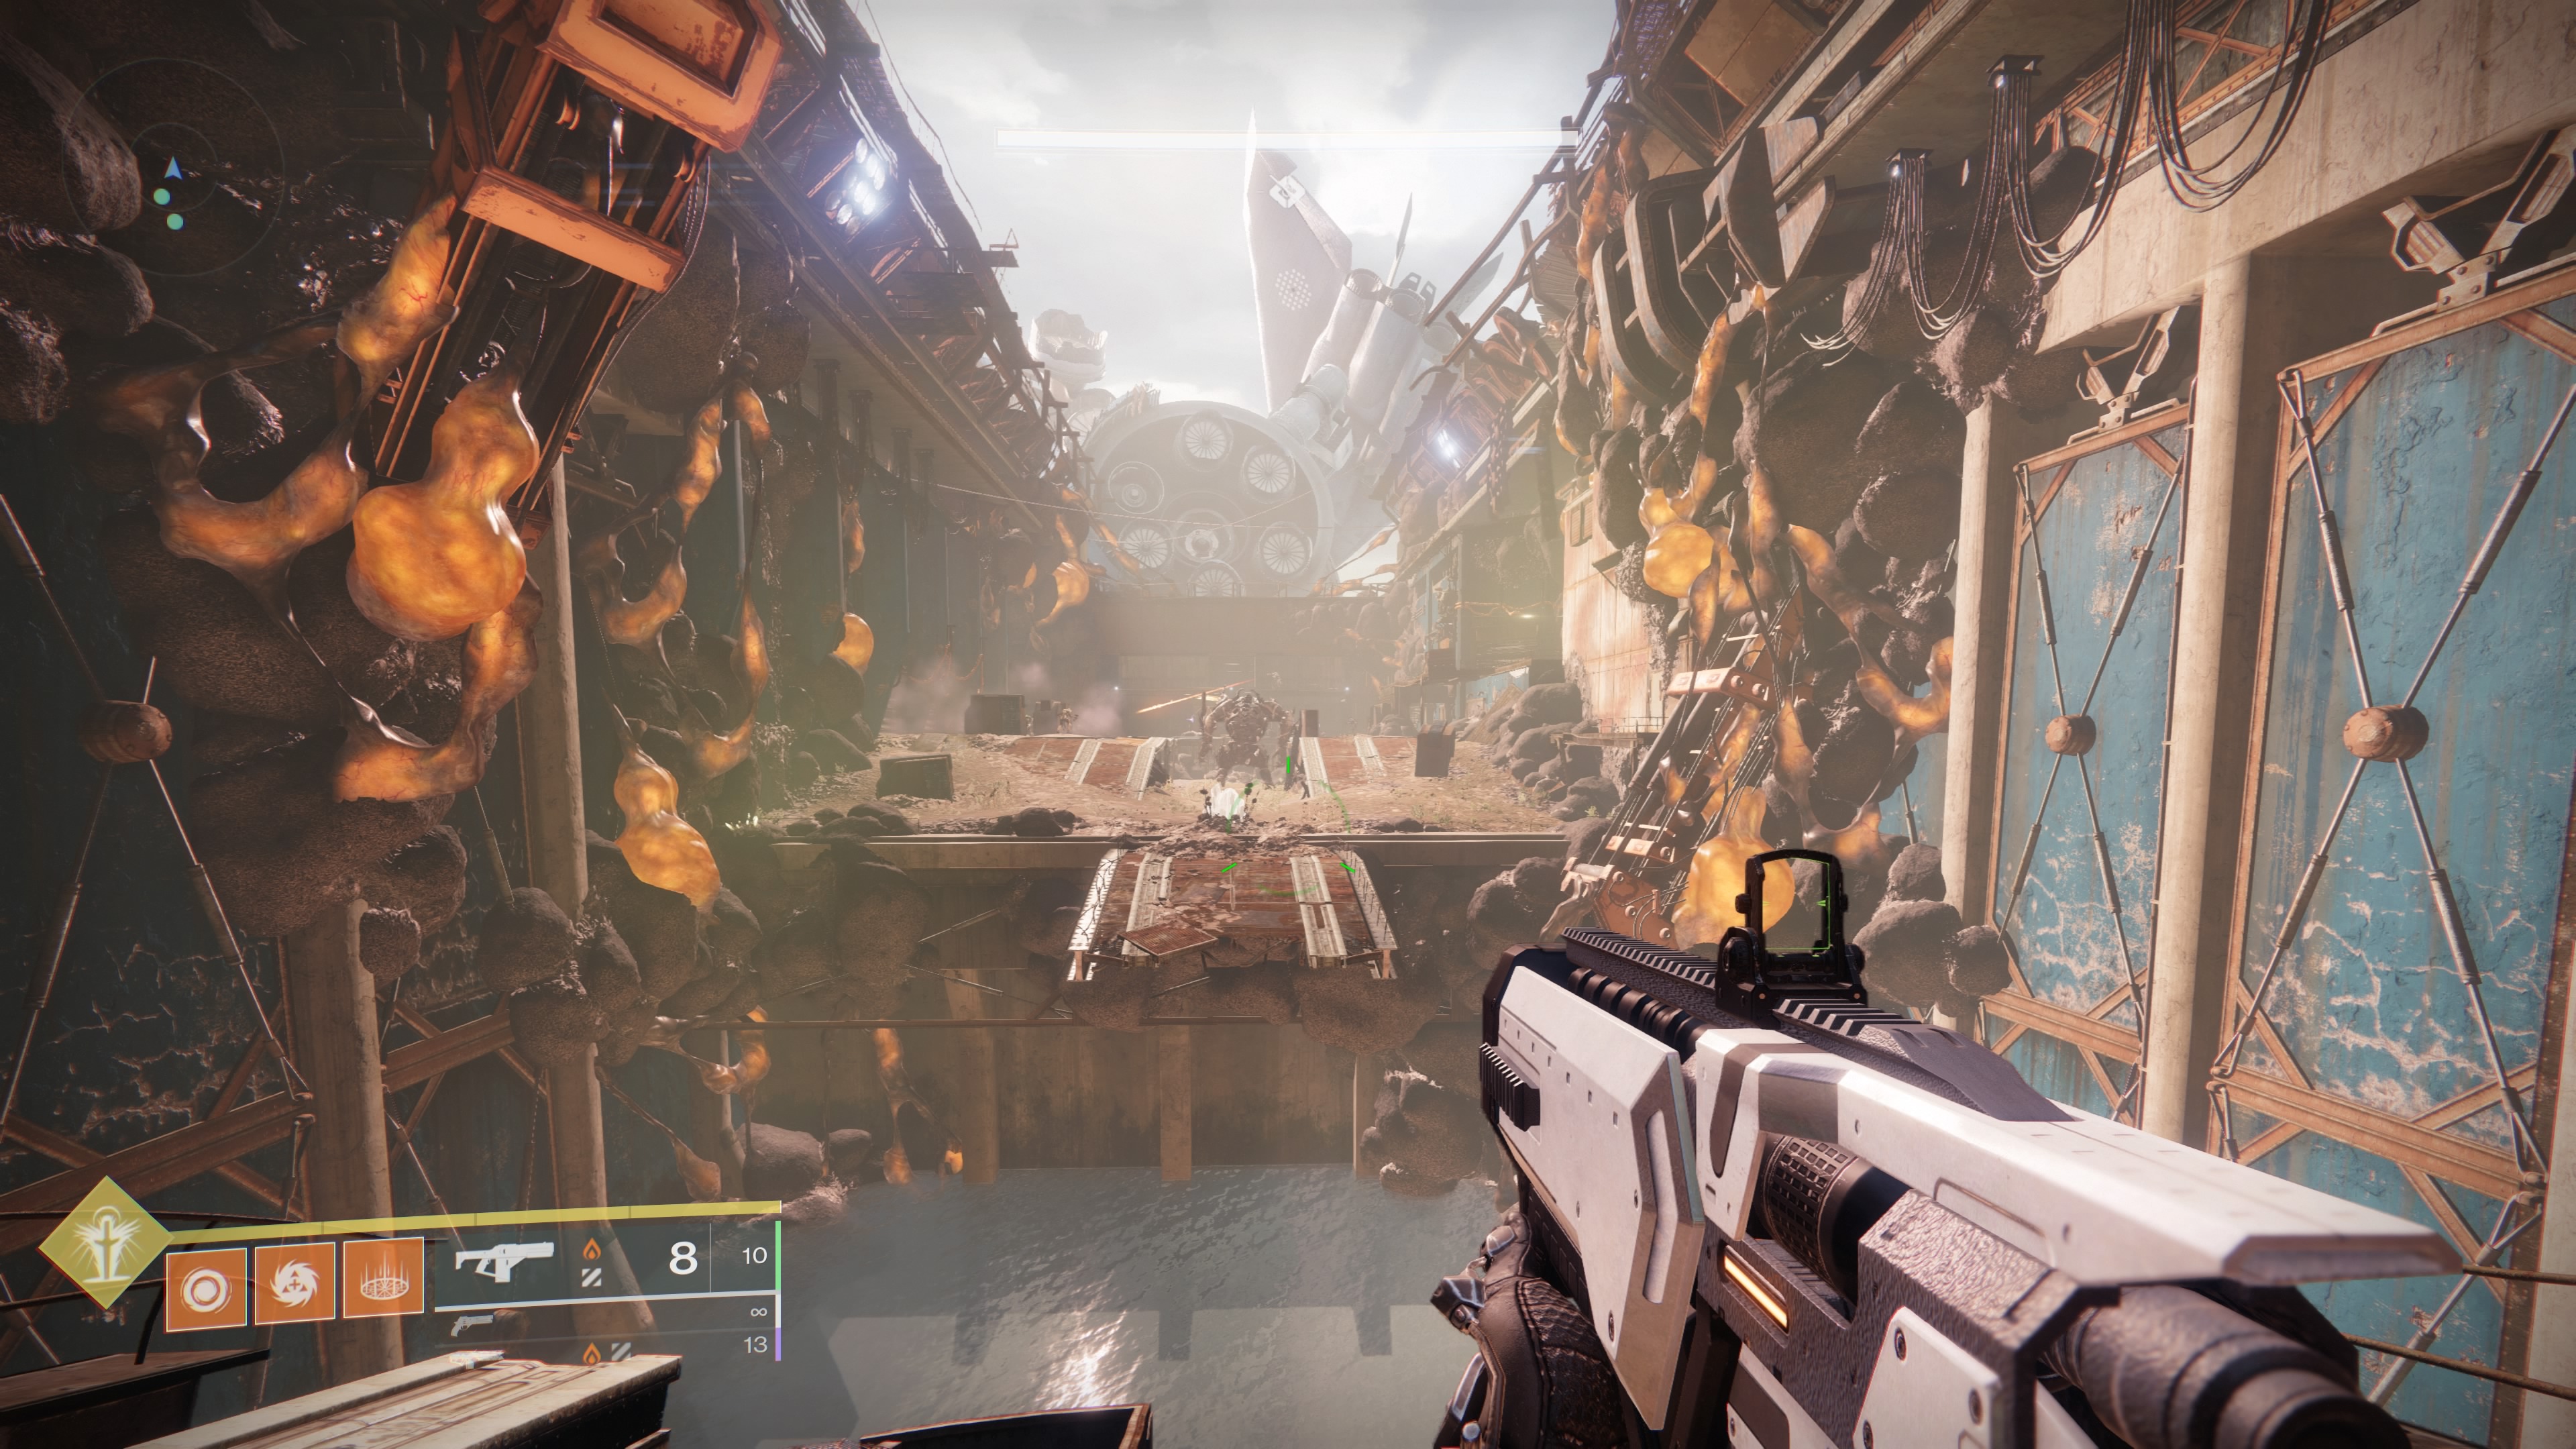
Phry’zhia is a big ogre, but if you have been paying attention to all the mechanics thus far, it’s not too hard to put together what you need to do. First, jump across the chasm, and you will see a crystal, like the one in the loot cave. Continue past it, while avoiding the ogre’s beams.
At the back of the room will some Fallen Kill the Vandal, get the Scorch Cannon. Take cover from the ogre behind the small wall. Then (if you're at the ogre) look to your left and you will see another terminal above the door. Use the Scorch Cannon to open it.
Once open, jump up and get killing. The Hive inside will drop the Burdened by Riches engrams. Pick up as many as possible (there should be 14 available at once, but you can miss one or two). Deposit them at the crystal, while trying to avoid the ogre’s fire again. Then run back to the back of the room. If you need another Scorch Cannon, kill the Vandal again. Then use it to open the right terminal. Once again, kill all the Hive and pick up as many engrams as possible.
In total, you and your team need to deposit 25 Burdened by Riches to start a damage phase. Once you do, you will hear a loud noise. Run from the crystal to a safer spot (the last open garage is a good bet), and once you see the ogre perform an animation during which they form a ball over their head, it becomes vulnerable to damage. Unleash everything you have, until it either falls or becomes immune again. If they do, reset and repeat until it's down.
Get your chest from the middle of the room and leave the arena through a new opening underneath where the Scorch Cannon, Vandal, was.
Sparrows
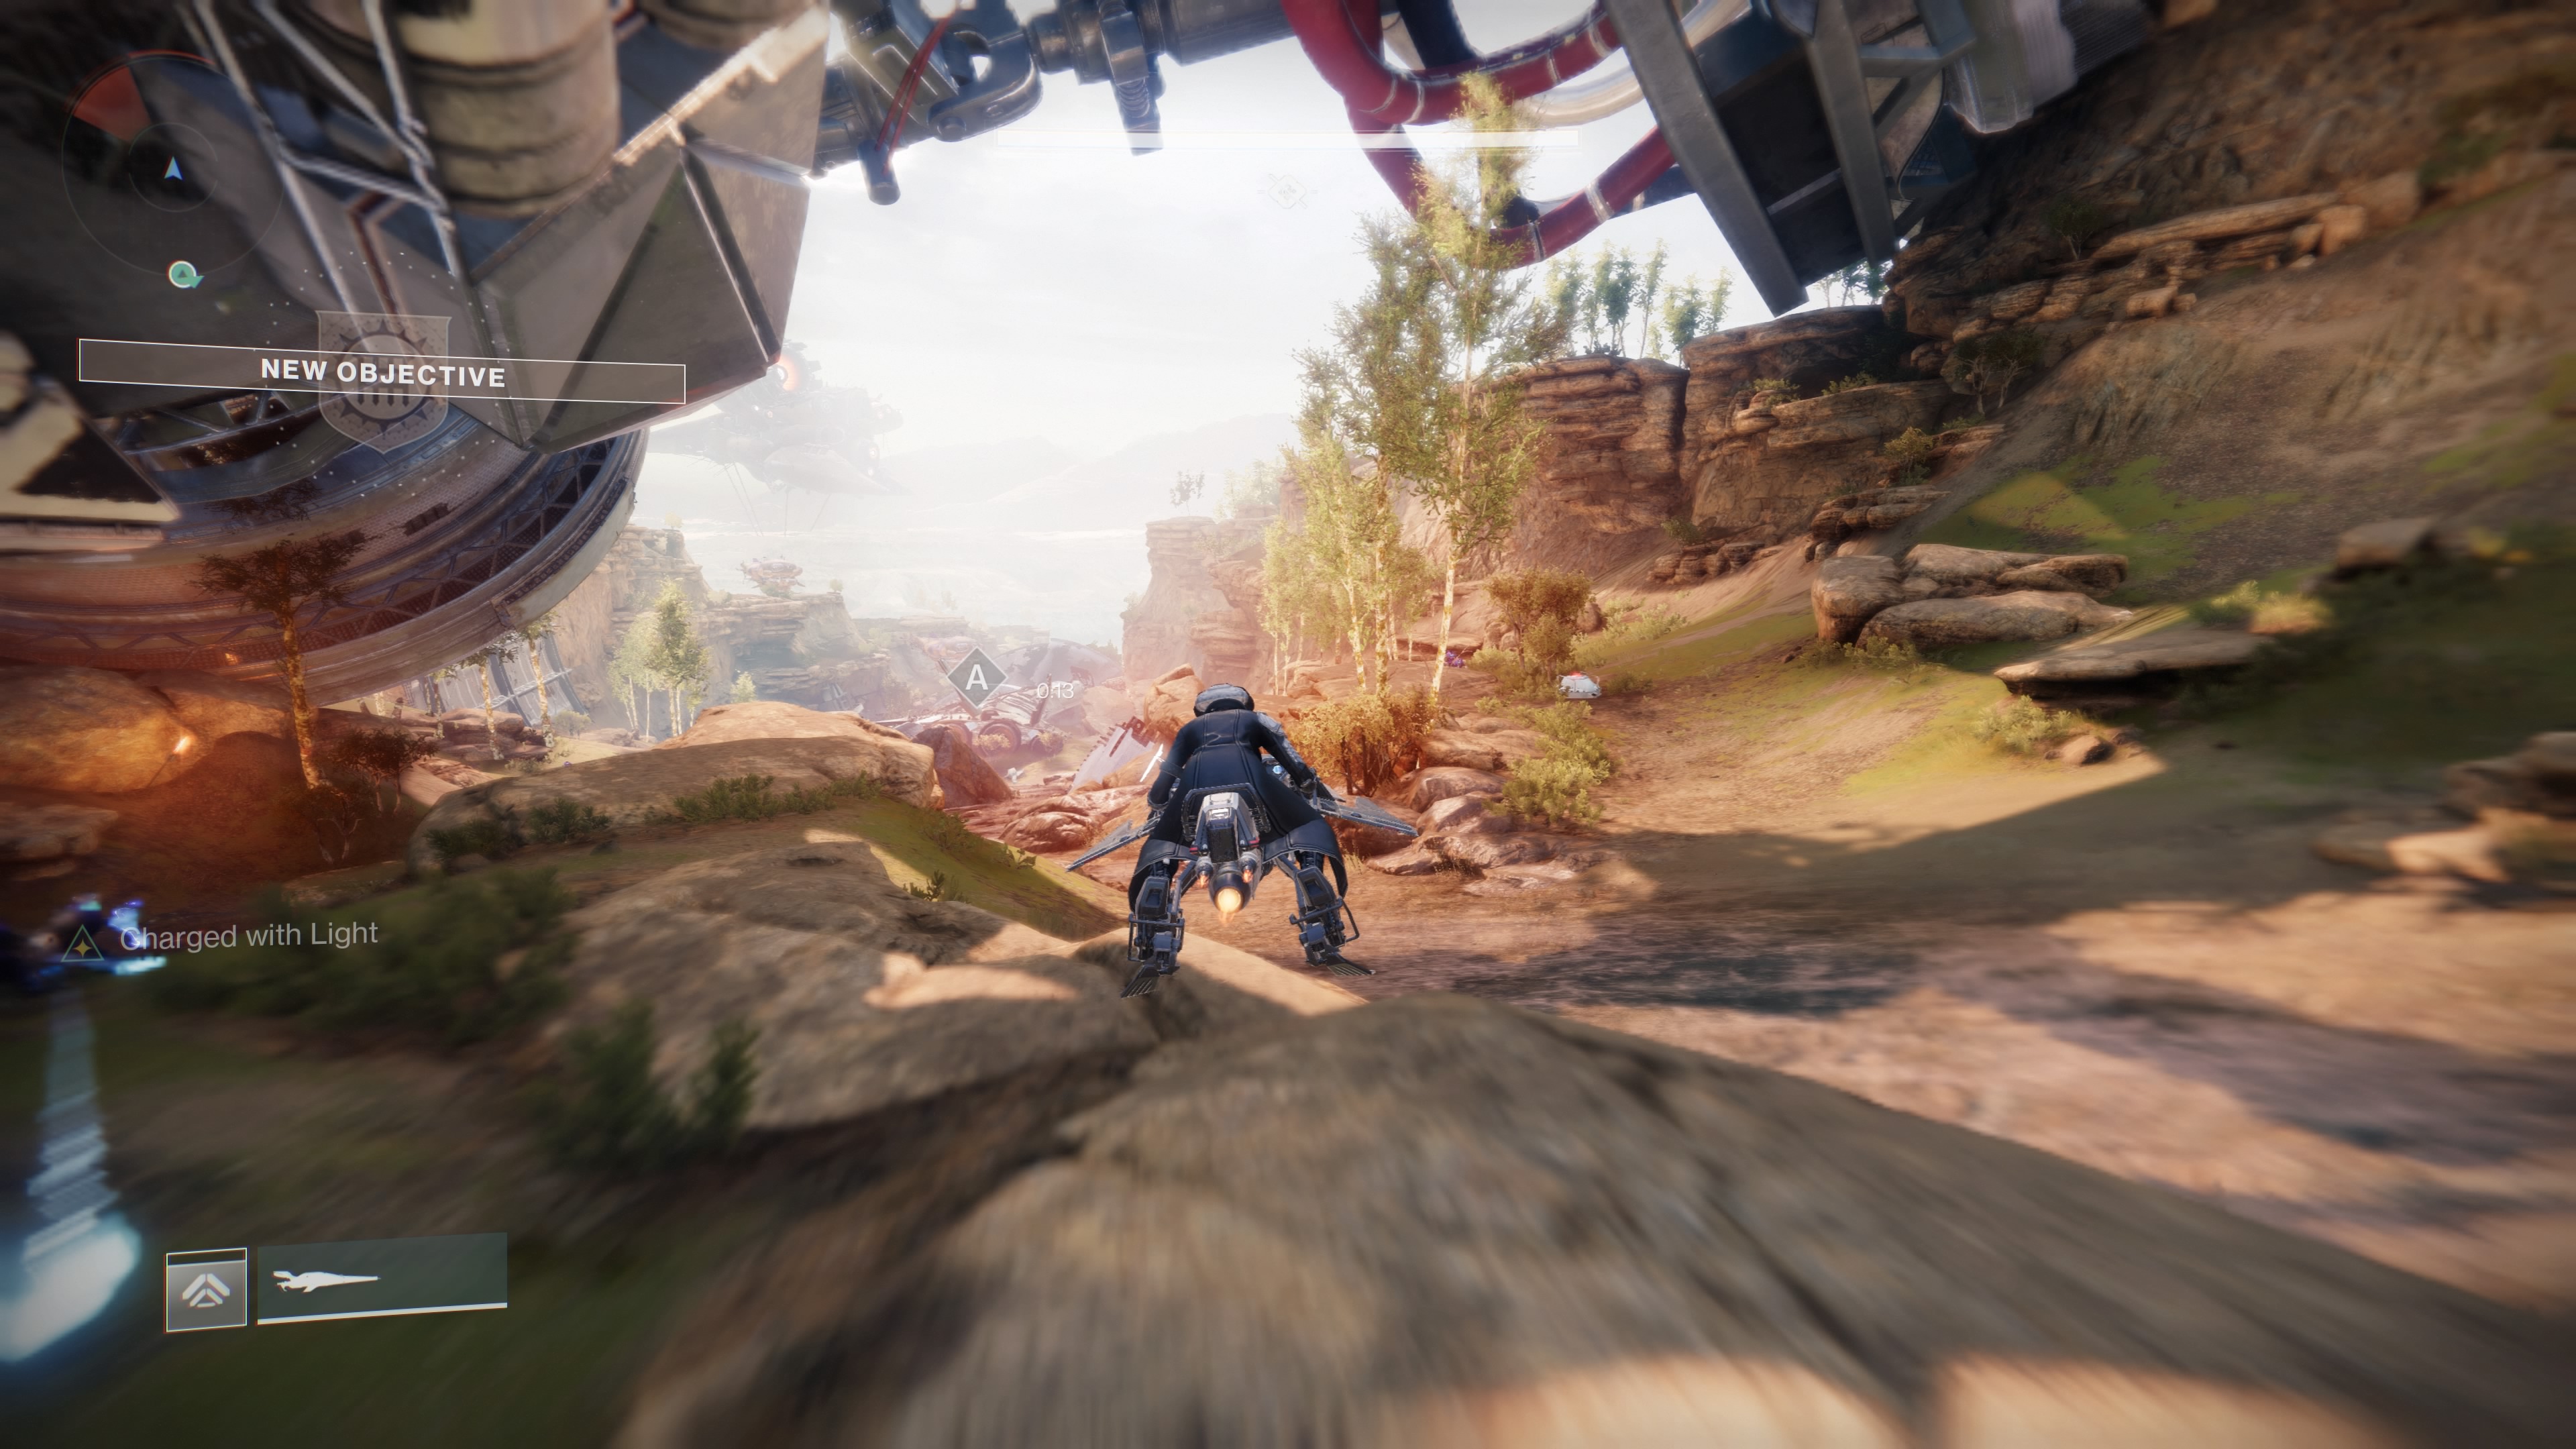
Eventually, you'll get to a big room with two terminals. Use the terminal on the left. A big door will then open and you will have to speed your way through a battlefield on your sparrow. This encounter is easy enough to explain mechanically, but will almost undoubtedly take several times to learn.
Get to the mines that are counting down before they explode. You don’t need to stop to defuse them: just drive through. The way forward is more or less straight, but it’s likely you'll need more time to get to the end. That comes in switches littered around the areas. If you drive over or near them, more time will be added to the mine timer. For example, there are three in the opening area. Try to keep an eye out for them as you drive and learn the route. Eventually, you will use a cannon to launch into a skull-shaped cave, where you will defuse the last bomb.
Once done, continue on through the crystal cave, until you drop down into a big open area. This is the next encounter.
Fallen Shield
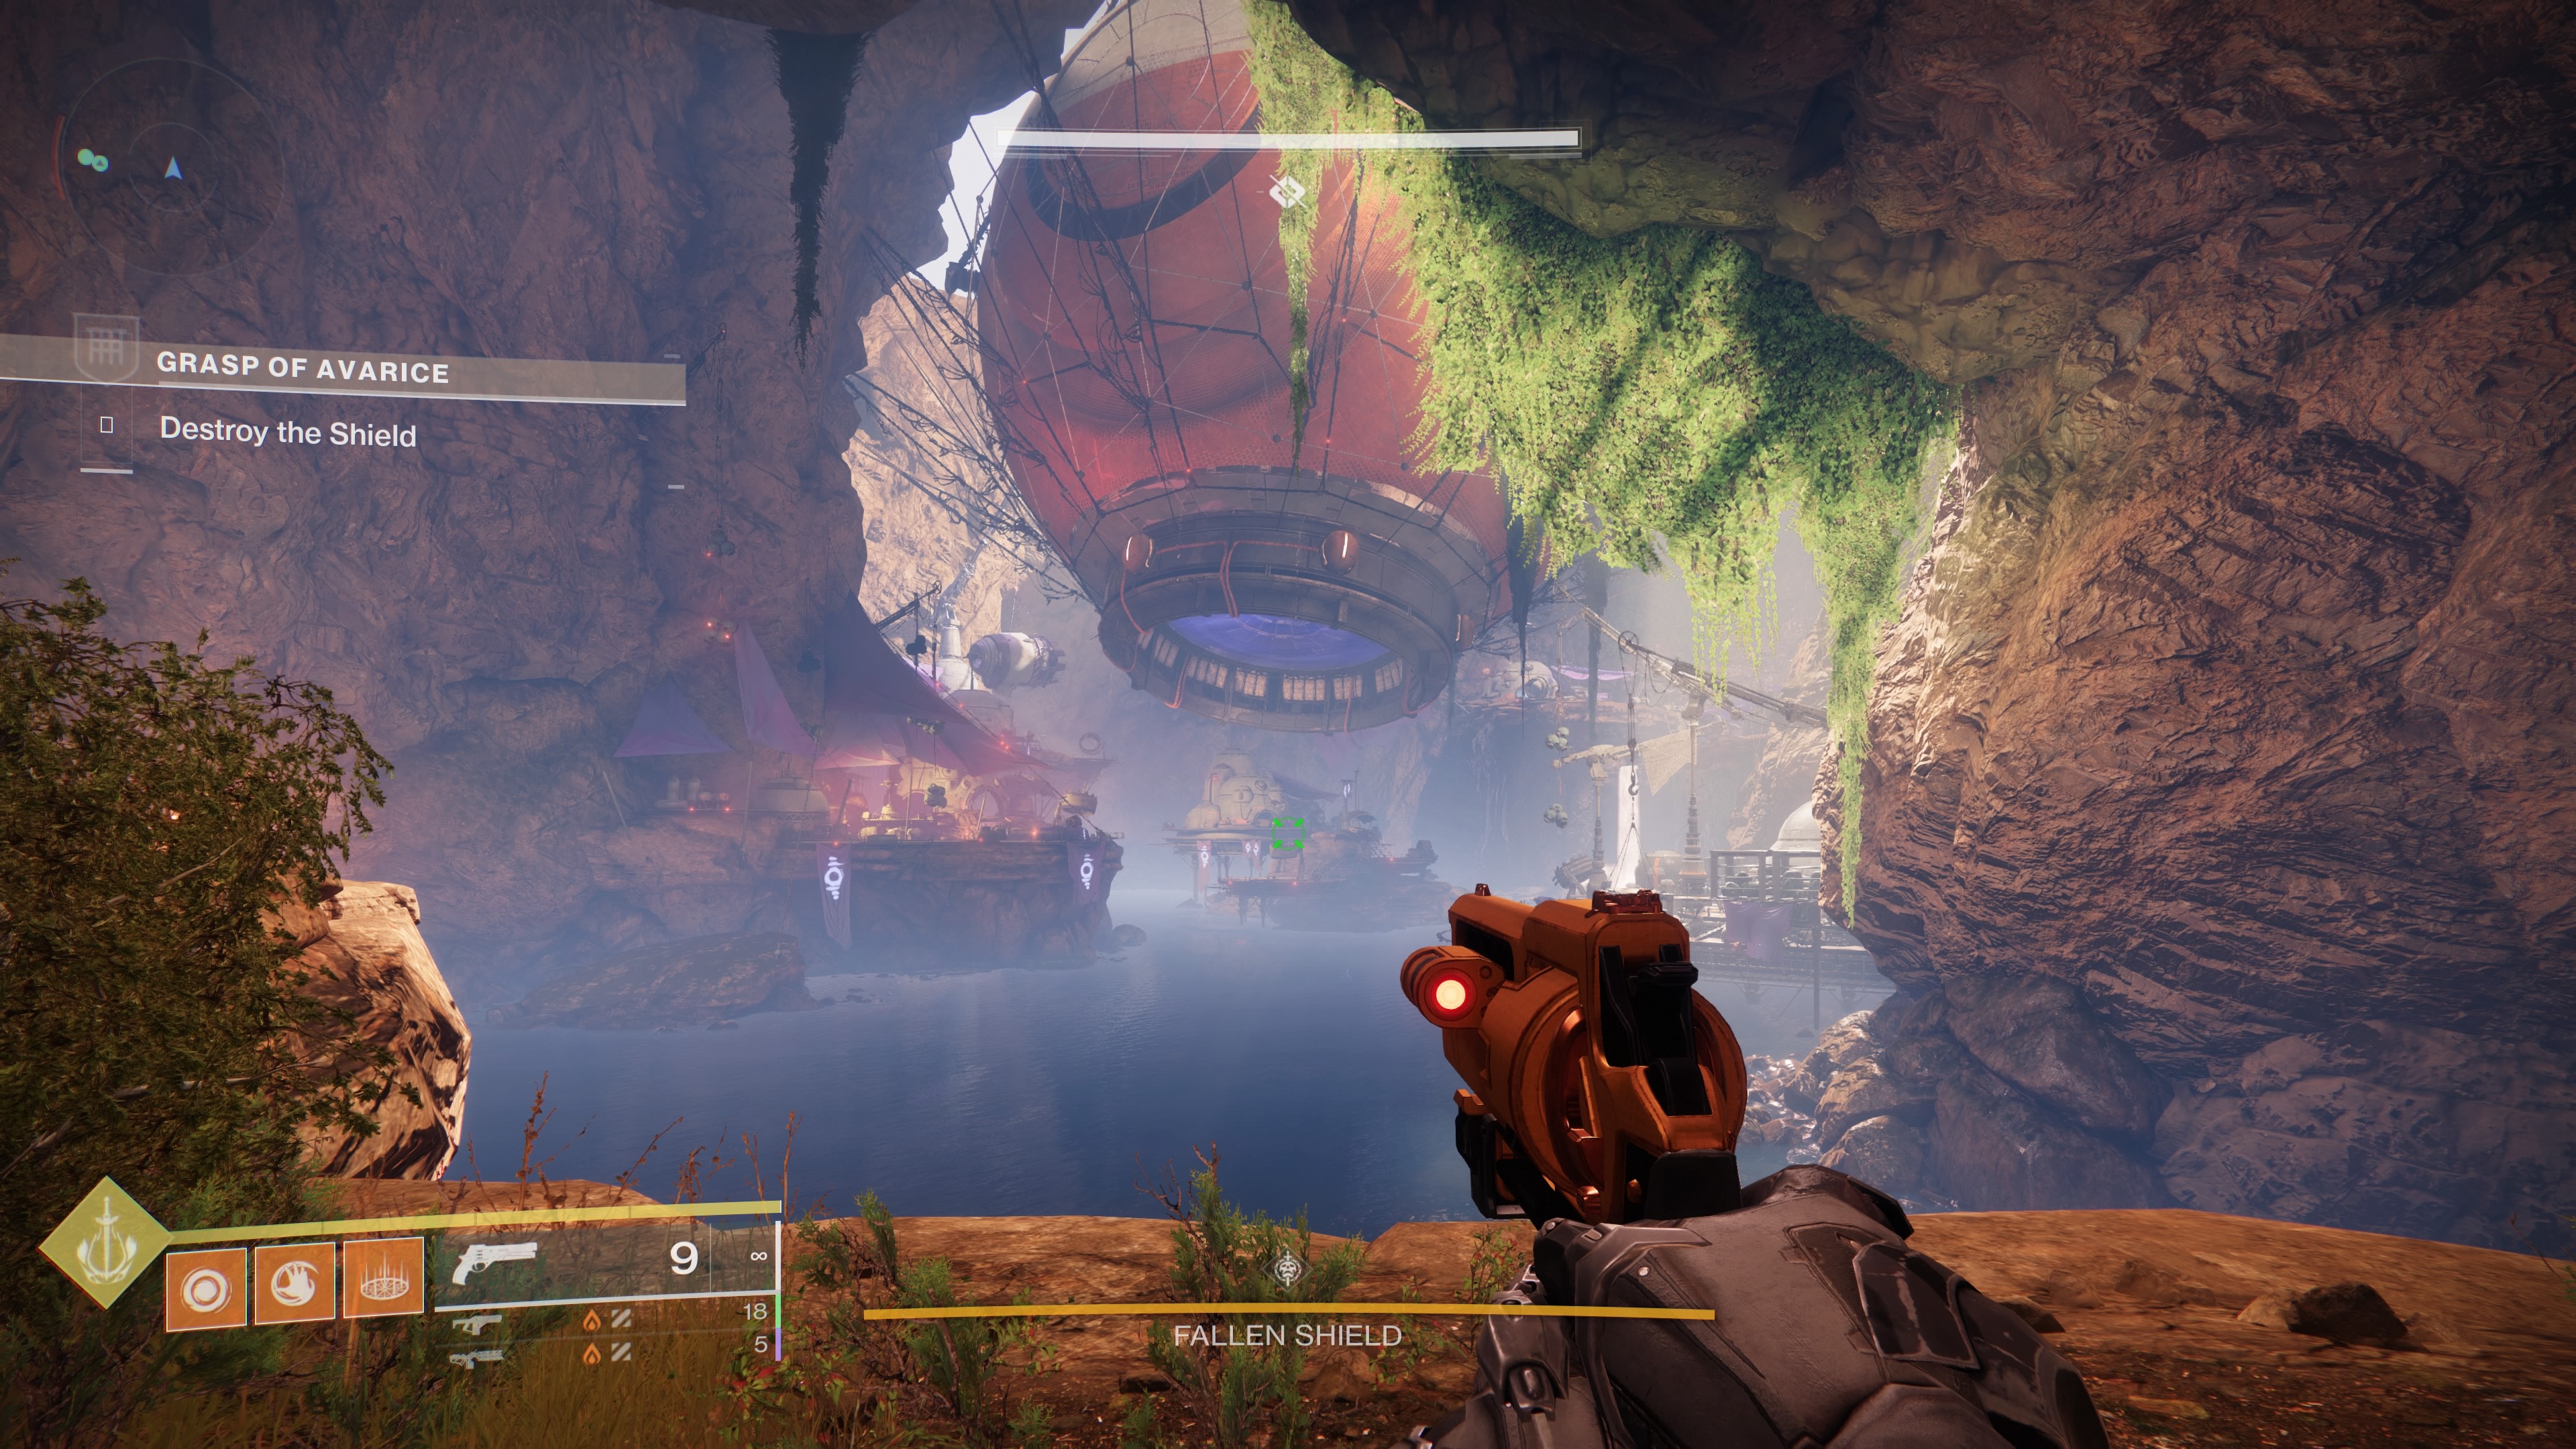
This encounter is fairly easy to understand, but will likely take a little while. There are seven ‘areas’ all scattered across the enormous room. First, head into the small hut on your left and kill the Vandal for his Scorch Cannon. Then get on the platform underneath the big cannon. There's another terminal you need to shoot with the Scorch Cannon to activate it. Then it launches you to another platform.
Once you land, look around the arena. Try to find a Servitor with a white shield around it. Once located, go to the Cannon in your area. Rotate it until it is pointed at the next closest island to the Servitor. Shoot the terminal and fire yourself across.
Once you reach the Servitor, you'll find a whole bunch of enemies around him. Kill them, and they will drop the Burdened by Riches engrams. Pick up as many as you can and take them inside the central building of the area. A crystal will be inside. Deposit them. Once 15 are deposited, the Servitor’s shield will lower and you can kill it. Do so.
Once dead, the Servitor's body will fall. However, you're not done with it. Push its robotic corpse towards the cannon, then rotate it so it's facing the structure in the middle of the room. Then… well, you guessed it, fire it at the structure like a cannonball.
You need to do this four times. Once you damage to the structure, just look around the room for the next Servitor and make your way across using the cannons. Once you are done, cannon your way to the middle platform, get your chest and then fire yourself directly up into the structure you’ve been firing at. Then make your way to the final room in the dungeon.
Captain Avarokk, The Covetous
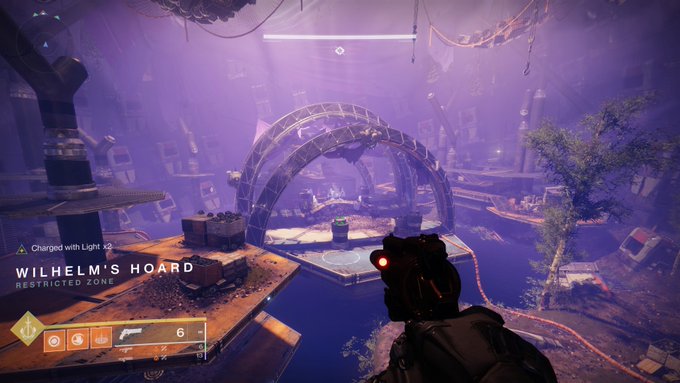
This final boss brings together all the mechanics used throughout the dungeon, so it’s really about systematically clearing the room and preparing for the damage phase.
One thing to note at the start: there are four main areas. As you enter the room, one on the left, a lower earthy island, one on the right, and then a much larger area in the middle which the boss and his cronies will occupy. That's where the encounter’s crystal is. Have one person of your team take one of the areas (excluding the area with the gold where the boss will be).
Destiny 2 Lumina: Snag the exotic pistol
Destiny 2 Ager's Scepter: Full walkthrough
Destiny 2 No Time To Explain: How to get it
Destiny 2 Salvation's Grip: Beat Aspect of Control
Destiny 2 Lament: All Dead Exo locations
Destiny 2 Dead Man's Tale: Presage quest walkthrough
Run to the platform where one engram will be sat. Once you get close, it will close and the boss will run out. Return to your area. You need to keep your area clear of enemies, as a steady stream of Dregs will be spawning. Stay on top of your area, keeping it clear of enemies and everything will be much easier.
The boss will be in the middle, but he also has two sub-bosses floating around him. One is a Sniper Shank, the other a Marauder who periodically turns invisible. Your first port of call will be to kill these two as they will be a constant threat from the centre. If they're still alive during the damage phase, they will tear you apart. There is no special mechanic to killing these two; they just have a lot of health. You need to try and get in and deal as much damage as safely as possible to defeat both of them. However, be mindful of your ammo situation. You must still keep the lion’s share for the main DPS phase, so, even if it takes a while, it is better to slowly chip down their damage bit by bit with special, even primary ammo.
Once they're dispatched, the arena should become much more manageable. Now try and locate the Vandal in the arena who will drop the Scorch Cannon. Kill him, take it. On each side of the middle structure, there will be a terminal. Make sure everyone on the team is in place, and then shoot it. This will cause the Burdened by Riches engrams to fall from pods above you. Pick up the engrams—there should be ten on each side. Then jump into the middle, and deposit them at the crystal. Avoid the boss’s fire by using it as cover. You need to deposit 50 to start the damage phase, so once you’re are done depositing your stacks, jump out ready to collect more. This time, a different terminal will need to be shot, though.
Once you've deposited 50, the damage phase will begin. Avarokk will spawn in front of the pod and make the same loud noise the ogre encounter had. Give him everything you got. Once he becomes immune, go back and take your places and do it all over again.
Keep going until he falls. Once he does, you will have your riches. Congratulations, you’ve beaten the Grasp of Avarice.
- Where is Xur: Find Destiny 2's exotics dealer is this week.
- Destiny 2: The Witch Queen review: The best expansion yet.
