How to get the Destiny 2 Divinity exotic
You have to do more than just beat the raid.

How do I get Divinity in Destiny 2? As the dust settles on the Destiny 2 Shadowkeep raid, Garden of Salvation, players are discovering that there's more exciting new loot to acquire once the endgame challenge has been done and dusted: the Destiny 2 Divinity exotic trace rifle.
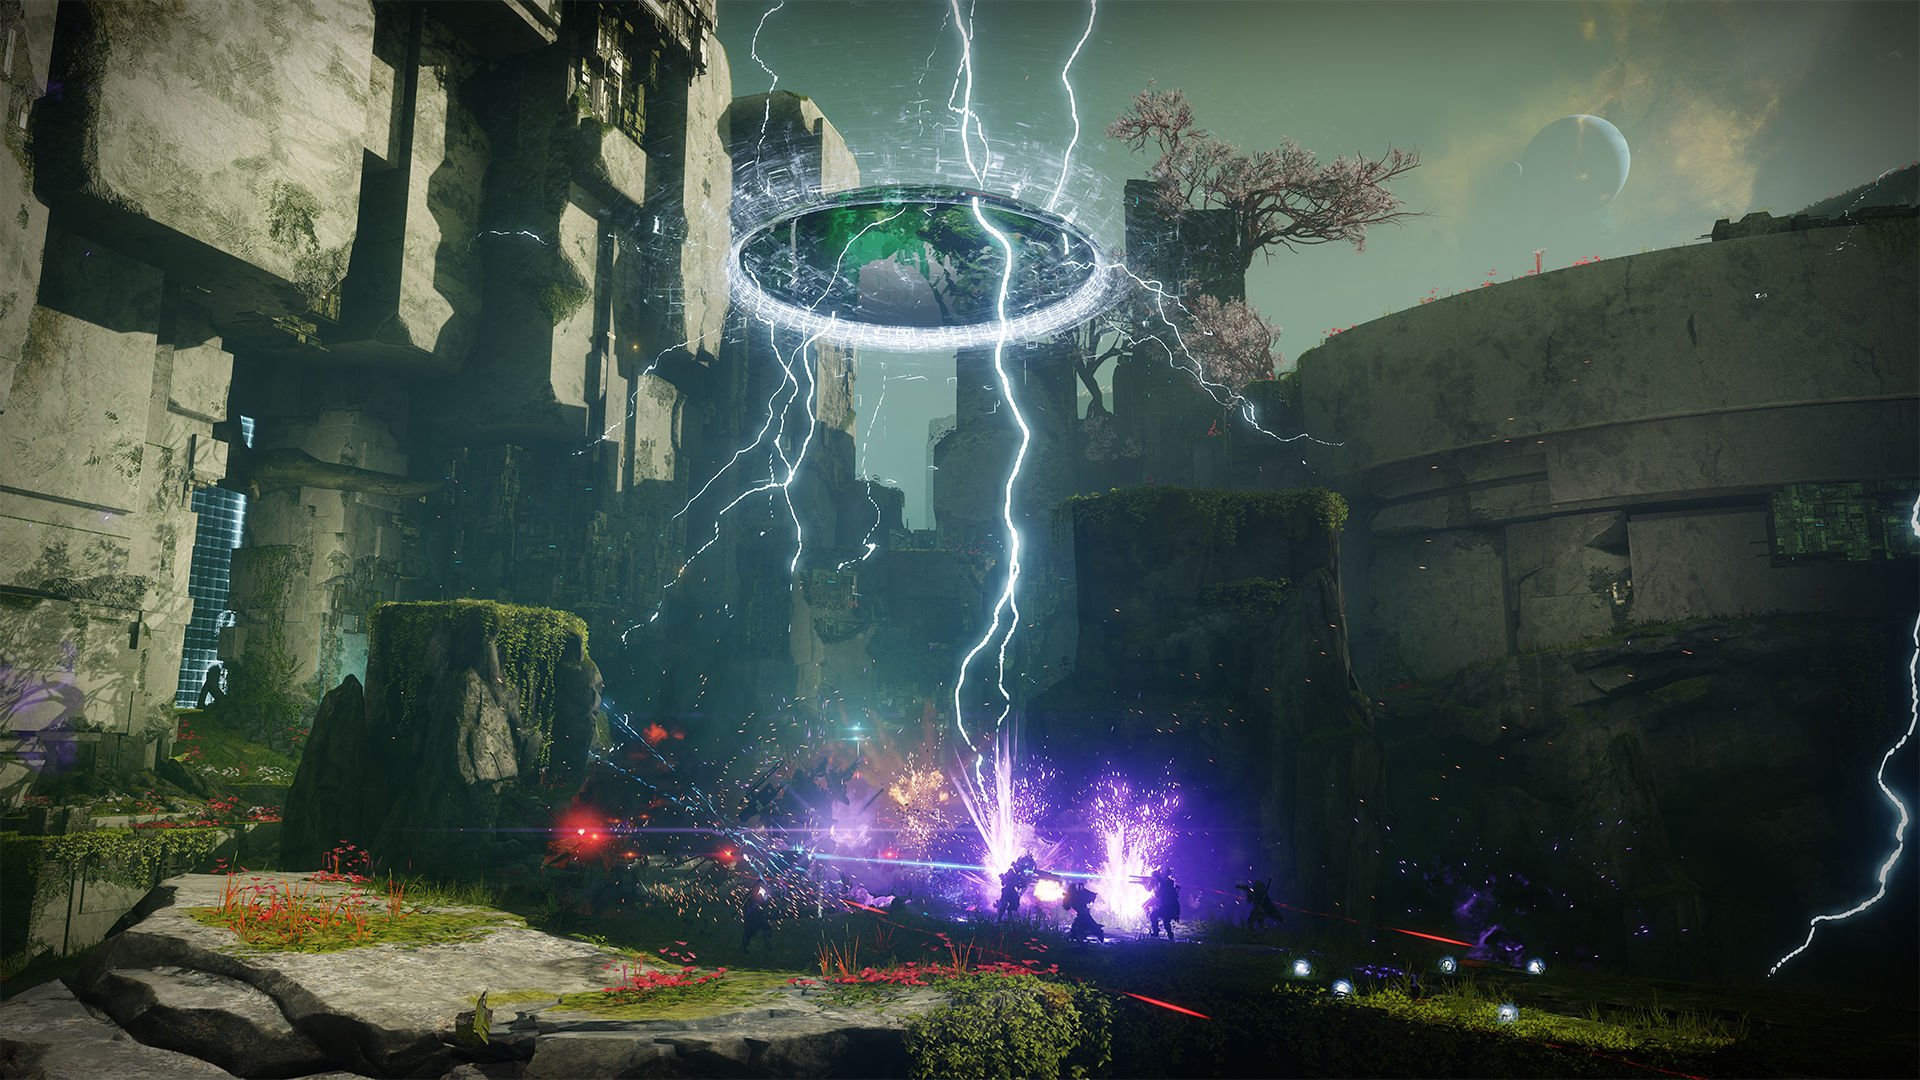
Divinity is a Shadowkeep exotic that creates a large critical hit spot on a target if you're dealing sustained damage to them. To get it you need to complete a few simple quest steps before venturing into the raid. In the Vex's Black Garden birthplace you have seven tricky puzzles to finish.
First, we'd like to congratulate the indefatigable Datto and the good folk of r/RaidSecrets for the following information. So, without further ado, let's get into each of the Destiny 2 Divinity quest steps.
How to get the Destiny 2 Divinity exotic
Your exotic quest starts in the Lunar Battlegrounds. This is the first place in which you'll have done battle with the Hive, and the spot you'll have picked up the Destiny 2 Captive Cord necessary to craft the Arc Logic auto rifle. In other words, head for the southern exit of Sorrow's Harbor and turn left when you arrive at the spot where you captured multiple nodes in the first Shadowkeep mission, instead of right.

Destiny 2 Bad Juju: How to get the exotic pulse rifle
Destiny 2 Lumina: Snag the exotic pistol
Destiny 2 Izanagi's Burden: Grab the exotic sniper
Destiny 2 Leviathan's Breath: Exotic bow quest steps
Destiny 2 Deathbringer: Bag the fearsome launcher
Destiny 2 Fourth Horseman: Make this shotgun yours
Destiny 2 Ruinous Effigy: Growth quest steps
Destiny 2 Traveler's Chosen: Get the OG sidearm
After zooming your Sparrow through some narrow caverns, you'll hit the Vex gate. Here you'll face three waves of the cybernetic miscreants. Once you've sent them packing and the final boss, an exotic will drop. Pick up 'What's this... What's this' to start the Divinity exotic quest.
This is a core that you need to get analyzed on the planet, Nessus. The first place to go to do that is The Orrery, just northeast of Artifact's Edge. When you get to the large stairs that take you to the area's main boss, jump up to the small cavern midway up the stairs on your left. Inside is an oracle and a few foes to deal with.
You also need to get some analysis done in Ancient's Haunt, northwest of The Tangle. The cave you're looking for here is about halfway through this Lost Sector. The Conflux's Lost Sector is where you'll find the final node to visit, which is in the northwest corner of The Cistern. Halfway through this Lost Sector you need to access the high ground in the large room. Jump onto the main central pillar, scale that, and jump to the right towards another small room cut into the rock. Inside is the final node and interacting with that leads you to the 'Defragmentation' quest step.
The biggest gaming news, reviews and hardware deals
Keep up to date with the most important stories and the best deals, as picked by the PC Gamer team.
This Divinity quest step requires 120 Decryption Core Fragments. You can get these from either destroying Vex on the Moon or by playing through the new Vex Offensive mode. After that you need 30 Phantasmal Fragments at Eris Morn's Lectern, which will then bag you an Empowered Decryption Core. Destiny 2's Phantasmal Fragments can be picked up from Nightmare enemies or purchased from Eris for Helium Filaments.
With that aside, it's time to get into the raid. There are seven puzzles to tick off here that require patience and teamwork to solve, so stick to your trusted clan mates to get it done efficiently. The puzzles are also best shown visually, so we've embedded Datto's video guide and skipped to the relevant point above. Start by jumping to the alcove below the platform where the raid starts and we'll see you on the other side.
Once the puzzles are done, there's the small matter of getting the raid finished. Your prize awaits you after you've dropped down past the final boss area and made a beeline for the reward room. Provided you've complete all the puzzles and pre-raid tasks correctly, the trace rifle will be all yours.
UK — After collecting and devouring piles of print gaming guides in his younger days, Harry has been creating 21st century versions for the past five years as Guides Writer at PCGamesN and Guides Editor at PC Gamer. He has also produced features, reviews, and even more guides for Trusted Reviews, TechRadar and Top Ten Reviews. He's been playing and picking apart PC games for over two decades, from hazy memories of what was probably a Snake knock-off on his first rig when he was seven to producing informative guides on football simulators, open-world role-playing games, and shooters today. So many by now he steadfastly refuses to convey information unless it’s in clickable online form.


