How to get the Call of Duty: Cold War Zombies Easter egg in Die Maschine
Ace Die Maschine with these CoD: Cold War Zombies Easter egg steps and collect everything you need.

Black Ops Cold War Dark Ops challenges: Full list
Black Ops Cold War Redlight, Greenlight: Get the intel
Black Ops Cold War floppy disk code: How to get it
Black Ops Cold War Red Circus suspects: Who to choose
Black Ops Cold War evidence: How to find it all
Black Ops Cold War prestige: How it works
Best MP5 class loadout Cold War: Top setups
Hunting for the CoD: Cold War Zombies Easter egg? There are multiple steps required to complete it, from building the Cold War 'Pack-A-Punch' machine, to finding Wonder Weapons. The Die Maschine mission gives you a long list of objectives to complete as you hop in and out of the Dark Aether. This is zombies, so of course you'll be dealing with a horde of undead enemies at the same time.
You can try your luck with the waves of zombies on your own, but it's probably best to call up your pals for help. Get ready for a good deal of backtracking, a twisting story, and lots of chances to screw up. Here's everything you need to accomplish to finish the Call of Duty: Cold War Zombies Easter Egg.
All CoD: Cold War Zombies Easter egg steps in Die Maschine
Let's start at the beginning. After spawning in the Yard, take out the zombies to earn points, and head over to the locked (green) door. Unlock the door to the Nacht Der Untoten building for 500 points and head up the stairs. Run to the end of the Bedroom, towards the purple arrow, and plant an explosive for 1,000 points on the wall marked by the red cross on the left.
Make your way through the new doorway onto the Crash Site, running all the way to the end where you'll see another purple arrow painted on a rock. Part with 1250 points to plant an explosive and clear the obstruction.
Walk into Tunnel and head over to the doors on the left, where the Facility marker is. These doors will begin to open as you get closer to them. Clear the obstruction on the left side using 1500 points. Run through the new doorway, down the stairs, and unlock the locked door for 1500 points.
Turn on the power
Head to the Power marker and fork over 1750 points. Walk over to the big red button and press F to turn the power on. Now it's time to stabilise the Accelerator. Walk back down into the main part of the Particle Accelerator room and head to each of the Terminal markers. There's one on each side, but all you need to do is press F to activate each one. The surrounding terminals will turn green, and an anomaly will appear in the middle of the room, down a flight of steps.
The biggest gaming news, reviews and hardware deals
Keep up to date with the most important stories and the best deals, as picked by the PC Gamer team.
Build the 'Pack-A-Punch' machine
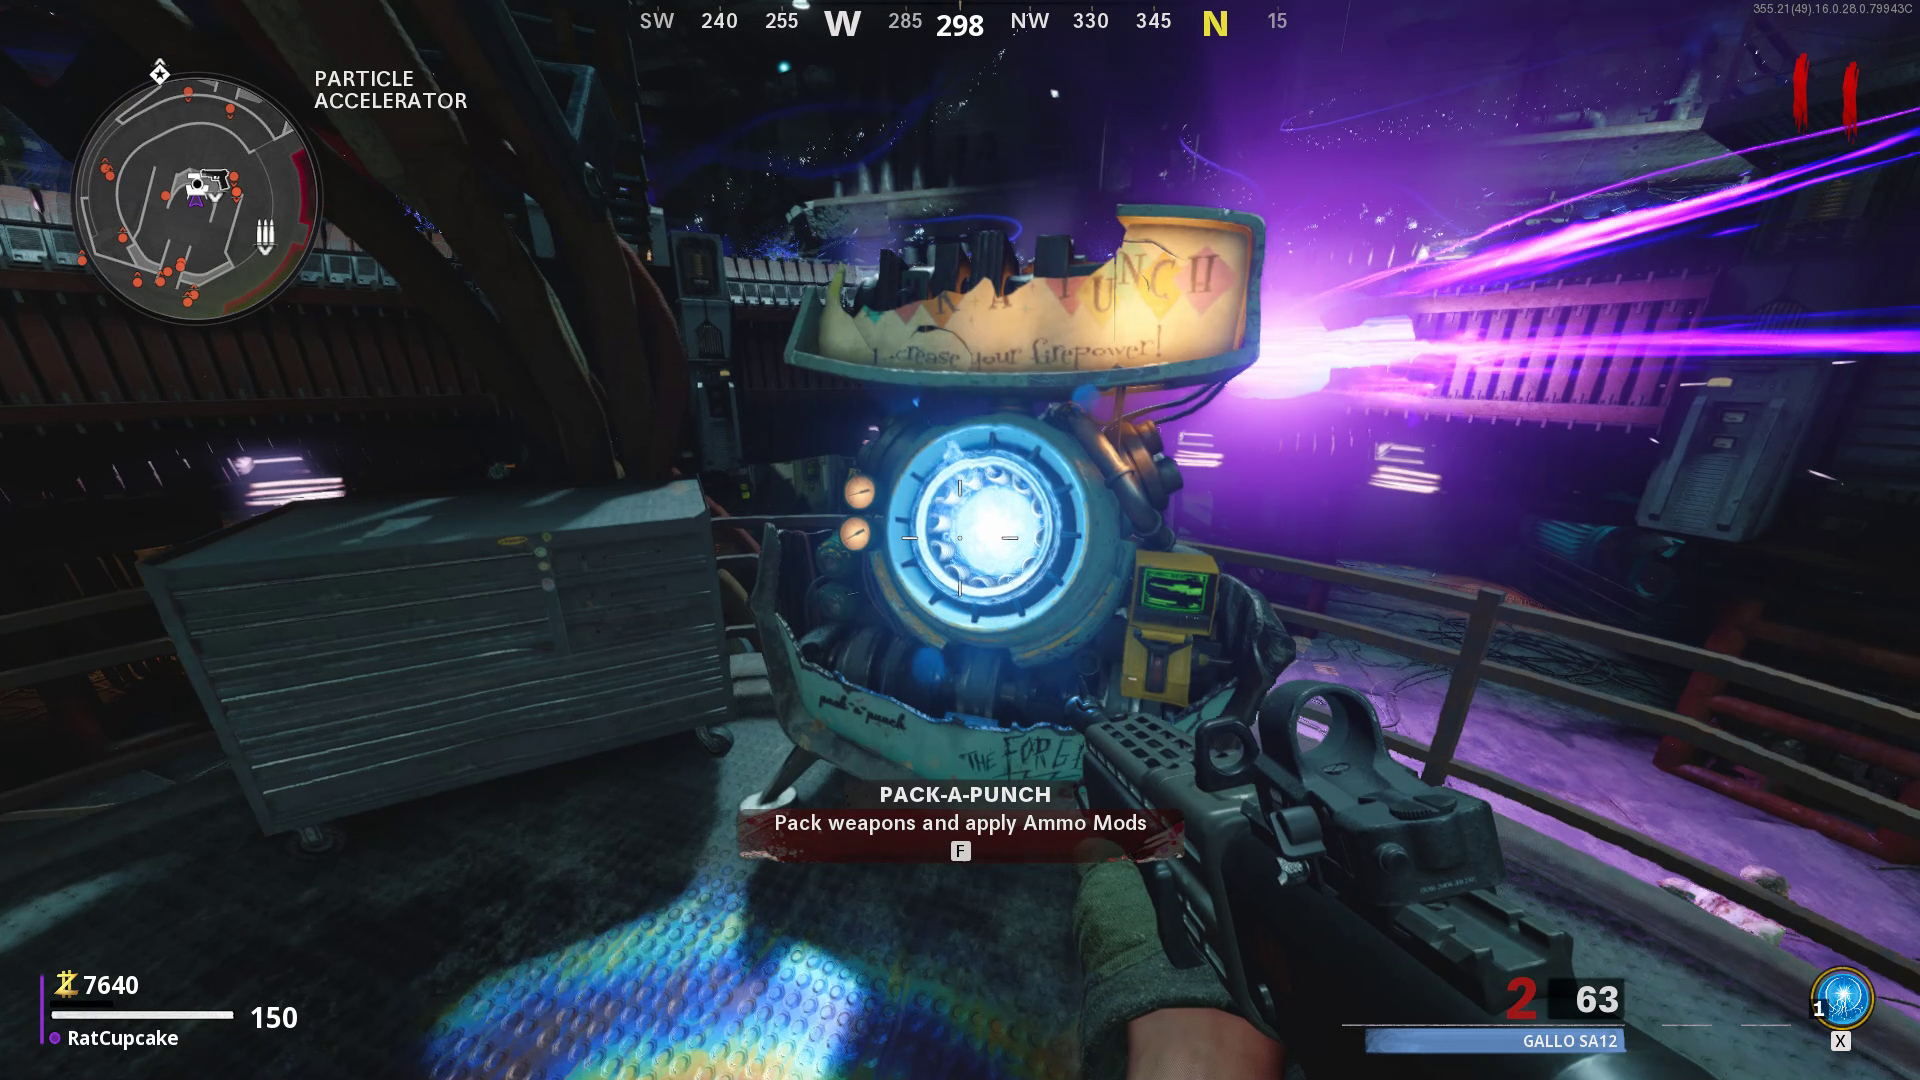
How to build the Cold War 'Pack-A-Punch' machine
Enter the Dark Aether
Ensure there are no zombies ambling around nearby and hold F to investigate the anomaly and enter the Dark Aether. After passing through a Doctor Who-esque sequence, you'll find yourself in the Dark Aether, which is a version of the same map with a heavy Stranger Things 'Upside-Down' vibe.
Run all the way back to the Aether Tunnel marker. There's an obstruction on the way, so make sure you have 1250 points handy to plant an explosive. Walk over to the Aether Tunnel and spend a further 500 points to travel to pass through. You'll be transported into a room containing a machine part. Press F to collect it, then turn around and head through the doorway towards the Machine marker.
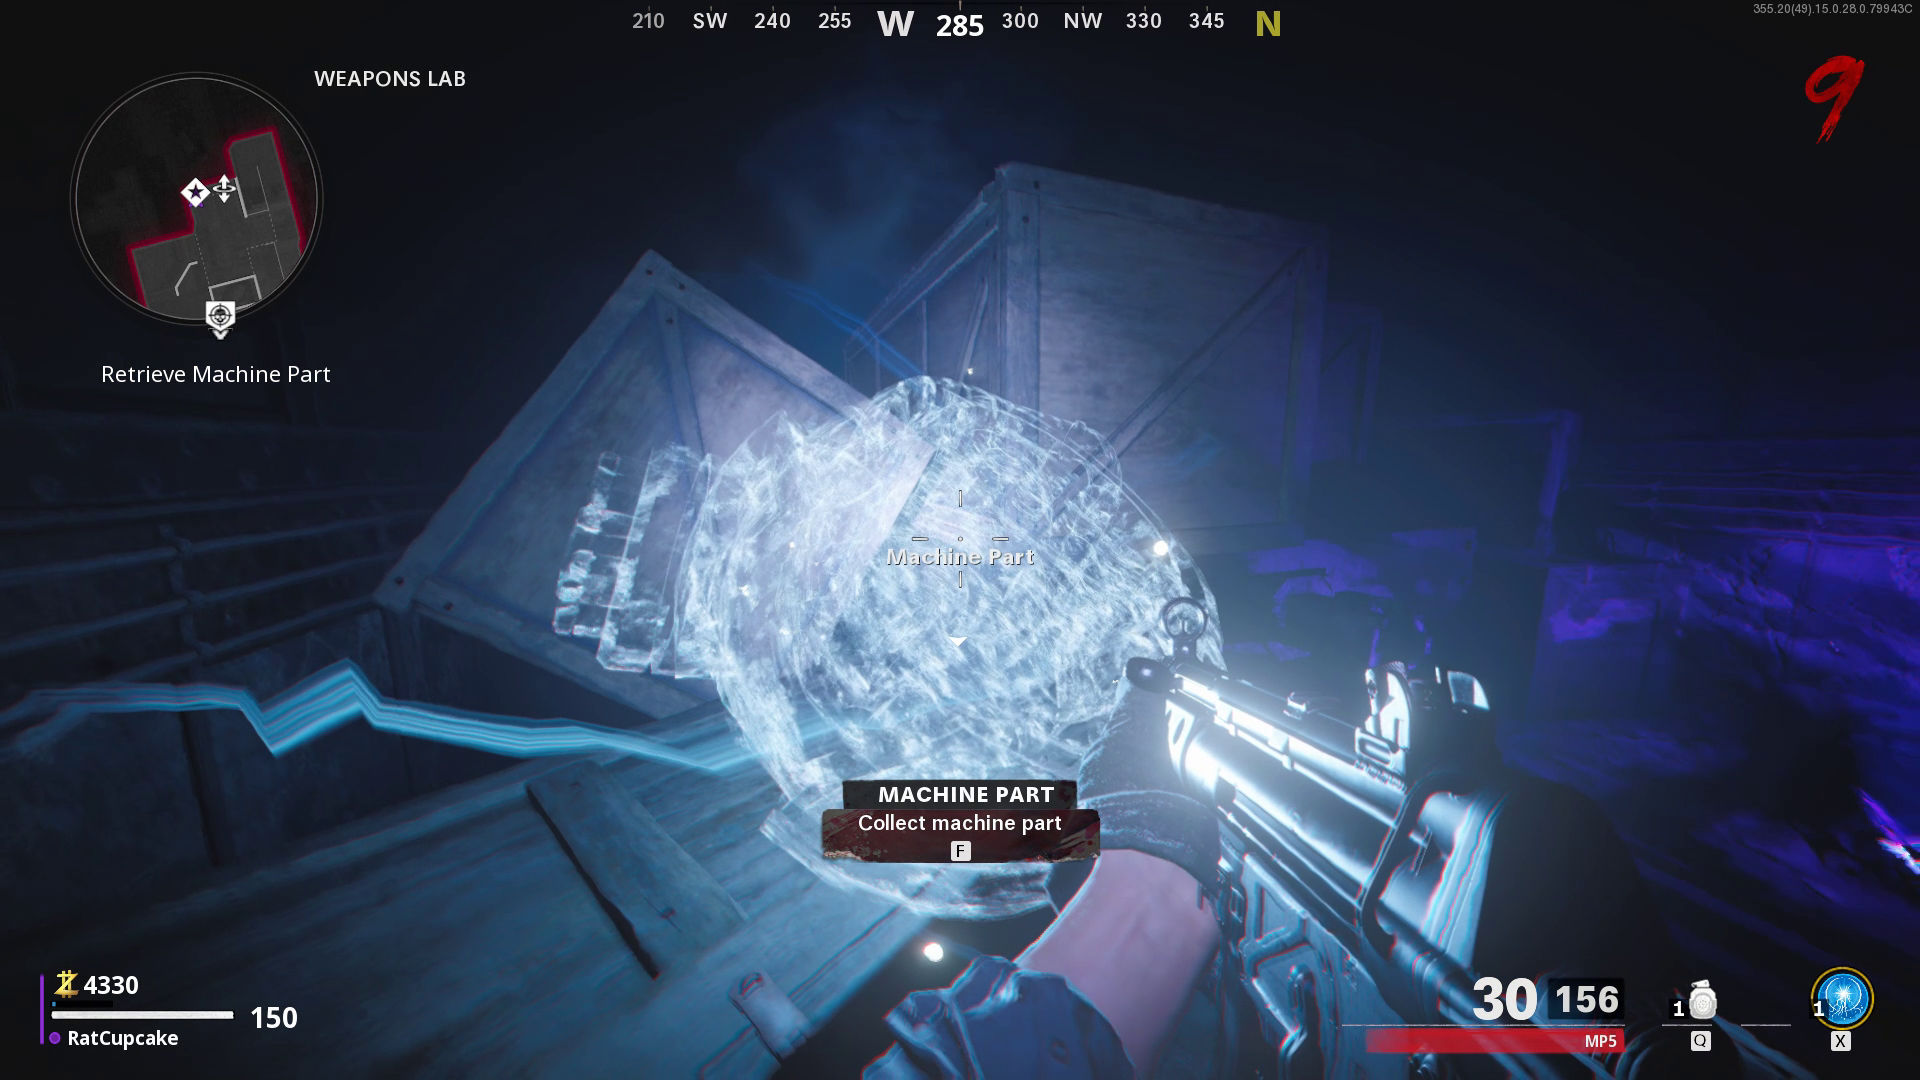
You can reforge the machine by looking for the blue outline in the Particle Accelerator. The game forces you through another portal and you'll return to the normal version of the Particle Accelerator.
The 'Pack-A-Punch' machine lets you upgrade your weapons and equip ammo mods, but something this powerful comes with a hefty price tag. Here are the three Pack-A-Punch levels, and how much they cost:
- Level One: 5,000 points. Offers large damage increase, enhances weapon attributes
- Level Two: 15,000 points. Massive Damage Increase.
- Level Three: 30,000 points.
If you're looking for the Call of Duty: Cold War Ray Gun, now's the time to hunt for some blue lights, and take part in a zombie disco.
Get the Wonder Weapon
How to get the Wonder Weapon
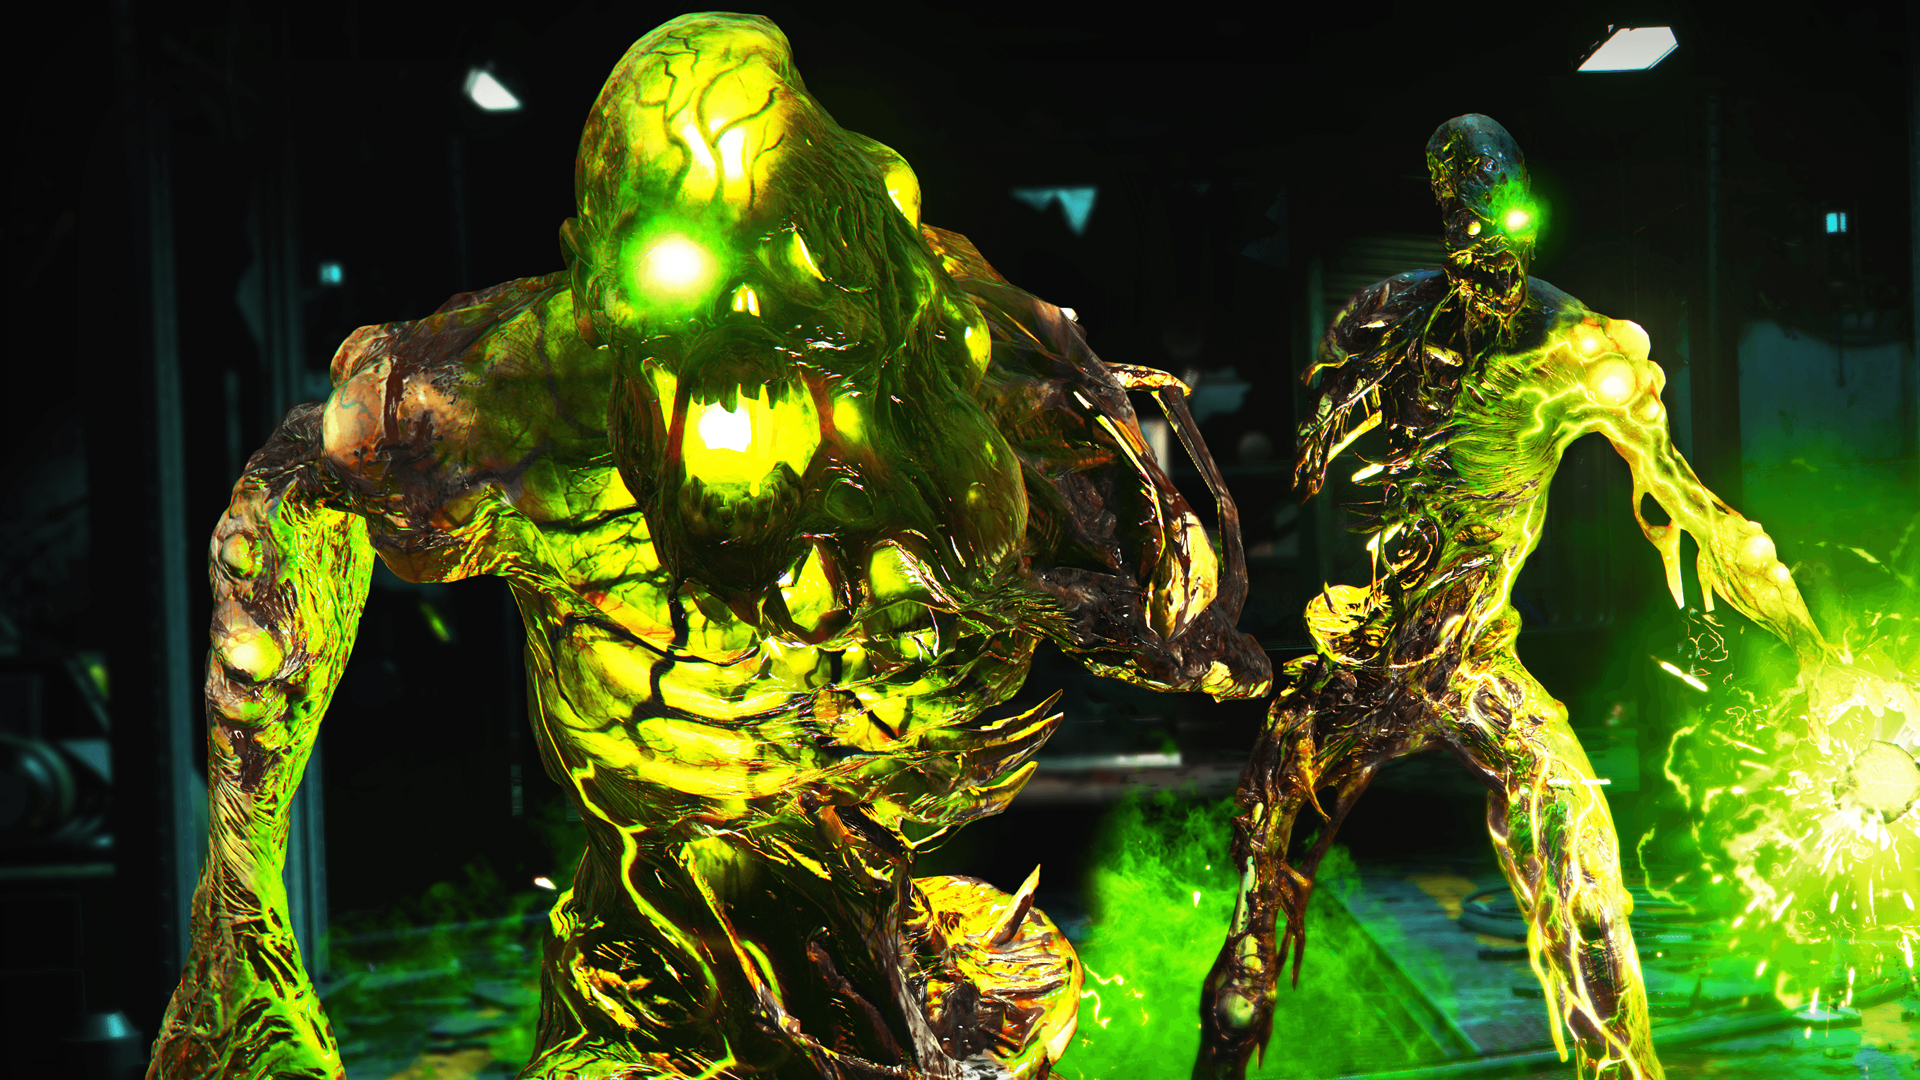
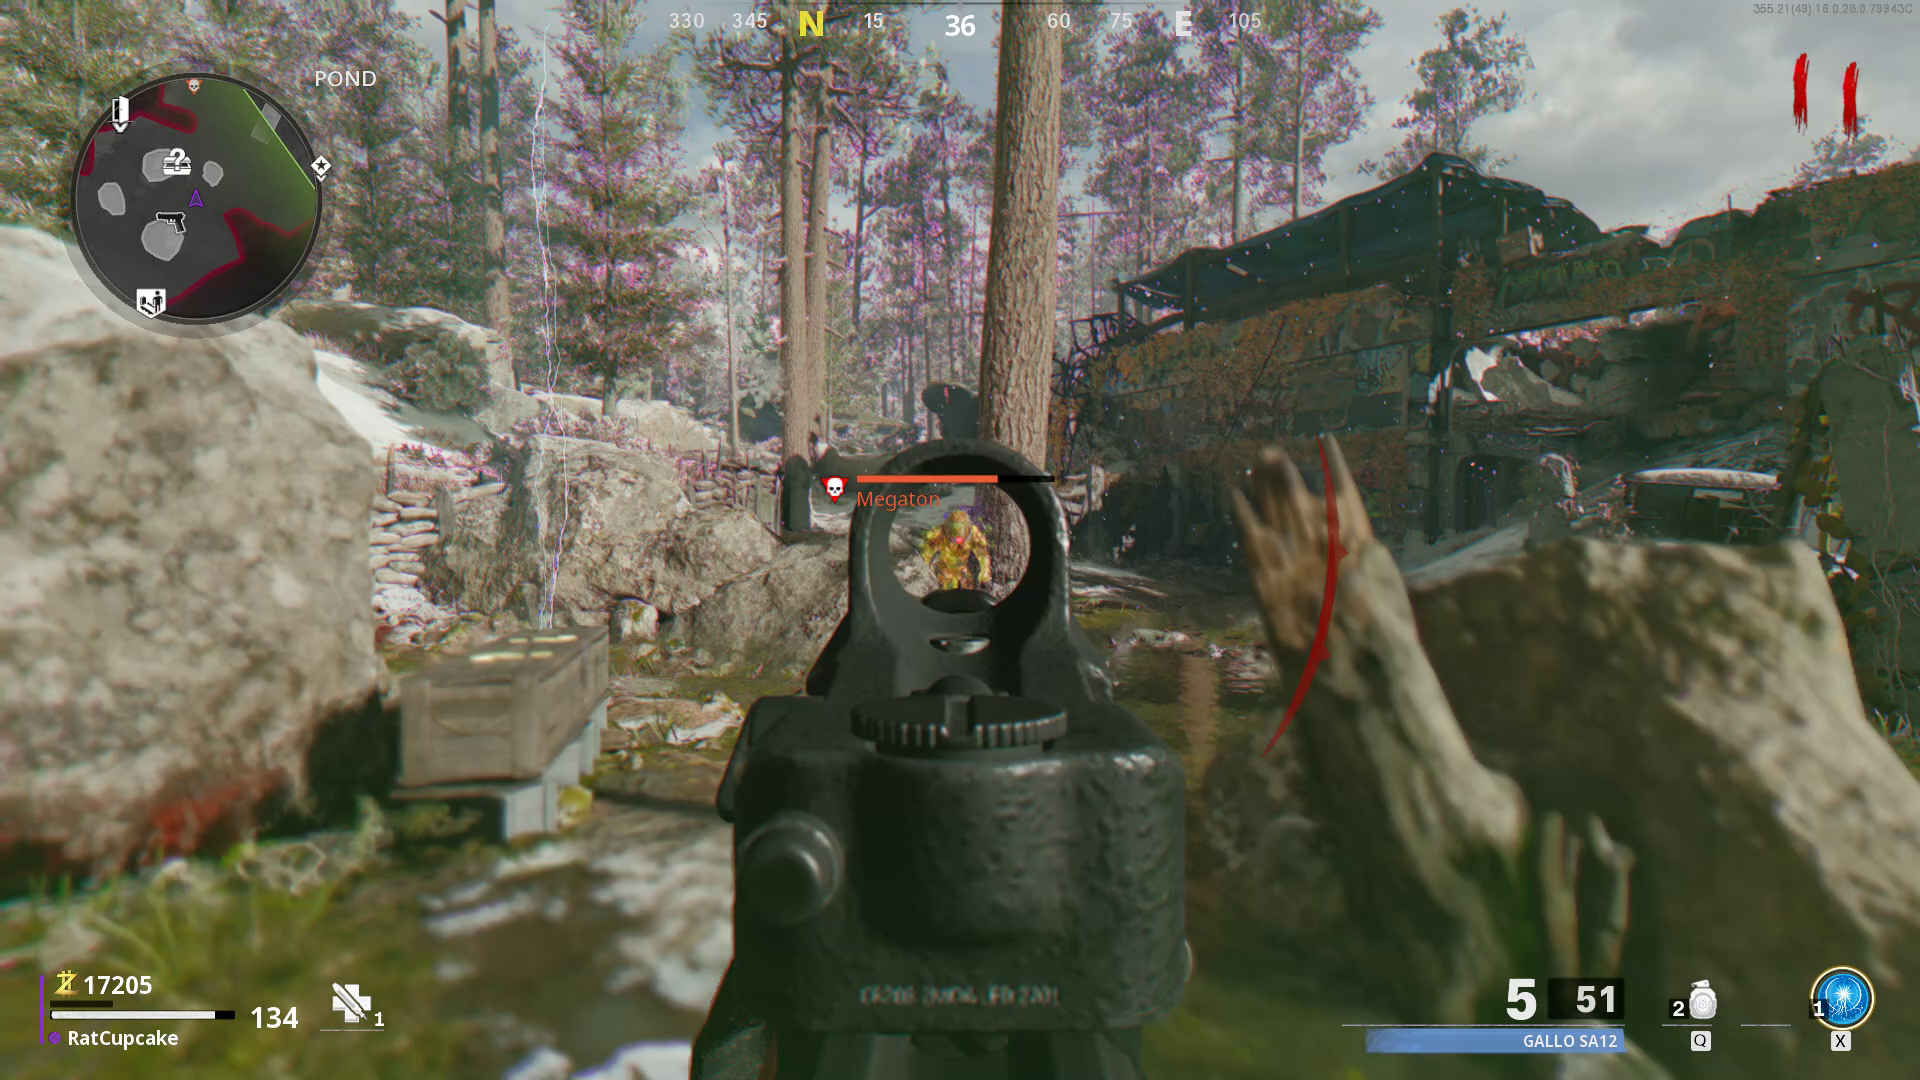
It's time to take on some big green zombies. You'll be notified that there are high levels of radiation in your vicinity, which indicates that you're about to take on a Megaton. To save time later on, make your way to the Pond to take on this pest.
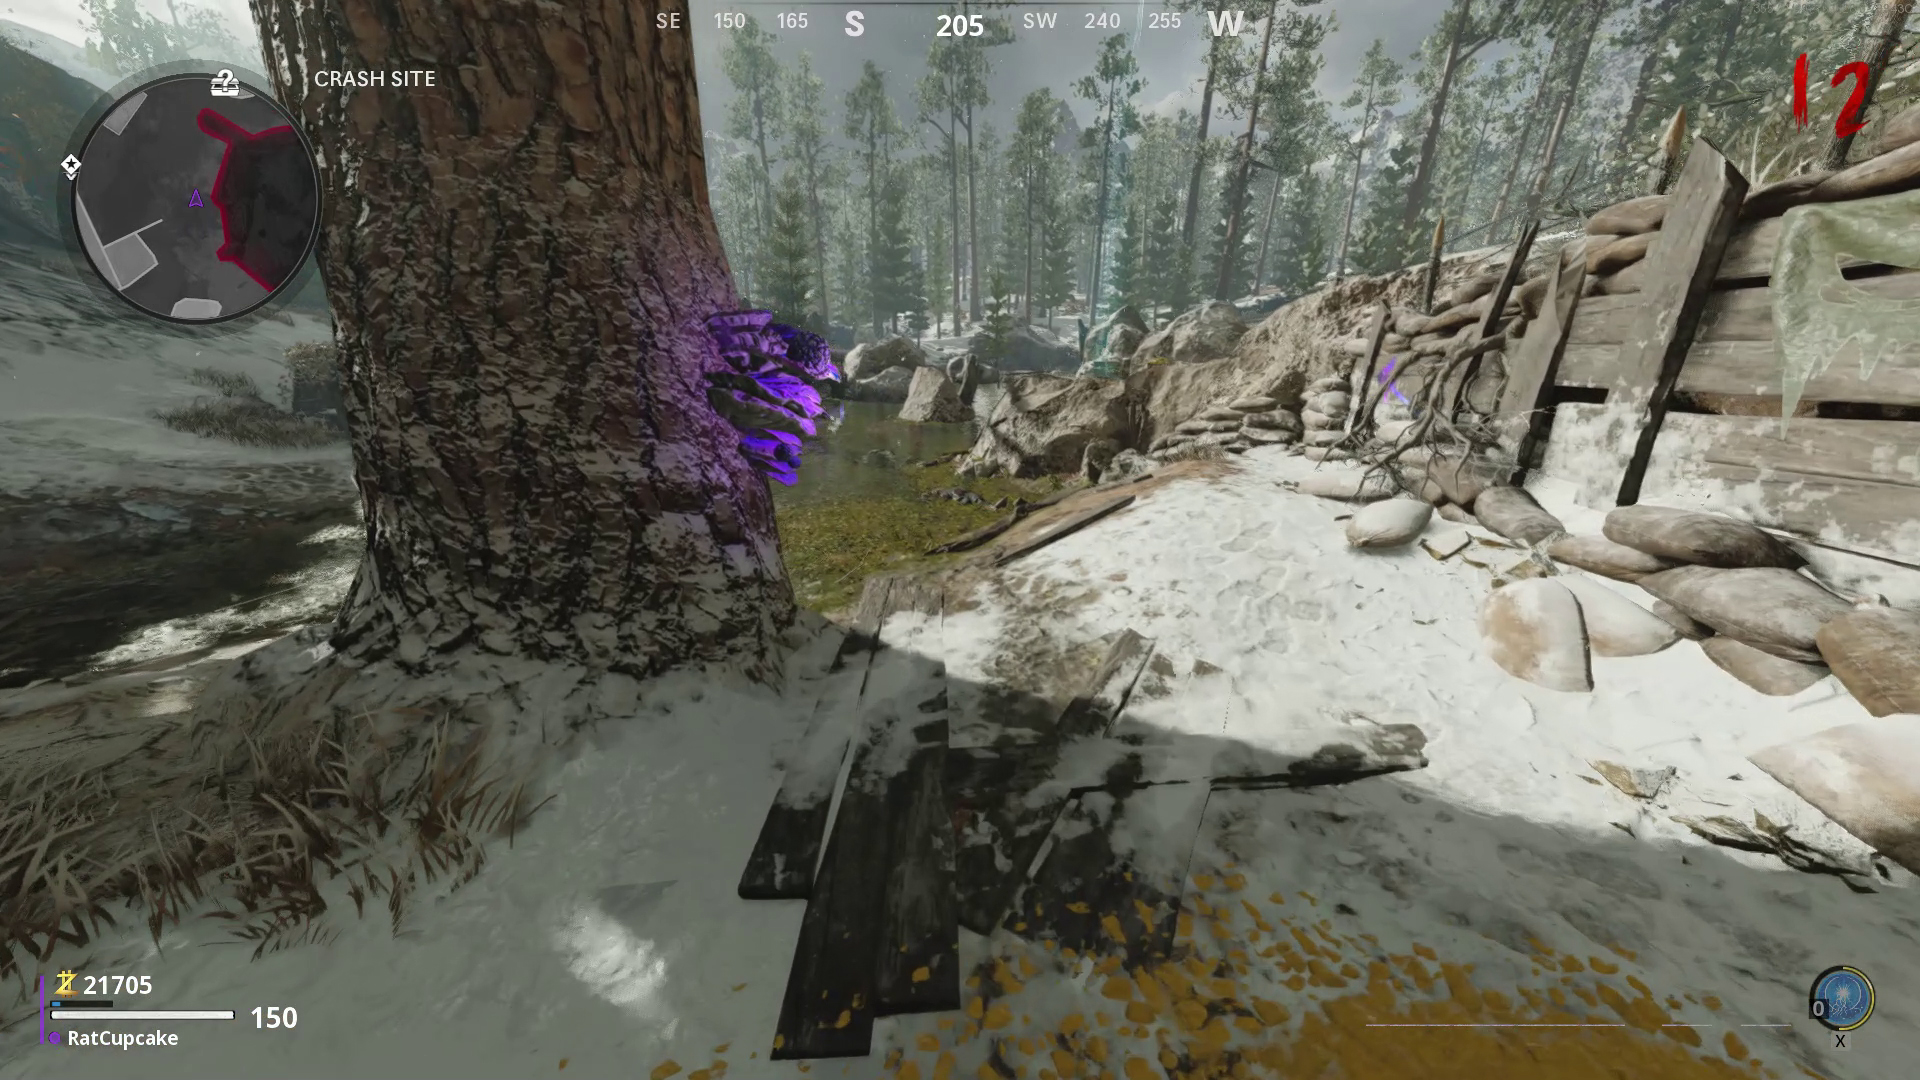
Keep your distance from the Megaton as much as possible, and look for the tree with the Mutated Fungus growing on it. Stand next to the tree to entice the Megaton to attack by hurling green liquid at you. Once it touches the tree it'll turn the fungus bright purple. While this doesn't mean much at the moment, it'll prove useful later.
Focus on eliminating the Megaton and it'll split into two parts to make the fight even tougher. Take out the Megaton Blaster and Megaton Bomber enemies with your weapon, but don't get too close to them as their radioactive attacks can kill you really quickly. Eliminate both to pick up the Keycard they drop.
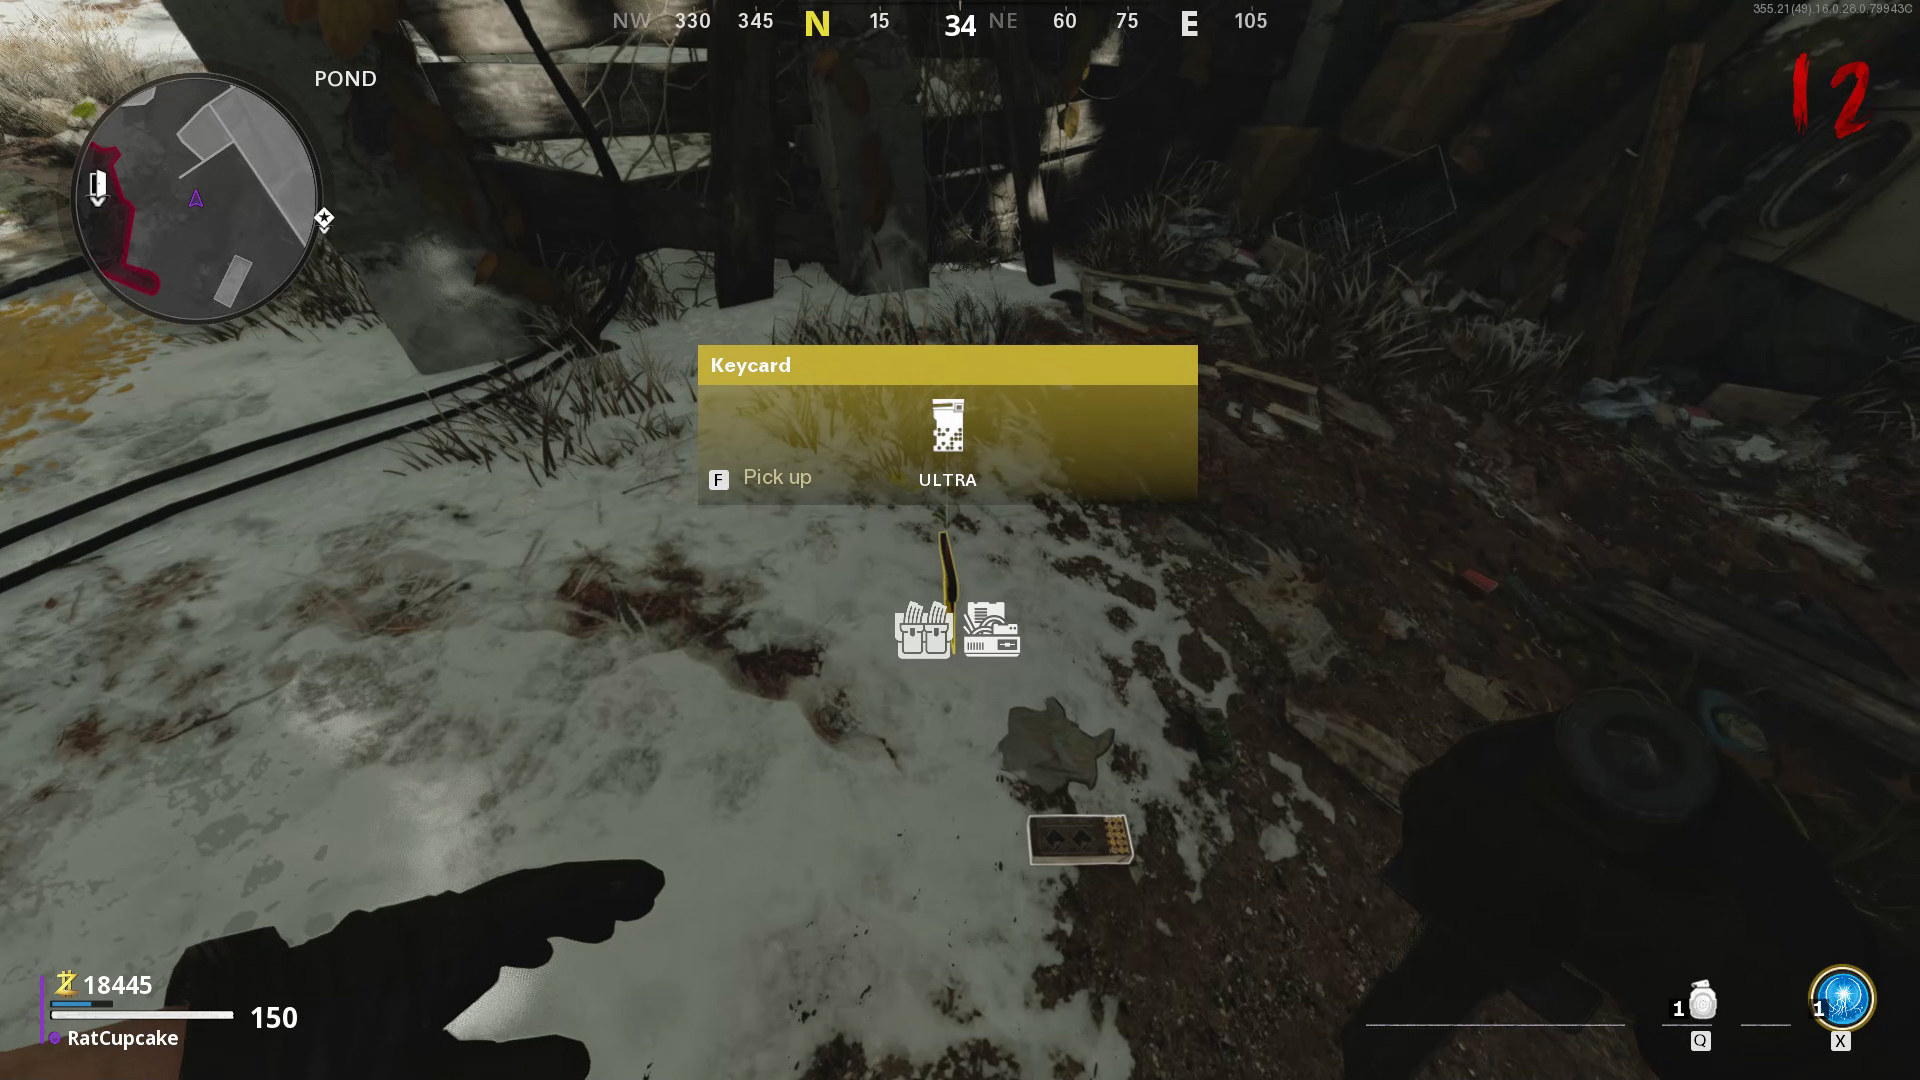
Let's backtrack to the Weapons Lab again. Lookout for the Weapons Locker and insert the keycard to retrieve the D.I.E. Remote Control. With the remote safely in hand, make your way back to the building in the Yard, where you first spawned at the beginning of the mission.
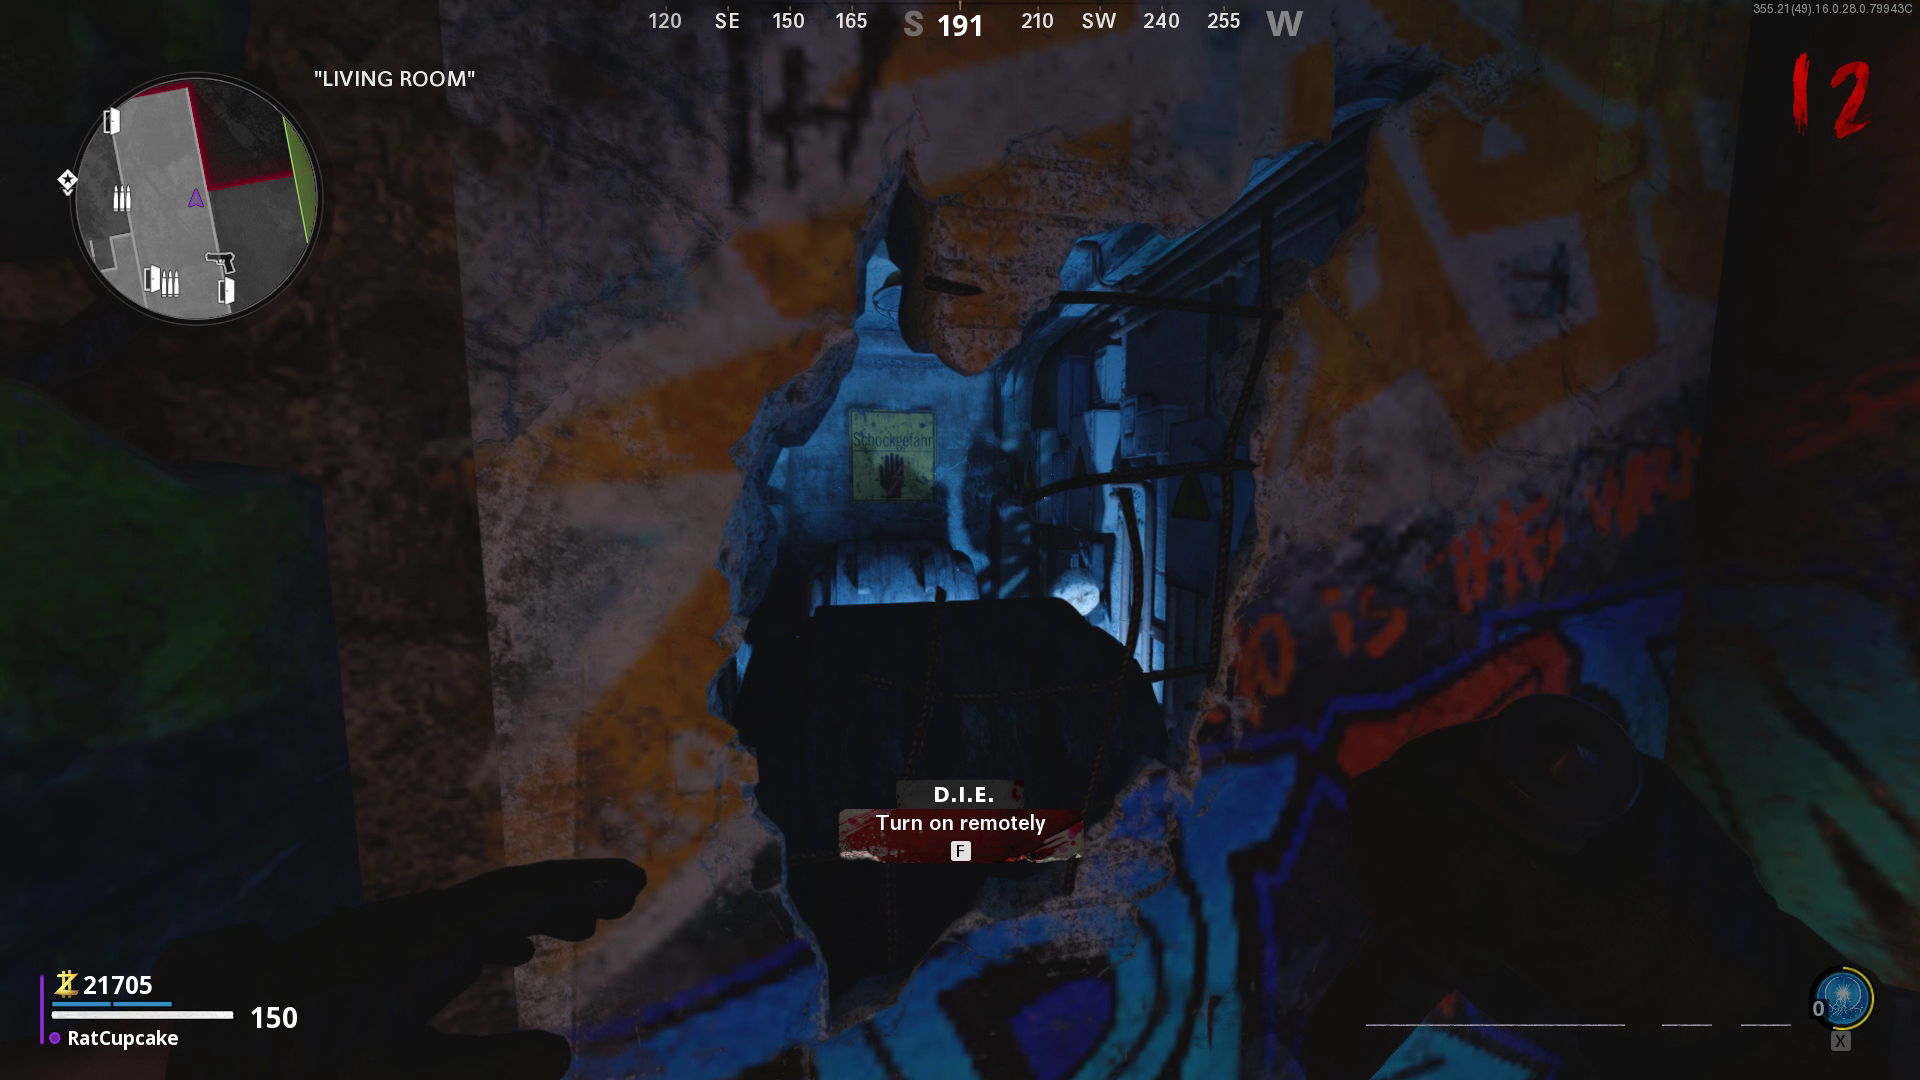
Enter the building, but don't head up the stairs and out onto the Crash Site like you did before. This time around you need to find the Living Room on the ground floor. More specifically, you're looking for a hole in the wall that has a blue glow, opposite the stairs. To activate the D.I.E Machine, stand near the hole in the wall and press F. Try to do this while zombies are nearby as the machine will stop working and need to cool if you take too long.
Ready to slay some more zombies? Now that the machine is powered up, lure the zombies towards it so it can suck them up like a big vacuum cleaner. Once you're able to interact with the machine again, remove the device to access the doorway. Go ahead and grab the D.I.E Shockwave Wonder Weapon from the skeleton, you've earned it.
Find the Aetherscope
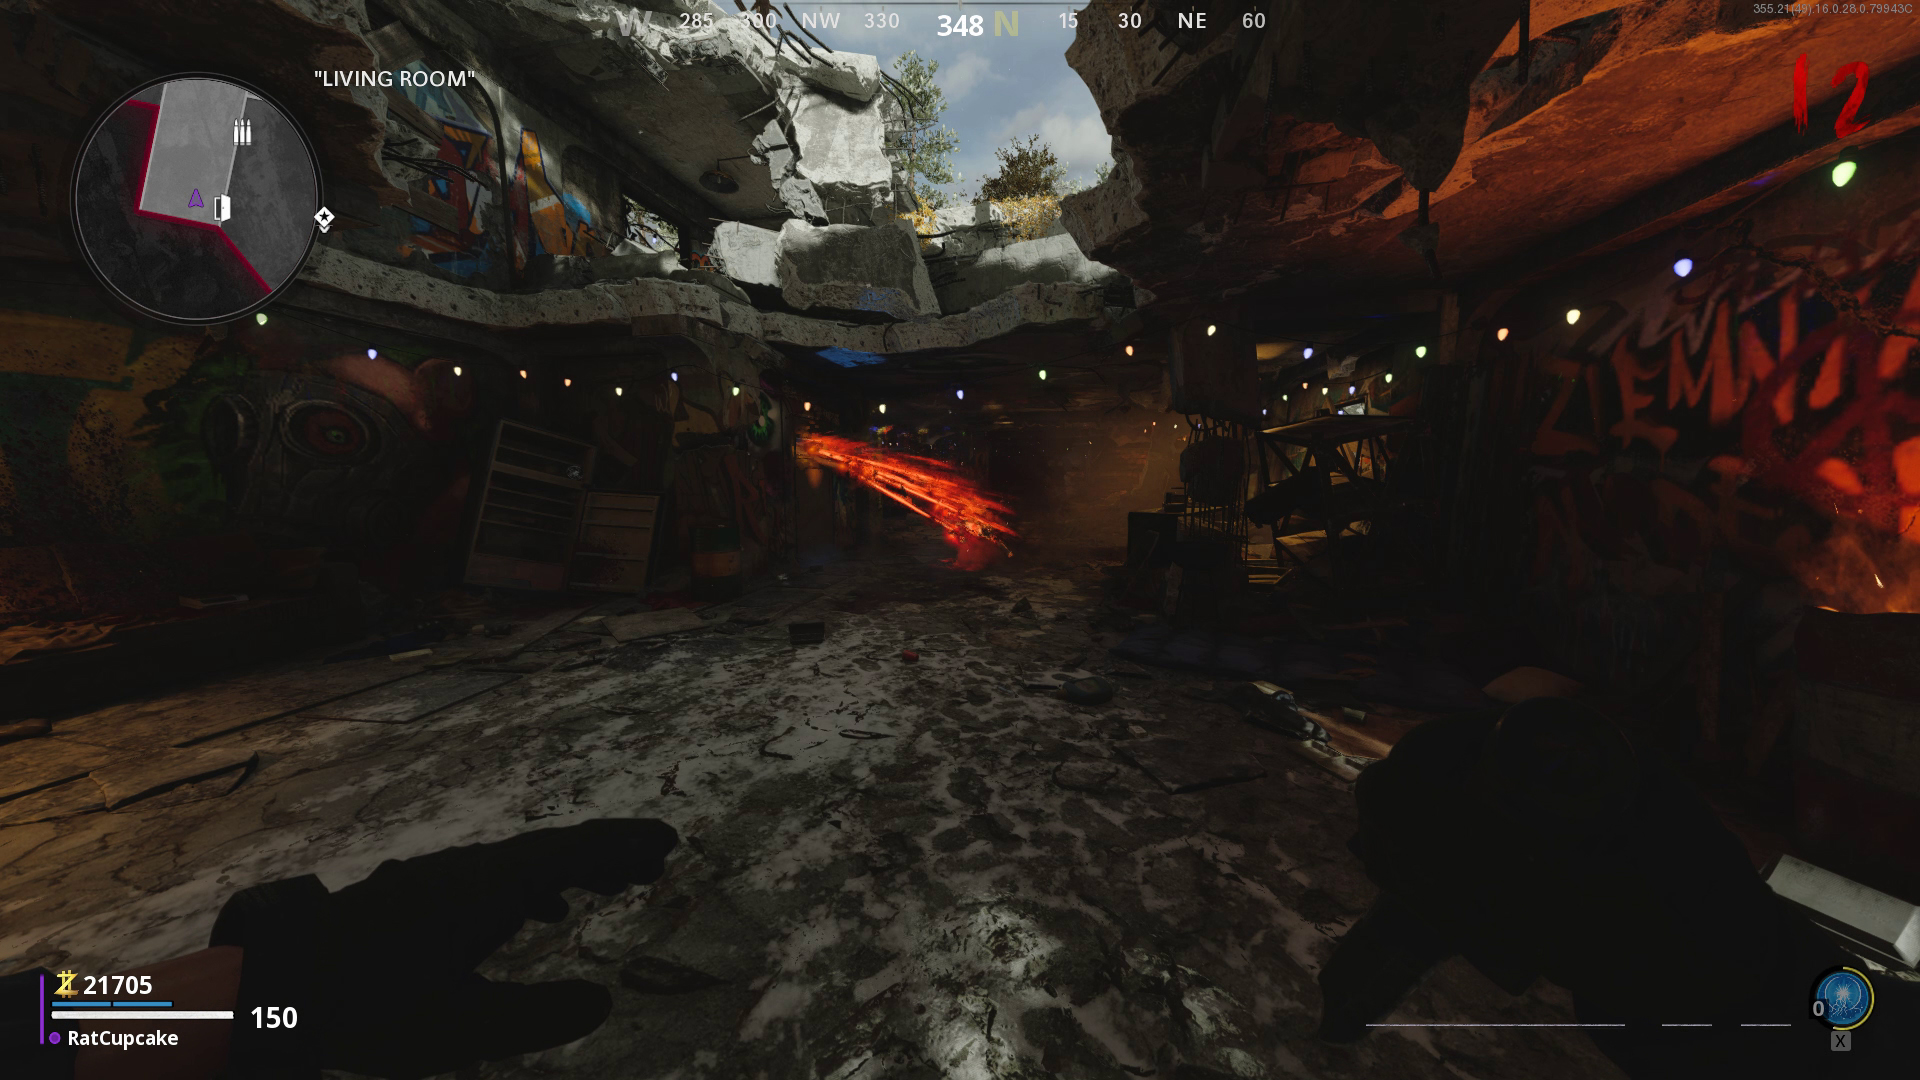
How to find the Cold War Aetherscope
Let's take another trip into the Dark Aether. This time, we're on the hunt for three Aetherscope Parts. The order in which these parts appear is different each time, but the locations are always the same:
- Crash Site: On the crashed plane.
- Particle Accelerator: By the small anomaly portal.
- Yard: Under the stairs on the left side, under the 'Los Angel' graffiti.
In the Particle Accelerator, use the crafting table in the middle of the room to build the Aetherscope.
Find Doctor Vogel's Diary
How to find Doctor Vogel's Diary and the spectral reflections
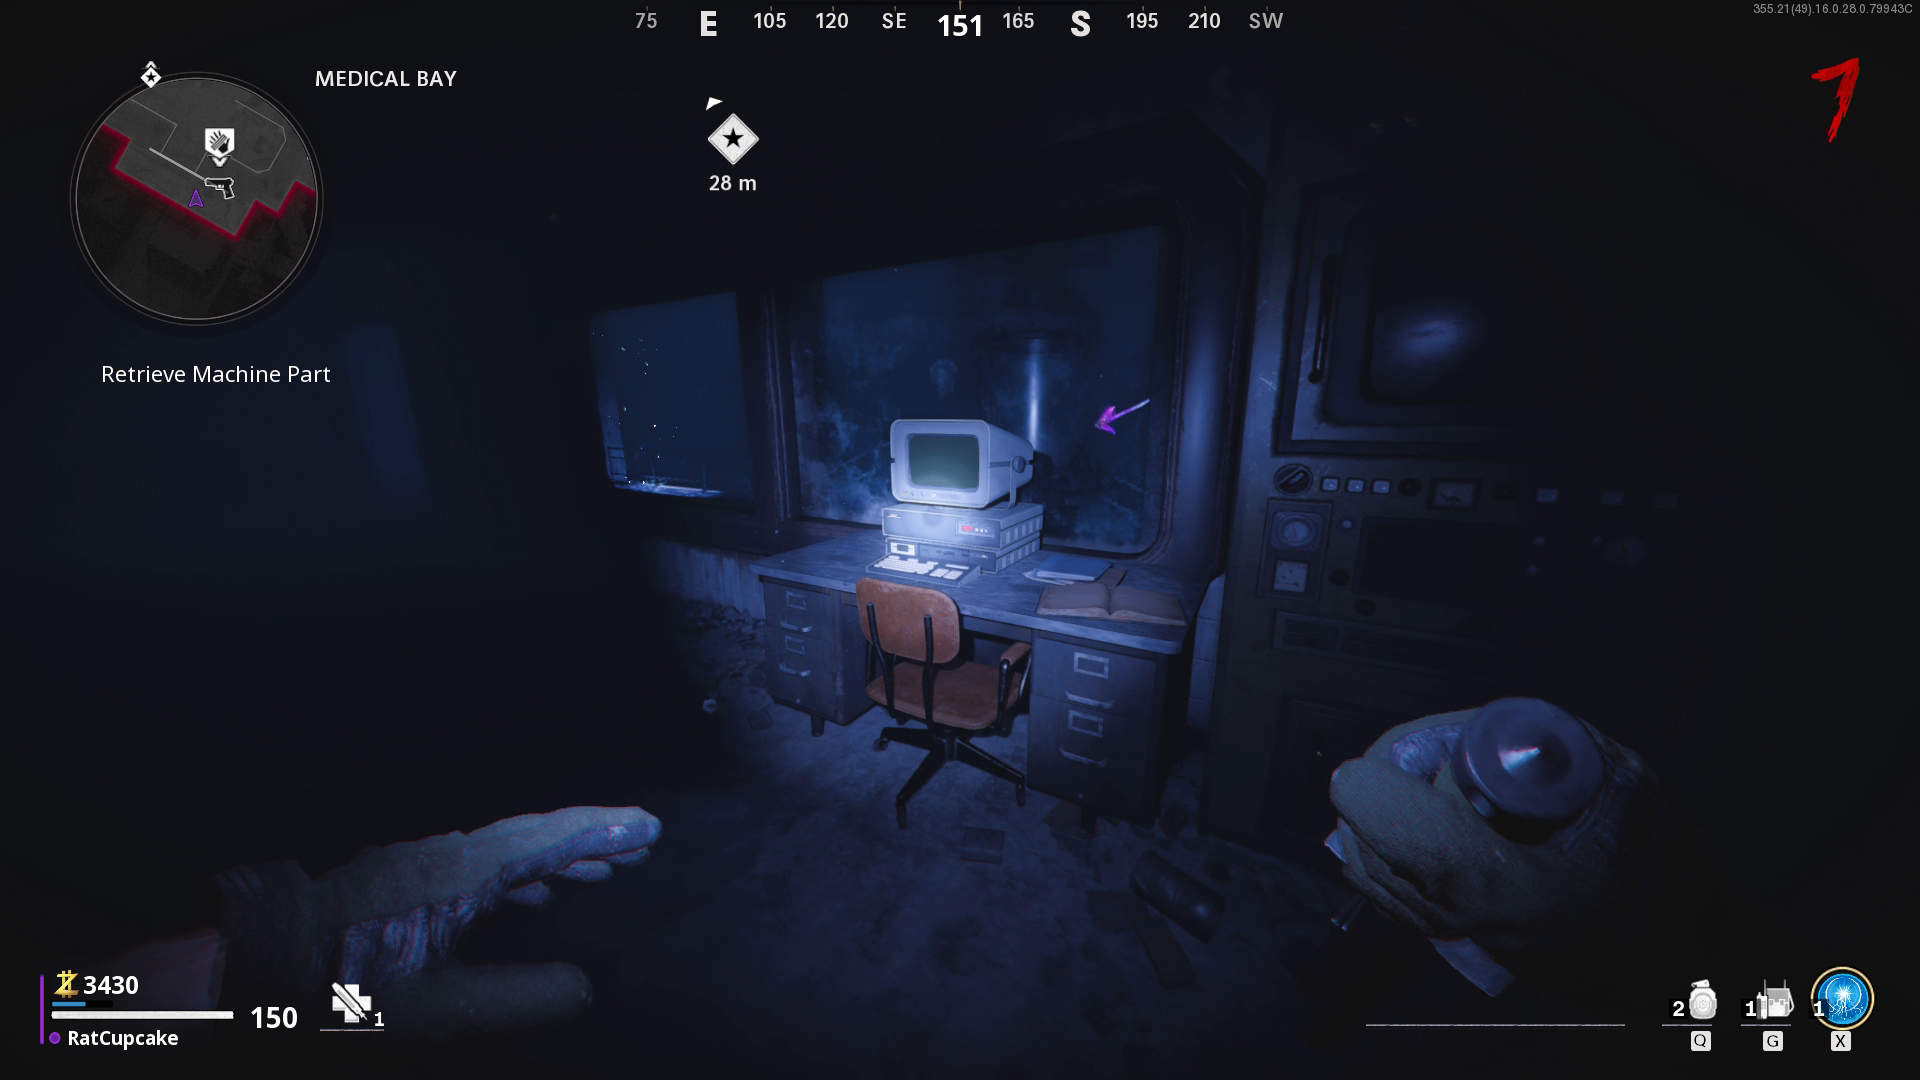
There's more Dark Aether travelling to do, so let's keep going. Head to the Medical Bay and hold F to enter via the anomaly. Check the room with the computer terminal on the desk and pick up Doctor Vogel's Diary. Walk down the stairs, and under that room you'll discover a blue anomaly. Press F to interact with the anomaly to reveal a 'spectral reflection'. Tap F once more to give it the diary.
Next up is the Control Room. Look for another blue anomaly and repeat the same process to give the figure the diary. There's one more stop, so let's retrace our steps to the crafting table in the Particle Accelerator. Repeat the process a third time and hand the diary over. Exit the Dark Aether and go to the Medical Bay to enter the password on the PC.
Unlock the D.I.E. upgrades
How to unlock the Cold War Wonder Weapon upgrades
D.I.E. Cryo-Emitter
Back in the building where you found the Wonder Weapon, walk up the stairs and up the slope to the Penthouse. Shoot the box perched on the edge and pick up the Empty Flask. While you're up here, you can also collect another important item. Run to the other side of the Penthouse and look for the Empty Canister in the corner. It's out of reach, so use your Wonder Weapon to drag it towards you.
Drop down into the Pond and return to the Mutated Fungus tree. It prompts you to collect cryogenic liquid, so press F to add this to your Empty Flask. Take the flask to the Medical Bay and look for the weapon crate. Pour the cryogenic liquid over it to switch to the D.I.E. Cryo-Emitter.
D.I.E. Nova 5
Make tracks to the Weapons Lab, drop down onto the lower level, and place the Empty Canister in the machine on the wall. Be ready to take on a Plaguehound, and make sure you kill it close to the canister, so it fills up with Plaguehound Gas. Take the item to the Crash Site and place it on top of the overgrown weapon crate opposite the crashed plane. Melee the item to switch to the D.I.E. Nova-5.
D.I.E. Electrobolt
Take a trip to the Dark Aether by paying the Particle Accelerator another visit. There are three crystals to find, and you need to use the D.I.E. Shockwave to extract them, but you need to make three separate trips as you can't carry them all at once. Here's where you can find each crystal:
- Nacht Der Untoten building: Head to the Penthouse.
- Pond: On the right side of the clearing.
- Crash Site: On the right side, just before you enter the Tunnel.
Discharge each crystal into a crate in the corner on the lowest level of the Particle Accelerator. After all three have been discharged, open the Weapons Crate to switch to the D.I.E. Electrobolt.
D.I.E. Thermophasic
Go to the Pond, enter the Dark Aether, and head to the Crash Site. Shoot the grey box on the floor (under the plane) to pick up the Fuse. Now head back to the Weapons Lab to insert the Fuse into the Plasma Cutter machine. After leaving the Dark Aether, return to the Pond and look for the weapon crate perched on the truck. Open it to switch to the D.I.E. Thermophasic.
Find the Decontamination Agent
How to find the Decontamination Agent
In the Medical Bay, shoot the large device hanging from the ceiling, using all four D.I.E wonder weapon upgrades. There are four attachments on it so you'll know once you've successfully hit all of them.
Walk through the doorway to enter the Dark Aether and then run up the stairs to find a blue anomaly. You'll see two soldiers, similar to the spectral reflections we encountered earlier. After returning to the normal version of the map, search the Medical Bay to find the Dark Aether Wrench.
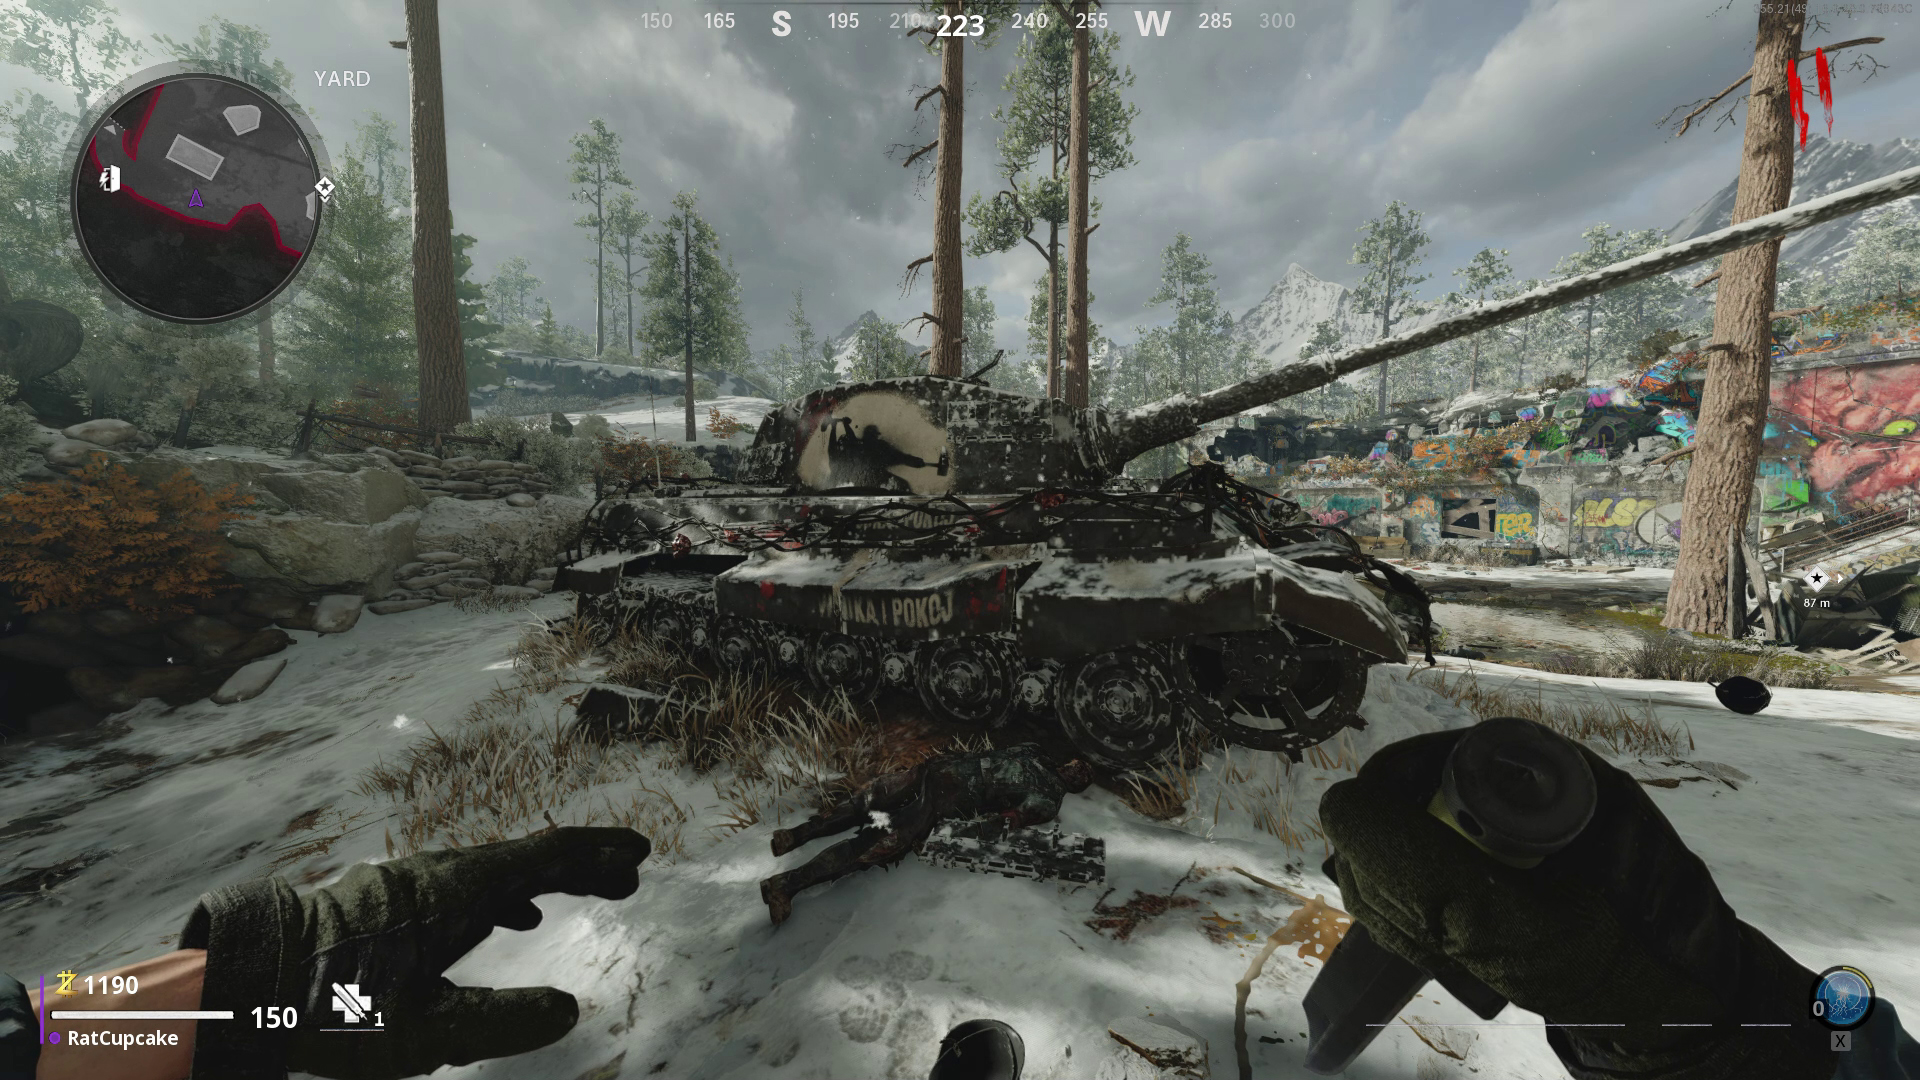
Run to the Yard and stand near the tank. Use the Dark Aether Wrench and this will encourage a zombie to try to climb out of it. Kill the zombie, and throw a grenade to break the door on the top of the vehicle. The tank proceeds to damage a tree in the Crash Site, which is where we need to go next. Search the floor for the Decontamination Agent at the Crash Site. Be wary of nearby zombies and Plaguehounds, and take the item to the Medical Bay. You can now place it in the small box outside the room with the computer.
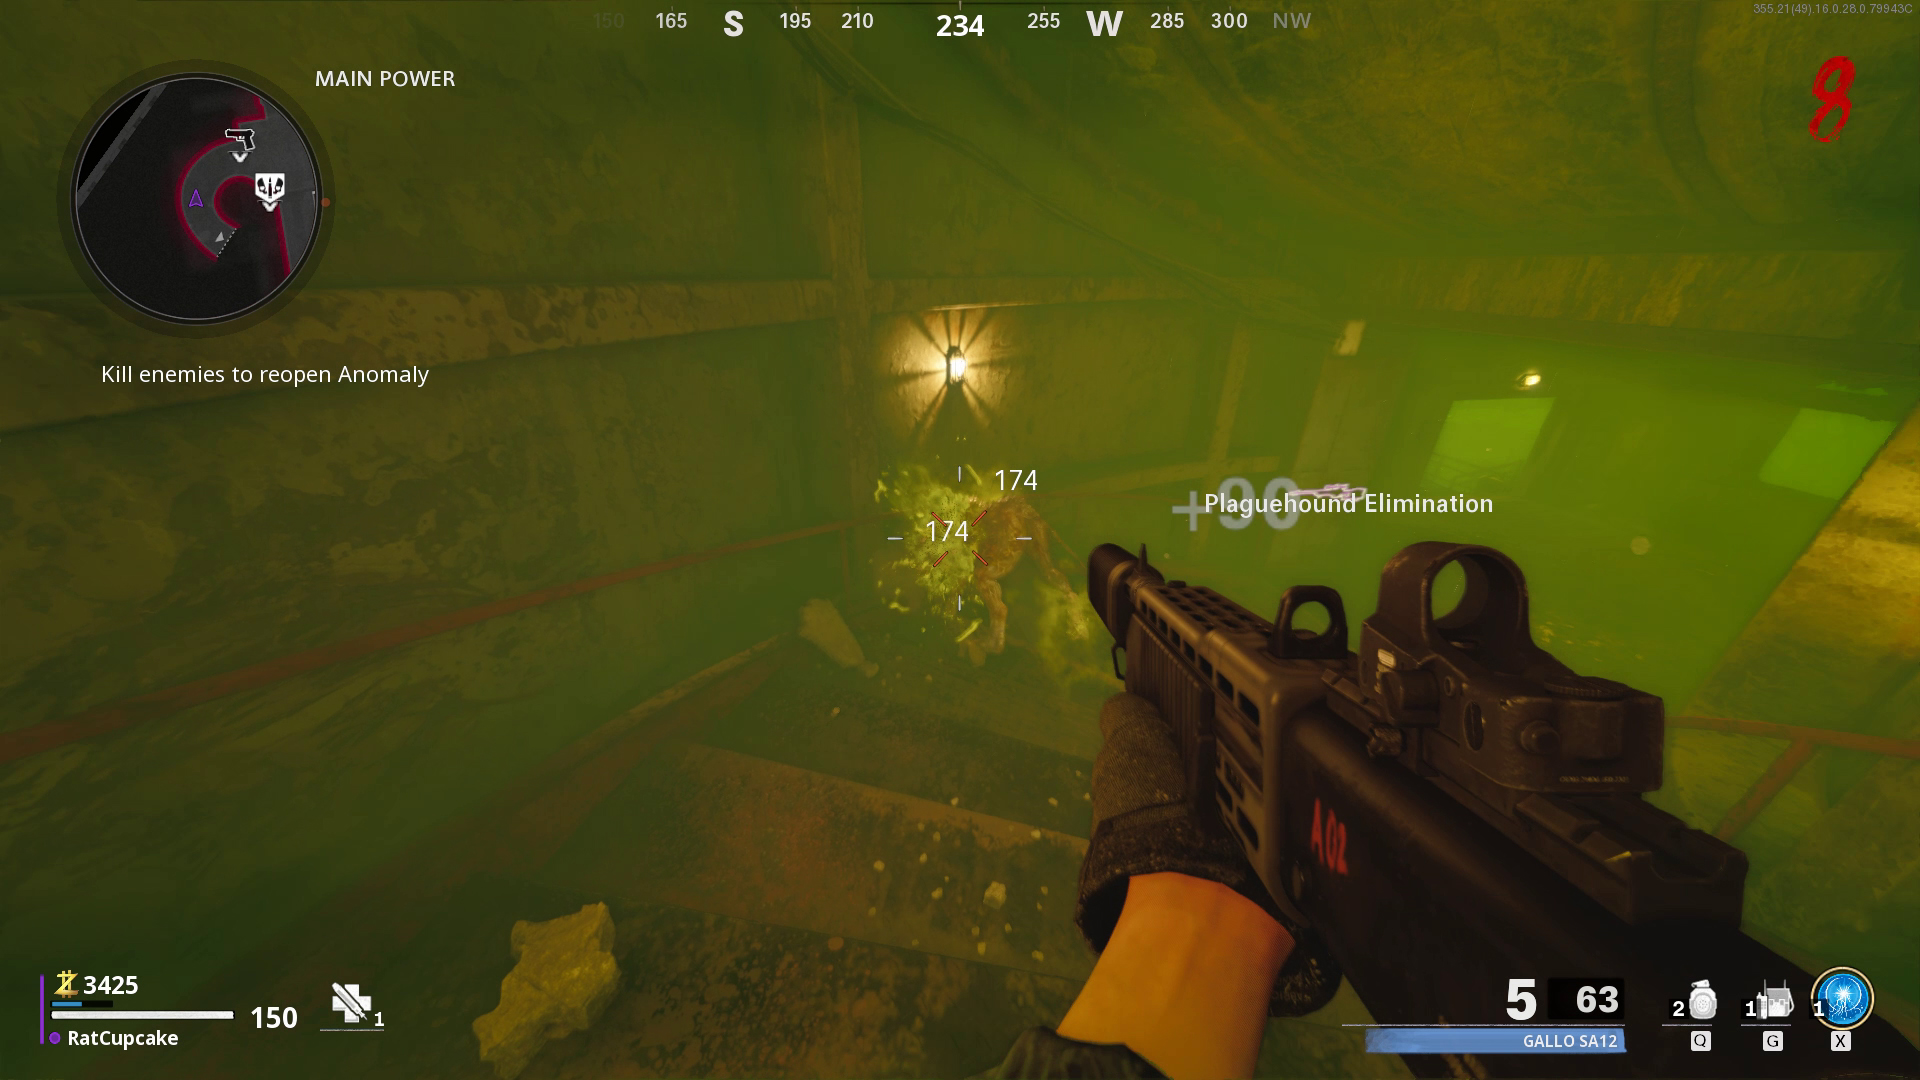
Remain in the Medical Bay and continue popping zombie skulls until you encounter another Megaton. Kill it so that it splits into its Blaster and Bomber halves, then position them under the device on the ceiling so they're sucked into the container. You're now ready to head to the computer to initiate the purification process.
Take care of the enemies you run into, and head back to the Living Room in the Nacht Der Untoten building to enter the Dark Aether. Walk into the Omega Outpost room to find a blue anomaly. Speak to Orlov and, once you're back in the normal world, pick up the Orlov Family Photo to trigger a final fight.
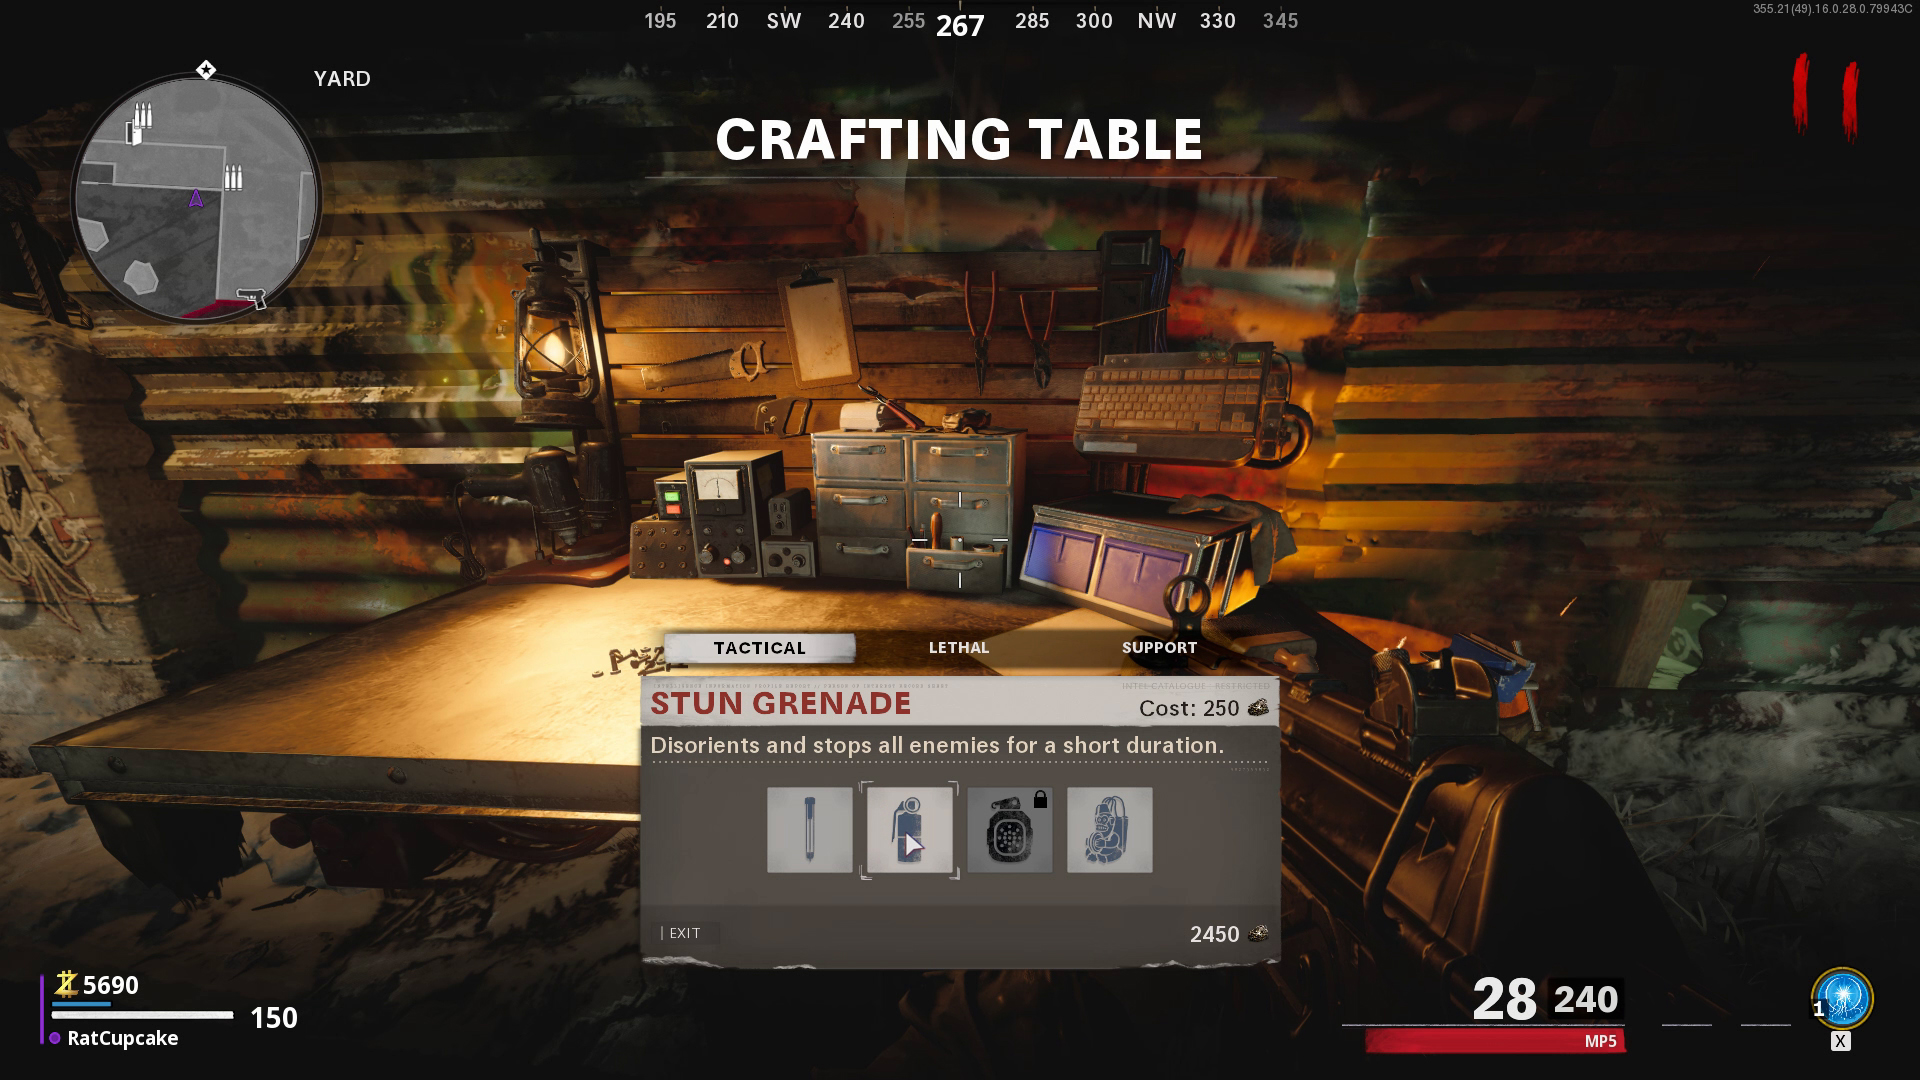
It's worth noting that you should buy tactical, lethal, and support items from the nearby crafting table before interacting with the photograph. Spend a couple of minutes spending your points on upgrades to ensure you're fully prepared for the fight ahead.
Exfil
How to exfil in Cold War Zombies
You're now standing in the Particle Accelerator with Orlov. Your mission is simple: Protect Orlov for three waves. However, the upcoming waves of enemies will include regular zombies, heavy zombies, Megatons, and Plaguehounds. Remember to use your wonder weapon to keep the undead at bay. Most people prefer to use the D.I.E. Electrobolt upgrade as it's the most powerful and efficient way to complete the fight.
Go to the Exfil Site
After you've battled through those waves of zombies, you need to leave the facility as quickly as possible. The best route is through the Weapons Lab and out through the Tunnel to access the Exfil Site at the Pond. Stay away from the blue beams along the way as these can kill you. Head to safety when the helicopter arrives to complete the Easter egg.
As PC Gamer's guides writer, Emma is usually juggling several games at once. She loves competitive first-person shooters like CS:GO and Call of Duty, but she always has time for a few rounds of Hearthstone. She's happiest when she's rescuing pugs in Spelunky 2.


