Making it easier
Once you start piling on the containers, make sure you manage them (and their increasingly irritating port demands) well—see “Managing Multiple Containers” above. And although putting together a docker-compose.yml isn’t taxing, you can get more granular control over containers with Portainer, which throws up a web interface in which you can start, stop, or add new containers at will.
Organizr (lsiocommunity/organizr) is also useful, pulling all your media server apps into a single interface, and allowing you to distribute them selectively to family members—try running two Plex containers, for example, to split family-friendly content from the material you wouldn’t want your kids to get hold of. Point them to Organizr, and they’ll only see what you’ve allowed. Consider, also, Watchtower, which monitors your images for changes, and automatically updates them to the latest versions.
If, rather than making things easier, you’d like to make them slightly more difficult, but a lot more personal, look into creating your own containers. It’s complex, but Docker’s documentation covers the process in a huge amount of detail—head to this link to learn about the required components and relevant commands. Once you’ve made your own container, upload it to the Docker hub, where anyone (including future-you) can pull it back down to their own machine, and replicate it exactly.
Serving up Pi
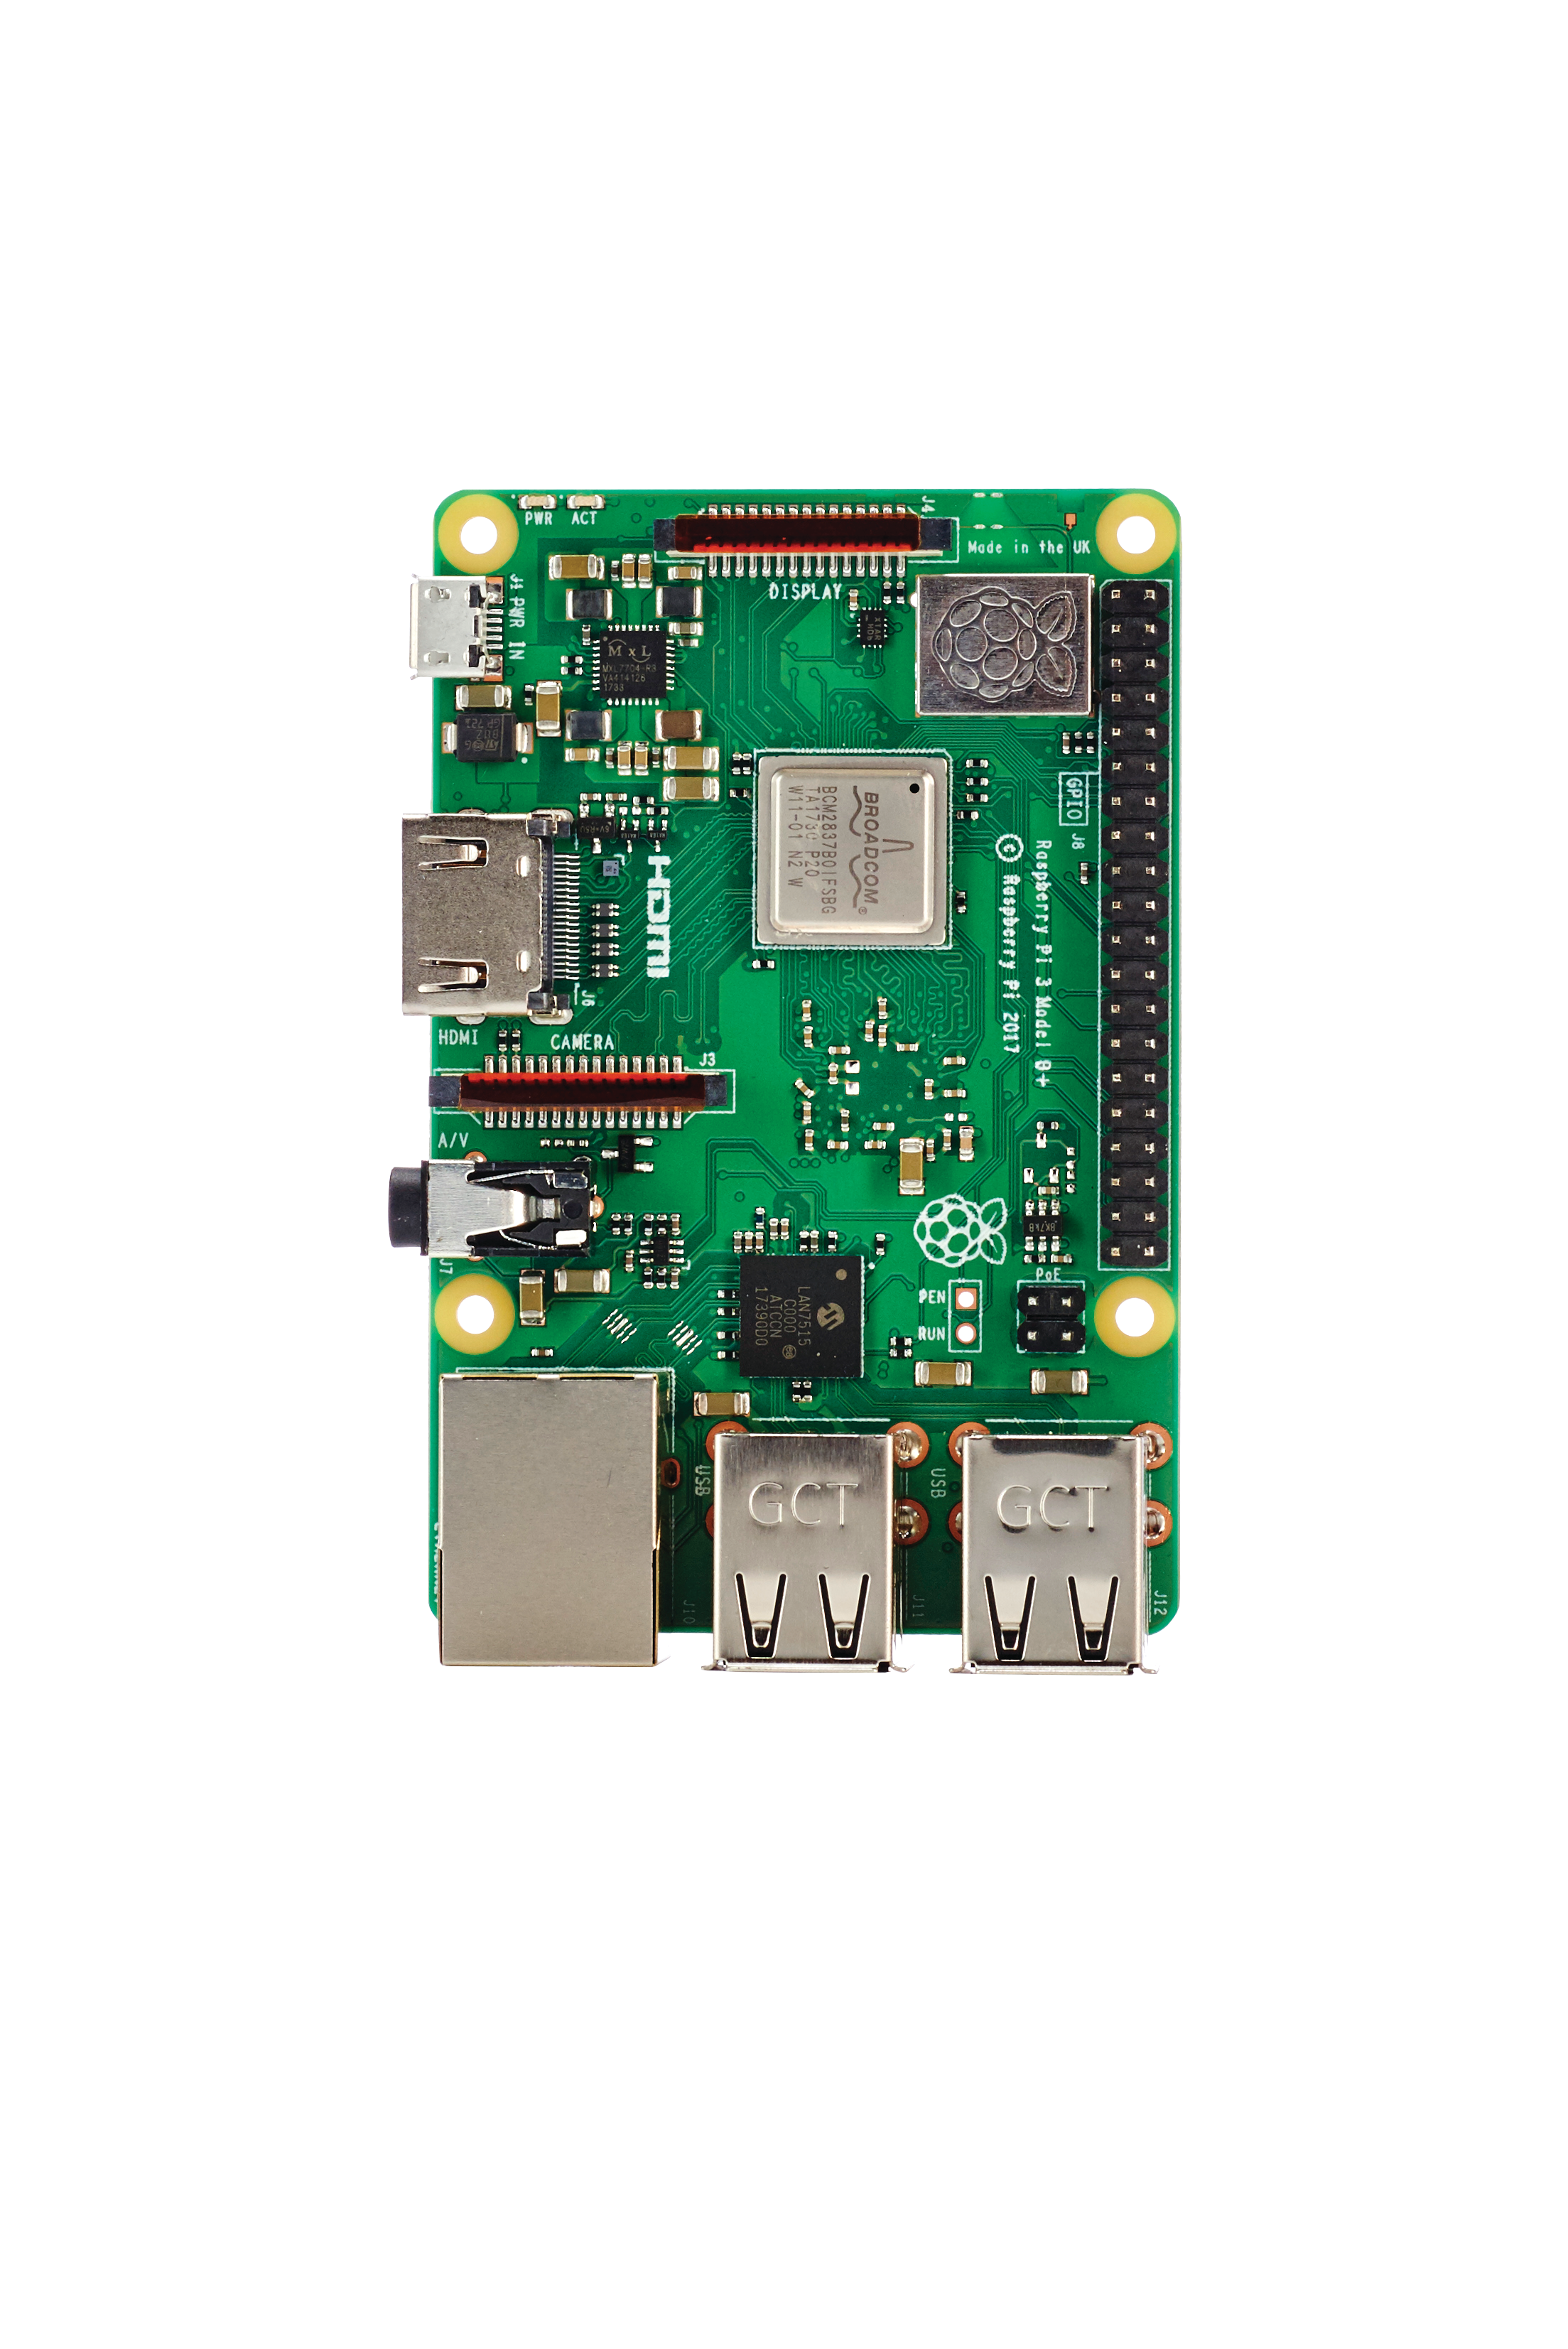
Make no mistake, a Raspberry Pi is cheap and awesome, but it makes for a poor multipurpose server. It’s pretty much a terrible computer, except for certain applications that don’t care about its lack of system resources, and its network bus—shared with USB—is severely limited. That said, for single tasks or light use, it’s great, and is the perfect candidate for a few Docker containers. As you might guess from the name, Pihole originated on the Pi, and is one of the best candidates; the Pi can certainly manage a little DNS flinging, and you can realistically get it installed, hide that Pi away, and never worry about ads again. CPUlight apps, or those that are occasionally used, are also fine. The version of Docker that’s included with Raspbian needs a quick update before it works properly, so run:
curl -sSL https://get.docker.com |shto install afresh. While Docker runs fine on a Pi (far better than any traditionally virtualized solution), images are often built for X86 platforms rather than the Pi’s ARM. Even the standard helloworld image won’t work; to test a Pi Docker installation, you need to run:
docker run armhf/ hello-worldWhen searching for candidates or containerization, be sure there’s an ARM64 version. Visiting this link brings up a number of options, all created internally within the Docker team. Or why not use your Raspberry Pi as a Tor relay with the brunneis/tor-relay-arm image, or install one of any number of programming environments? You could even use Deluge to set up your Pi as a hub for all your torrents, or try Pydio for a little simple online file storage.
Quality of life
If you’re running a Docker server, you’ll want to be as hands-off as possible. That means giving Docker slightly more access, but on the flip side, it means a slight reduction in security, so it’s up to you if you wish to follow these steps. First, create a new group just for Docker by using:
Keep up to date with the most important stories and the best deals, as picked by the PC Gamer team.
sudo groupadd dockerthen add your current user to the docker group with:
sudo usermod -aG docker $USERLog out, then log back in, and you should now be able to run Docker commands (try 'docker run helloworld') without prepending them with 'sudo'. If you see an error, it’s probably a permissions issue with your ~/.docker/ folder, caused by using 'sudo' previously; you can either kill your existing folder with:
rm -f ~/.docker/and start again, or give the folder the appropriate permissions, first with:
sudo chown “$USER”:”$USER” / home/”$USER”/.docker -Rthen with:
sudo chmod g+rwx “/home/ $USER/.docker” -RMake sure you offer similar permissions to other folders you create, for storing data or media in your containers. It’s handy to have Docker run automatically upon boot, so you don’t need to grab your peripherals (or log in via SSH) to get your server back up and running if you power cycle. Just add Docker to Systemd, the Linux component that (in most modern distributions) deals with managing the processes that run at boot time, by running:
sudo systemctl enable dockerwithin your command line. Type 'systemctl' to check it’s worked—dig through the list until you see “docker. service” listed. If you ever change your mind, you can reverse the action with (you guessed it) 'sudo systemctl disable docker'.
Managing multiple containers
Eventually, you’re going to find your server lacking ports. Pihole, for example, really needs to take control of port 80, because your HTTP traffic is routed through it—but what if another container also needs to use port 80? It’s possible, as we’ve seen, to remap those ports in your docker-compose.yml, piping port 80 from the container to any other free port on the host, but that’s much more awkward than it needs to be when you’re connecting to your server from elsewhere.
Combining a little DNS management with a reverse proxy (we’re partial to nginx-proxy) means all requests to your server are collected and rerouted to the appropriate container based on the hostname used; plex.maximumpc. local, for example, might take you to your Plex server without the need to remember which port it’s living on. Nginx can also take charge of load balancing and traffic management between your server containers—check out this link for information on getting it running, and look at installing dnsmasq within a container to deal with local DNS remapping.
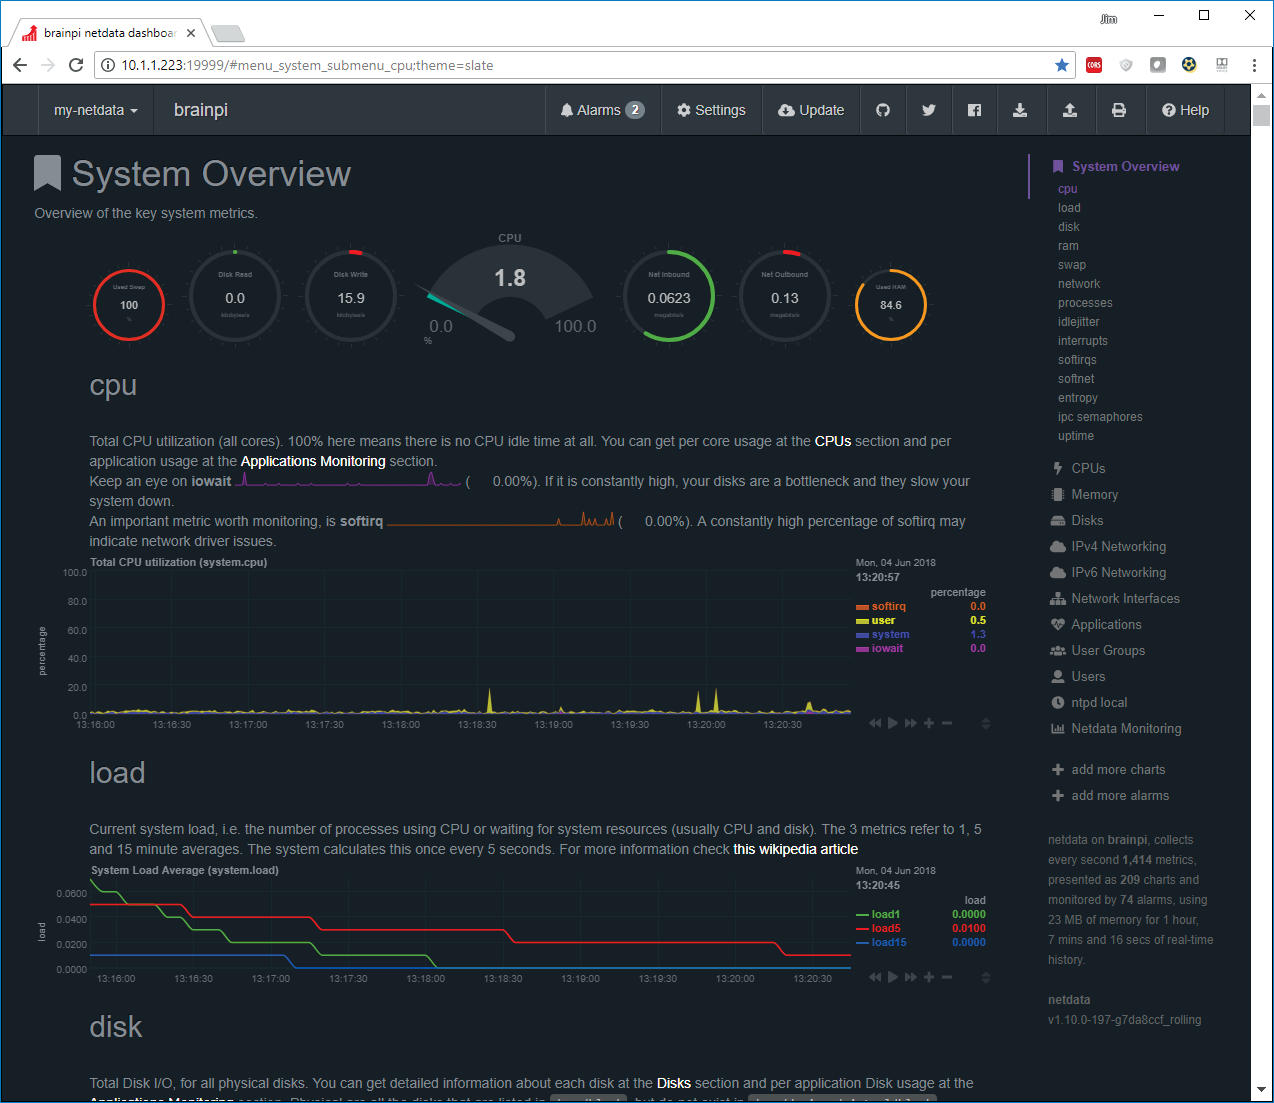
Although Nginx (pronounced “Engine X,” as we were told after saying “Nn gincks” a few too many times) can deal with load balancing, and our containerized server should theoretically be able to dole out its resources sensibly, a little monitoring layer is a great choice to see just where that load is going. Grab the image titpetric/netdata and get that running. Netdata provides not only insight into the movements of your various containers, but offers up an absolutely live and extremely well-explained look at the deeper aspects of your server hardware. If something’s not working as it should—or even if you have a minor driver issue—you’ll know about it first.
This article was originally published in Maximum PC's August 2018 issue. For more quality articles about all things PC hardware, you can subscribe to Maximum PC now.


