I got carried away and built a 36TB home server the size of a toaster oven
I wanted to upgrade my Plex server, and ended up going for the most compact case I could find. It was worth it.
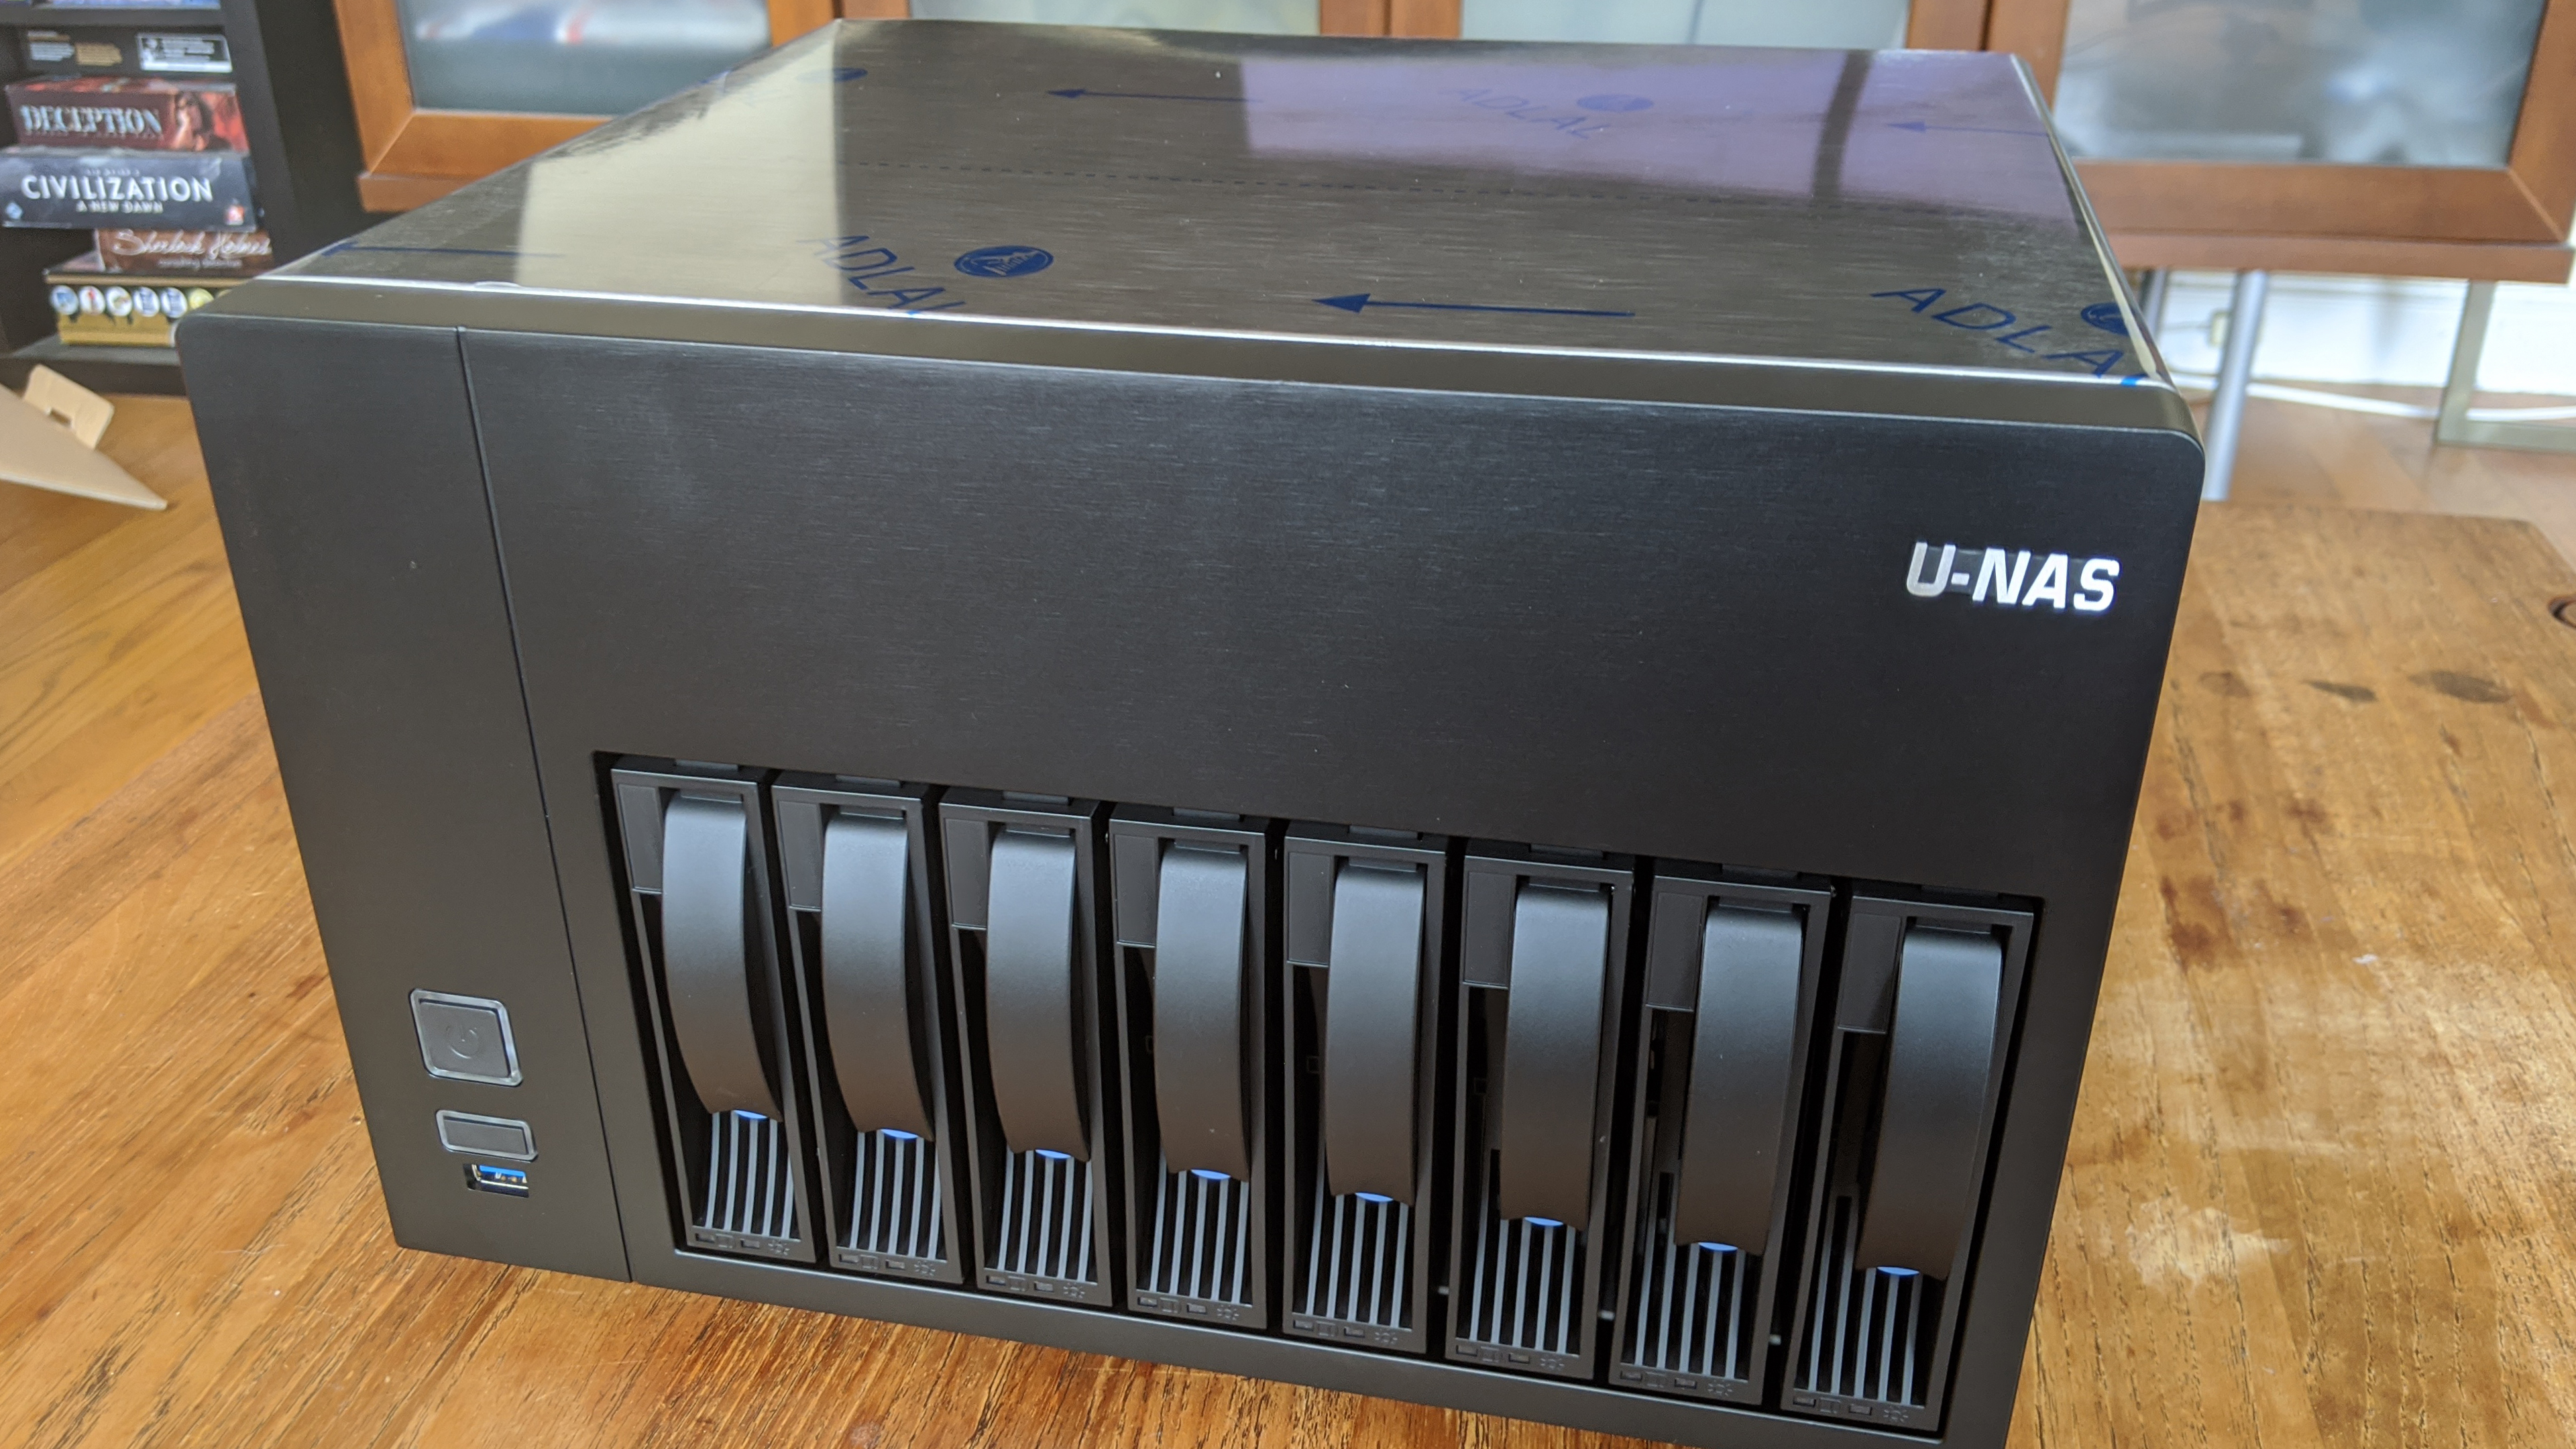
I built a 36TB home server this month, and before I tell you about it, I need to make one thing clear: I really don't need 36TB of storage. It's excessive, and the majority of that space will lie empty and unused for years. You could call it overkill, but I'm going to go with prepared. The build is the same either way, but isn't it more fun to be optimistic?
Okay, so I got carried away. But believe it or not, the goal of my home server build, which I've been plotting since quarantine began in March, was to make a practical replacement for my existing server, which I first built in 2014 and have upgraded a few times since then. That server consisted of an i7-4790K CPU, five HDDs (3-4TB each), and one 128GB SSD in a Fractal Design Define Mini case. My server runs headless Ubuntu, which means I control it remotely via a terminal and web browser tools, and mostly runs media center Plex, though I run a Discord bot and a few other things on it, too.
As I got the itch for a new project, I identified the things I'd like to improve with a new server build:
- The case is compact, but still bigger than it needs to be because I don't use a GPU. Due to where I keep it in the garage near my modem, it was awkward to reach the power button.
- My motherboard limited me to 6 SATA ports, so I'd need an expansion card to ever add more storage, and it was too old to have an M.2 slot.
- The i7-4790K is too old to use Intel Quick Sync for hardware-accelerated video encoding/decoding, which I'd like to use for Plex.
- I already built it, and building new things is fun.
The biggest motivation here was the CPU. It's still a plenty powerful CPU for most functions, but I really wanted to be able to use hardware acceleration on a newer CPU, which would allow me to run a few Plex streams at once without any risk of throttling. With that thought getting me excited for a new build, I started researching the components I'd want to use to make a brand new server. That's when I discovered U-NAS.
The case: U-NAS NSC-810A
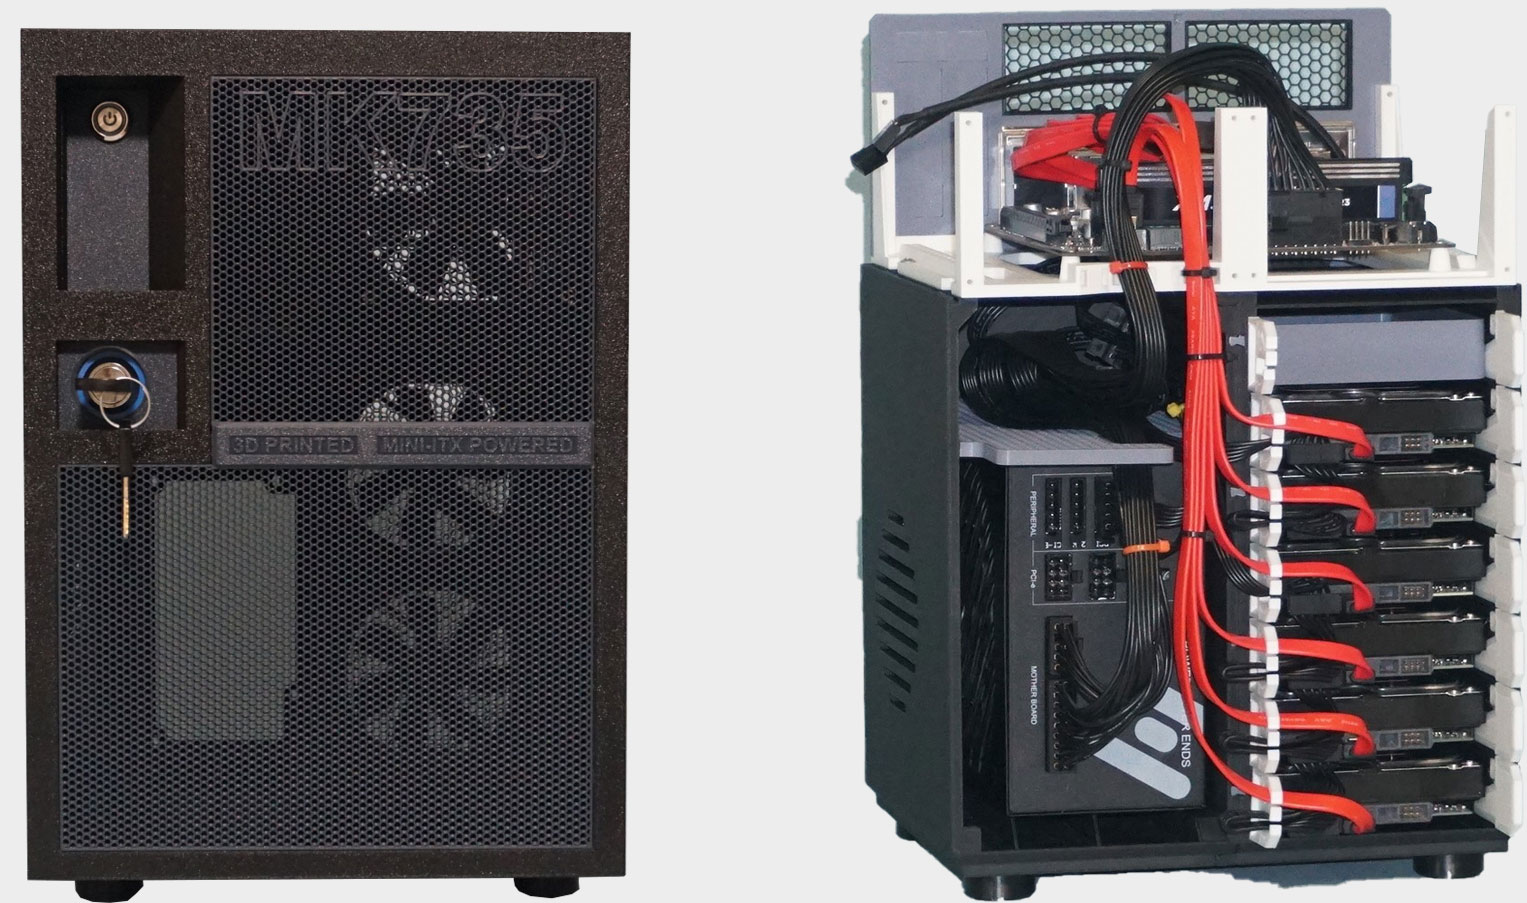
The first case I looked into was this 3D printed NAS box (aka network-attached storage) we wrote about in March. It looked really cool! Could I do something like that? I don't have a 3D printer, but there are workshops I could go to that have them… except they were all closed due to COVID-19. But I know people who have 3D printers! I asked former Maximum PC editor-in-chief Will Smith about it, and he said: "It's a hard print. The precision needed for a case is high."
So: Cool, but ultimately impractical for me.
I started reading up on popular home server cases, and eventually found exactly what I wanted: the U-NAS NSC-810A, an 8-bay NAS case that could fit a micro-ATX motherboard on top. It also has two PCIe slots, and I determined that I would need one of those for a SATA expansion card, since most small form-factor motherboards top out at only 6 SATA ports.
The biggest gaming news, reviews and hardware deals
Keep up to date with the most important stories and the best deals, as picked by the PC Gamer team.
The hot swappable drive bays were exciting. I wouldn't have to open up a side panel to add or remove HDDs and the initial installation would be way faster. It was hard to imagine a server case getting much more compact. It has a volume of 17 liters, compared to 40 liters for my current case!
Picking the U-NAS NSC-810A ended up determining what I'd use for the rest of the build.
The other components: Cooler, PSU, fans, and more
Someone on Reddit built a similar server to mine three years ago and documented the process of building with the NSC-810A, which gave me a good look at what would fit in the case. That made one decision very easy:
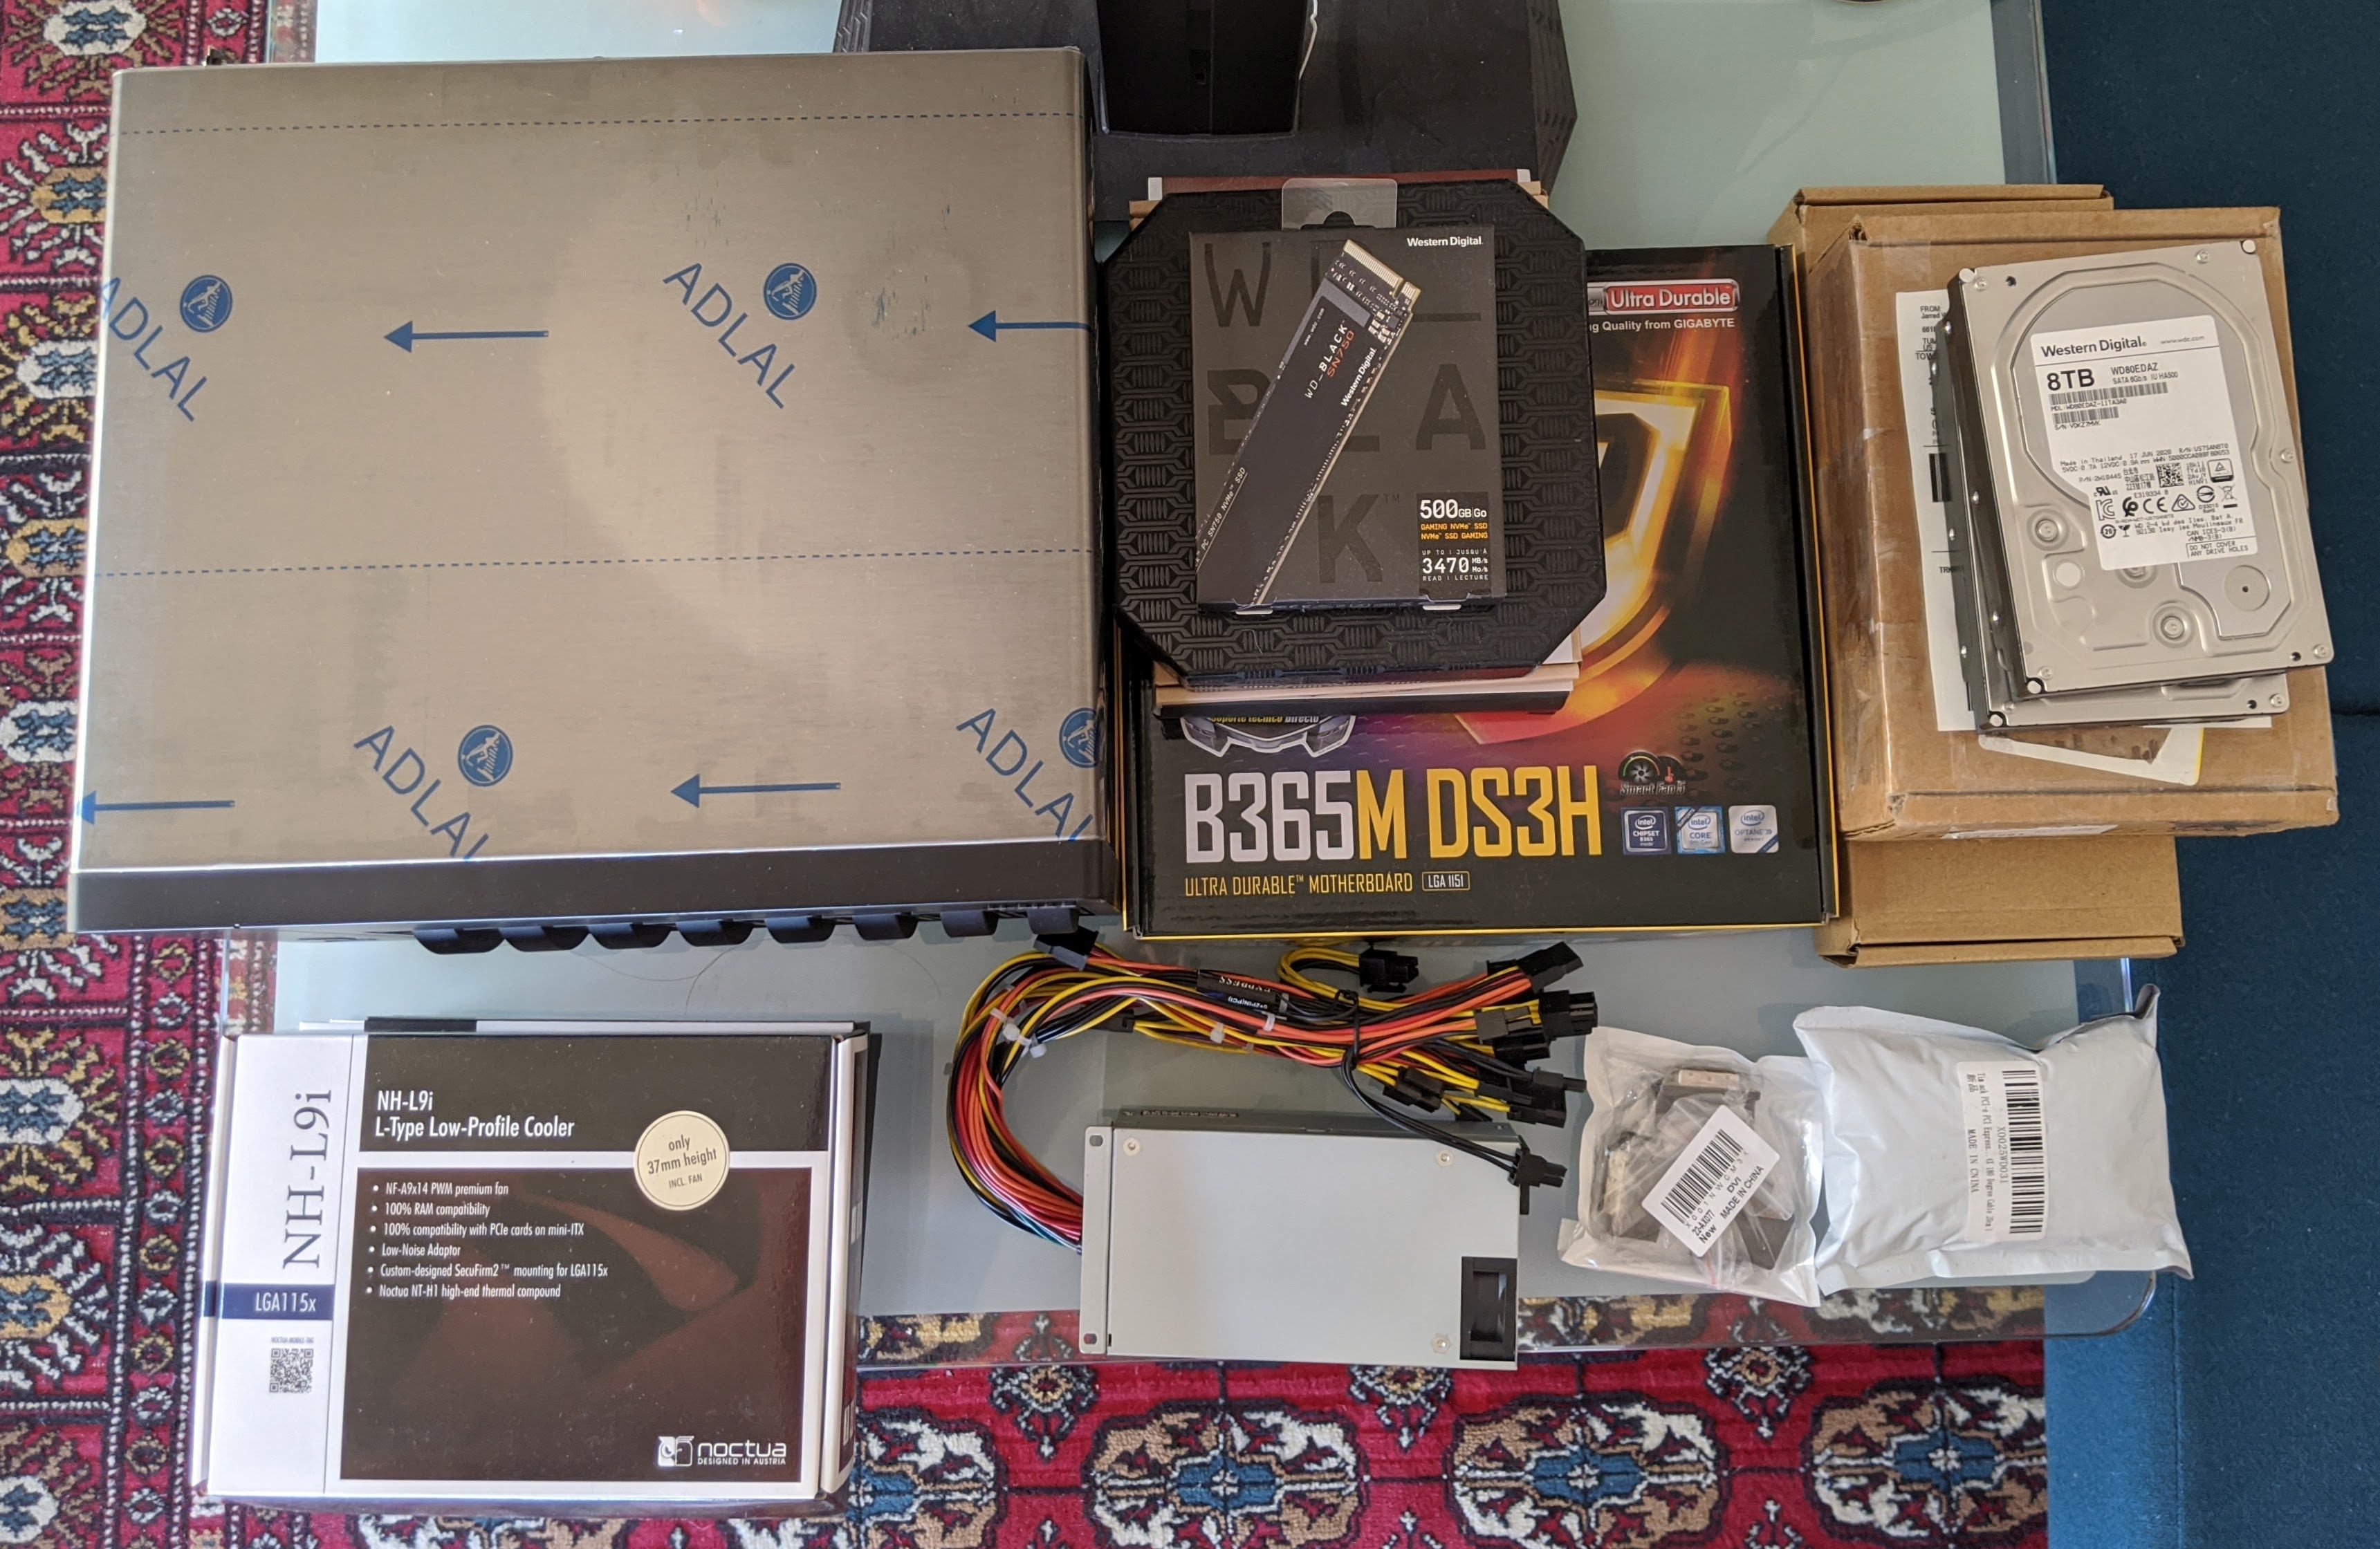
For the cooler I picked Noctua's NH-L9i, because there's very little clearance between the motherboard tray and the top of the case. Anything taller either wouldn't leave enough space for proper airflow or wouldn't fit, period. I also planned to add a Noctua fan to the case for stronger, quieter airflow.
For the power supply, I had to research the Flex 1U form factor, which is smaller than regular ATX and even SFX power supplies, and not commonly used in consumer tech. I learned about one model that's really popular with small form-factor enthusiasts: The Enhance Electronics ENP-7660B, a 600 watt power supply. As far as I know, it's the only Flex 1U PSU that goes above 400 watts (there are customized versions of this PSU out there, too) and it offers an 80+ Platinum efficiency rating. I really didn't need nearly 600 watts of power without a graphics card, but the efficiency is great, and, well, be prepared for anything, right?
For storage, I waited for a sale to buy an affordable 500GB WD SN750 NVMe SSD. It was important to me to switch from my old SATA SSD to a new NVMe model, since it would take up less space in the tight build and not hog a SATA port. For the motherboard, I wanted a micro-ATX model with a PCIe x4 slot, which I could use for a SATA expansion card. I knew I'd have to use a riser cable to connect the card to the motherboard, and I wasn't completely sure it would stay properly slotted into the longer x16 slot. Also, leaving the x16 slot open gives me the opportunity to add something like an Nvidia Quadro P2000 someday.
To be able to support up to eight drives, I ordered a well-reviewed SATA expansion card on Amazon, ensuring it had reviews that said it worked fine in Linux and would support full SATA speeds. It ended up being a PCIe x1 card, so my motherboard pick wasn't strictly necessary, but it all worked out fine.
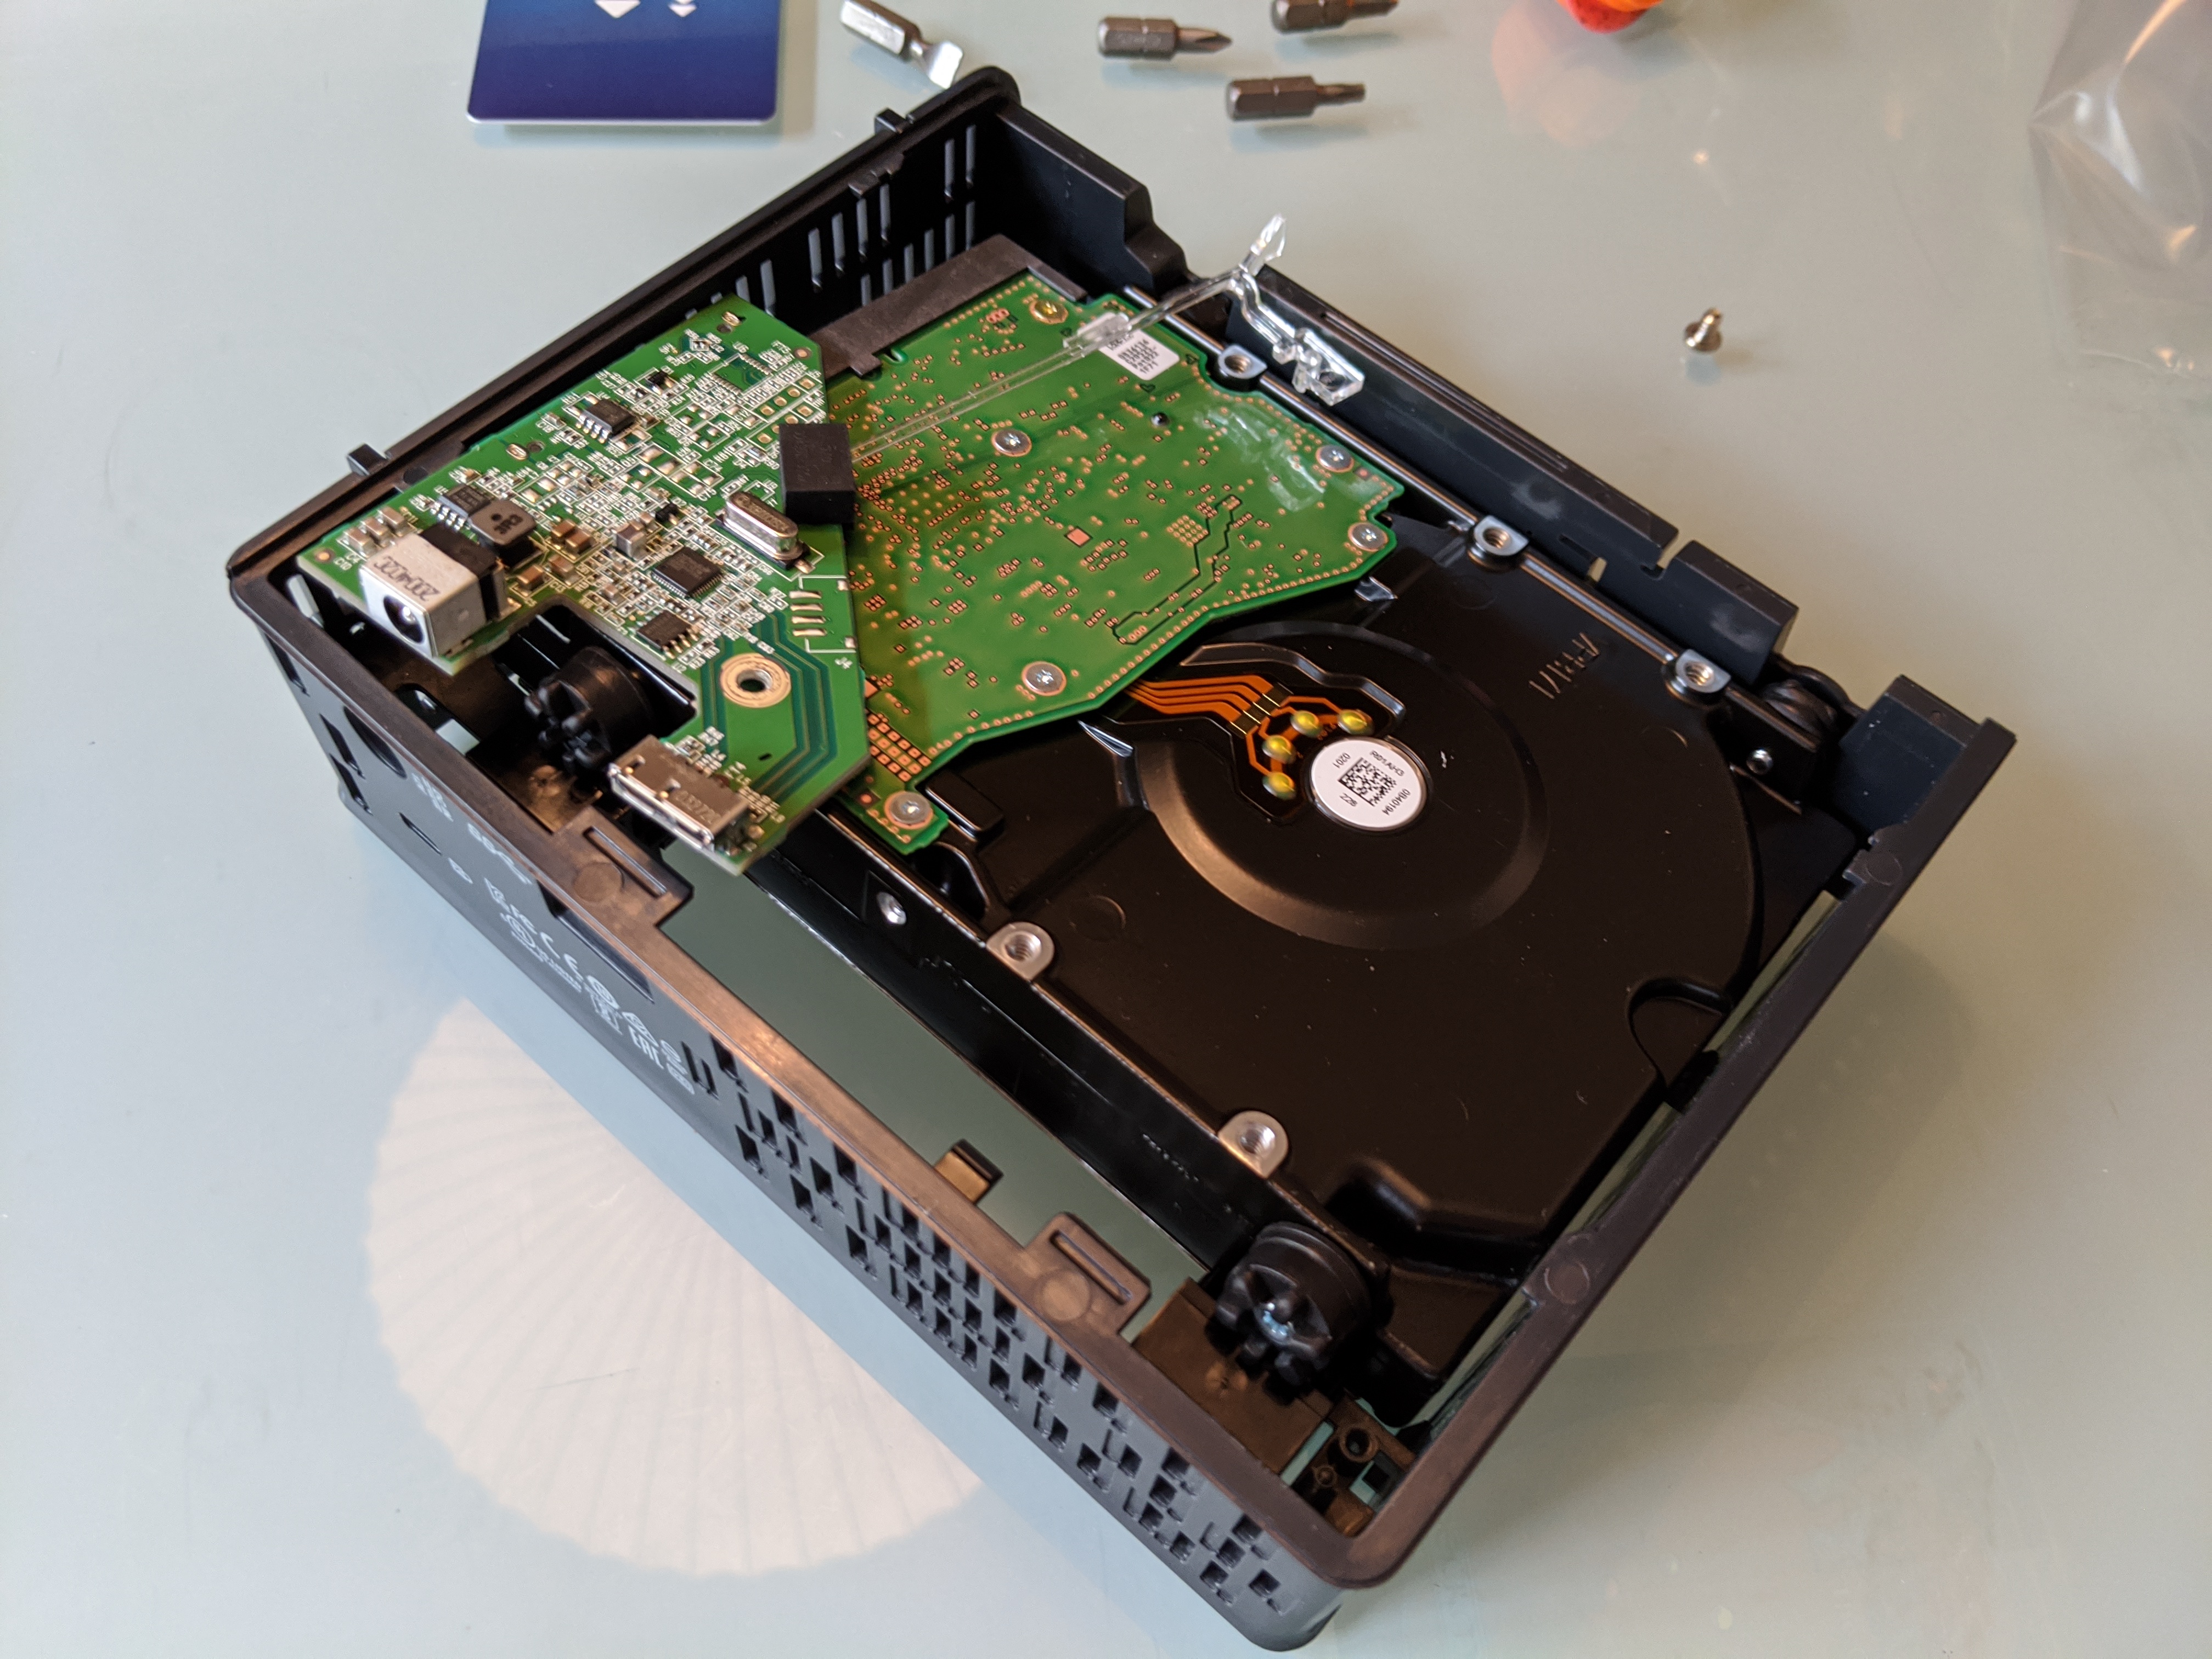
That was the extent of my storage plans, until just a few days before I started my build, I saw a sale on Western Digital's external Easystore hard drives, which you can remove from their housing for some perfectly good internal storage drives. I impulsively bought two 8TB drives, almost doubling my total storage capacity from the old server.
One last pickup: A dummy plug, which you need on some headless systems to "trick" the internal GPU into thinking a monitor is plugged in and allowing hardware acceleration to kick in. I read conflicting reports on whether I'd need one for Ubuntu, so got one to be safe.
The build
COVID really played havoc with the supply lines of smaller electronics companies like U-NAS and Enhance. I reached out to both in April to ask about the case and power supply, but neither had units available in the US until summer. Finally, by mid-August, I had everything I needed. Well, almost everything, with one exception that delayed my build by a couple days.
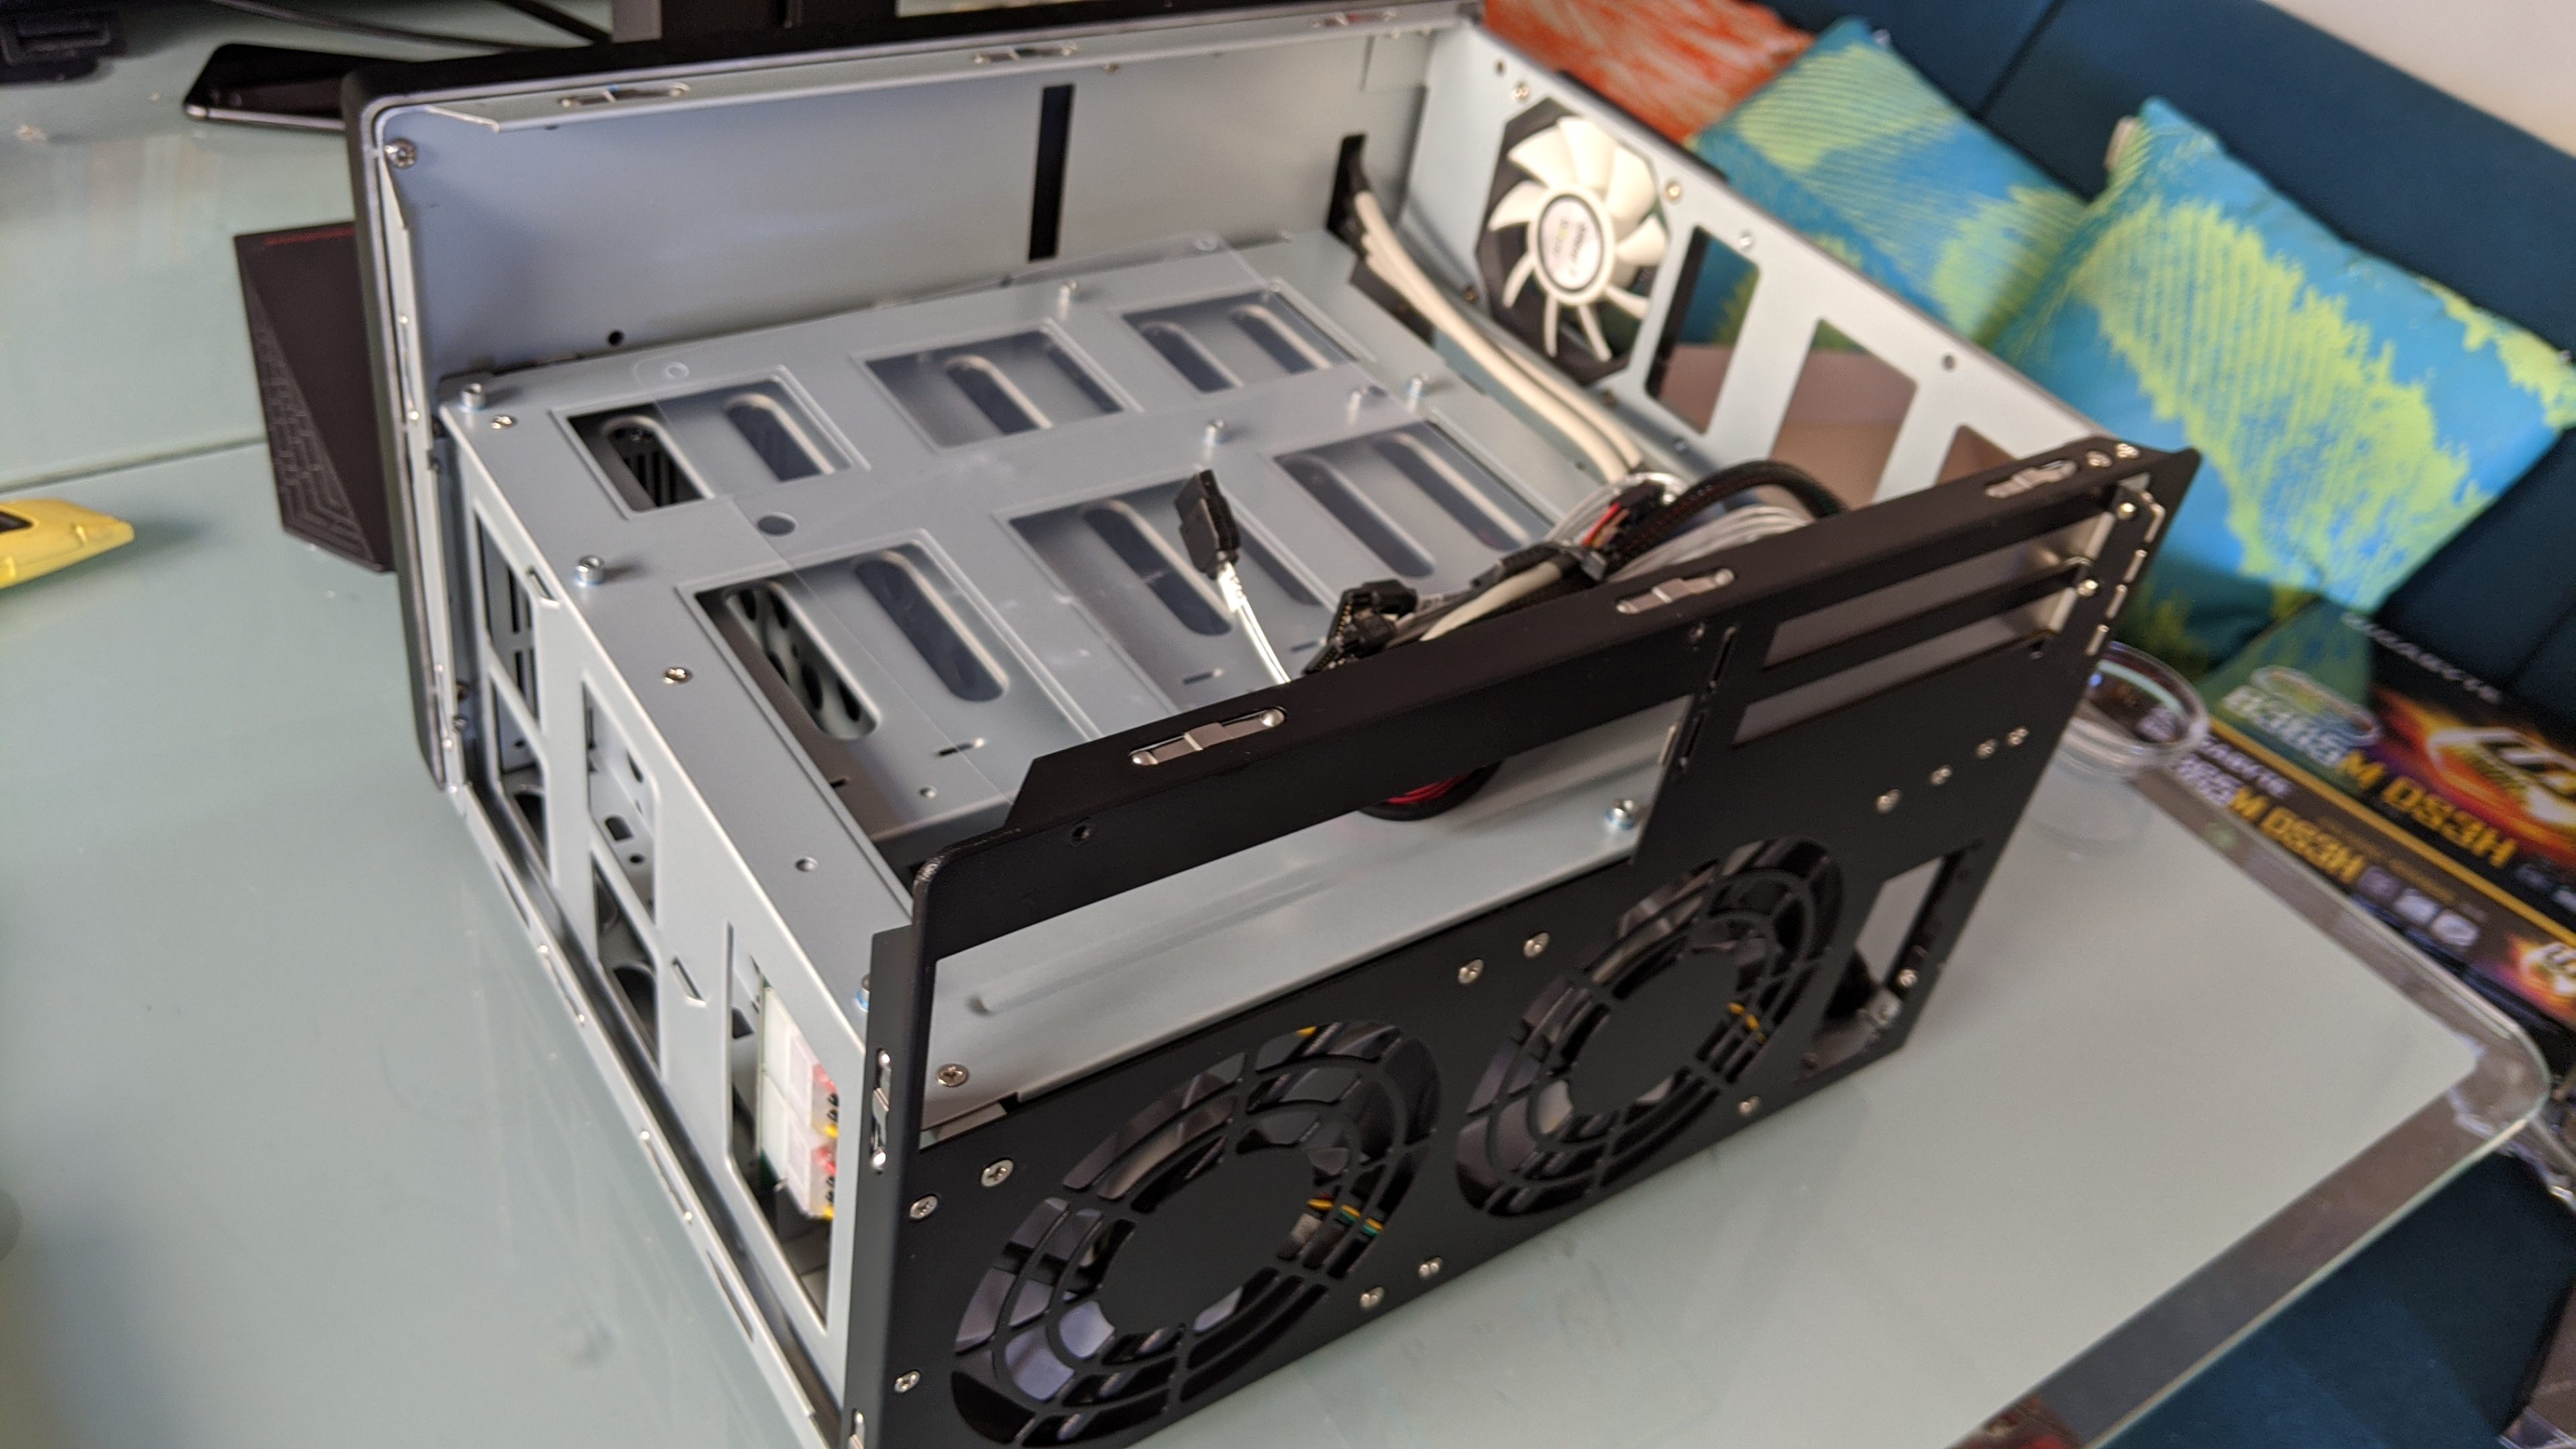
Here's what the case looked like opened up. Not much space!
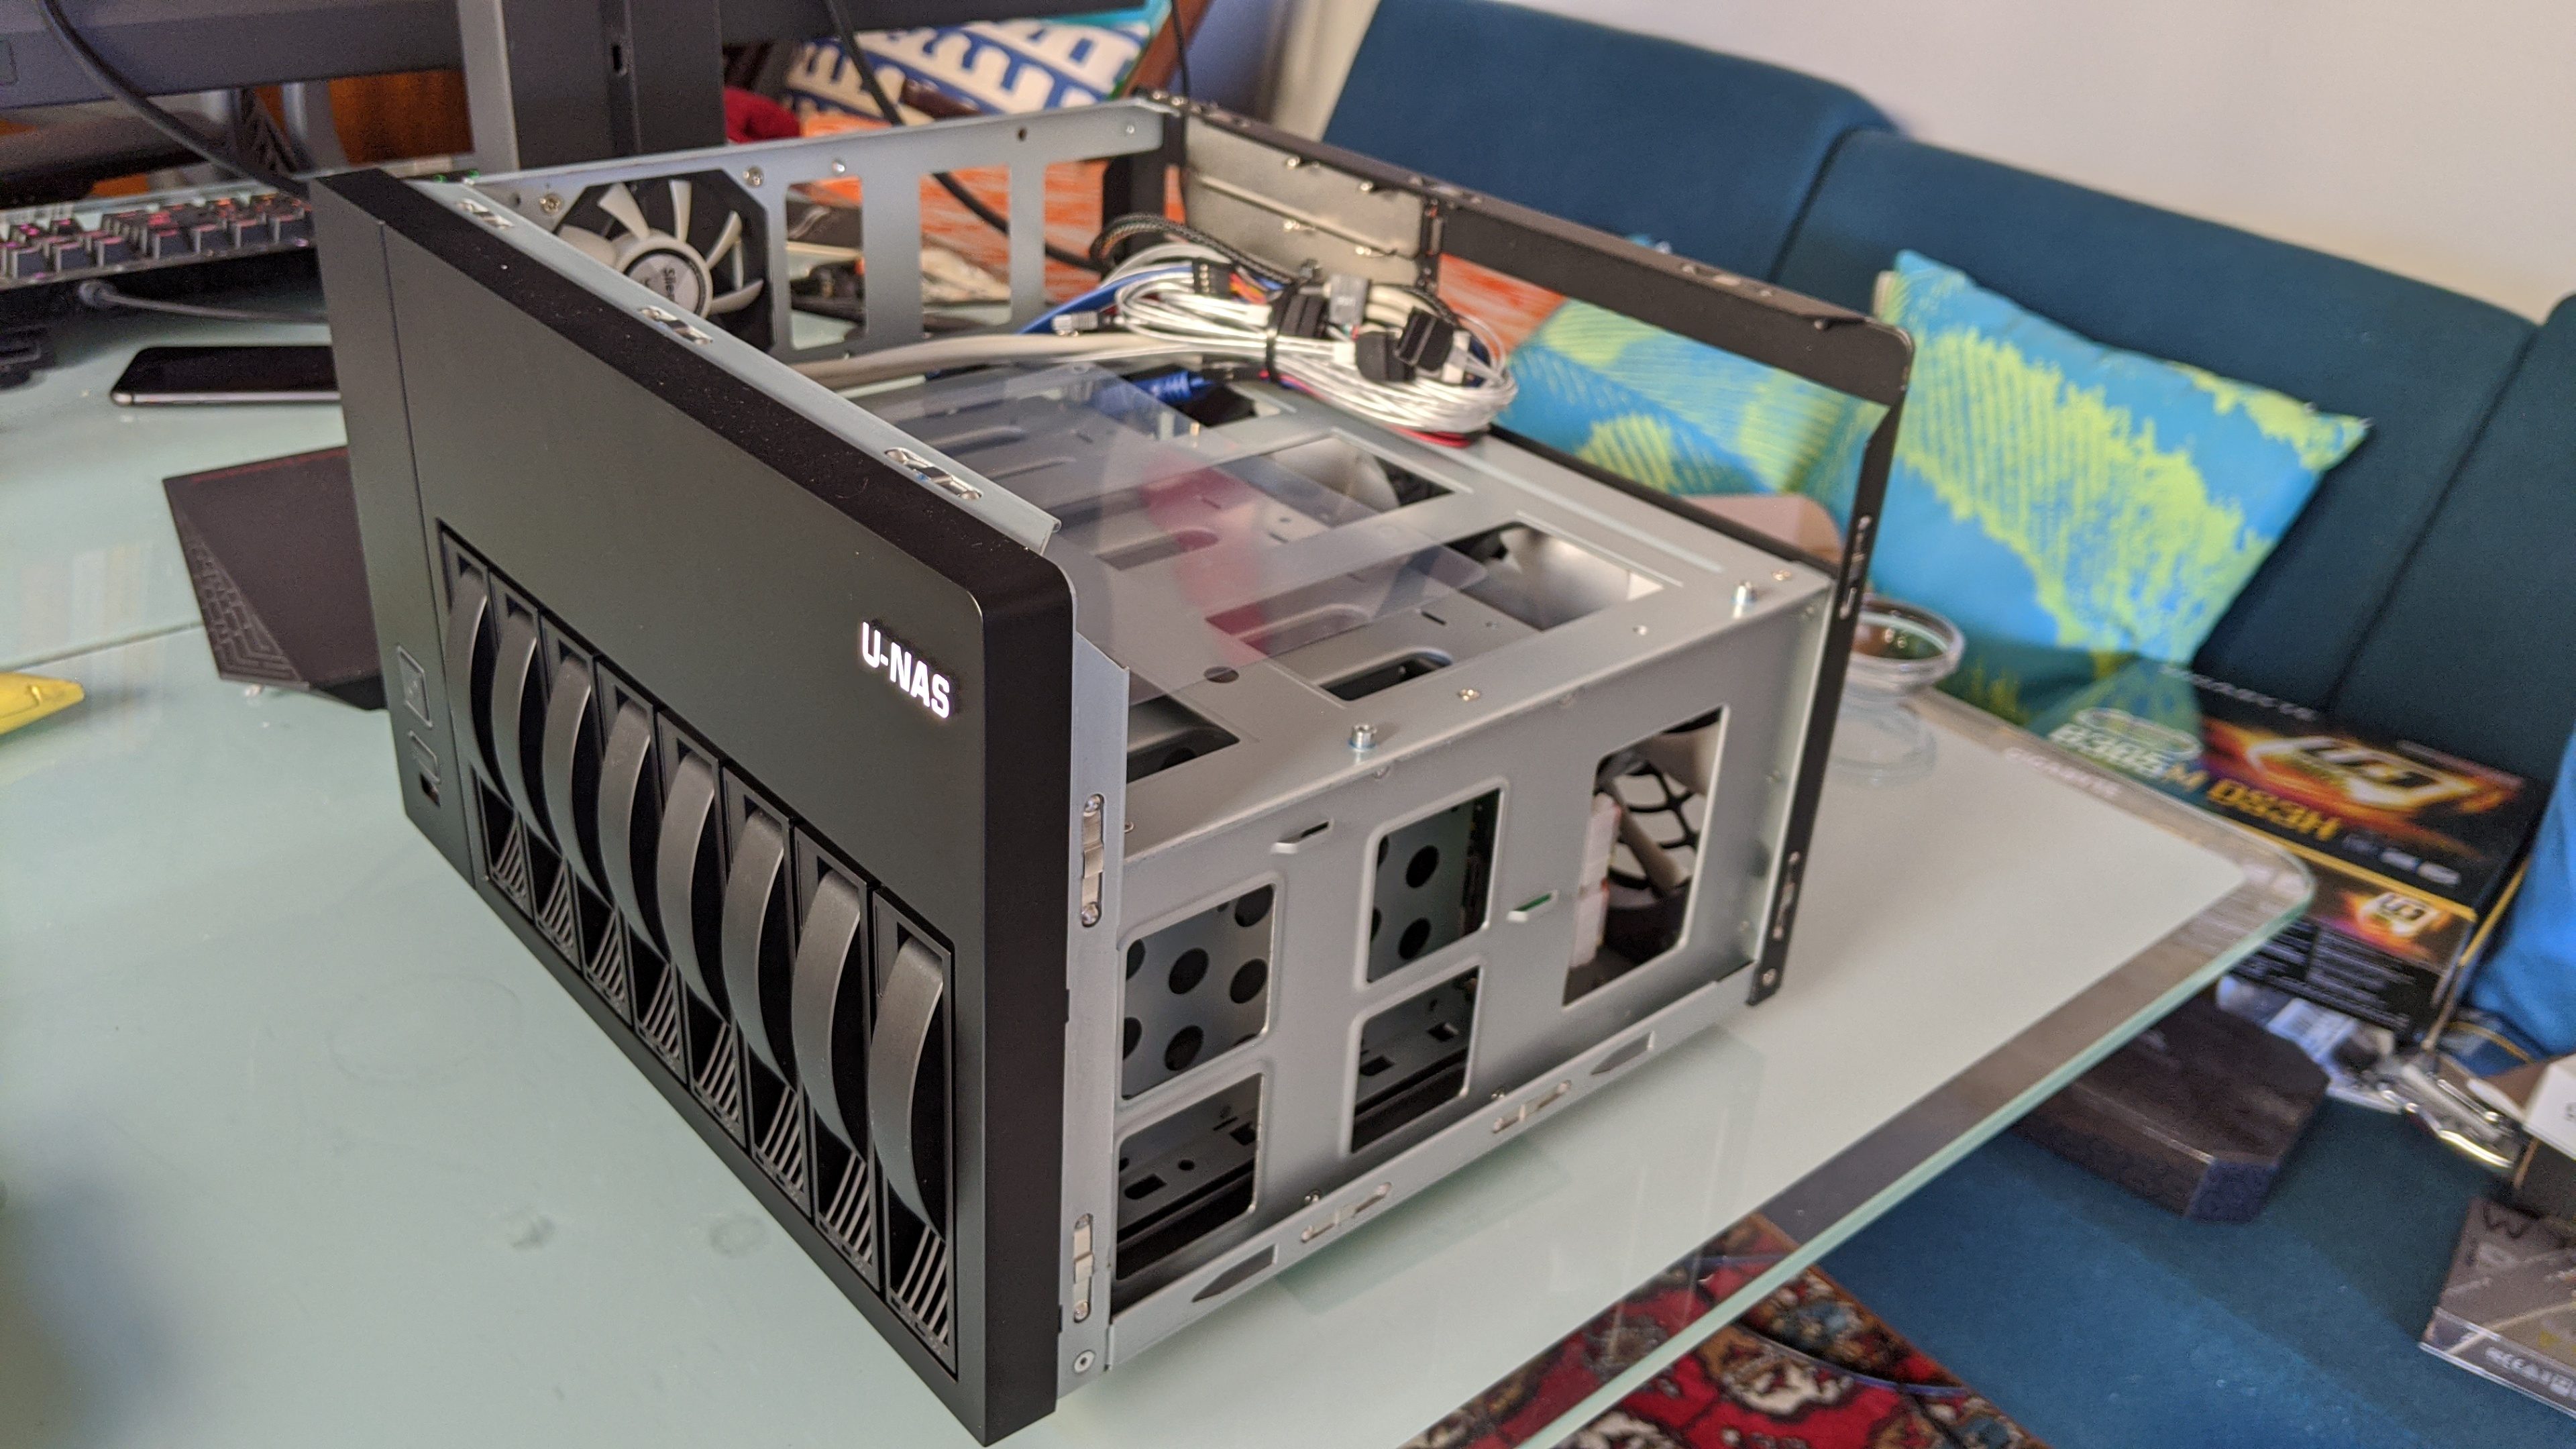
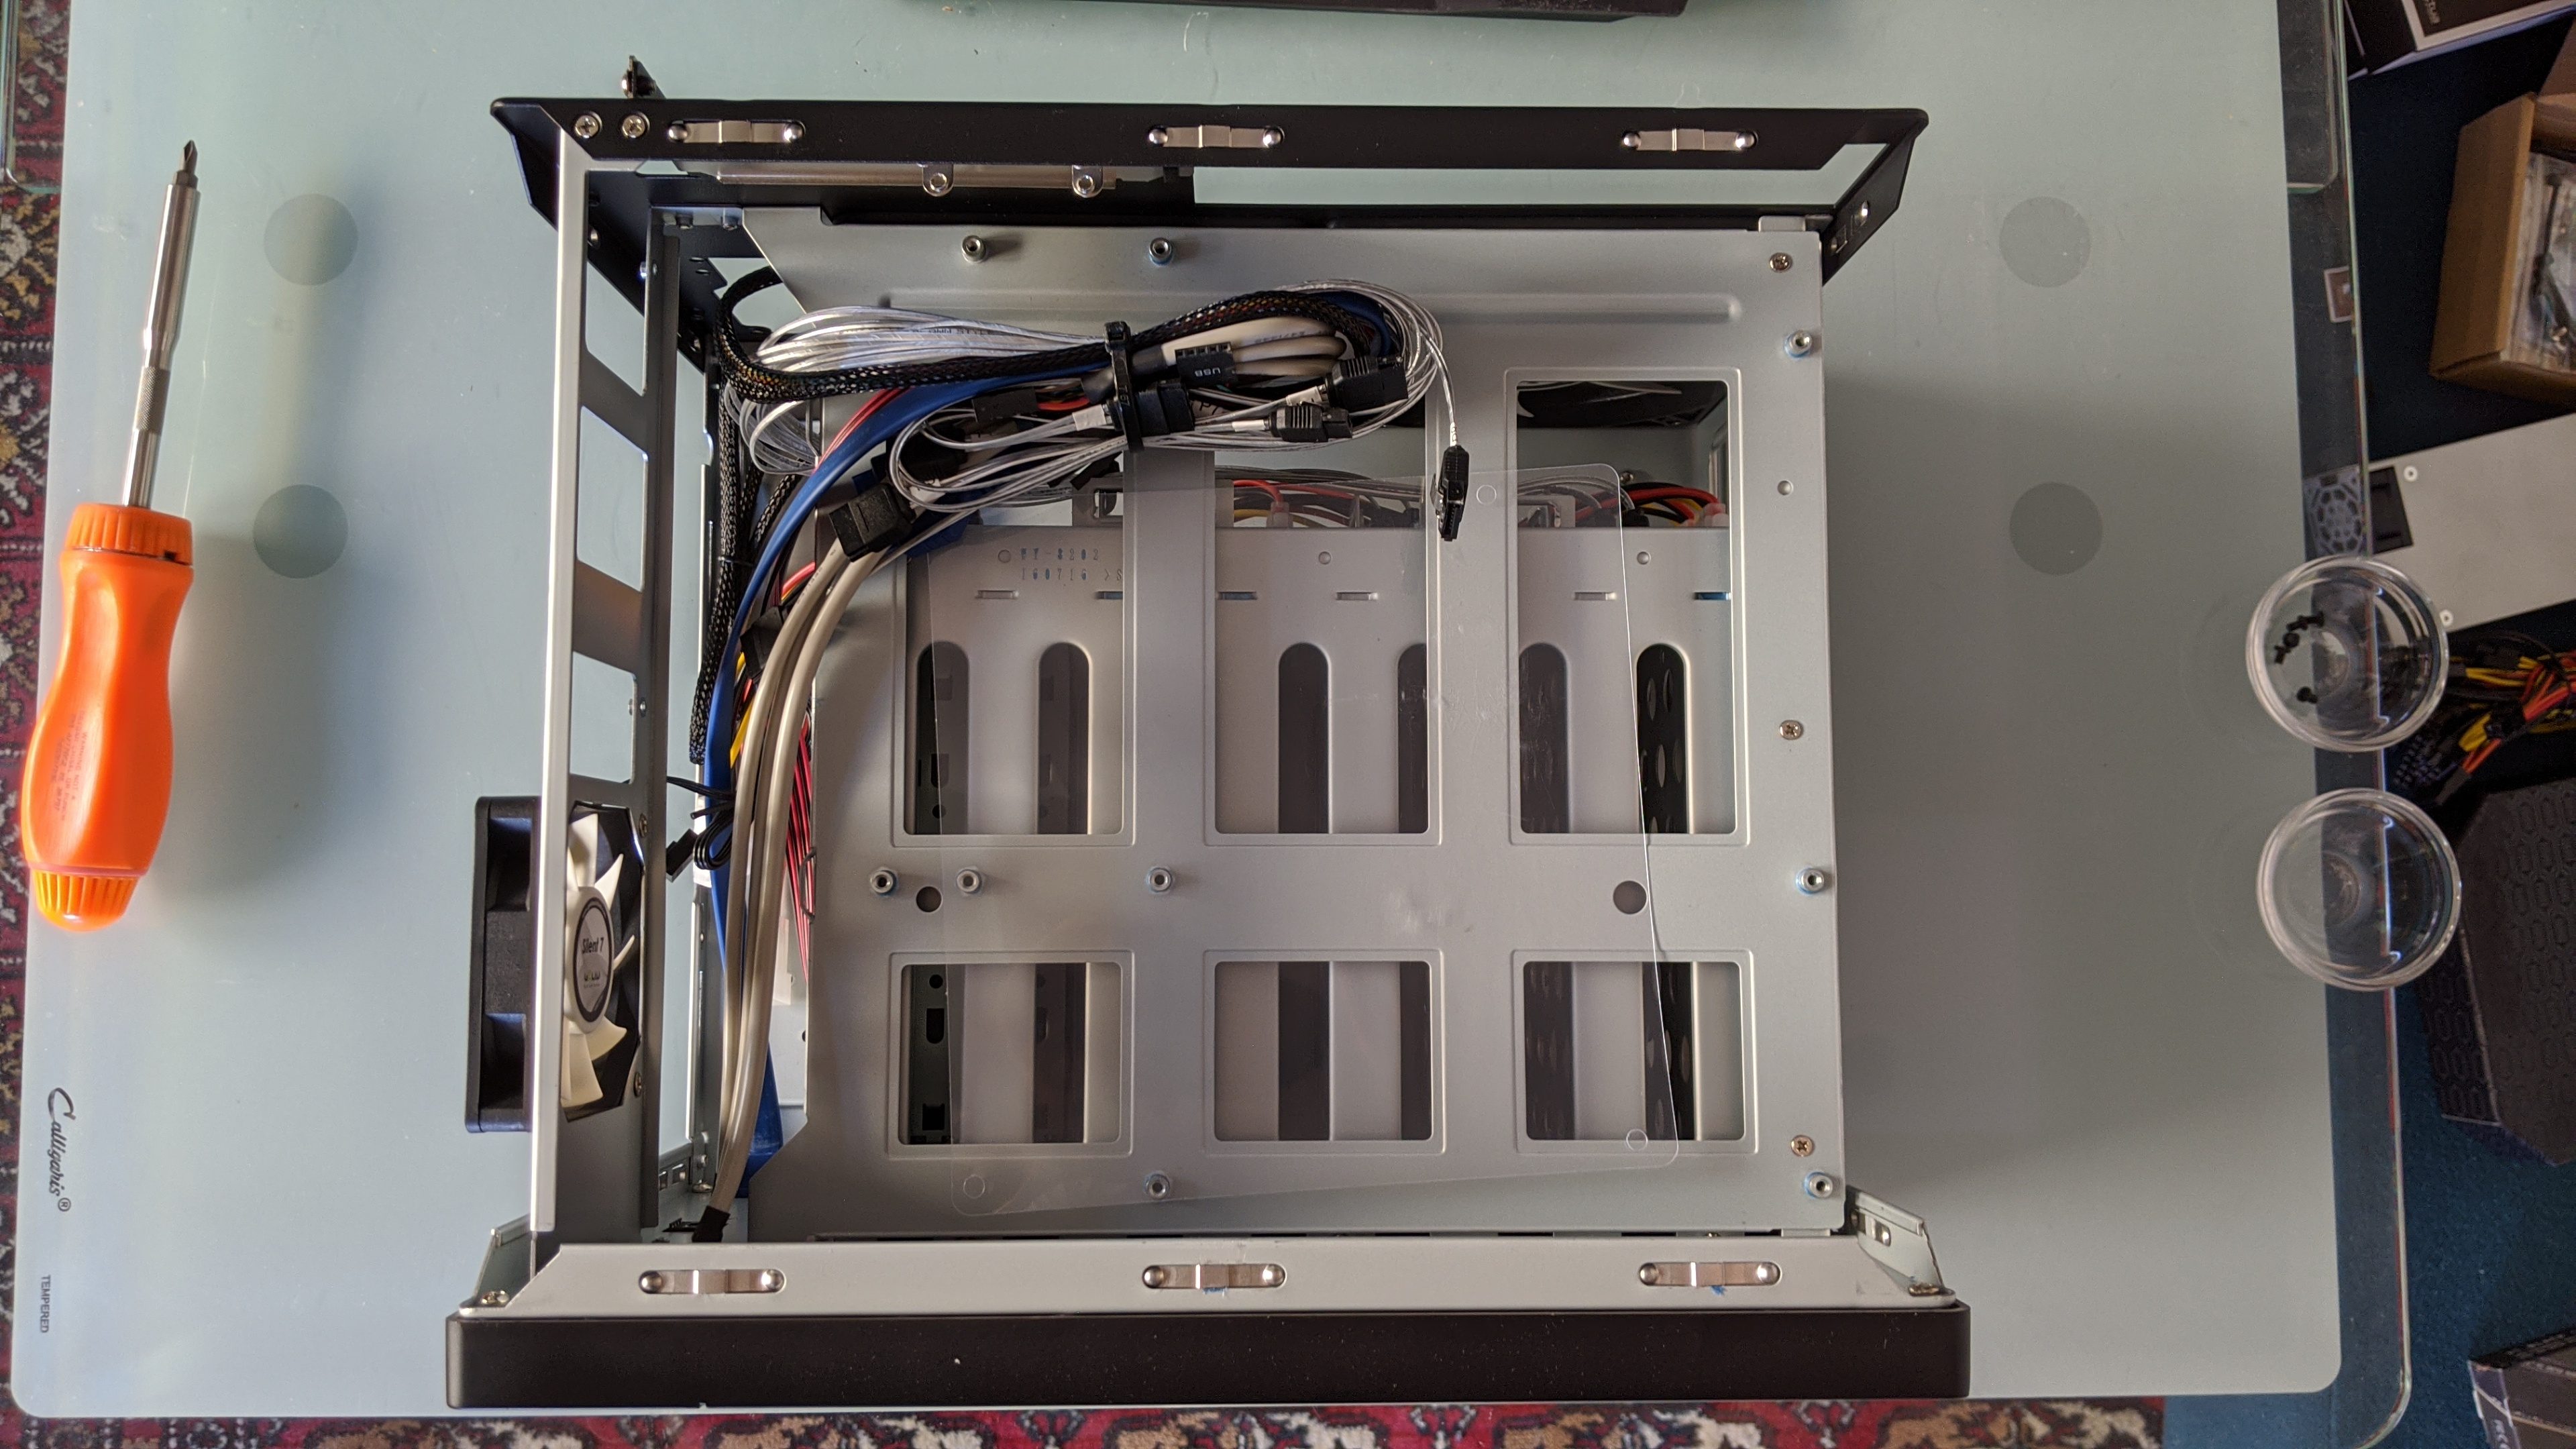
I started by installing my CPU and cooler onto the motherboard, then placing it into the case to make sure it fit properly. I didn't screw the power supply into the case at this point, but I did place it approximately where it would go to check an issue that the Redditor above had mentioned, and that I hoped I'd avoid: the CPU power connector being too short to reach the motherboard.
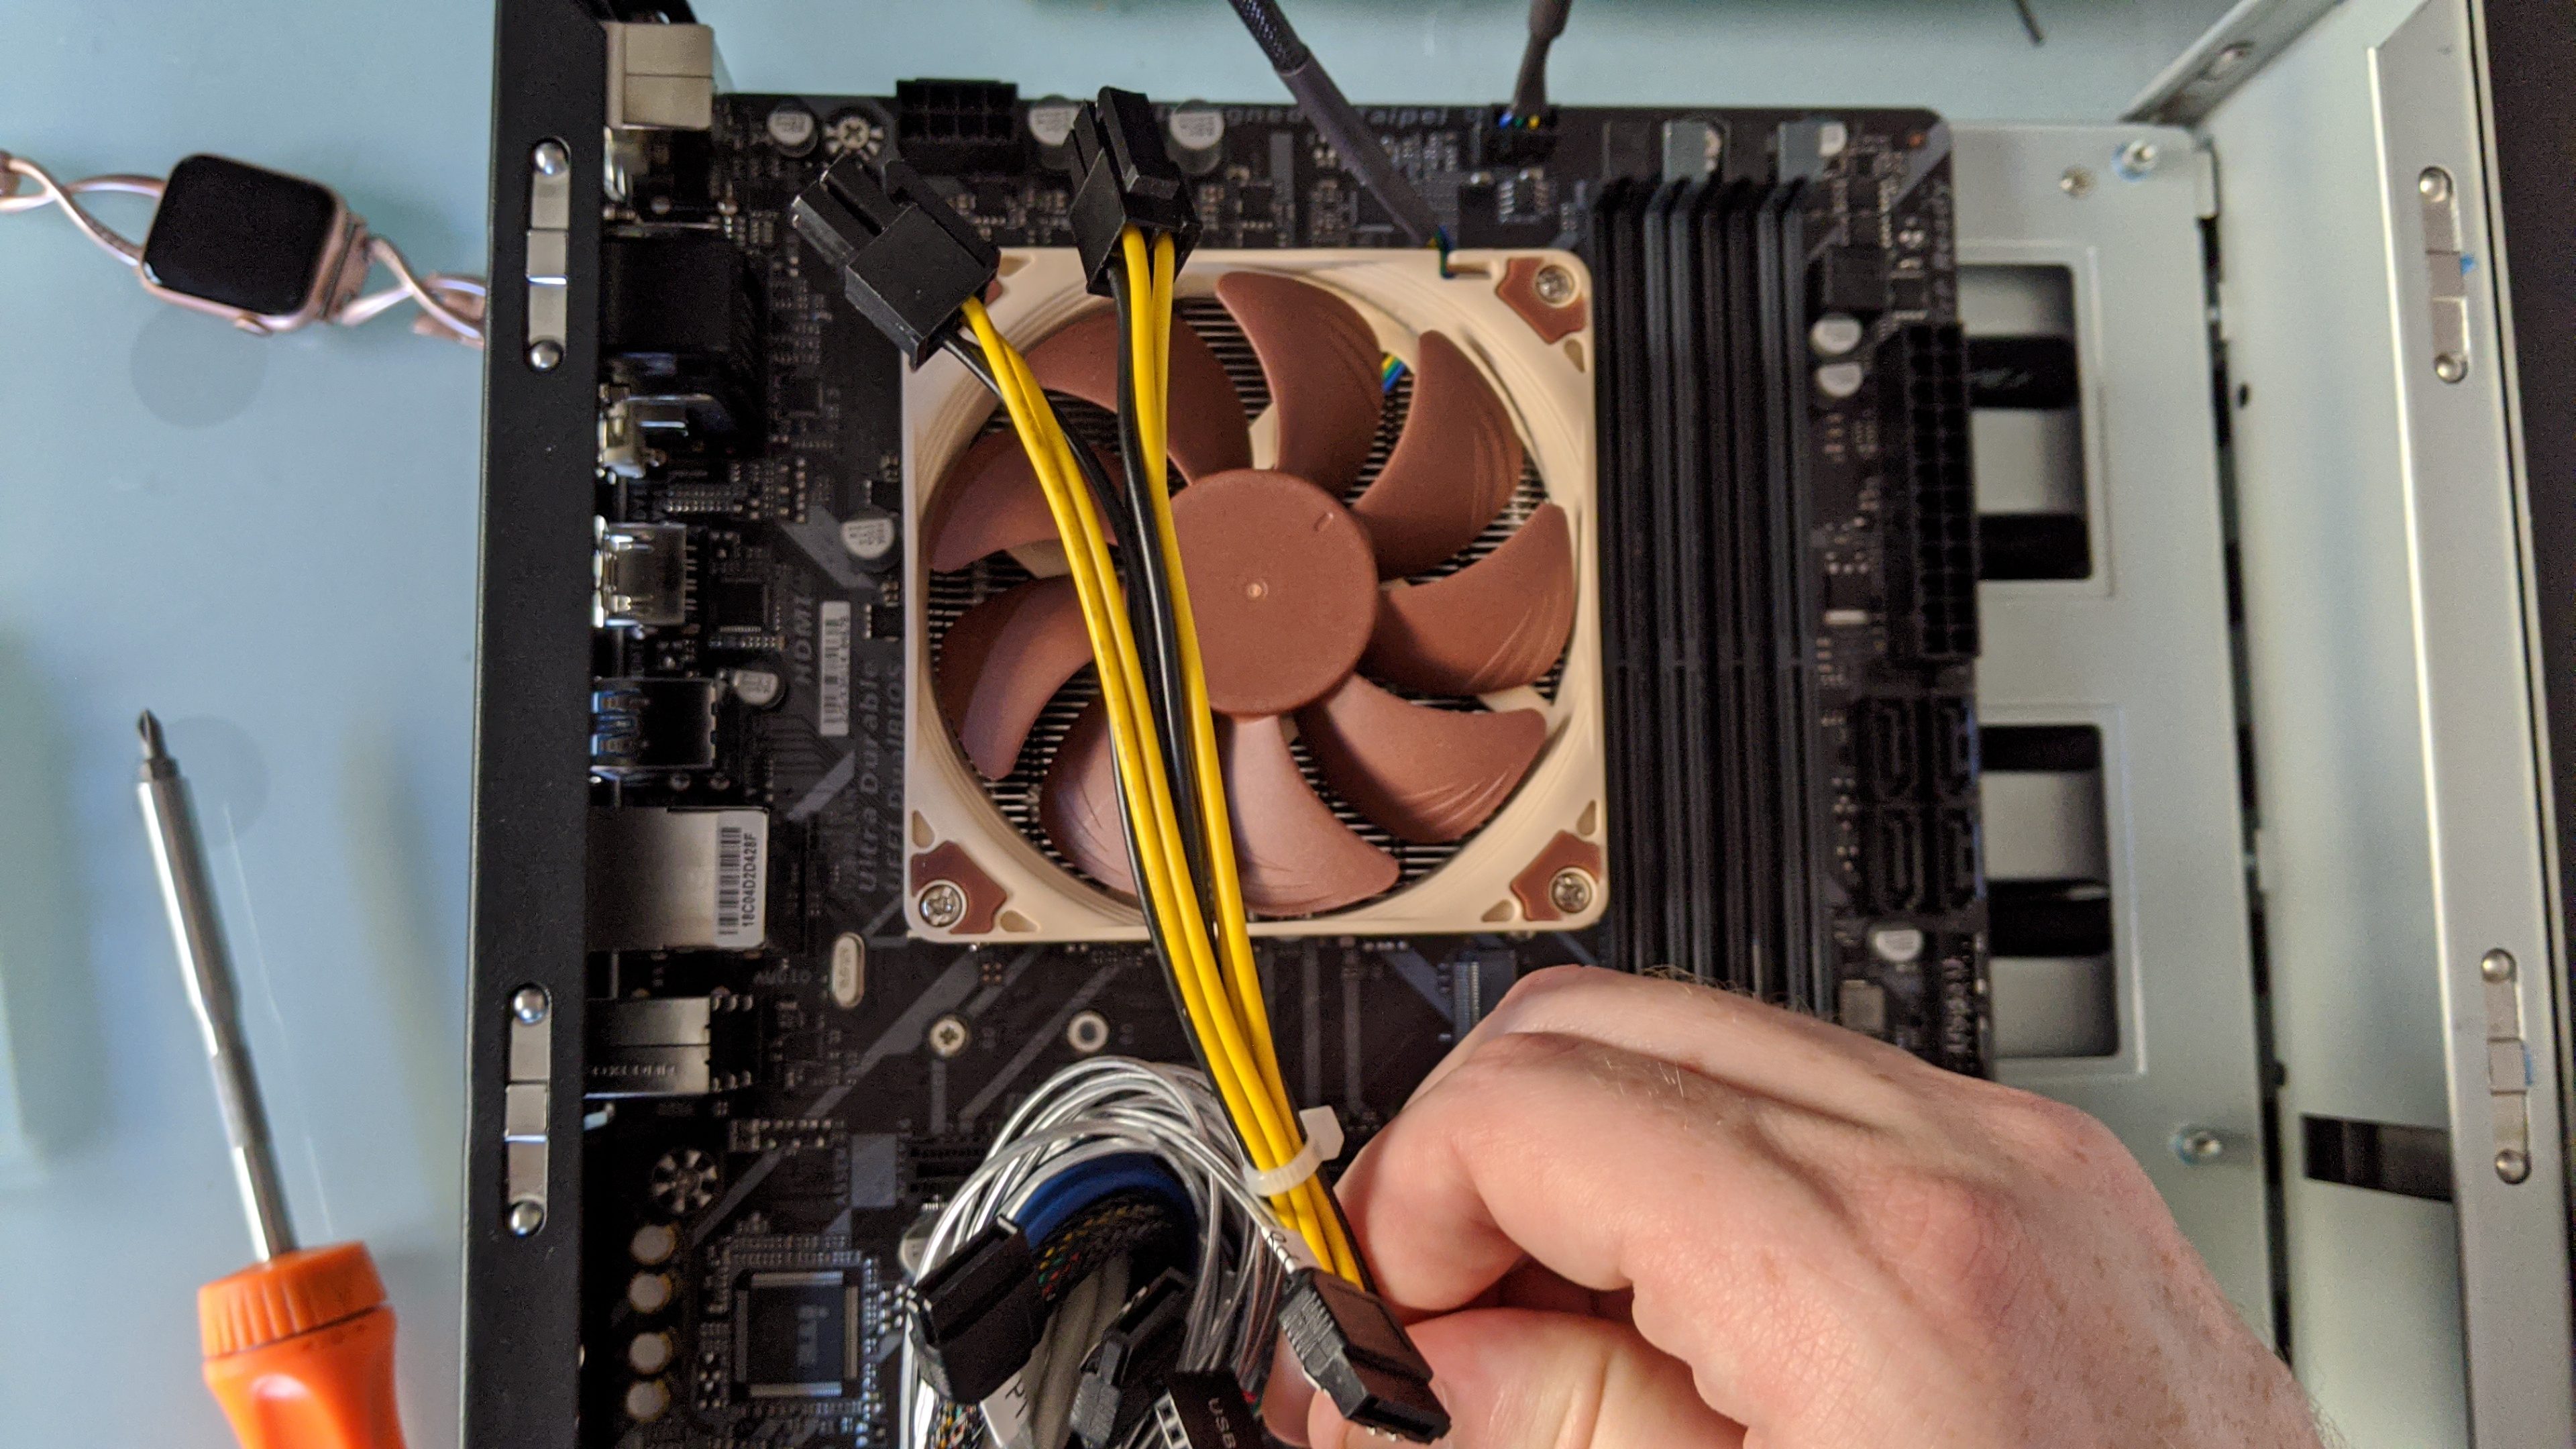
I stretched it as far as I could, but there was just no way it was going to reach (and even if it had, it would've been stretched taut across the CPU cooler, which isn't ideal). So I had to order an extender cable and focus on the rest of the build.
It was tight quarters. I wanted as much airflow through this case as possible since it's so compact, which meant keeping cables out of the way as best I could. I unscrewed and reattached the back panel of the case a couple times as I messed with cable routing. Here's how the build progressed.
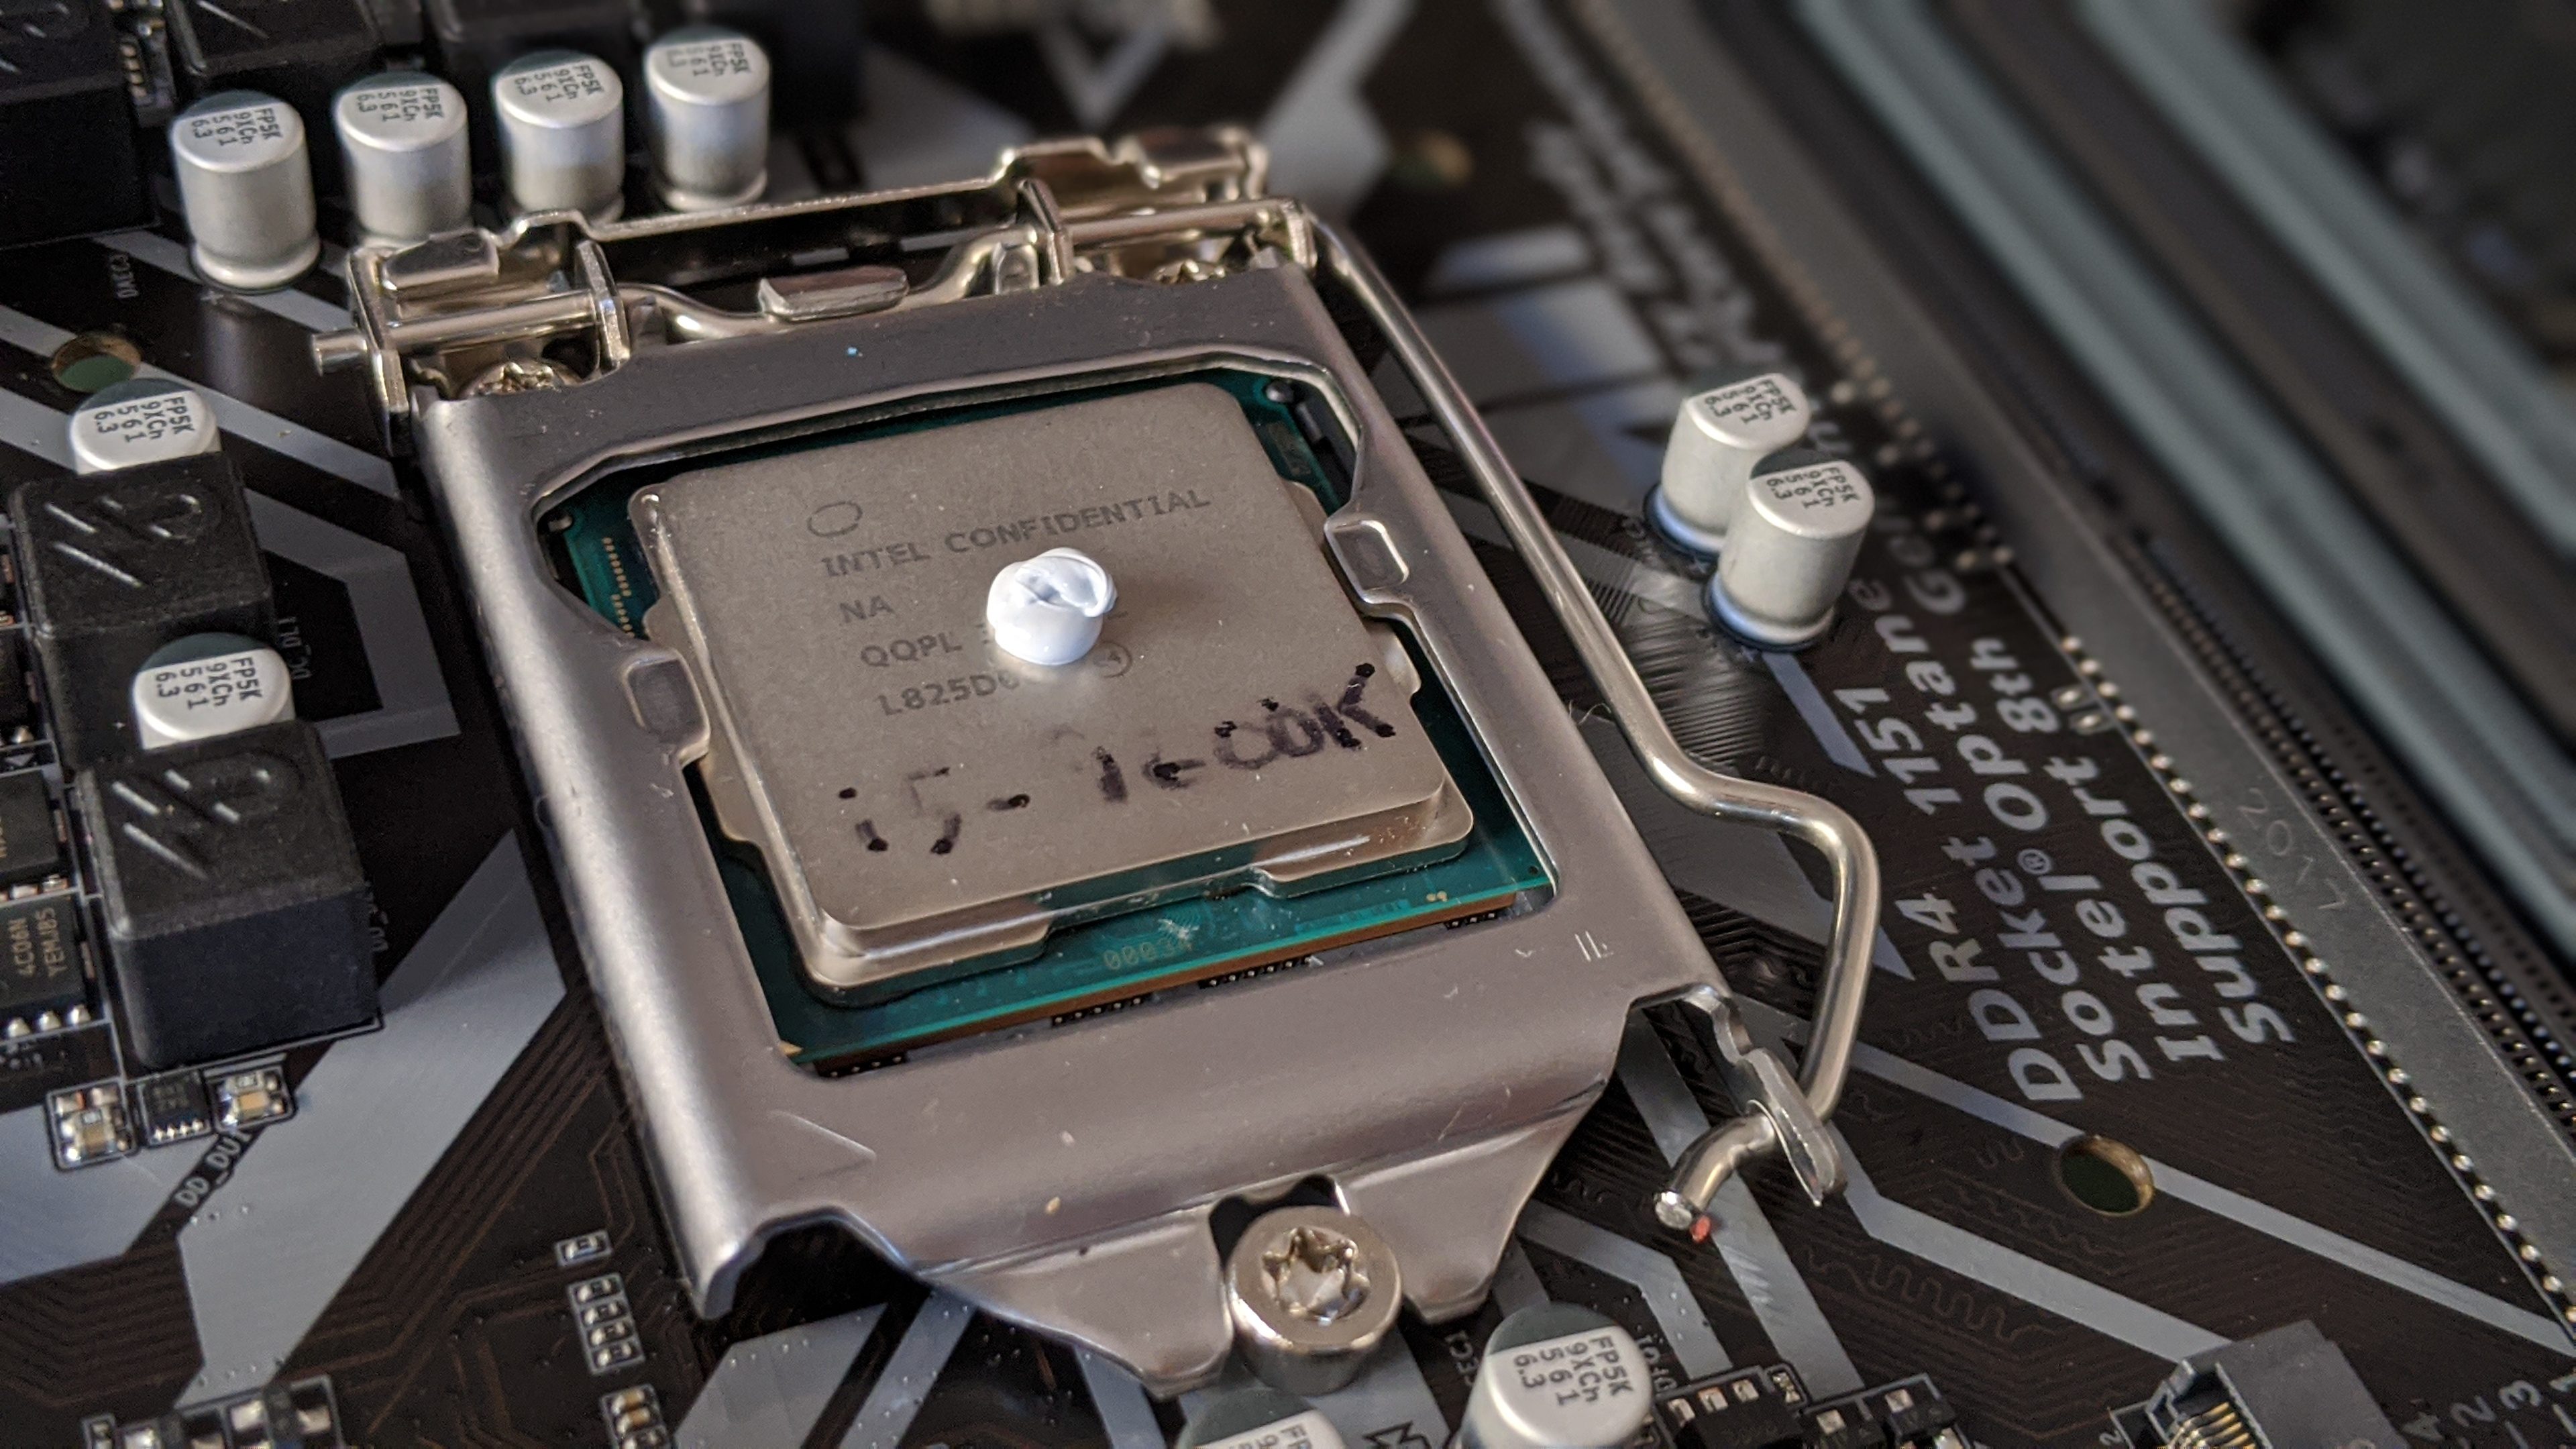
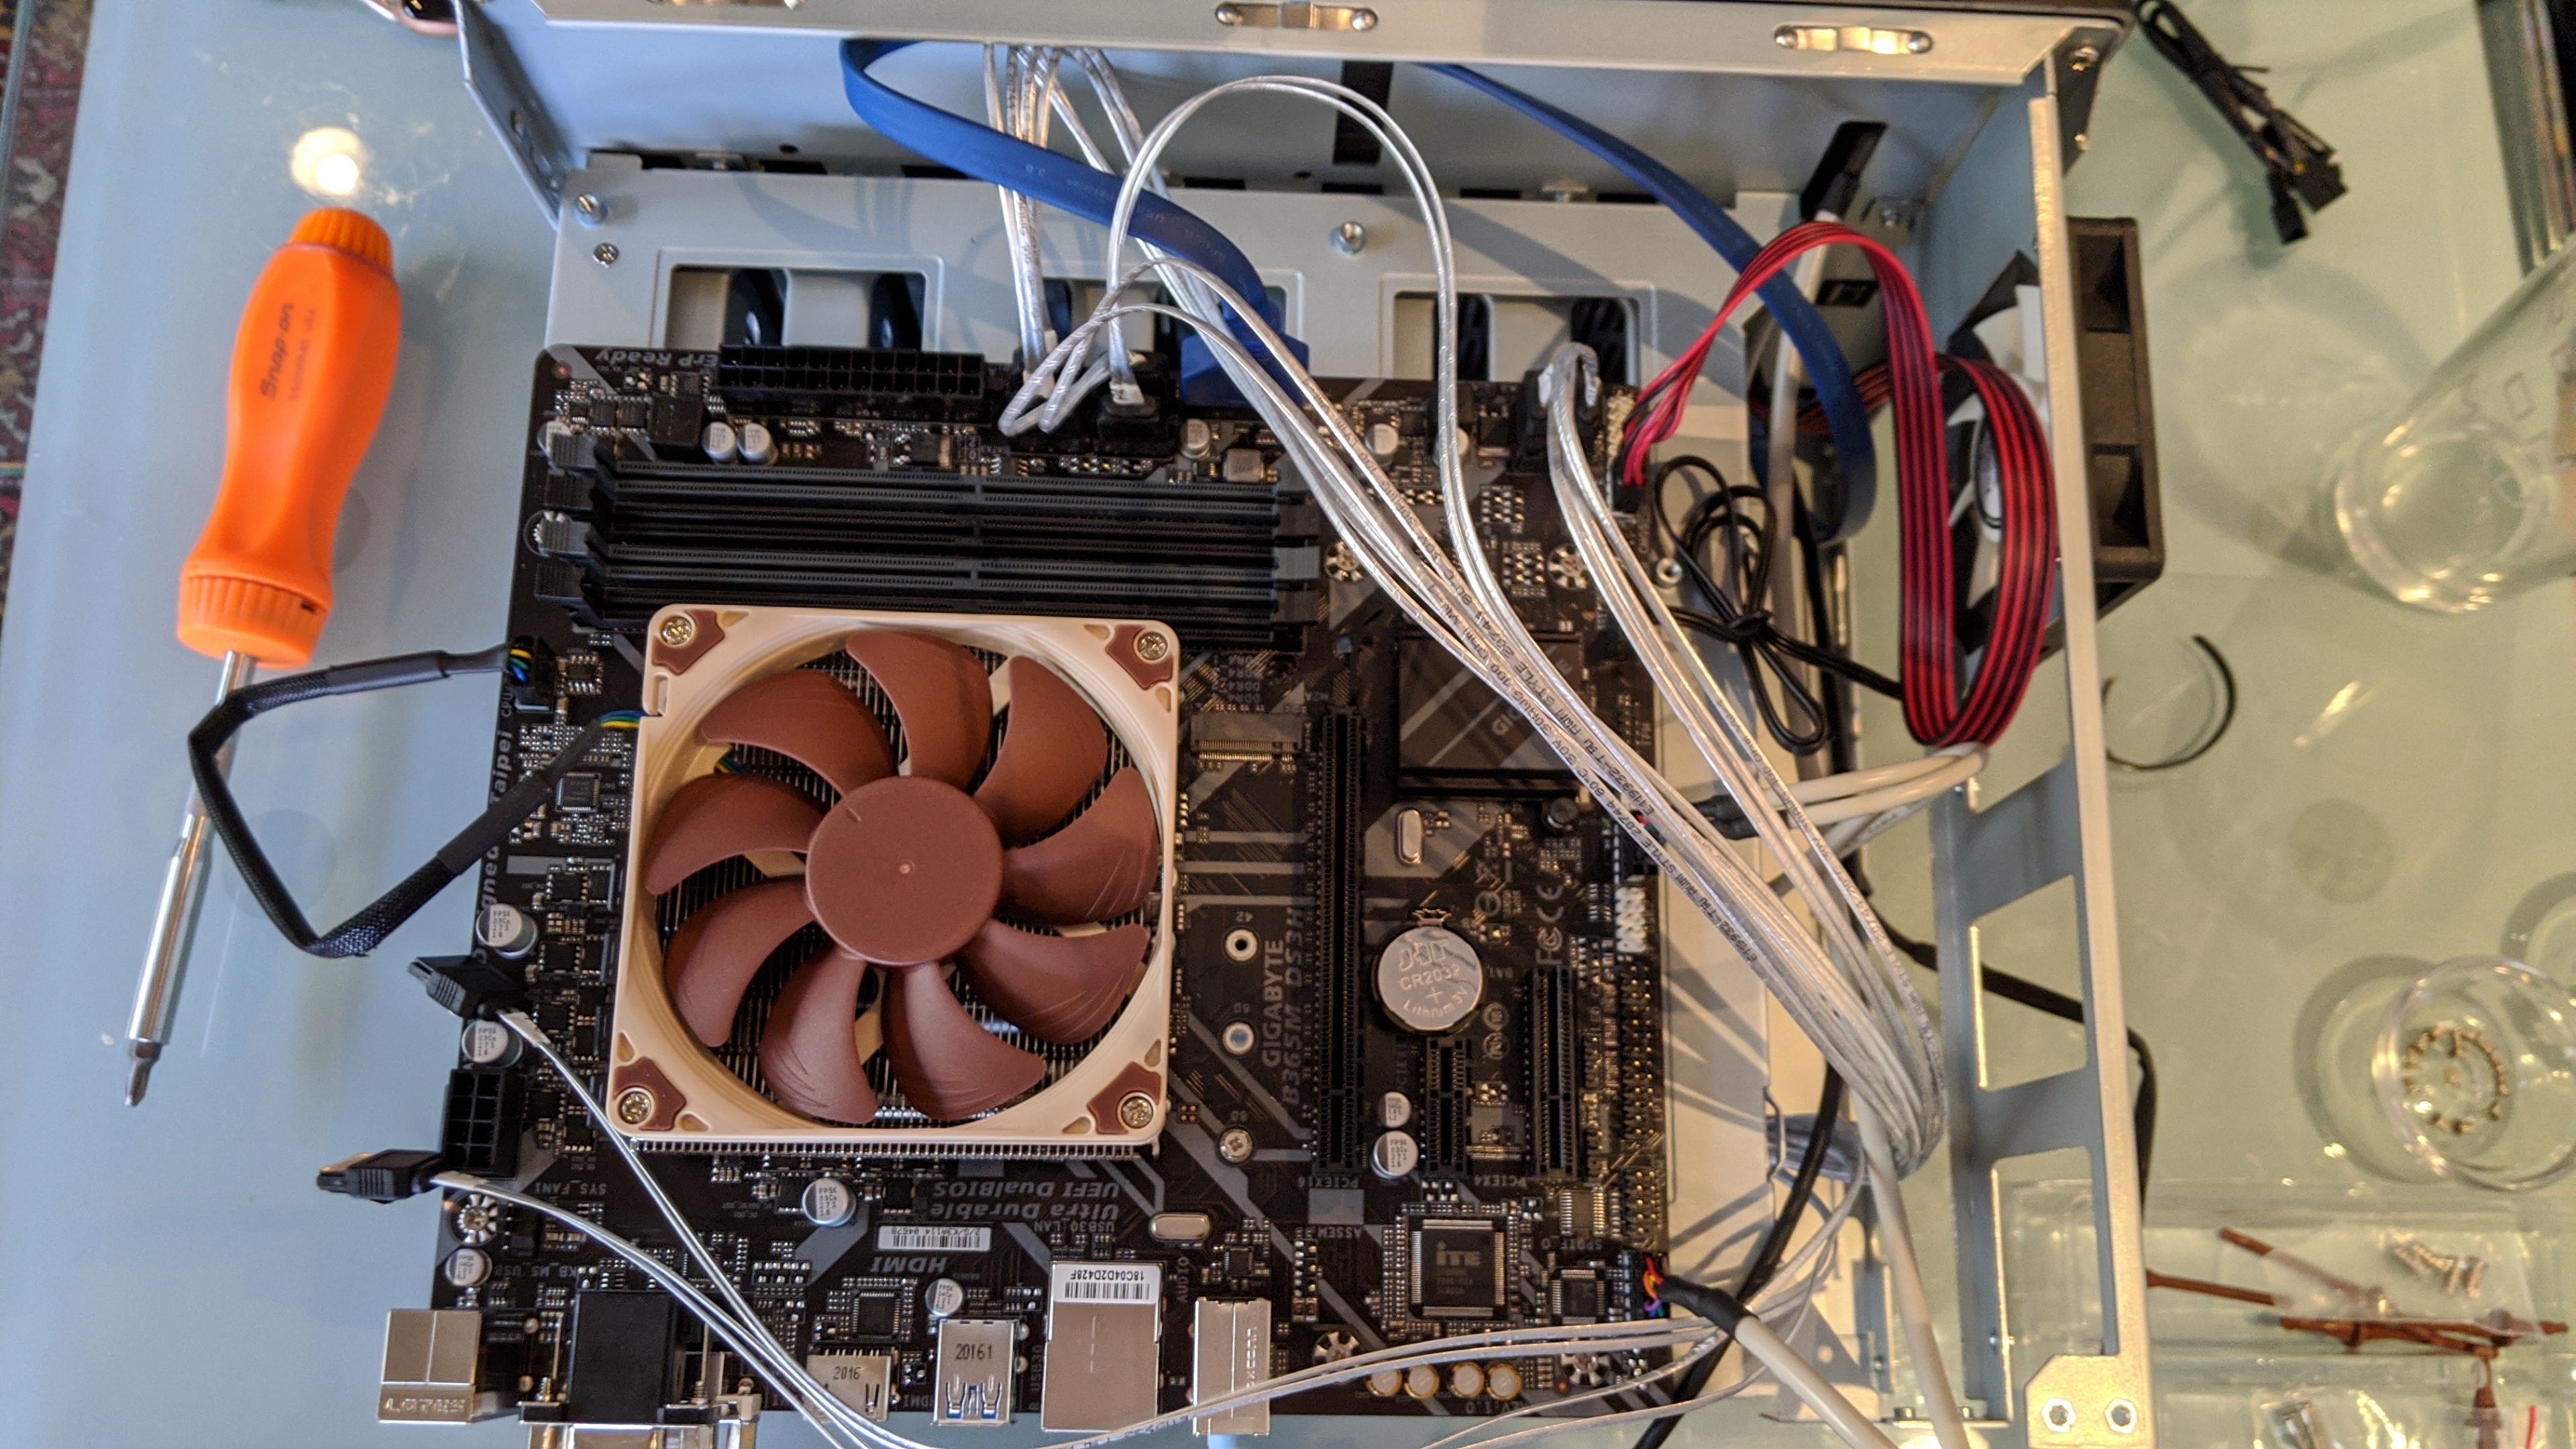
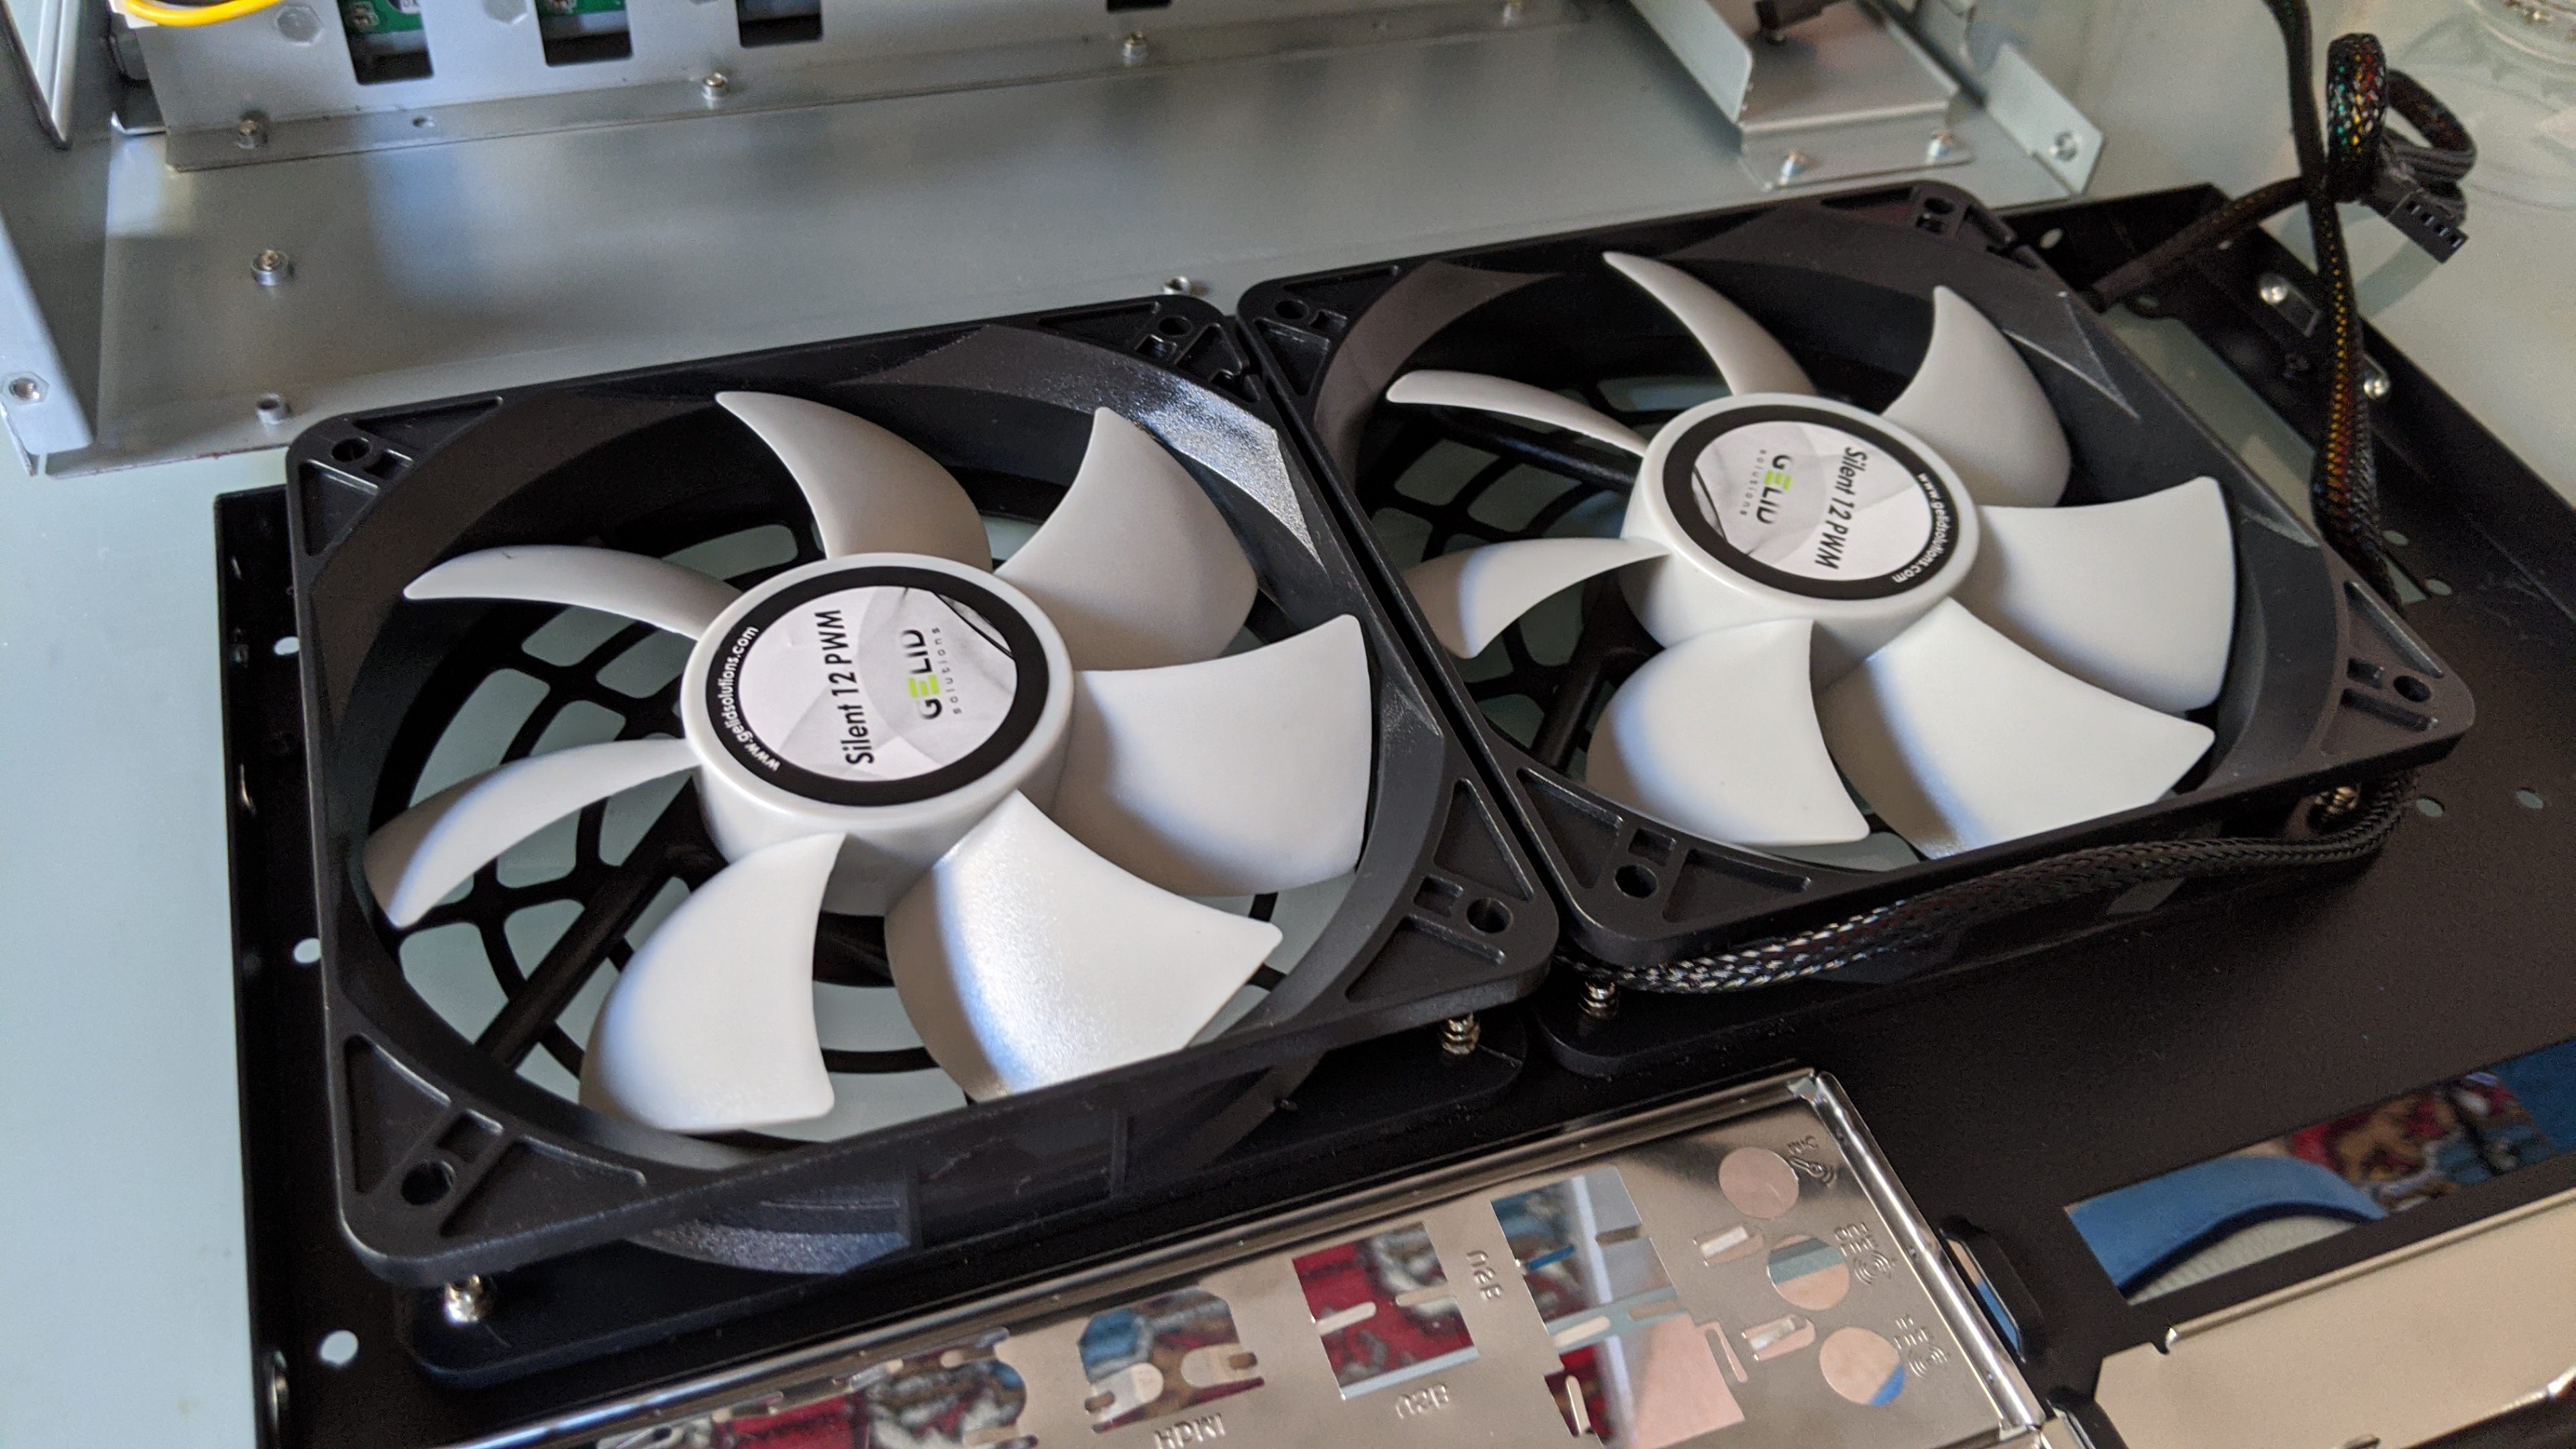
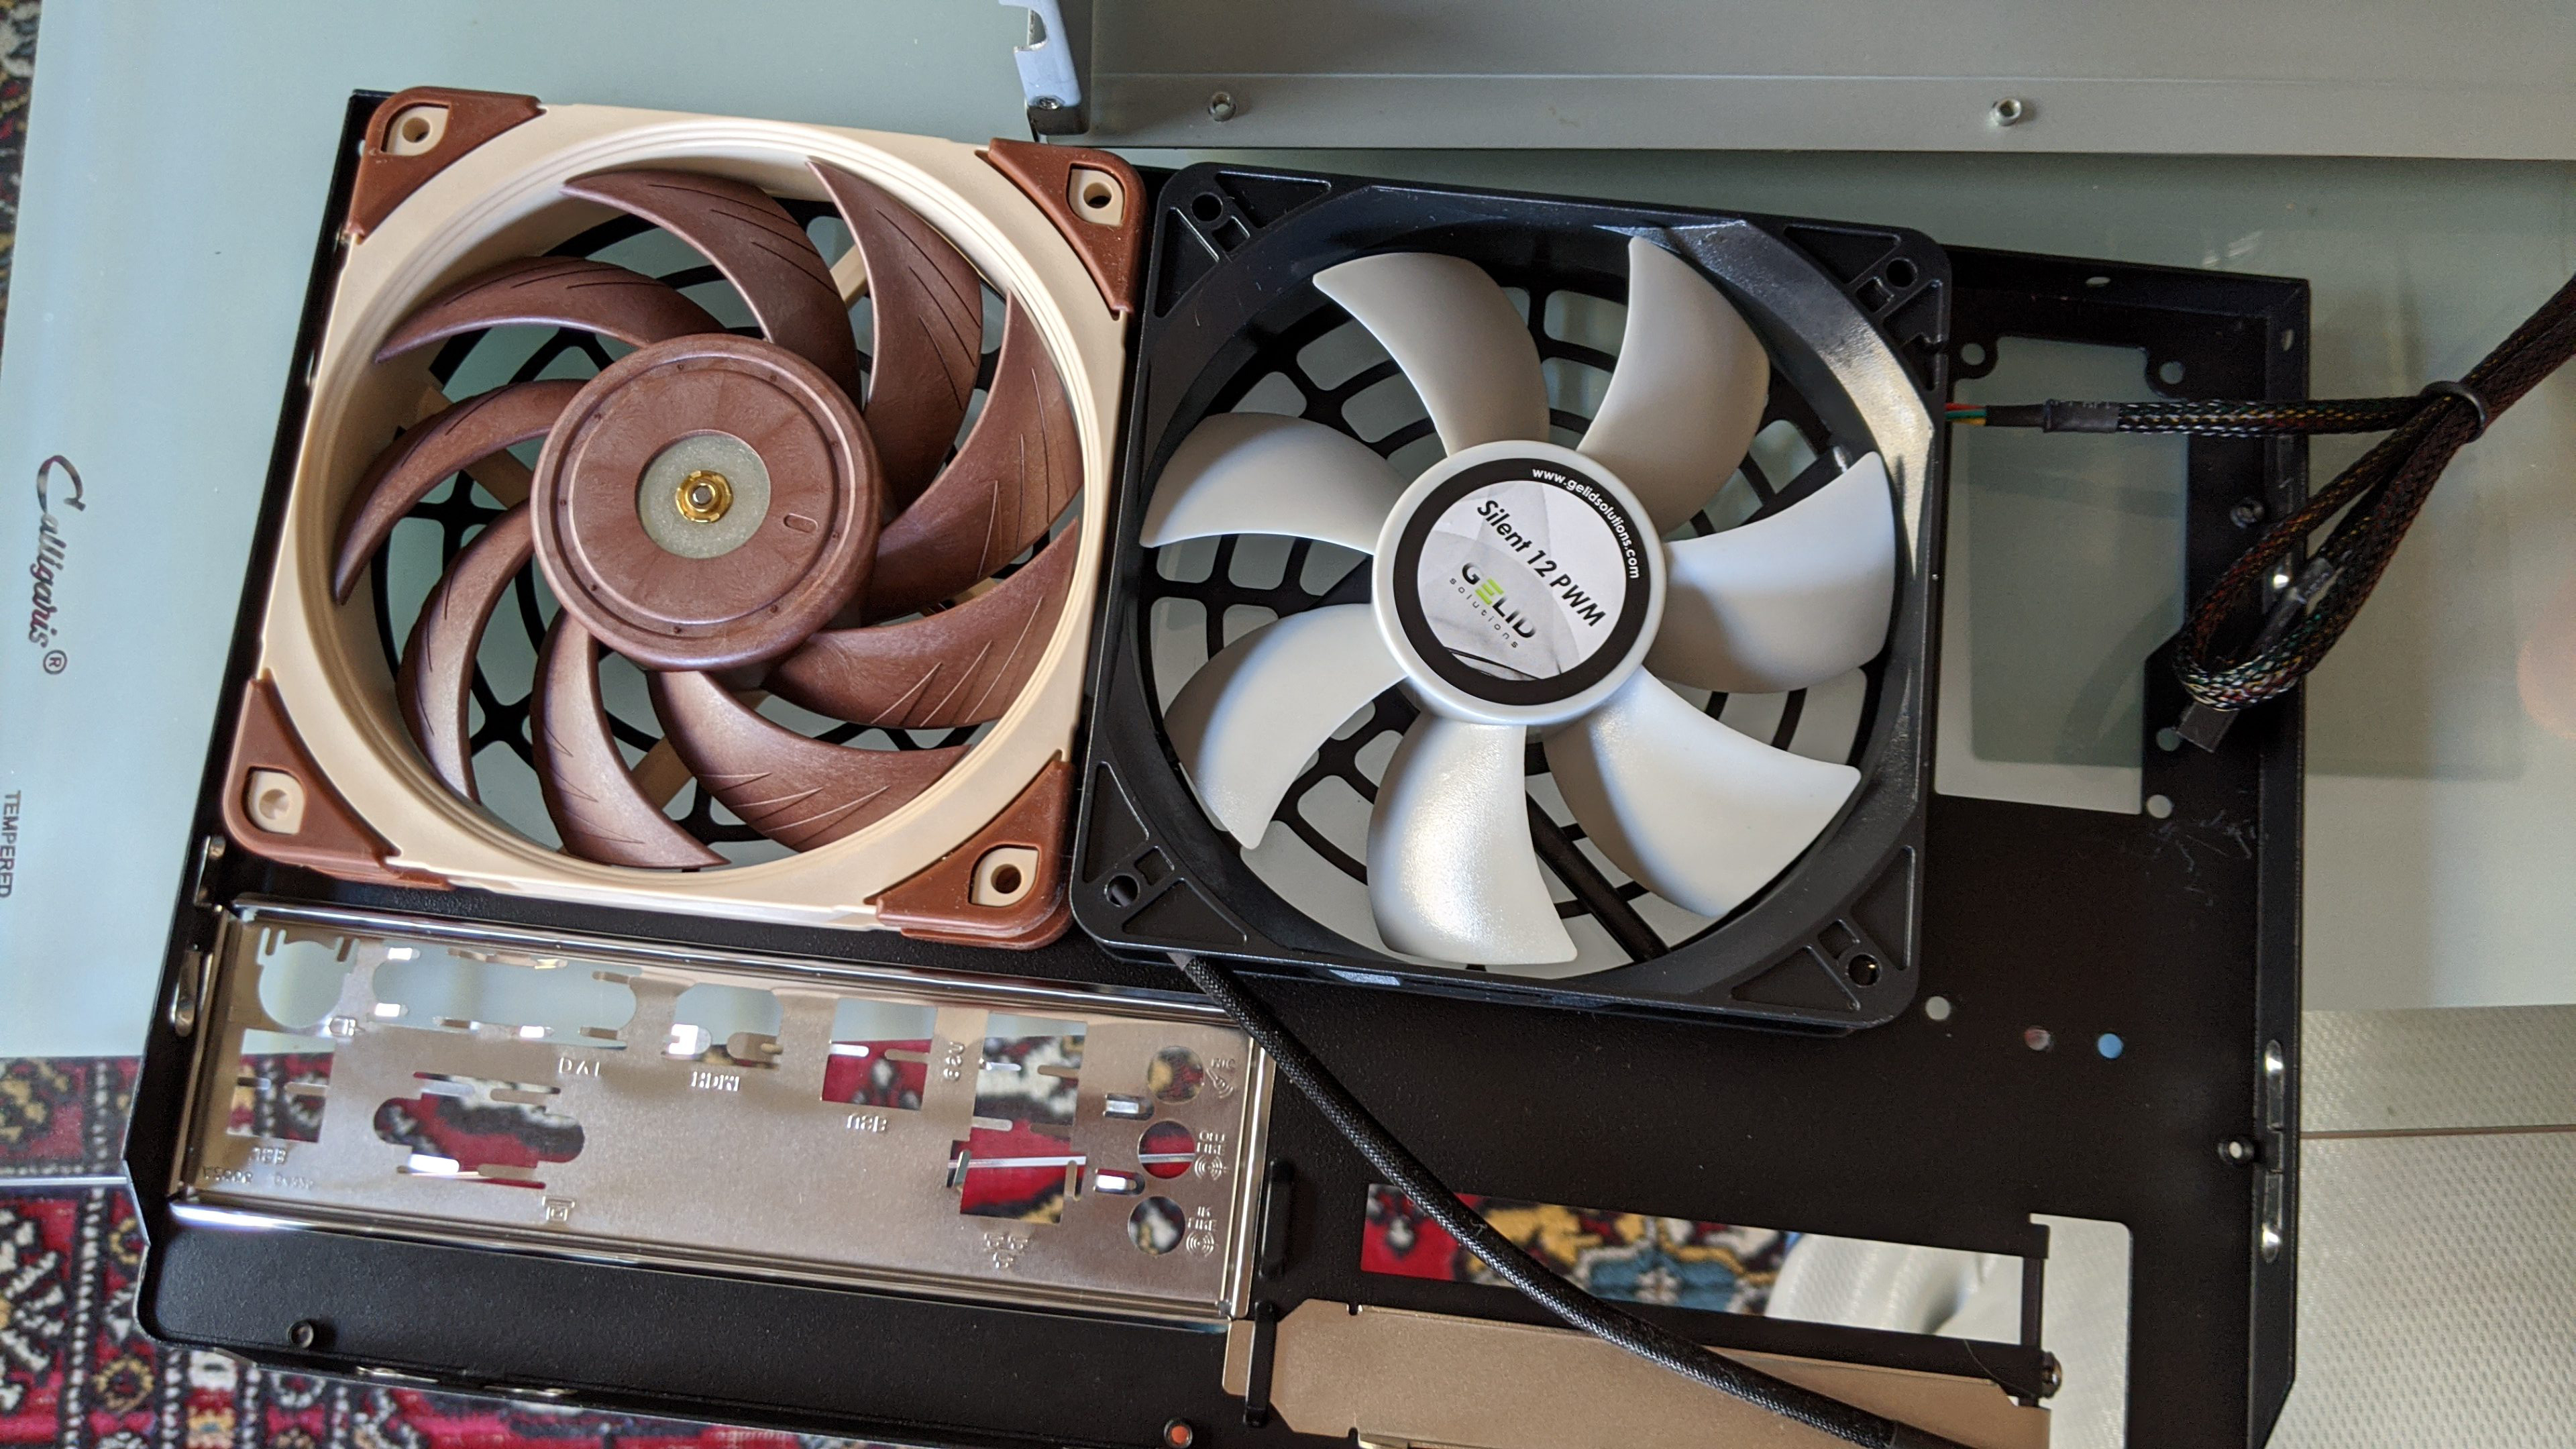
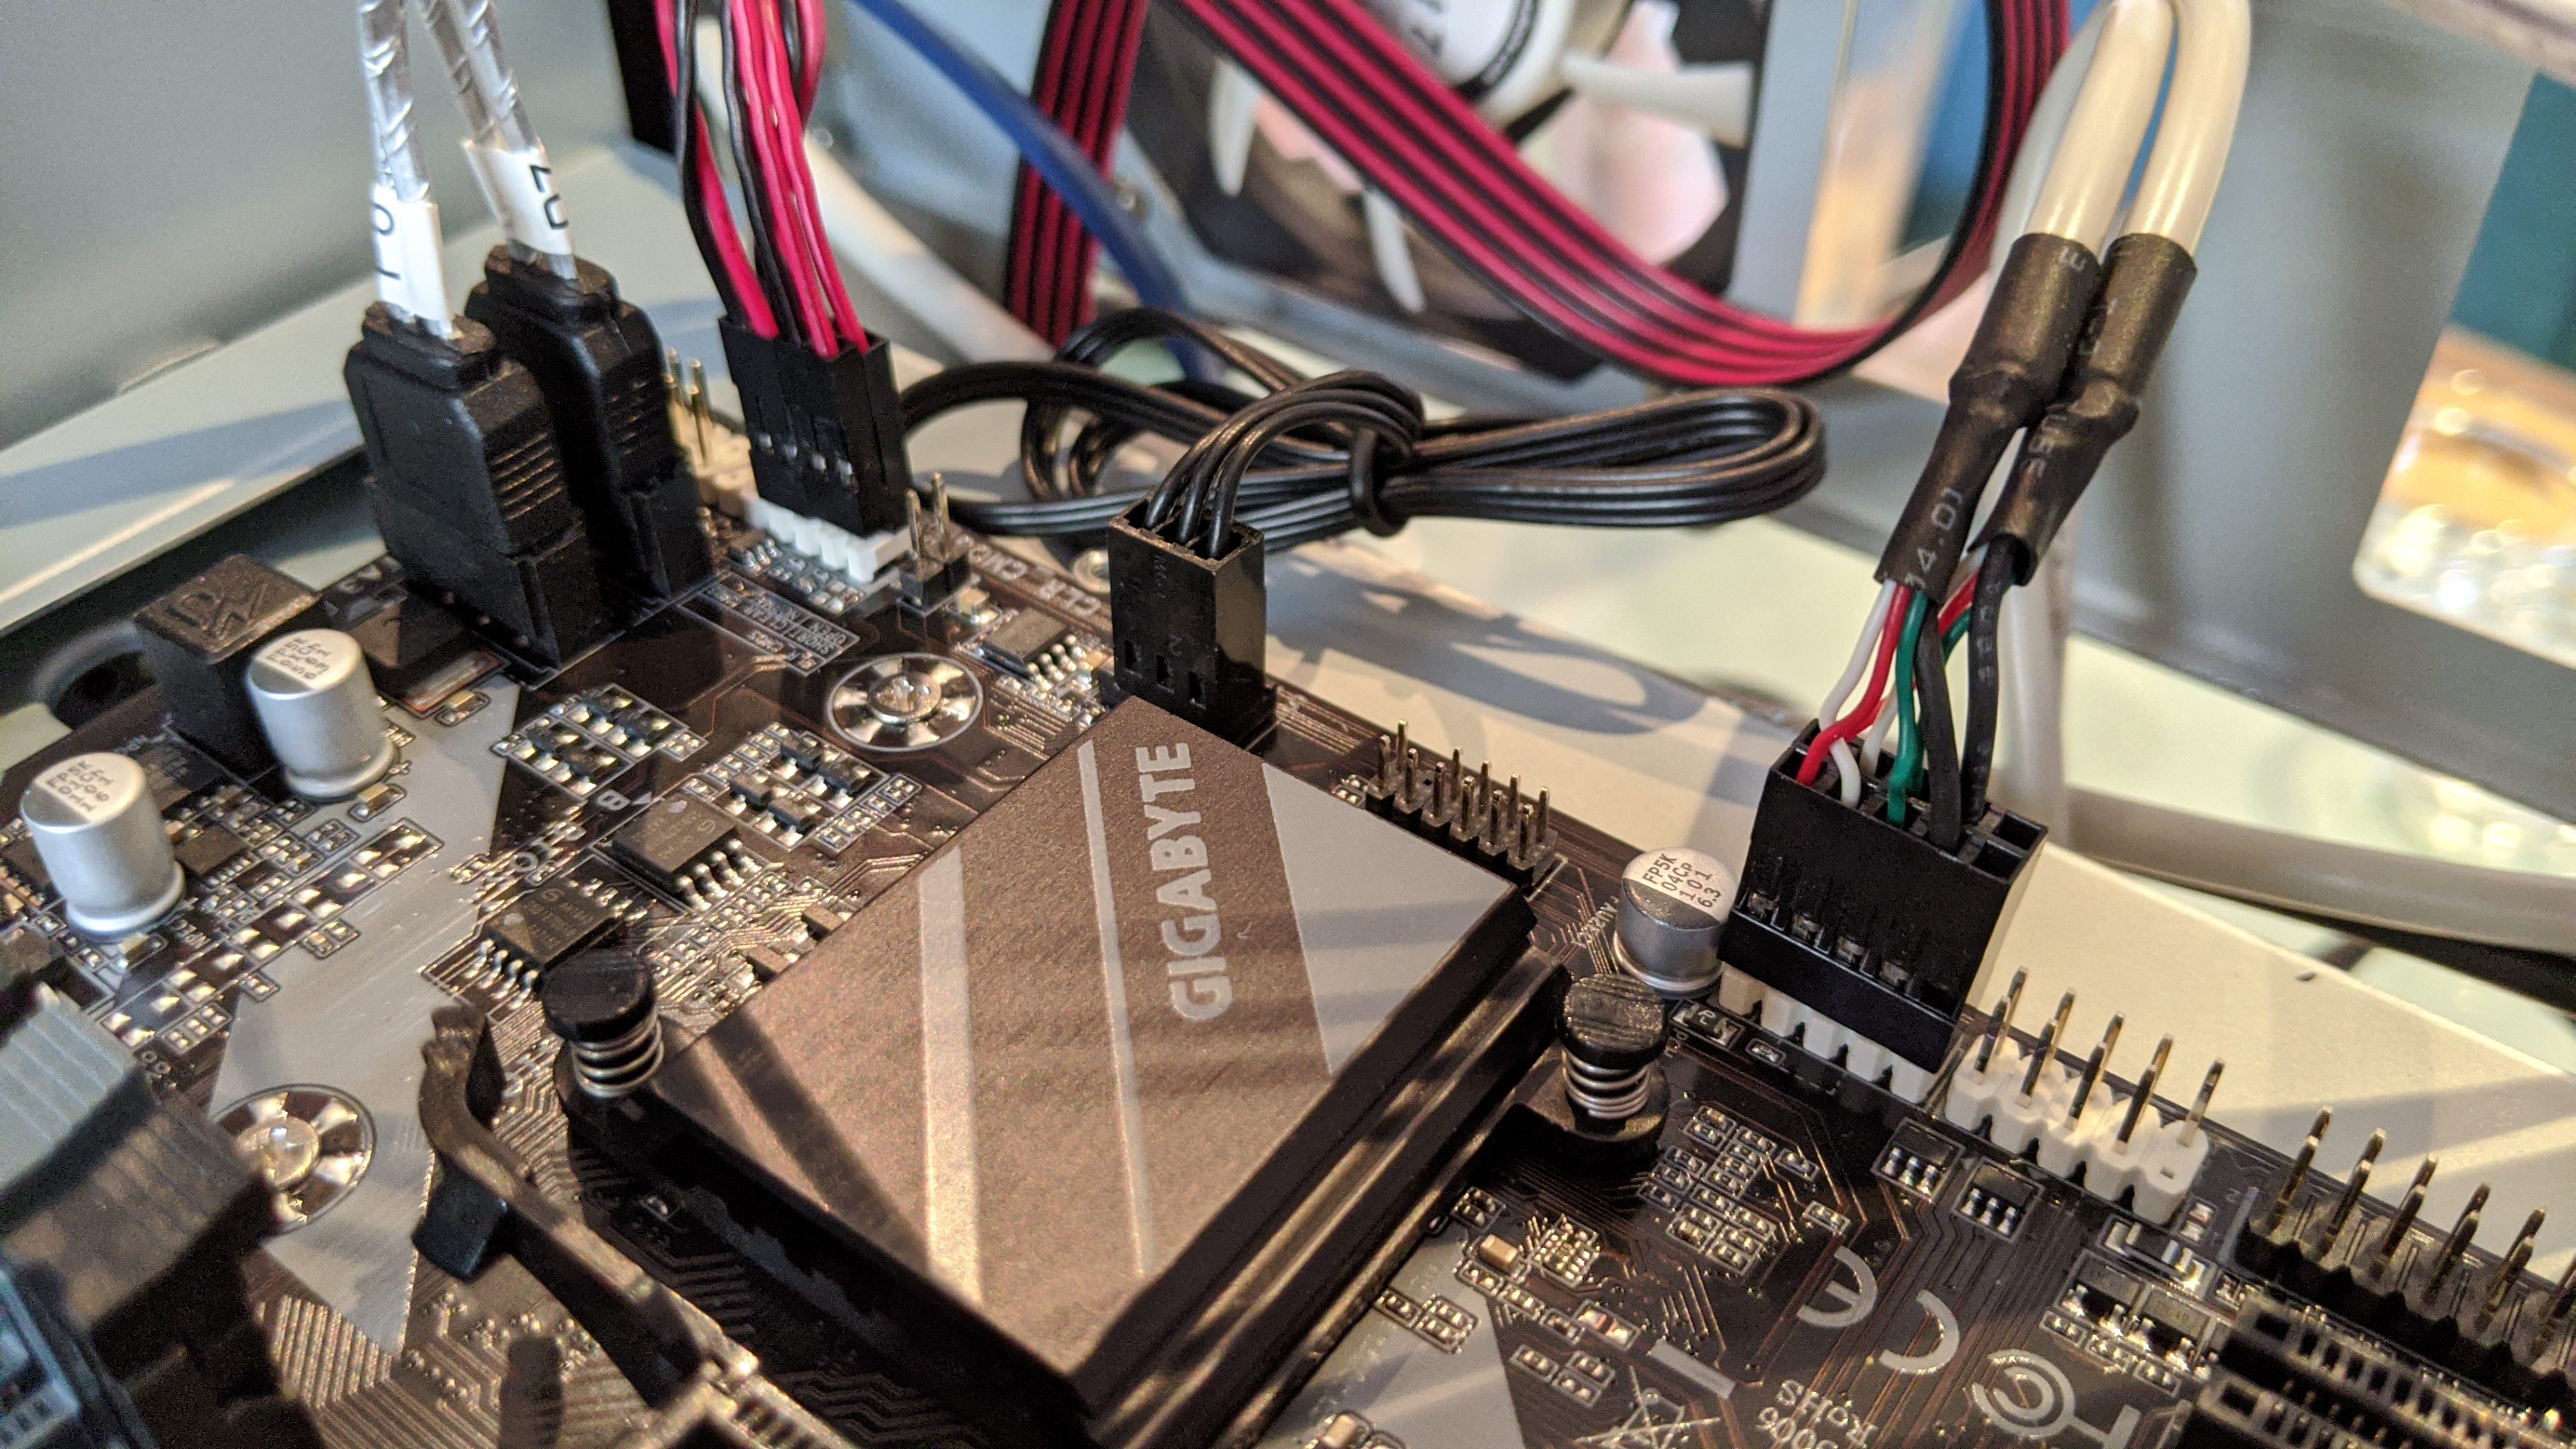
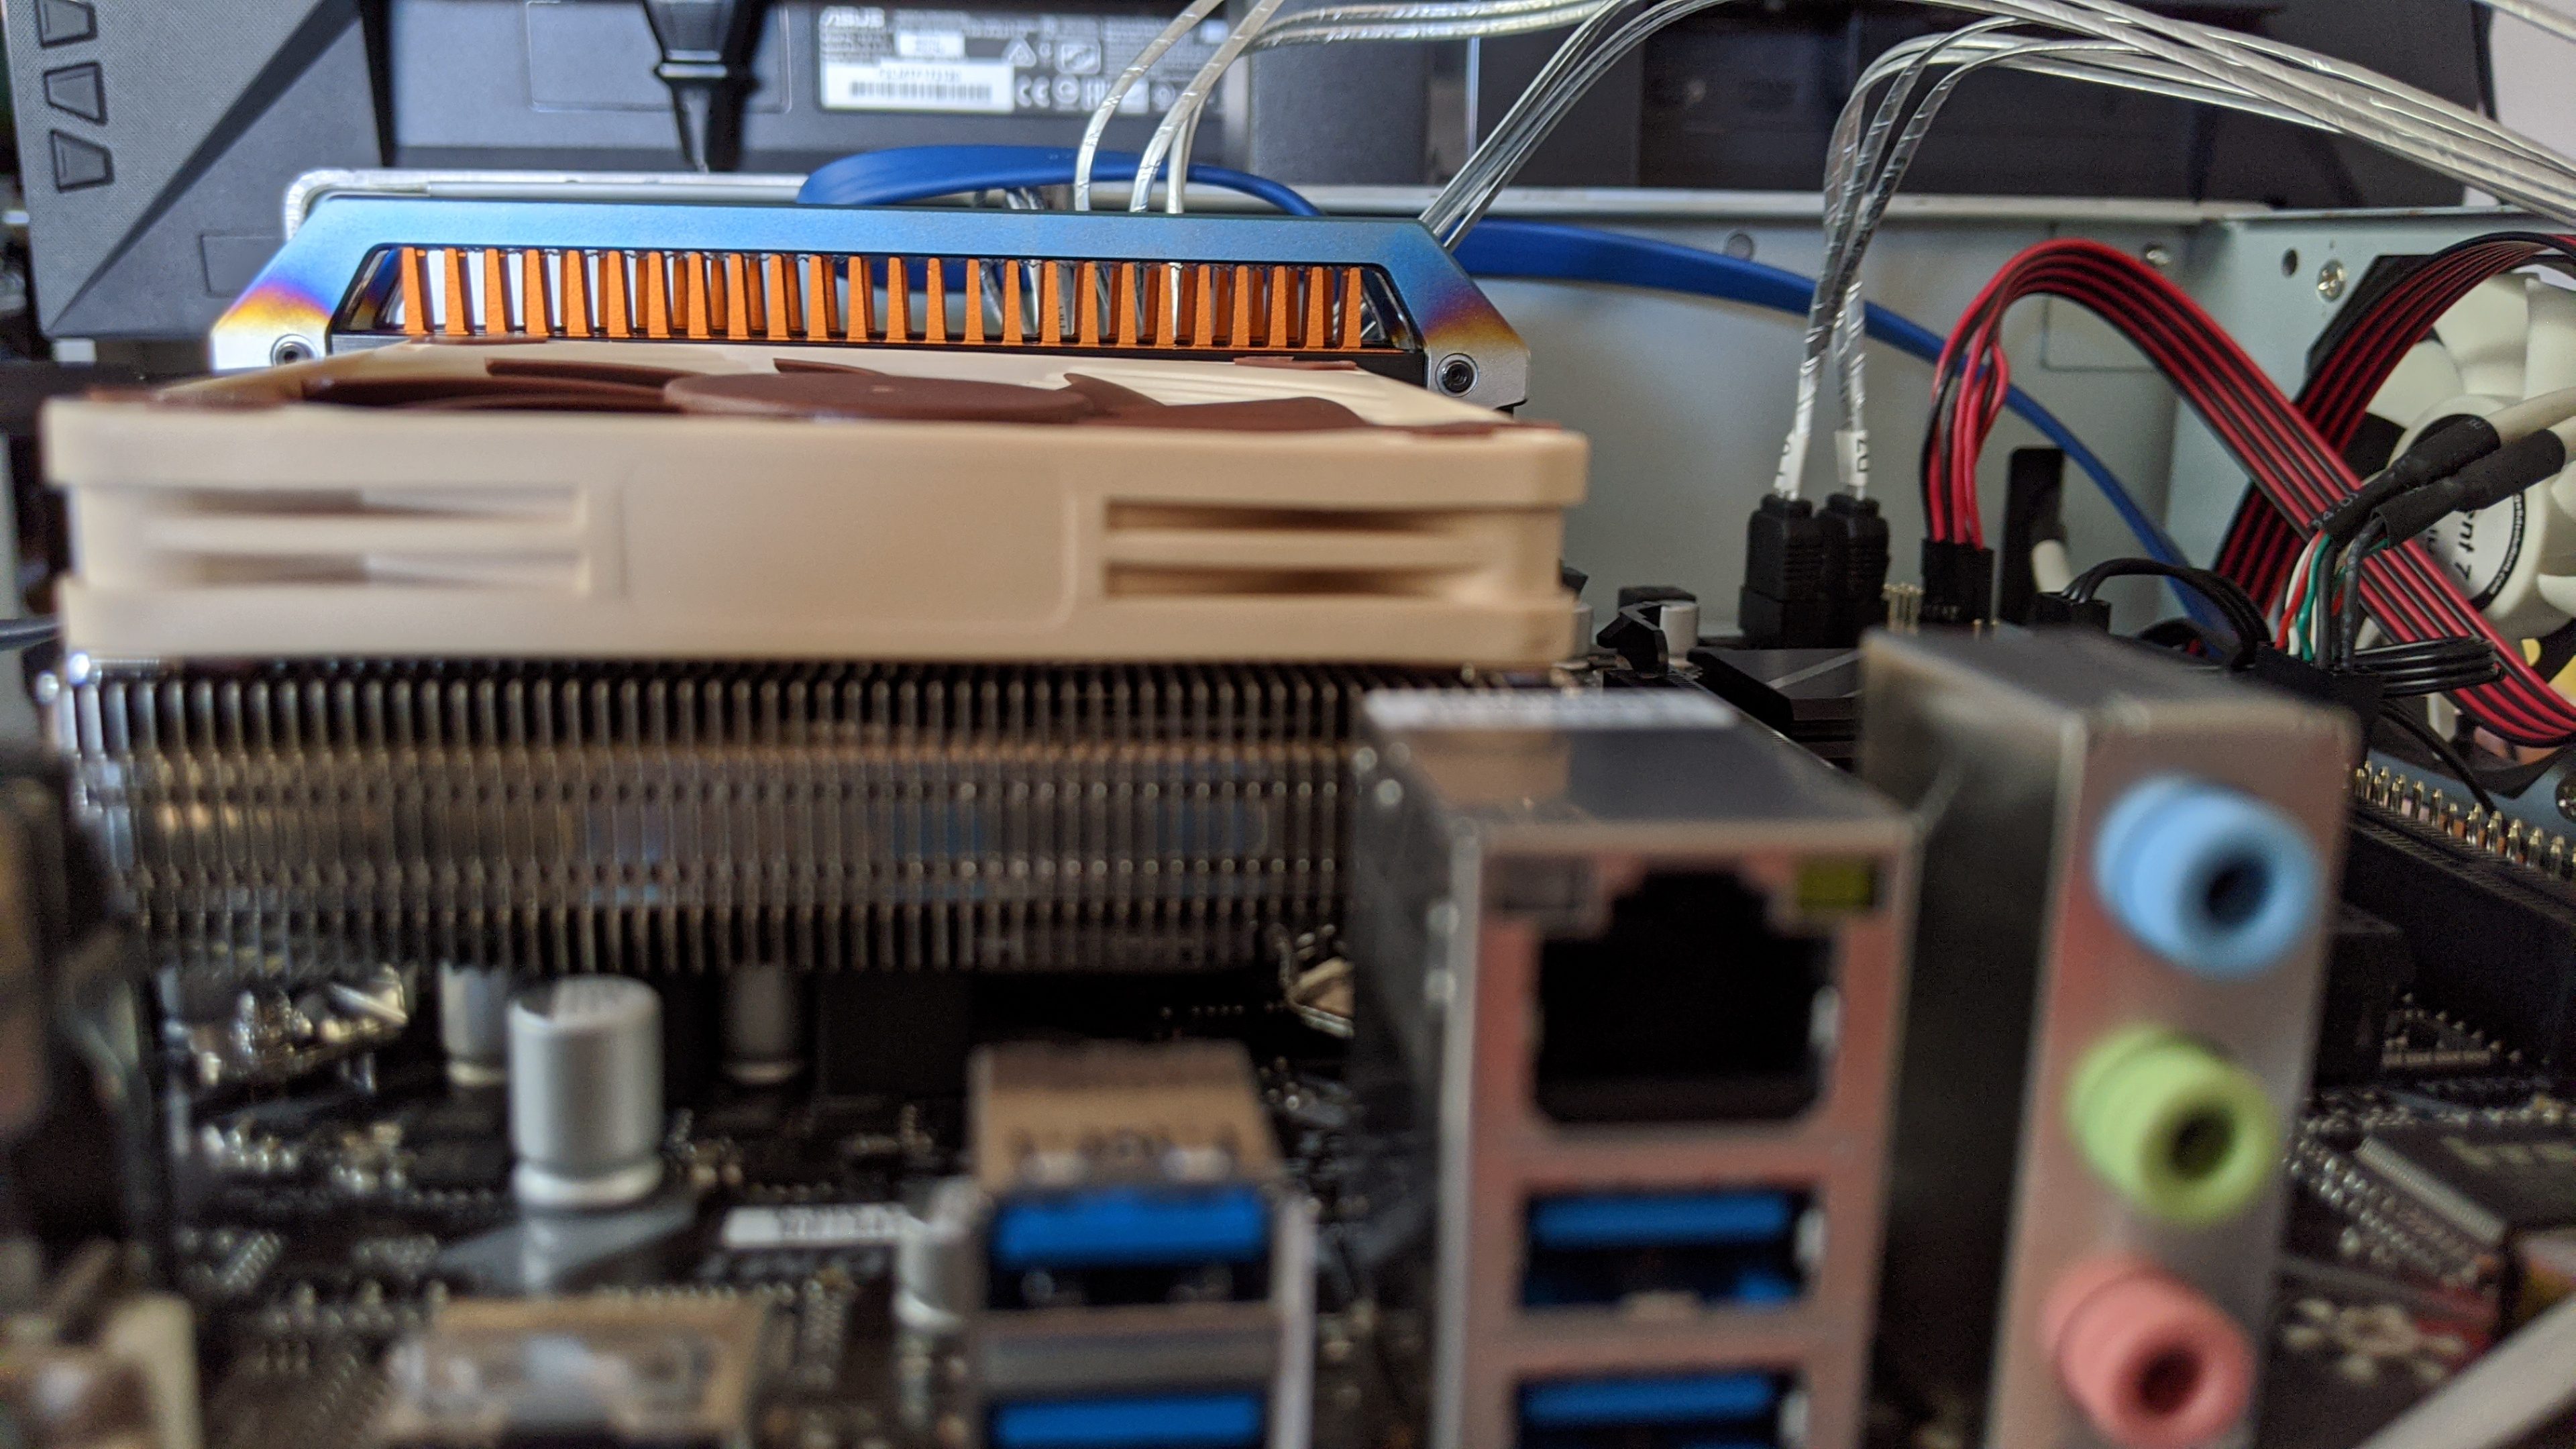
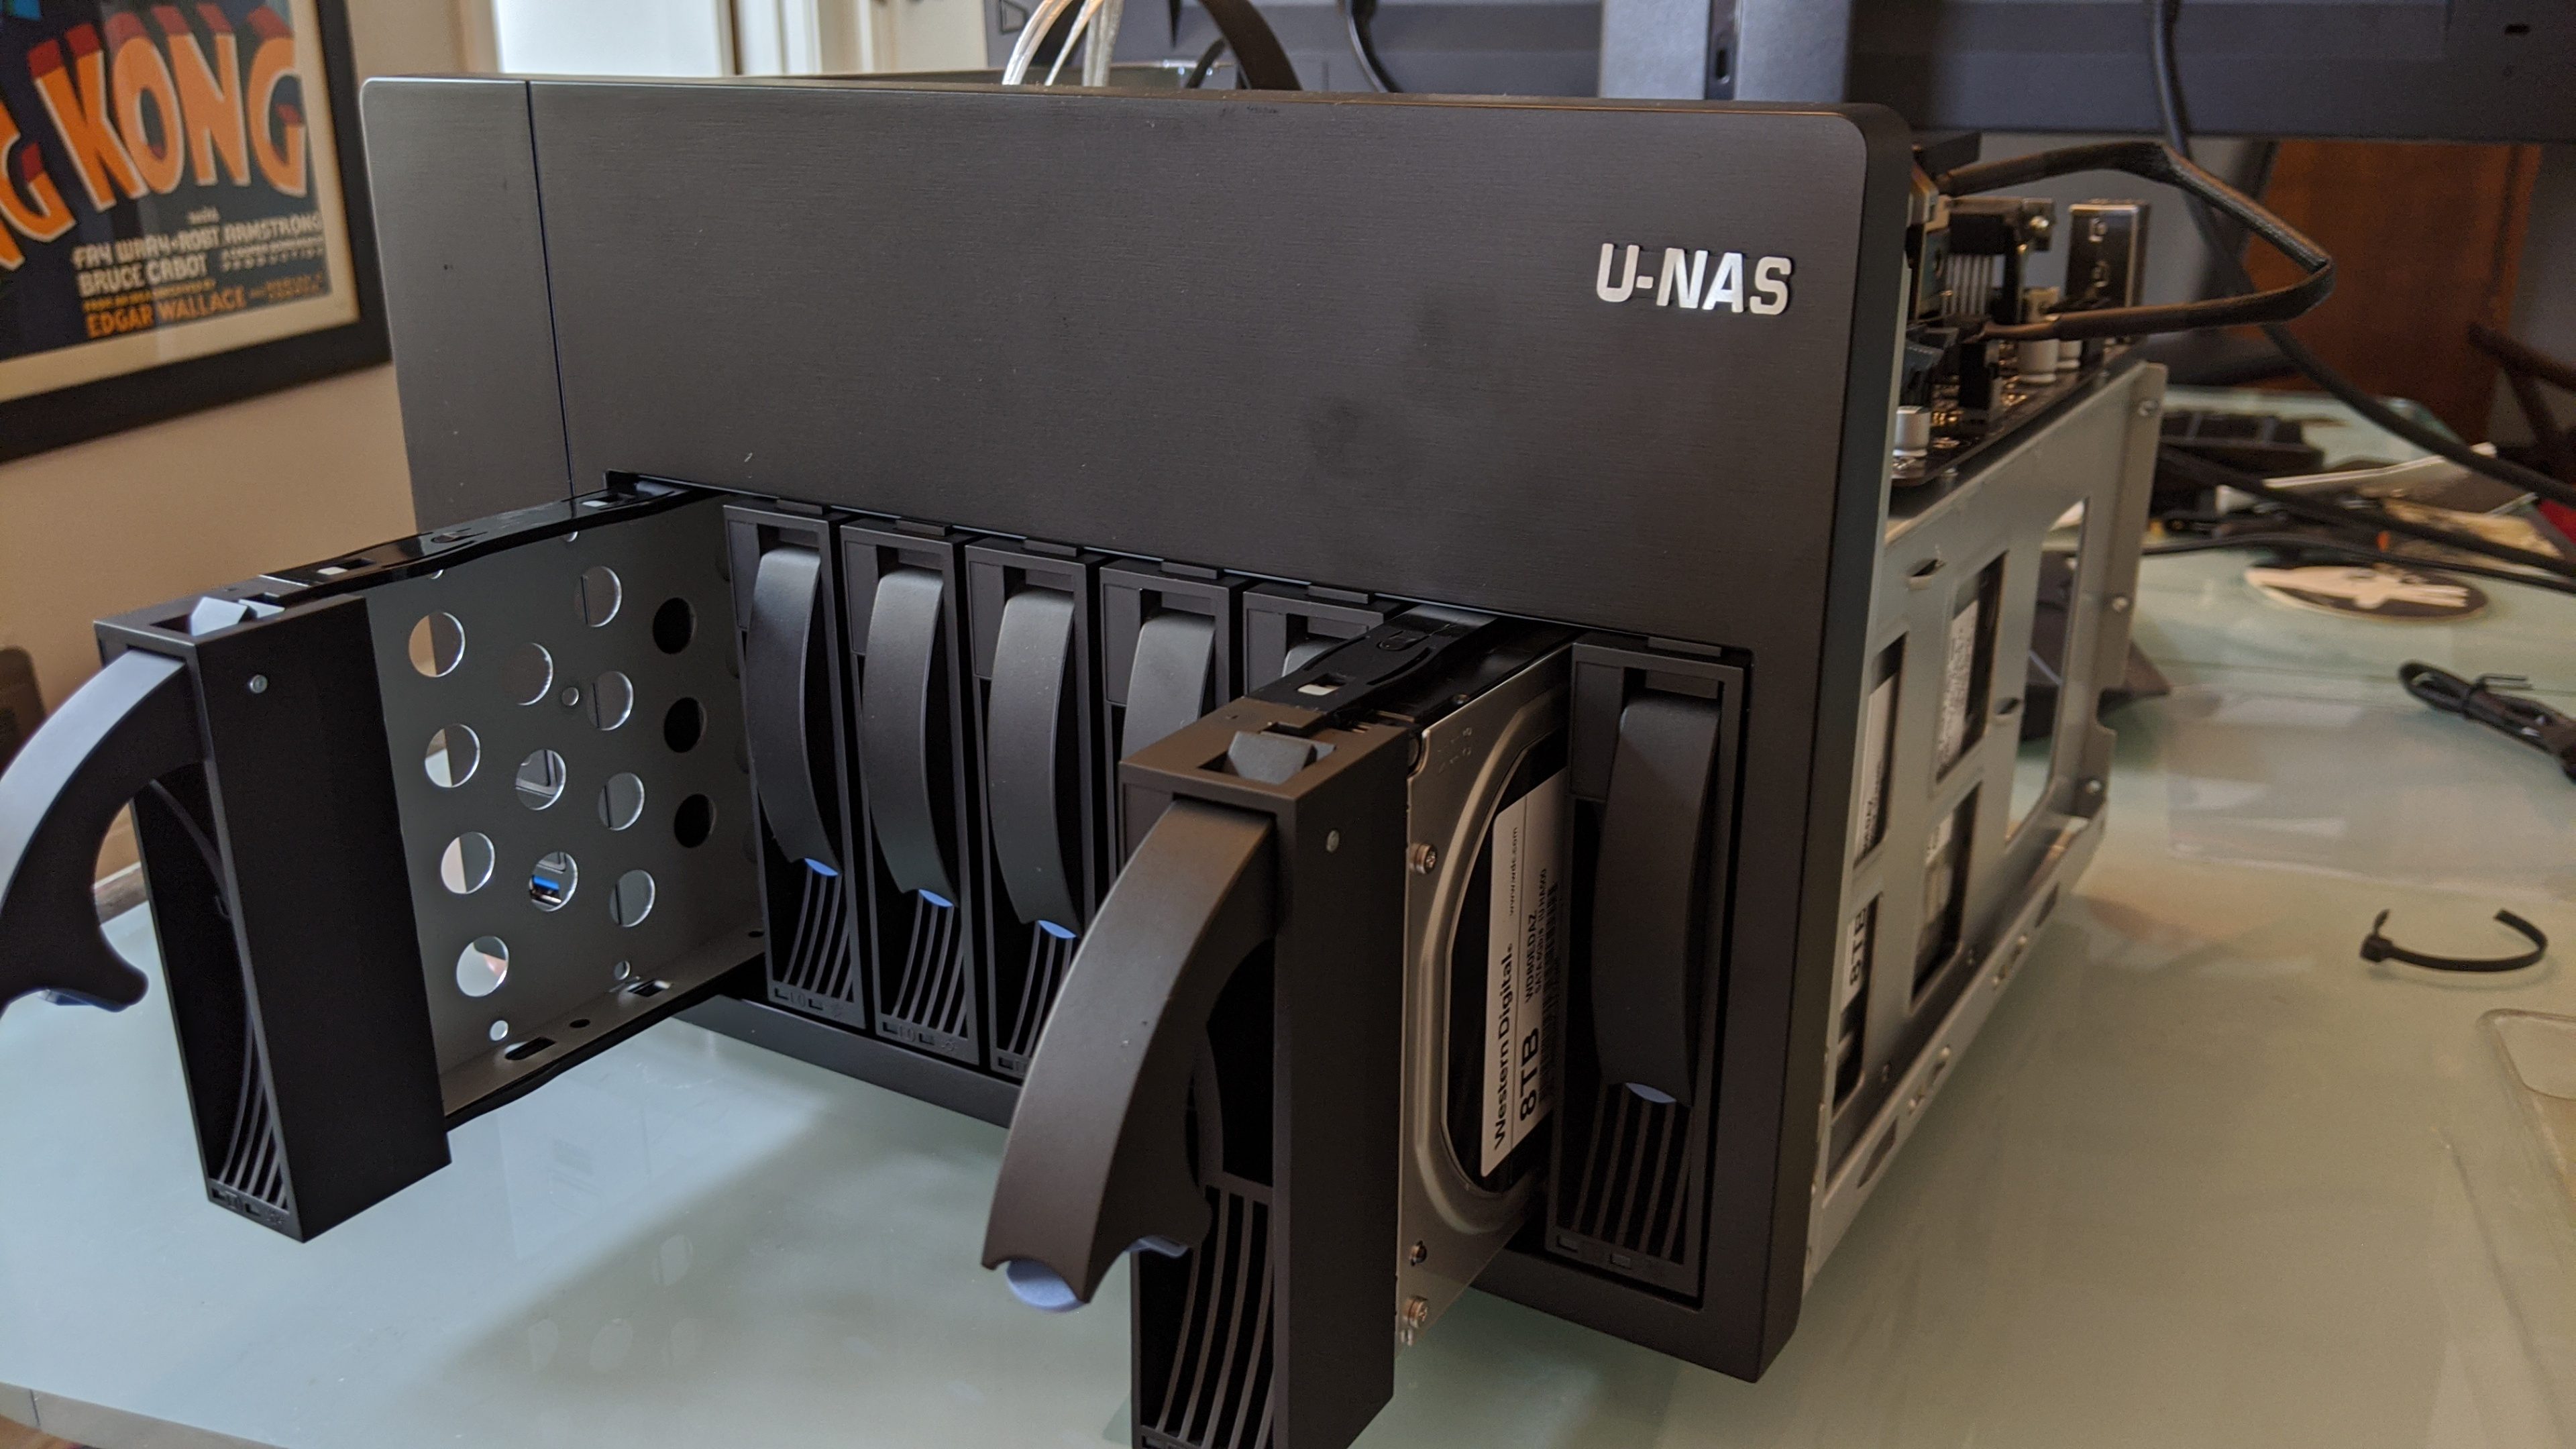
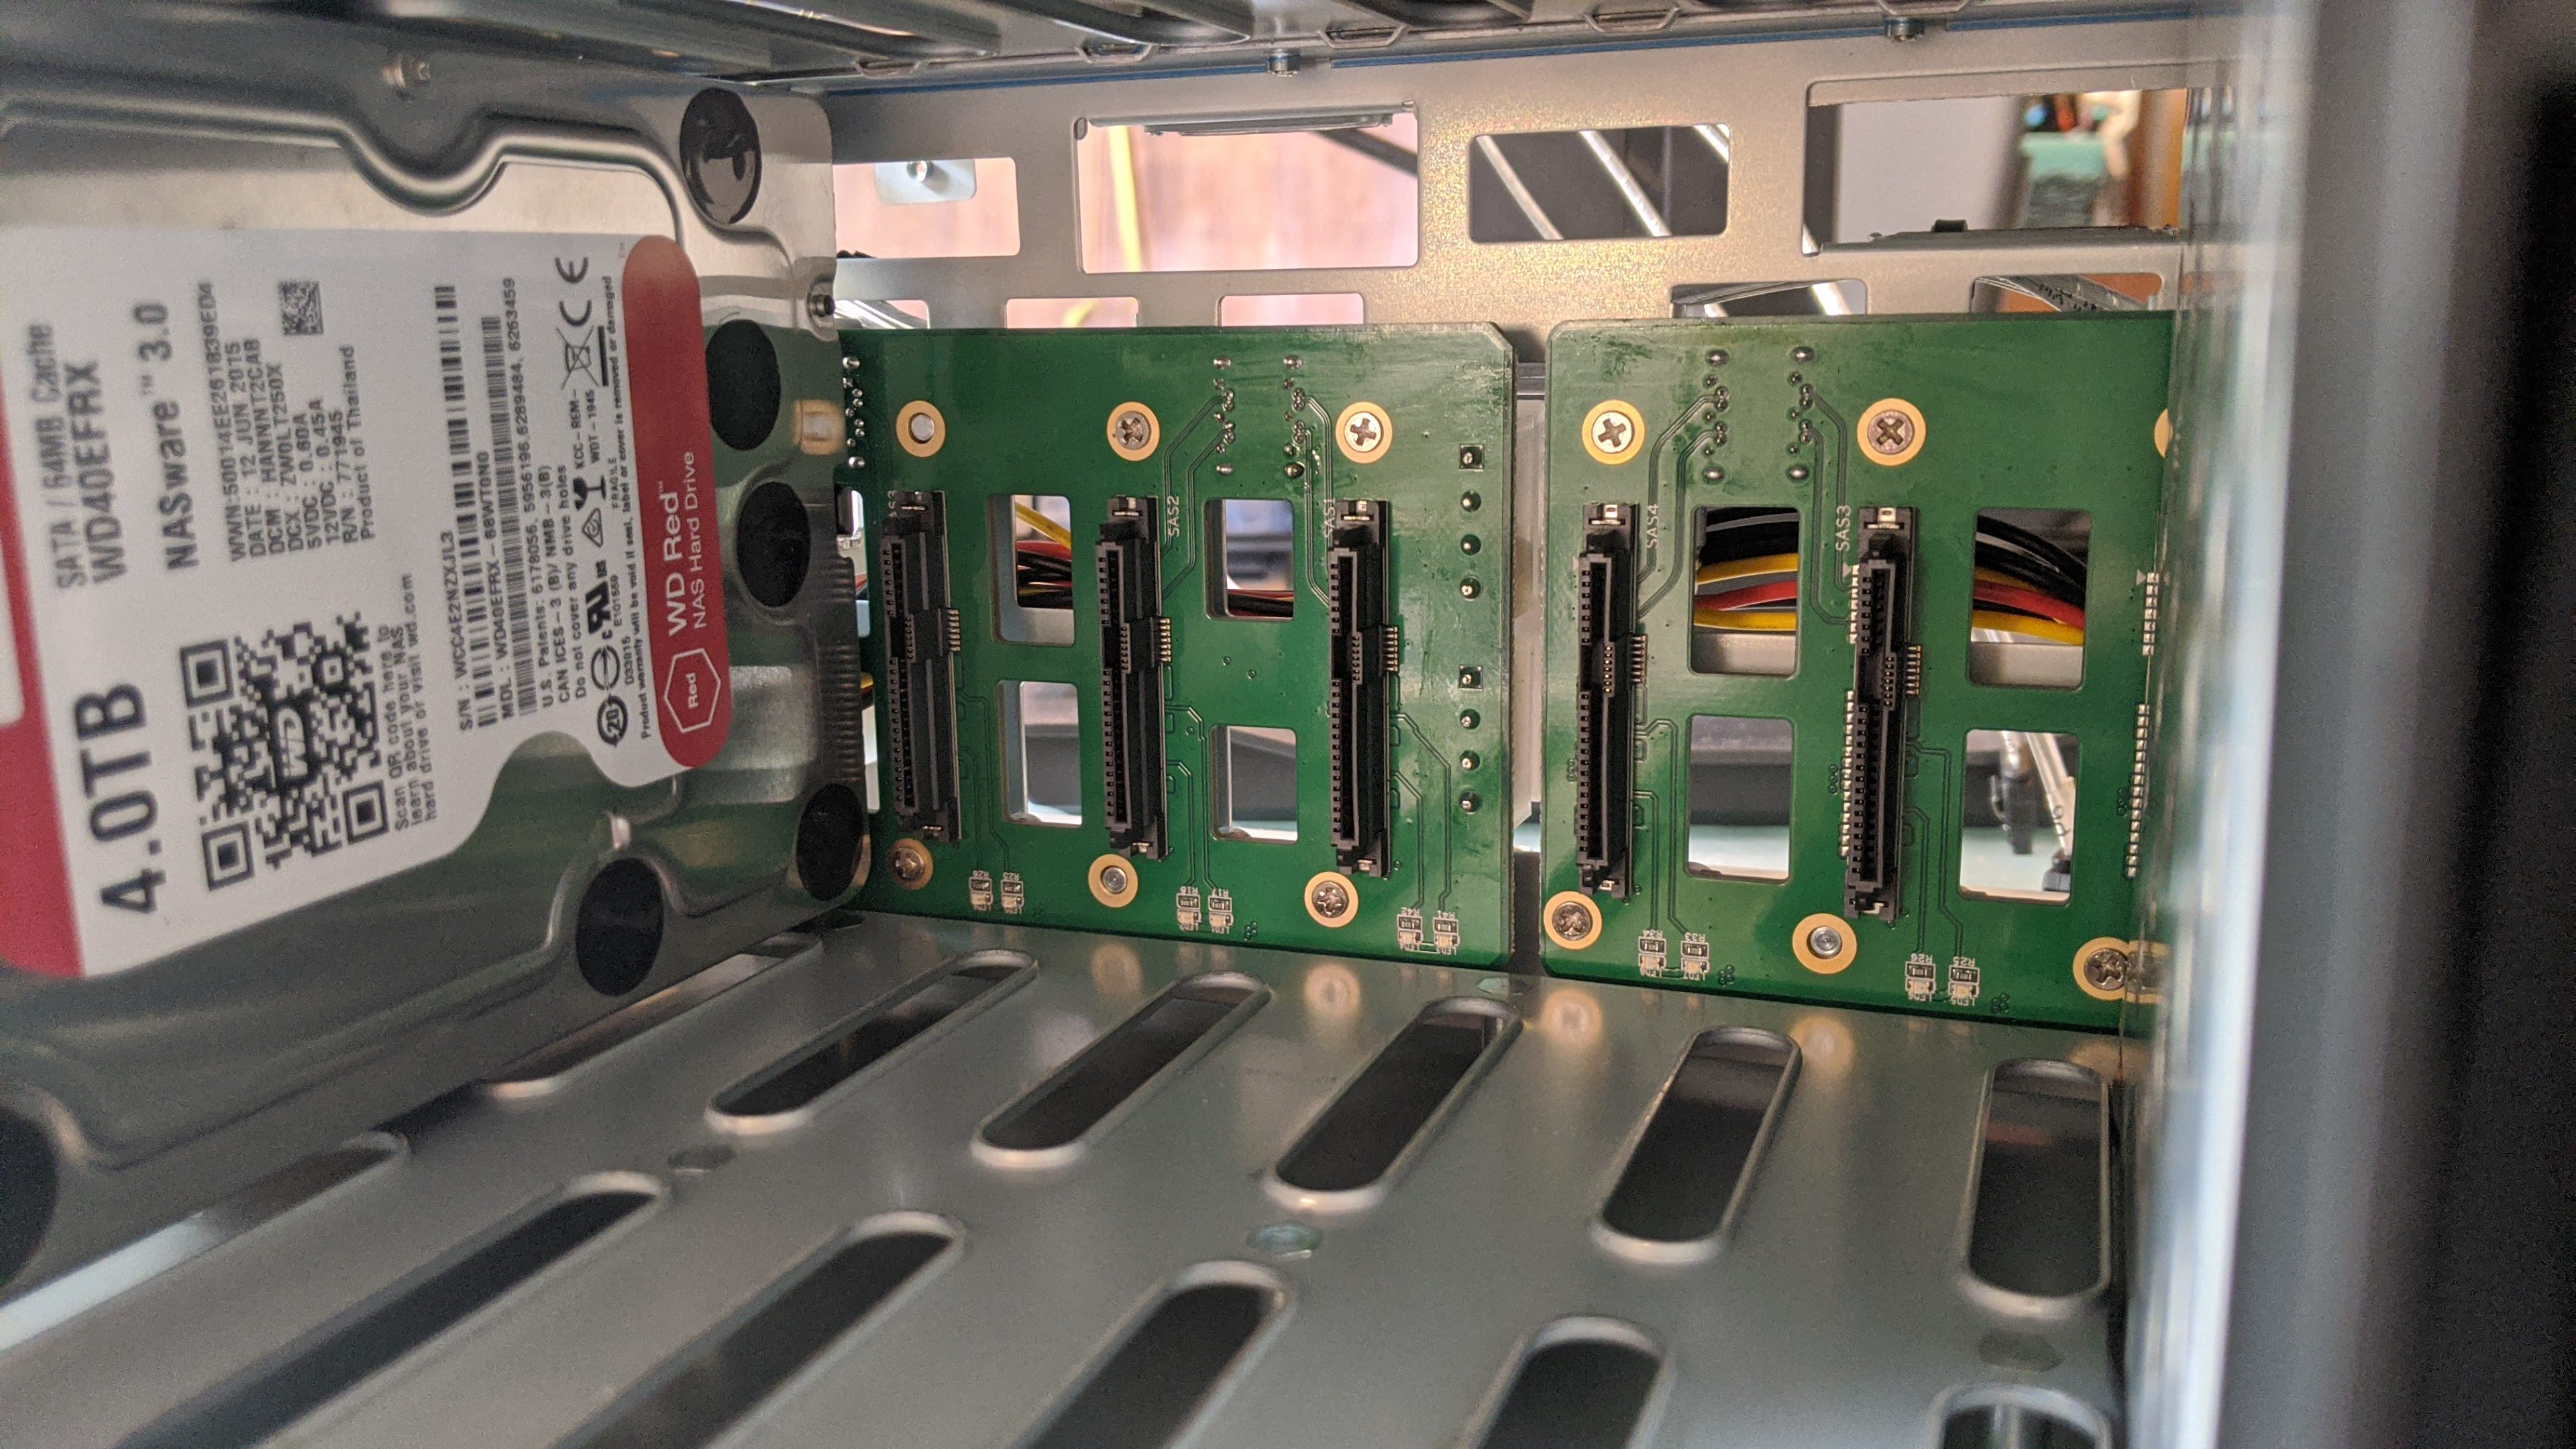
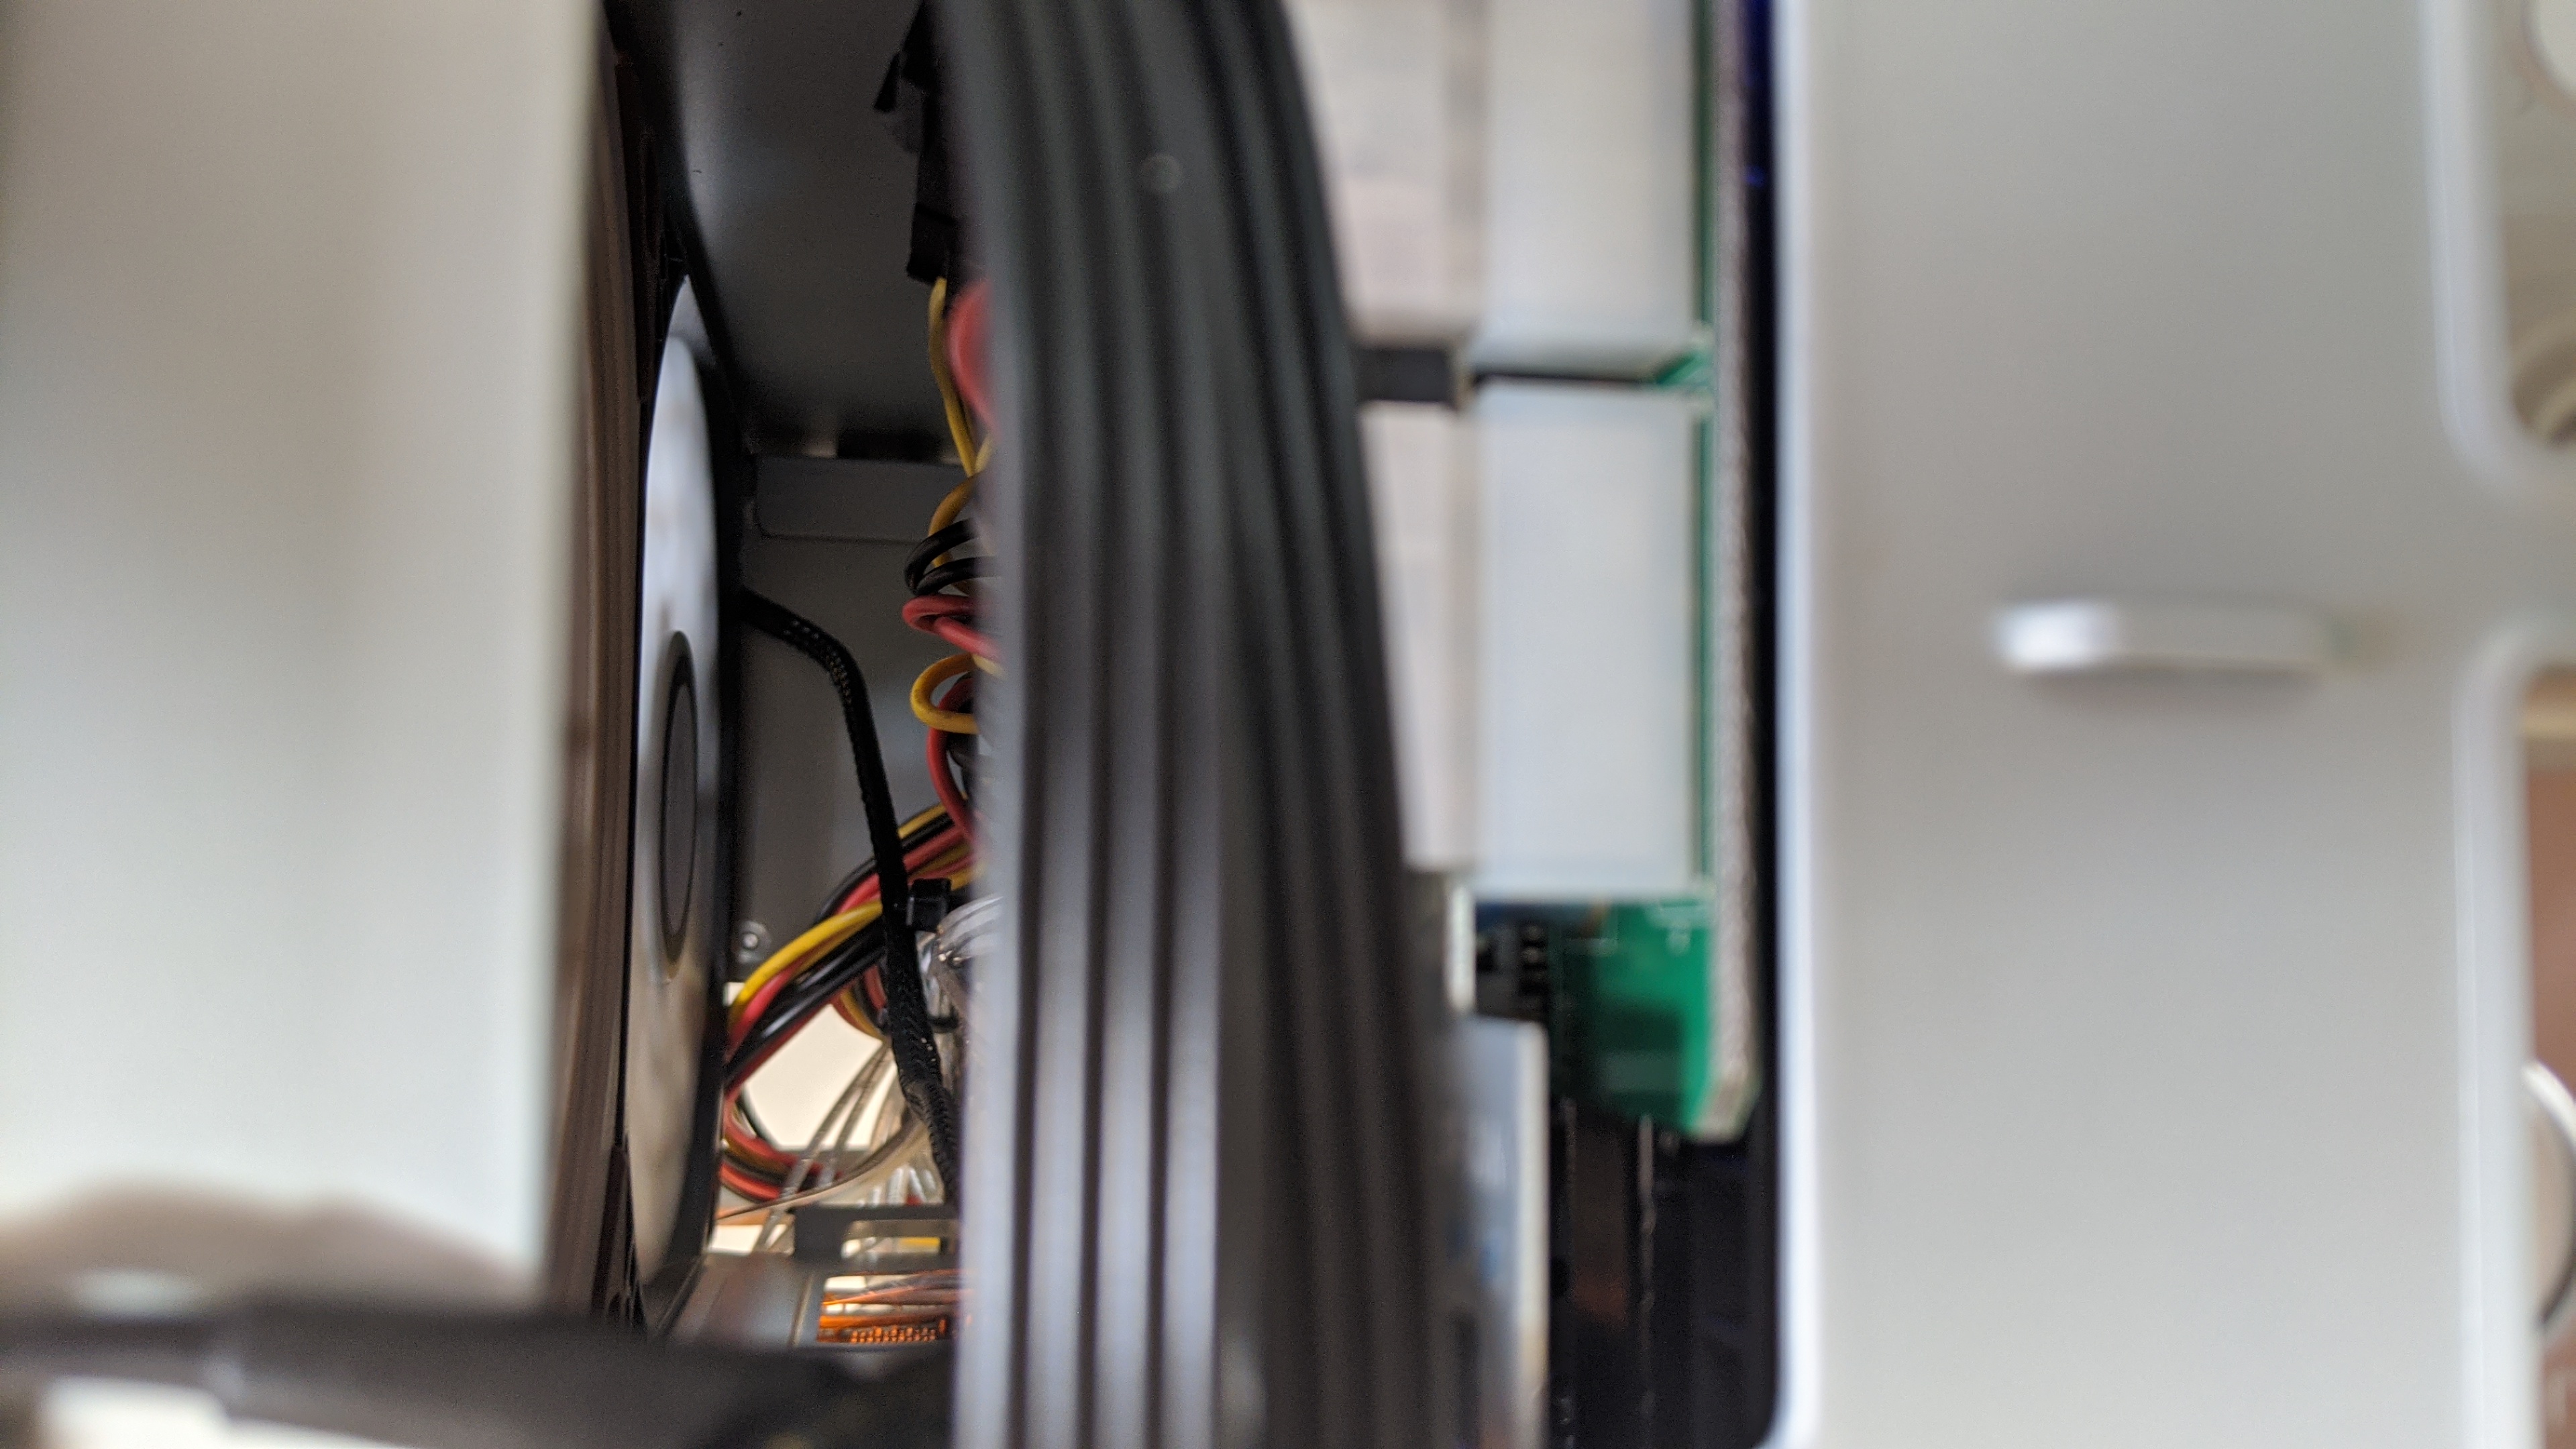
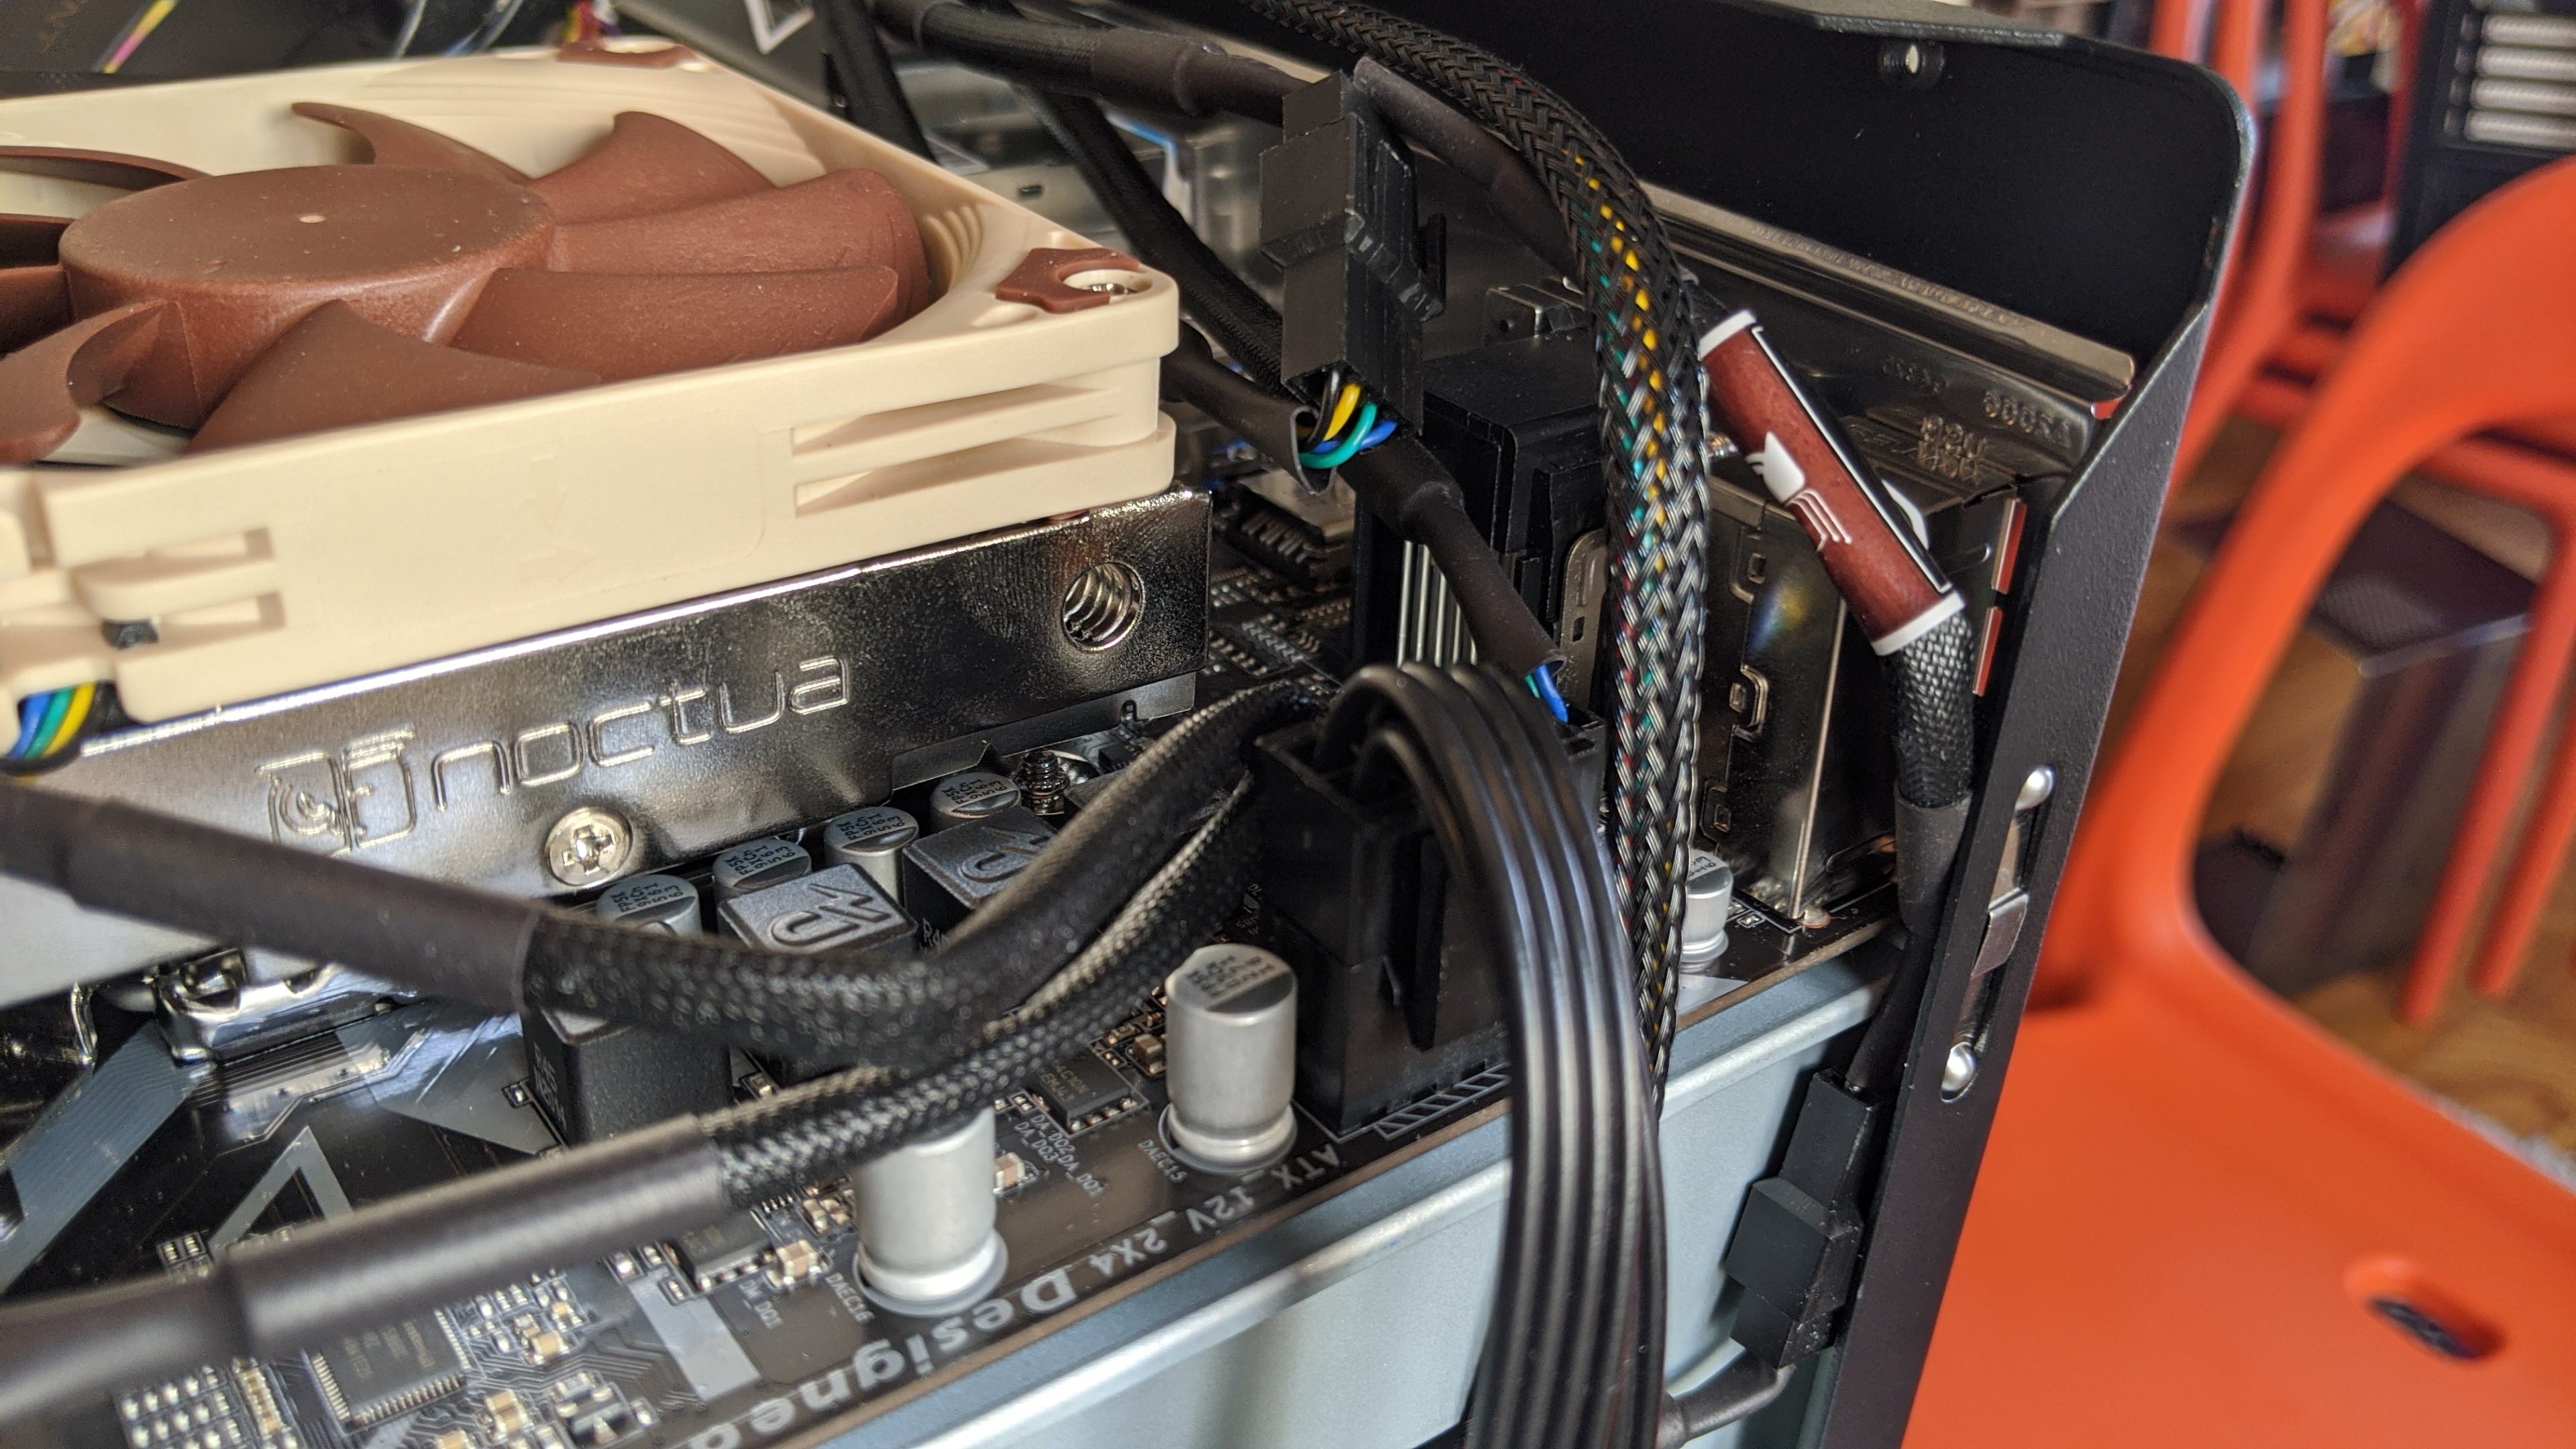
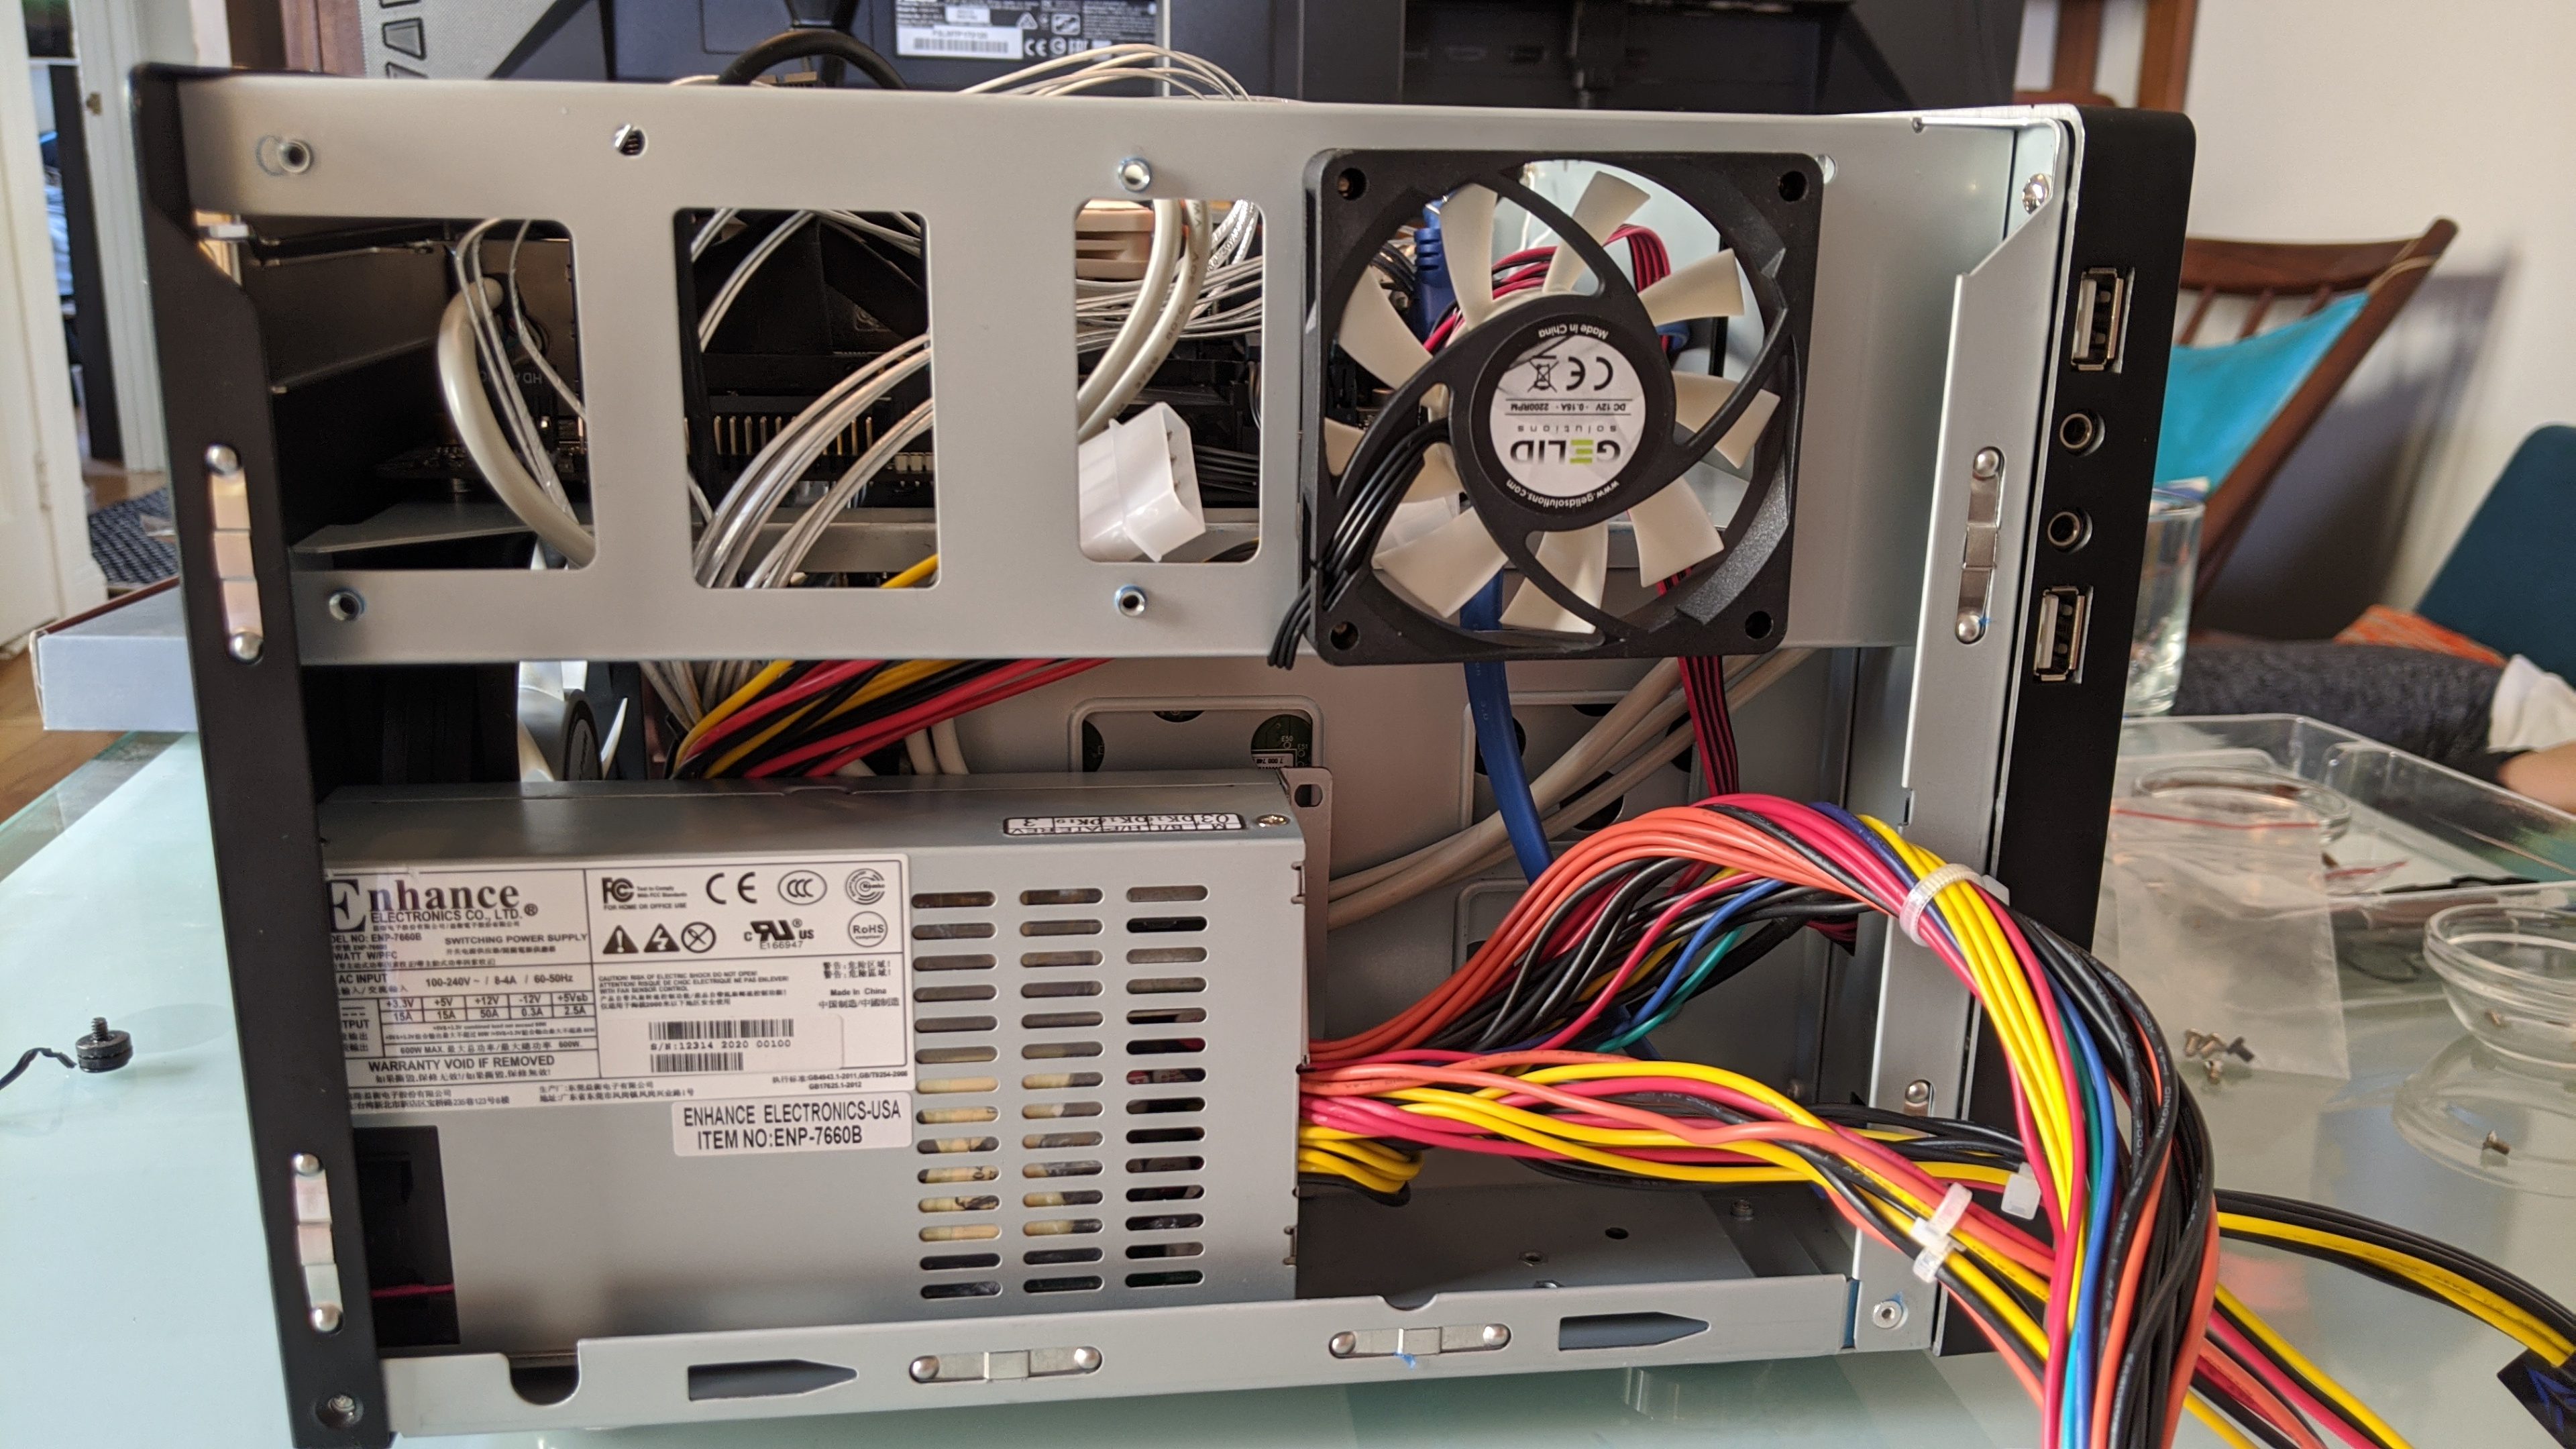
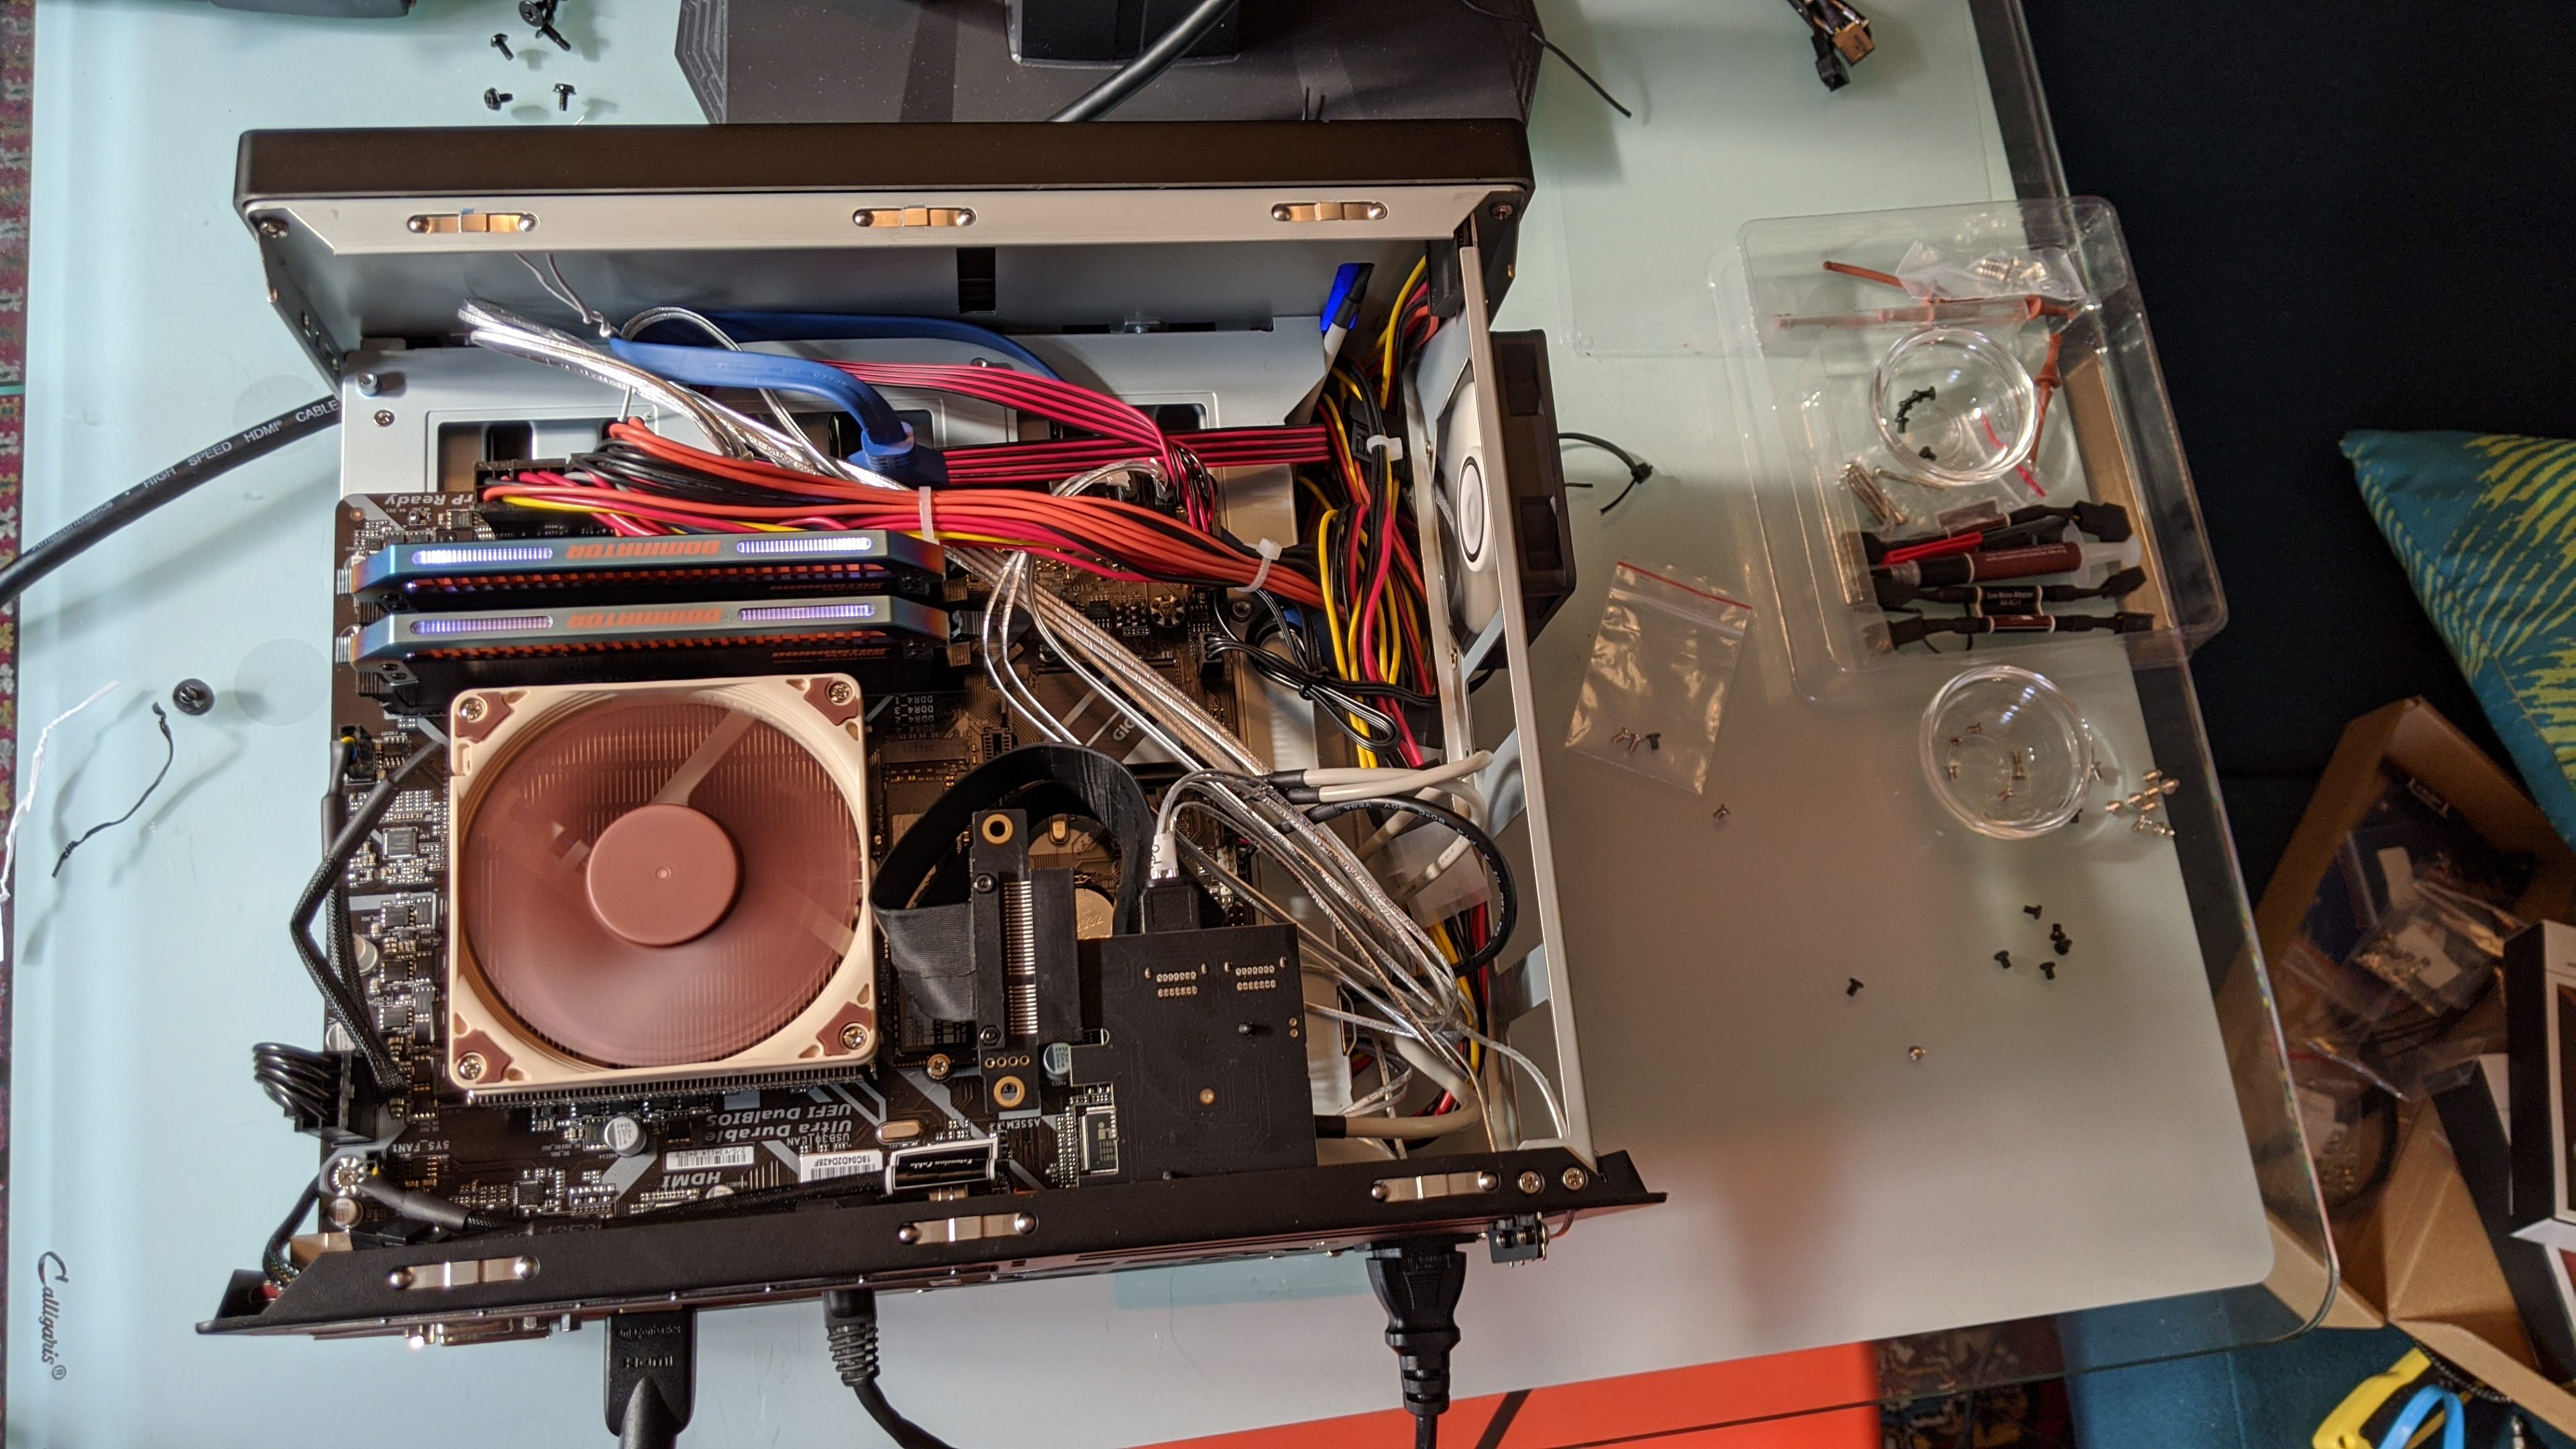
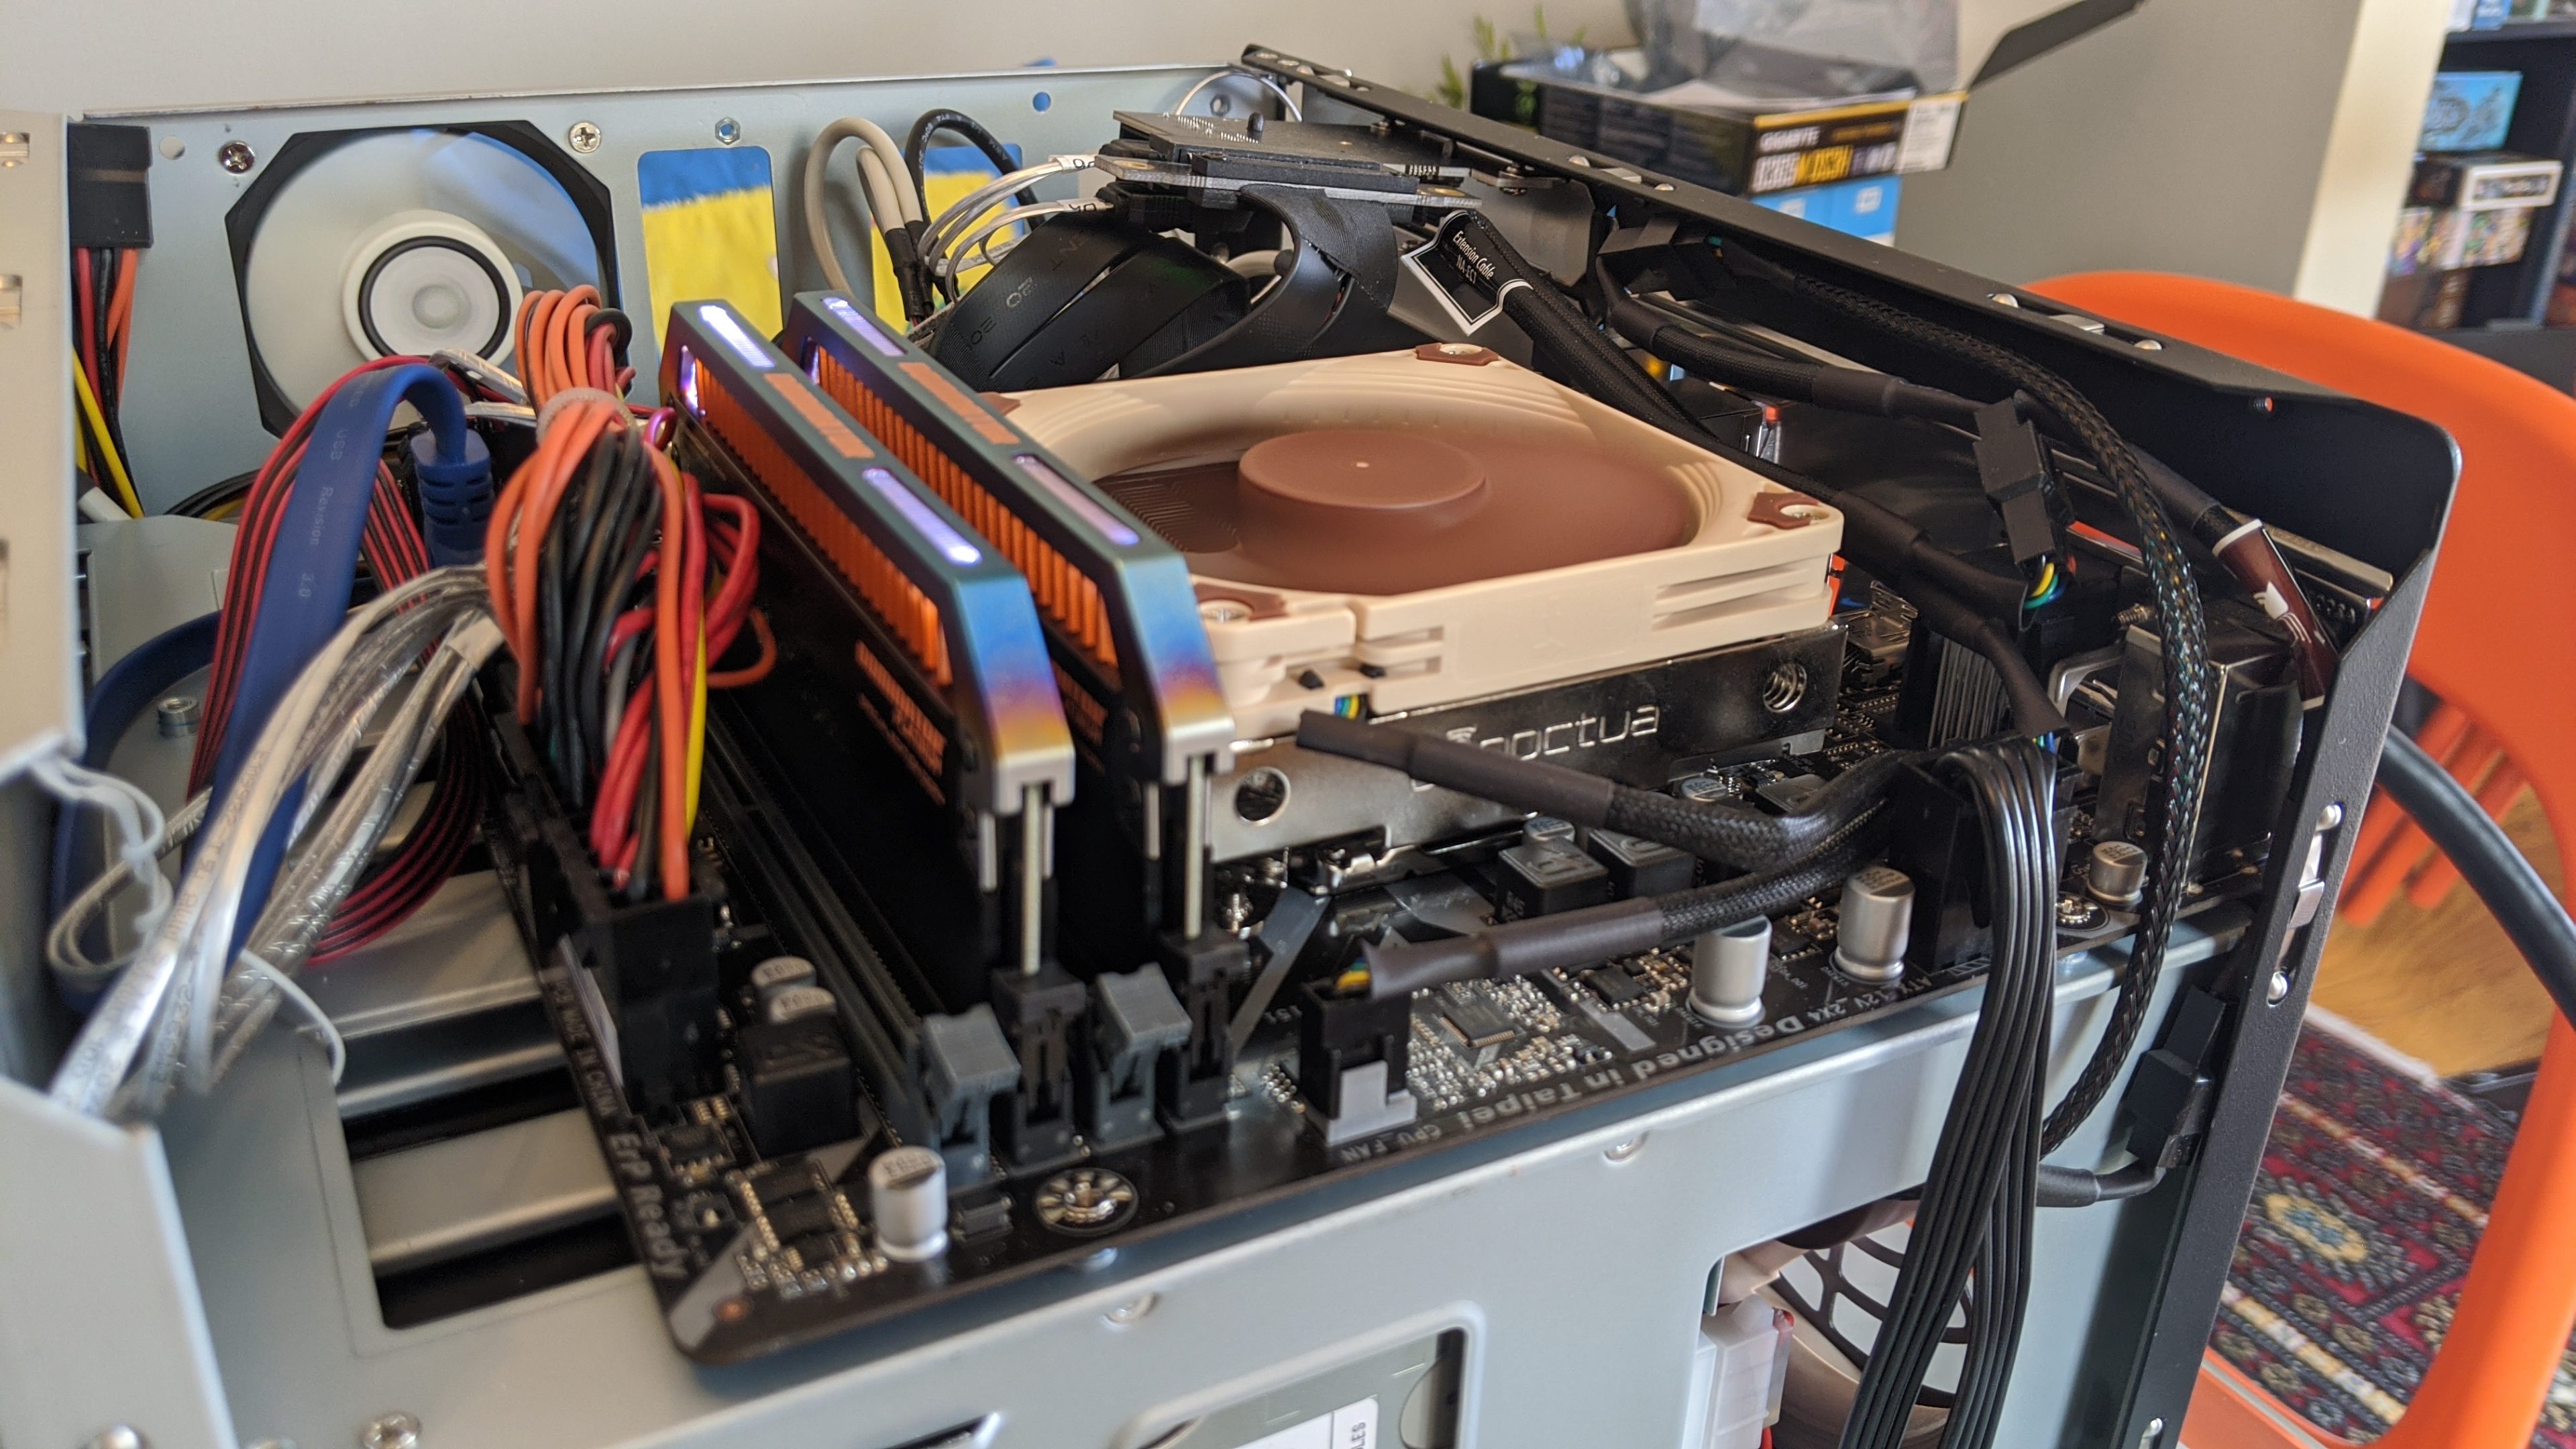
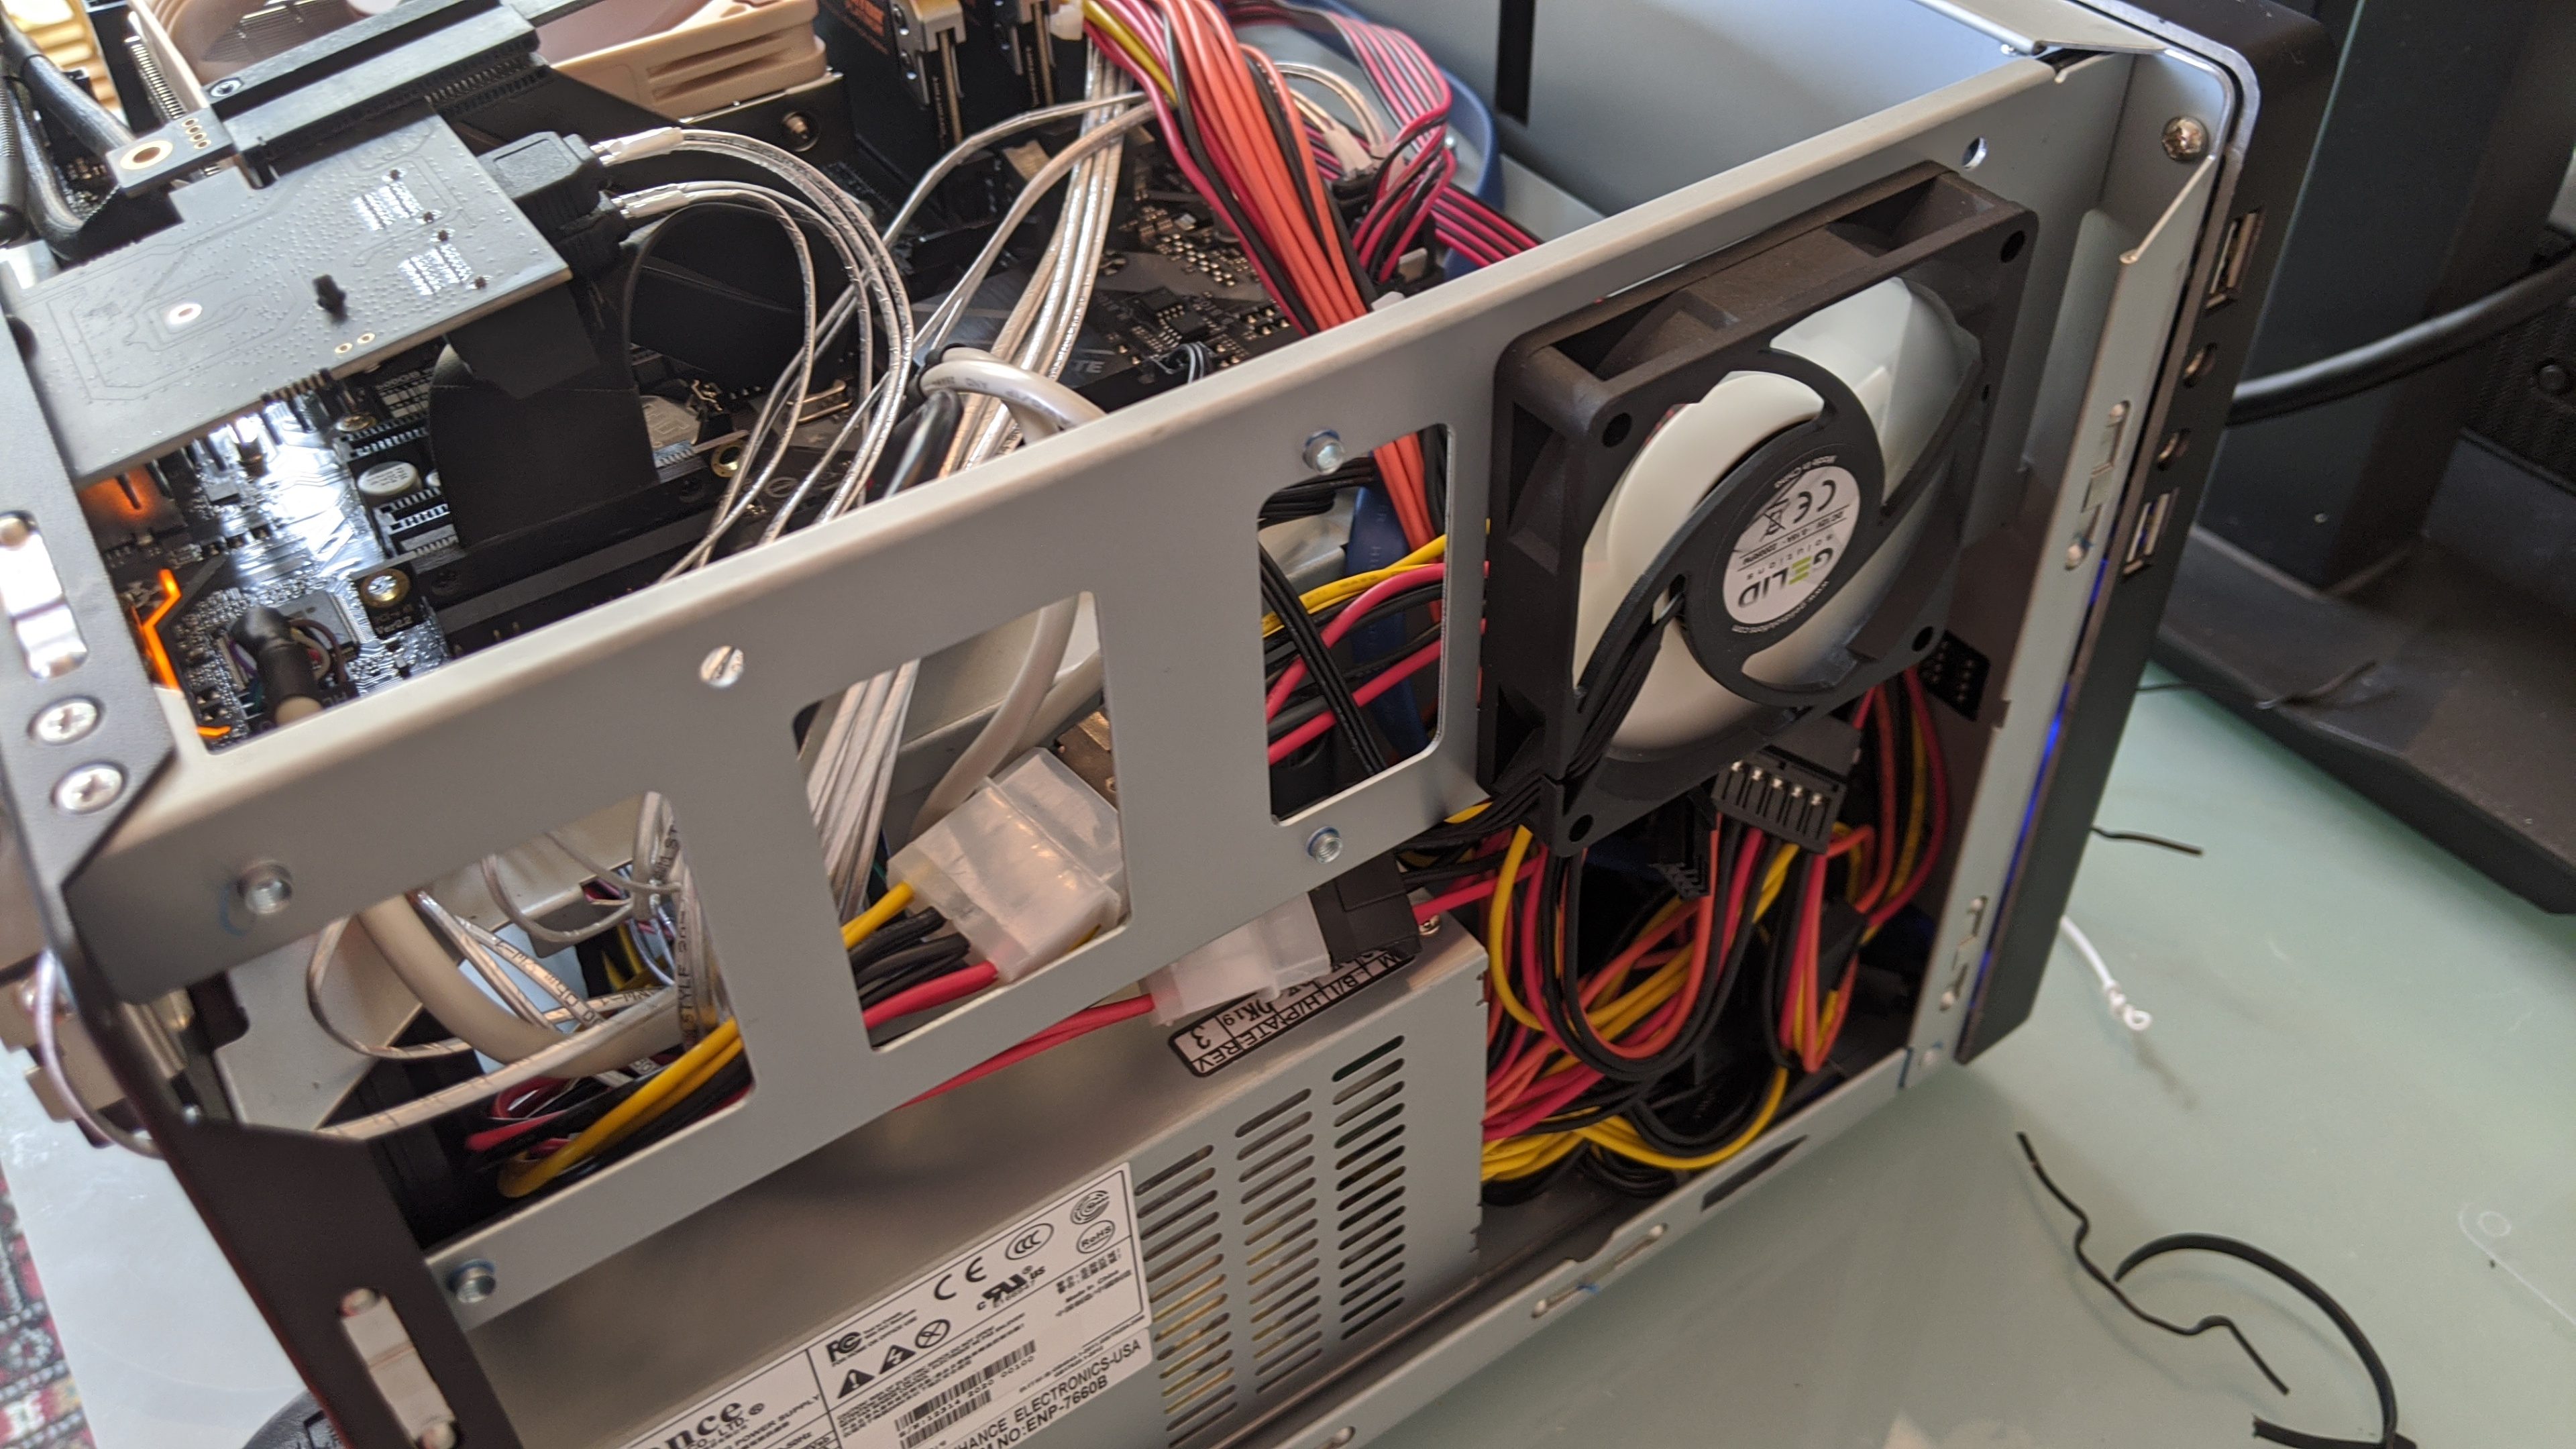
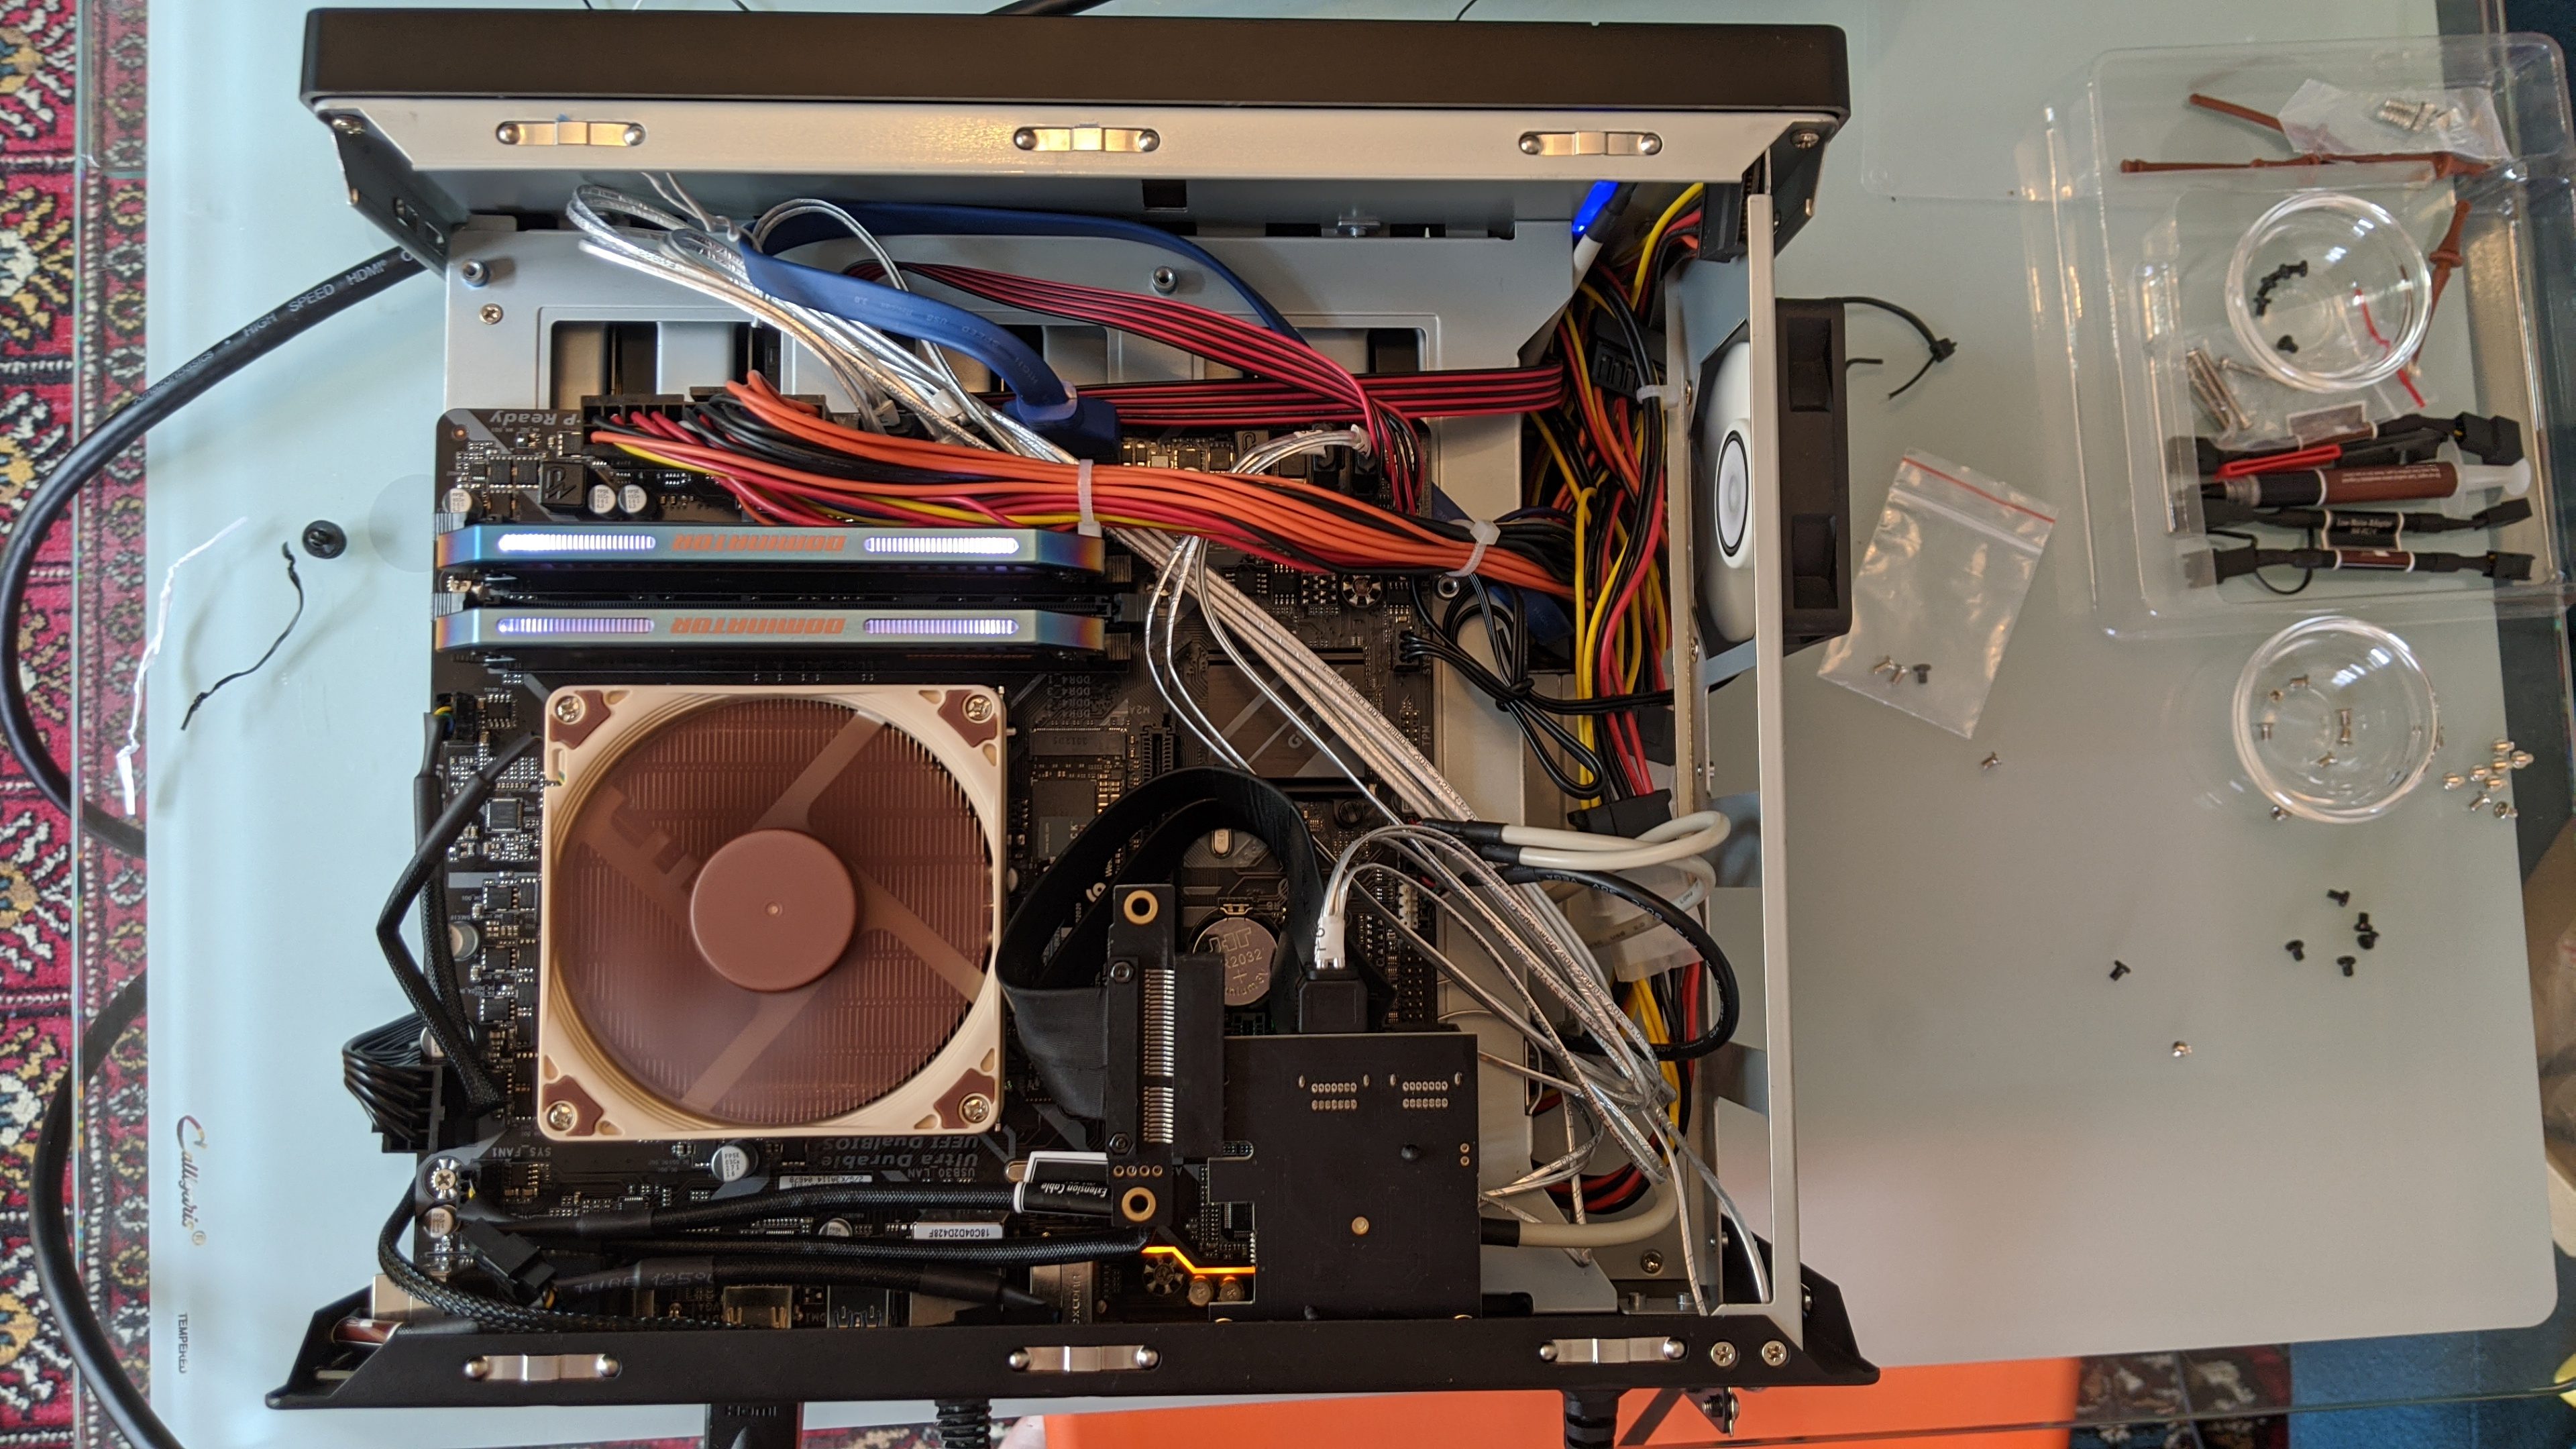
I didn't exactly do rigorous cable management, but I did tie off the SATA cables as best I could to minimize clutter, and ensured the space in front of the small 60mm fan on the side was clear. I was more worried about the HDD area, and made sure that the molex power connectors that powered the two circuit boards and the fan and CPU power cables were as out of the way as possible so the HDDs would get maximum ventilation.
The NSC-810A is an impressively compact case, which made this a slow but ultimately satisfying build. Some thoughts from the process of putting this thing together:
- You can mount a 2.5" HDD/SSD next to the 60mm fan, but I wish the case housing had a perforated pattern in that space so you could mount another 60mm fan there, instead.
- Unlike a typical PC case, there aren't really any cutouts here to help route cables around the motherboard, since most of the case is taken up by the HDD bays. It feels like cabling is going to be somewhat messy no matter what.
- The 810A should probably ship with a CPU extension cable; with the layout of a typical micro-ATX motherboard, it seems unlikely most PSUs will be able to reach.
- Not having to manually run power and data cables to each individual hard drive was a blessing. Plug-and-play is so nice!
- A modular power supply would've really helped. I had a lot of excess cabling, with unused SATA and graphics card leads.
- One reason a PC might not boot: You have a PCIe riser cable plugged in backwards. Lesson learned!
From PC to server
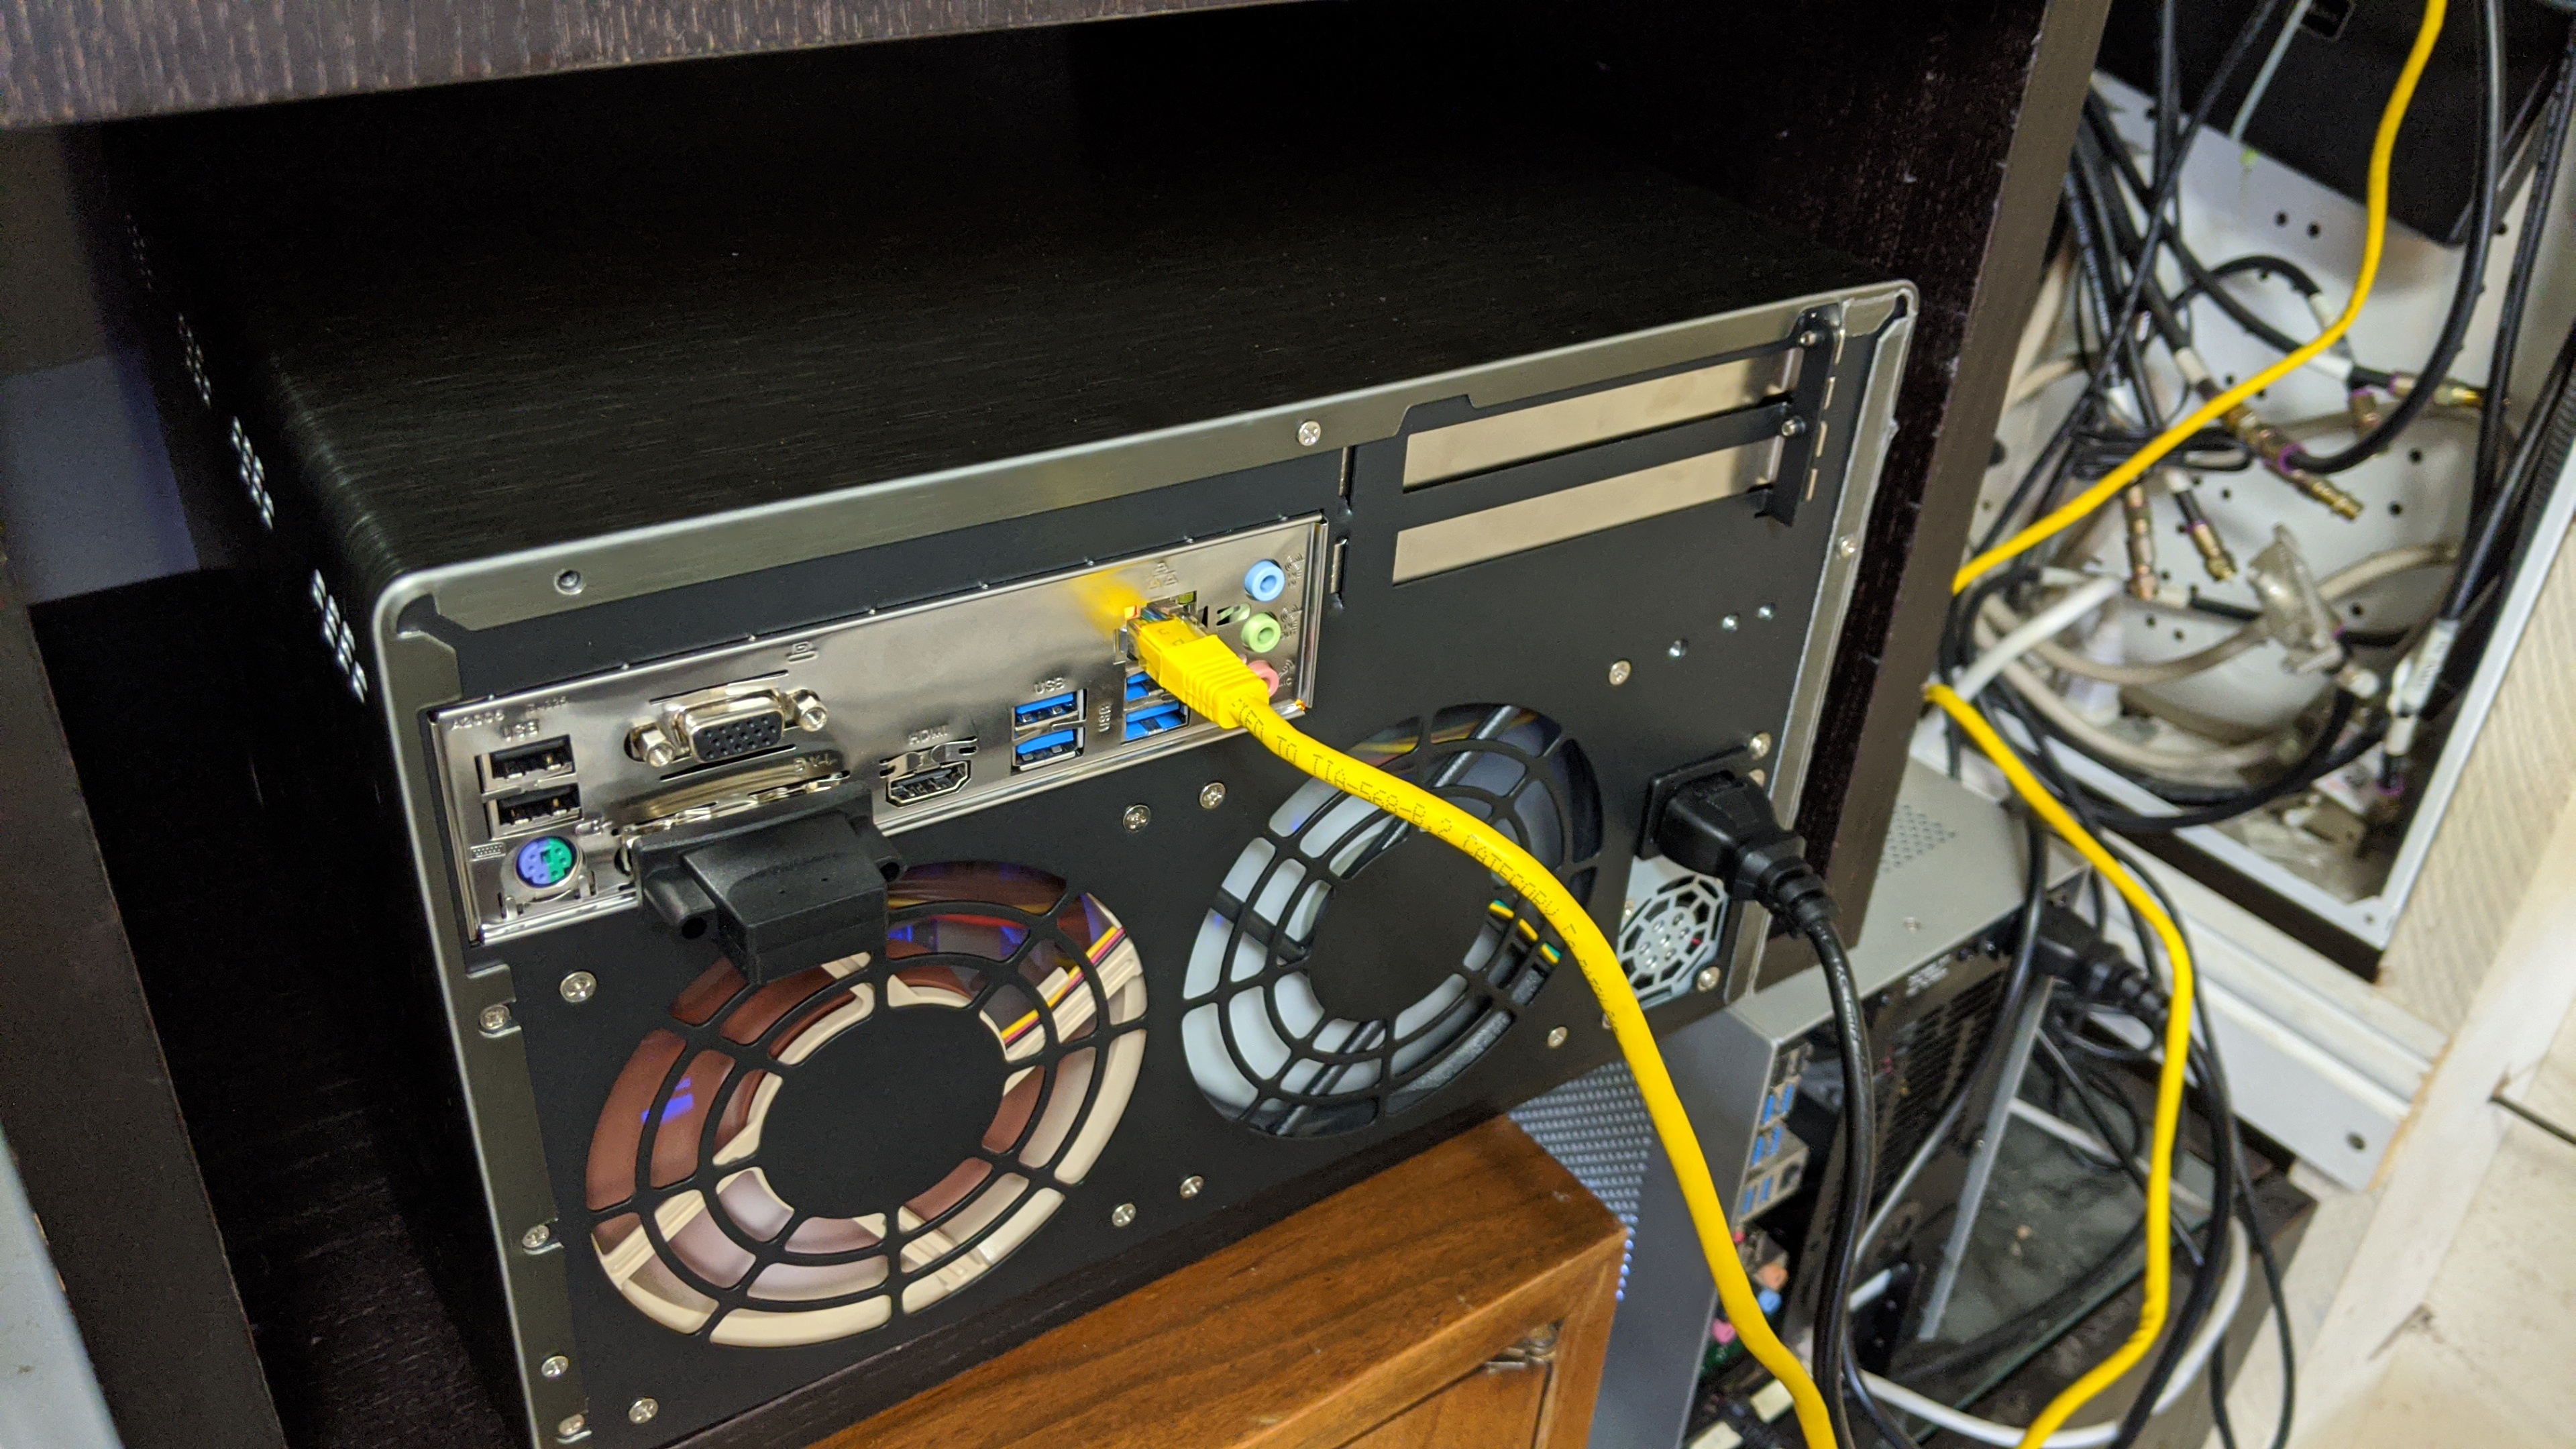
After a few weeks, the new server has been running fabulously so far. It's staying really cool, given how compact it is. At idle, the CPU cores average out to 34C, and the hard drives range from 25-31C, too. I think the HDDs are actually running cooler than they were in my old case, probably because they have two fans blowing directly on them.
Building the PC is where the hardware work ends, but there's more to setting up a home server than just putting the pieces together. Since I was coming from an existing server, I cloned my old SSD to the new one, which is very simple to do from the Linux command line. Properly resizing the partition to the new, larger SSD and straightening out the bootup sequence was less simple, and involved a lot of messing around with Gparted booted off an Ubuntu live USB stick. If you're building a brand new server, hopefully you won't have to mess with those complications.
The great (but also daunting) thing about Linux is how many ways there are to set up a desktop PC or a home server. And, naturally, everyone has a favorite method. I'm no Linux pro, but here's how I got started if you want to follow in my footsteps and build a server of your own, this is some of what I use:
- Ubuntu Server 20.04 LTS, which will get five years of security updates. I ran on 16.04 for years, and only recently upgraded, which was a surprisingly easy process with no major snags.
- Webmin: Running a headless server means you're going to have to do stuff on the command line, but Webmin is a browser-based interface that lets you manage a ton of stuff on your server without being a terminal expert. It has a slick mouse-driven interface for doing just about anything, and also has a dashboard for your temps, disk usage, etc. There's even a file manager, which is my favorite feature.
- Cockpit: Another great browser interface. It gives you some of the same basic tools and stats as Webmin, but also includes a very easy to use Terminal, which is my preferred way to access the command line remotely.
- Plex for Ubuntu: Plex is quite easy to install and get up and running, and if you take all your movies, TV shows, music, etc. and point Plex at them, it'll fill in all the metadata you can dream of. There are some tips for how you should organize stuff so it can properly read it, but on the whole is very easy to use.
- Snapraid: There are many many many ways to back up your data and create redundancy, and it's something I've never been as safe about as I really should. But currently I run Snapraid, which is quite simple to set up. It uses up some drive space on each of your disks, but ensures that if one goes down, it'll still be recoverable.
- There are many guides out there, but if you want to go with Ubuntu, this official walkthrough is beginner friendly. It goes through the install process with screenshots for every step, and once you get Ubuntu up and running, the rest you can figure out by Googling for more advanced guides.

Wes has been covering games and hardware for more than 10 years, first at tech sites like The Wirecutter and Tested before joining the PC Gamer team in 2014. Wes plays a little bit of everything, but he'll always jump at the chance to cover emulation and Japanese games.
When he's not obsessively optimizing and re-optimizing a tangle of conveyor belts in Satisfactory (it's really becoming a problem), he's probably playing a 20-year-old Final Fantasy or some opaque ASCII roguelike. With a focus on writing and editing features, he seeks out personal stories and in-depth histories from the corners of PC gaming and its niche communities. 50% pizza by volume (deep dish, to be specific).
