How to install Windows 10
It's easier than you think to get Windows 10 on your gaming PC.
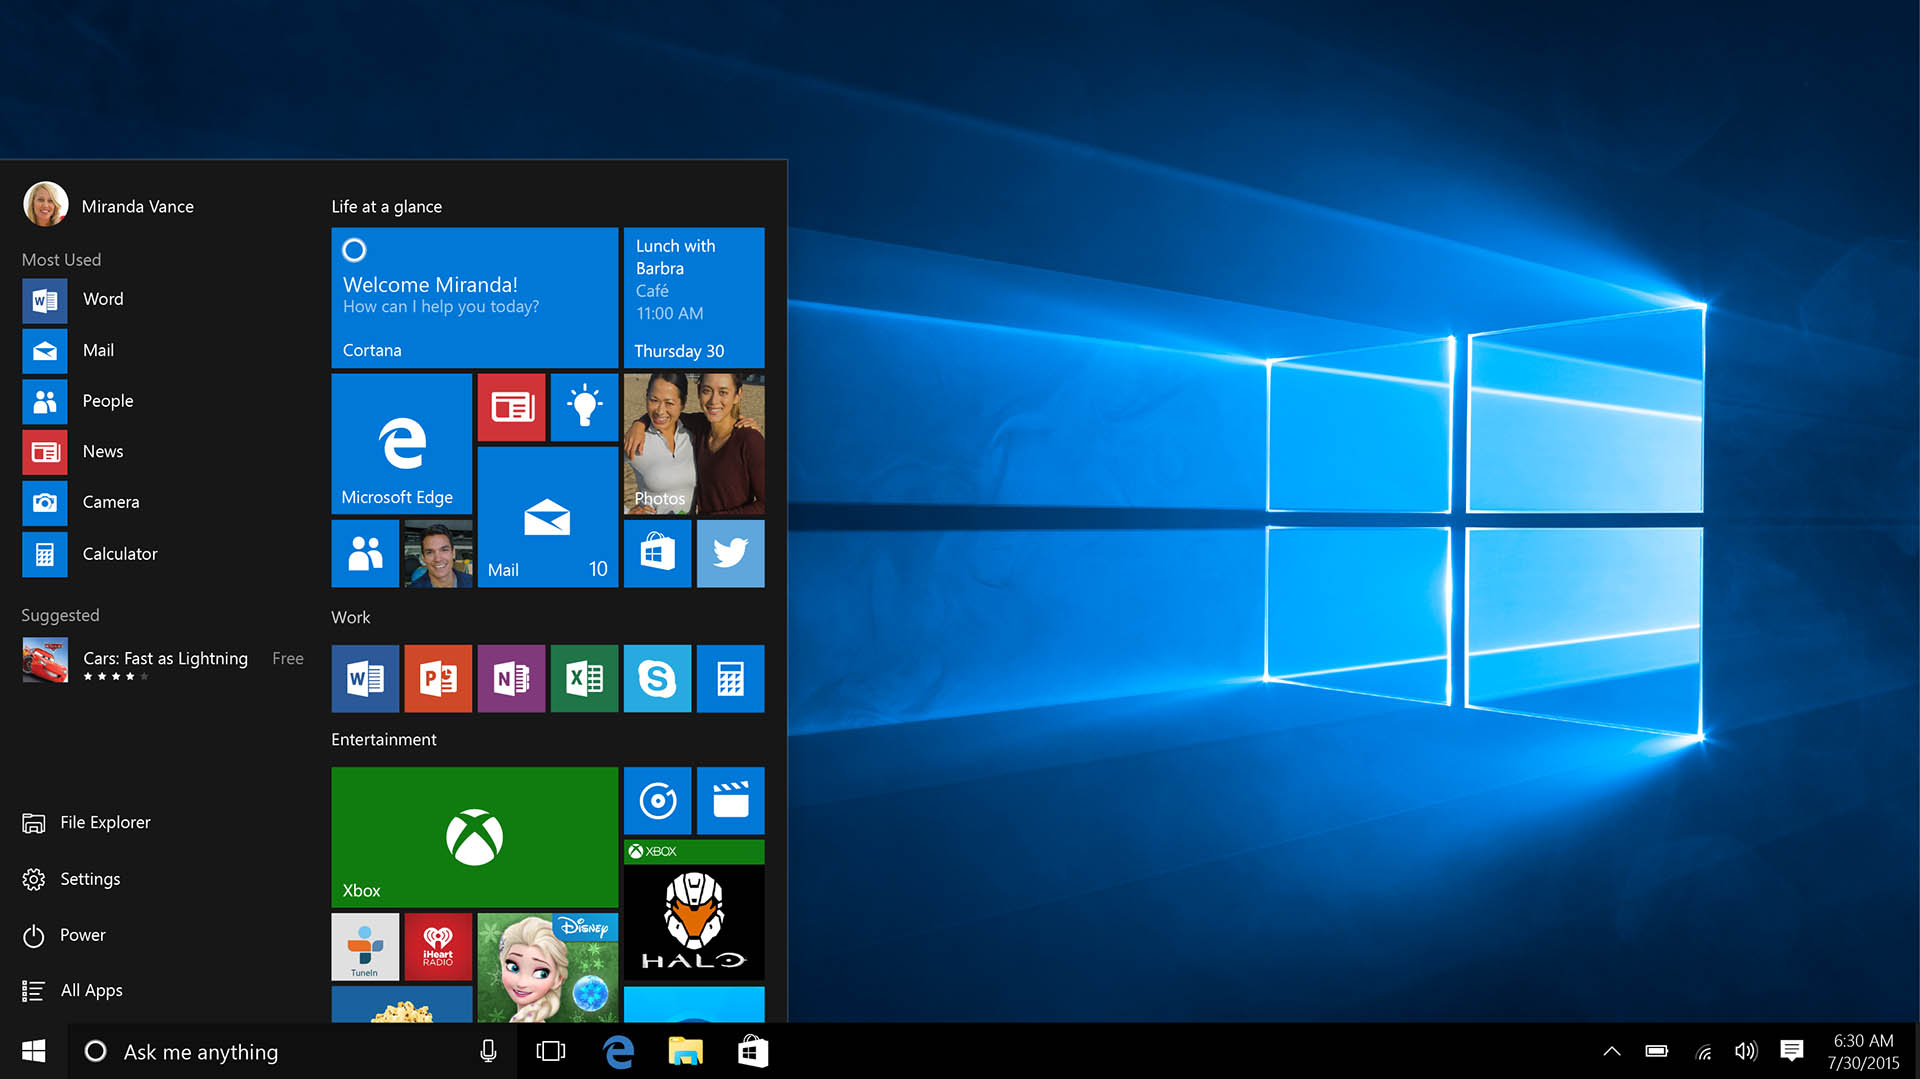
Whether you're installing Windows 10 on a machine for the first time, or looking to start afresh by reinstalling it on top of an old install, it's never been easier to get Microsoft's OS on your systems. You don't need much in the way of existing kit either, just an 8GB USB stick and a PC that is already up and running. If you have an existing install, it may be worth trying a Windows 10 reset first.
CPU: 1 GHz or faster
RAM: 2 GB
HDD space: 32 GB
GPU: DirectX 9 or later
Display: 800 x 600
You don't even need to hunt down an ISO burning tool anymore either, as Microsoft provides everything you need on the software side of things thanks to its Windows 10 media creation tool. Simply navigate over to the Windows 10 installation site, scroll down to the Create Windows 10 installation media section, and then hit the Download tool now button. This will download the latest version of the Media Creation Tool onto your machine.
Once downloaded, open the folder you saved it in and launch the app to get started. The first thing you'll have to do is Accept the terms of the Microsoft Software License, after which it will display that it is Getting a few things ready, before giving you the option to Upgrade this PC now or Create installation media for another PC. It's this second option you want to check before hitting the next button.
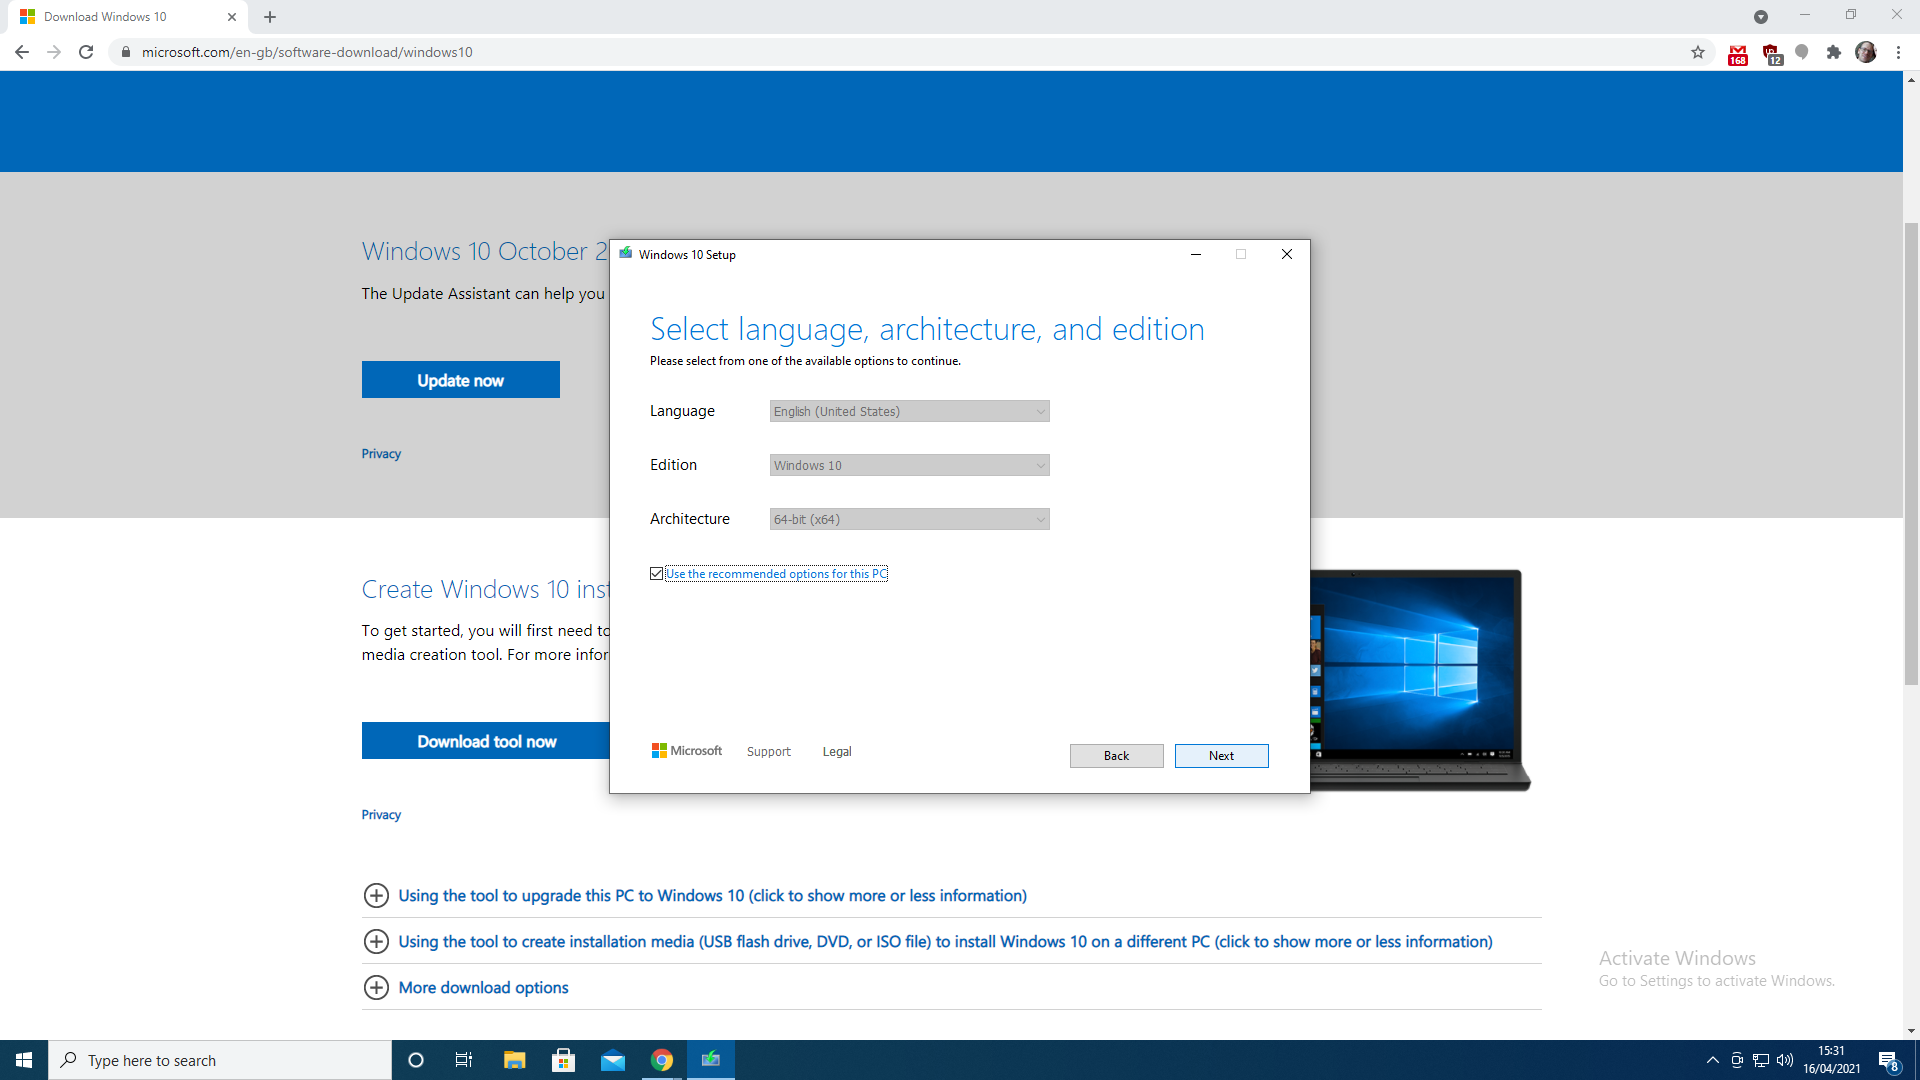
You next to get to set a different language, edition, and architecture for your installation—useful if you're installing Windows 10 on a completely different sort of machine, but generally you can stick with the recommended settings and hit next.
Here's where you get to decide whether to burn the image straight to a USB flash drive or whether to create an ISO file image. You want the USB option. Plug your drive into one of the USB ports, and select it on the next screen.
The utility will then download the actual Windows 10 installation files before verifying them. How long this takes depends on your connection to the big ol' interweb, but it shouldn't take too long. Once that stage is complete, it will then copy the image across to your drive.
Once the files have been copied across, simply eject your USB by right clicking it in the system tray and selecting Eject, then take the USB drive out of your main machine and plug it into a USB port on the machine you want to install Windows 10 onto. Go ahead and turn the machine on.
The biggest gaming news, reviews and hardware deals
Keep up to date with the most important stories and the best deals, as picked by the PC Gamer team.
There's a good chance that you'll need to select the boot order of the drives on that machine, which will require a quick trip to the UEFI/BIOS—generally entered by repeatedly hitting F2 or delete as the machine boots.
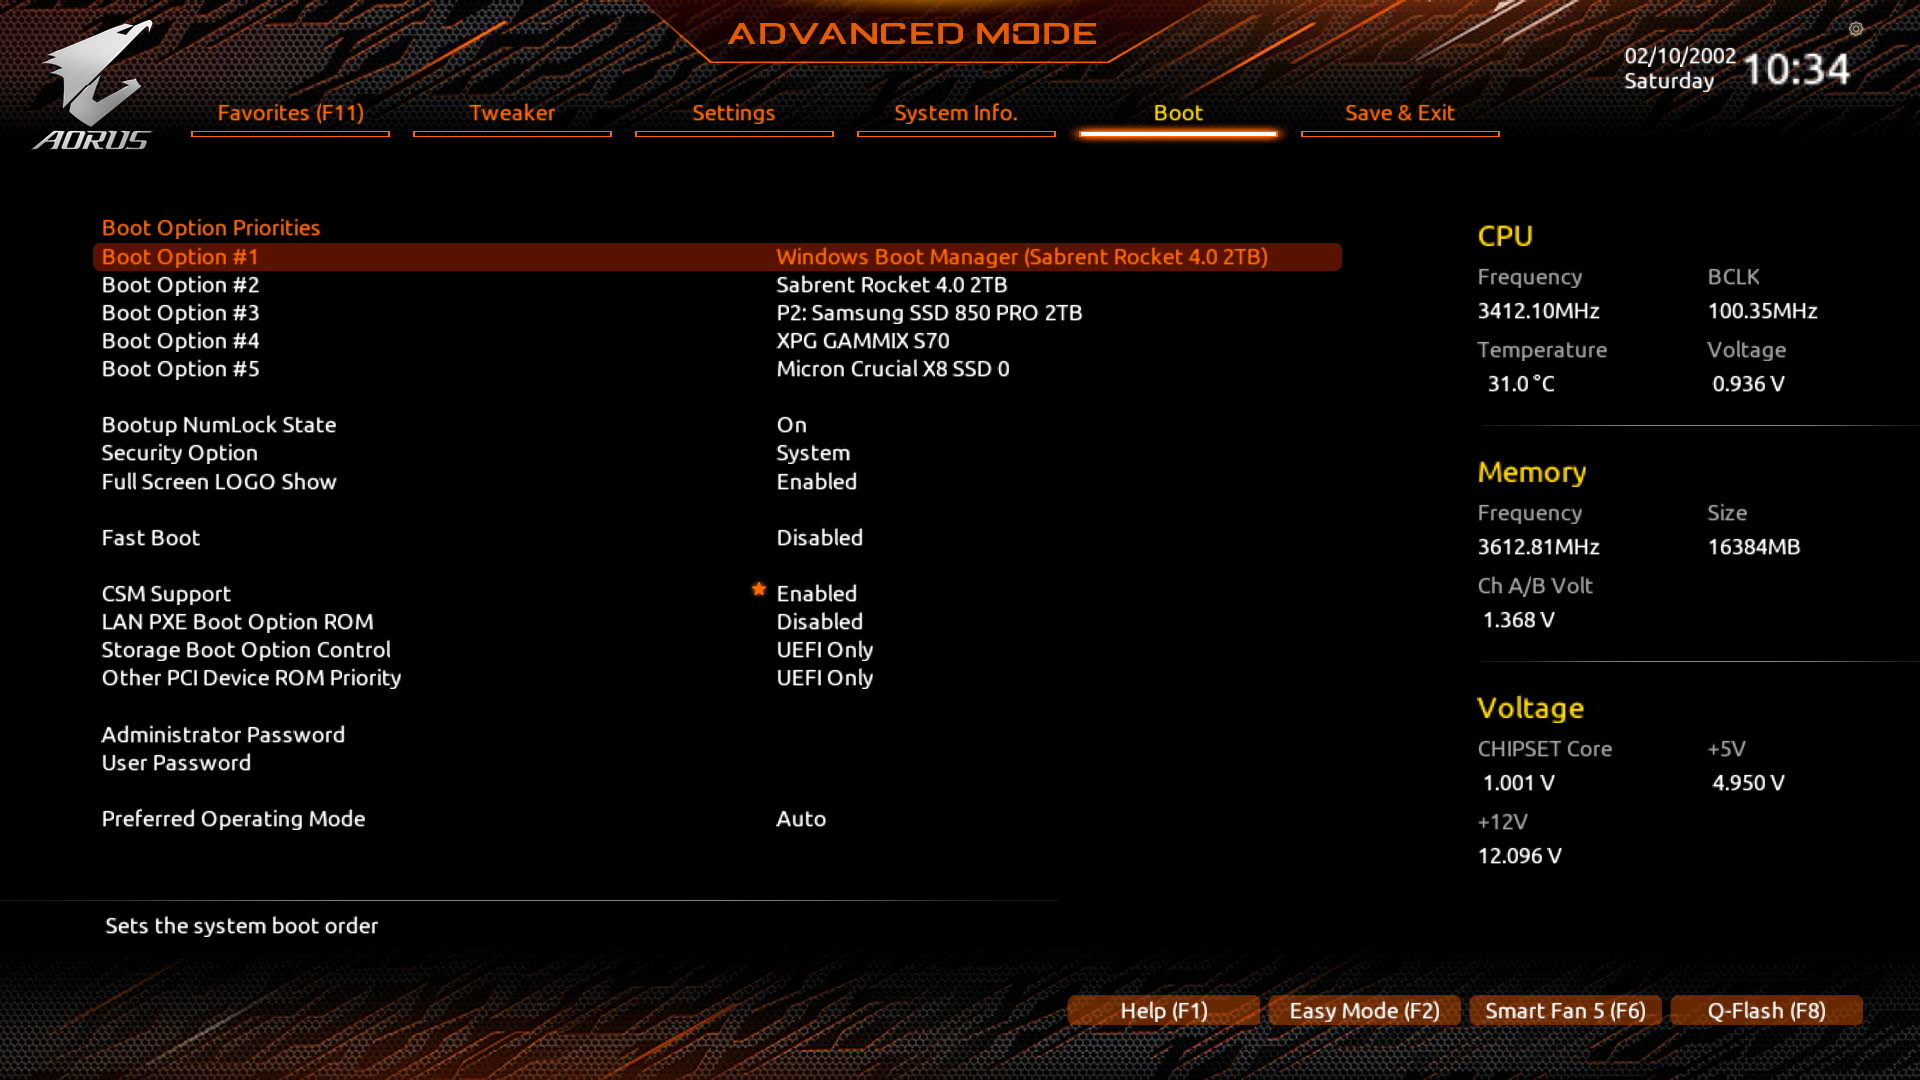
Once in your UEFI or BIOS you need to head to the section called Boot order then Boot Option Priorities, and make sure that USB drives appear before your boot drive. Save the changes and you should find that your machine automatically spots the drive and begins installing Windows.
The rest of the process should be fairly straightforward. You'll need to select your keyboard layout and language for the installation, and then select where you want Windows 10 to be installed. This last step is only tricky if you have multiple drives installed, so just take it slow and make sure you're installing it to the right drive (an SSD is best).
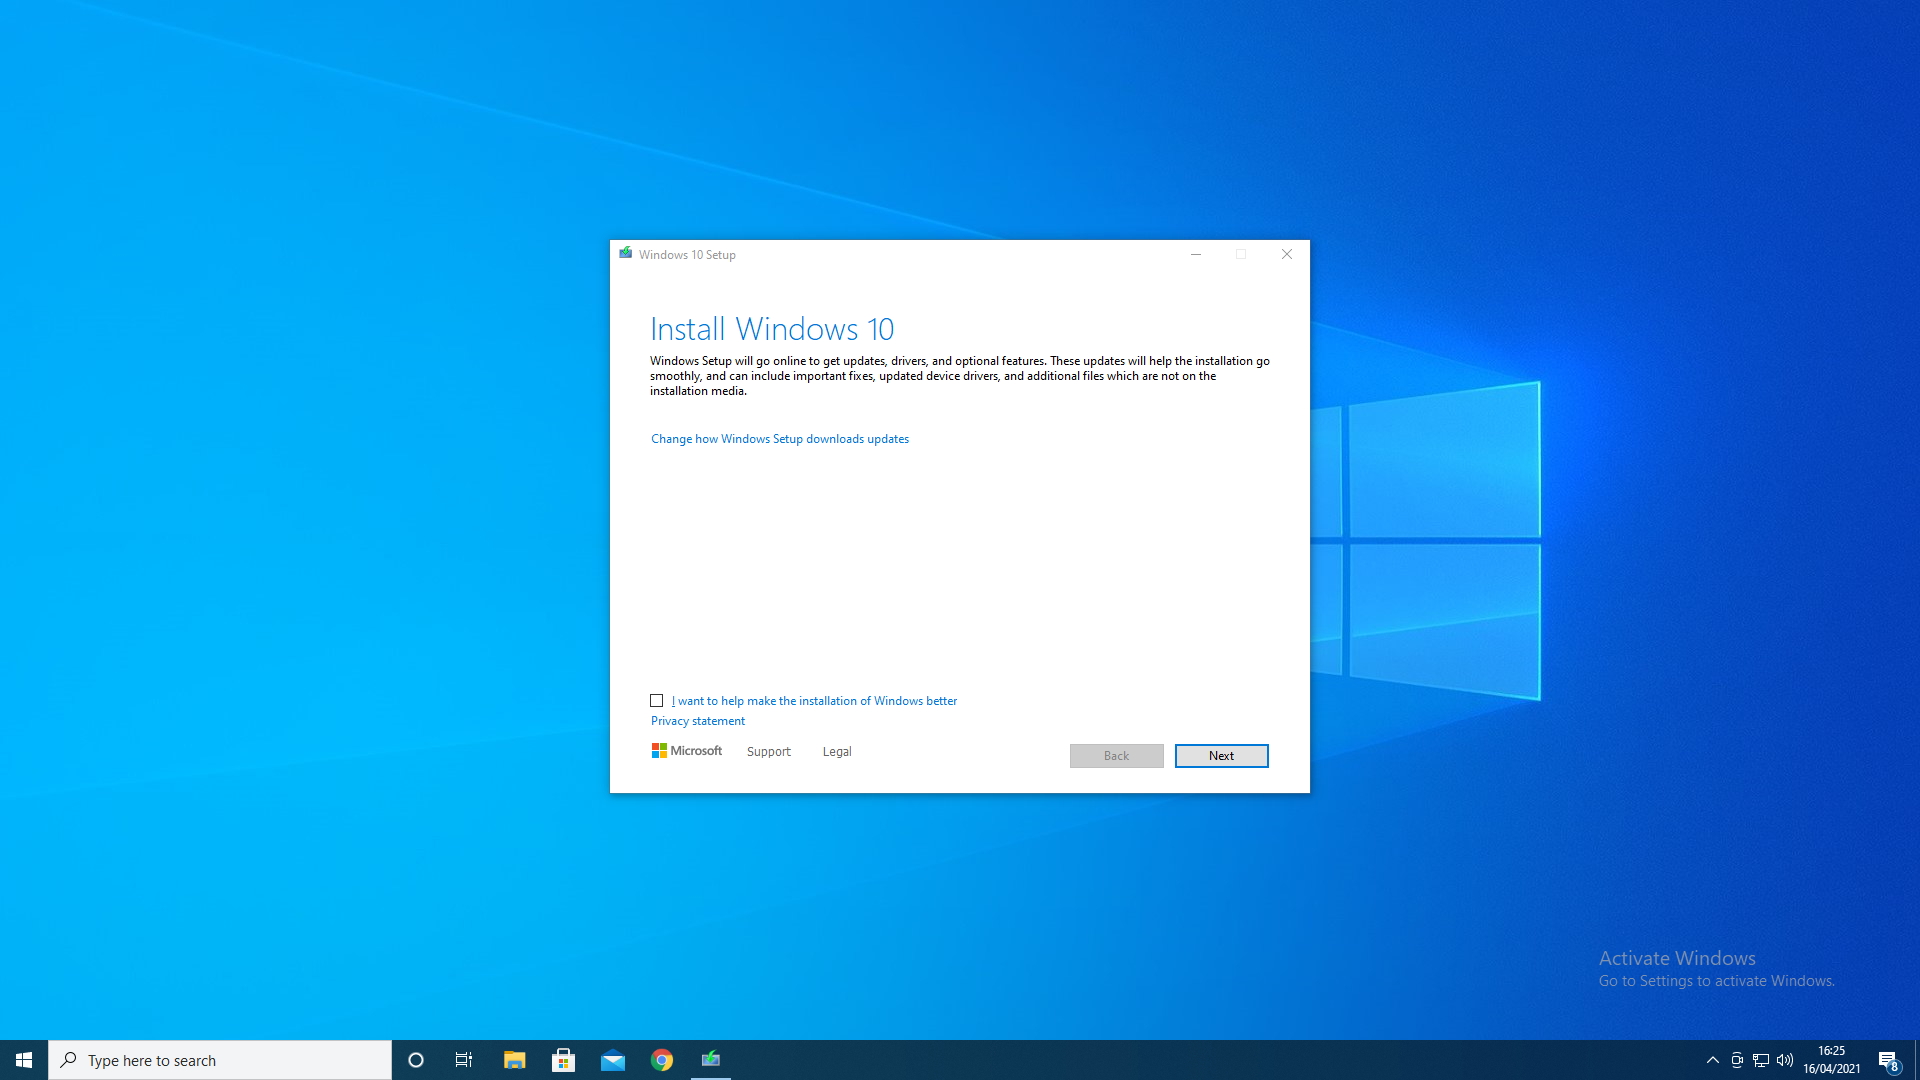
On the site, Microsoft makes a point of saying that you'll need a license in order to install Windows 10, although this isn't actually the case. You can install it just fine without one. The resultant 'preview' installation doesn't let you customize some aspect of Windows 10 and, in theory, only critical updates are installed—in practice you'd be hard pushed to spot any real differences over an activated install, though.
Well, apart from one, which is a watermark in the bottom right-hand corner of the screen, which says 'Activate Windows'. This is something you can do at any point in the future at least, and allows you to track down a normal license (around $139) or a budget OEM license should you choose to (which can be picked up for as little as $25 or even less if you shop around).
You can also remove the watermark for the current Windows 10 session by opening up the command prompt, typing: slmgr -rearm, and pressing enter. It'll come back when you reboot, but if you're trying to grab screenshots, then it's an option.
Alan has been writing about PC tech since before 3D graphics cards existed, and still vividly recalls having to fight with MS-DOS just to get games to load. He fondly remembers the killer combo of a Matrox Millenium and 3dfx Voodoo, and seeing Lara Croft in 3D for the first time. He's very glad hardware has advanced as much as it has though, and is particularly happy when putting the latest M.2 NVMe SSDs, AMD processors, and laptops through their paces. He has a long-lasting Magic: The Gathering obsession but limits this to MTG Arena these days.

