How to conquer the Deep Stone Crypt in Destiny 2
Learn how to master Bungie's most complex raid yet with this Destiny 2 Deep Stone Crypt raid guide.
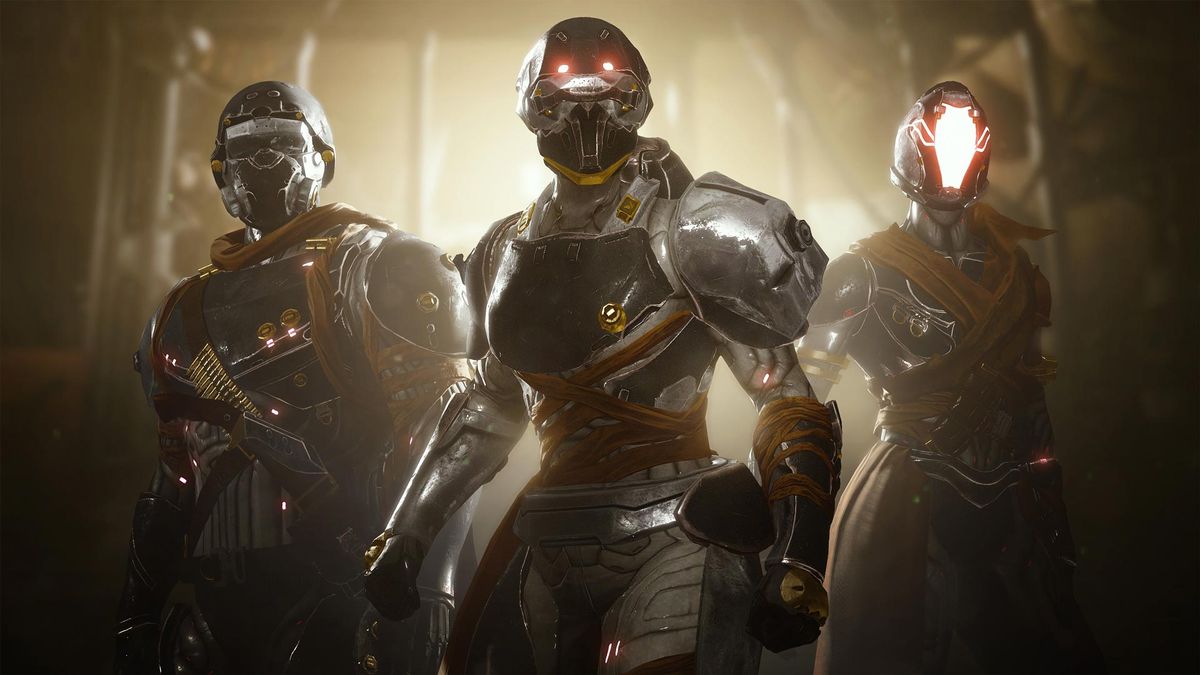
The Destiny 2 Deep Stone Crypt raid is here. Beyond Light’s raid is one of the most complex and involved yet seen in Bungie's MMO. Indeed, there’s so much to take in and so many enemies to fight that it’s almost impossible to keep up with everything you need to do.
Luckily, that’s what guides are for. Here, I’ll tell you everything you need to know about the Deep Stone Crypt in Destiny 2 and help you overcome the mammoth task that lies ahead. There’s a lot to get through, so let’s jump right in.
Destiny 2 Deep Stone Crypt raid guide: How to beat the ultimate Beyond Light challenge
Preparation
It’s always wise to have a few loadouts ready to switch between based on the encounters that lie ahead. Also, make sure you’ve already unlocked Overload rounds, as Overload Champions are the only ones present in the Raid.
The recommended Power Level for the Deep Stone Crypt is 1230. But the final encounter eclipses that, with a Power Level of 1250. It’s not a hard-and-fast rule: The first team to clear the Deep Stone Crypt were hard-capped at Power Level 1230. Nonetheless, if you can, you should tune up your best gear with some Upgrade Modules.
In terms of energy weapons and damage types, the raid is Fallen-based and all three energy damage types are present. That means any type of resistance mod can be effective based on the encounter, but favouring overall defence and sustainability is the best option. When it comes to the type of damage you would like to deal, Void shields are the only ones present in the raid.
Weapons
When it comes to Destiny 2 weapons, the game isn’t exactly short of options, but not every option fits every encounter you’ll face in the Deep Stone Crypt. To save you the hassle of making tough decisions, here are the weapons I used throughout the raid.

Destiny 2 Bad Juju: How to get the exotic pulse rifle
Destiny 2 Lumina: Snag the exotic pistol
Destiny 2 Izanagi's Burden: Grab the exotic sniper
Destiny 2 Leviathan's Breath: Exotic bow quest steps
Destiny 2 Deathbringer: Bag the fearsome launcher
Destiny 2 Divinity: How to get the exotic trace rifle
Destiny 2 Fourth Horseman: Make this shotgun yours
Destiny 2 Ruinous Effigy: Growth quest steps
Destiny 2 Traveler's Chosen: Get the OG sidearm
Destiny 2 No Time To Explain: How to get it
Destiny 2 Salvation's Grip: Beat Aspect of Control
Destiny 2 Lament: All Dead Exo locations
Falling Guillotine
This legendary sword will carve up even the largest enemy health bar like a side of beef. It’s just that simple. Since you can get up close with several bosses in the Deep Stone Crypt, particularly Atraks-1, Fallen Exo, it’s well worth bringing this colossal blade along.
The biggest gaming news, reviews and hardware deals
Keep up to date with the most important stories and the best deals, as picked by the PC Gamer team.
Gnawing Hunger
Since Overload Champions are present in the Deep Stone Crypt, while the Seasonal Artifact offers you Overload rounds for an Auto Rifle, this is a no brainer. The Summoner is a good substitute, but Gnawing Hunger also doubles up when dealing with pesky Void shields too.
Riskrunner
If you prefer a Submachine Gun and want to make use of all the Arc damage coming your way in the Deep Stone Crypt, look no further than the Destiny 2 Riskrunner.
Izanagi’s Burden
Big damage from a distance. You can load up all four shots to deal massive crit damage, or conserve ammo and pop the heads of a few far away stragglers. At a distance, Izanagi’s burden offers some great flexibility.
Witherhoard
The Deep Stone Crypt has a thing for funneling dozens of enemies through tiny doors. It’s a bit like the mines of Moria, only in space. With Witherhoard equipped, you can pop down a grenade and watch the bad guys scatter themselves across the walls as they run out into the open.
Xenophage
If your aim isn’t the sharpest and you don’t like close combat, maybe consider a career that doesn’t involve large amounts of fighting and shooting things. If you’re determined, however, Destiny 2's Xenophage should be your weapon of choice in the Deep Stone Crypt. When you can sit back and rattle off giant explosive rounds that make enemies crumble like they were made of shortcrust pastry, aiming doesn’t matter that much.
Loadouts
Warlock
Sustain is the key here. If you want to keep everyone alive, then shoot for the Well of Radiance coupled with the Phoenix Protocol Exotic chest piece. Not only will this allow you to keep your teammates on their feet, but when everyone needs to hunker down in a well, you’ll be able to claim back most of the energy spent.
Hunter
As always, Hunters have two main choices, clearing enemies or damage. If you intend to clear hordes of combatants, then the Way of the Pathfinder will let you hide your team in smoke and pin enemies down with shots from your bow. If you want to deal damage, then equip a Celestial Nighthawk exotic helmet alongside the Way of the Sharpshooter solar subclass branch.
Titan
For the most part, Titans have played a support role, with the use of their Code of the Protect void subclass branch. The safety of a bubble and the Weapons of Light buff will prove paramount in the third and fourth encounters, ekeing out that bit of extra damage when it’s most needed.
Roles
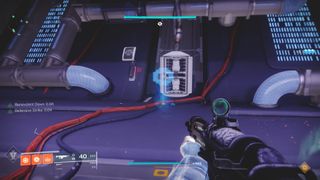
The primary mechanics of the Deep Stone Crypt are all role based, referred to as Augments throughout the raid. It helps to know what these Augments are ahead of time, how to find them, and what they look like. As the raid continues, the number of Augments increases but their priorities largely remain the same. The first two, the Operator and the Scanner, are present for all four major encounters, whereas the Suppressor is only available in the third and fourth. Augments are obtained by killing an enemy combatant holding it. There will only ever be one of each type of Augment present at a time.
Operator
The Operator Augment is a red-coloured buff, shaped like a person with a spiky hat. The Operator’s primary role is to shoot red things across all encounters. The shape and size may change, but they typically focus on shooting specific items.
Scanner
The Scanner Augment resembles a yellow vase. Scanners must identify specific items that Operators need to shoot or, in specific encounters, players deposit Nuclear Cores.
Suppressor
The Suppressor Augment looks like an, 8bit blue eye. The Suppressor’s role is to sit under turrets in the third and fourth phase and shoot the boss to stun him, thereby unlocking the crates where players deposit the aforementioned Nuclear Cores.
There are occasions when these Augments need to be shared through terminals. Terminals exist in every encounter and can only hold one Augment at a time. Likewise, players can only hold one Augment at a time. This means Augments can only be passed to a ‘fresh’ Guardian with no current Augment. You cannot also switch two Augments at a terminal. It must be empty for you to deposit.
Raid location
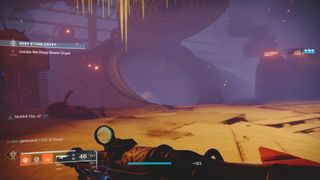
The next section can be tough if you don’t know the clues. Guardians are tasked with navigating a large wasteland in a blizzard. The blizzard applies a debuff called Frostbite, which kills a Guardian upon reaching ten stacks. The only way to thaw out Frostbite is to seek shelter in red bubbles scattered throughout the area. Players will need to navigate from bubble to bubble, traversing down the cavernous wasteland, until they reach a final door defended by two Brigs and some Captains. After the enemies have been defeated, players can enter a door that continues on towards a space station and the first ‘real’ encounter.
The first secret chest in the raid can be found just above the end of this encounter on a series of ledges on the cold mountainside. Frostbite is still a threat here, so be careful when jumping up.
Exploit: In March 2021, Bungie patched a glitch (for the second time) which had enabled players to avoid taking Frostbite damage during this section. We'll update here if a new way to cheese the encounter crops up.
Recap:
- Open the door to the frozen wasteland by killing the captains defending the door.
- Navigate the wasteland by moving between safe bubbles.
- Kill the Brigs defending the locked entrance to the Deep Stone Crypt.
- Pick up secret chest on the ridge outside of the encounter.
- Go through the final door.
Disable security
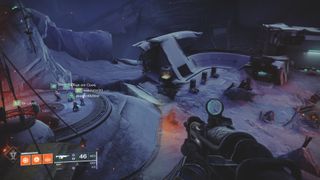
As the first ‘true’ encounter in the Deep Stone Crypt, Restricted eases players into the mechanics with two roles; the Scanner and Operator. Split your team into two, choose one person in the fireteam as an Operator, then elect a member from each team as a Scanner. This leaves one team with an Operator and a Scanner, while the other team has one Scanner and two free Guardians. If possible, the team with the Operator should focus on survival, as the Operator will not be present in the encounter. Both teams should pick a side of the room. There are two sides on the top level and they are divided by a central wall.
For this encounter, the Operator must go into the basement, located down a flight of stairs at the back of the room. For the rest of the encounter, the Operator will remain in this basement, shooting the panels called out by the Scanners. The Operator can start the encounter by picking up the Operator Augment in the basement terminal.
The Scanner Augment will only appear on one side of the wall once the encounter starts. The designated Scanner on the respective side should kill the enemy holding the Augment and pick it up. When the Scanner has the Augment, they must look down through the windows into the basement and call out the location of whatever two panels are glowing yellow on their side, before passing the Augment to the other side of the wall so the next scanner can follow the same process. There are five panels on each side within the basement. My fireteam numbered them from one to to, starting at the door, based on the side they were on. Since there are only four windows on each side, players must check two panels from a specific window on each side.
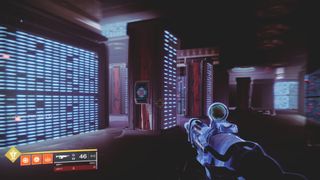
During this time, special Servitors will spawn, locking down the terminals for exchanging Augments. Players must kill these Servitors to open the locks and pass on the Augment. If they are left alive, you won’t be able to progress.
When the panels are called out, the Operator must all four at the bottom, unlocking a series of fuses on the top level. If your fireteam takes too long to communicate and shoot the panels in the basement, the Operator will die in the basement. When the fuses are unlocked, the Operator will need to pass the Augment to the top side, then request the Scanner Augment through the terminal in the basement. The nominated Operator will then use the Scanner Augment to examine the six smaller fuses behind the terminal in the basement. One of these will glow yellow. The Operator then declares the relevant fuse, while the team on the corresponding must destroy that fuse. Several fuses can be destroyed in quick succession, but it’s only possible to destroy one at a time. Shooting the wrong fuse will end the encounter.
After a period of time the fuses will close, whereupon the Operator in the basement must pass the Scanner Augment back to the top. Meanwhile, whoever has the Operator Augment should pass it back down to the basement. Repeat the process of calling out four panels, two on each side, and destroying the fuses until you finish the encounter.
Recap:
- Split team into two groups. Nominate a Scanner in each team and an Operator.
- One Guardian in the basement picks up the Operator Augment, starting the encounter, and destroys panels indicated by Scanners.
- Two Guardians on top, one at each side of the wall, share the Scanner Augment through the terminal, and call out two panels each per phase.
- After four panels have been destroyed, the Operator passes their Augment to top and the Scanner passes their Augment to the bottom.
- The Operator calls out the correct fuse to destroy and those on top destroy it, repeating until all six or destroy or another phase begins.
- If another phase begins, players must switch the Scanner and Operator Augments through the terminal and repeat from the top until done.
Defeat Atraks-1
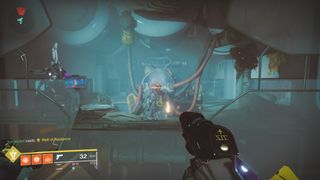
The next encounter, Atraks-1, is an evolution of the previous one. Once again, your team will need to split into two. One group will remain in the first area, known as Ground, while the second team must take the escape pods at the back of Ground into Space.
Again, both the Operator and the Scanner roles are present. There should be one singular Operator in the fireteam and a Scanner in each team. In this encounter, the Scanners must identify the correct clone to attack while the Operators control the lifts through the panels, shoot debuffs off players, and use the airlocks to send the debuffs into space.
To start the encounter, players must venture to the back of the room and collect the purple orb lying on the floor. Some fireteams opt to send all three players on the space team at this point, while others prefer to send the two non-Operators into space, while the Operator remains at Ground until they can take the Operator Augment into Space. When the purple orb is interacted with, enemies start to spawn in Ground and Space. One of these enemies possesses the Operator Augment. If the Operator remains on the bottom floor, they must grab the Augment and head to Space immediately.
- Destiny 2 Entropic Shards: Where to find them
- Destiny 2 Hawkmoon: Quest guide
- Destiny 2 Spoils of Conquest: Grab older exotics
The players in Space will be tasked with killing the enemies until the enemy holding the scanner Augment appears. They must then kill that enemy and pick up the Scanner Augment. During combat, the boss will start to glow and perform a wipe attack. When this happens, the Scanner must indicate which of the clones is enshrouded in a yellow, grid-like pattern. The three players in Space should then attack this clone and kill it. When the clone dies, a purple debuff, known as Atraks-1 Replication, is dropped. The Operator should avoid this Augment, allowing one of the two other Guardians to pick up this debuff. When the debuff is gathered, the Scanner then sends the Scanner Augment down to the Ground team for them, repeating the same process in their area.
When the Ground team kills their clone, the player once again sends the Scanner Augment up to the top. Whichever player picked up the purple debuff should also head to Space. This process should be repeated until Atraks-1 drops to 25 percent health.
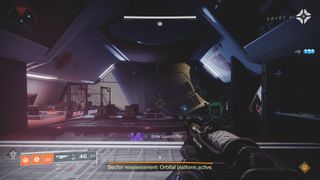
Meanwhile, the Operator must control the lifts by shooting their panels. Shooting a panel in Space will bring a lift up to an empty space or send a lift down to Ground. The Operator must also shoot the purple debuff off a player’s head. This debuff has a countdown of 42 seconds after which, Atraks-1 appears on the player and kills them. It’s also possible to send these debuffs out into space through the airlocks. When players are afflicted by a debuff, they can head to an airlock. The Operator can open the airlock by shooting the panel. If a player has their debuff shot off their head while inside an airlock, the debuff is sucked into space.
When Atraks-1 hits 25 percent health, the encounter changes. All clones instantly teleport to Space for a Last Stand mechanic. When this happens, the Ground team should head to space. Again, the Scanner needs to identify which clone has the yellow aura and kill it. The fireteam must continue killing clones in space until Atraks-1’s health is fully depleted to finish the encounter. After Atraks-1 is defeated, a new hatch will open in Space and players should progress through it onto the next encounter.
Recap:
- Split team into two groups; Space and Ground. Nominate a designated Scanner in each team and one Operator in the Space team.
- Pick up the purple orb to start the encounter.
- Players exit to space, through the escape pods, and take the Operator Augment with them.
- Operator sends escape pods back down by shooting panels.
- Space Scanner picks up Scanner Augment, indicates the correct clone to kill, and sends Augment to the Ground team.
- Space player, not the Operator, picks up the purple orb and gains the Atraks-1 Replication debuff.
- Ground Scanner indicates correct clone and kills it before sending the Scanner buff back to Space.
- Ground player picks up the Purple orb and goes to Space.
- Operator refreshes the purple orb debuff by shooting them off affected players and player pick up again until ready to send them to space through an airlock.
- Team continue to kill clones until 25 percent or Atraks-1’s health remains.
- When 25 percent of health is remaining, all of Ground team travels to space.
- Players identify the correct clone to kill until Atraks-1 is defeated.
Nuclear Contingency Chamber location
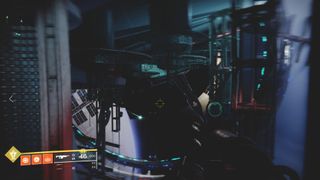
Compared to everything else, this section is a (space)walk in the park. Simply navigate the external structure of the spaceship, shooting enemies until you reach the top. This is also where players can find the second secret chest within the raid.
While navigating the external structure, you’ll see what appear to be windmill blades. Two paths diverge here, one leading left and the other leading right. Head left to find a series of small platforms with red lights on them. Continue up these platforms to find the chest.
Recap:
- Navigate through space until you can see space windmills.
- Take the left path to find the secret chest via the small platforms with red lights.
- Return to the right path and continue to third encounter.
Prevent Europa's destruction
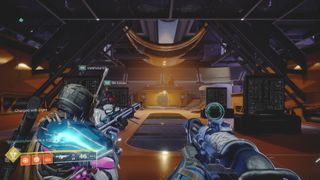
Unlike previous encounters, your fireteam must now split into three squads. Each will focus on one of the three Augments in this encounter: Suppressor, Scanner, or Operator. Scanners use their Augment to identify which of the four boxes at the back of the encounter glow yellow (and therefore are open to deposit Nuclear Cores). Operators locate the red panel to shoot, thereby generating Nuclear Cores. Finally, Suppressors sit under the three active turrets in the encounter, shooting the boss to open the boxes where the Cores can be deposited. If a player does not have an Augment, they must collect the Nuclear Cores and deposit them in the boxes called out by the Scanner.
When in possession of a Nuclear Core, players gain the Radiation debuff. Players cannot run or double jump with this debuff. The Radiation debuff also stacks up to ten, and when it reaches ten, the player holding the Nuclear Core will die. It’s possible to pass this Nuclear Core on to another player, but they must take it from you. You cannot interact with other players, so communication is key. A box can only contain one Nuclear Core at a time, meaning you cannot deposit two Nuclear Cores in the same box.

You must continue to deposit Nuclear Cores in the boxes until the fragmented green bar beneath the boxes is full. After two Nuclear Cores have been deposited, one of the Augments (Suppressor, Operator, or Scanner) will be turned off. When this happens, the team must deposit a deactivated Augment in the terminal. From here, the other player of that team must pick up the Augment from the terminal, continuing with that role. The player who deposited the Augment should then look to support the depositing of Nuclear Cores.
Throughout this encounter, enemies will spawn from every side, including Overload champions. You don’t have to kill them, but managing them effectively will greatly increase the likelihood of completing the encounter, so if players want to switch to roaming or safety supers, this is the ideal encounter to utilise them in.
When enough Nuclear Cores have been deposited, a hatch in the centre of the room will open and you will need to descend through this hatch. Taniks will proceed to chase the team and anyone he catches will die. At least one player must make it to the end of this section to complete the encounter.
Recap:
- Players split into three teams; Scanners, Suppressors, and Operators and pick up their buff by killing the specified combatants.
- Scanners identify the correct boxes to deposit Nuclear Cores.
- Operators spawn Nuclear Cores by shooting red panels throughout the encounter.
- Suppressors unlock the boxes by standing under all three turrets and shooting the boss.
- Players without a buff transfer the Nuclear Cores from the spawn points to their designated box.
- Teams must switch degraded Augments through the Terminal.
- Repeat until enough Nuclear Cores have been deposited to fill the green bar beneath the boxes.
- Flee from the boss until the end of encounter.
Defeat Taniks
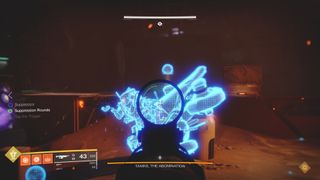
For the final encounter of the Deep Stone Crypt, the Augments from the previous encounter are almost identical. Aside from being a larger scale encounter, the only difference is that Operators will shoot a purple shell off captured players instead of shooting panels. Hence, it’s best to have the same team composition as before, with two players assigned to each of the three Augments. This also means there is a chance for one of the three holders of the Suppressor, Operator, or Scanner Augment to have their Augment degrade, which will then need switching at a station.
As before, the teams must all acquire their Augments. The Suppressor can be found in the orange section of the map, while the Scanner can be found in the blue area of the map. The Operator can be found immediately next to the spawn (also known as White). Within each of these zones, there are two areas to deposit Nuclear Cores.
The overall goal of this encounter is for players to get their Augments, call out the correct boxes to deposit Nuclear Cores, then damage the boss after four Nuclear Cores have been deposited. To obtain a Nuclear Core, players must wait on Taniks to head to one of the three areas of the map and start summoning purple lasers from the sky. During this phase, the cores on his thrusters will be exposed, allowing you to shoot them. It is possible to destroy all four at once, but this is not advised as only two nuclear cores can be deposited at a time. After destroying the two thrusters and obtaining the cores therein, the Suppressor will need to stand below all three sentry turrets near the boss and shoot him to open the boxes to deposit Nuclear Cores.

When a player is in possession of the core, they can be detained. Detained is indicated by a purple shell which will hold the player in place. Only the Operator can release them by shooting one of the light spots on the bubble. When a player is in possession of the Nuclear Core, they will gain stacks of Radiation. When Radiation reaches ten stacks, the player dies. Other players can take the Nuclear Core from the player, so this must be communicated and managed throughout the encounter.
After players have deposited four Nuclear Cores, Taniks will enter a damage phase. During the damage phase, Taniks will summon two arc forcefields around him. Players can only damage Taniks by standing in the midway point between both shields. If a player is too far back, debris will knock them out of the damage zone. If a player is too far forward they are likely to die. After a set time in the damage phase, Taniks will knock everyone outside of the force fields. Players will once again need to jump in and continue to deal damage. If the players successfully reduce Taniks’ health to 25 percent within this phase, they will progress towards the Last Stand mechanic. If players do not reduce Taniks’ health to 25 percent, they will need to deposit a further four Nuclear Cores to enter a second damage phase.
During Taniks’ last stand, he will teleport all over the map while summoning more purple sky lasers. During this phase players must kill Taniks as soon as possible. If Taniks is not killed in the allotted time, he will wipe the entire team.
If you do successfully kill Taniks, it’s GG WP and you get the final tasty piece of raid loot you were so eager to obtain.
Recap:
- Players split into three teams; Scanners, Suppressors, and Operators and pick up their buff by killing the specified combatants.
- Scanners identify the correct boxes to deposit Nuclear Cores.
- Nuclear Cores are spawned by shooting Taniks’ thrusters during the purple laser beam attack.
- Operators free players carrying Nuclear Cores by shooting purple bubble that captures them.
- Suppressors unlock the boxes by standing under all three turrets and shooting the boss.
- Players without a buff transfer the Nuclear Cores from the spawn points to their designated box.
- After four cores have been deposited, jump in the median of Taniks two shields and deal damage.
- Repeat the above steps until Taniks has 25% left and initiates a Last Stand.
- Continue to damage Taniks as he teleports around the encounter before he wipes the team.
Most Popular


