How to get started in Ark: Survival Evolved
A guide to surviving your first few days on the island.
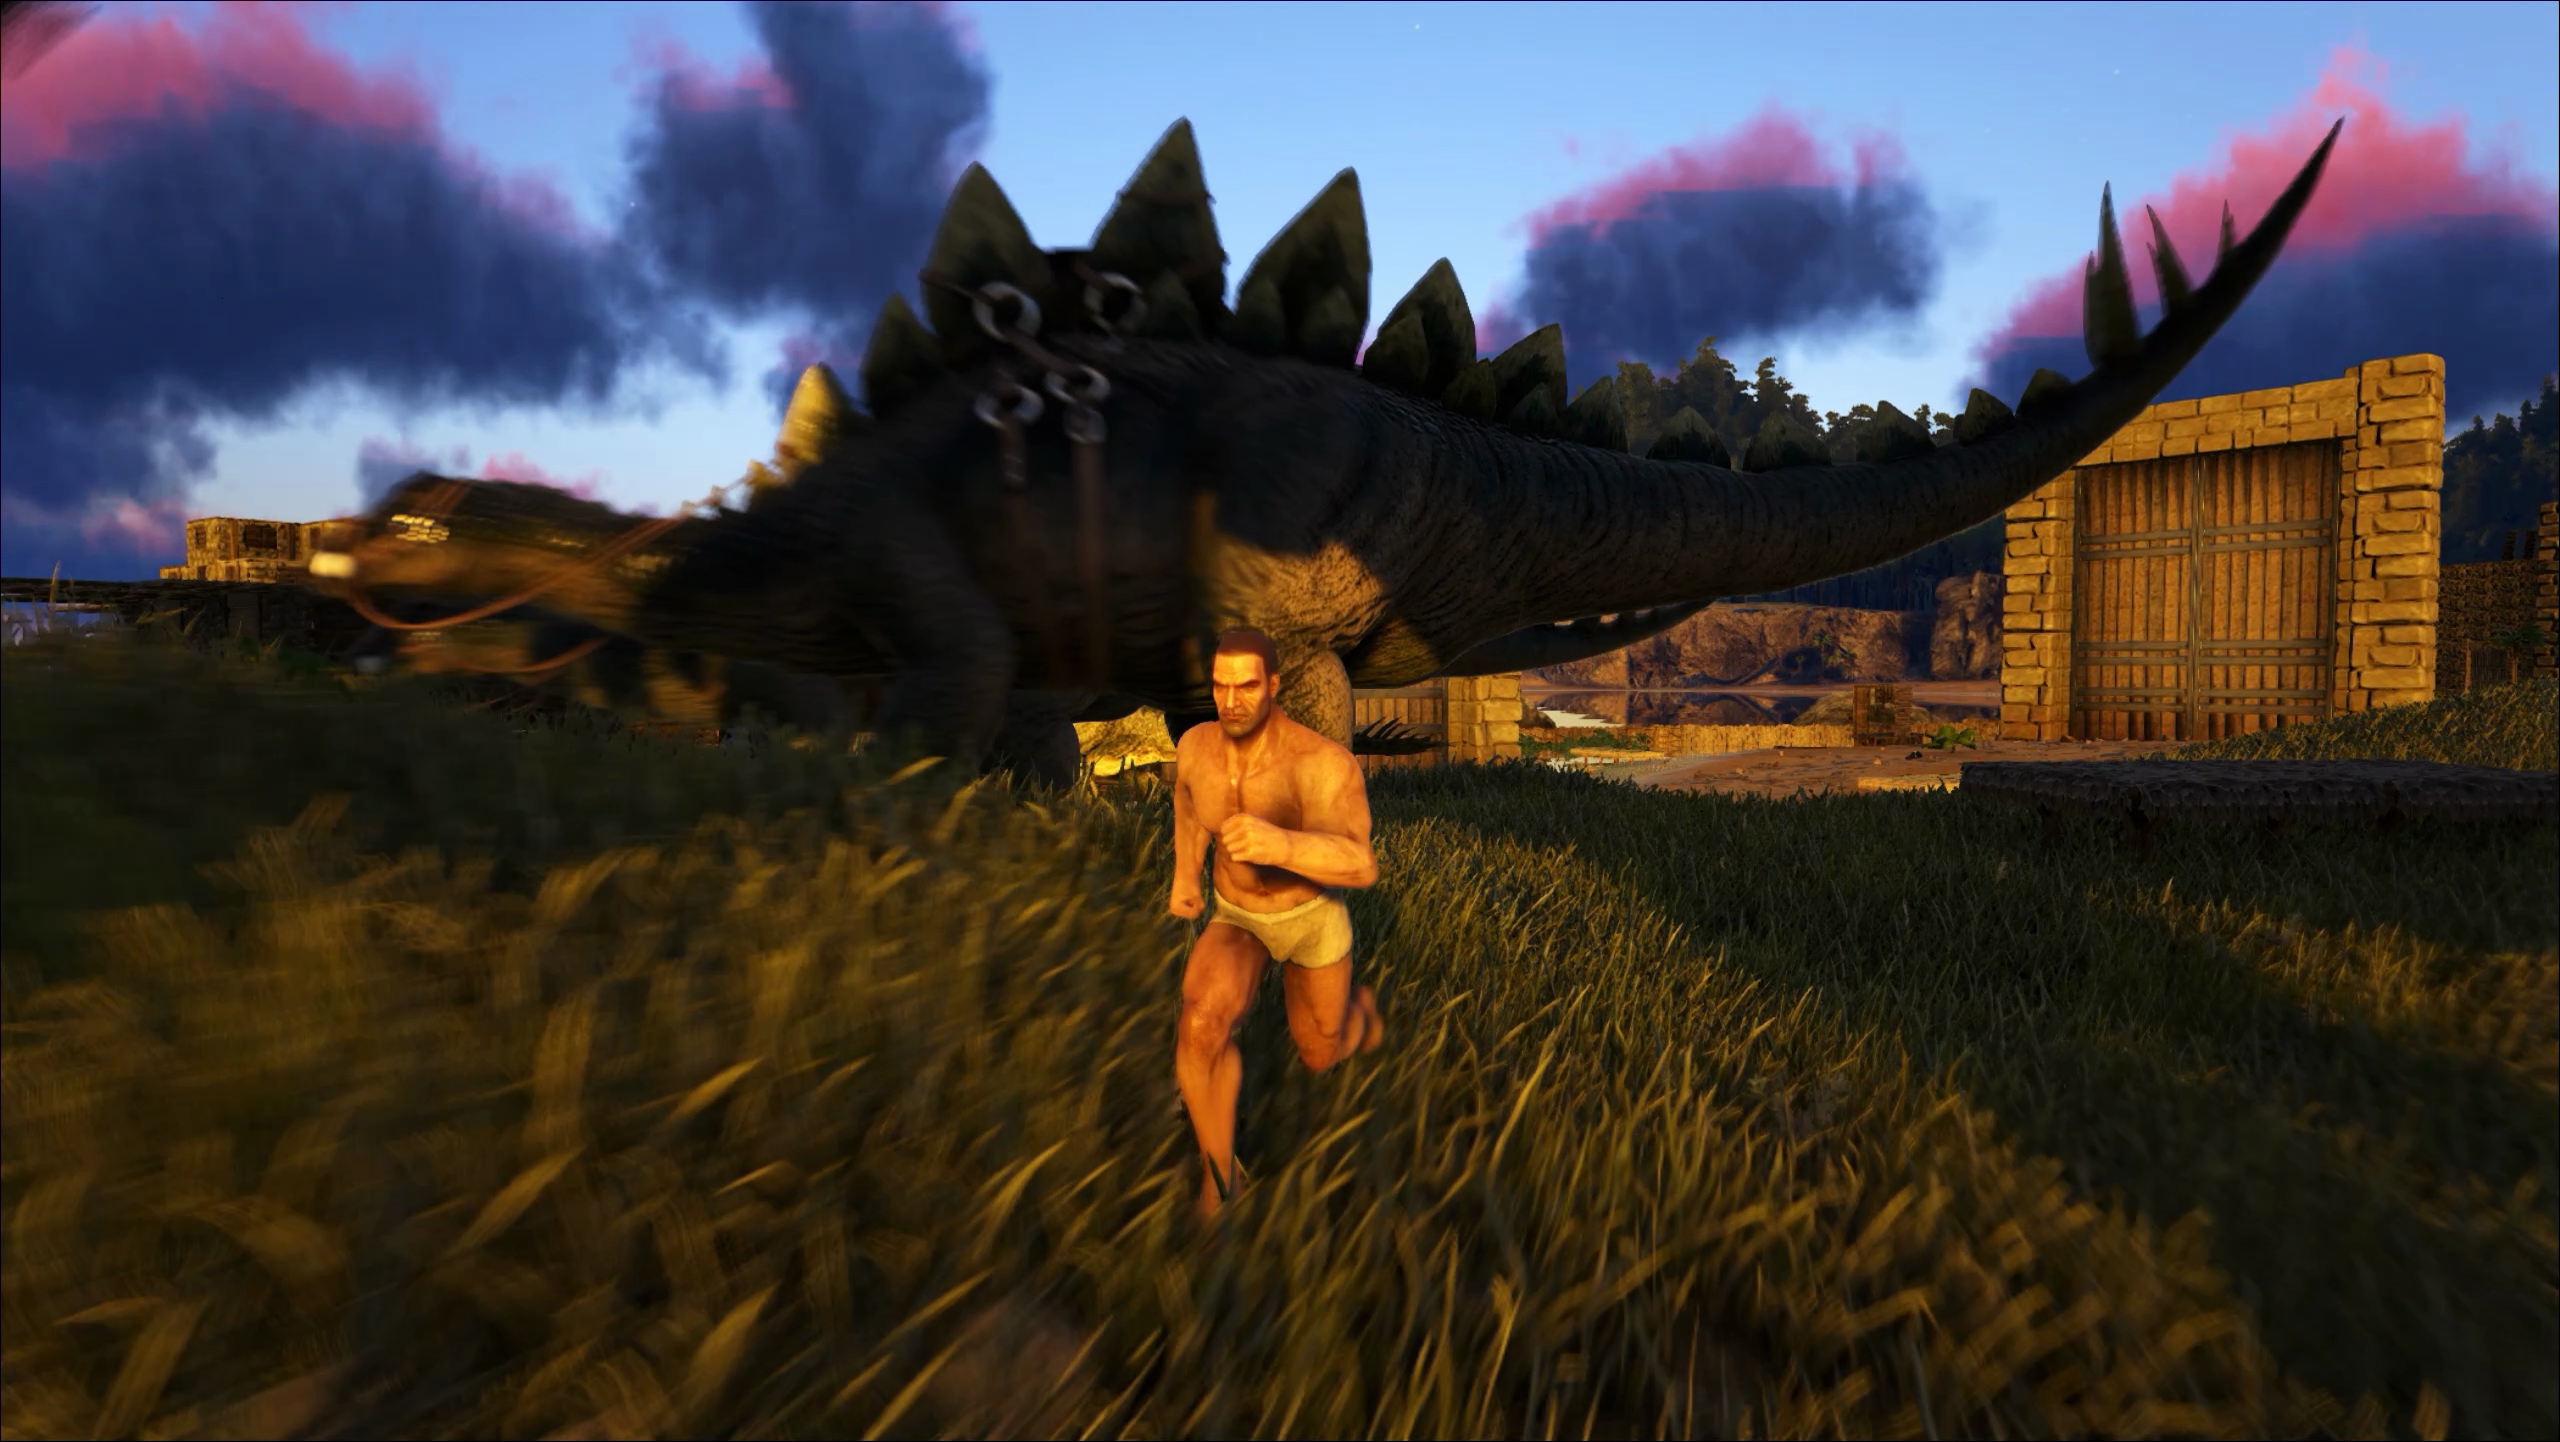
For being over a year into Early Access, Ark still doesn’t do much to welcome new players. It’s a systems-heavy survival game that doesn’t teach or surface its most essential, basic skills in an obvious way, so without a holding hand new players tend to go the way of the Dodo Bird. But Ark can be worth the inscrutability. I mean, you can ride a damn T-Rex. I’ll punch every tree in the world if it means I get one of my own someday.
To get you on the same path, we’ve assembled a guide to the early game of Ark so you can skip the frustration and head right into brontosaurus husbandry.
Choosing a server and spawn point
I enjoy the mystery of each dino island, but not so much the thick mystique of server browsers and game settings, which can make it tough to get a handle on Ark's basics.
If you’re brand new and just want to familiarize yourself with the systems: click Host / Local from the main menu for some safe solitude. Tweak some variables to make the process relaxing, if you like. Slide Dino Damage, Player Character Water Drain, and Player Character Food Drain down to zero, then slide XP Multiplier up to three. It’ll prevent wandering raptors from turning you into an easy dinner and give you ample time to learn to make food before starving from a lack of it.
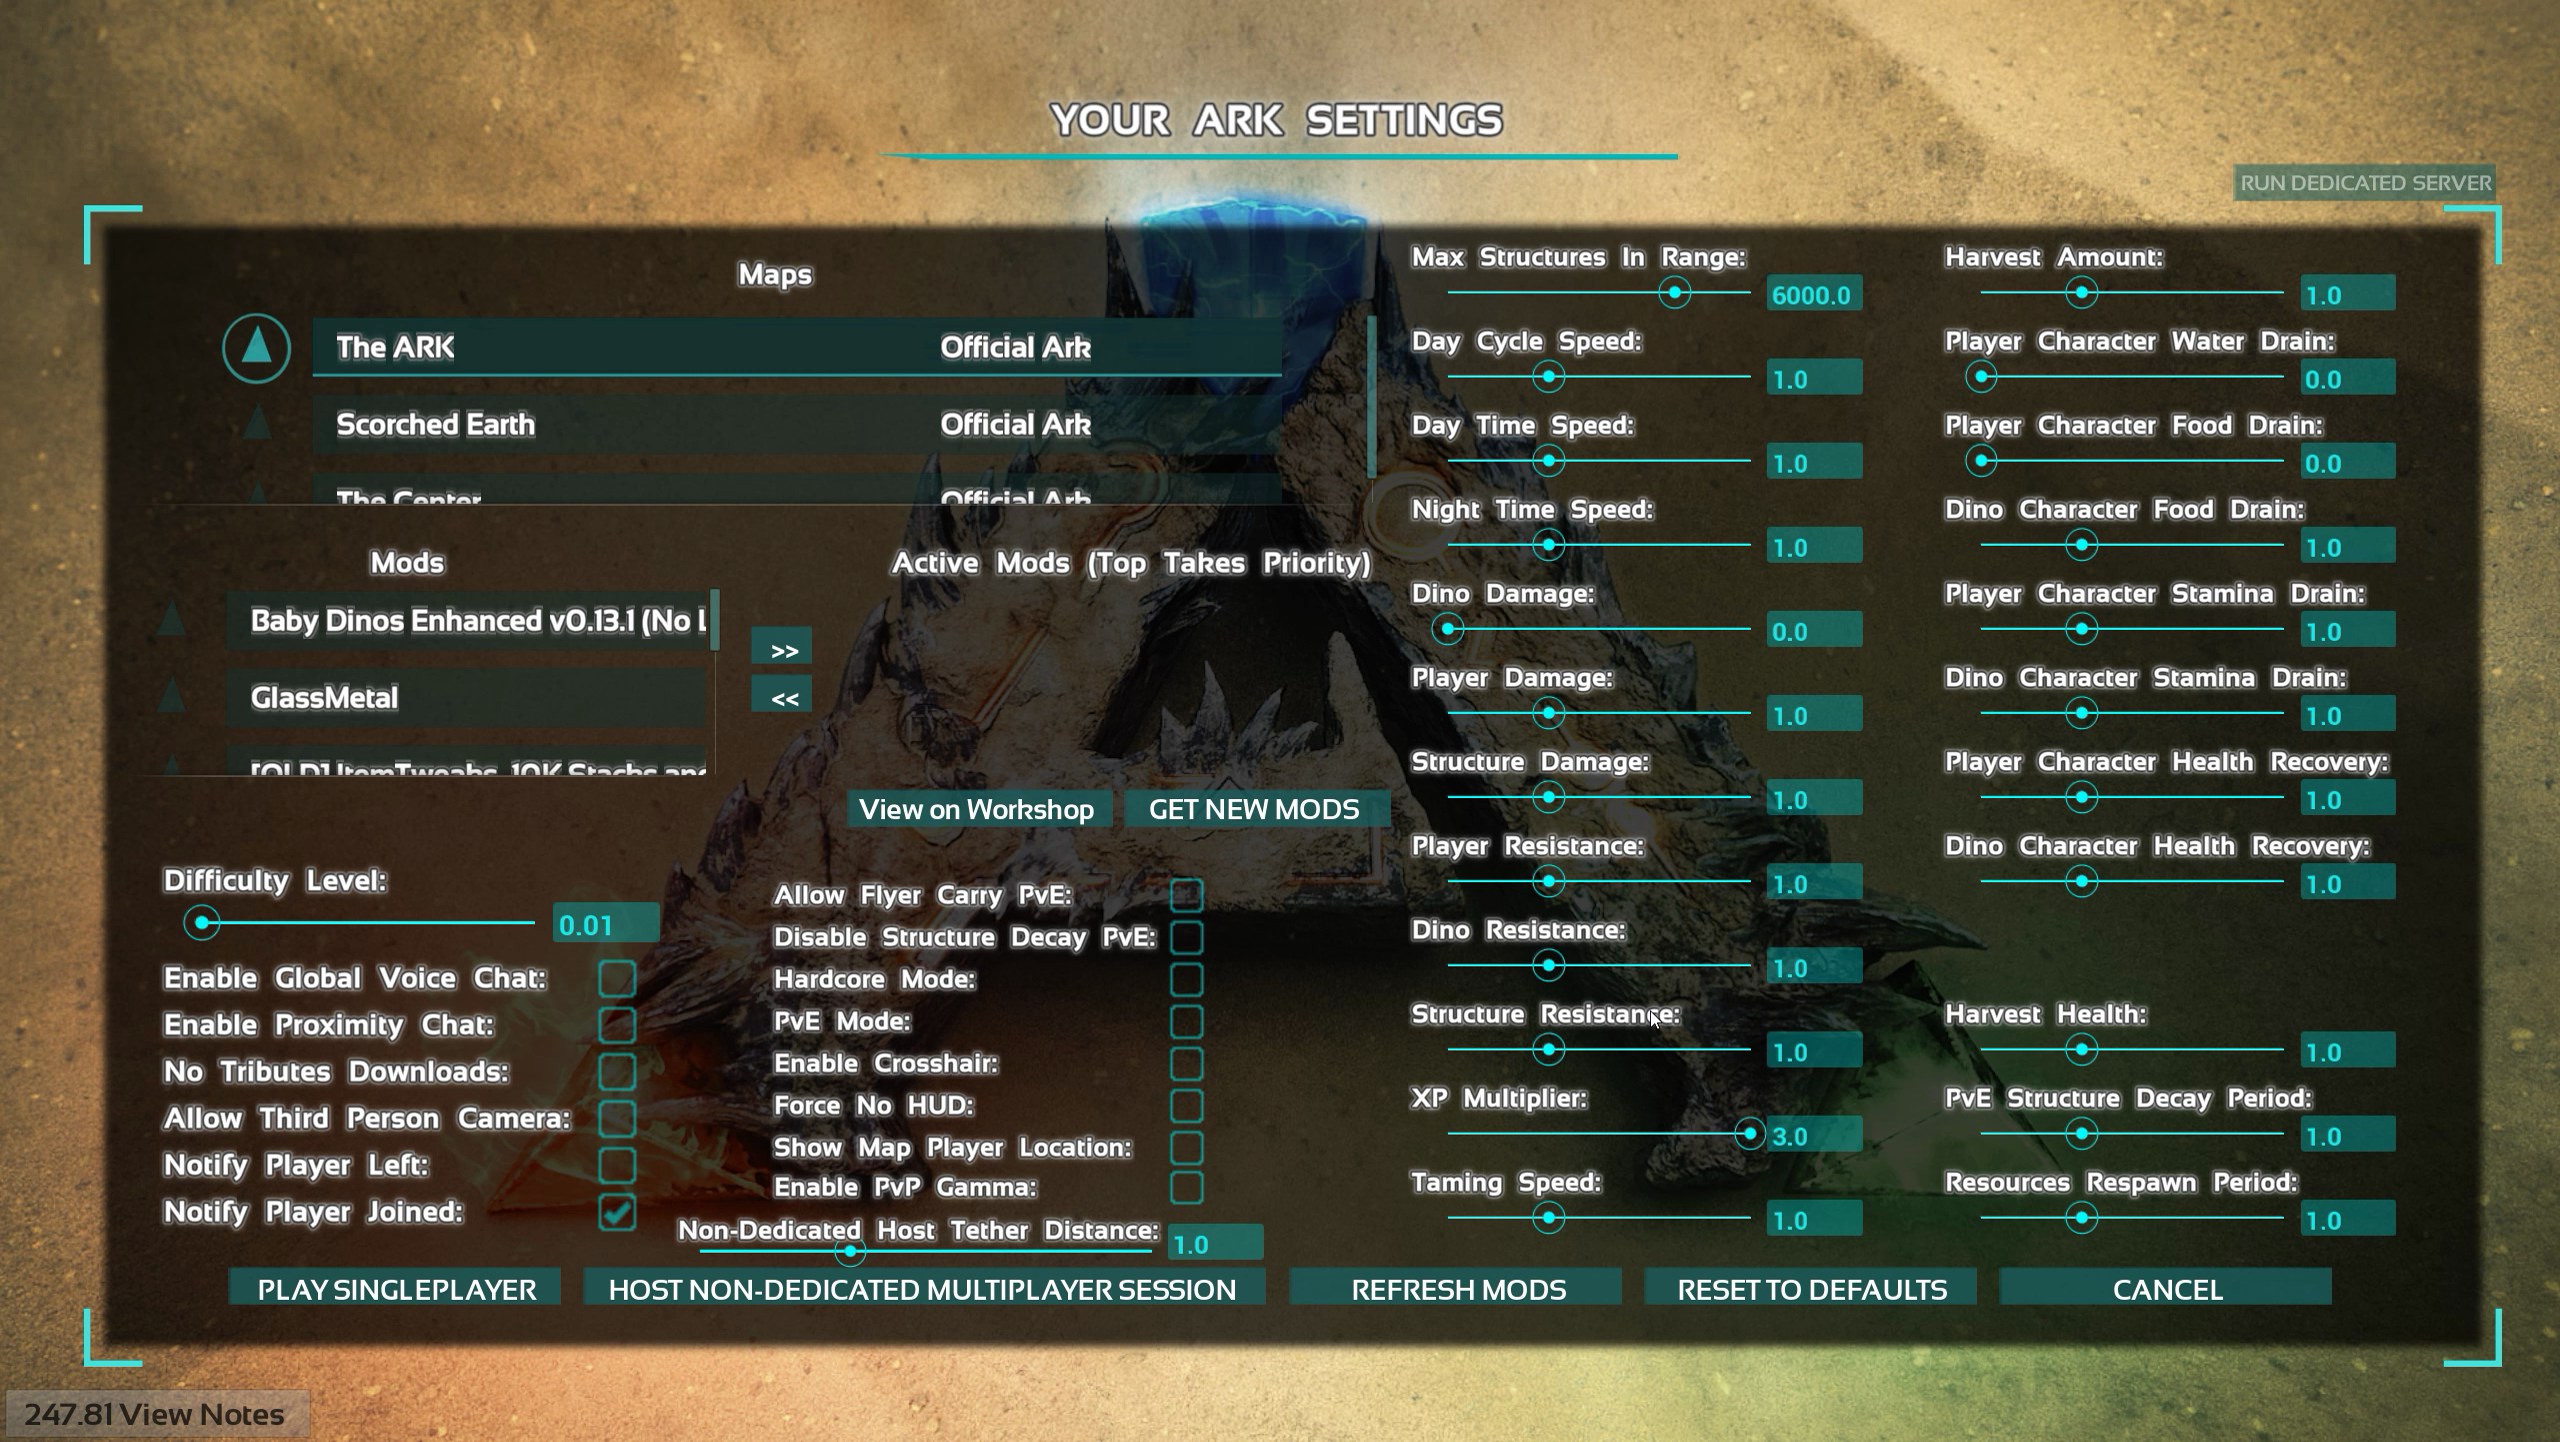
If you want to experience Ark for the first time on even footing with other players: click Join Ark from the main menu to get to the server browser. For first timers, I recommend limiting your selection to the original Ark map, The Island, and joining a PvE environment so strangers don’t make your life miserable right off the bat. Official servers are a good place to start, so find one with a population and ping to taste and click Join.
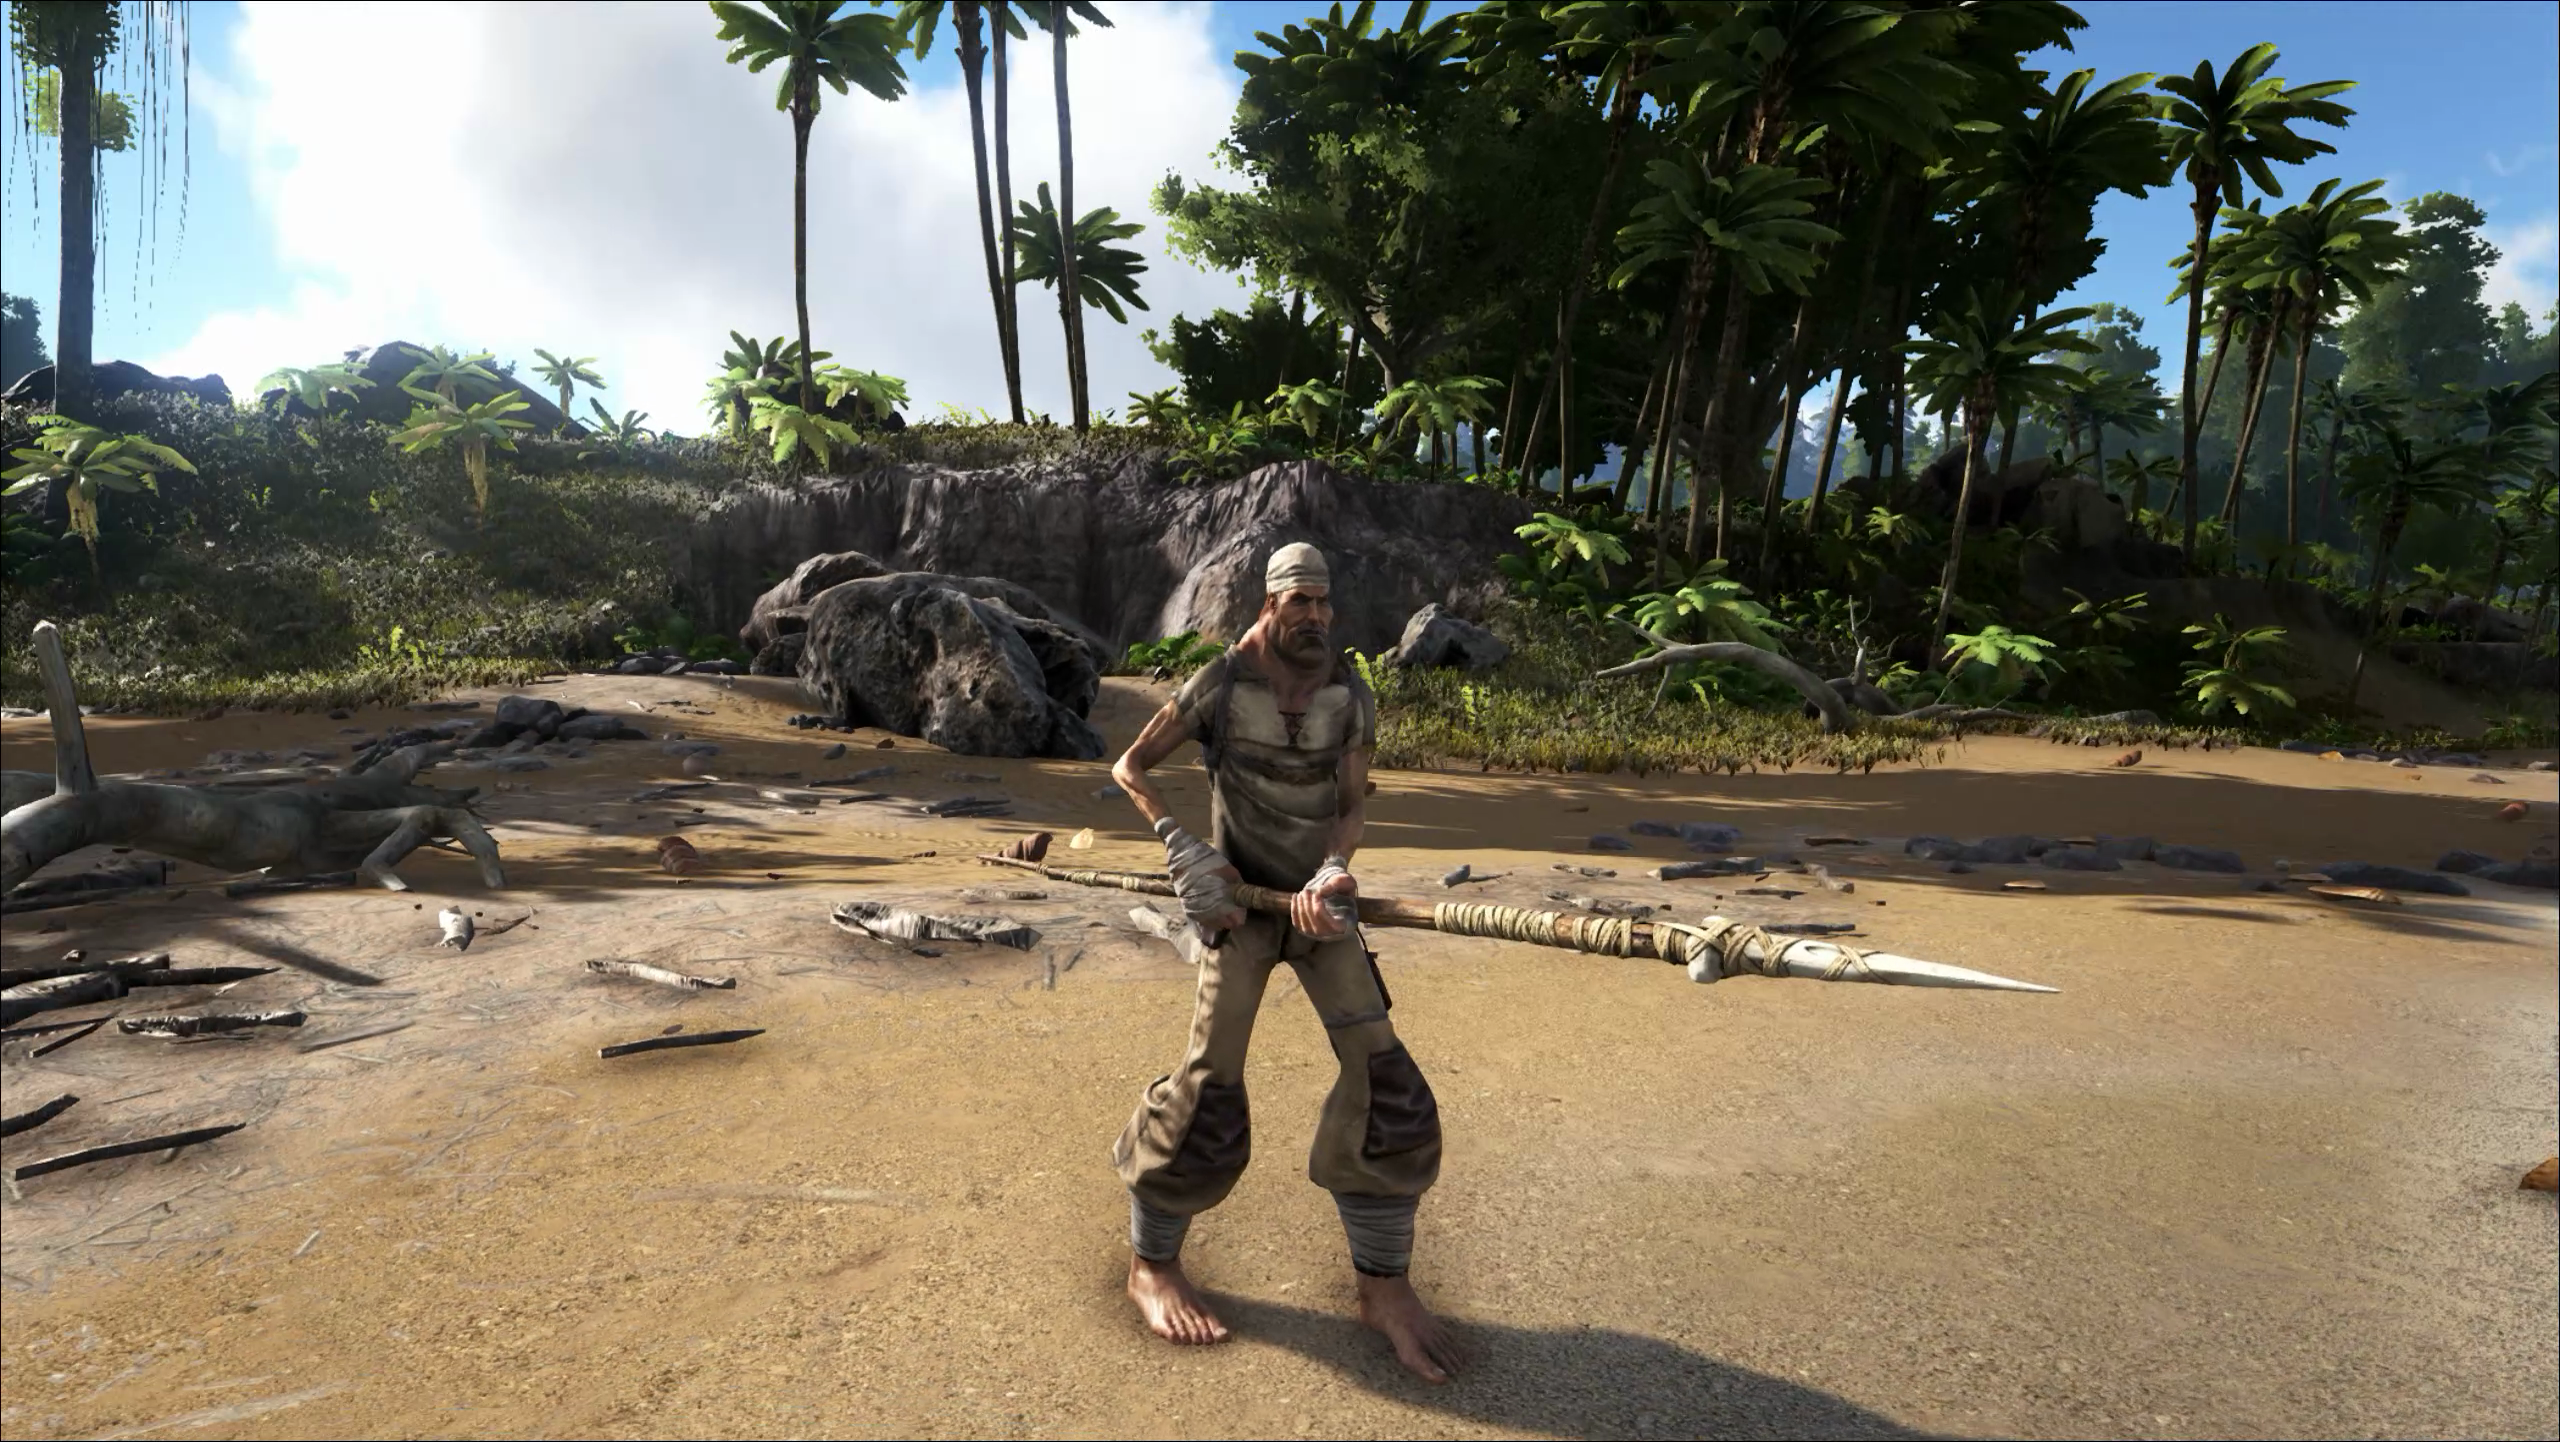
After loading the map, a character creation screen will appear. Create a monster, save it as a preset if you like, and turn your attention to the Spawn Region at the right side of the screen. Later maps designate which areas are the most difficult to start in, but the original island leaves it up to the player to discover. To save you from spawning on top of a Titanoboa six times in a row, select one of the safe-ish South Zones and click Create New Survivor.
Picking berries
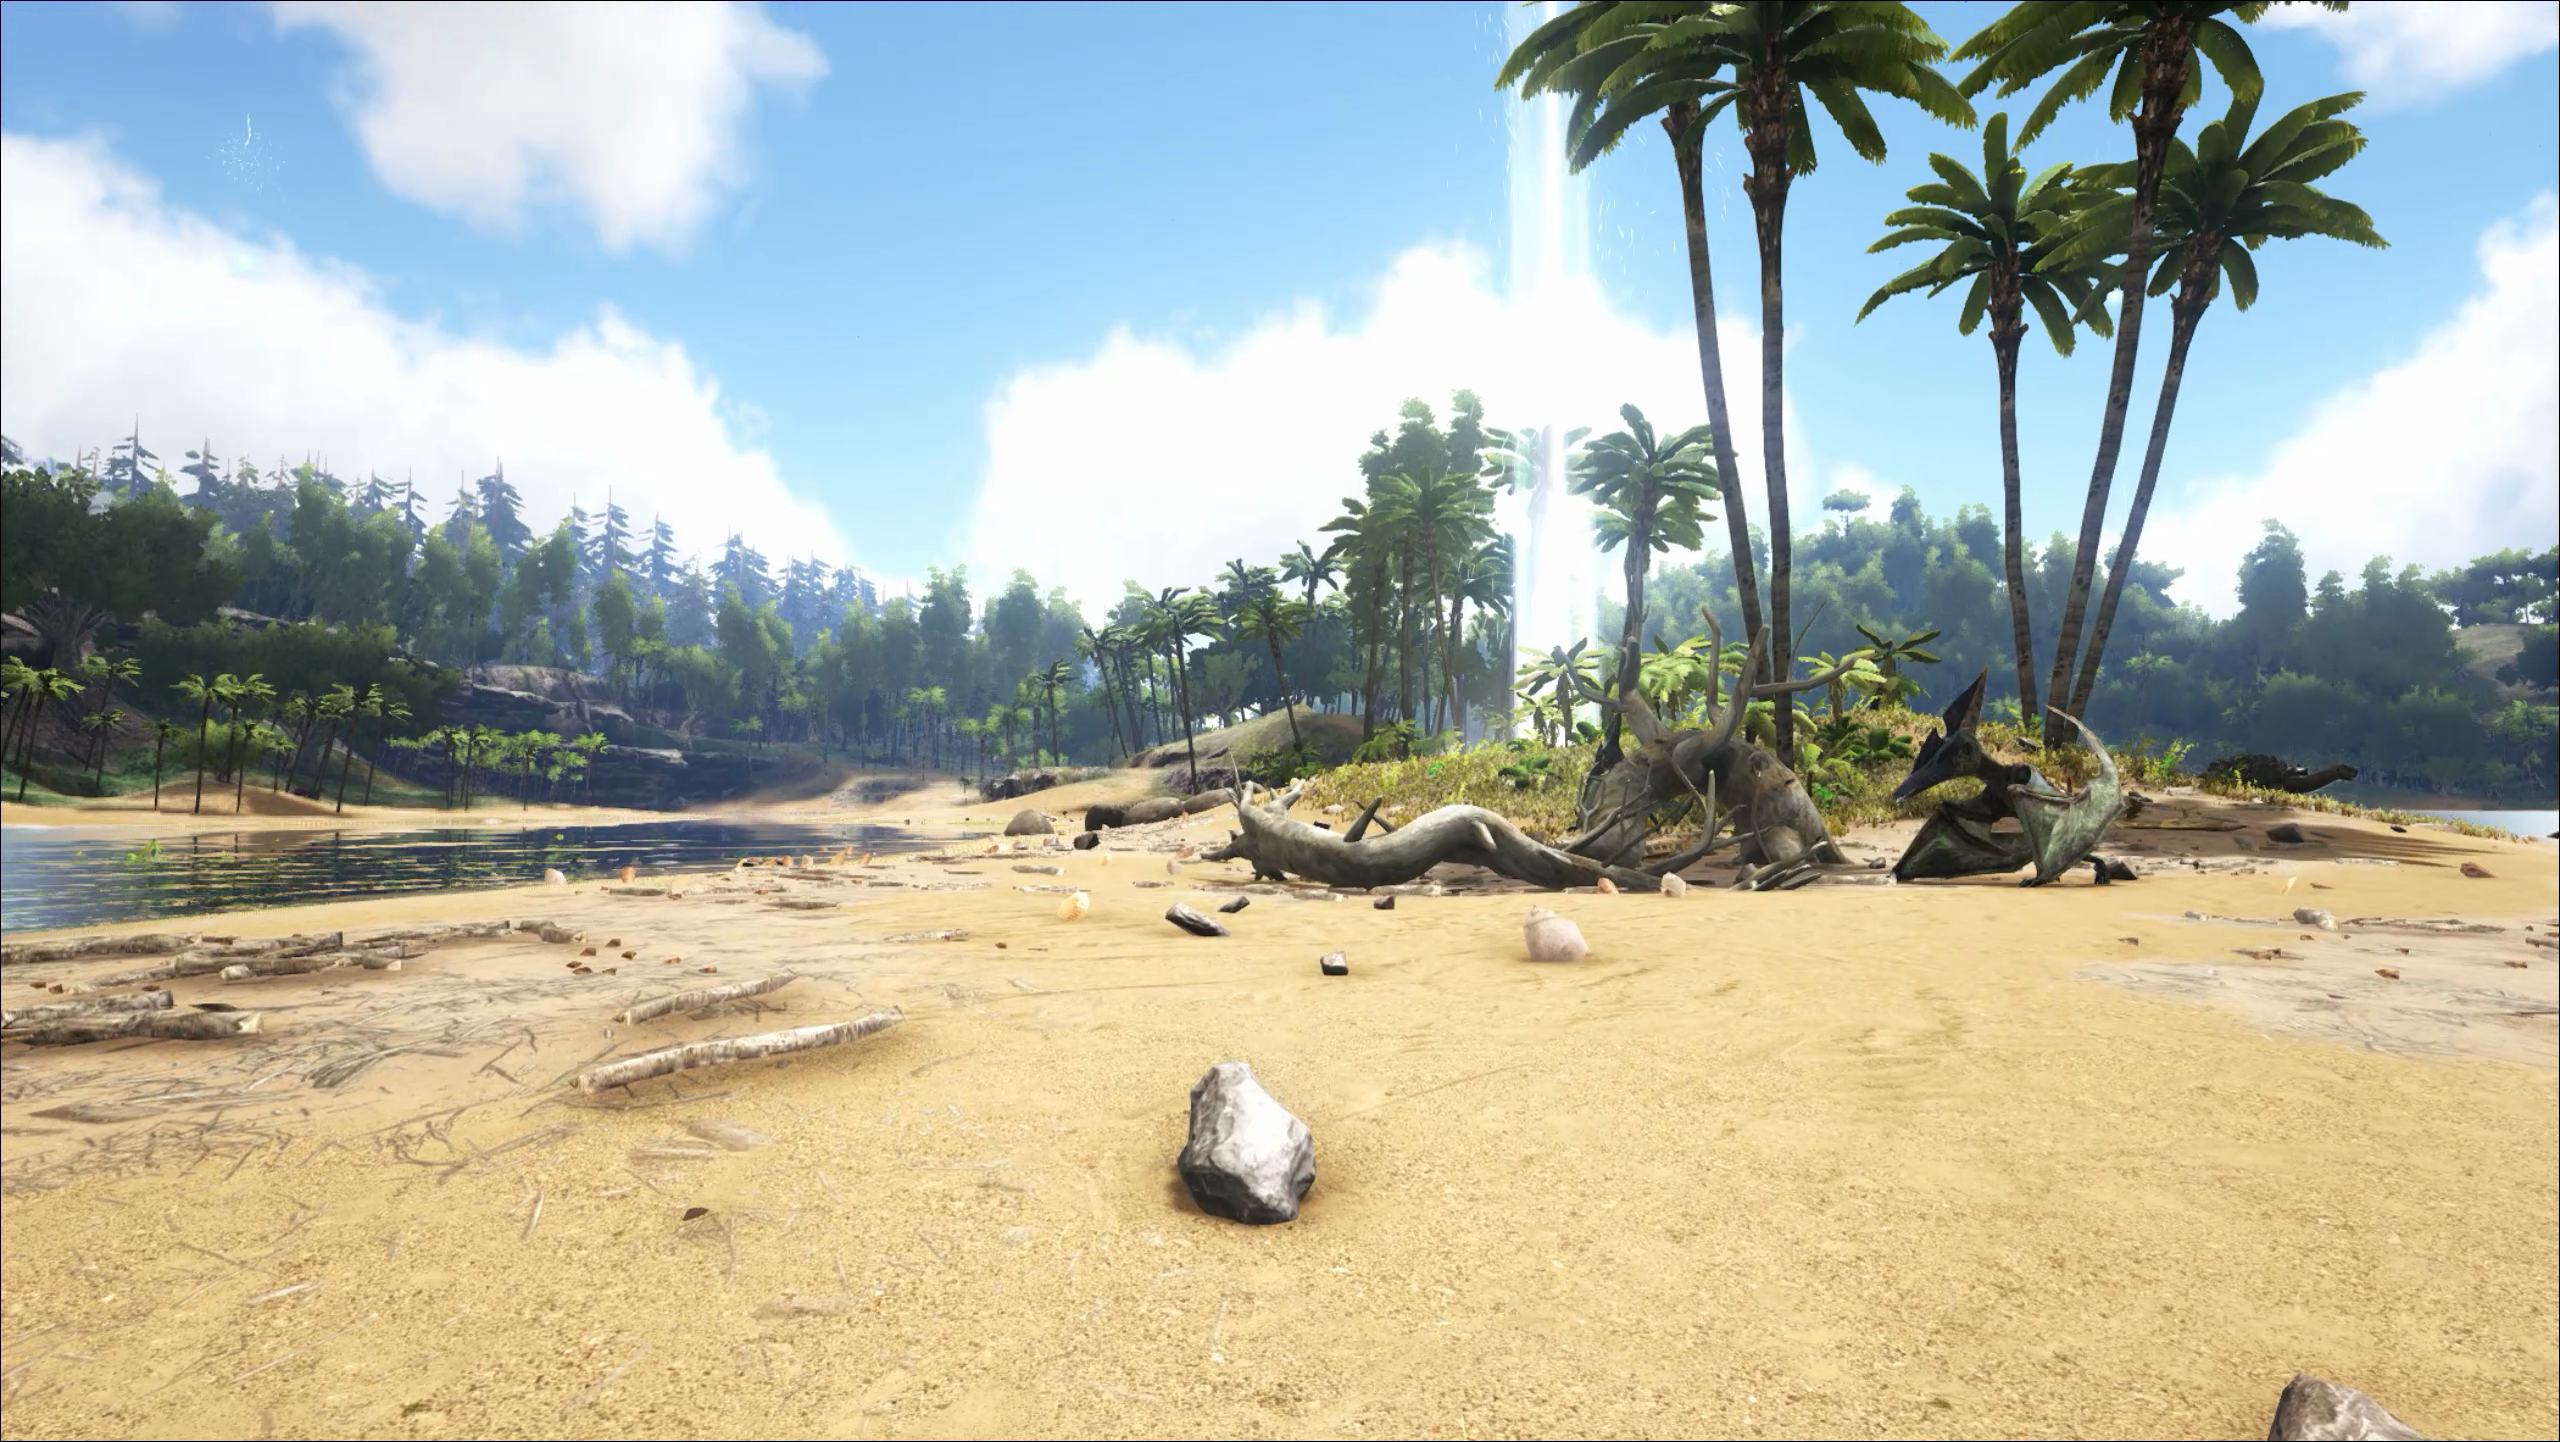
You’ll spawn on or near a lovely tropical beach. Be sure to soak in the good vibes for a moment, then get to work. It’s time to play the most mundane part of Ark. There should be a some bushes where the sand meets grass, and rocks strewn all over the beach. Hold E on bushes and tap it while looking at rocks to harvest them for resources. Bushes will dole out berries, which are helpful in staving off early game hunger, and fiber, which you’ll need to make clothes later on. Stones are an important component in crafting tools, which we’ll get to once you level up.
To work towards that level up, keep doing what you’re doing, maybe punch a few trees to start collecting some thatch and wood too.
The biggest gaming news, reviews and hardware deals
Keep up to date with the most important stories and the best deals, as picked by the PC Gamer team.
Early tools and leveling up
Tools expedite the process of collecting resources, so first we’ll make a stone pick, which requires one stone, one wood, and 10 thatch. Remember, stones are on the beach, thatch and wood in trees.
Once you have the required resources, open your menu (V) and click on Craftables. The stone pick recipe should be grey if you have the necessary resources. If so, double-click to craft it. The pick will appear under inventory items. Drag it down to your Quick Item Slots, which correspond the the number row on your keyboard. Close the menu, press the key tied to your pick and your character will equip it.
Use it on trees and stones to gather thatch and flint in abundance, and wood and stone in smaller amounts.

Eventually, you’ll get a notification that you leveled up. Hit V to bring up the inventory and character menu, and turn your attention to the stats at the right portion of the screen. You’ll get a single point to pour into one of 11 stats. Don’t worry too much about what they all mean yet and throw that point into your health. Chances are that a mean creature will come around soon enough to test it out.
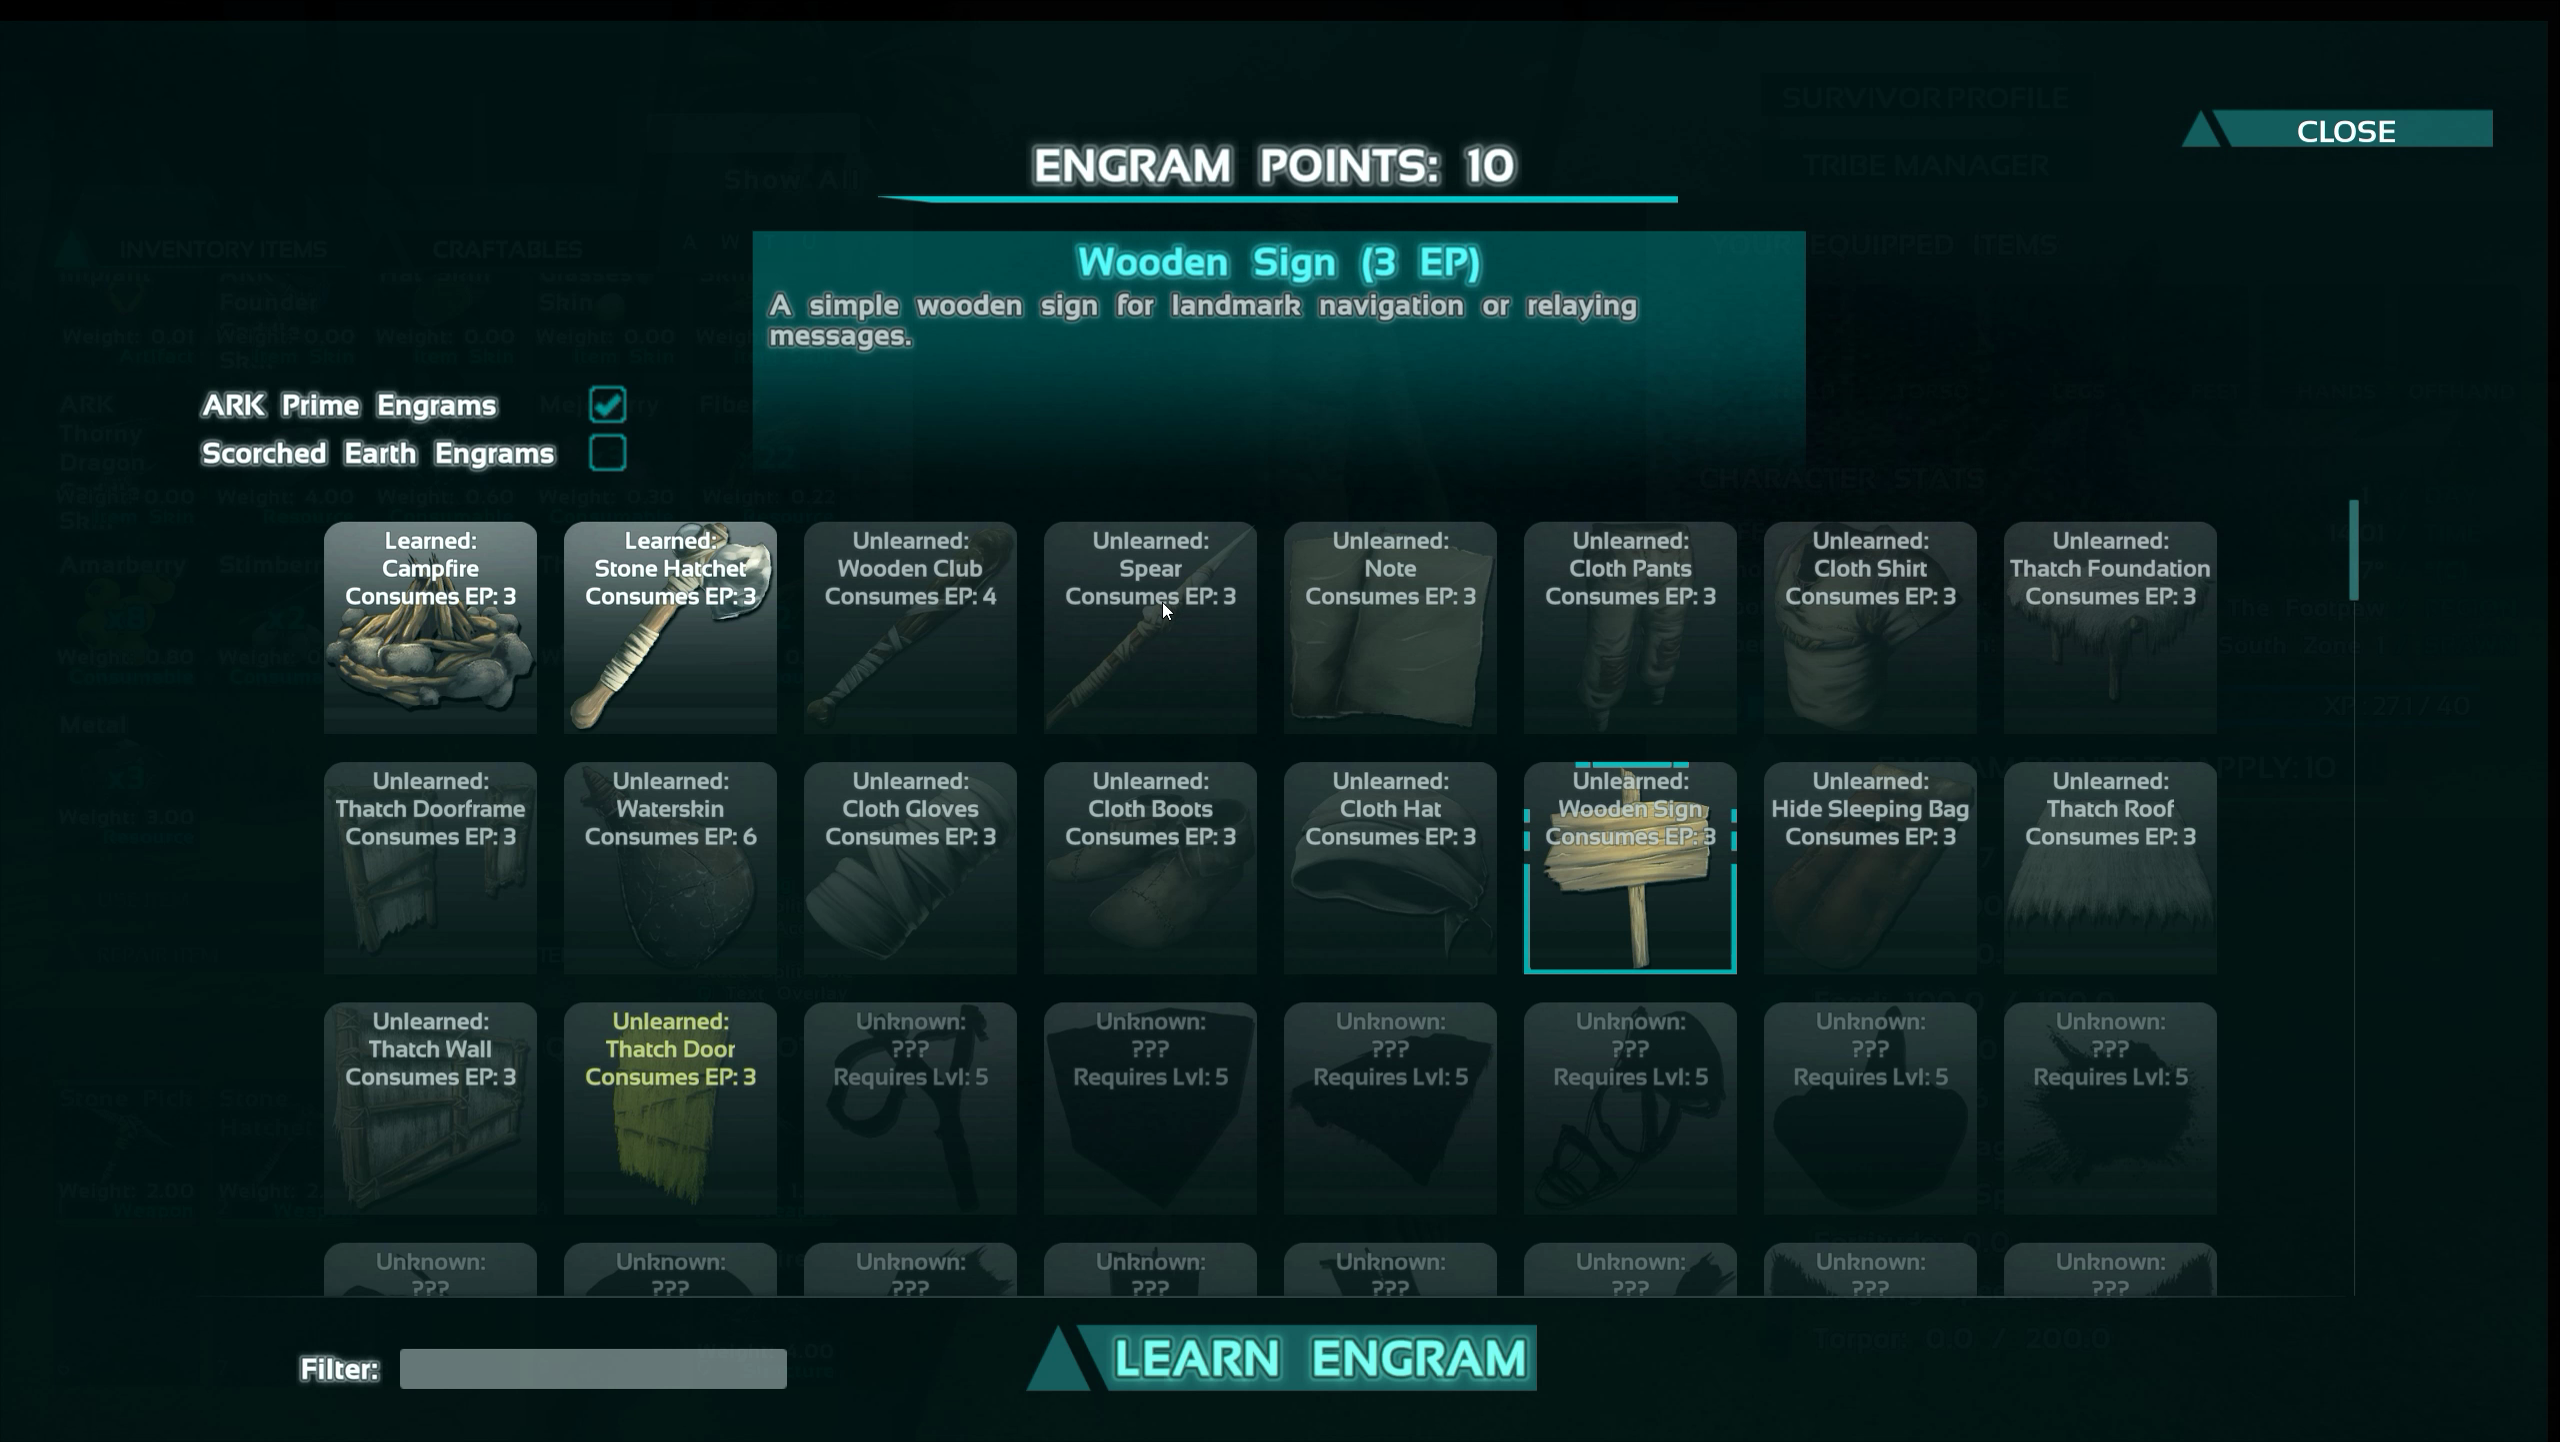
Next, you’ll get 10 Engram Points to spend on learning crafting recipes. Pick the campfire, stone hatchet, and spear.
Build order for these doesn’t matter too much, but the stone hatchet is a handy one to get sooner than later. It operates as the inverse of the stone pick, gathering more stone and wood than flint and thatch. The sooner you have the hatchet and pick, the easier it’ll be to pile up resources.
Campfires and cooking
By now, it’s likely you’re getting hungry. Ark isn’t subtle with its warnings, flashing status updates in a big garish font across the top of the screen. If you don’t want to wait around for Print Shop ‘97 Word Art omens, pay attention to the icons at the bottom right of the screen. Food is represented by the juicy cut with the bone sticking out. Food. Let it deplete and you’ll starve, which means your health will slowly drain until you eat again.
It’s likely you’ve been collecting berries, so pop those like mad (with the exception of Narcoberries and Stimberries—eat a few to figure out what narcos do, just make sure ). They’ll stave off hunger, but won’t regenerate health. To really stay on top of your tummy, you’ll need some fat steaks. But first, you’ll need to terrorize some unfortunate birds.
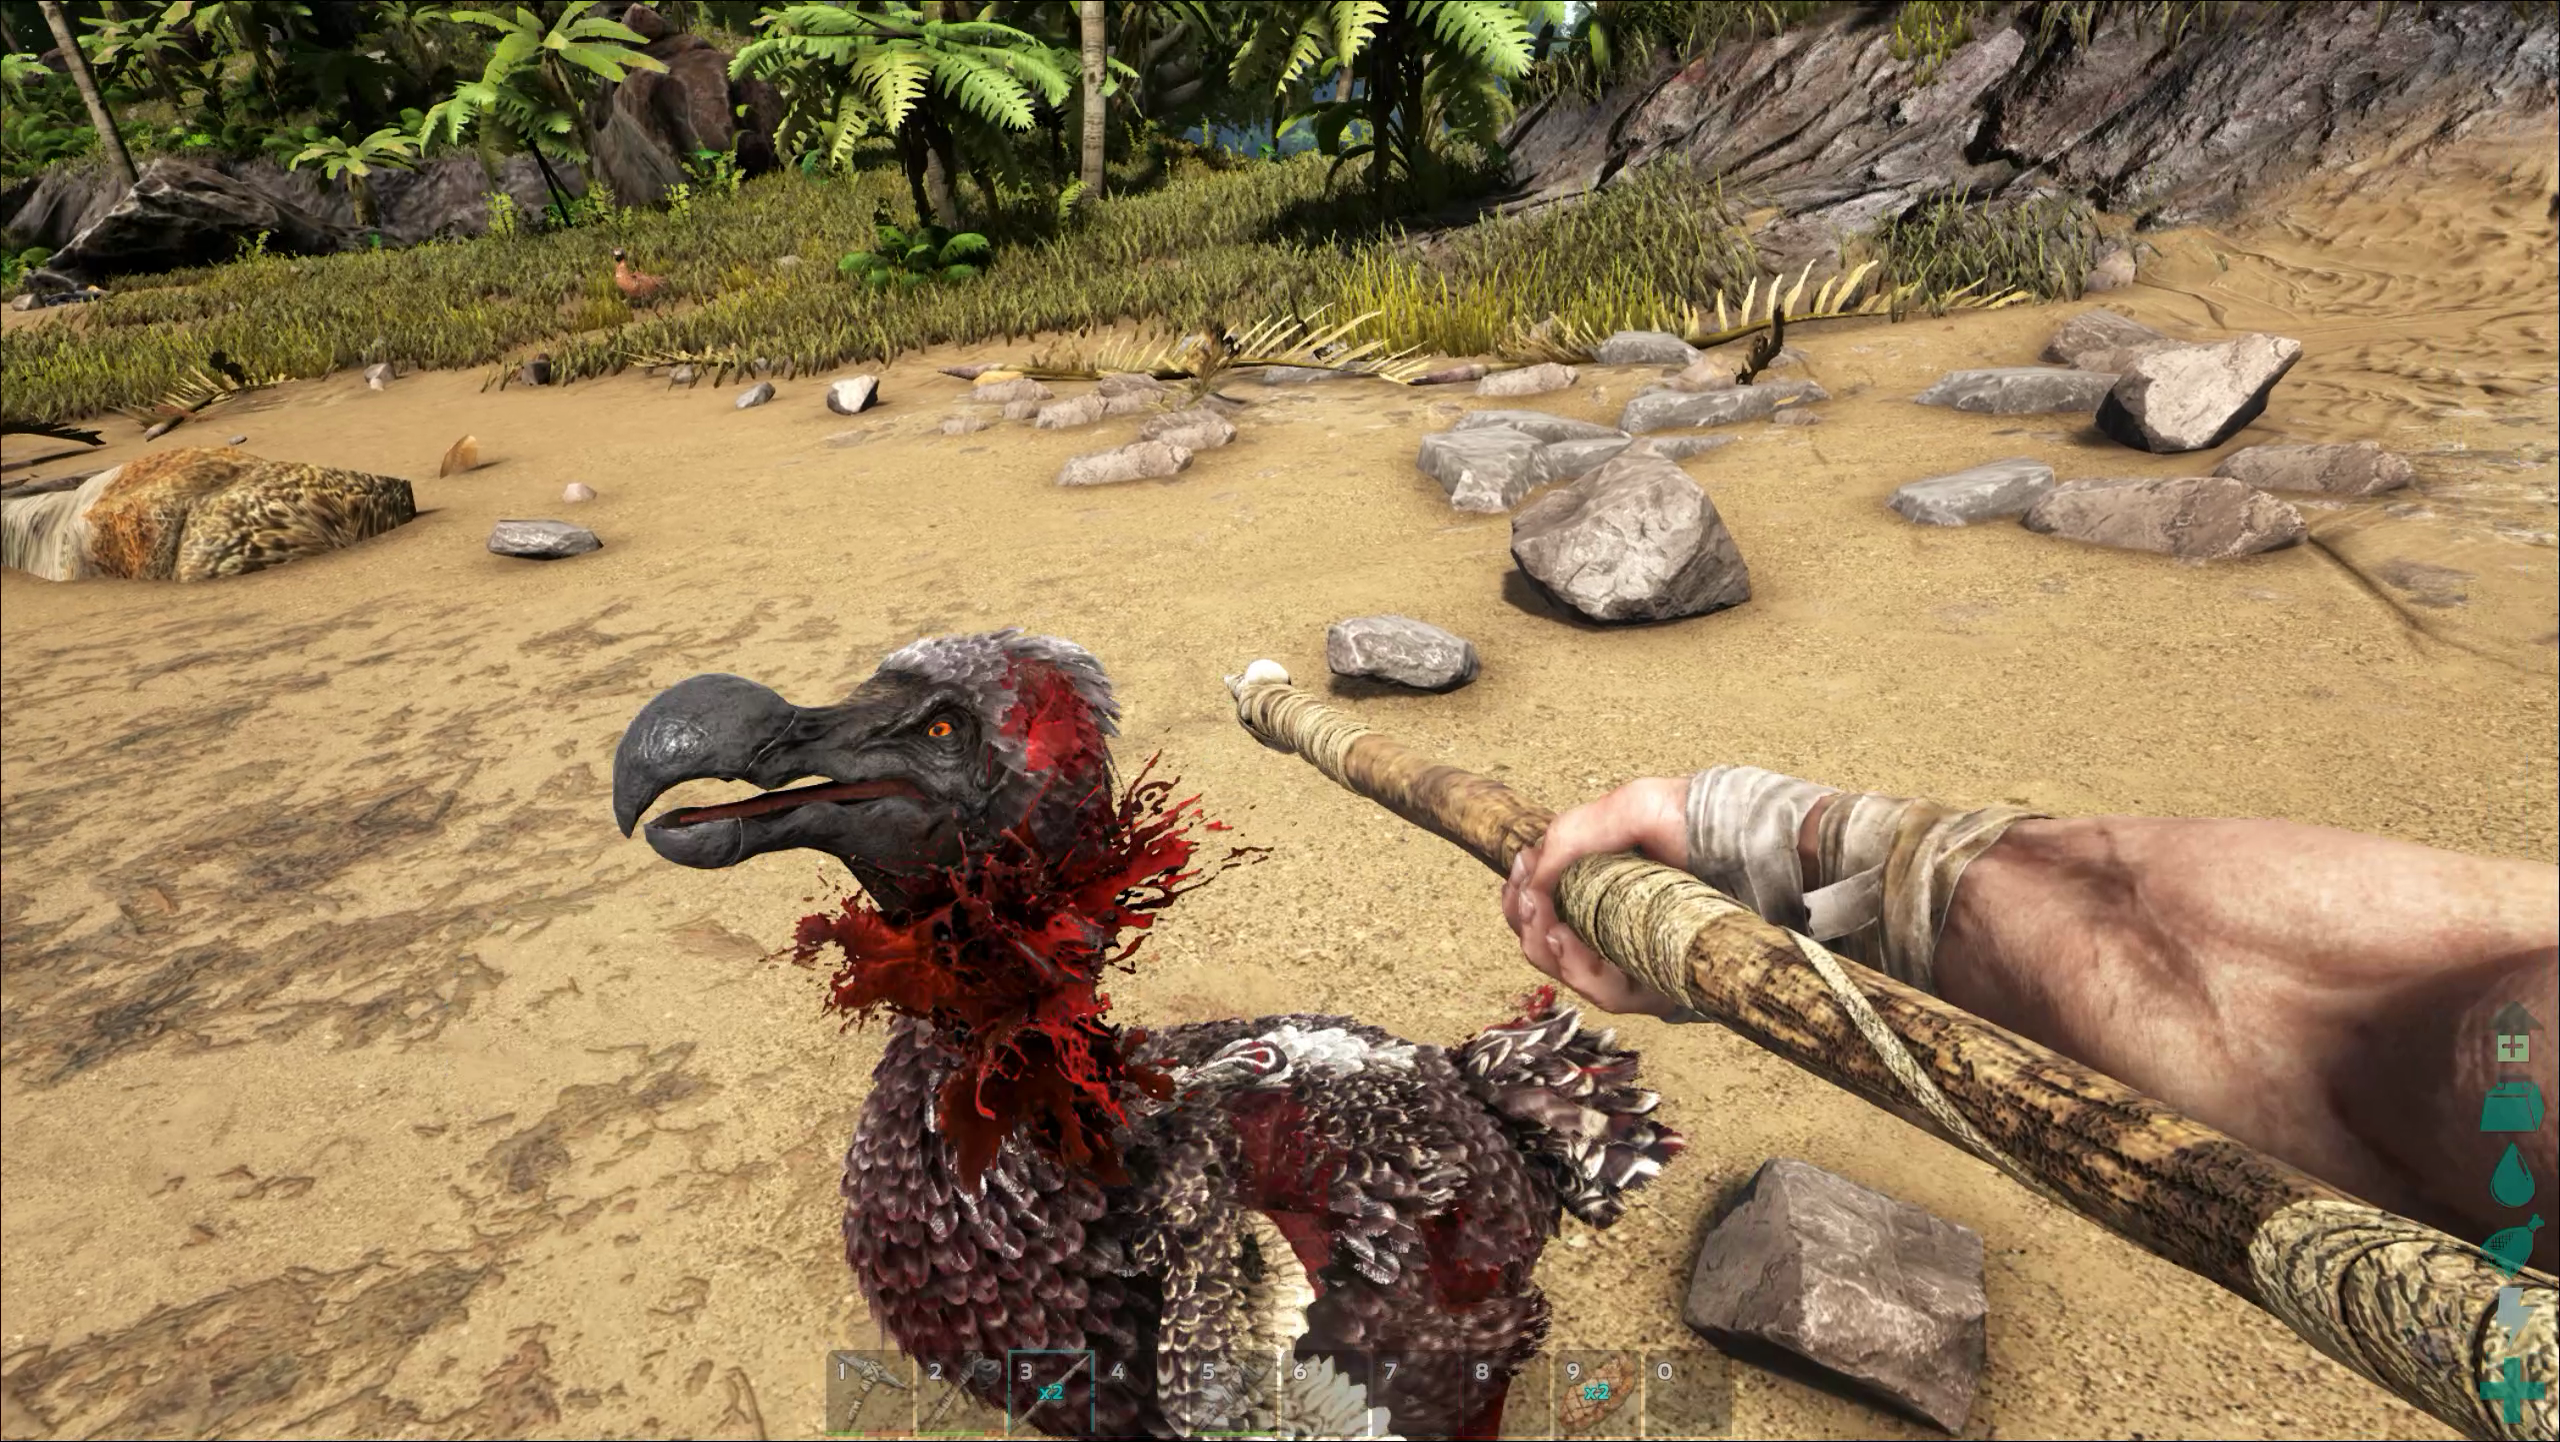
There’s probably an abundance of peaceful animals on the beach, including the very unlucky Dodo Bird. Bottom of the Ark foodchain, Dodo birds are slow enough to chase, abundant enough to rely on, and provide a decent amount of hides and meat for the early game. It’s not your fault they're extinct—they're meant to die. Equip a spear and poke them until they forever sleep. Stop jabbing as soon as they’re dead and equip your stone pickaxe—it harvests more meat than hides and the hatchet does the opposite. Chip away at the corpse until it dissolves.
If you’ve yet to build a campfire, do so now, but be sure to place it somewhere safe and easy to locate. Look for a clear spot on the ground near a striking landmark before committing, but don’t dawdle too much—meat spoils after 10 minutes without refrigeration.
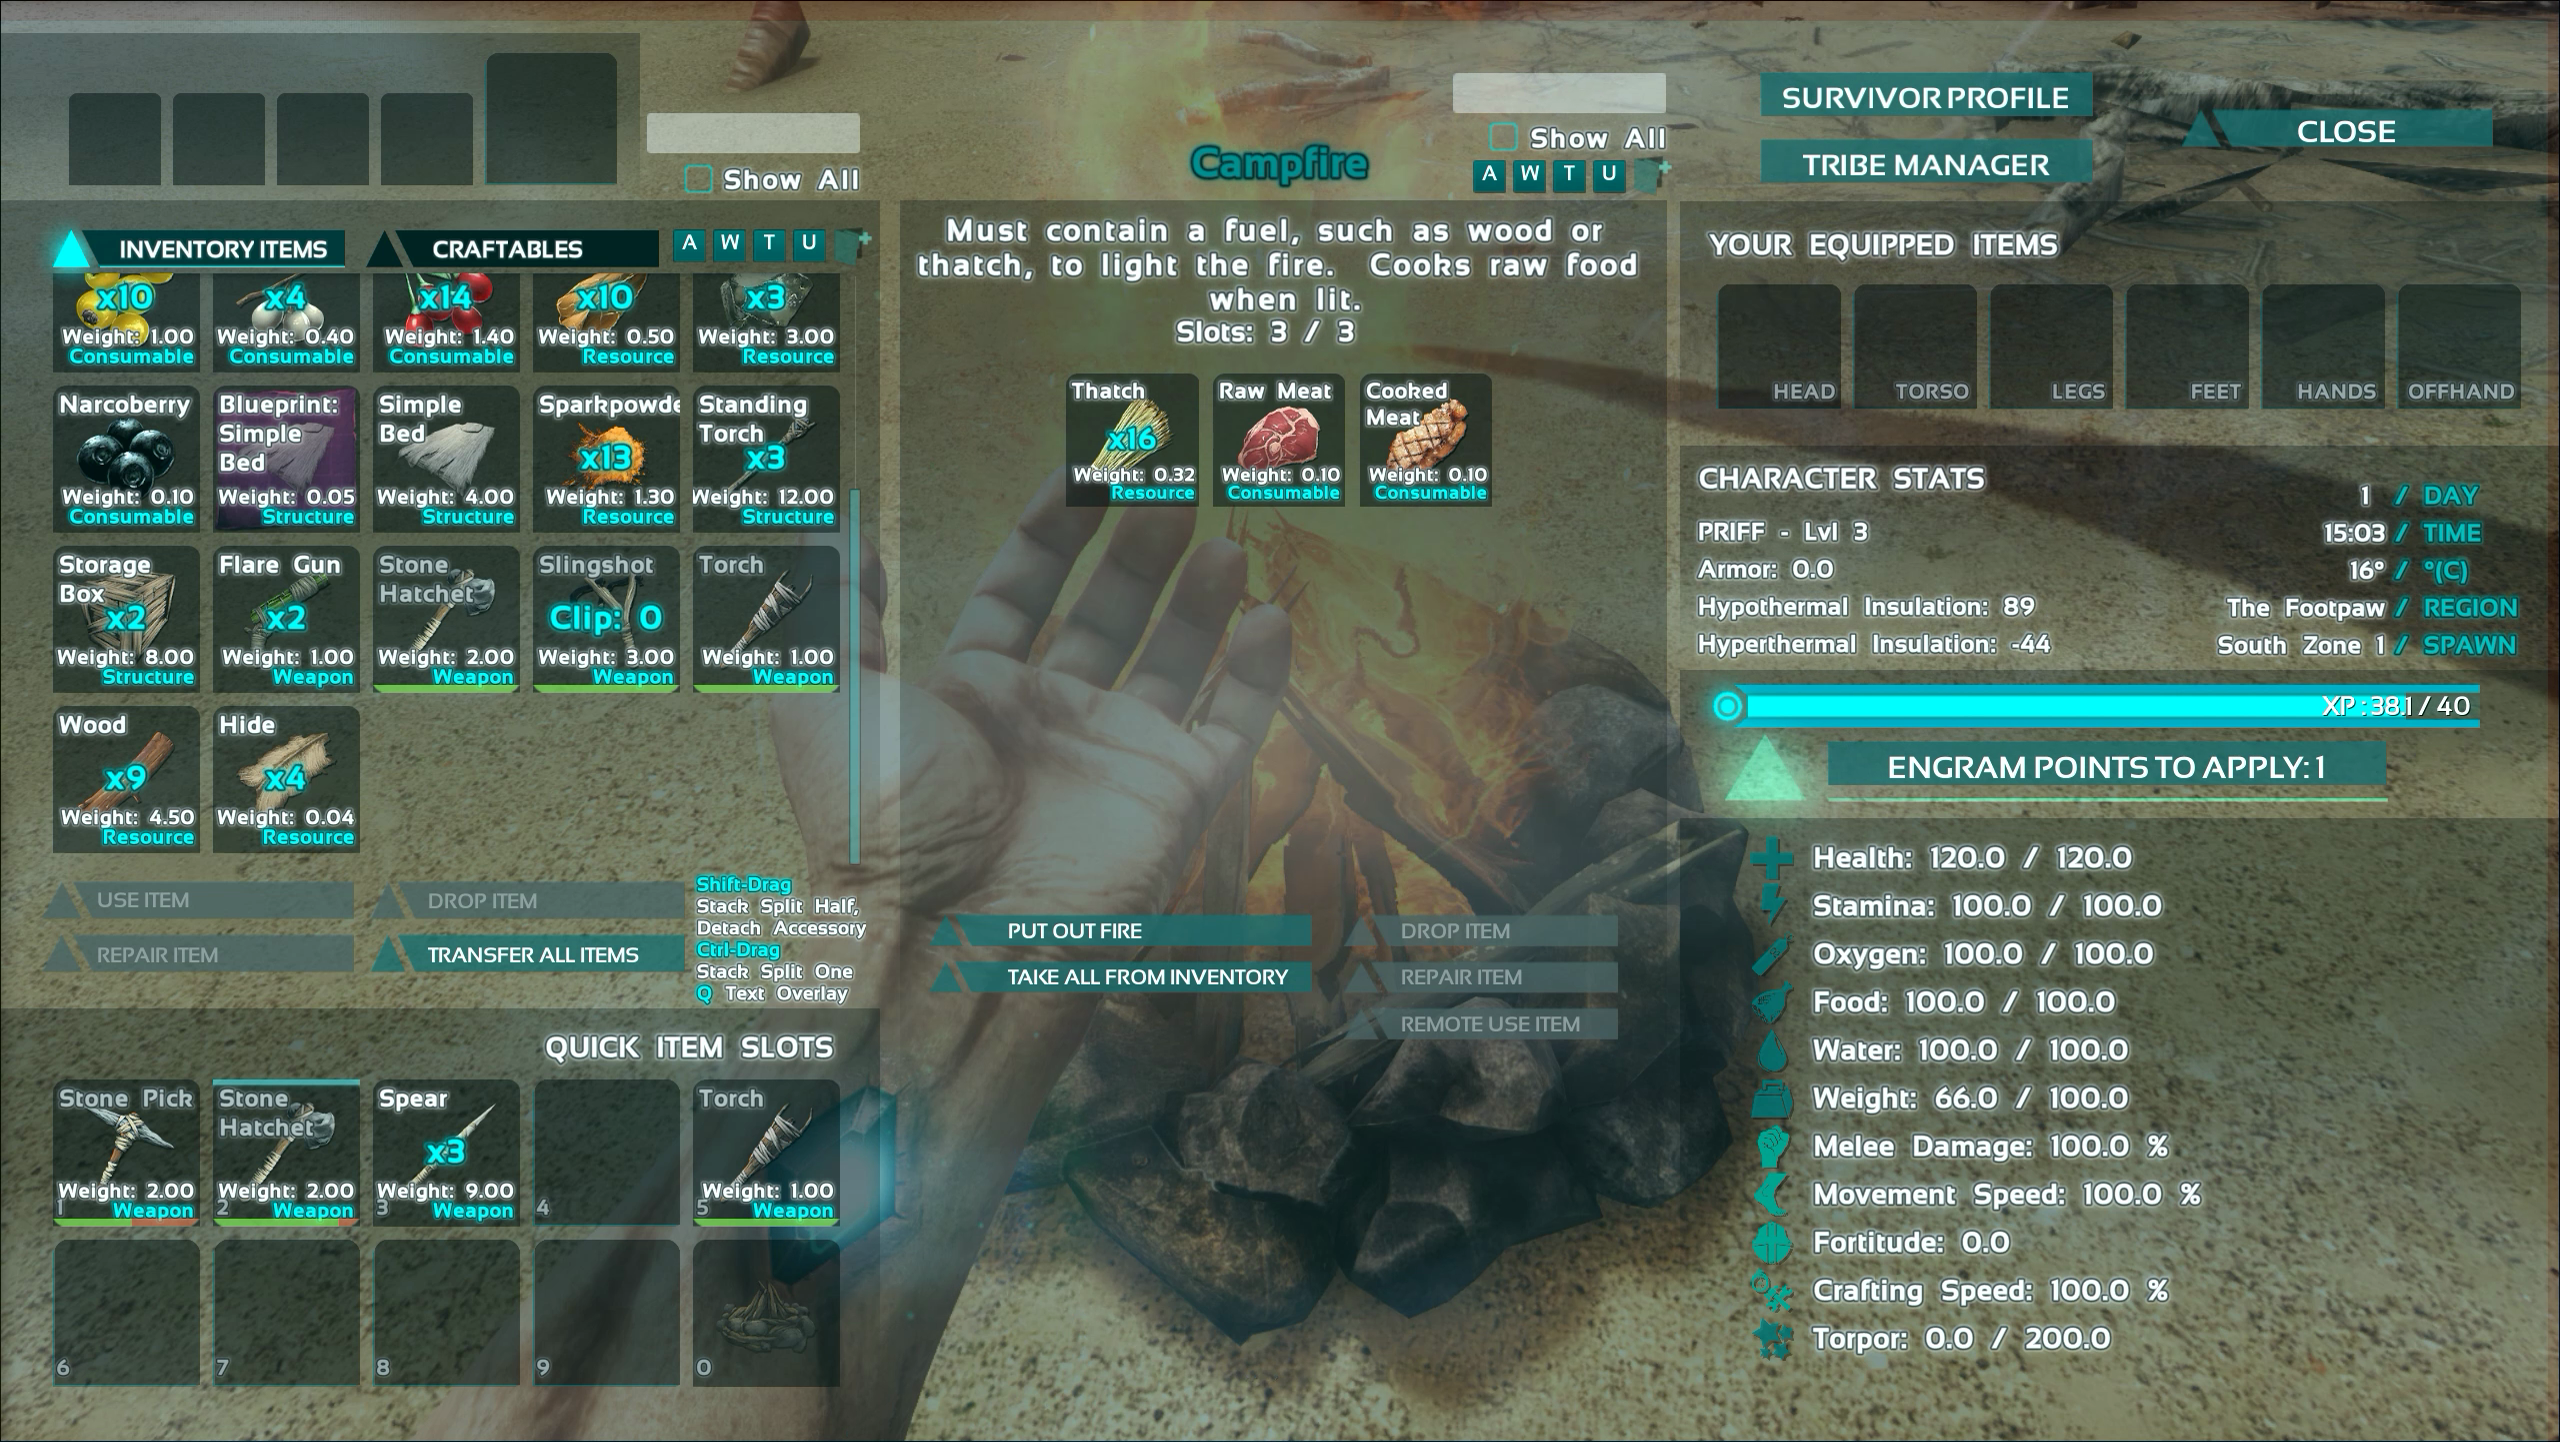
To cook your meat, look at your fire and hold E, then select Access Inventory. From here, you’ll need to place fuel—thatch or wood are usually abundant—and your raw meat in the campfire inventory, then click Light Fire. Give your meat a few seconds and it’ll appear as Cooked Meat in the fire inventory. Drag it back over to your Quick Item Slots for easy access and slam some of those steaks. Each restores 20 points of food and 8 points of health, far more than berries.
Cooked Meat can still spoil after 20 minutes, so don’t sit on it too long. Chow down. Be sure to keep Dodos and other small, low level animals in your diet. Meat goes fast and so does your hunger meter. Besides, you’ll need the hides anyway.
Crafting clothes and a bed
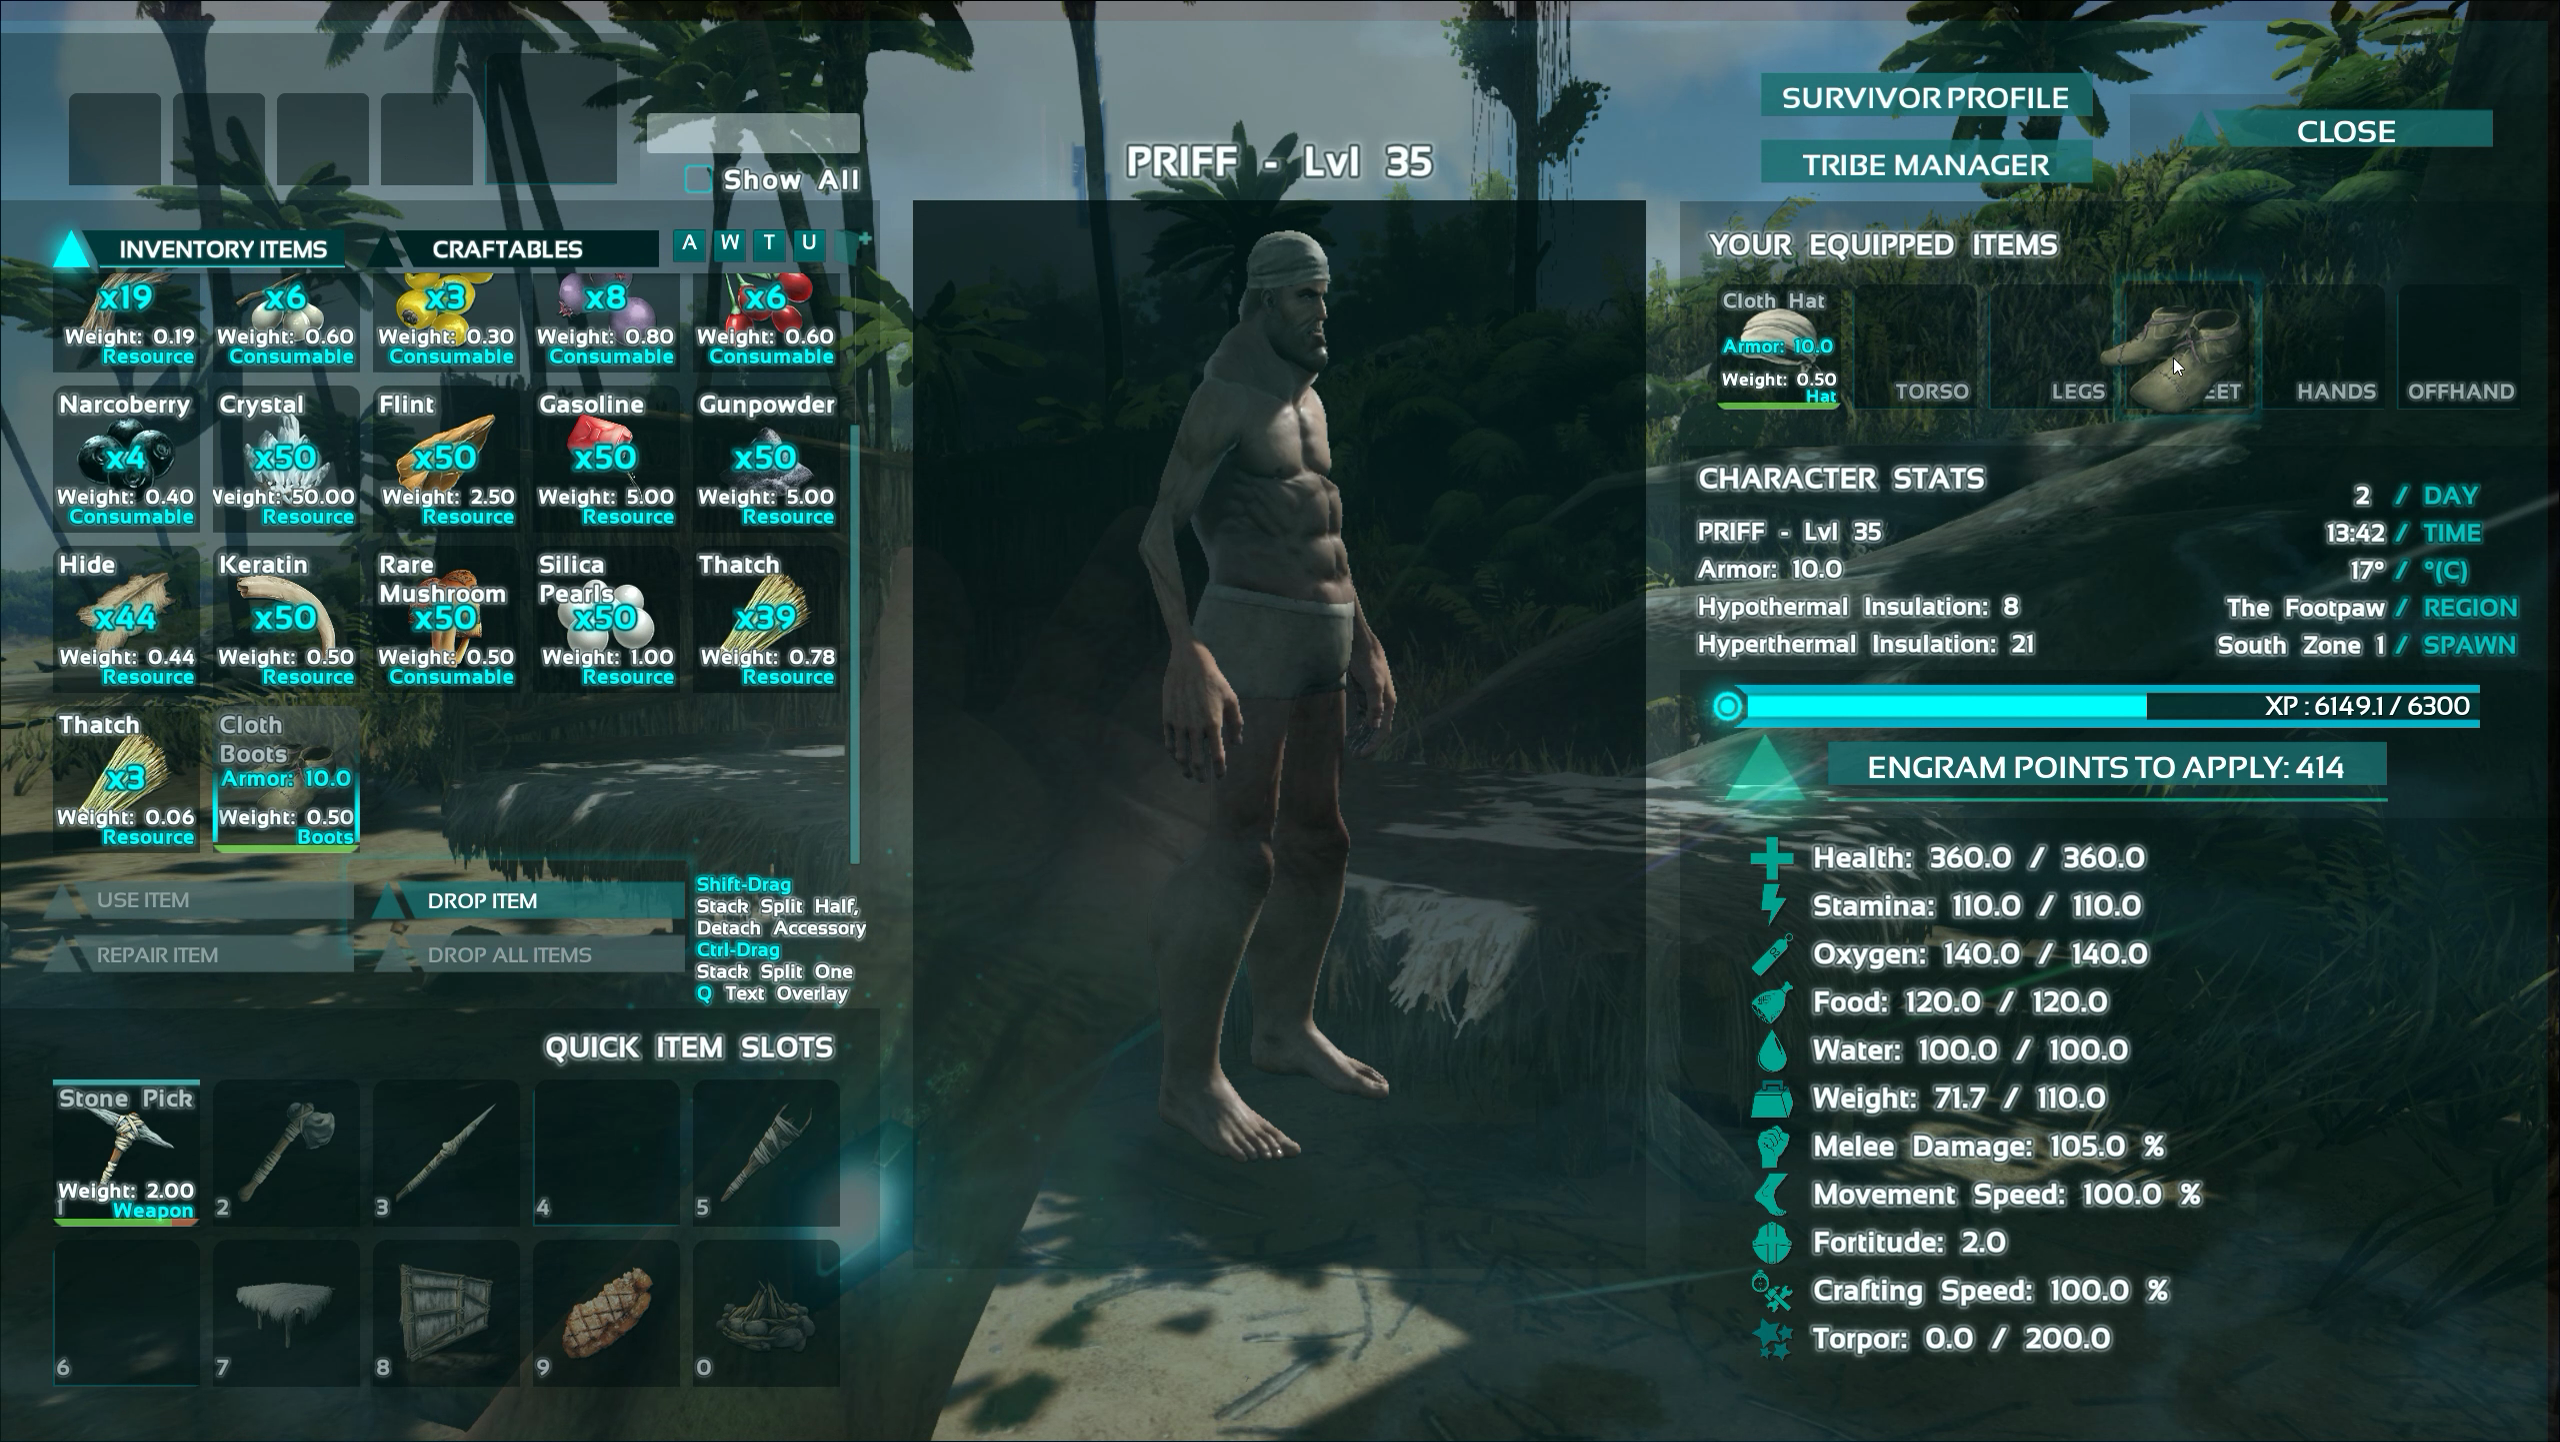
Clothes increase your armor level, which acts as an HP buffer, and increase protection from the cold and heat. They’re a must in the early game, and luckily, they won’t break the bank. A full set of cloth armor costs 145 fiber and 10 hides, and if you’ve been harvesting bushes and slaughtering dodos, it’s likely you can make them without much issue.
If you’re low on hides and set on meat, harvest dodo corpses with the hatchet. Be sure to ‘learn’ the recipes as you level up, craft each item, and then drag them from your inventory over to the corresponding slot under Your Equipped Items.
Looking good. Now let’s get you a place to sleep.
Hide sleeping bags are the earliest respawn and fast-travel items you can craft in Ark. They’re not exactly for, well, sleeping. When you die, you can choose to respawn wherever you placed a sleeping bag. You can also use them to fast travel between other sleeping bags or beds. Dream travel. Problem is, they disappear after a single respawn. It’s better than dying, losing your entire inventory, and respawning at a random location within the same zone. Ark’s maps are huge and finding old campsites isn’t easy.
Sleeping bags require 25 hides and 15 fiber, so they’re no small investment, especially for a consumable item. Some recommend going straight for the bed, which functions like the bag, but can be used infinitely. It takes 15 wood, 80 thatch, 30 fiber, and 40 hide—not cheap early on.
If you go for the bed, don’t place it on the beach. Venture deeper into the island and build that bed a home.
Moving inland and making a home
Now that you have decent clothes, a full belly, and all the basic tools at your disposal, it’s time to start exploring the island. Moving inland means you’ll face threatening dinos, but it also means you’ll find more valuable resources. The beach life isn’t for everyone anyway. To protect yourself from the elements and the velociraptors, you’ll want to build a small hut.
So before moving inland, level up enough to secure the thatch doorframe, thatch foundation, thatch door, thatch roof, and thatch wall crafting recipies. Most require plenty of thatch, wood, and fiber to construct, so gather enough to build a few of each. Once you’re ready, make sure you’re doing well on food, craft another spear or two, and head out.
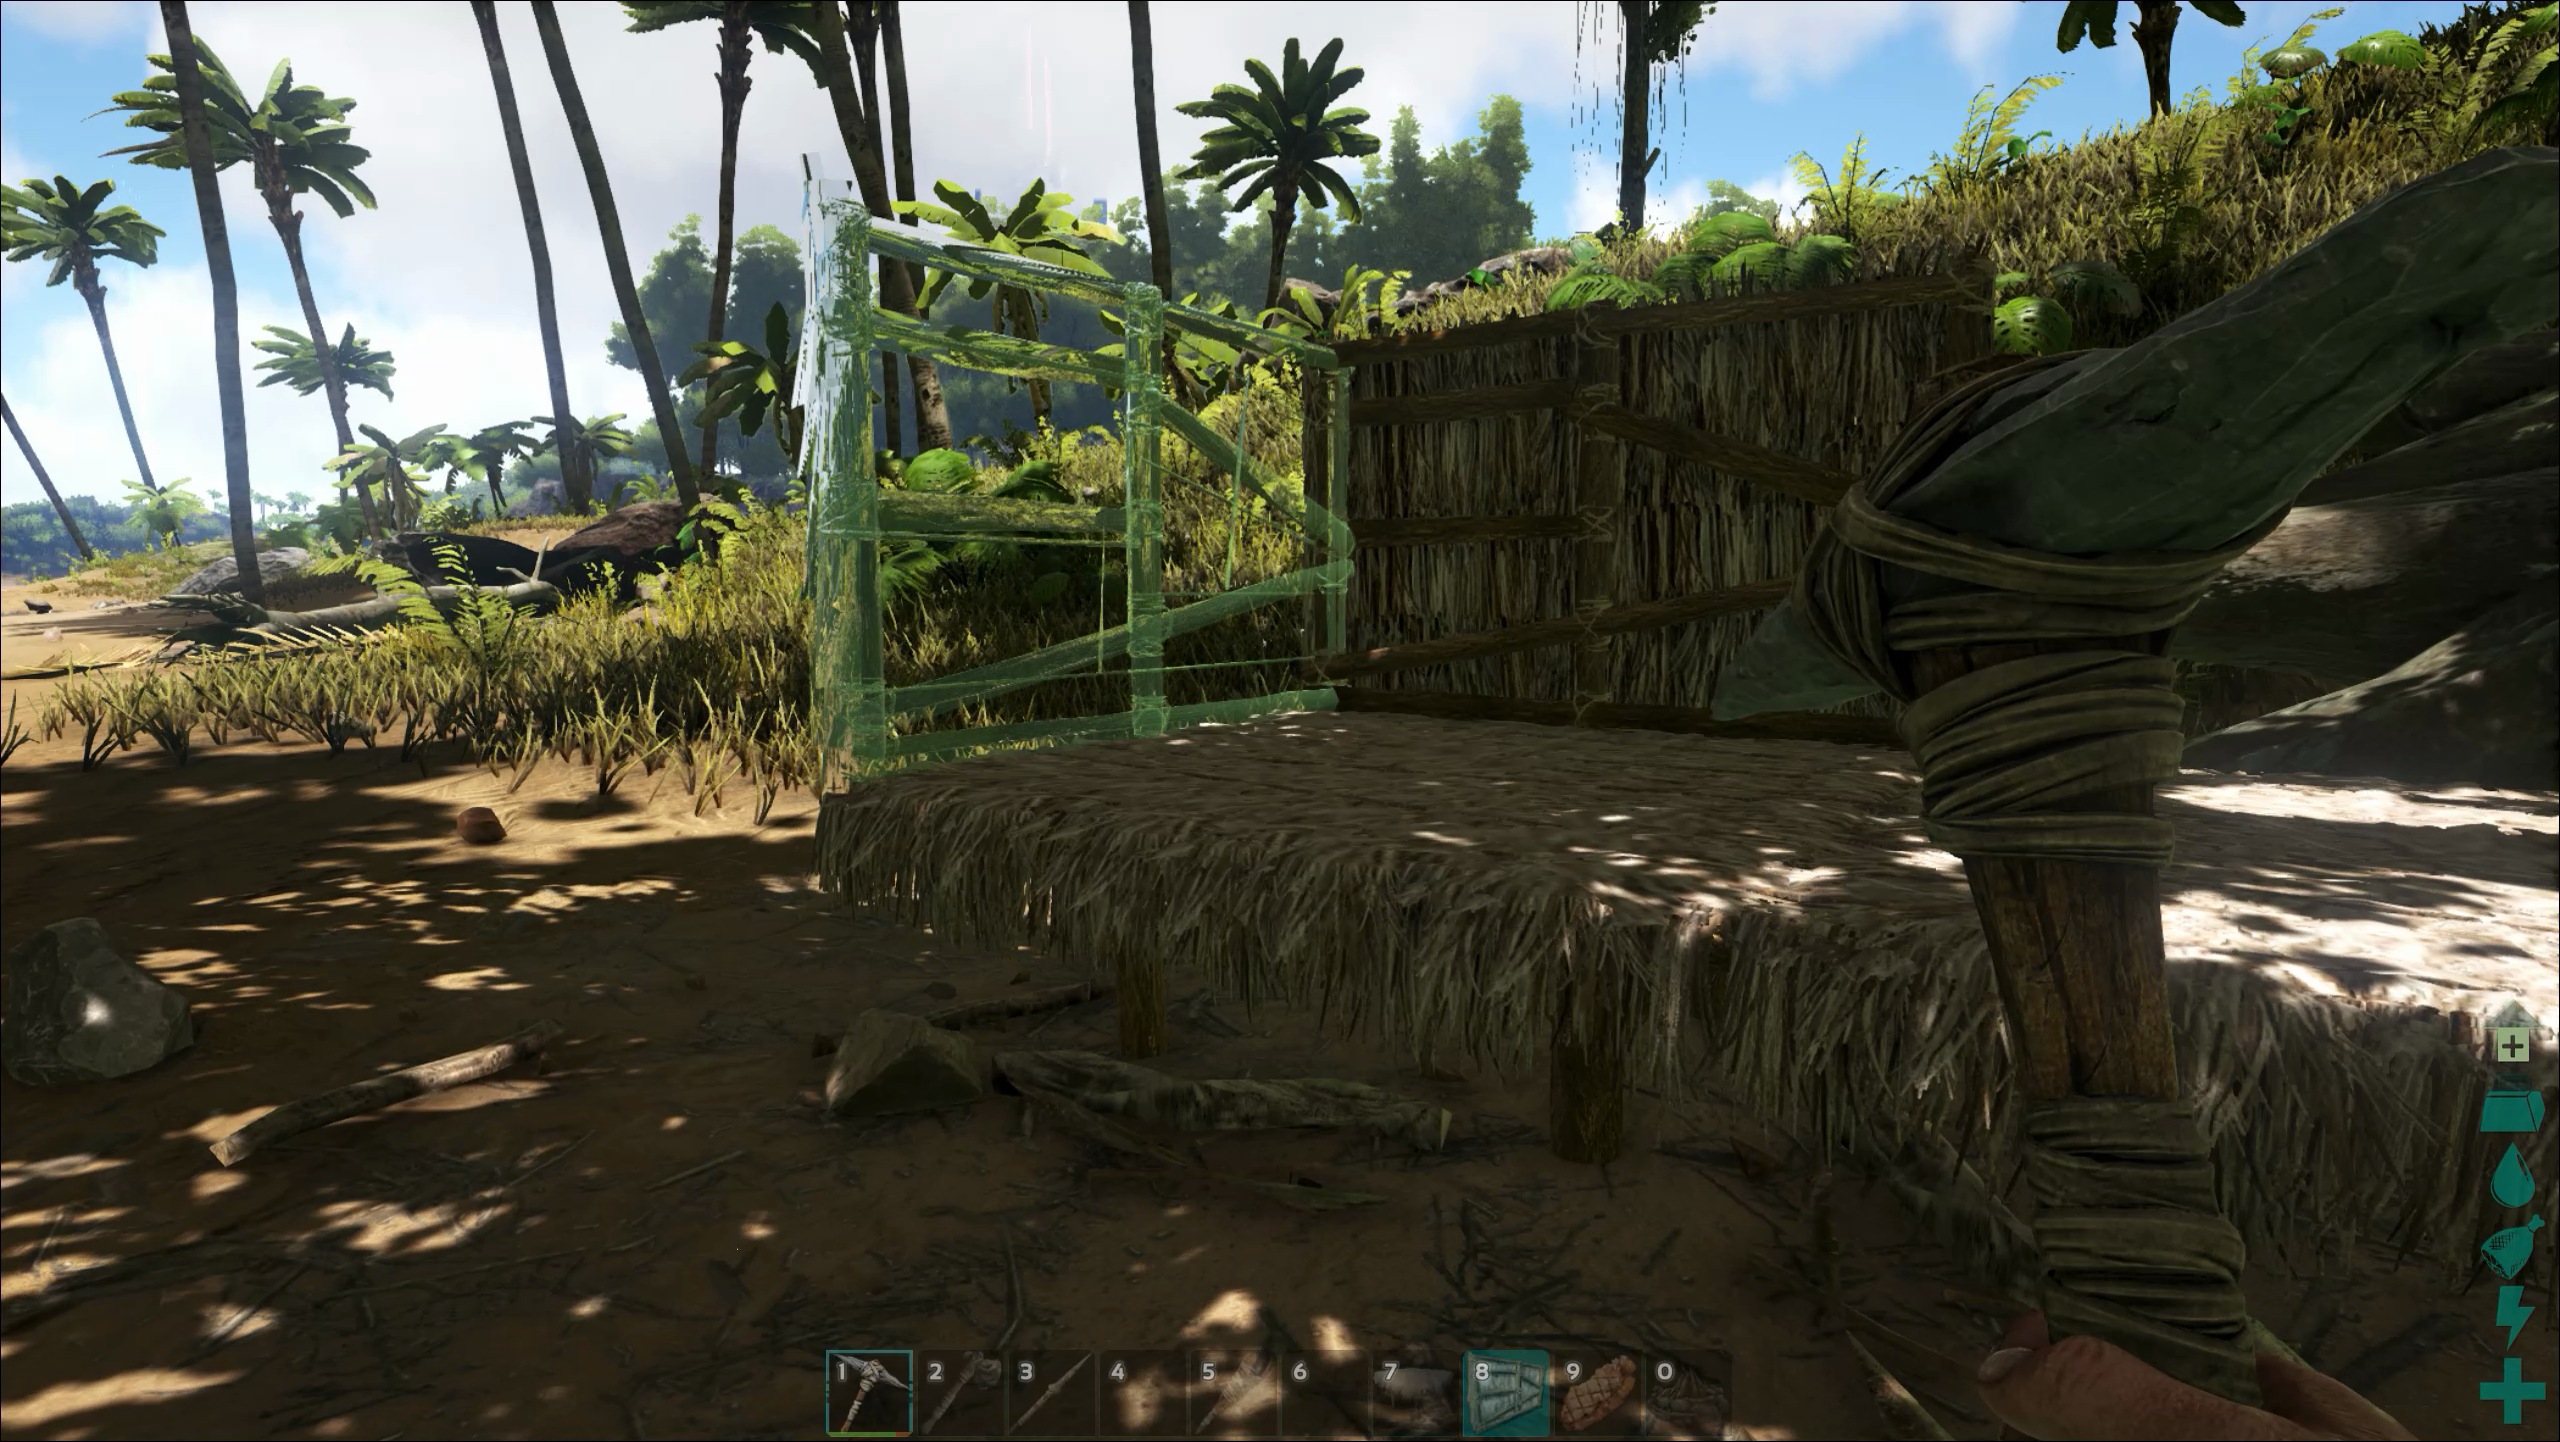
Don’t worry about going too far inland. (You’ll know if you’ve gone too far when a massive dinosaur swallows you whole.) Find a sheltered, cozy patch of land to build your home. Craft and equip the foundation, walls, door components, and roof, then lay them out as desired. Don’t go too big. This probably won’t be your permanent home, so a 4x4 will probably do. As long as you can fit a bed and storage box or two inside, you’ll be fine.
You’ll want to build a few storage boxes (25 wood, 20 thatch, 10 fiber) for hoarding resources. Gather as much as you can and dump it. It’ll come in handy sooner or later.
The journey ahead
If you’ve made it this far, you’re probably set to explore the rest of what Ark has to offer on your own. Going forward, be sure to interact with other players. Joining tribes has a ton of benefits, and playing with real people can make Ark a much better experience.
Most importantly, don't worry about playing in any specific way. If you're frustrated by the early game grind and dinosaurs keep getting you down, look up some cheats and make yourself a god. Check out the hundreds of mods available in the Steam Marketplace. Join a server with accelerated XP and resource gathering—do what you want. Ark is a sandbox that you can explore and interact with in just about any way you like.
But if you're enjoying the vanilla Ark experience, keep gathering resources, learning new engram recipes, and exploring the island. Slowly branch out into new parts of the island, building small bases along the way. Don't rush into anything blindly, as curious as you might be. Take your time to learn dino behaviors and resource utilities, and you'll be fine.
Once you have your feet under you, experiment with allocating stats into different traits, hunt a dangerous dino, and if you’re feeling especially adventurous, try to tame your own dino. Your inner five-year-old will be over the moon.
James is stuck in an endless loop, playing the Dark Souls games on repeat until Elden Ring and Silksong set him free. He's a truffle pig for indie horror and weird FPS games too, seeking out games that actively hurt to play. Otherwise he's wandering Austin, identifying mushrooms and doodling grackles.


