9 Kick-Ass DIY Projects to Get Your Hack On
Add DSLR Features to Your Canon Point-and-Shoot Digicam
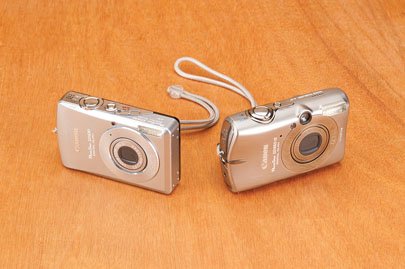
We love point-and-shoot pocket cameras for their small size and ease of use, but we lament their relatively paltry feature sets when compared to more expensive DSLR models. The good news, for owners of the popular Canon PowerShot cameras, is that your consumer-grade gadget can be upgraded with custom software to endow it with professional features like RAW image recording and live histogram feedback. CHDK (Canon Hack Development Kit, http://chdk.wikia.com/wiki/CHDK ) is an easy-to-install software package created by a savvy group of programmers to supercharge the Canon PowerShot. We show you how to safely install and configure this free firmware add-on with no risk to your camera.

Find the Right Software
Download the version of CHDK software that’s appropriate for your Canon PowerShot. CHDK only works with a camera using Canon’s Digic II or newer image sensor—any PowerShot made after 2005 should work. To find the right download, you’ll have to first find your existing firmware version number. Using Notepad or any other text-editing tool, create and save an empty file named ver.req. You’ll have to disable the “Hide extensions for known file types” setting under Windows Explorer’s Folder Options in order to change the file extension to .req.
Using a USB card reader, drop this file into the root directory of your SD card (not while the card is in the camera). Put the card back in your camera, turn on the camera under playback mode, and press the “set” and “disp.” buttons together. If done properly, the camera should display the firmware version number, i.e., Firmware Ver GM1.00C.
Next, head over to the CHDK download site ( http://mighty-hoernsche.de/ ) and find your camera model and firmware version. Download the corresponding Zip file under the column labeled Complete.
Load CHDK
With your SD card back in a card reader and connected to your PC, extract the entire contents of the software package into the root directory of the card. Now you’re ready to run the CHDK software. Put the card back in your camera again and turn on your camera under playback mode (the lens should be retracted). Hit the Menu button, and scroll down to the bottom of the first menu tab. You should see an option for “firm update.” Select this and choose Yes when prompted. This is an entirely safe process since CHDK installs additional software instead of replacing the existing firmware in your camera.

Configure the New Features
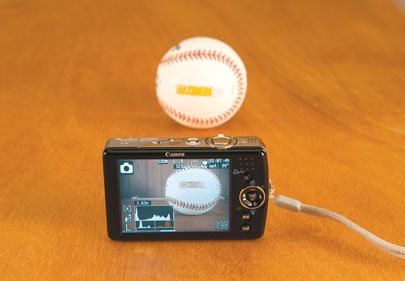
The first thing you’ll notice with CHDK enabled is that the onscreen display (OSD) shows new information, including the remaining battery life as a percentage, focus distance in meters, and a digital clock.
To enter the special CHDK menu, you need to enter Alt mode by pressing the Shortcut button on your camera (this button is later configurable). When in Alt mode, you’ll see an
Boot CHDK at Startup

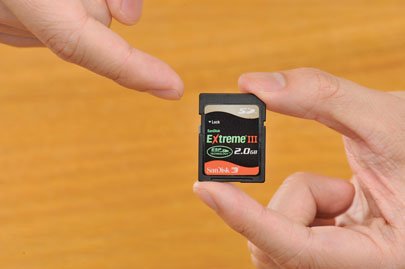
If you don’t want to manually load CHDK every time you use your camera, you can set it to auto-load, as long as your SD card is smaller than 2GB and not formatted for FAT32 (most aren’t by default). From the same Zip file you downloaded earlier, copy the PS.fir and DISKBOOT.bin files to the root directory of your SD card. Enter the CHDK menu using Alt mode and navigate to Miscellaneous Stuff. Select “Make Card Bootable” and hit the set button. Take out the SD card and slide its physical locking mechanism into the “lock” position. The next time you turn on the camera, CHDK should automatically start up as well.
The biggest gaming news, reviews and hardware deals
Keep up to date with the most important stories and the best deals, as picked by the PC Gamer team.

