7 Surprising Kick-Ass Things You Can Do with Google Sketchup
| digg_url = 'http://www.maximumpc.com/article/features/7_awseome_sketchup_tricks'; |
| tweetmeme_url = 'http://www.maximumpc.com/article/features/7_awseome_sketchup_tricks'; |
As a part of Google's quest to be the undisputed overlords of the Internet, they've made a lot of quality services available for free. Gmail, Google maps and Google Docs are all famous examples, but one of the search giant's coolest free offerings, Sketchup , flies under a lot of peoples' radars.
Sketchup is a free 3D modelling tool developed based on the philosophy that by giving people a small set of powerful, intuitive tools, you can lower the barrier of entry to 3D modelling, so that almost anyone can make quality 3D models with just a couple of sessions of practice.

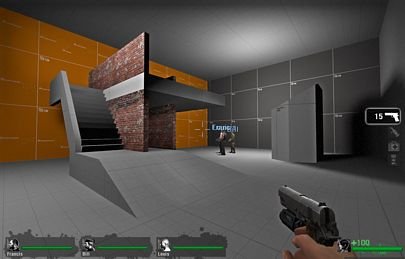
Still not conviced to give Sketchup a try? We've compiled a list of 7 awesome things you can do with Sketchup that you probably didn't know were possible. Did you know, for instance, that you can create a Left 4 Dead map in Sketchup? How about that you can design your own papercraft models? Read on to find out more!
Build a Model of Your House from a Floorplan
There’s something oddly rewarding about seeing a tiny version of your house. And beyond just the “Oh, neat!” value of seeing your living quarters in miniature, there’s real utility in being able to rearrange your furniture and try out different wall- and floor-coverings without actually having to do any heavy lifting. Fortunately, with Sketchup it’s surprisingly easy to make a model of a building interior. To do so is essentially a three step process:
1) Obtain a floorplan of the building. If you live in a rented property, you might be able to ask your landlord for a floorplan, or you can simply take measurements of your rooms and draw your own floorplan in your preferred graphics program.
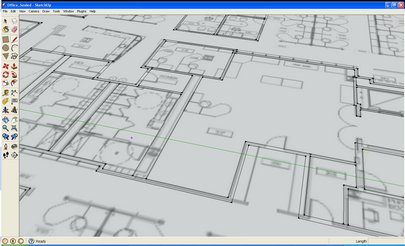
2) Make a 2D replica of the floorplan in Sketchup. This step is easier than you might imagine. Simply click File > Import to import the image of your floorplan into Sketchup, and place it flat. Then, using the Rectangle, Line, and Offset tool, trace over the walls, drawing directly onto the floorplan. When you’re done, make sure to delete any extraneous lines.

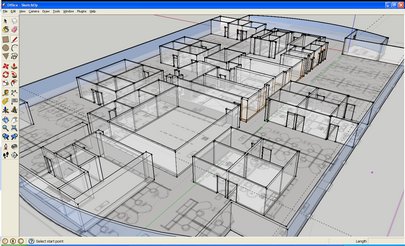
3) Finally, use the “Push/Pull” tool to extrude the walls you’ve drawn up. Click the surface, and type “10’” and press enter to manually select a height of 10 feet for the walls. Next, to make doors, simply draw a rectangle on the wall where the door should be, and use the “Push/Pull” tool to push the door through the wall, making a hole. You can copy/paste the door-shaped rectangle around the house, so you don’t have to individually draw each door. Repeat the same process for windows.

And that’s it! Now you’ve got a model of your house, ready to be furnished.
The biggest gaming news, reviews and hardware deals
Keep up to date with the most important stories and the best deals, as picked by the PC Gamer team.
If you’d like more in-depth instructions about how to do this, Google has an excellent video tutorial here .

