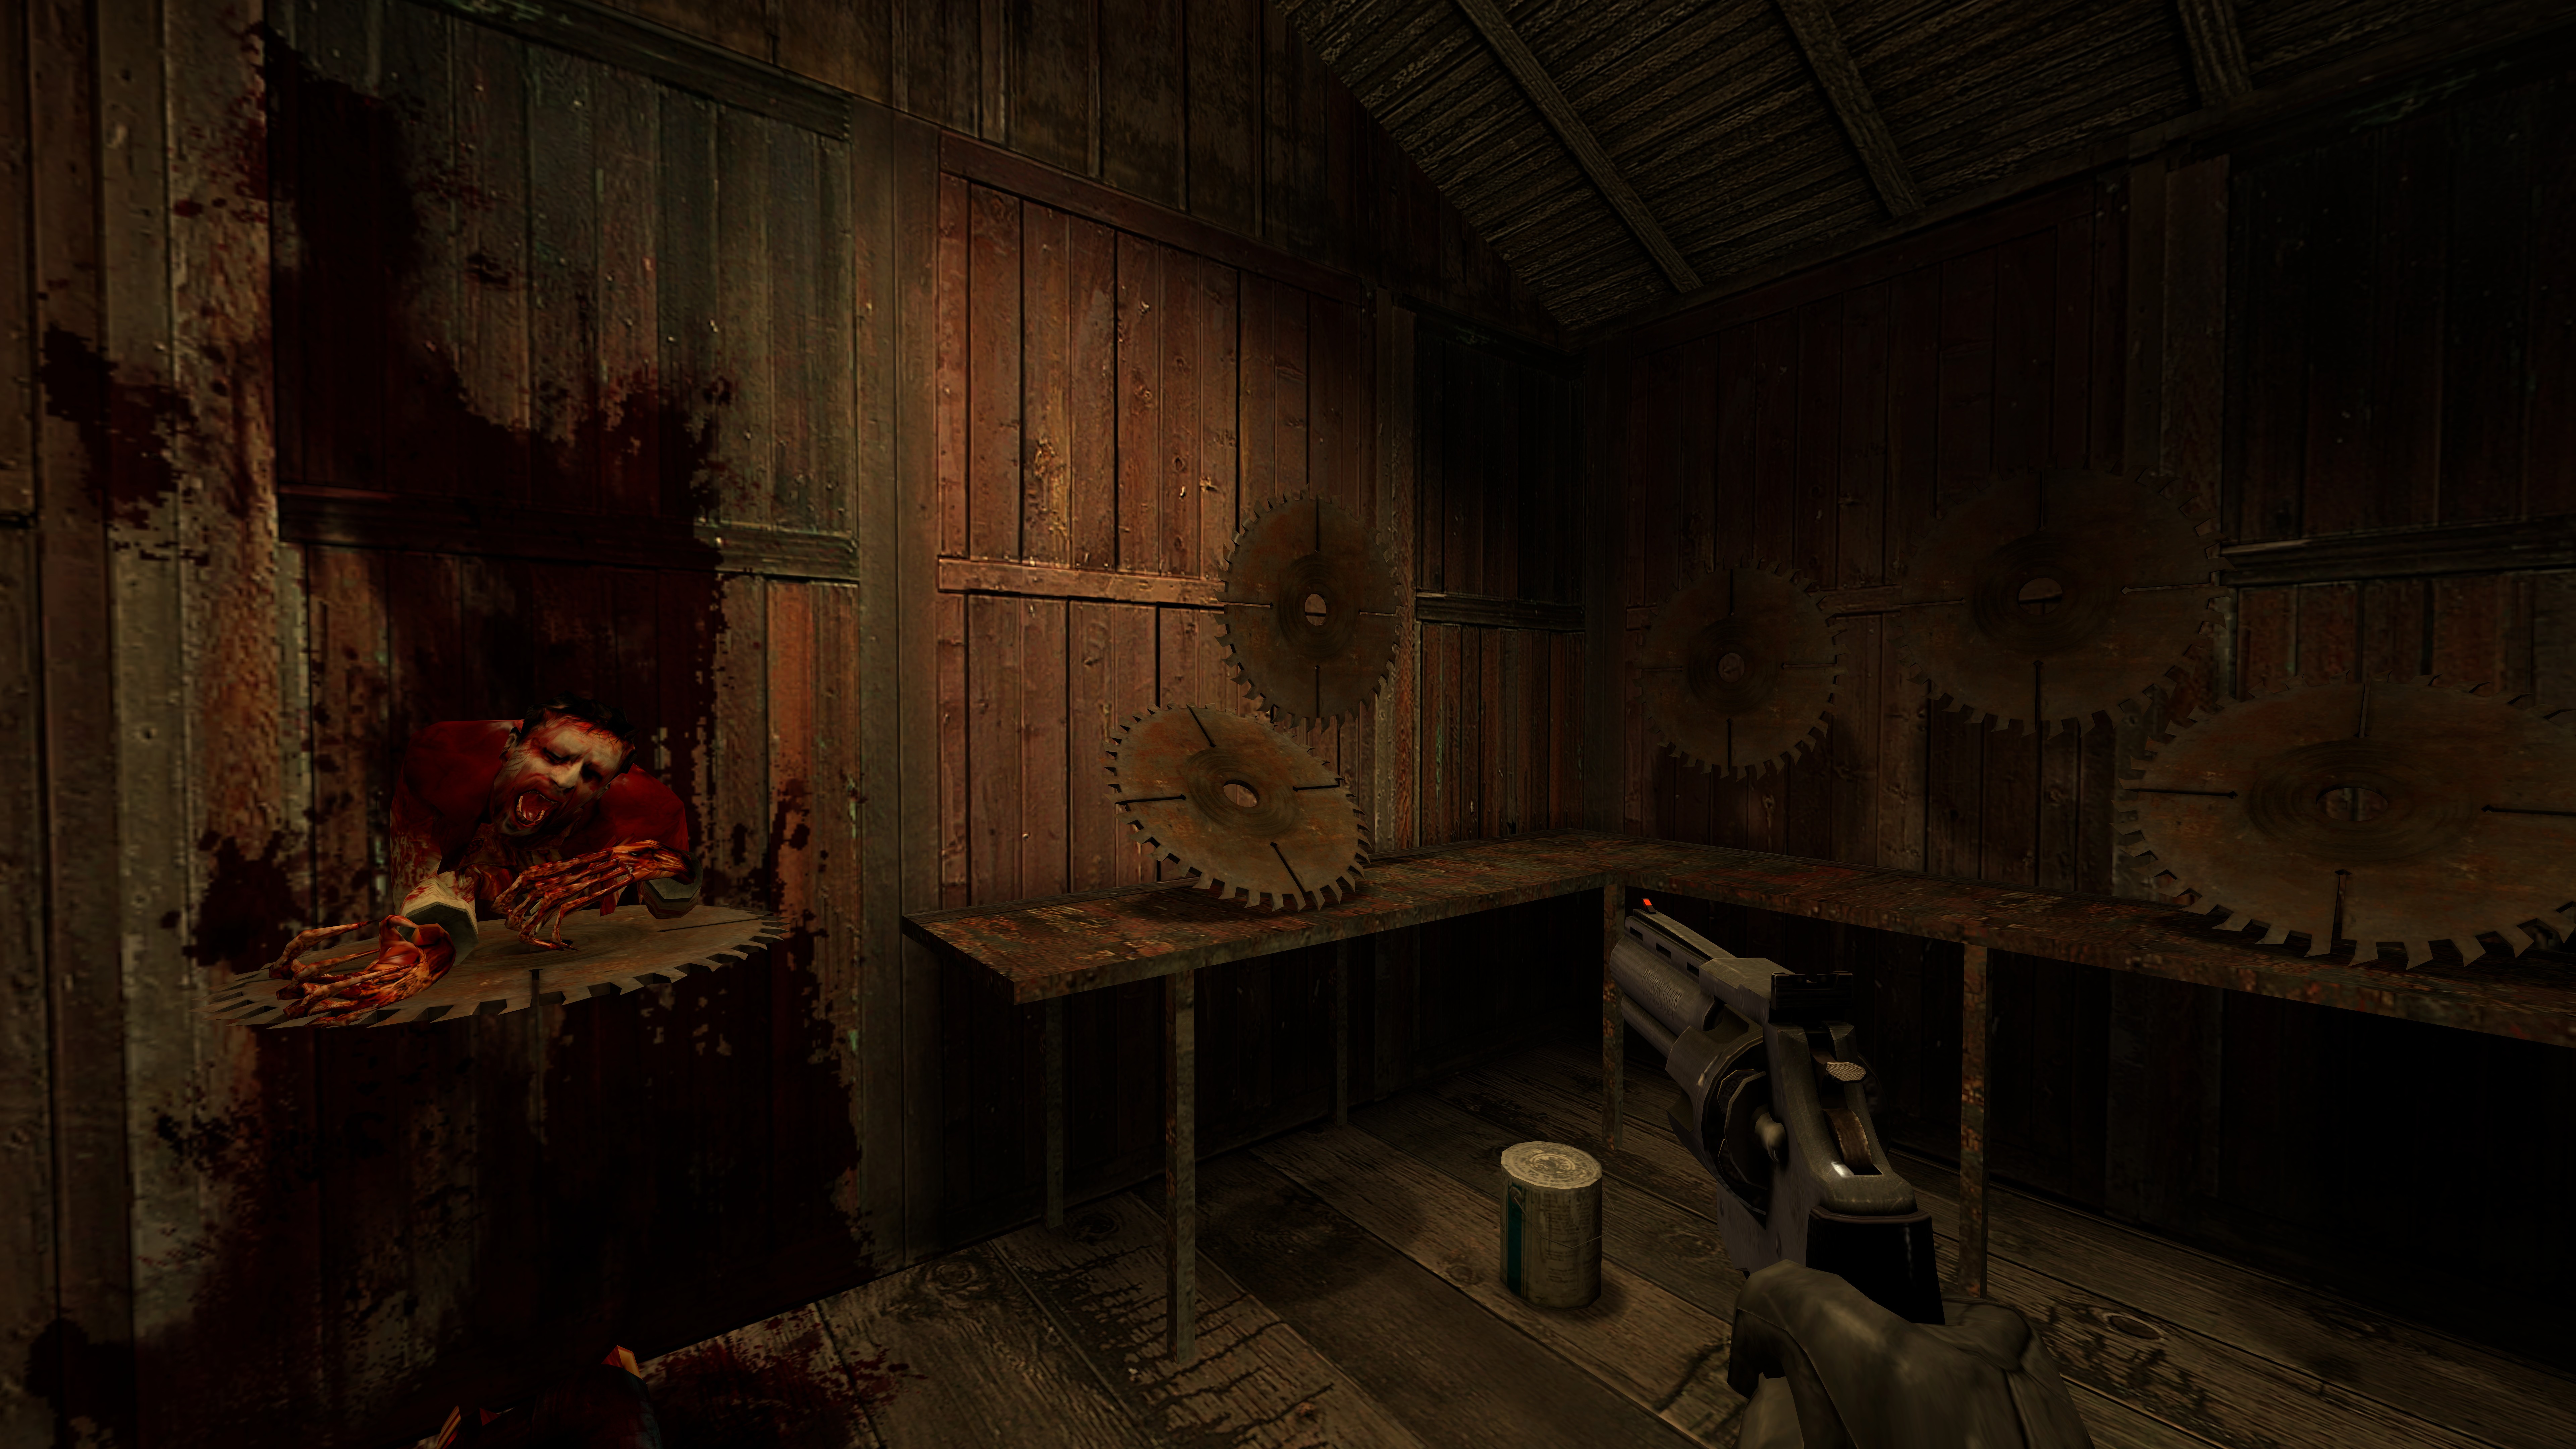
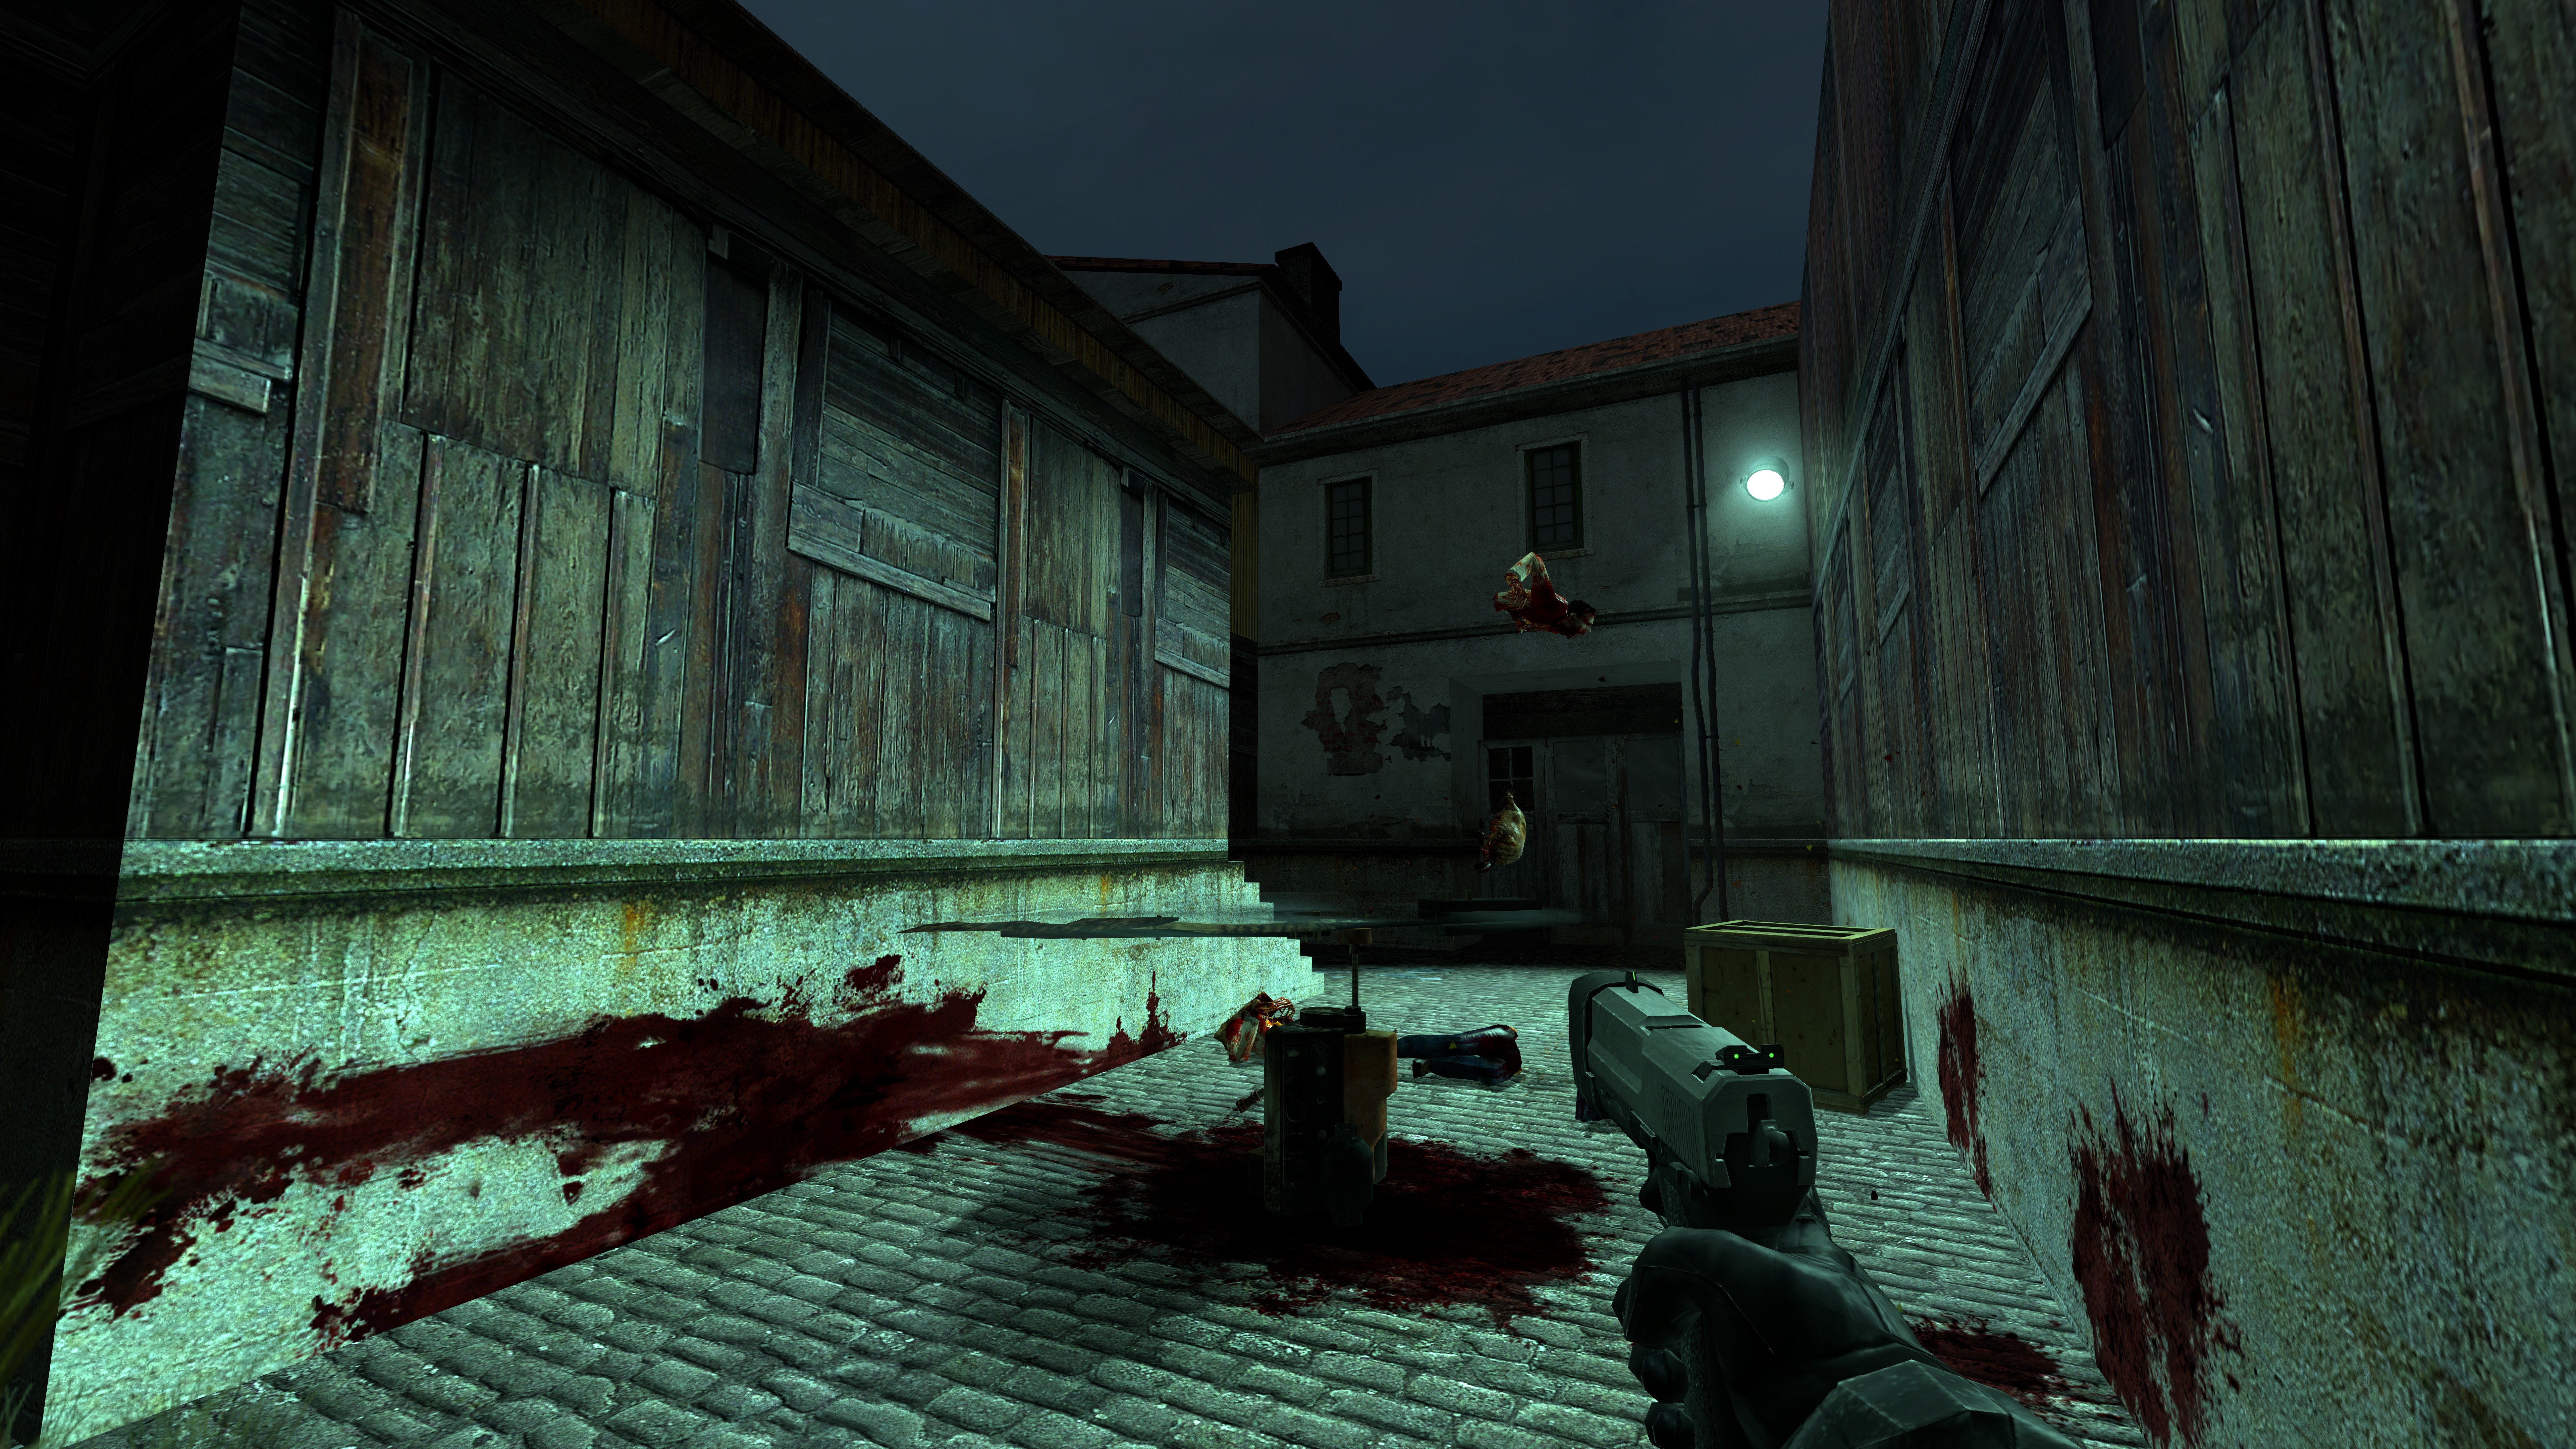
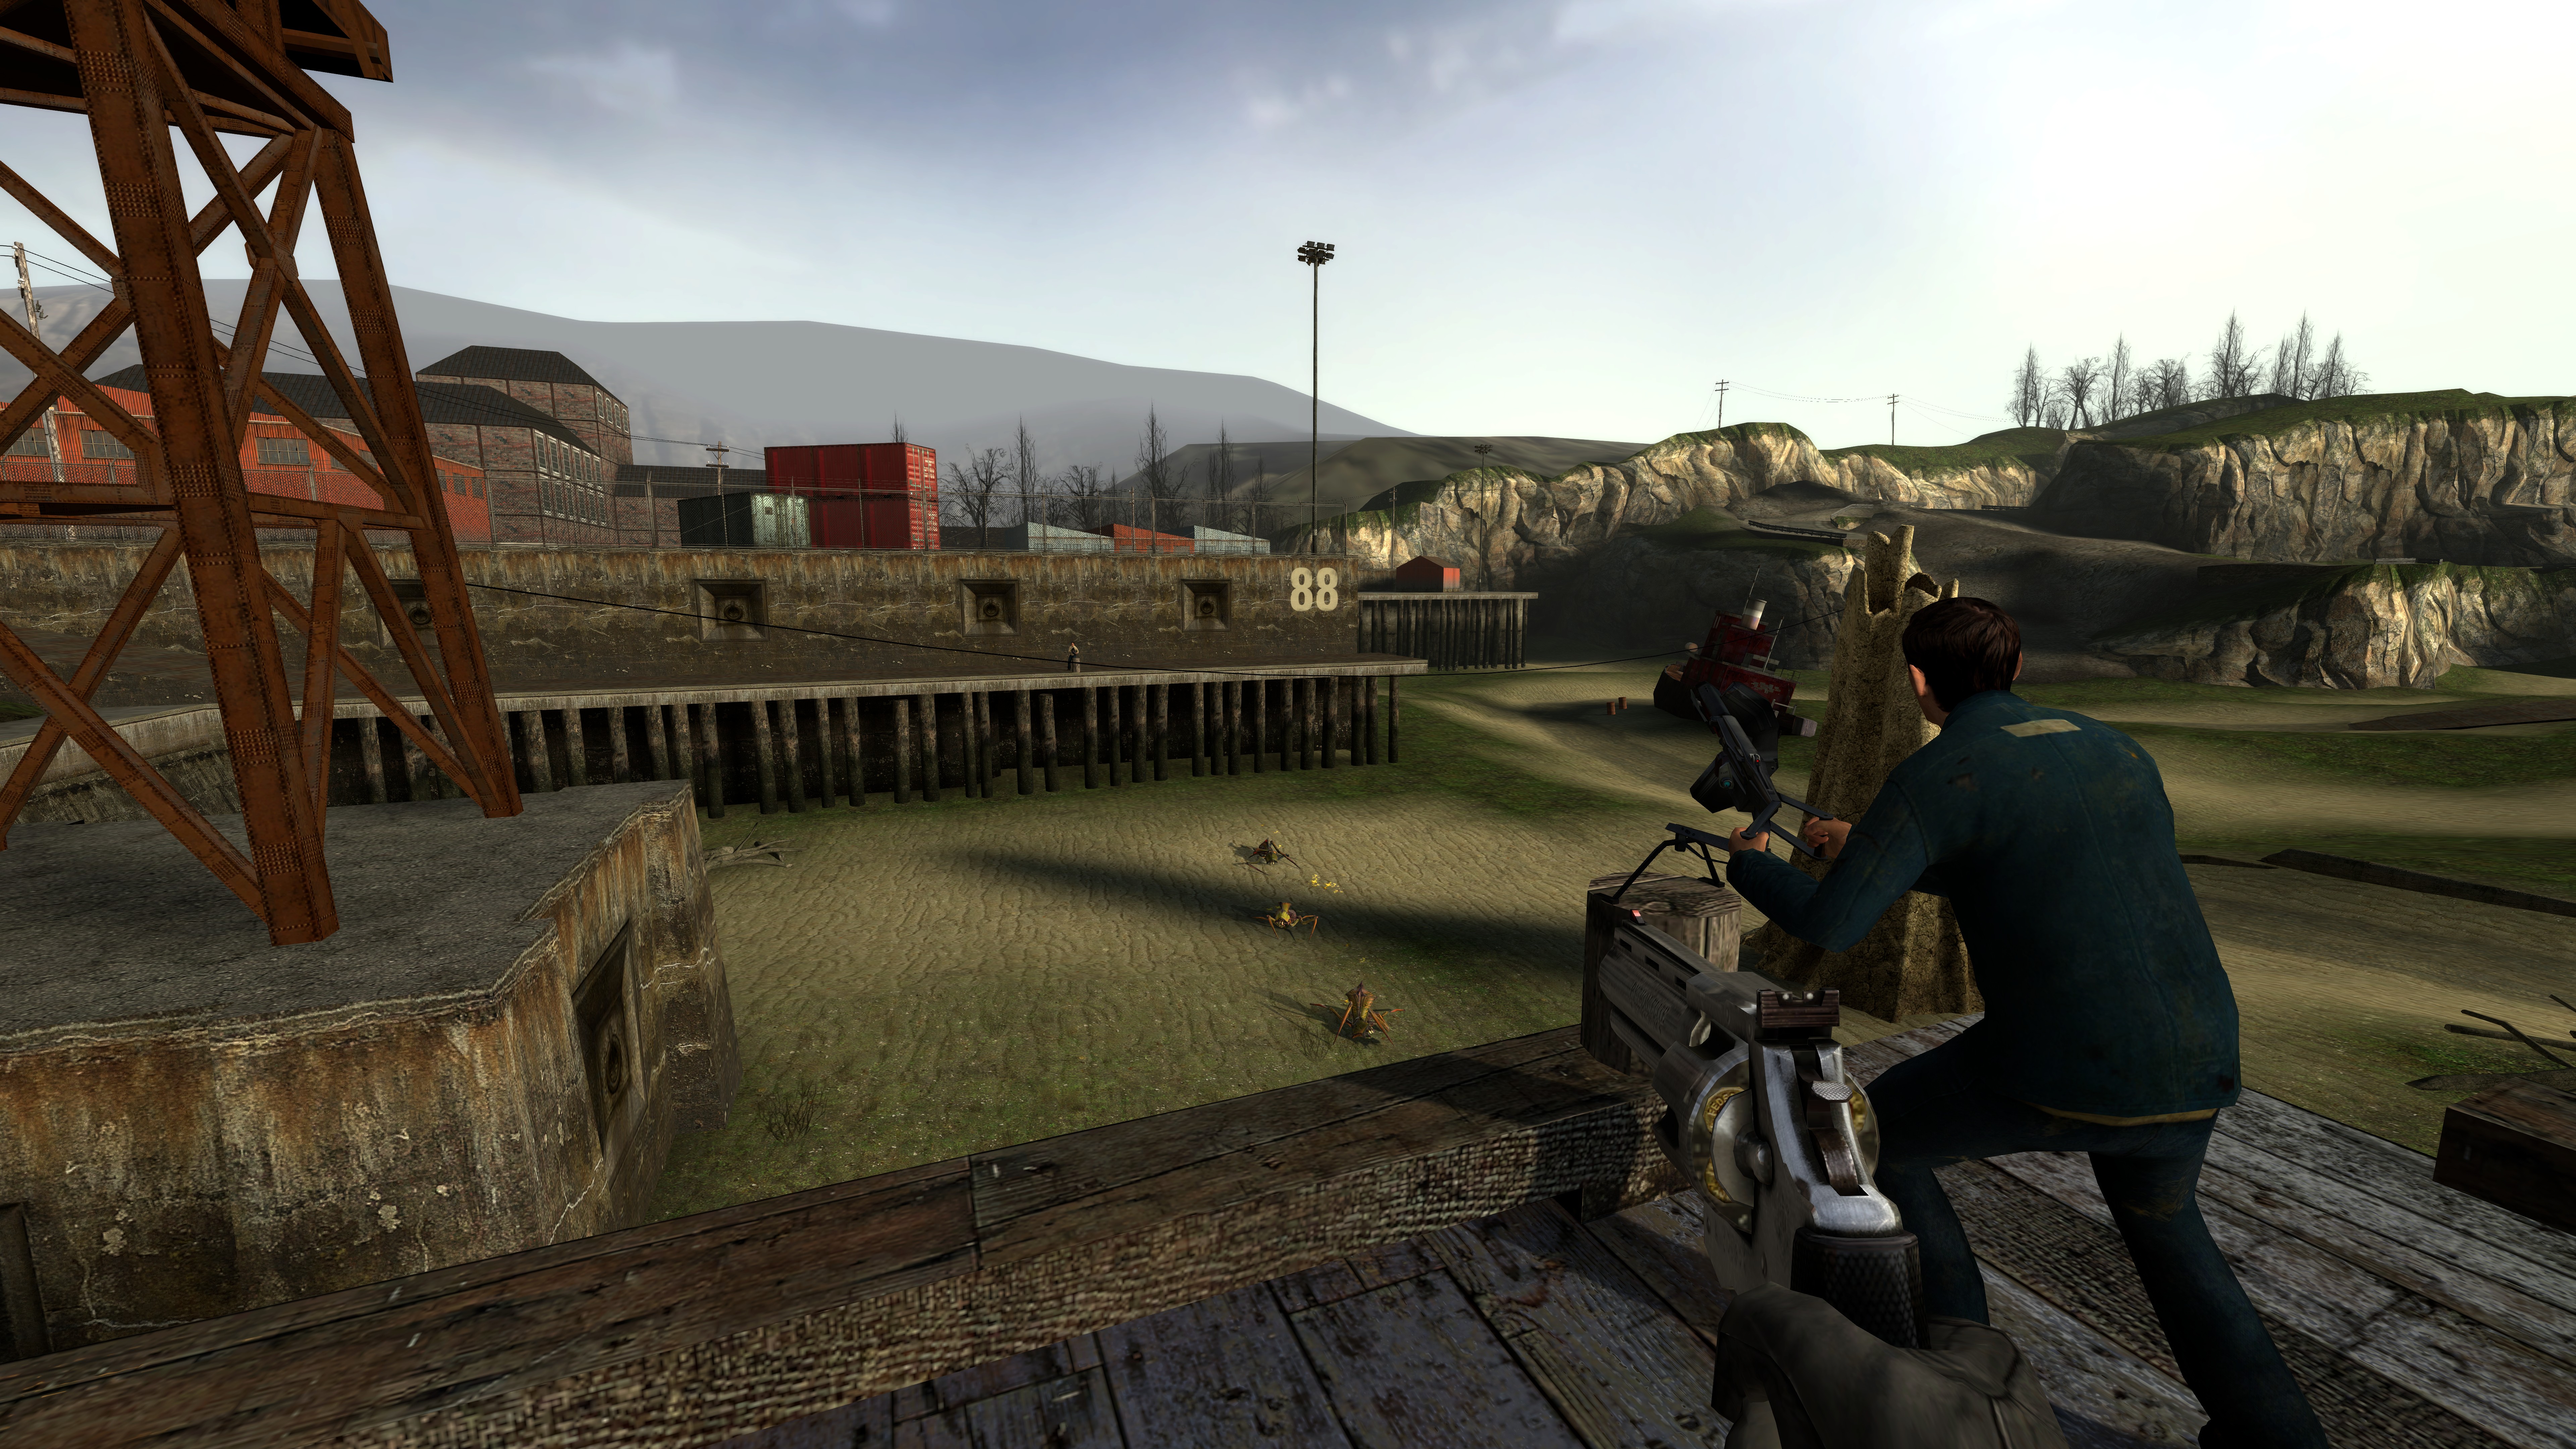
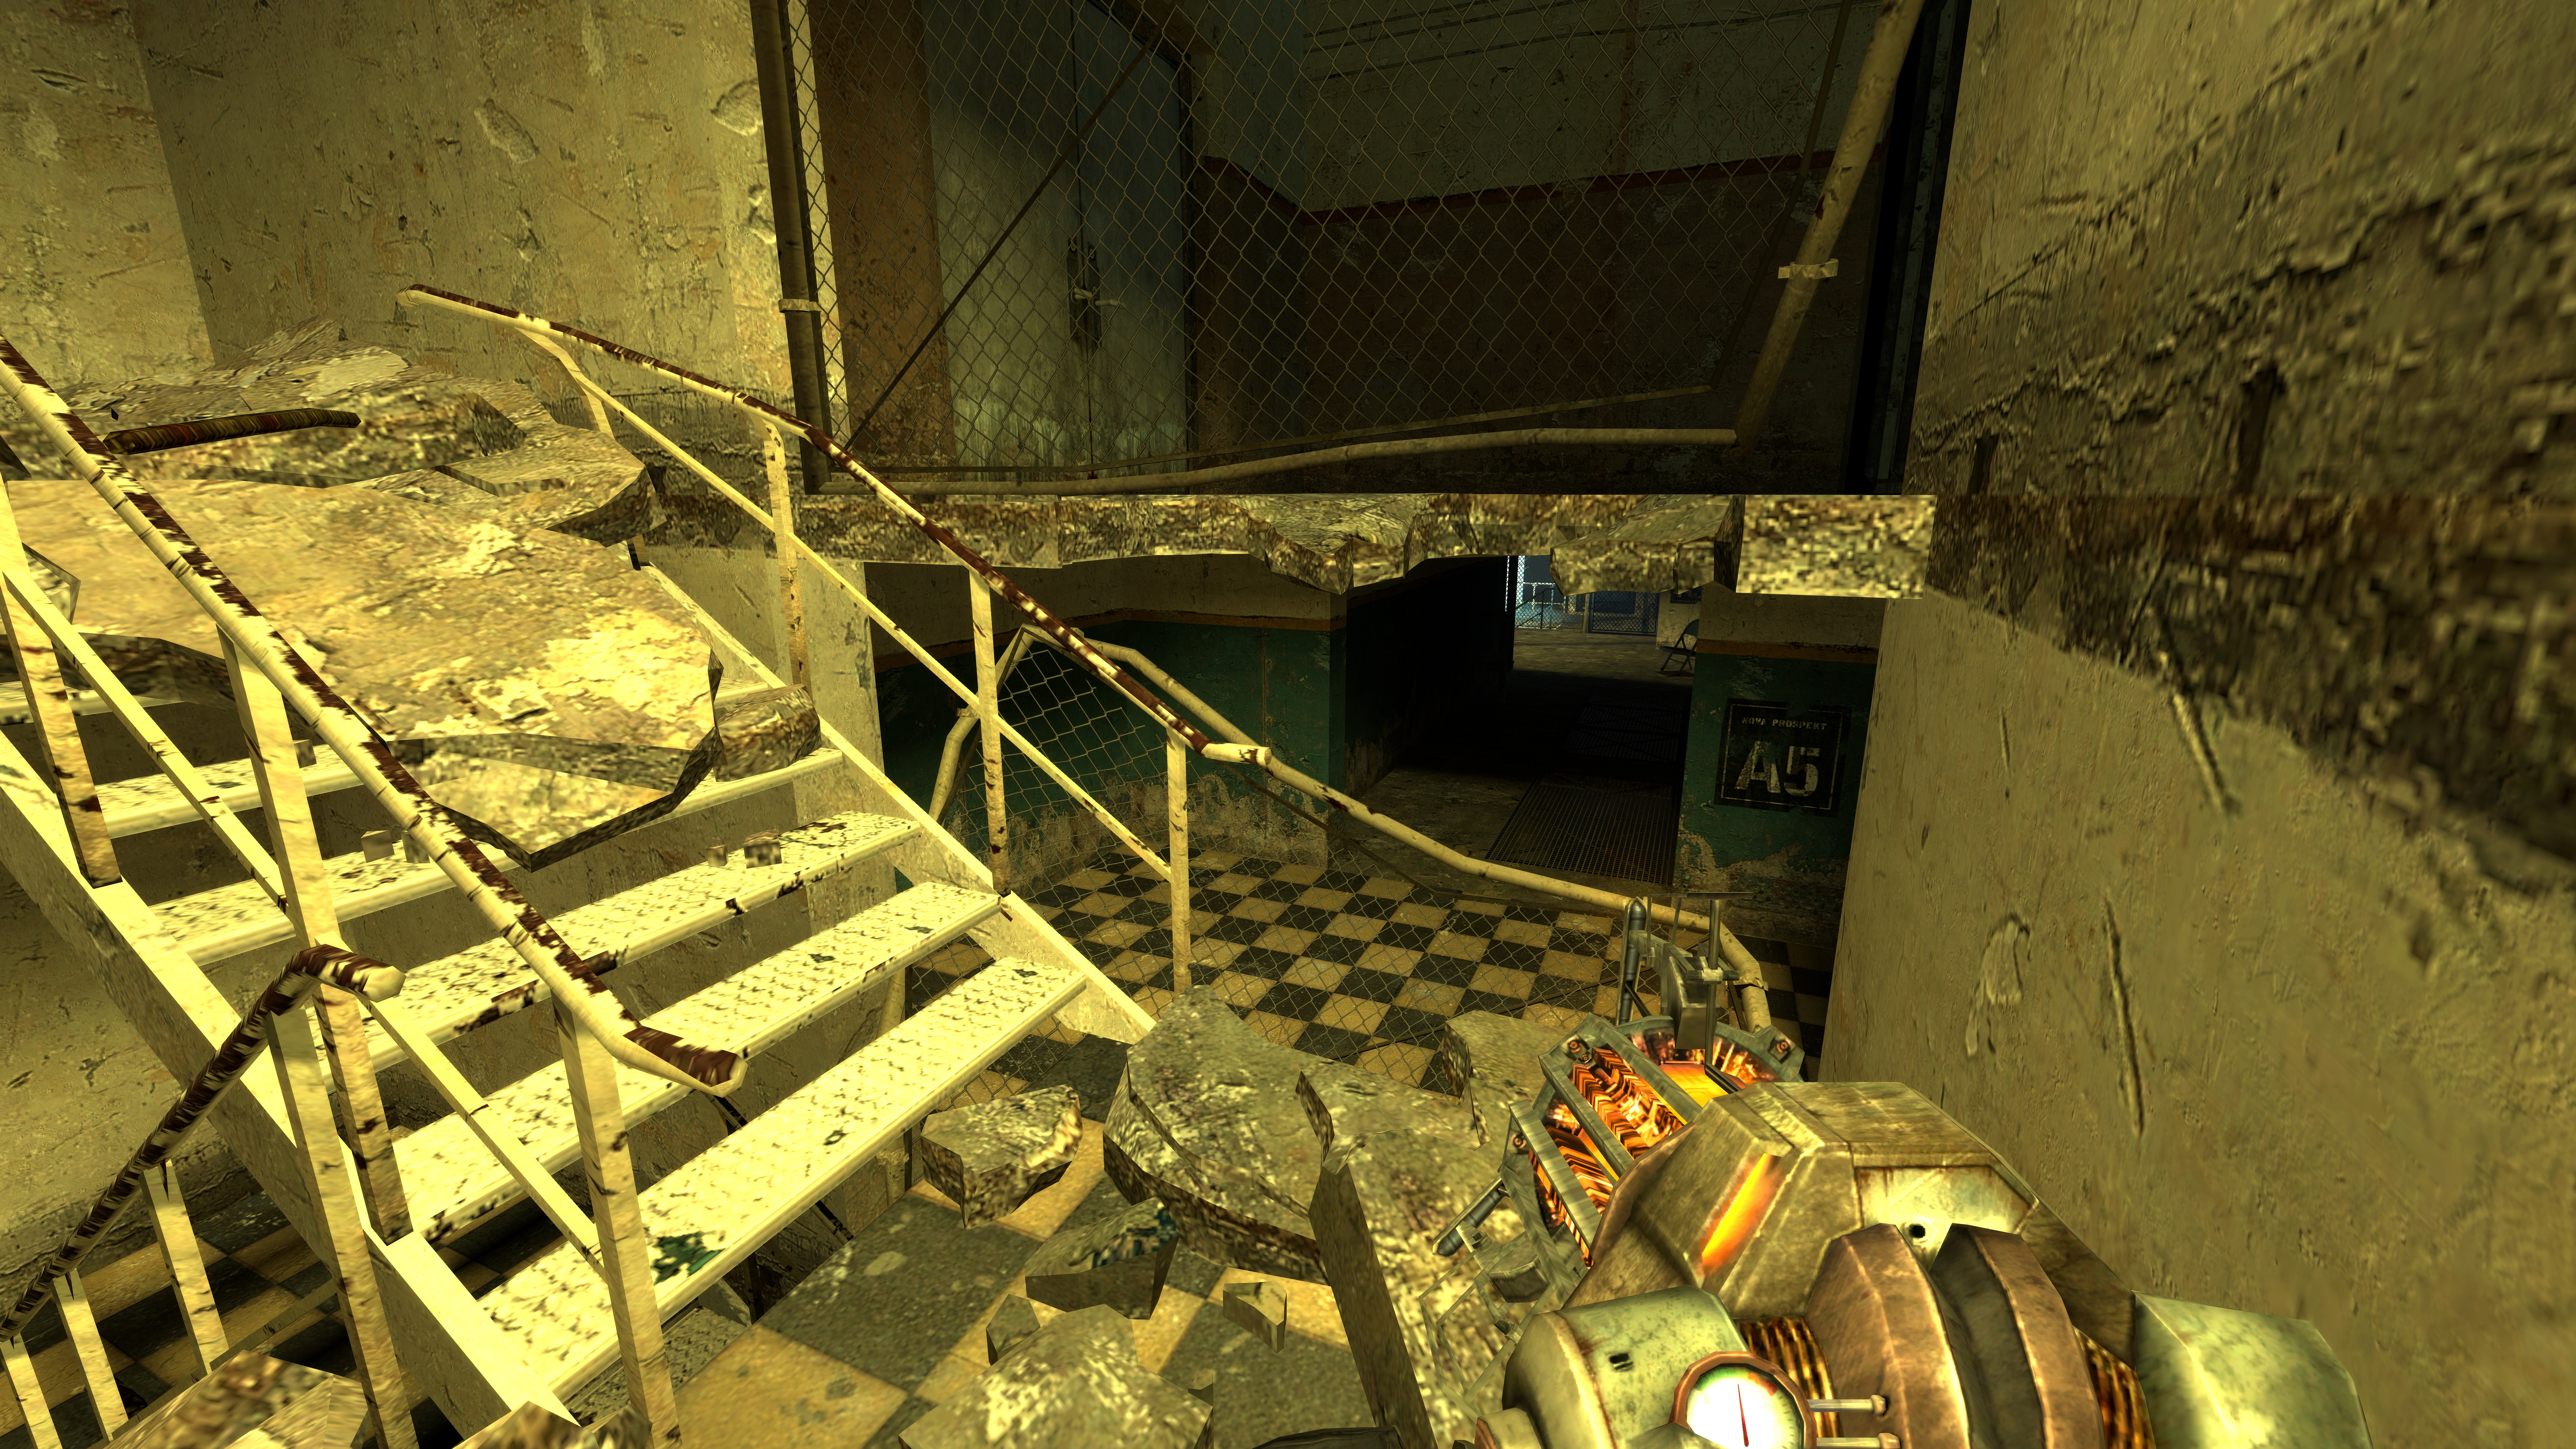
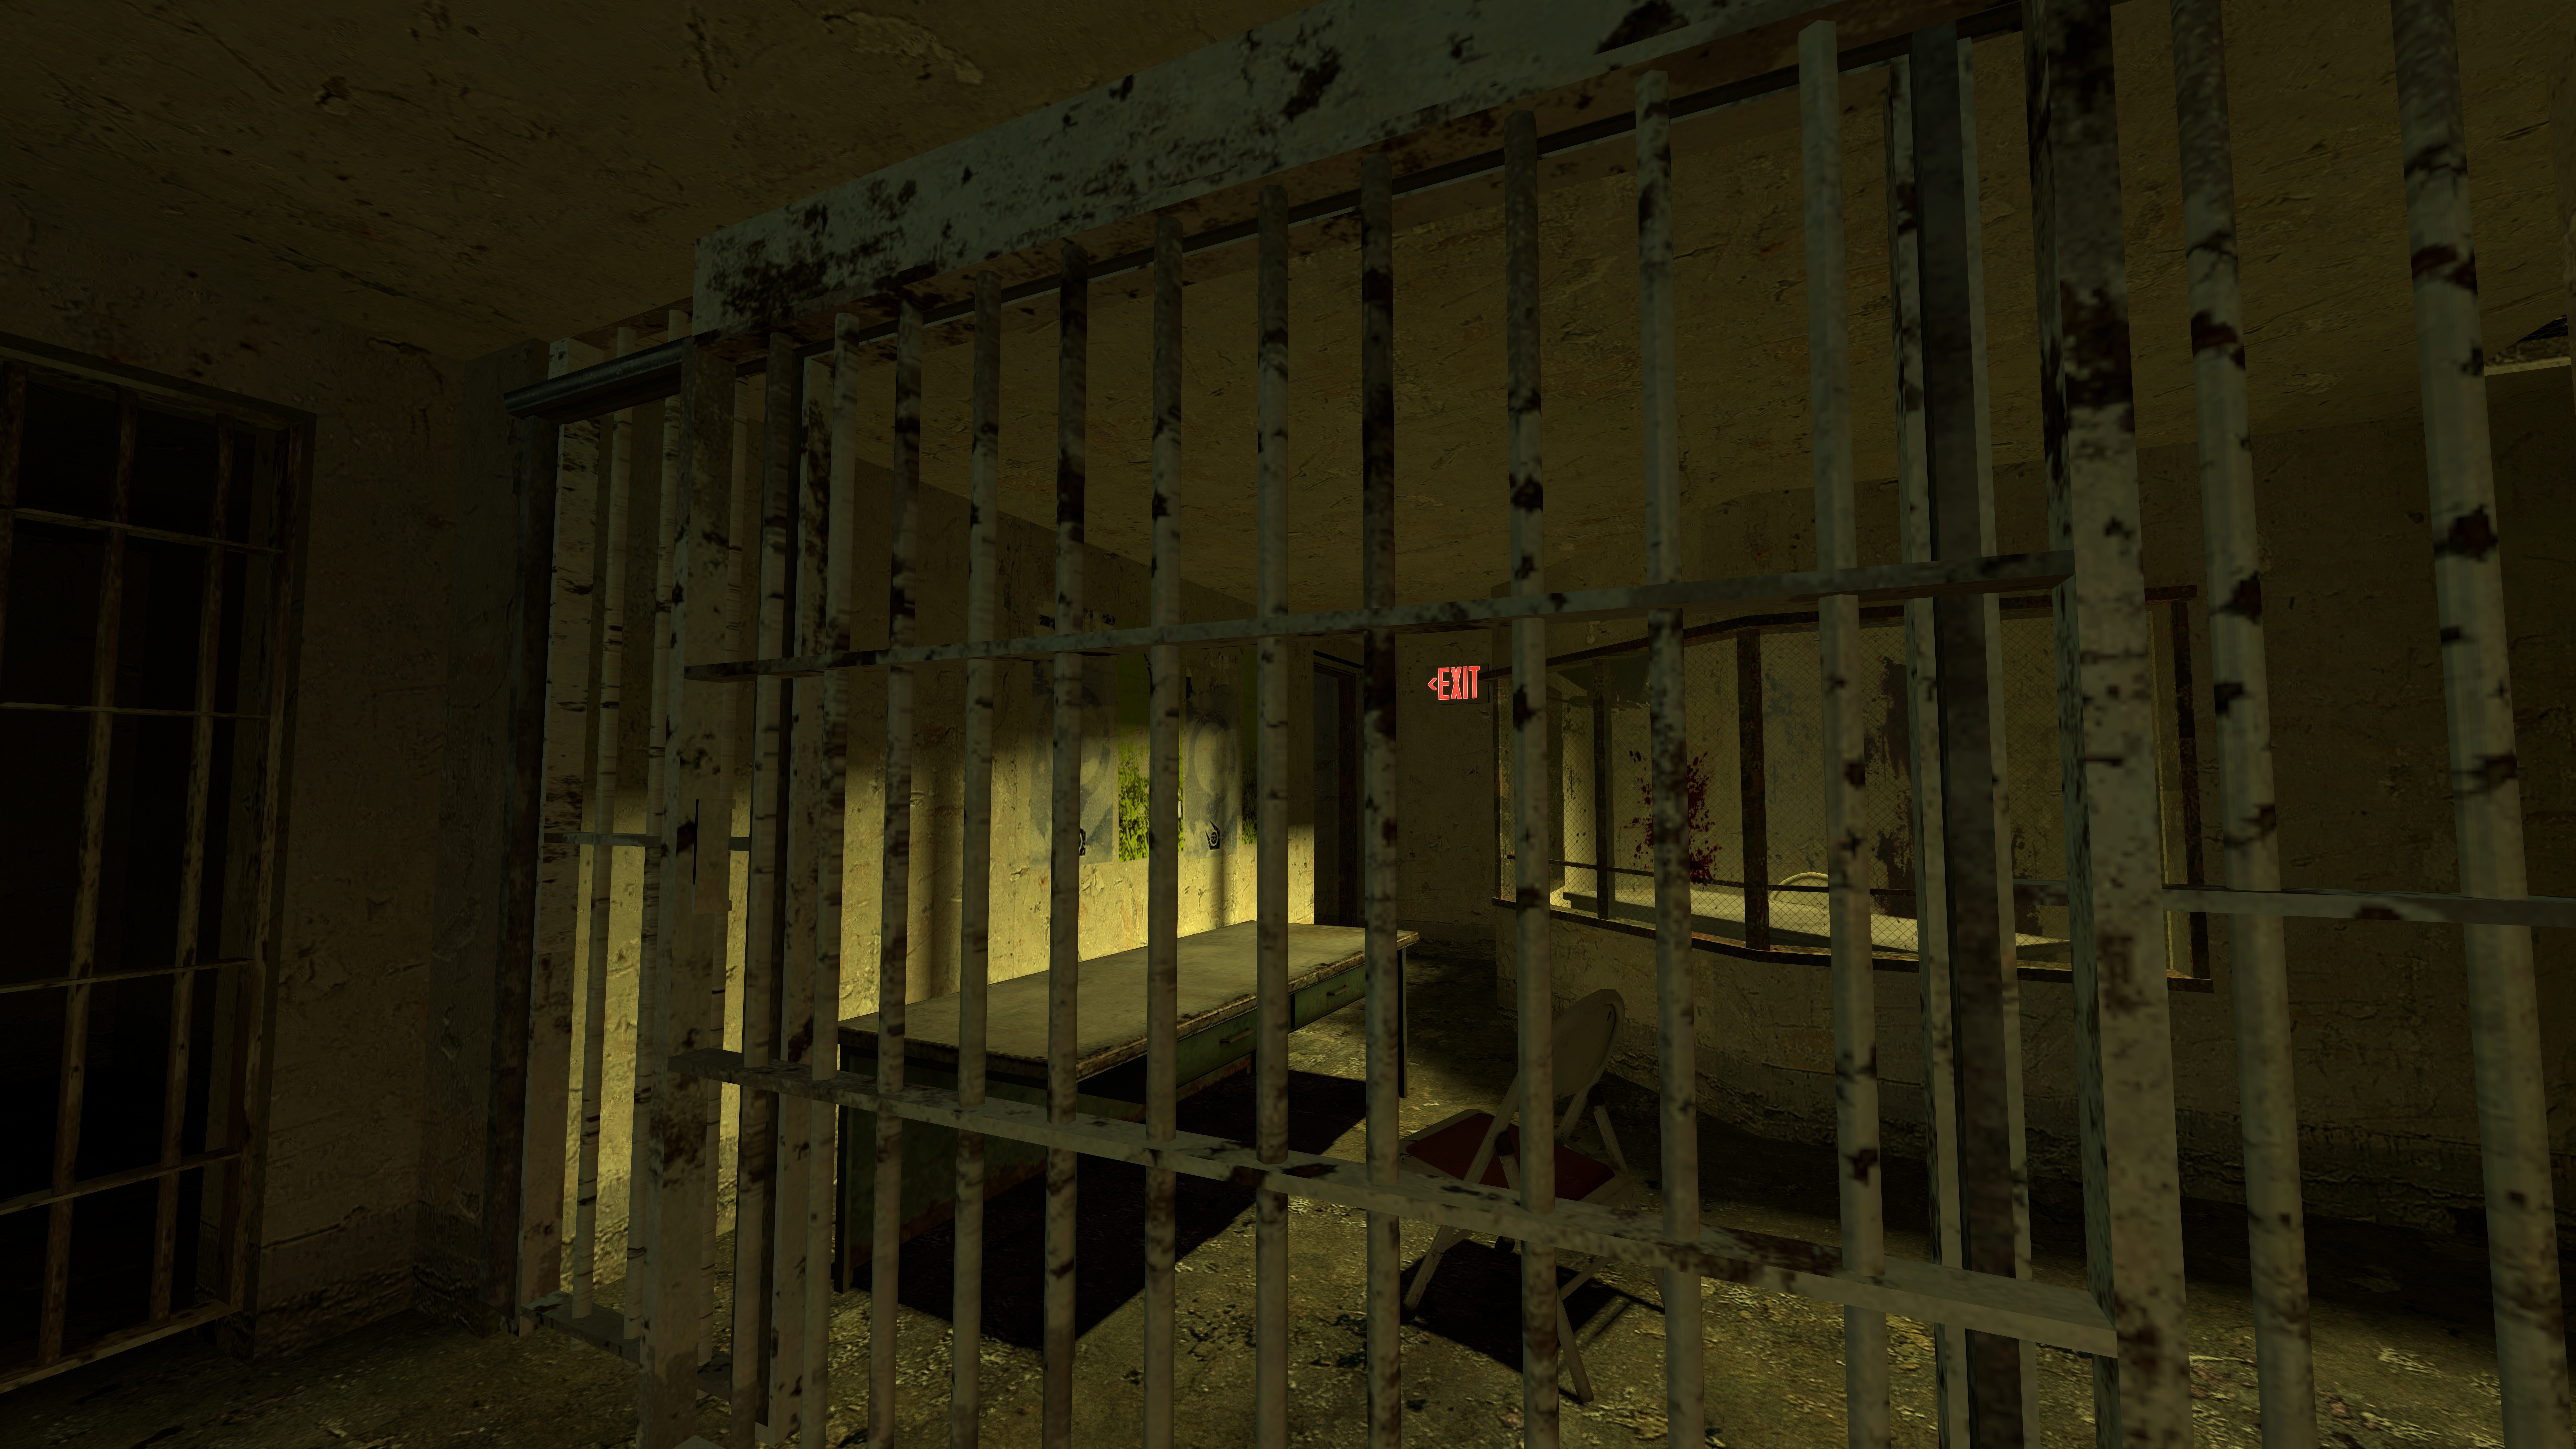
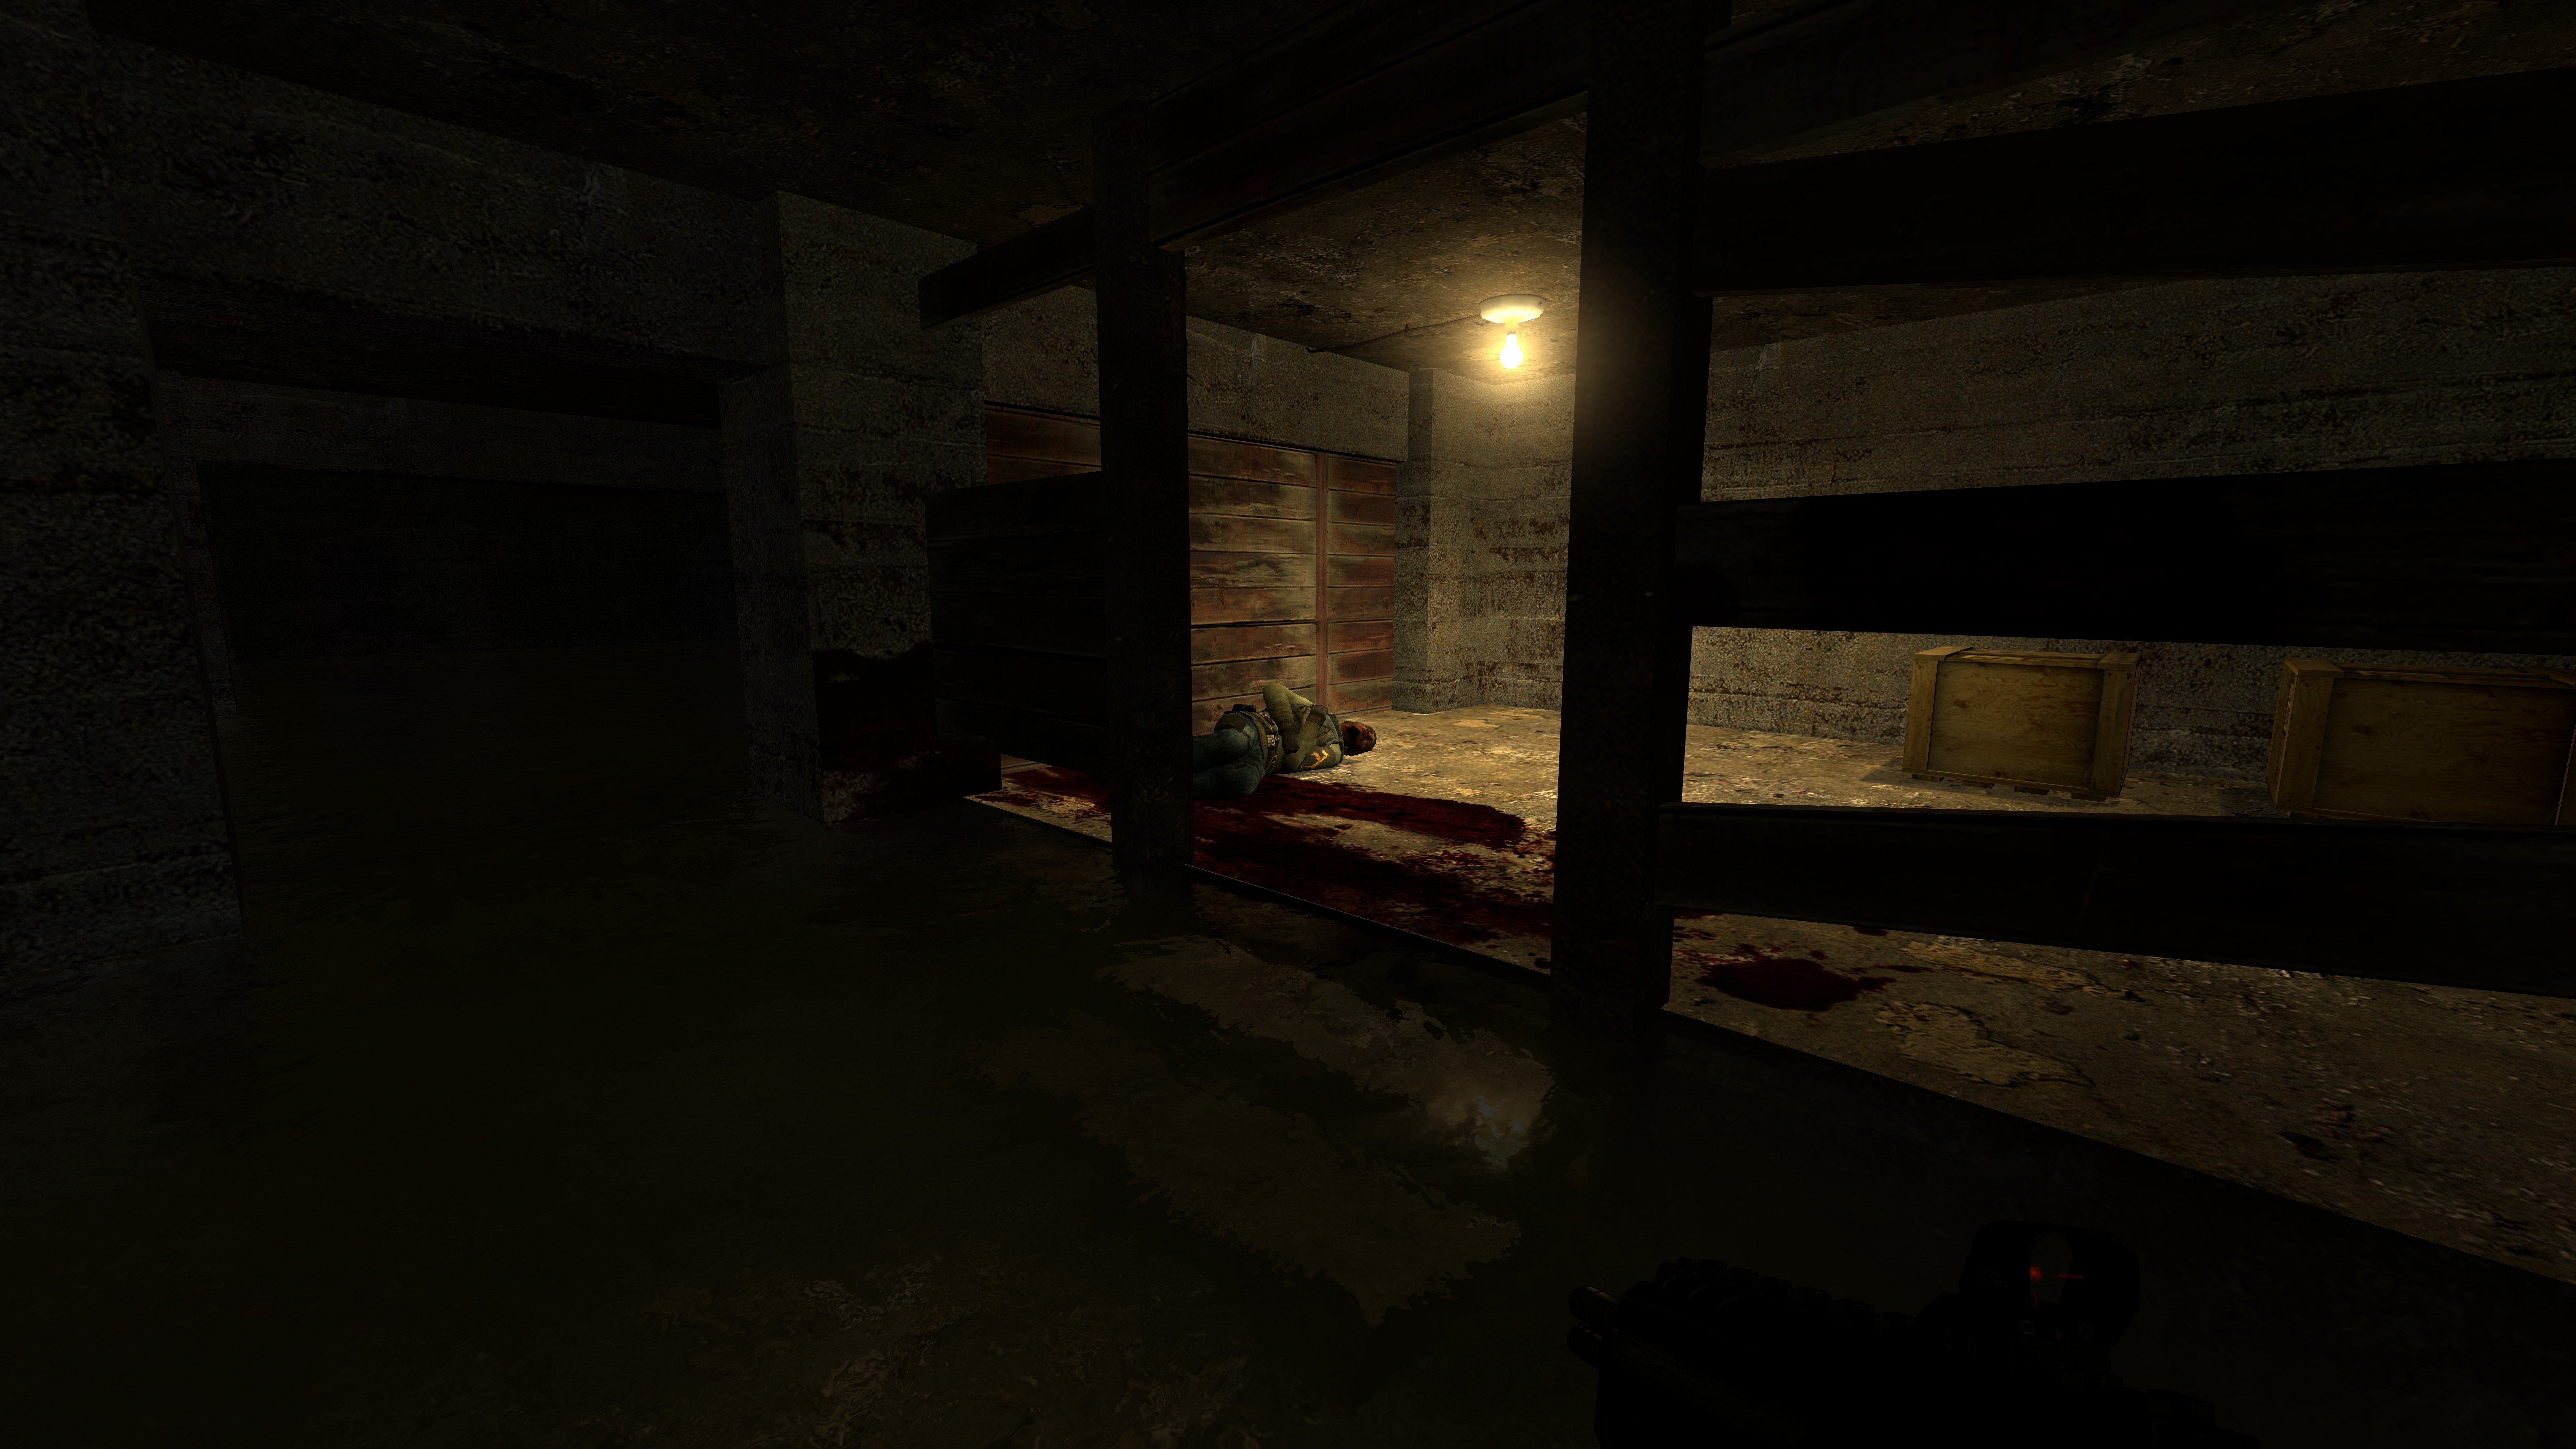
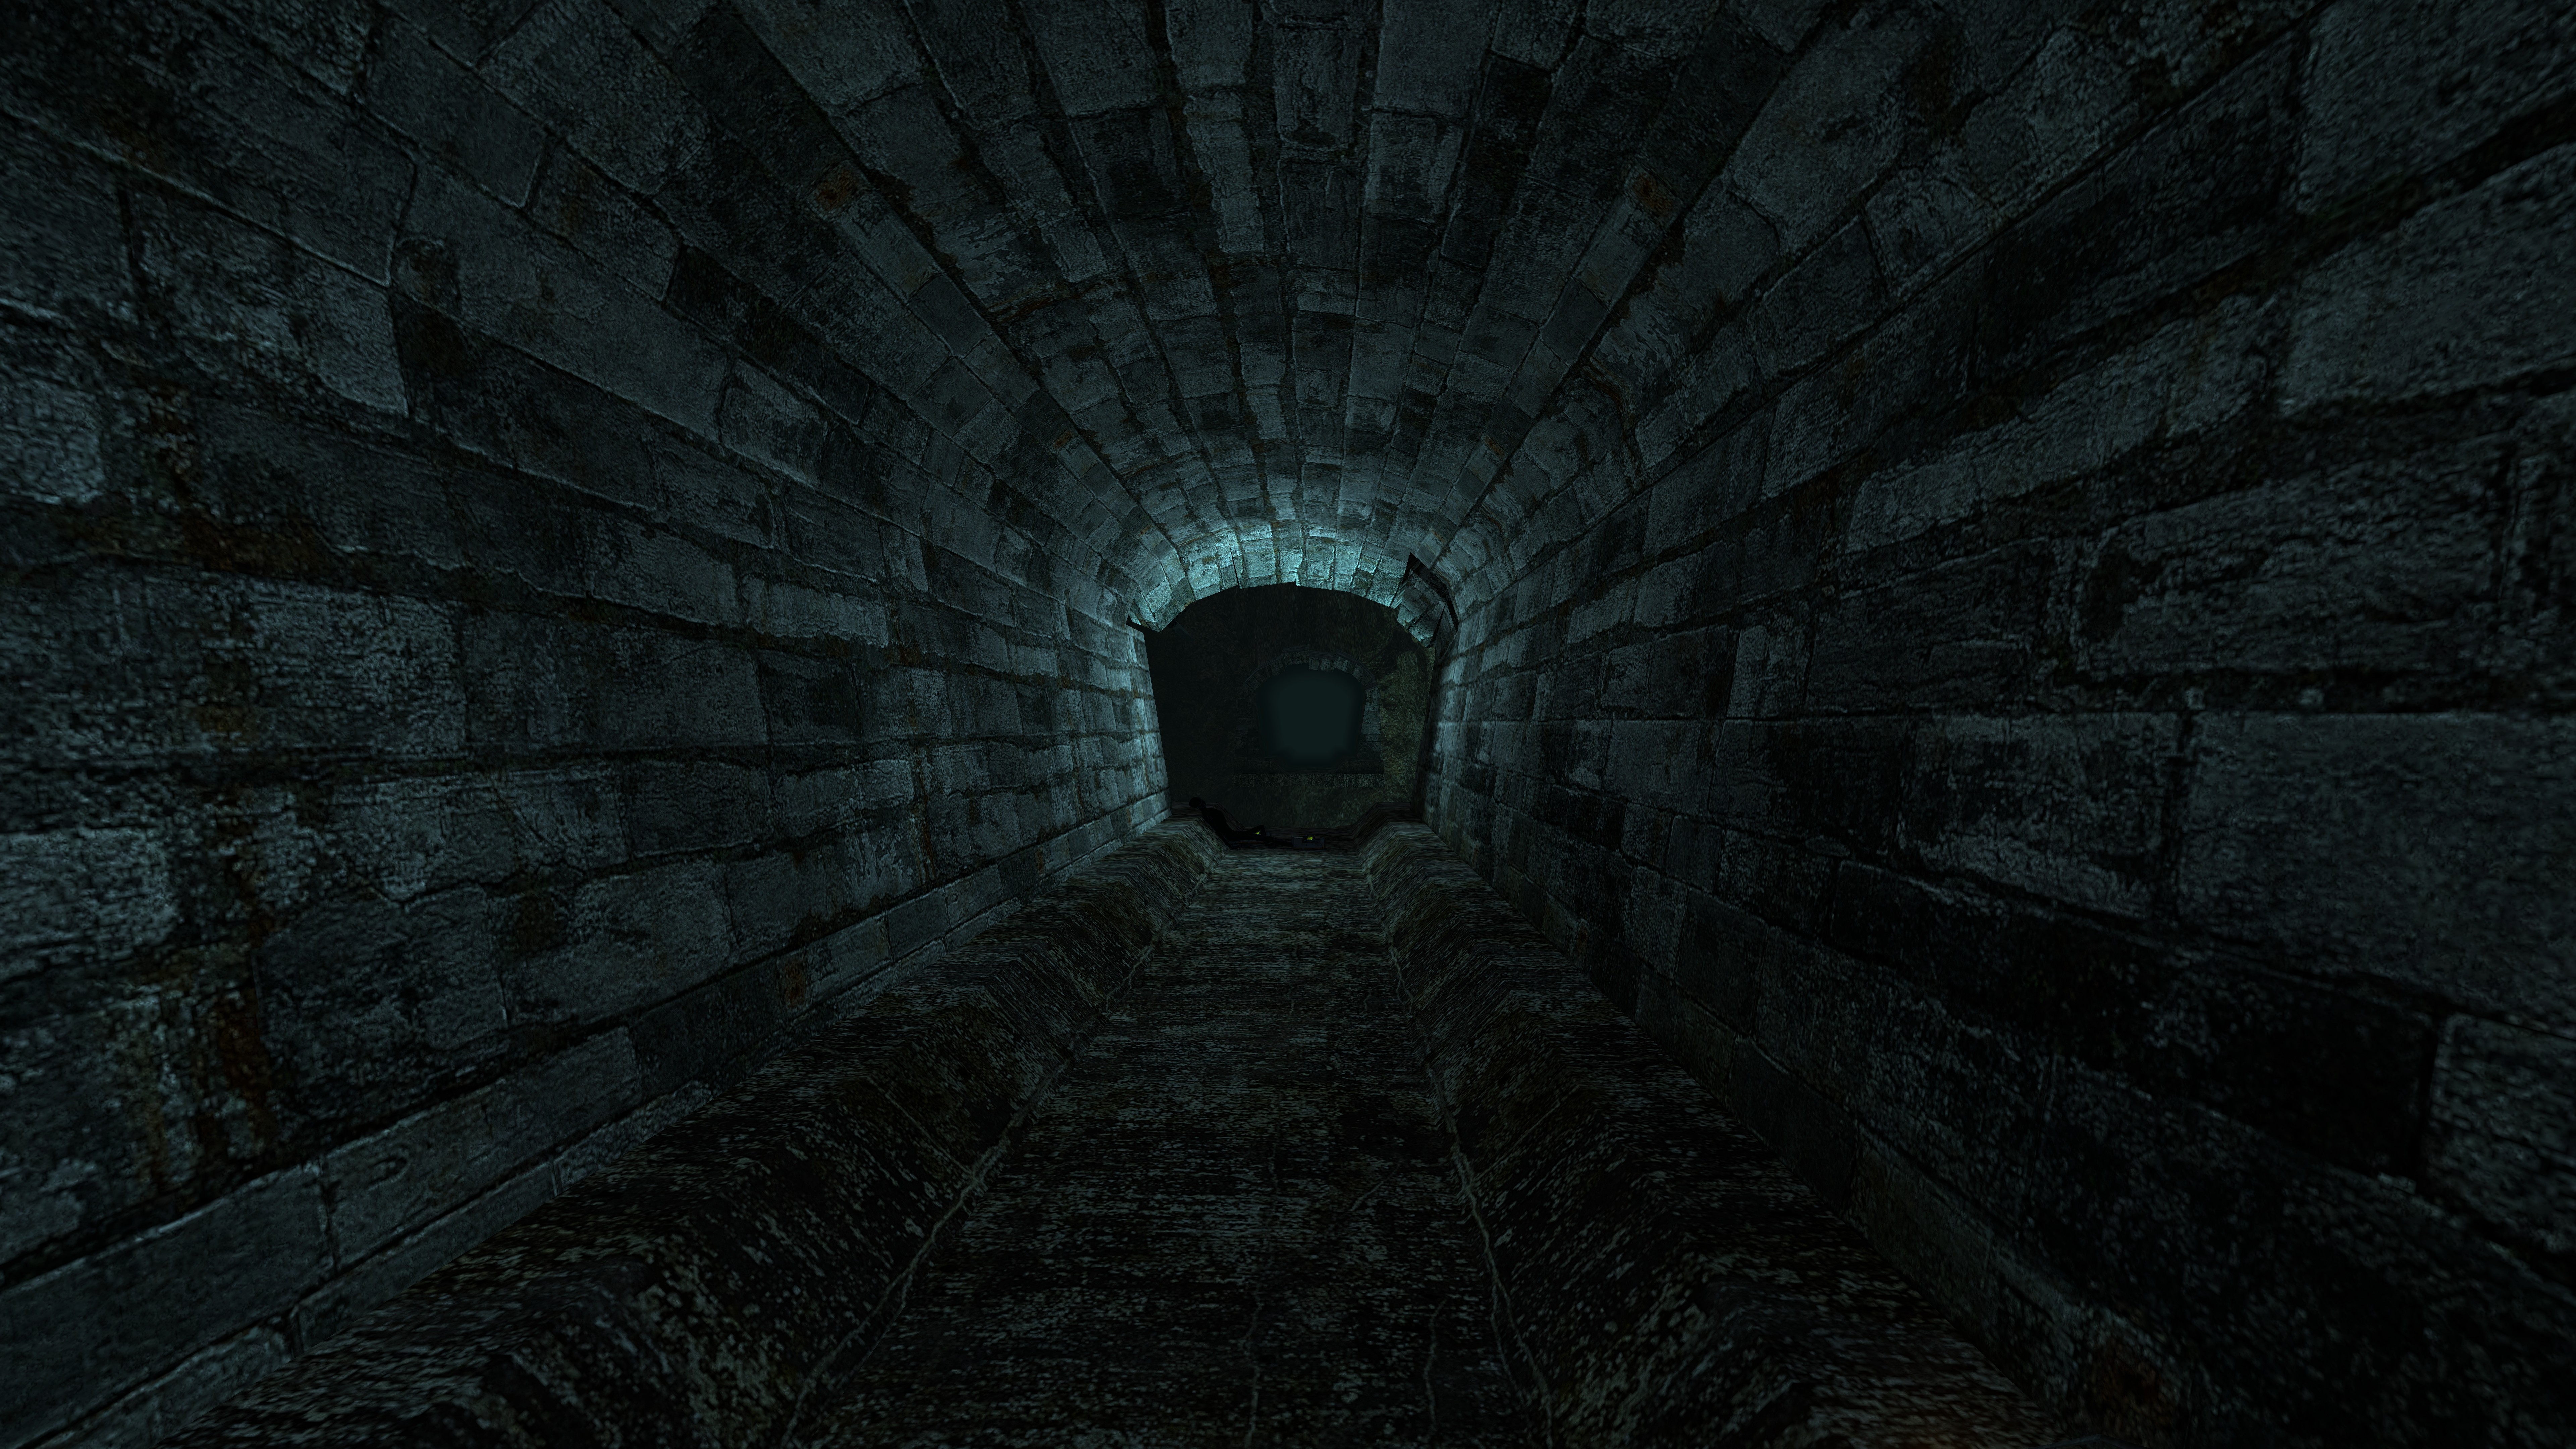
Half-Life 2 8K screenshot gallery
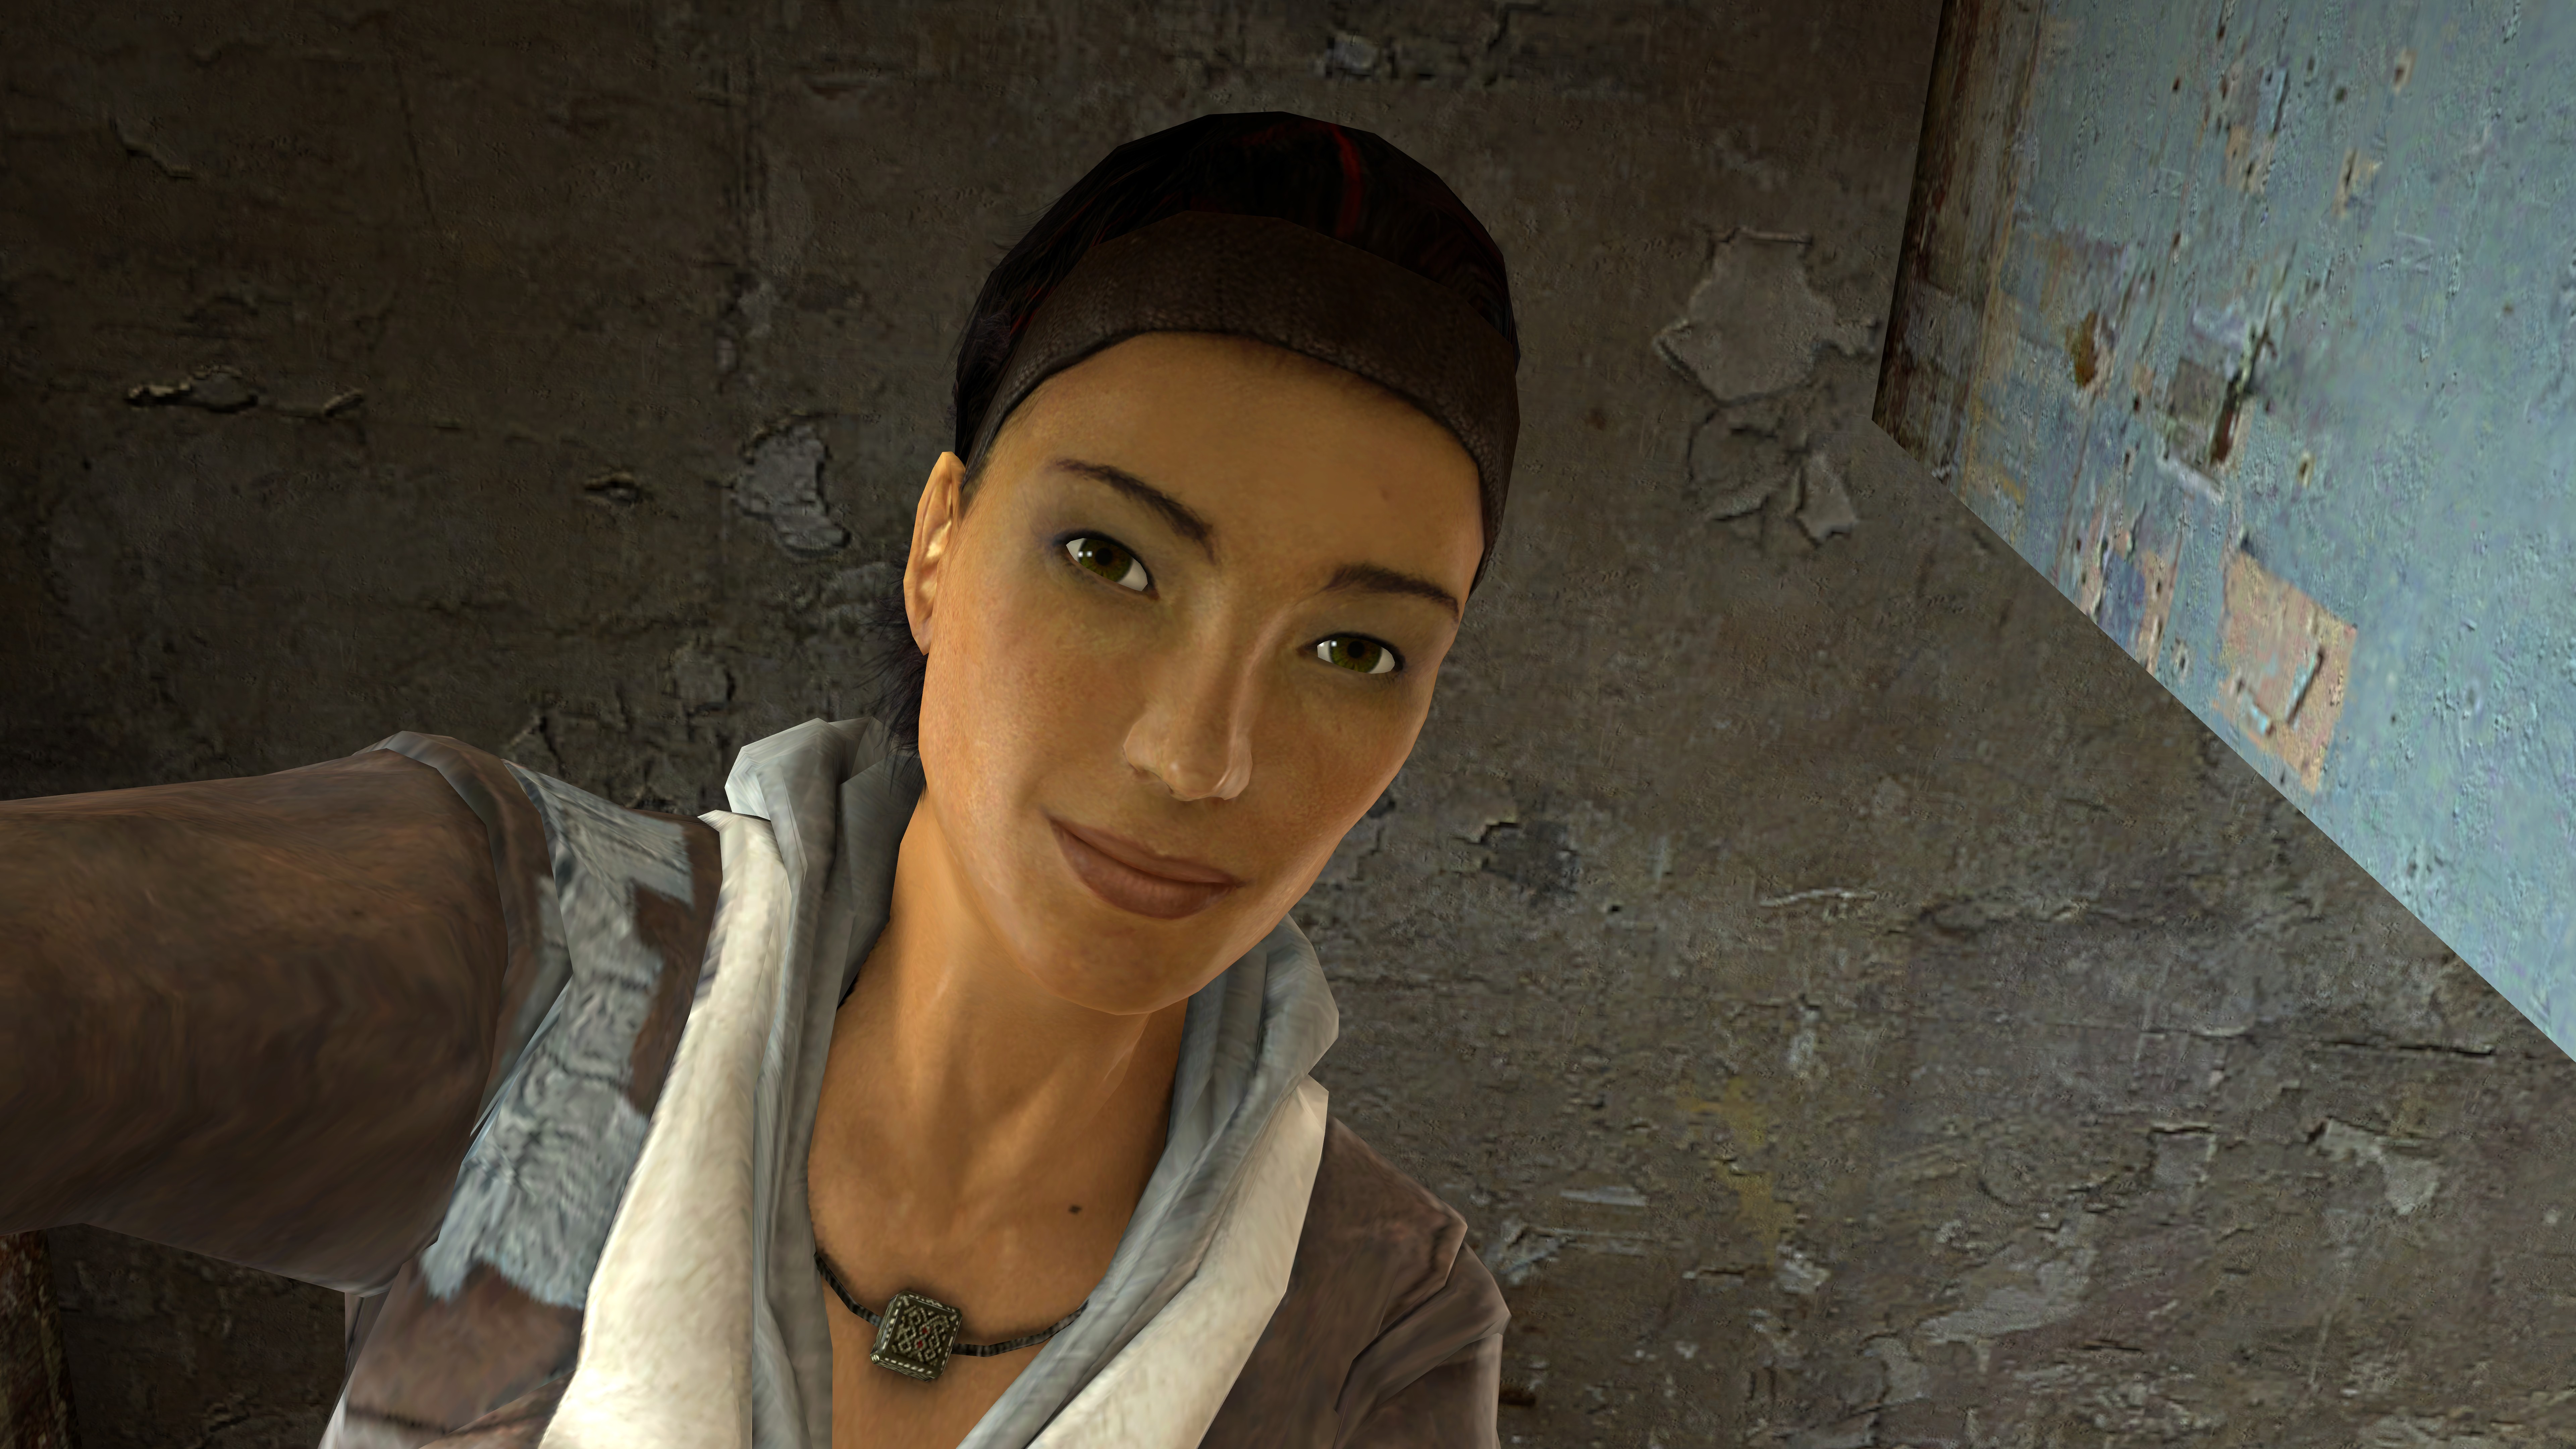
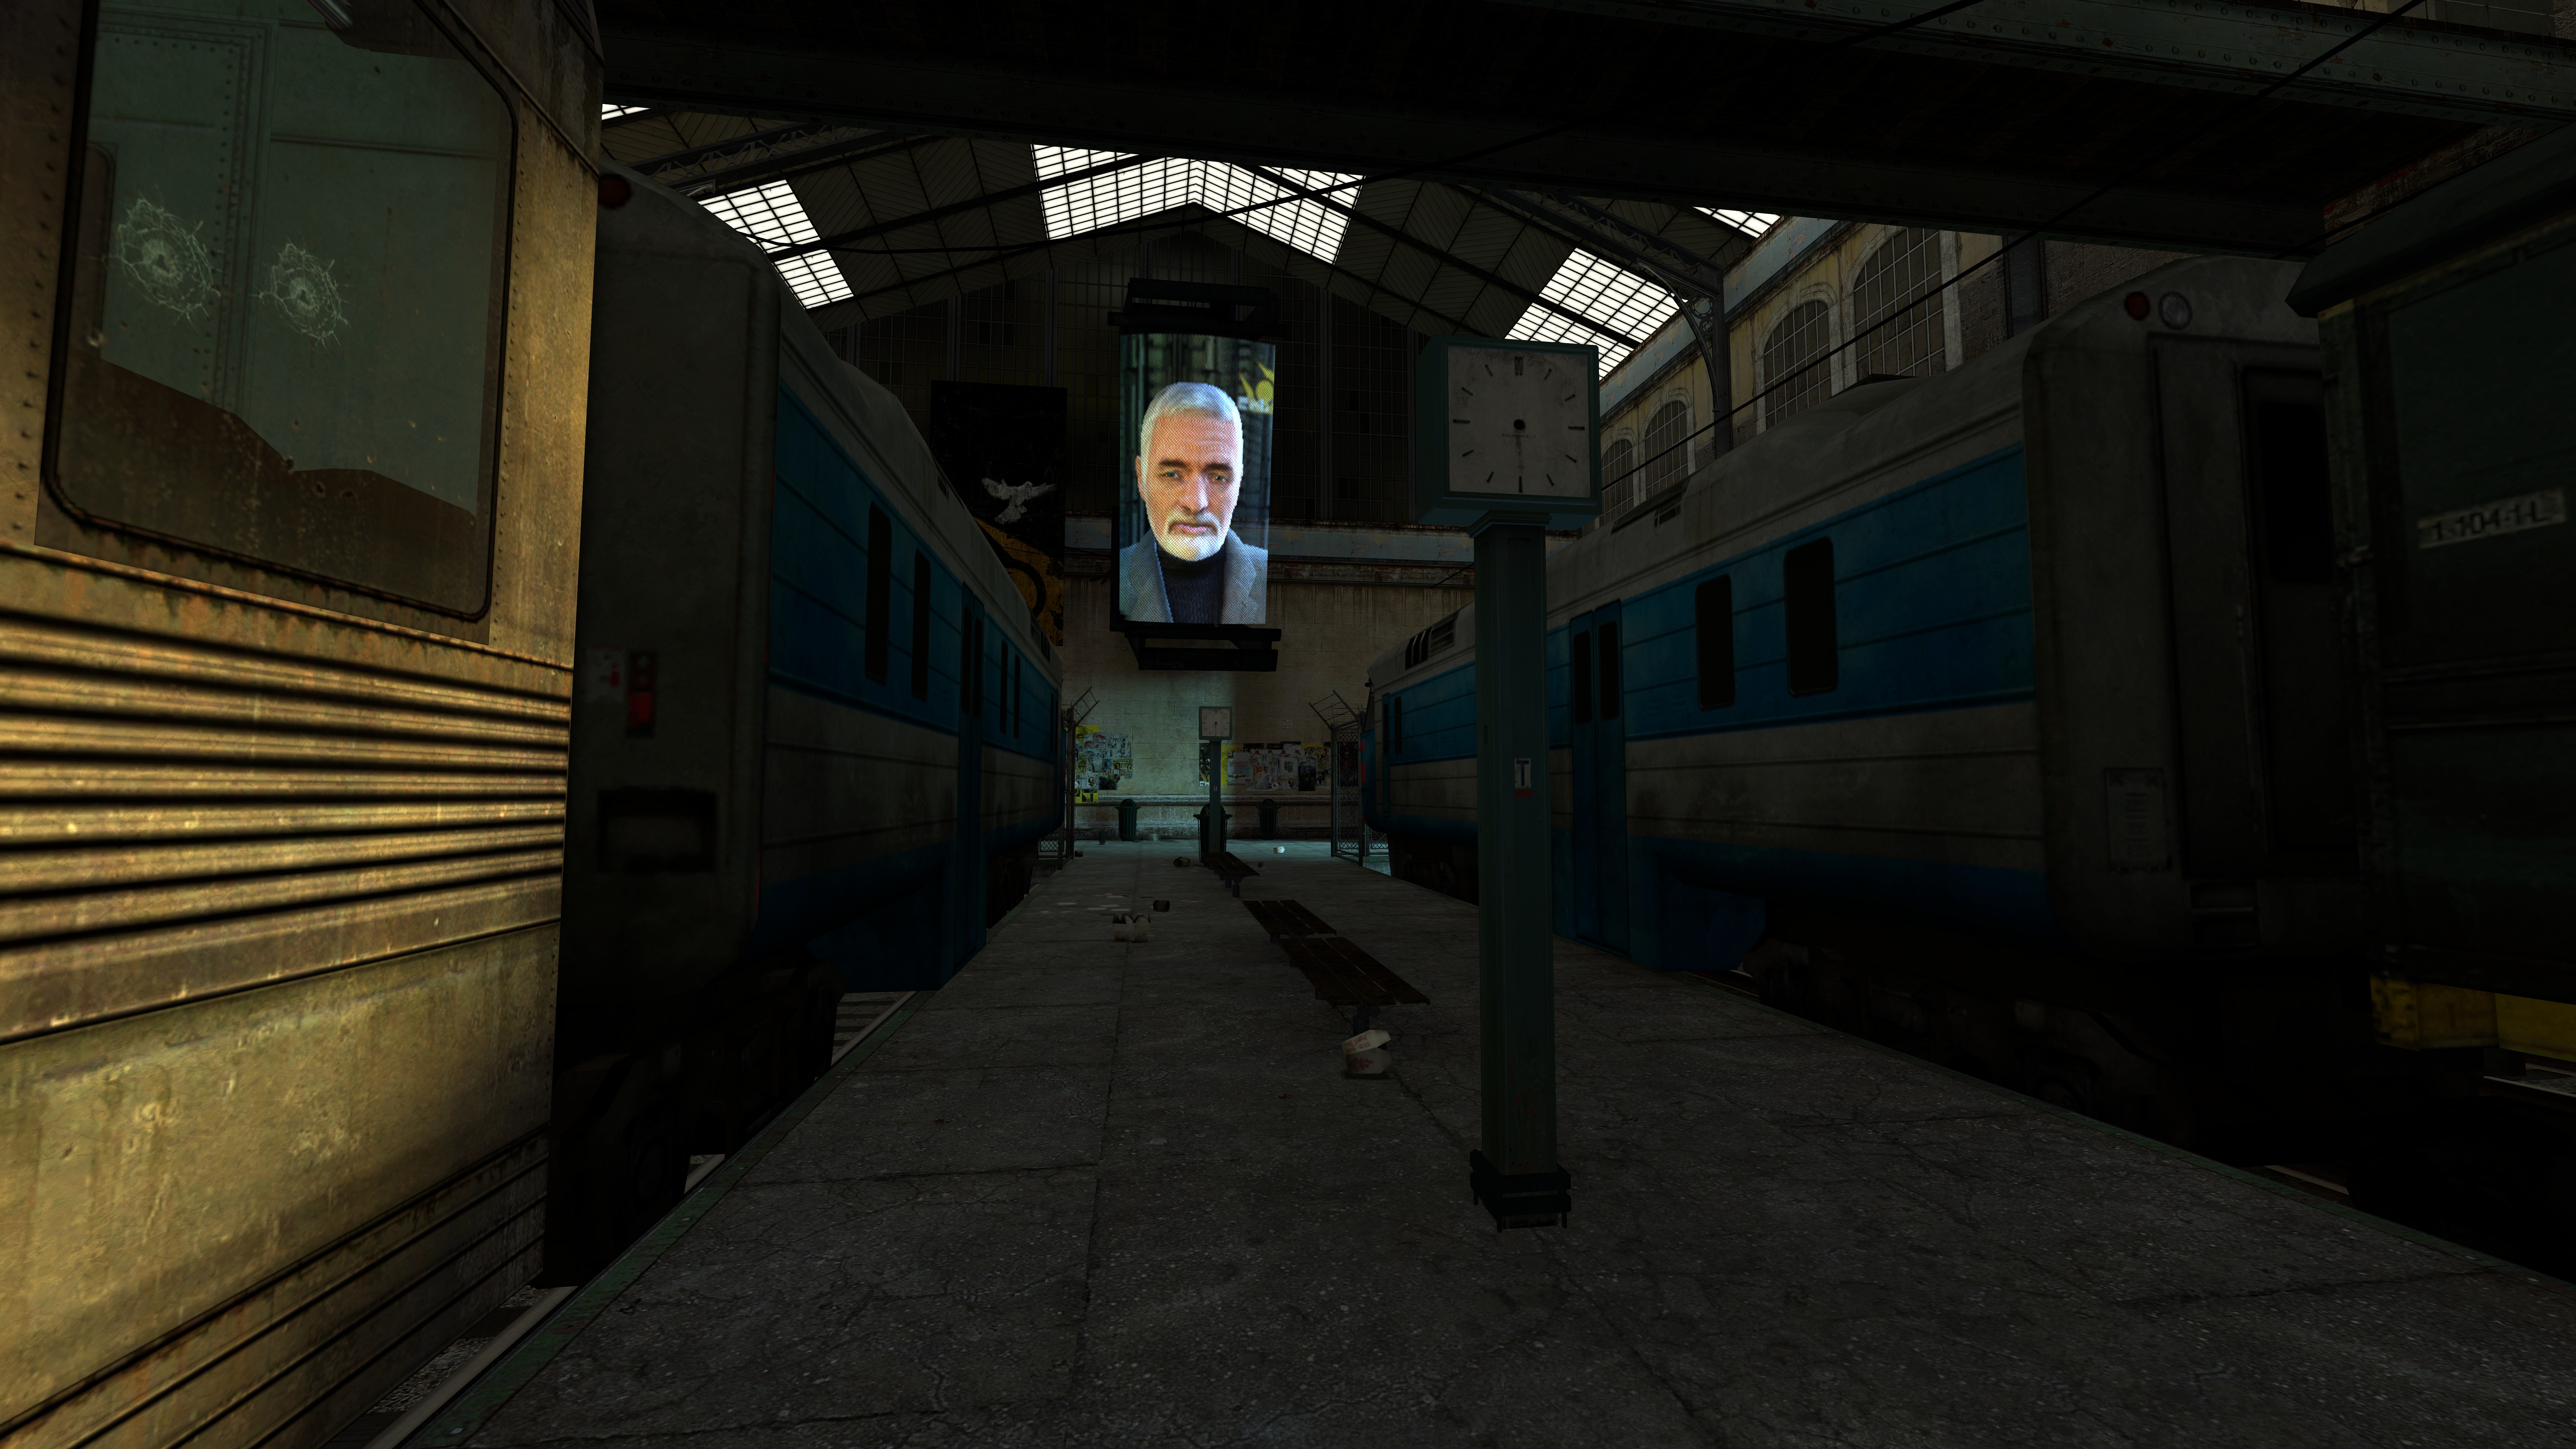
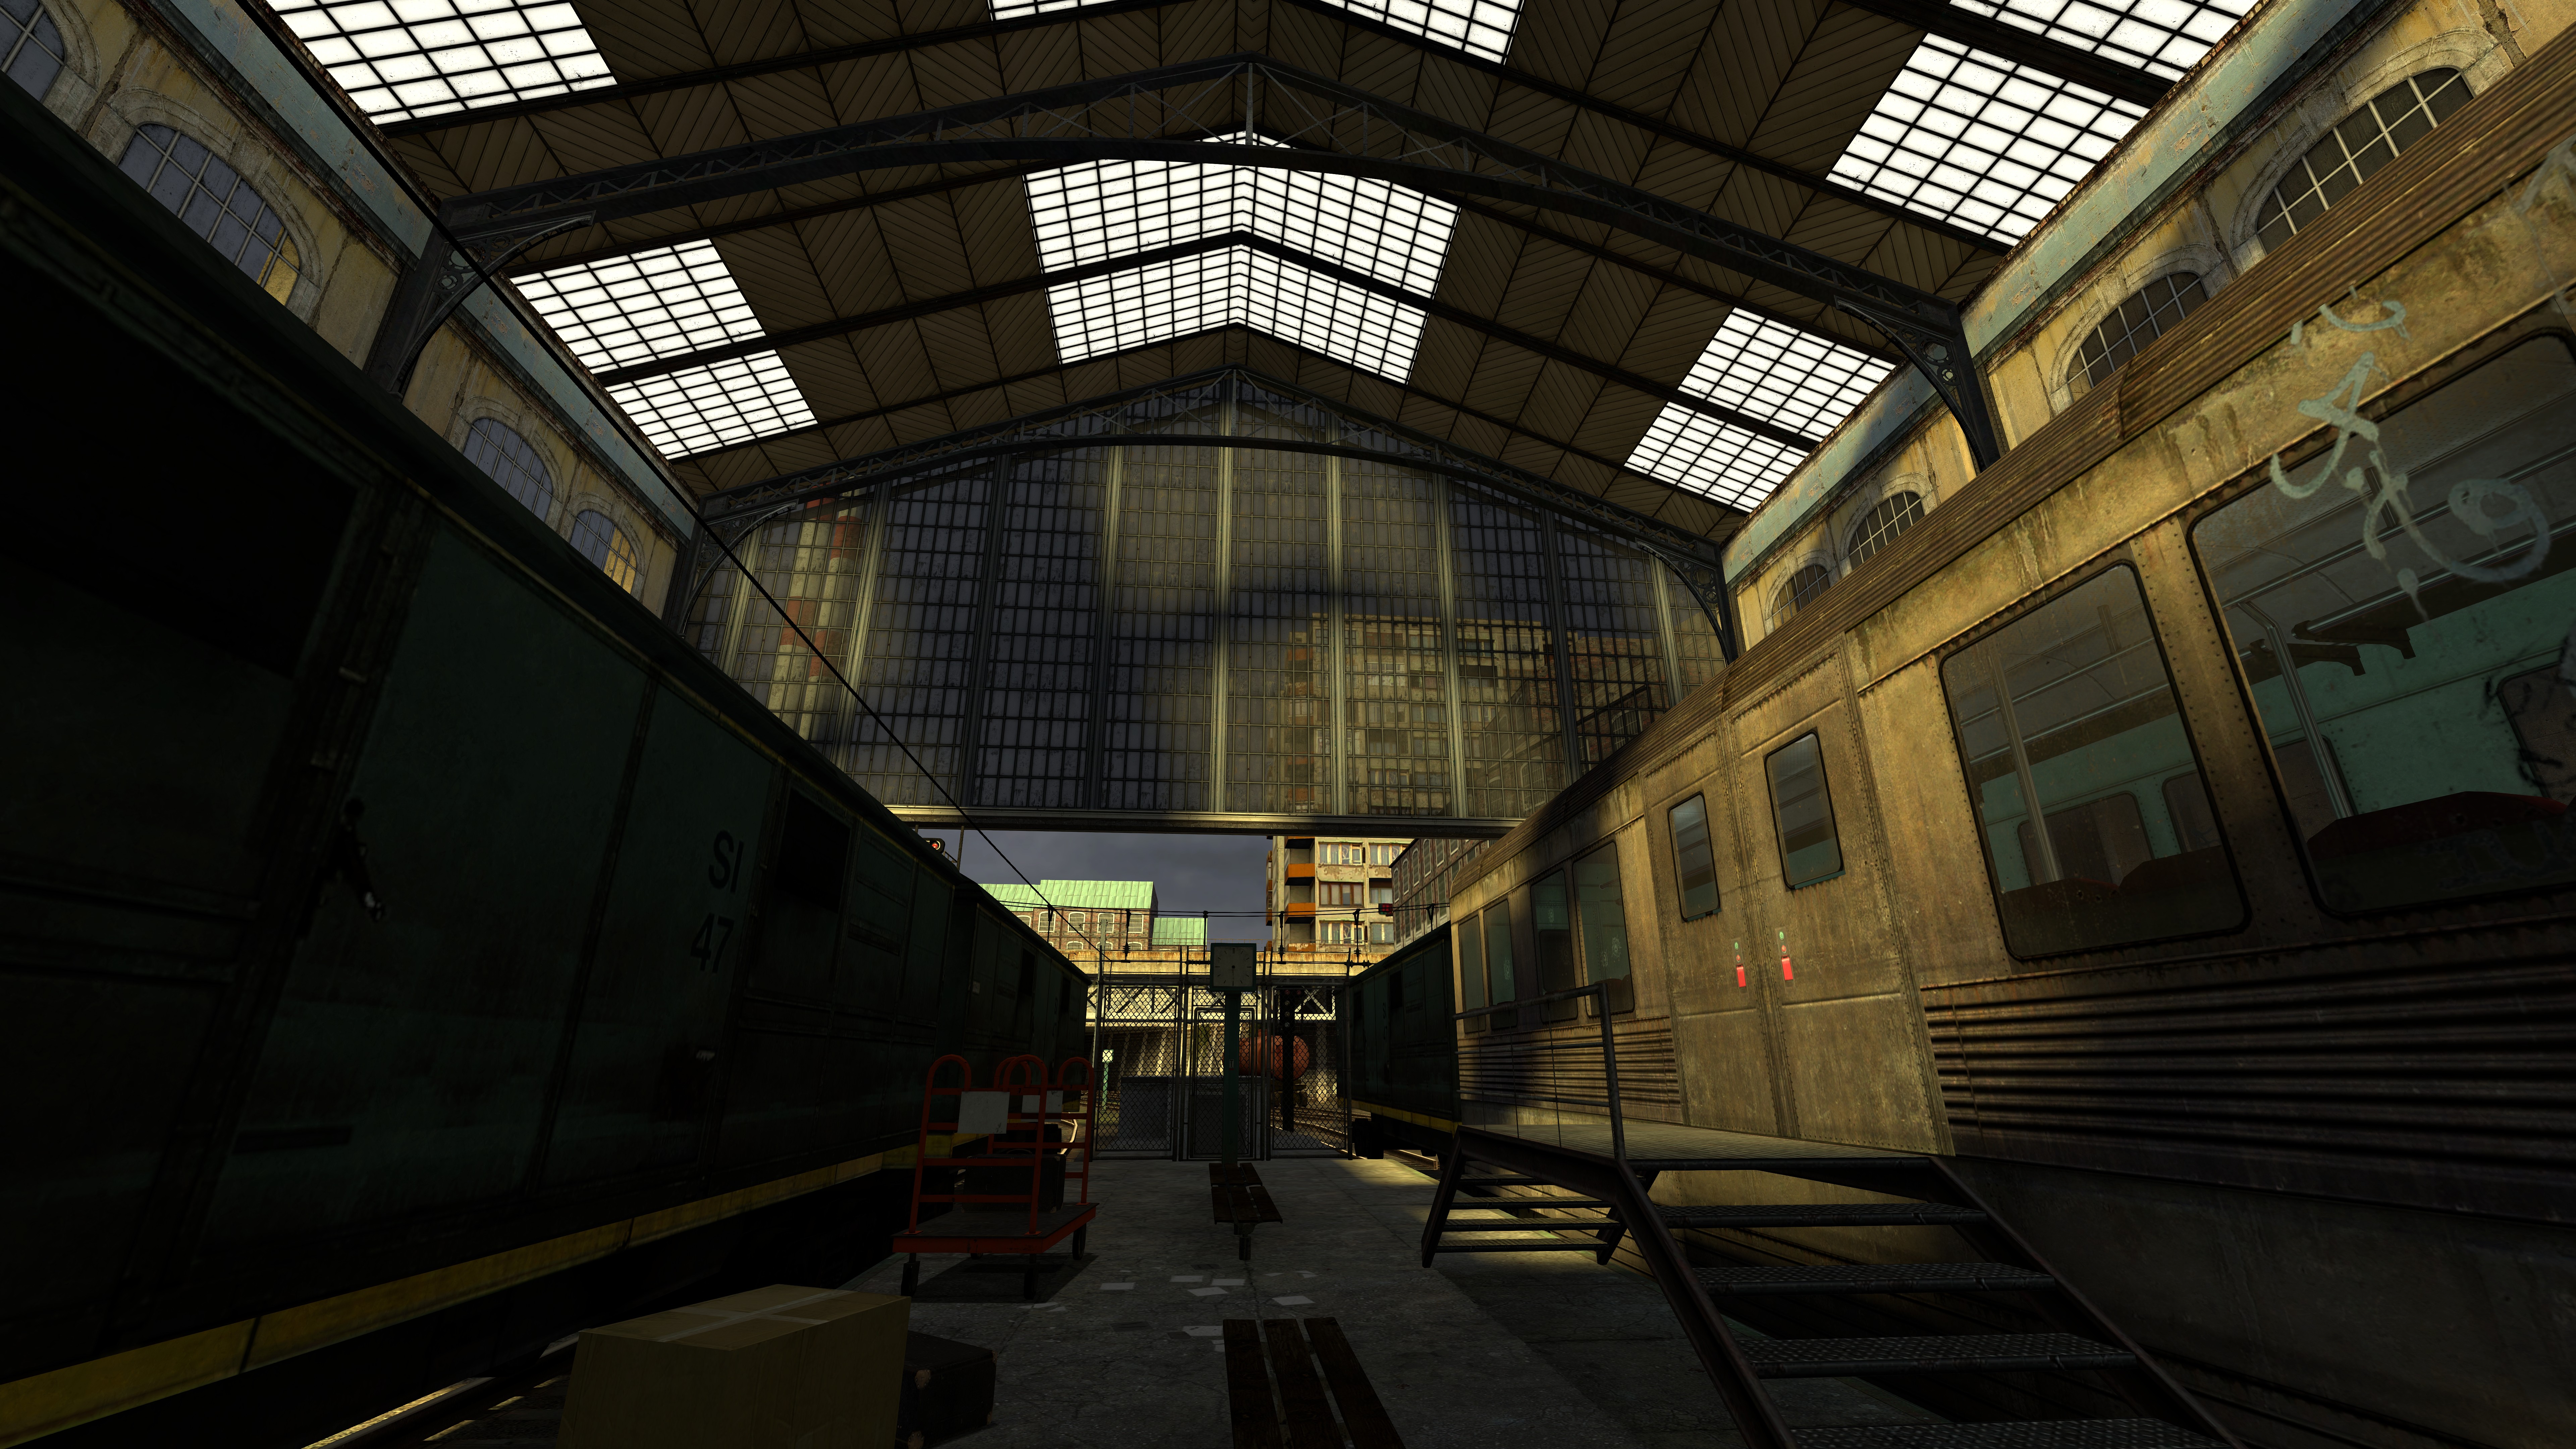
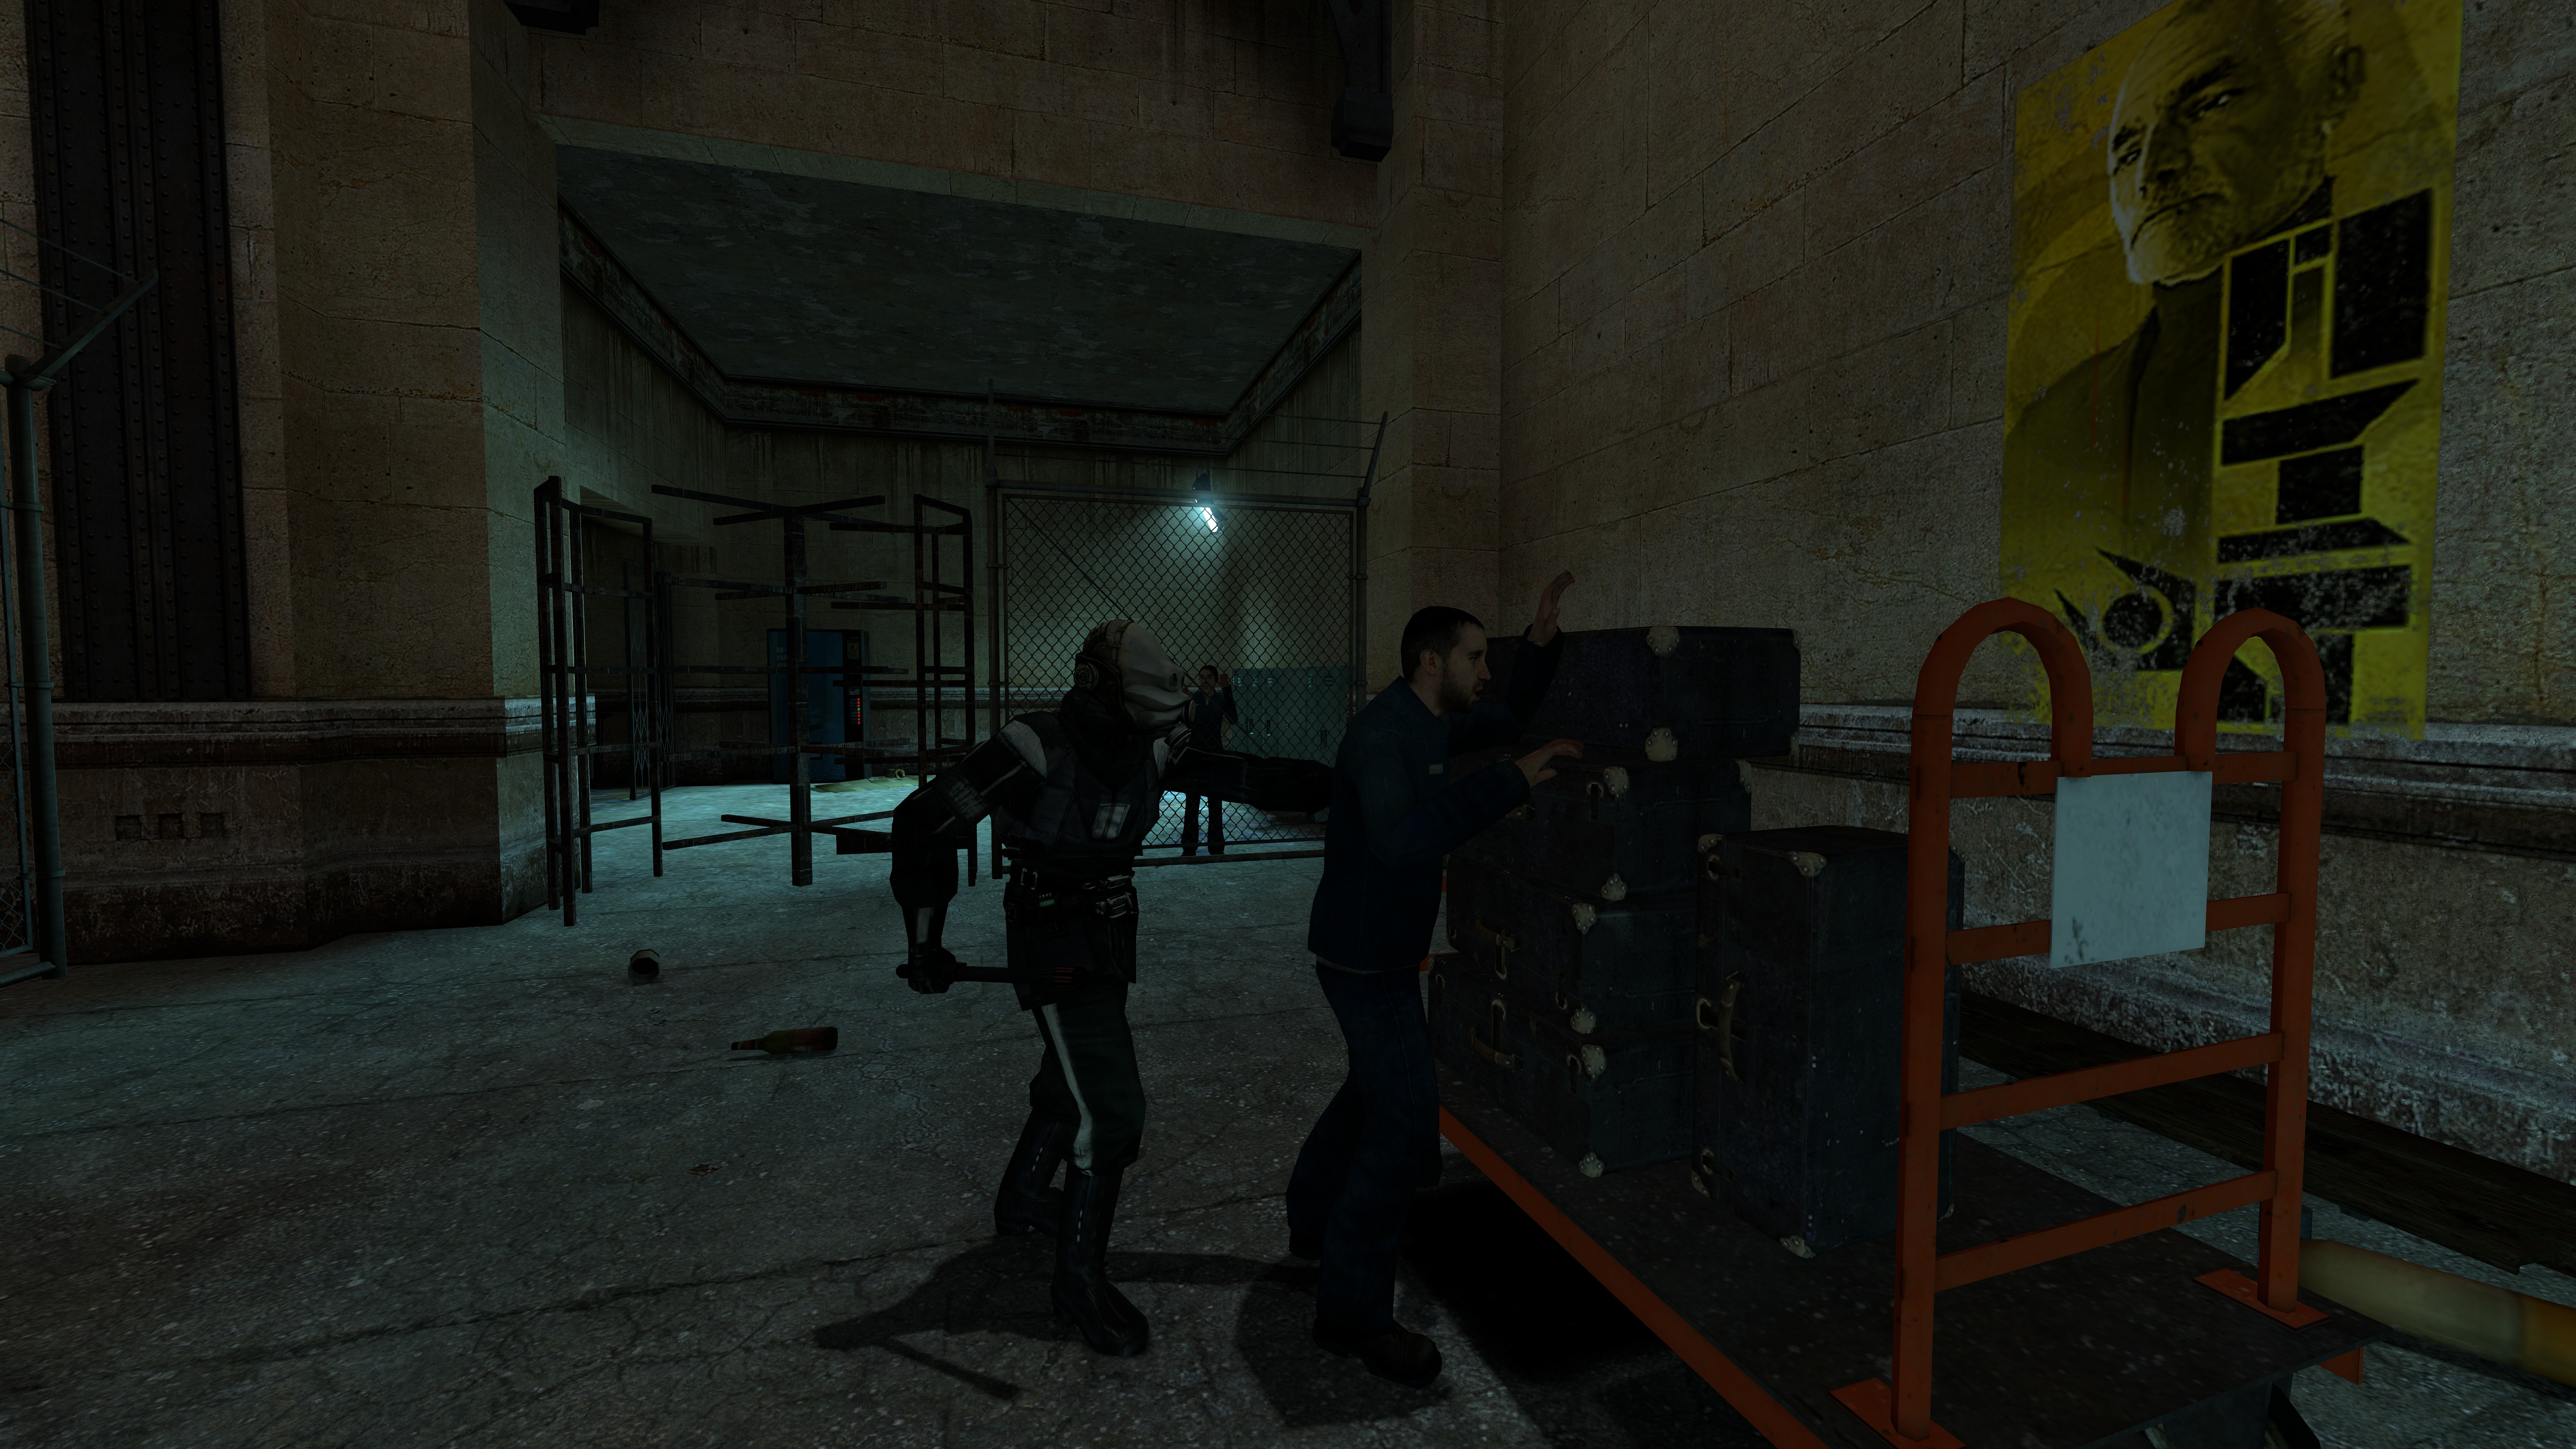
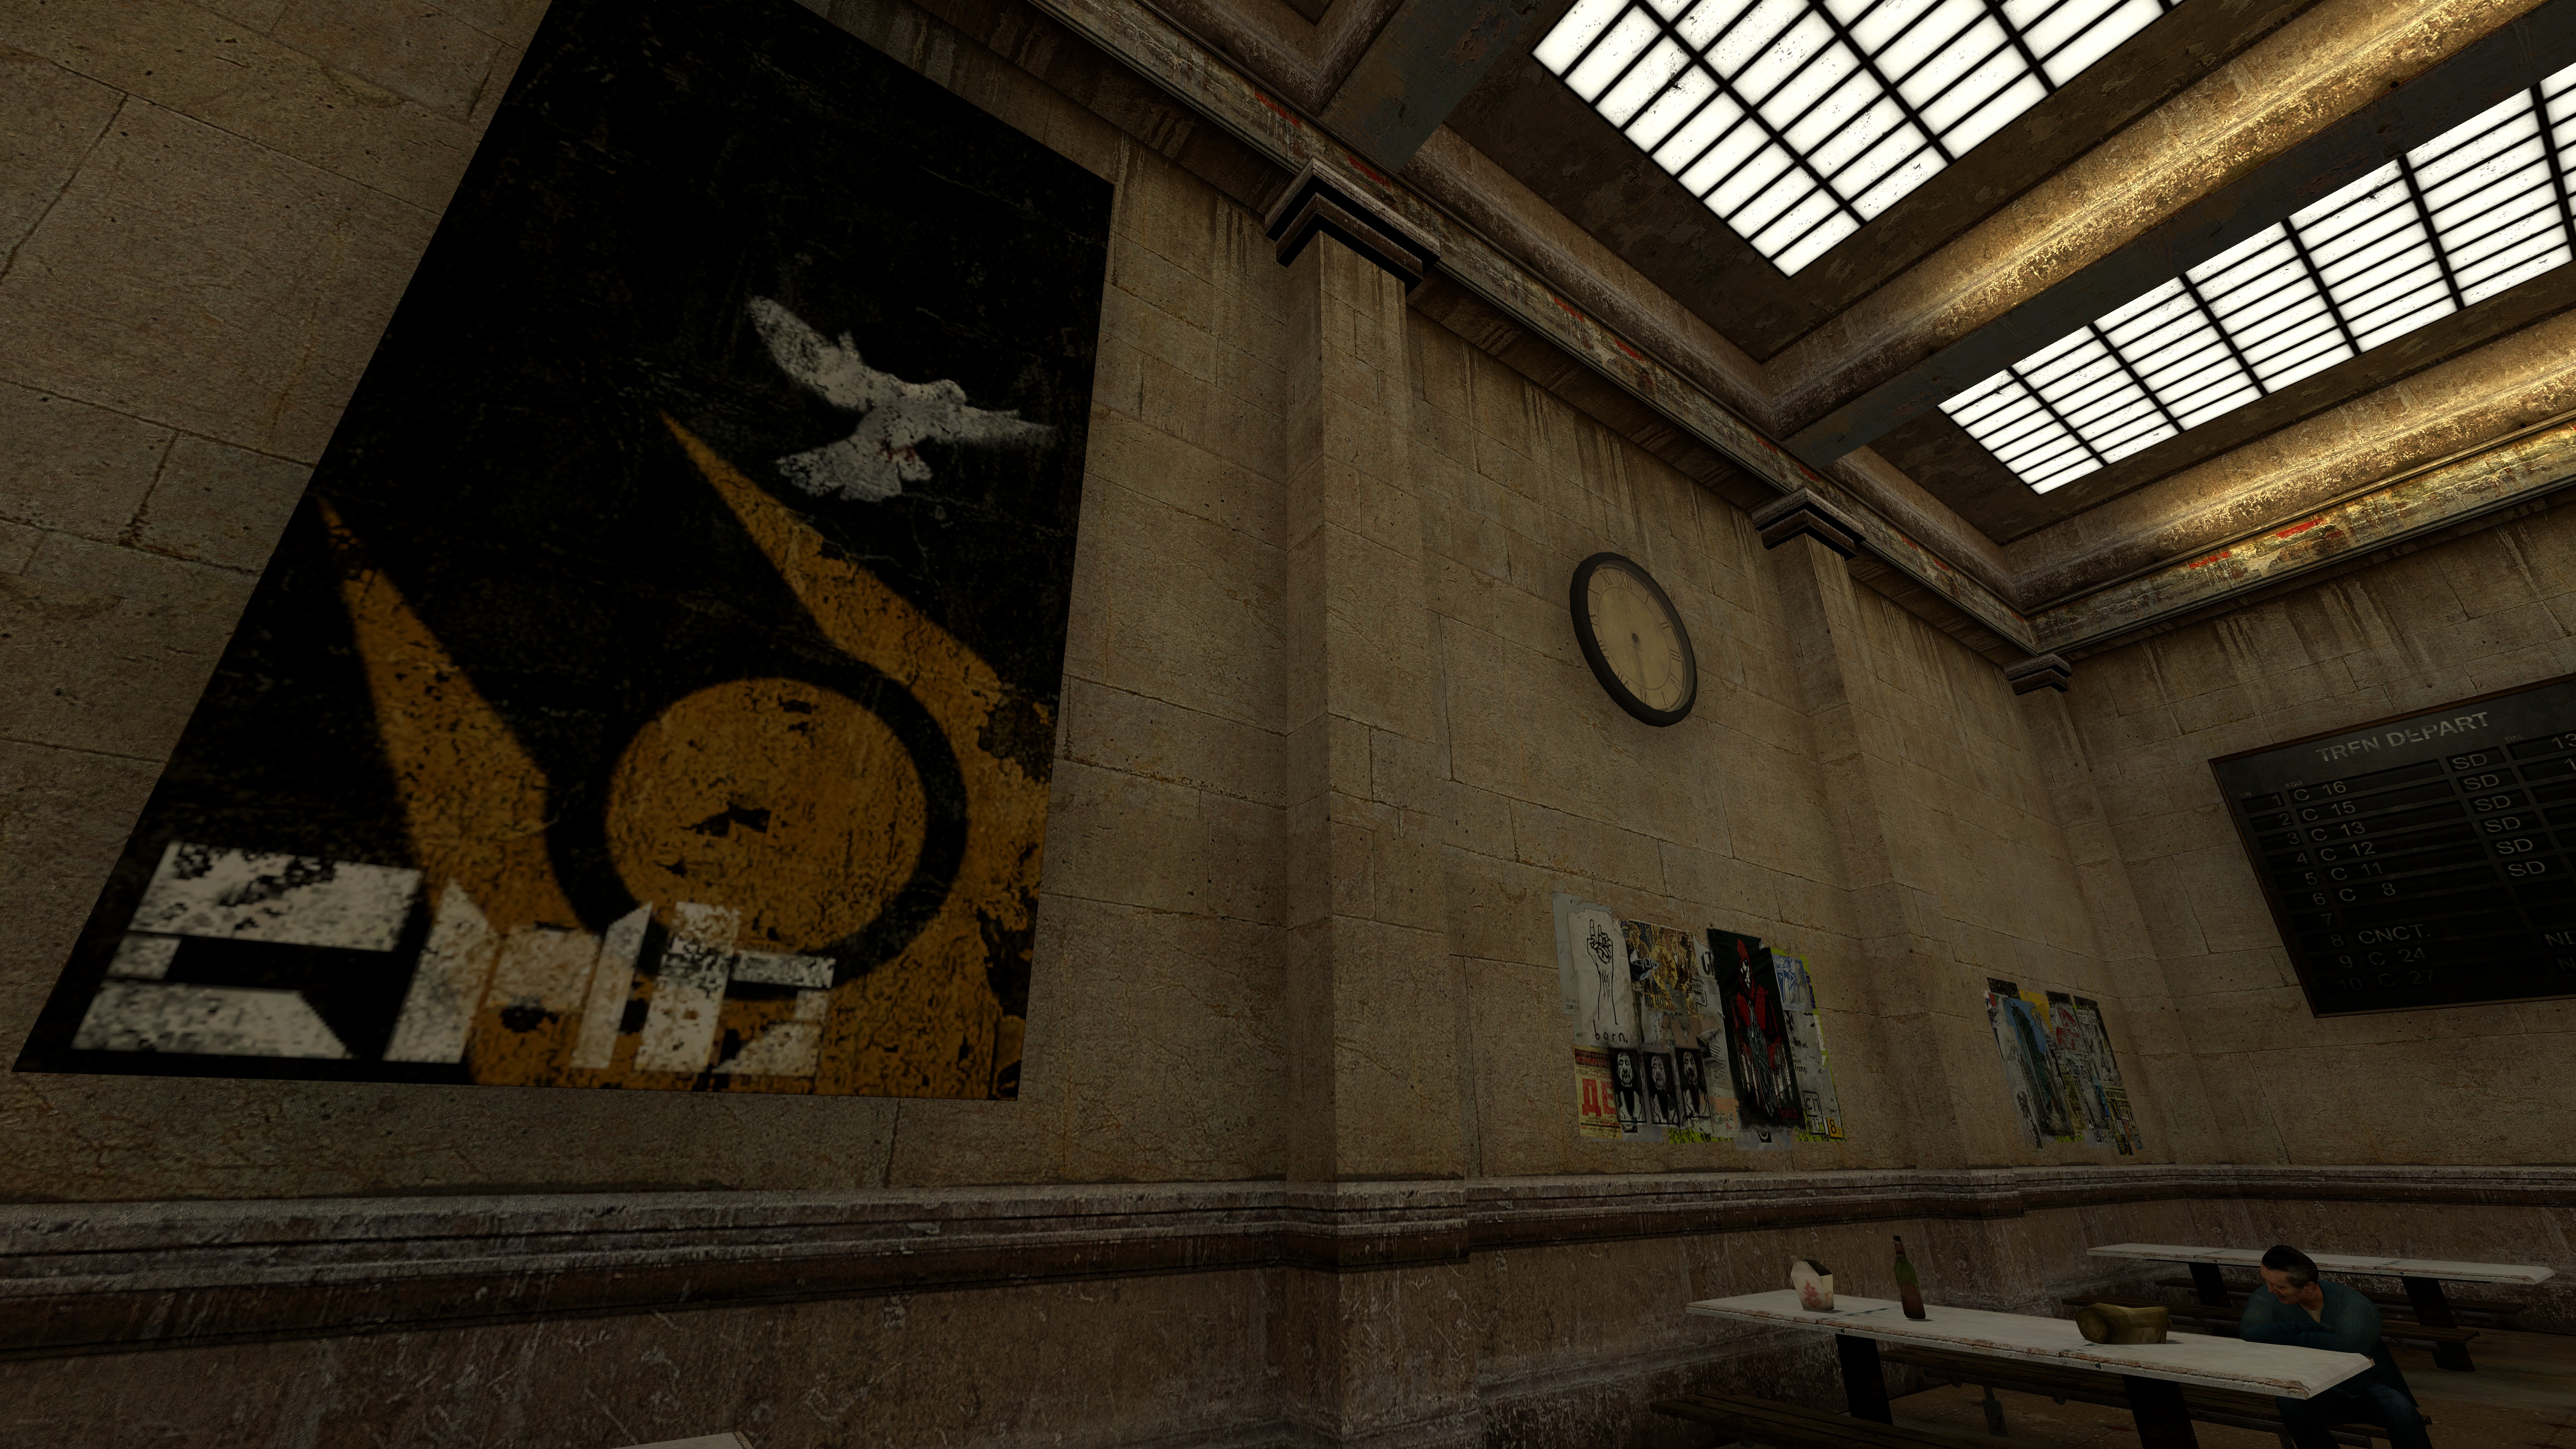
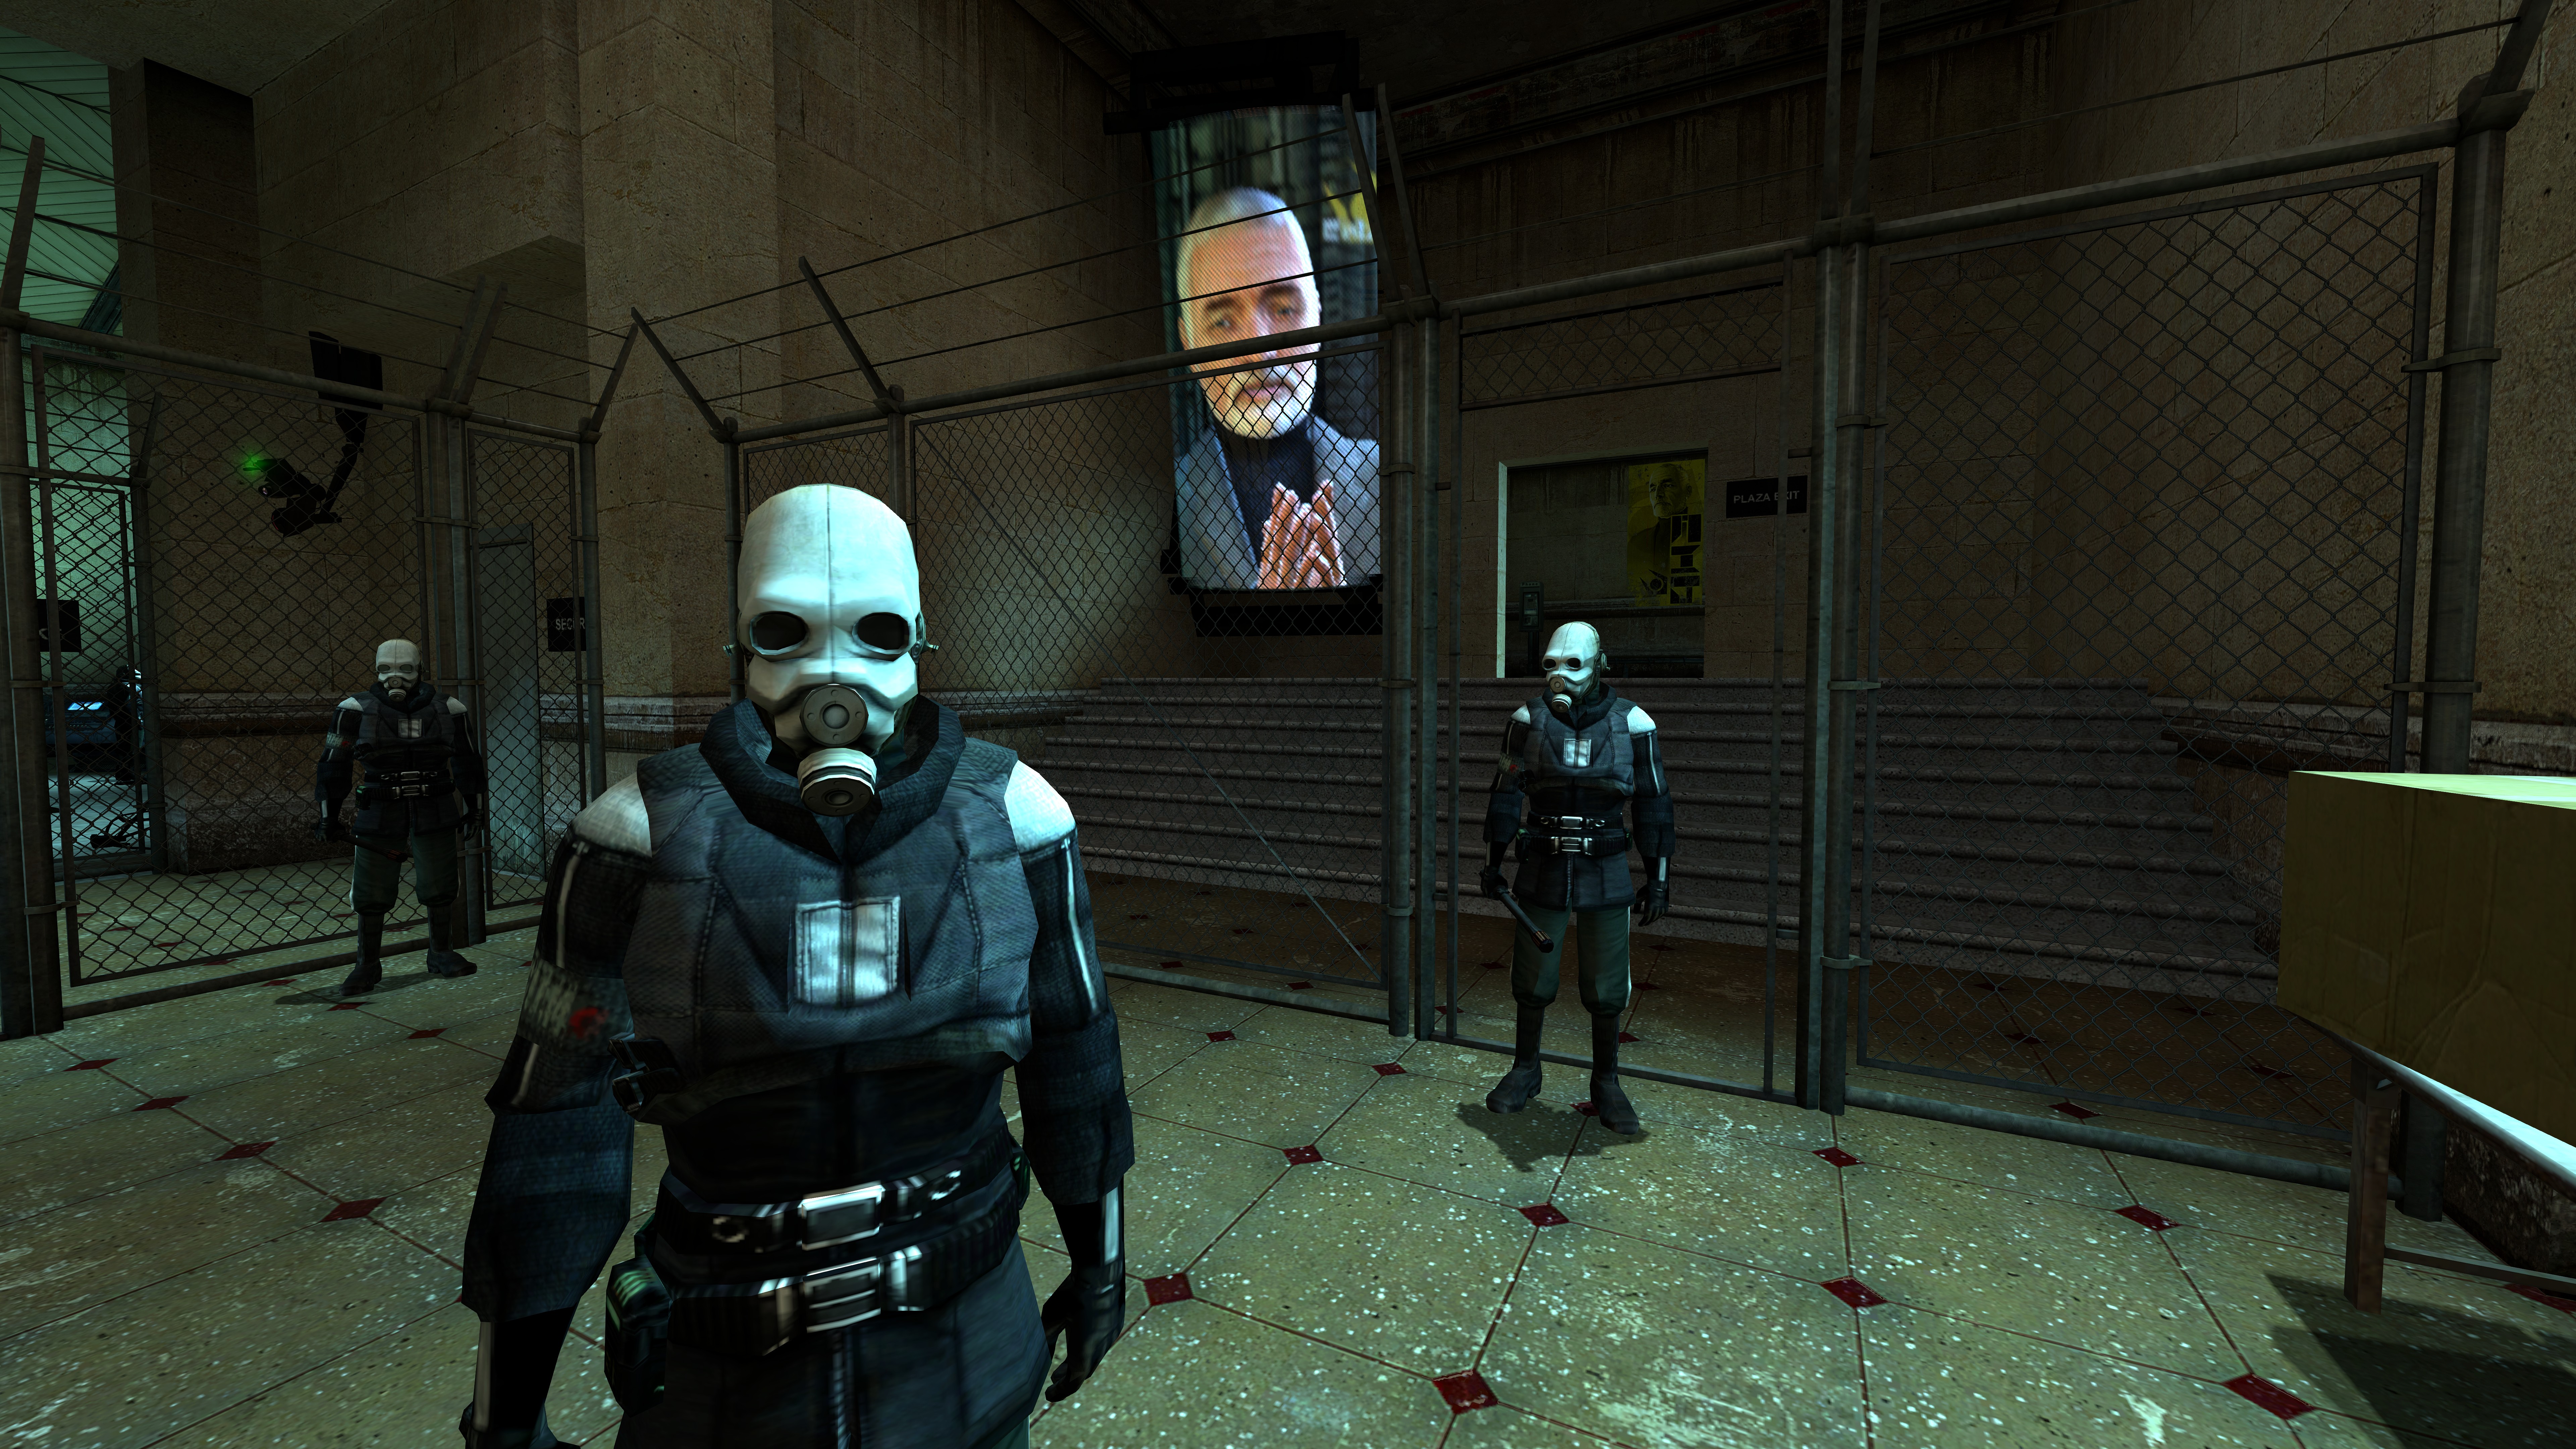
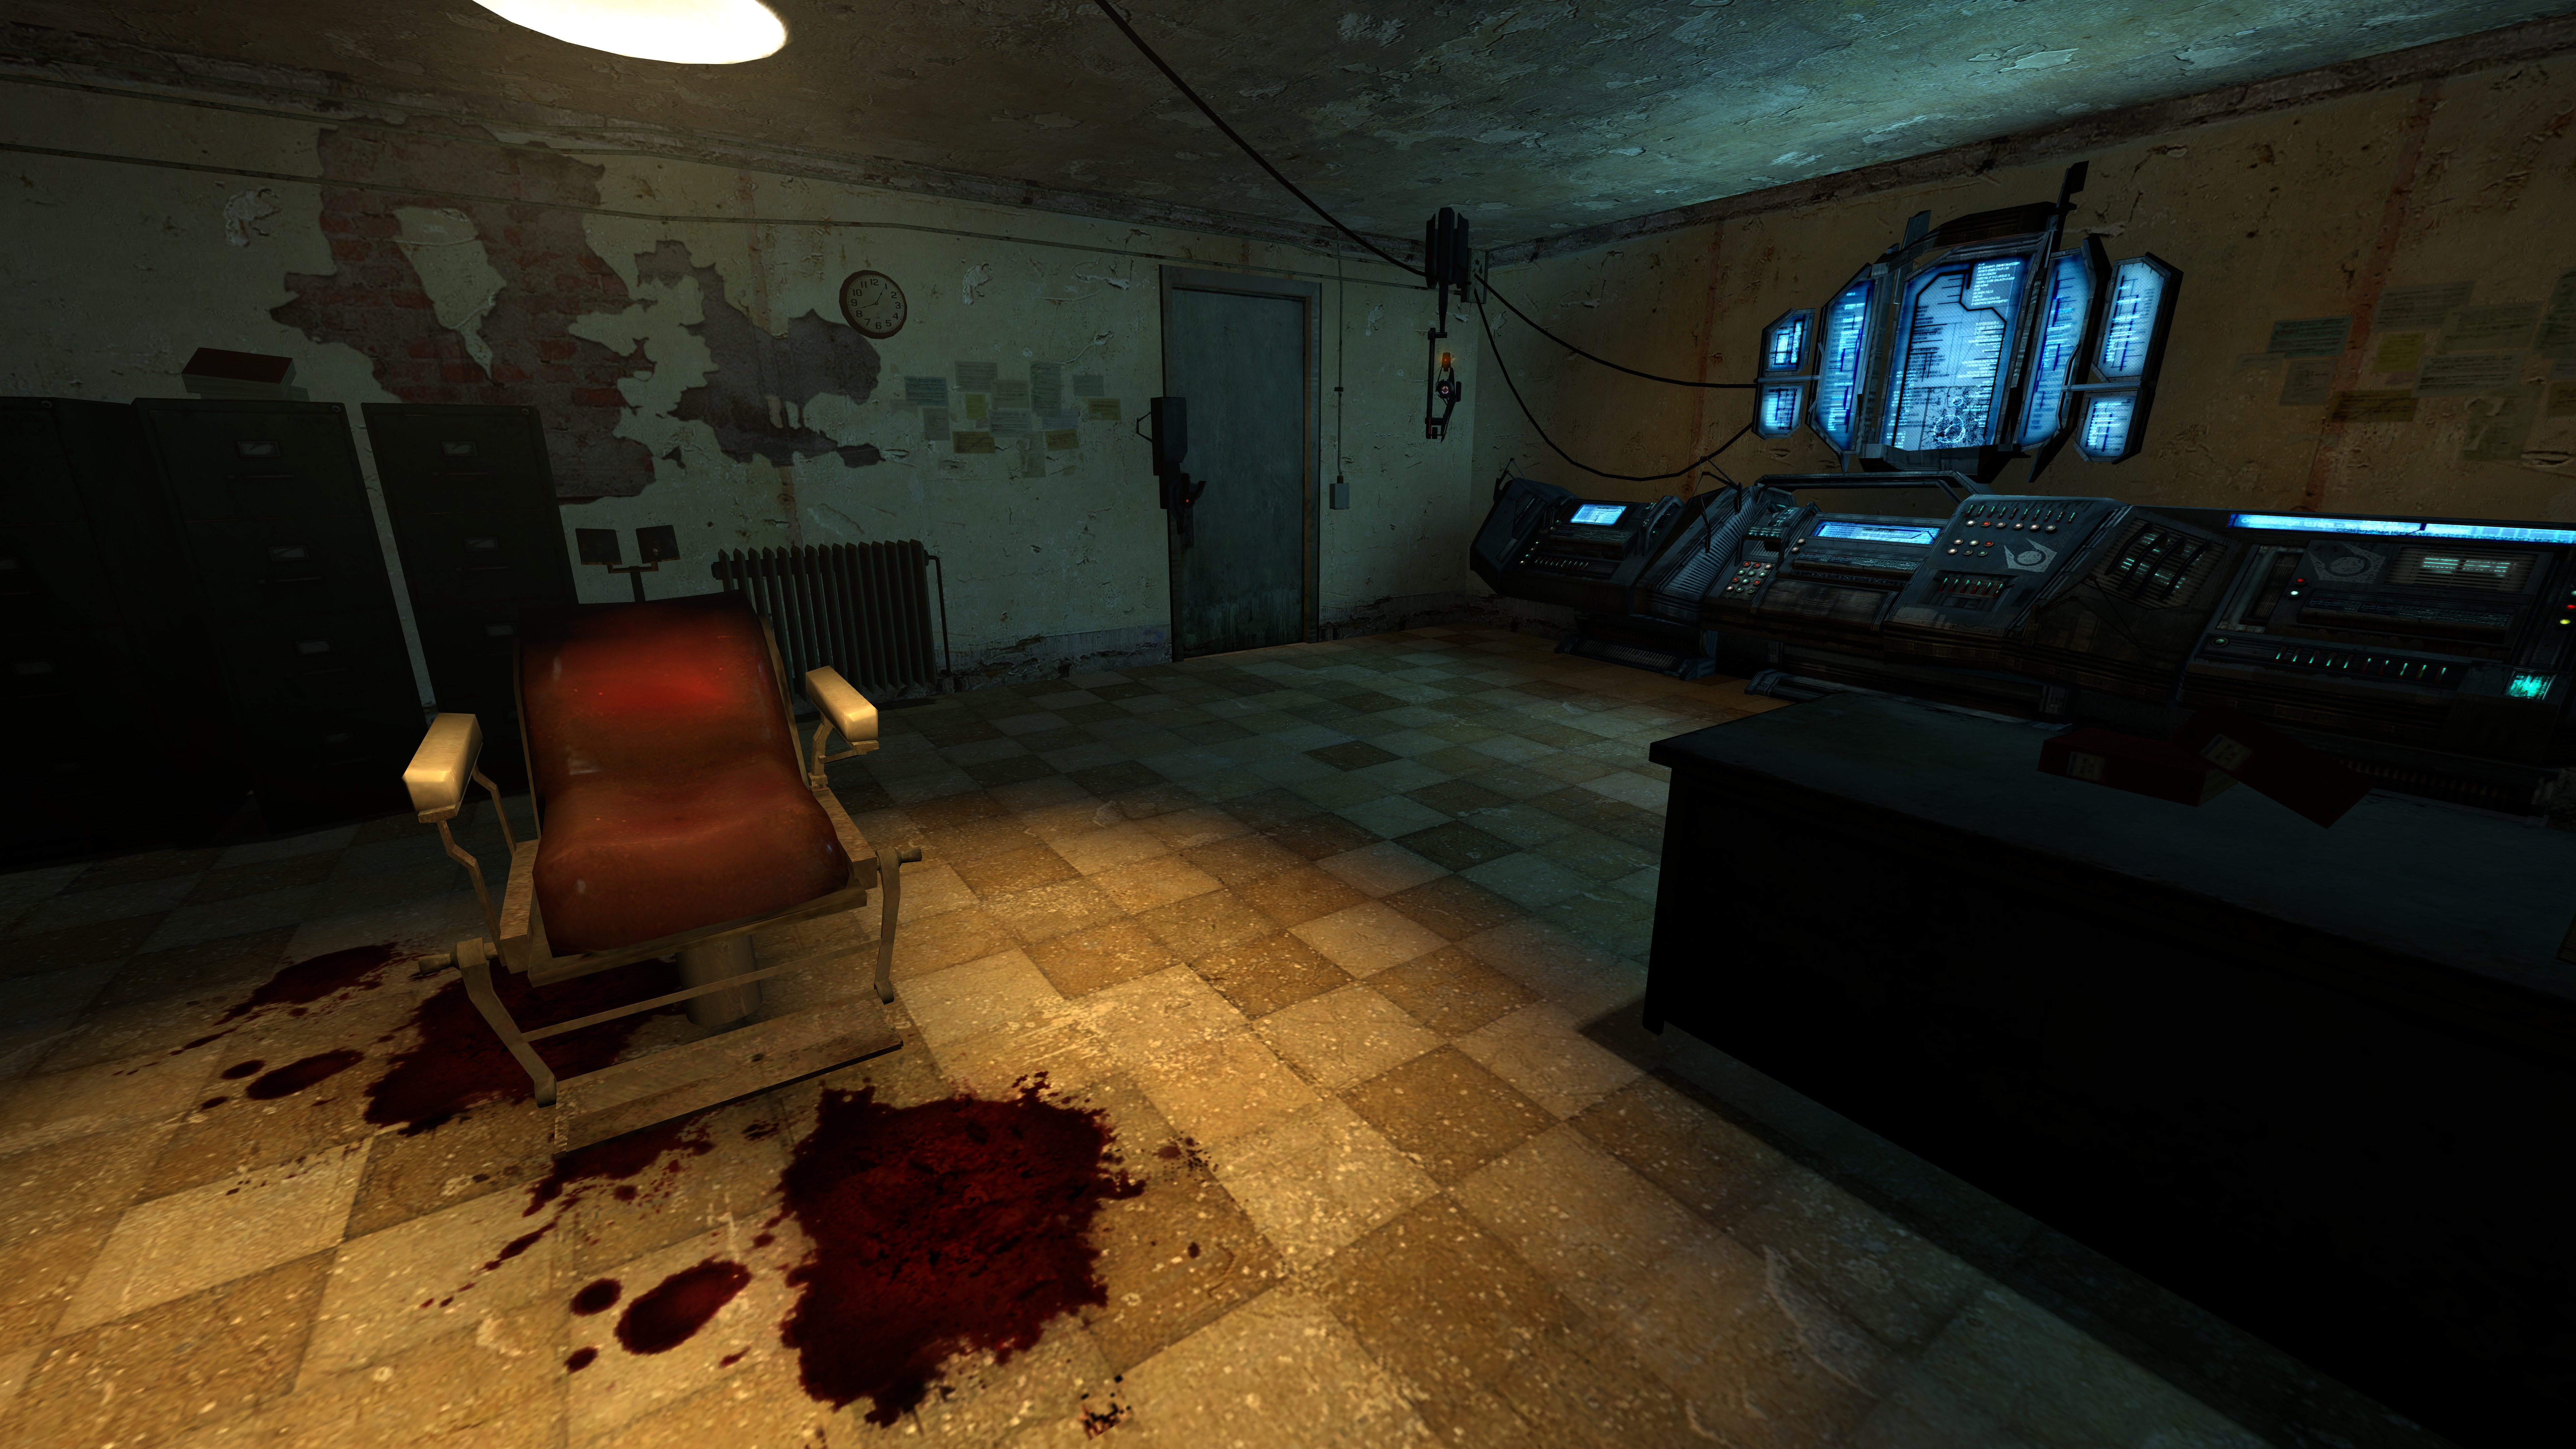
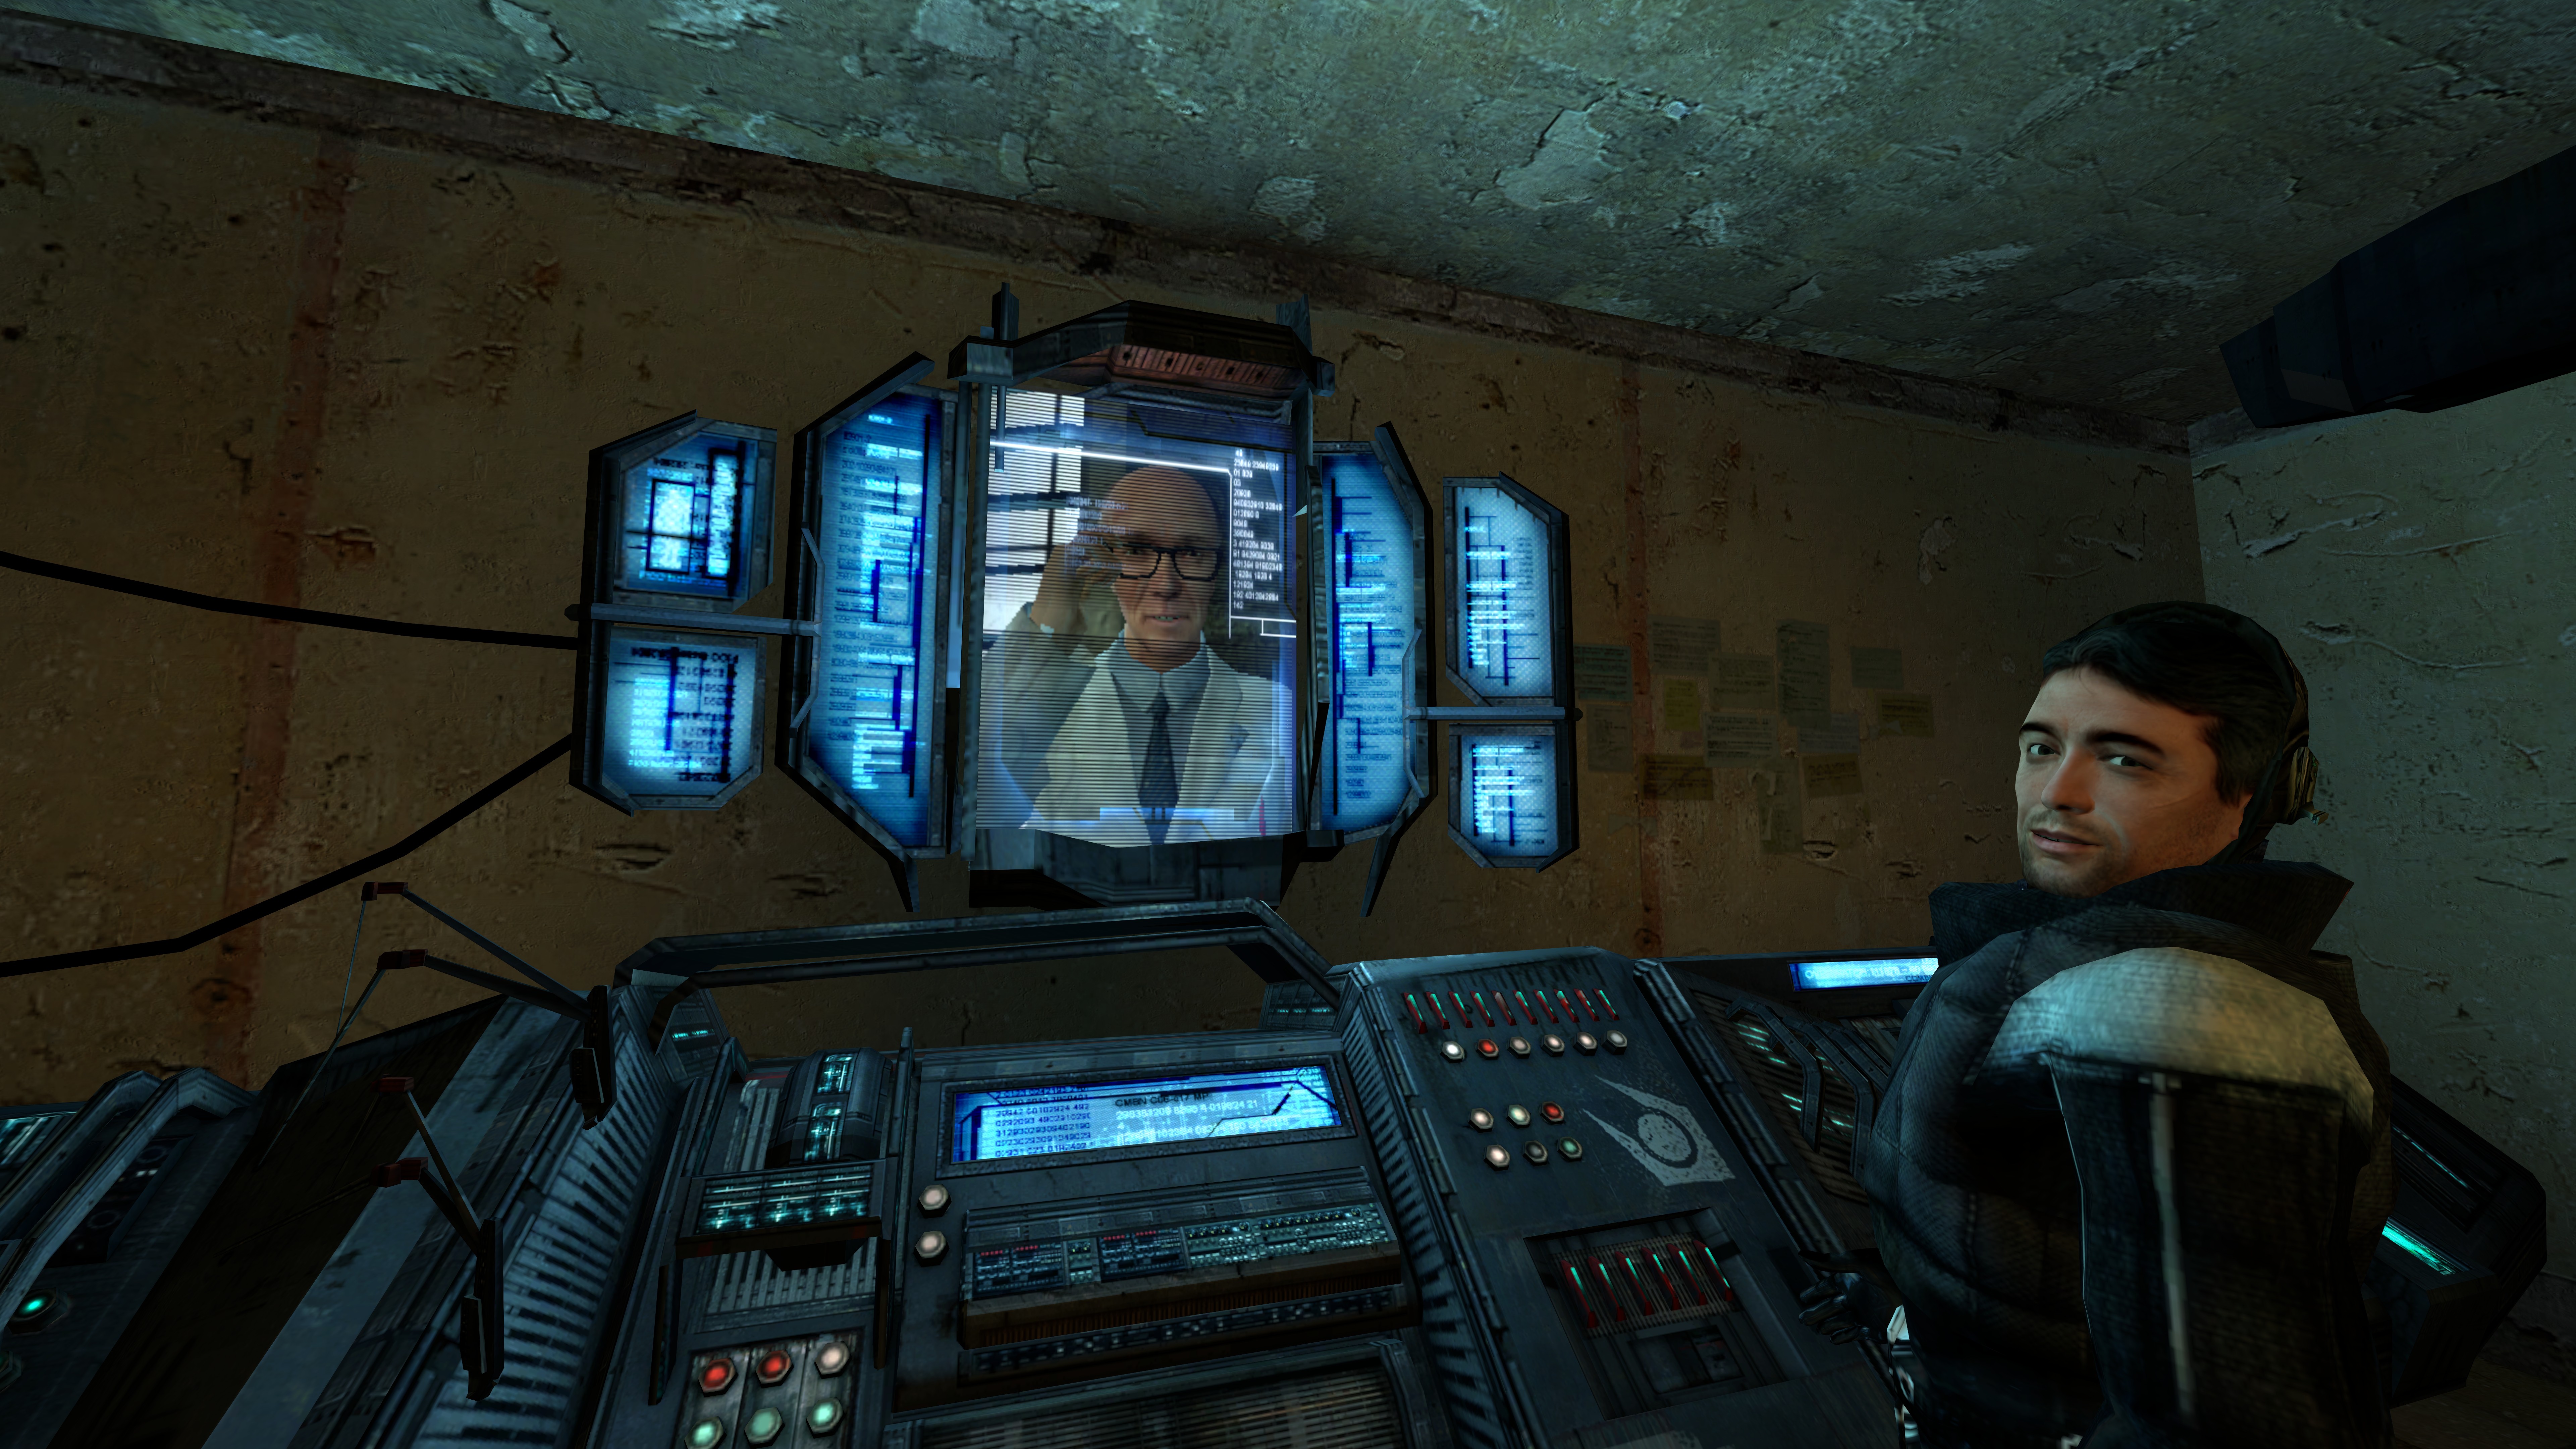
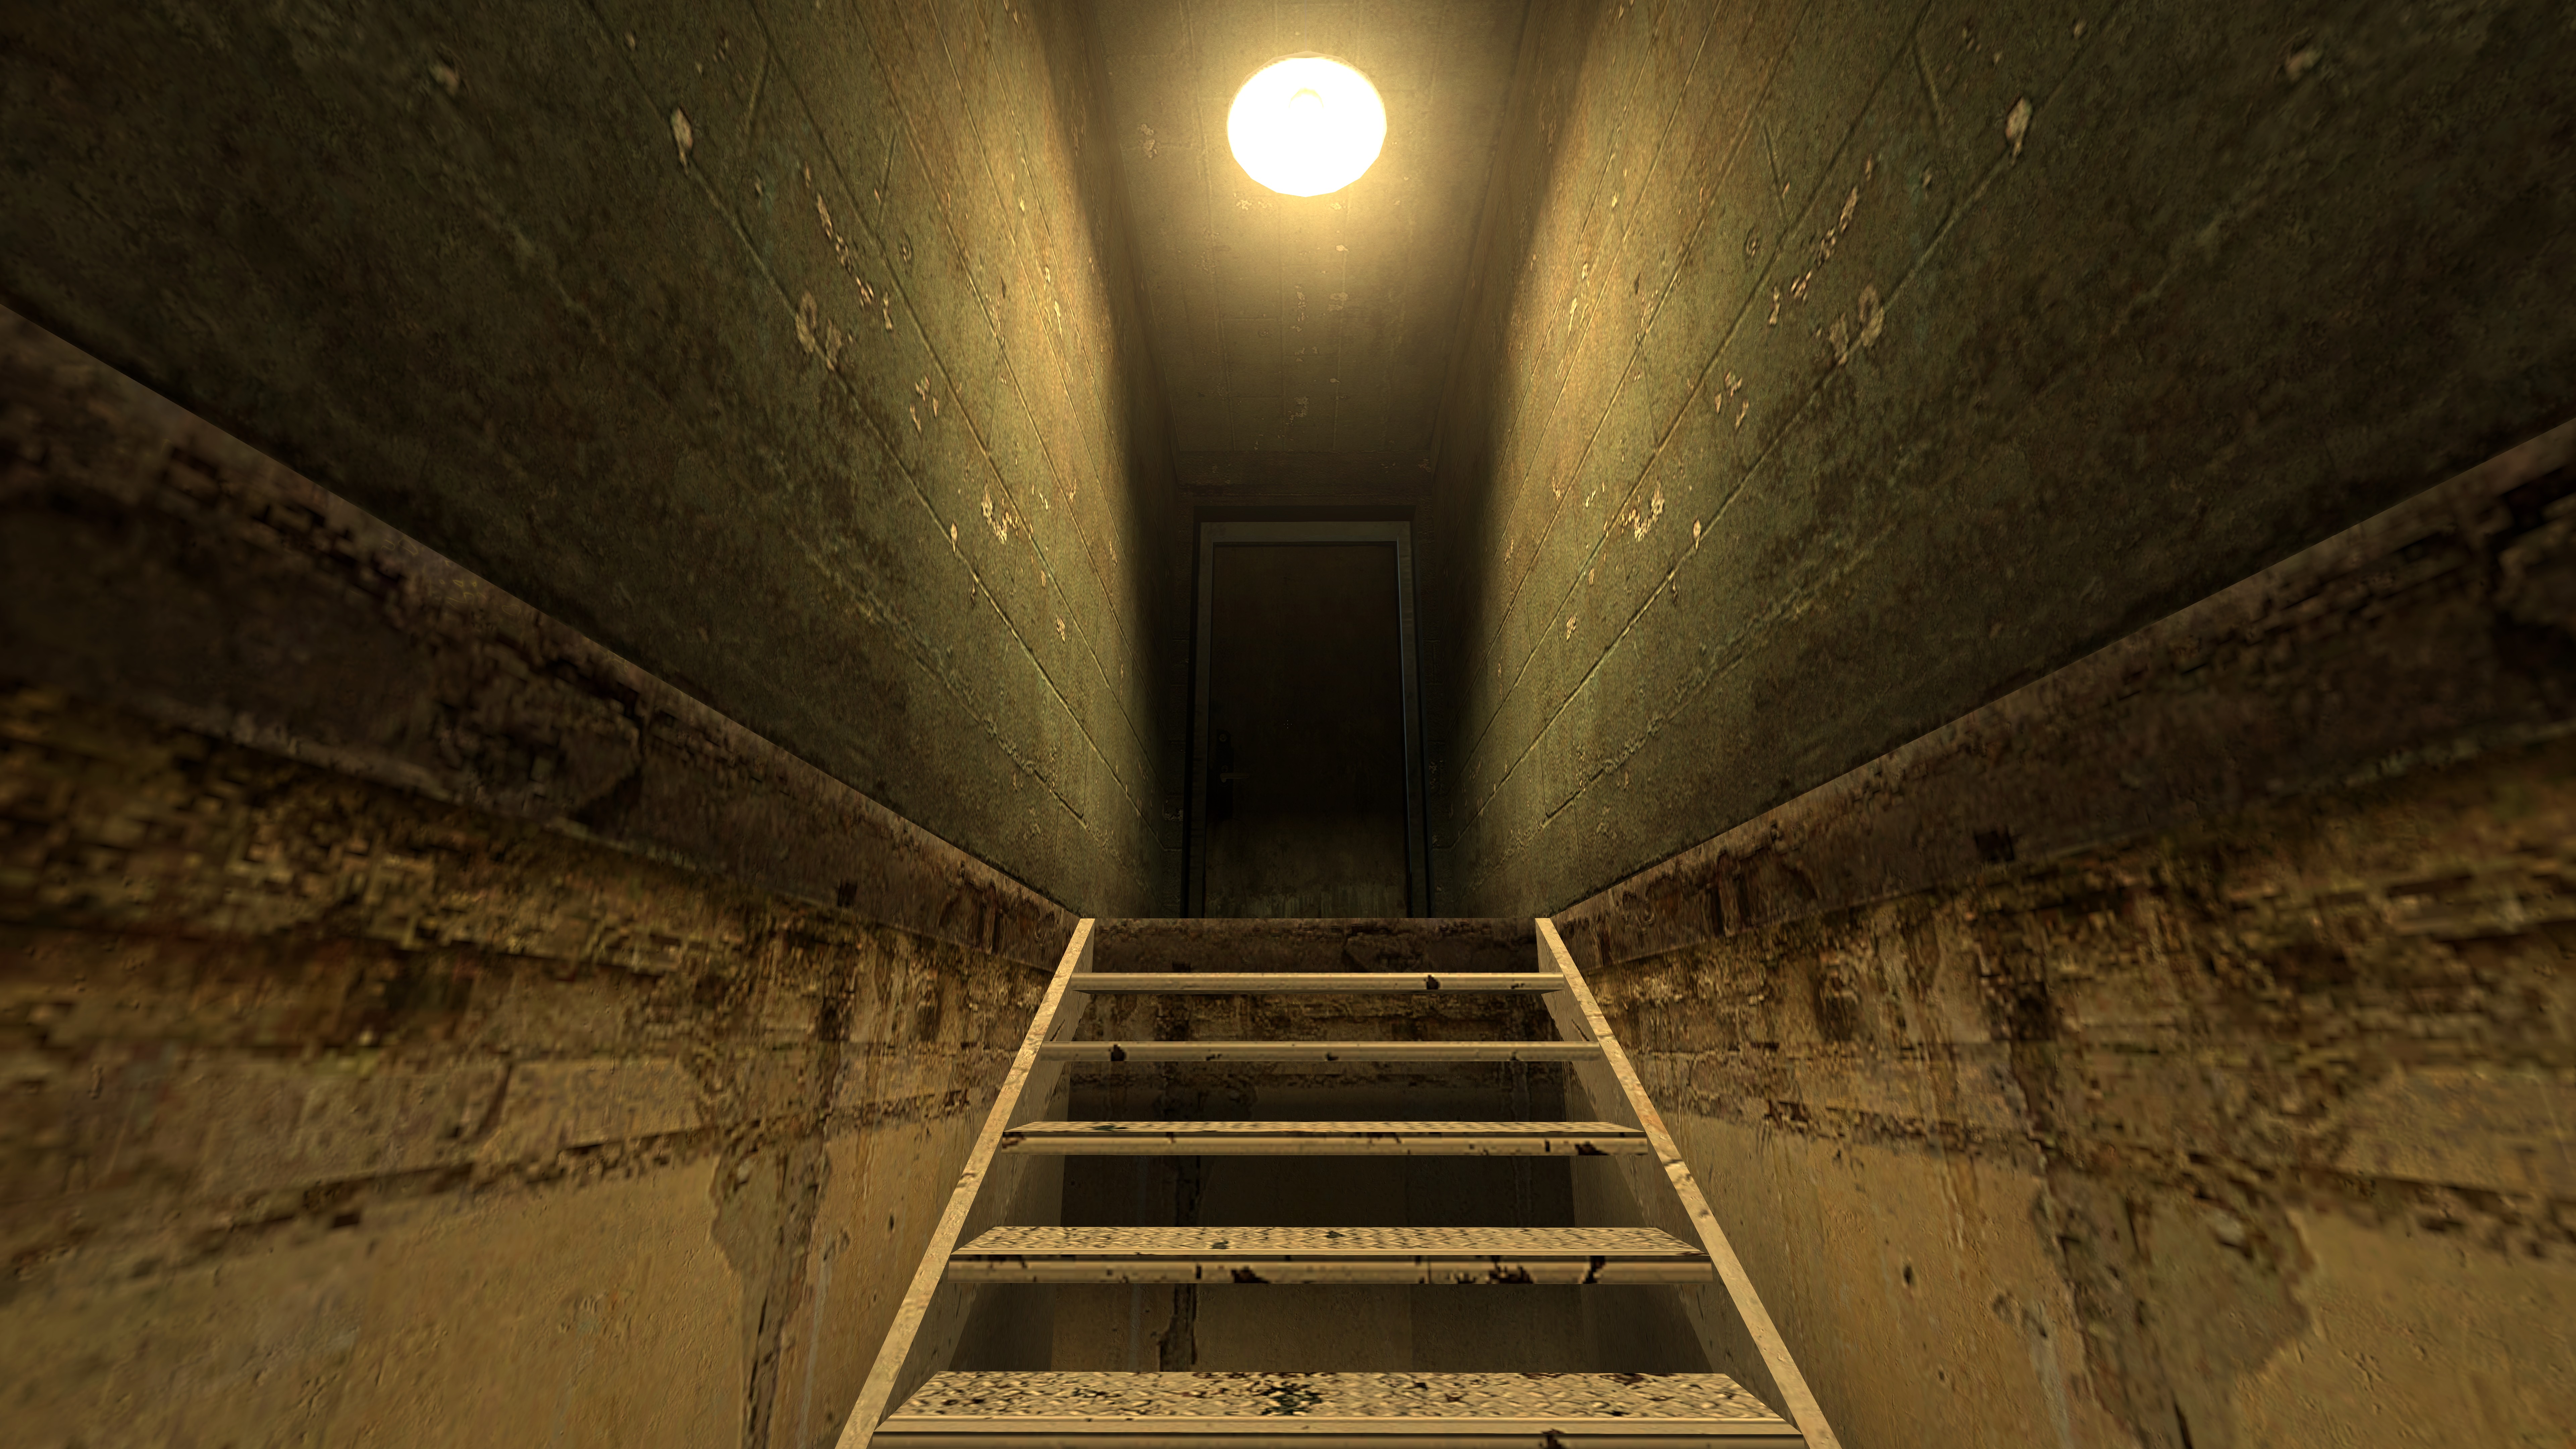
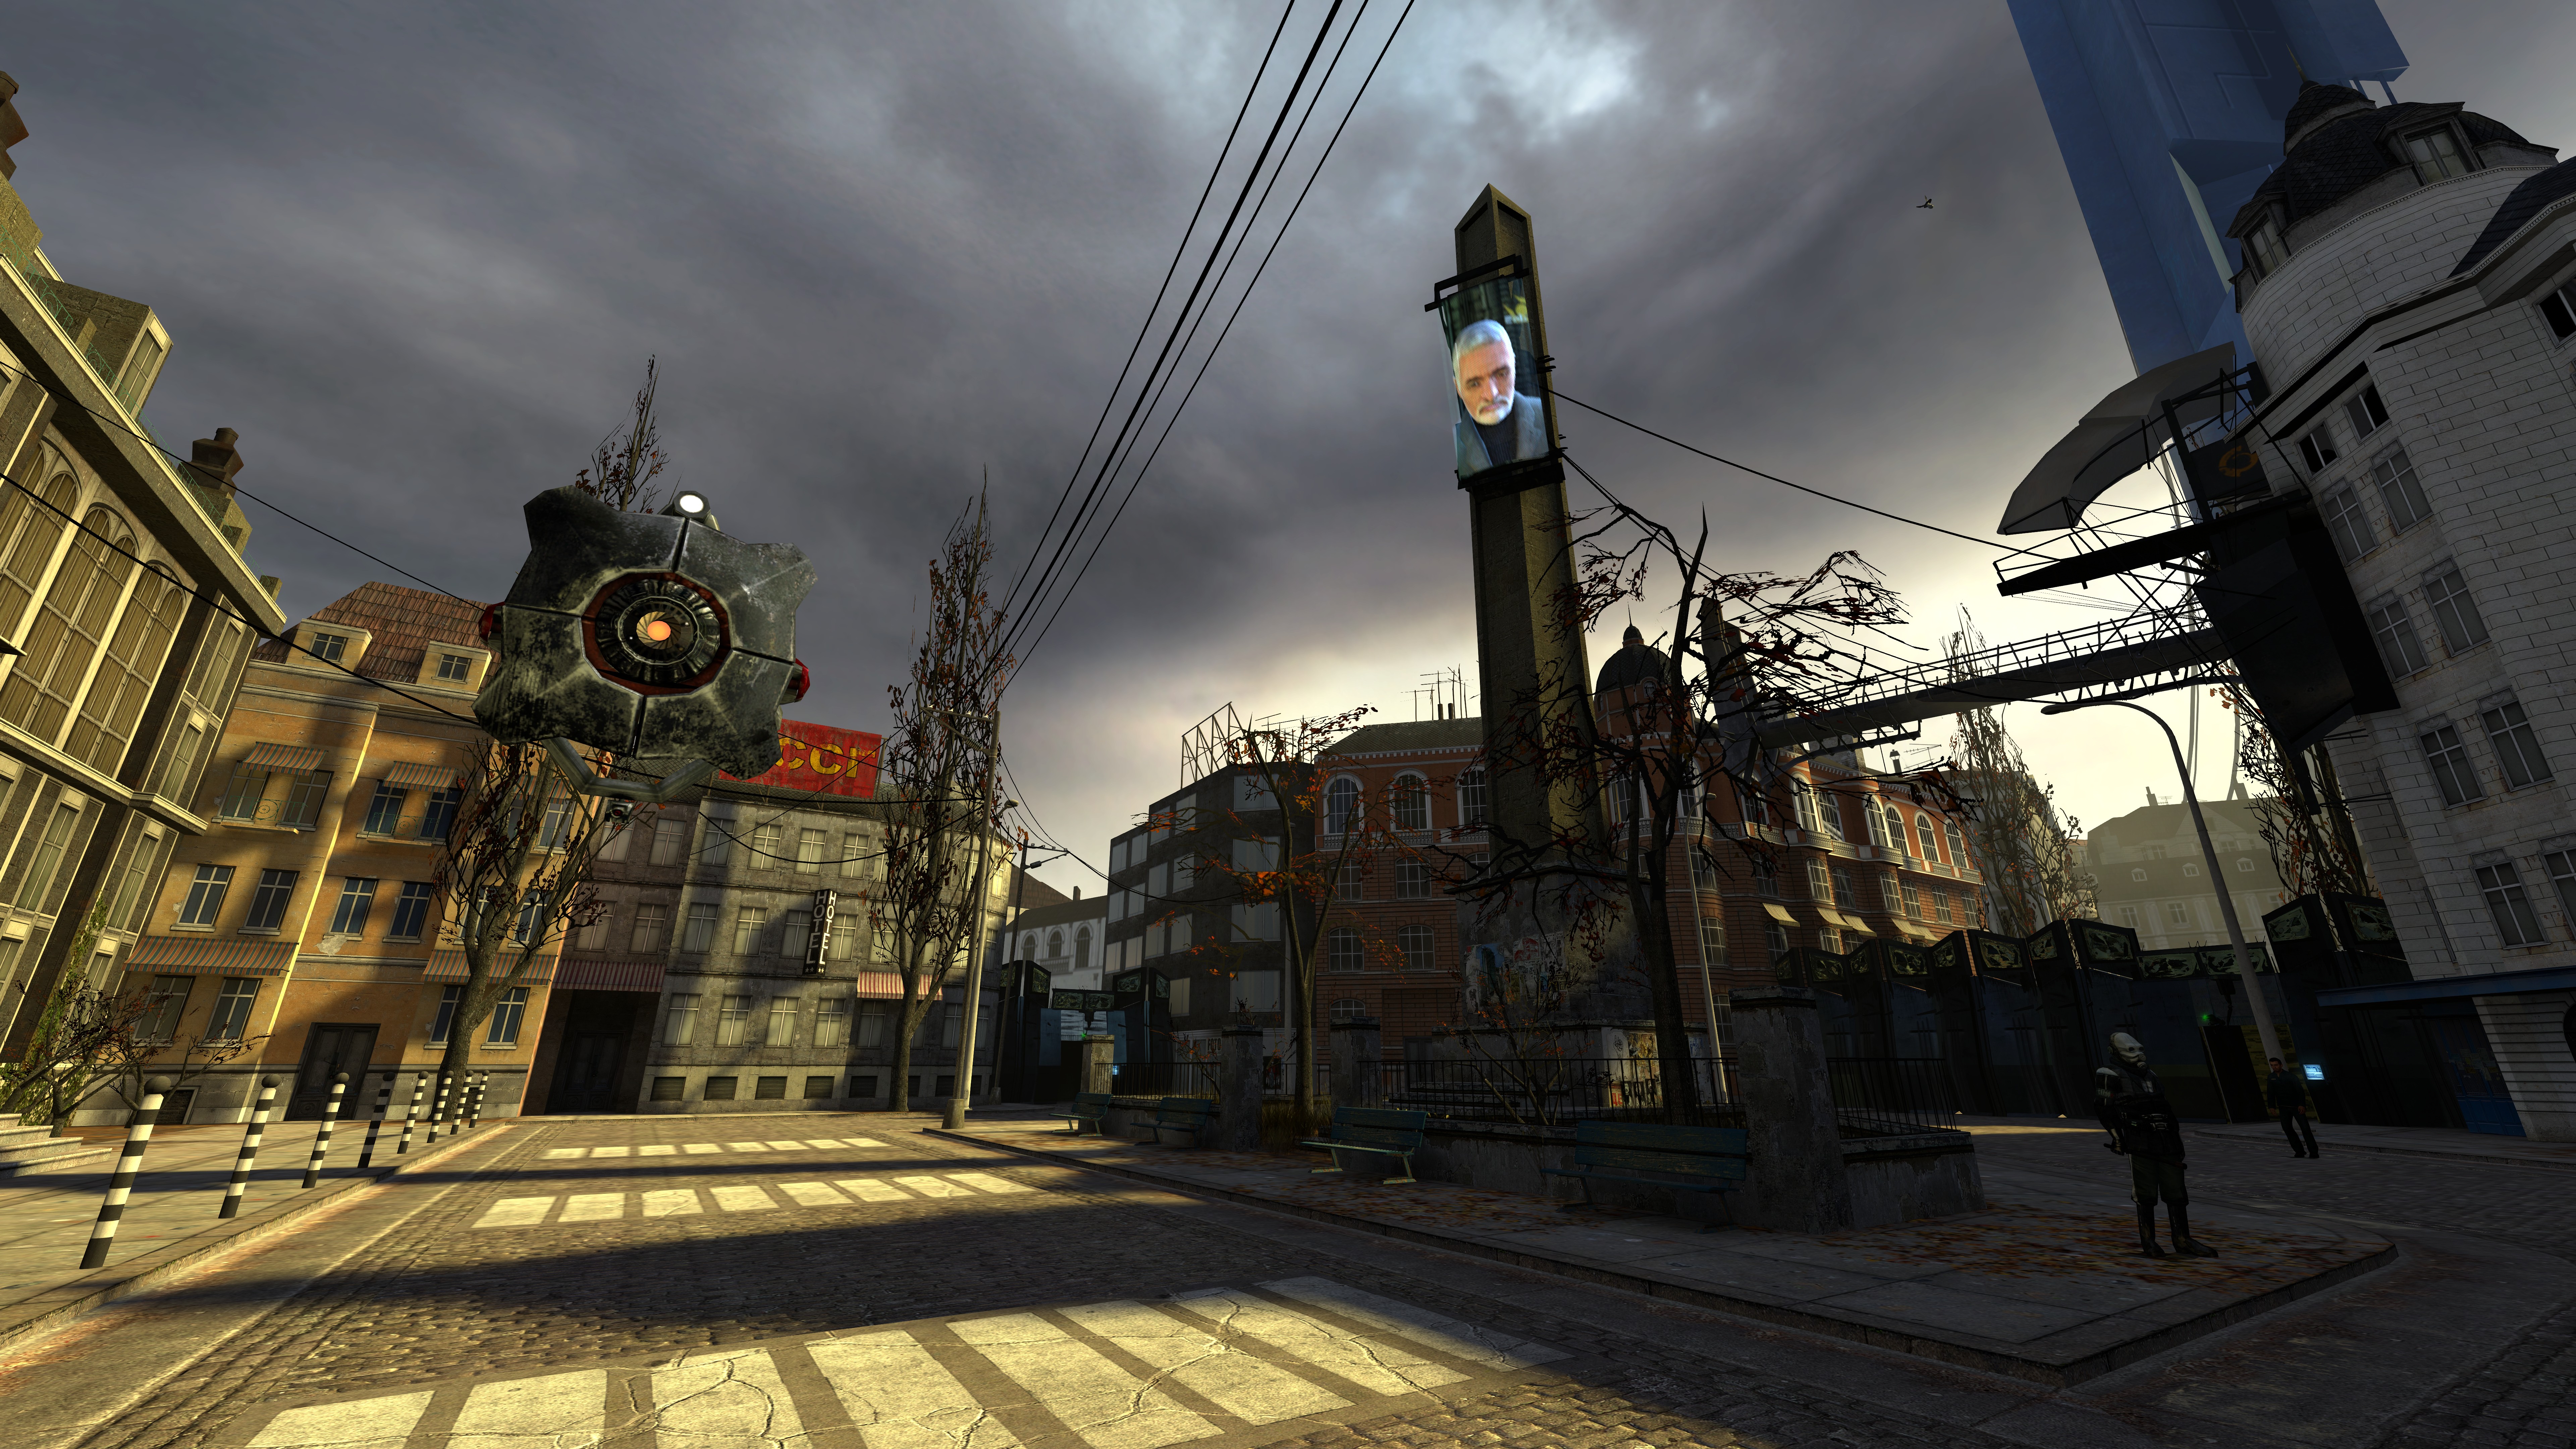
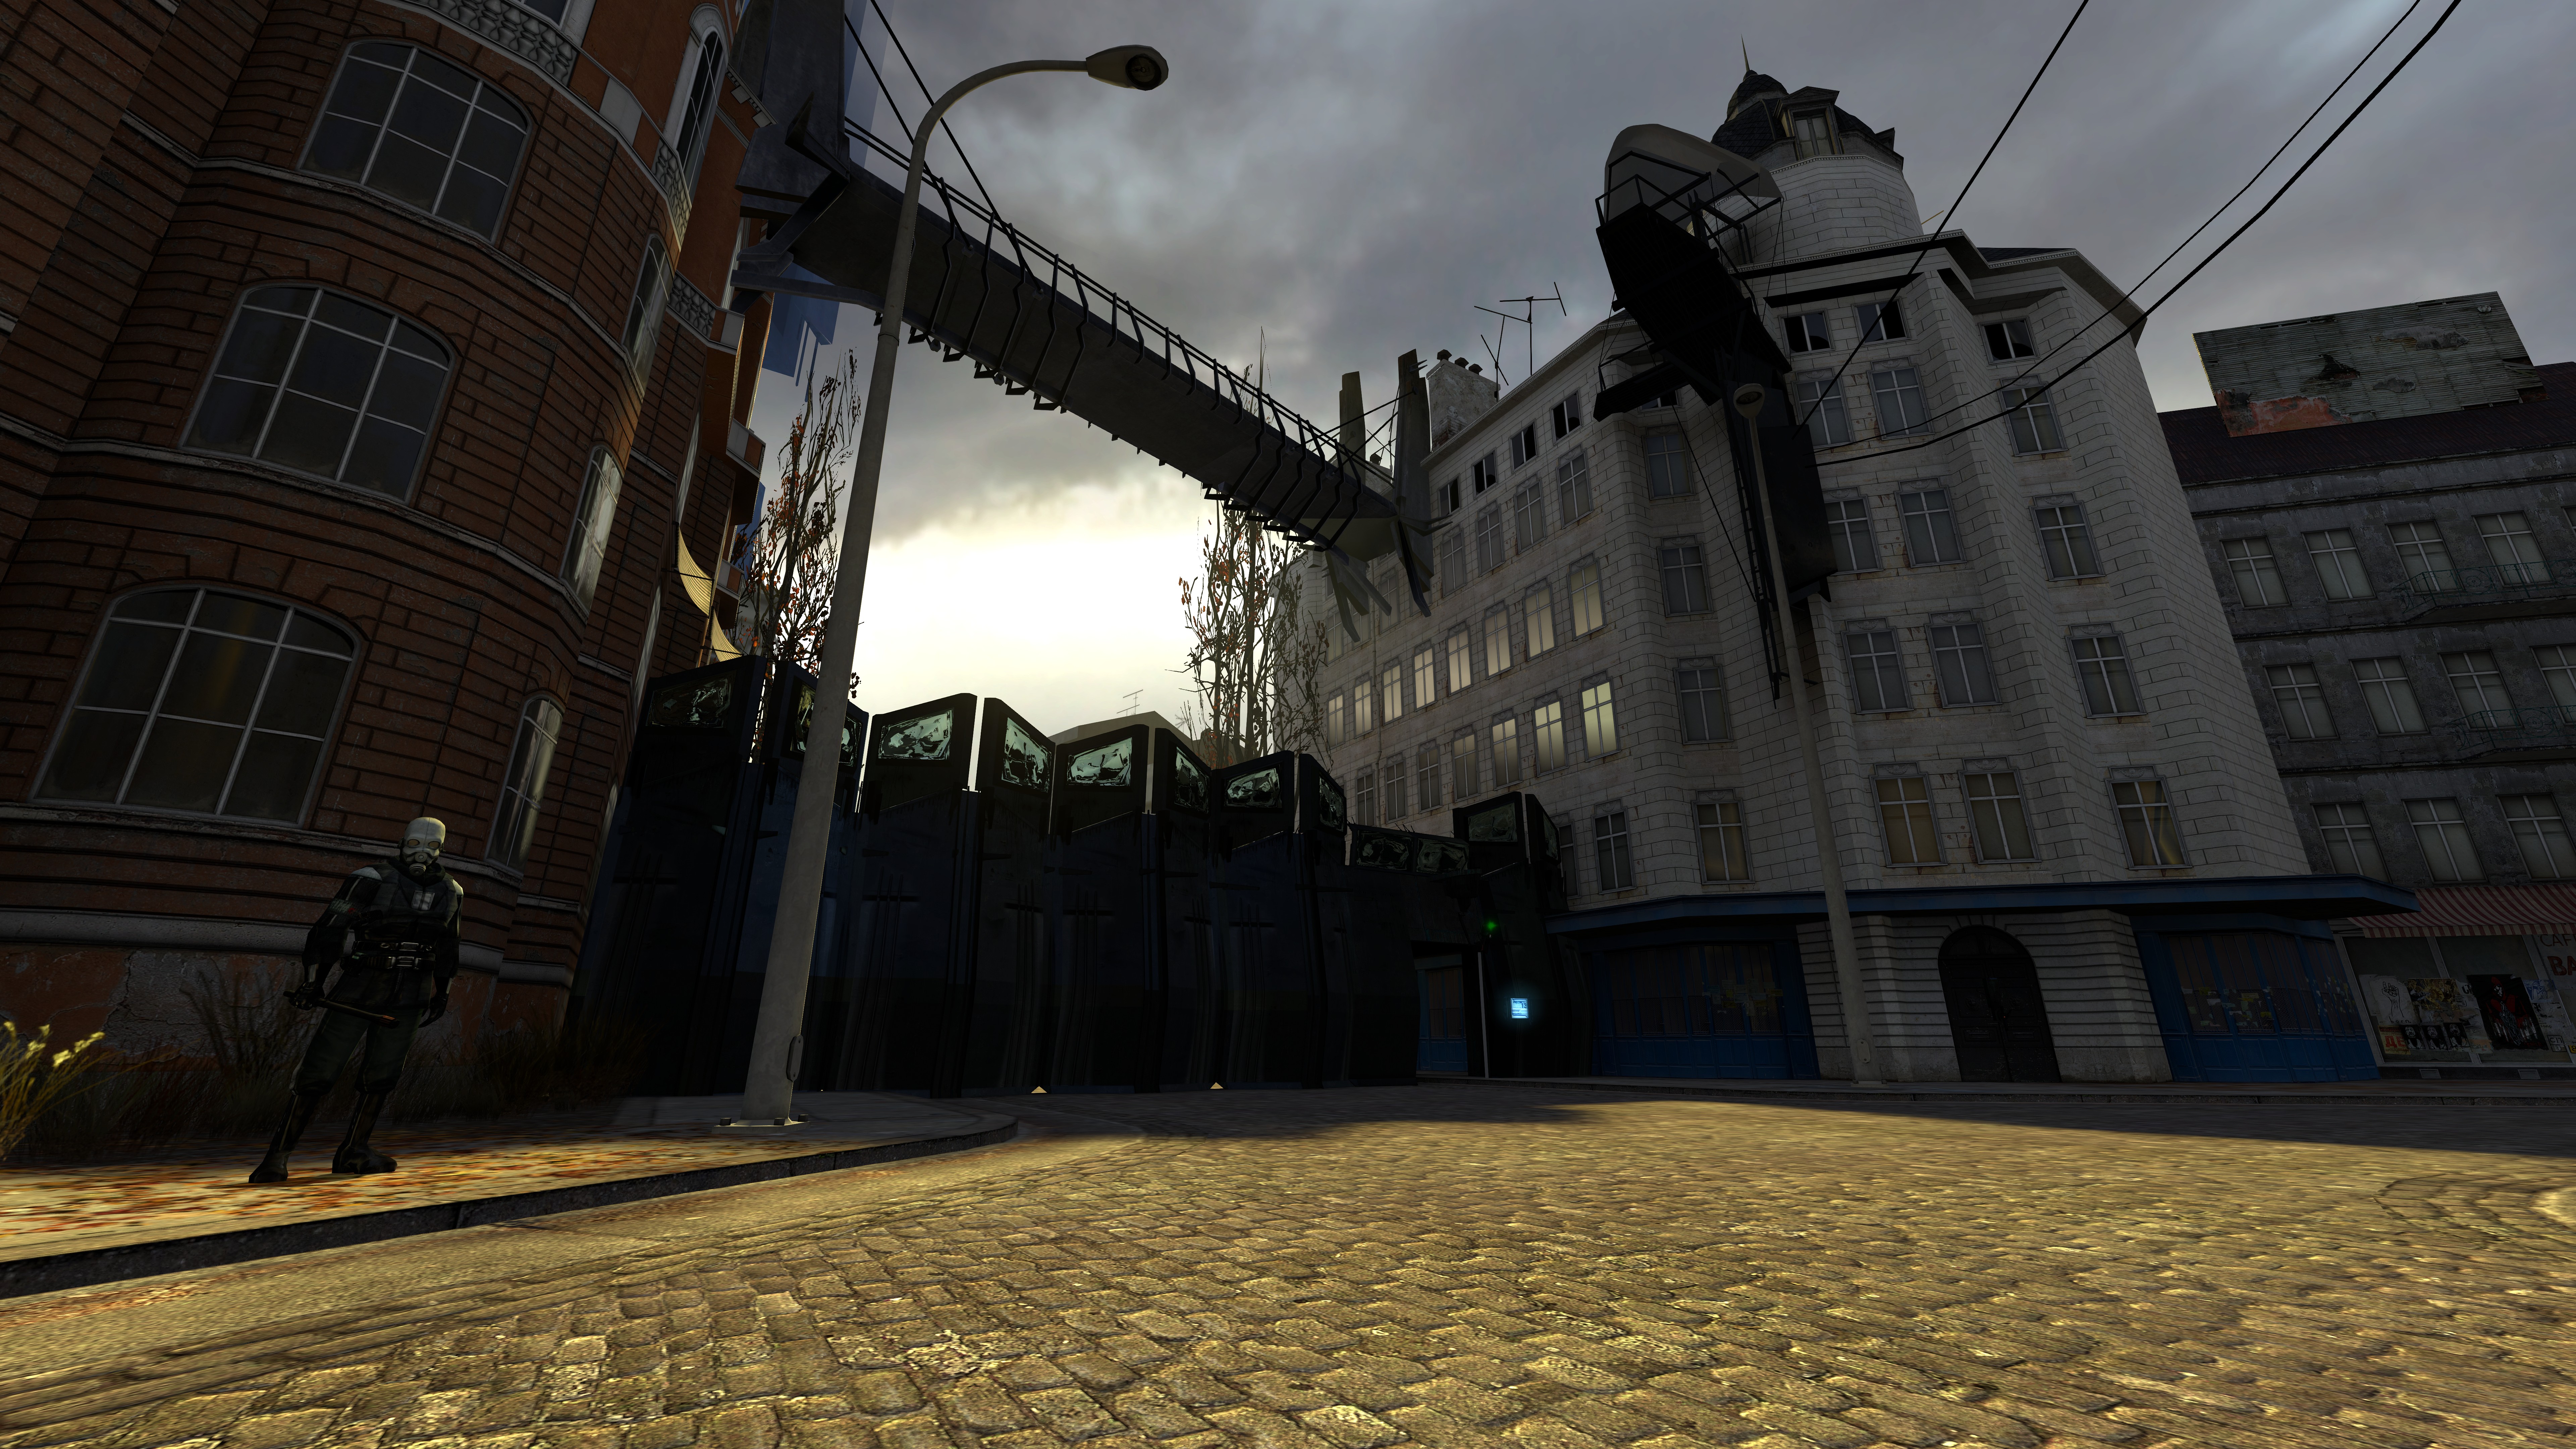
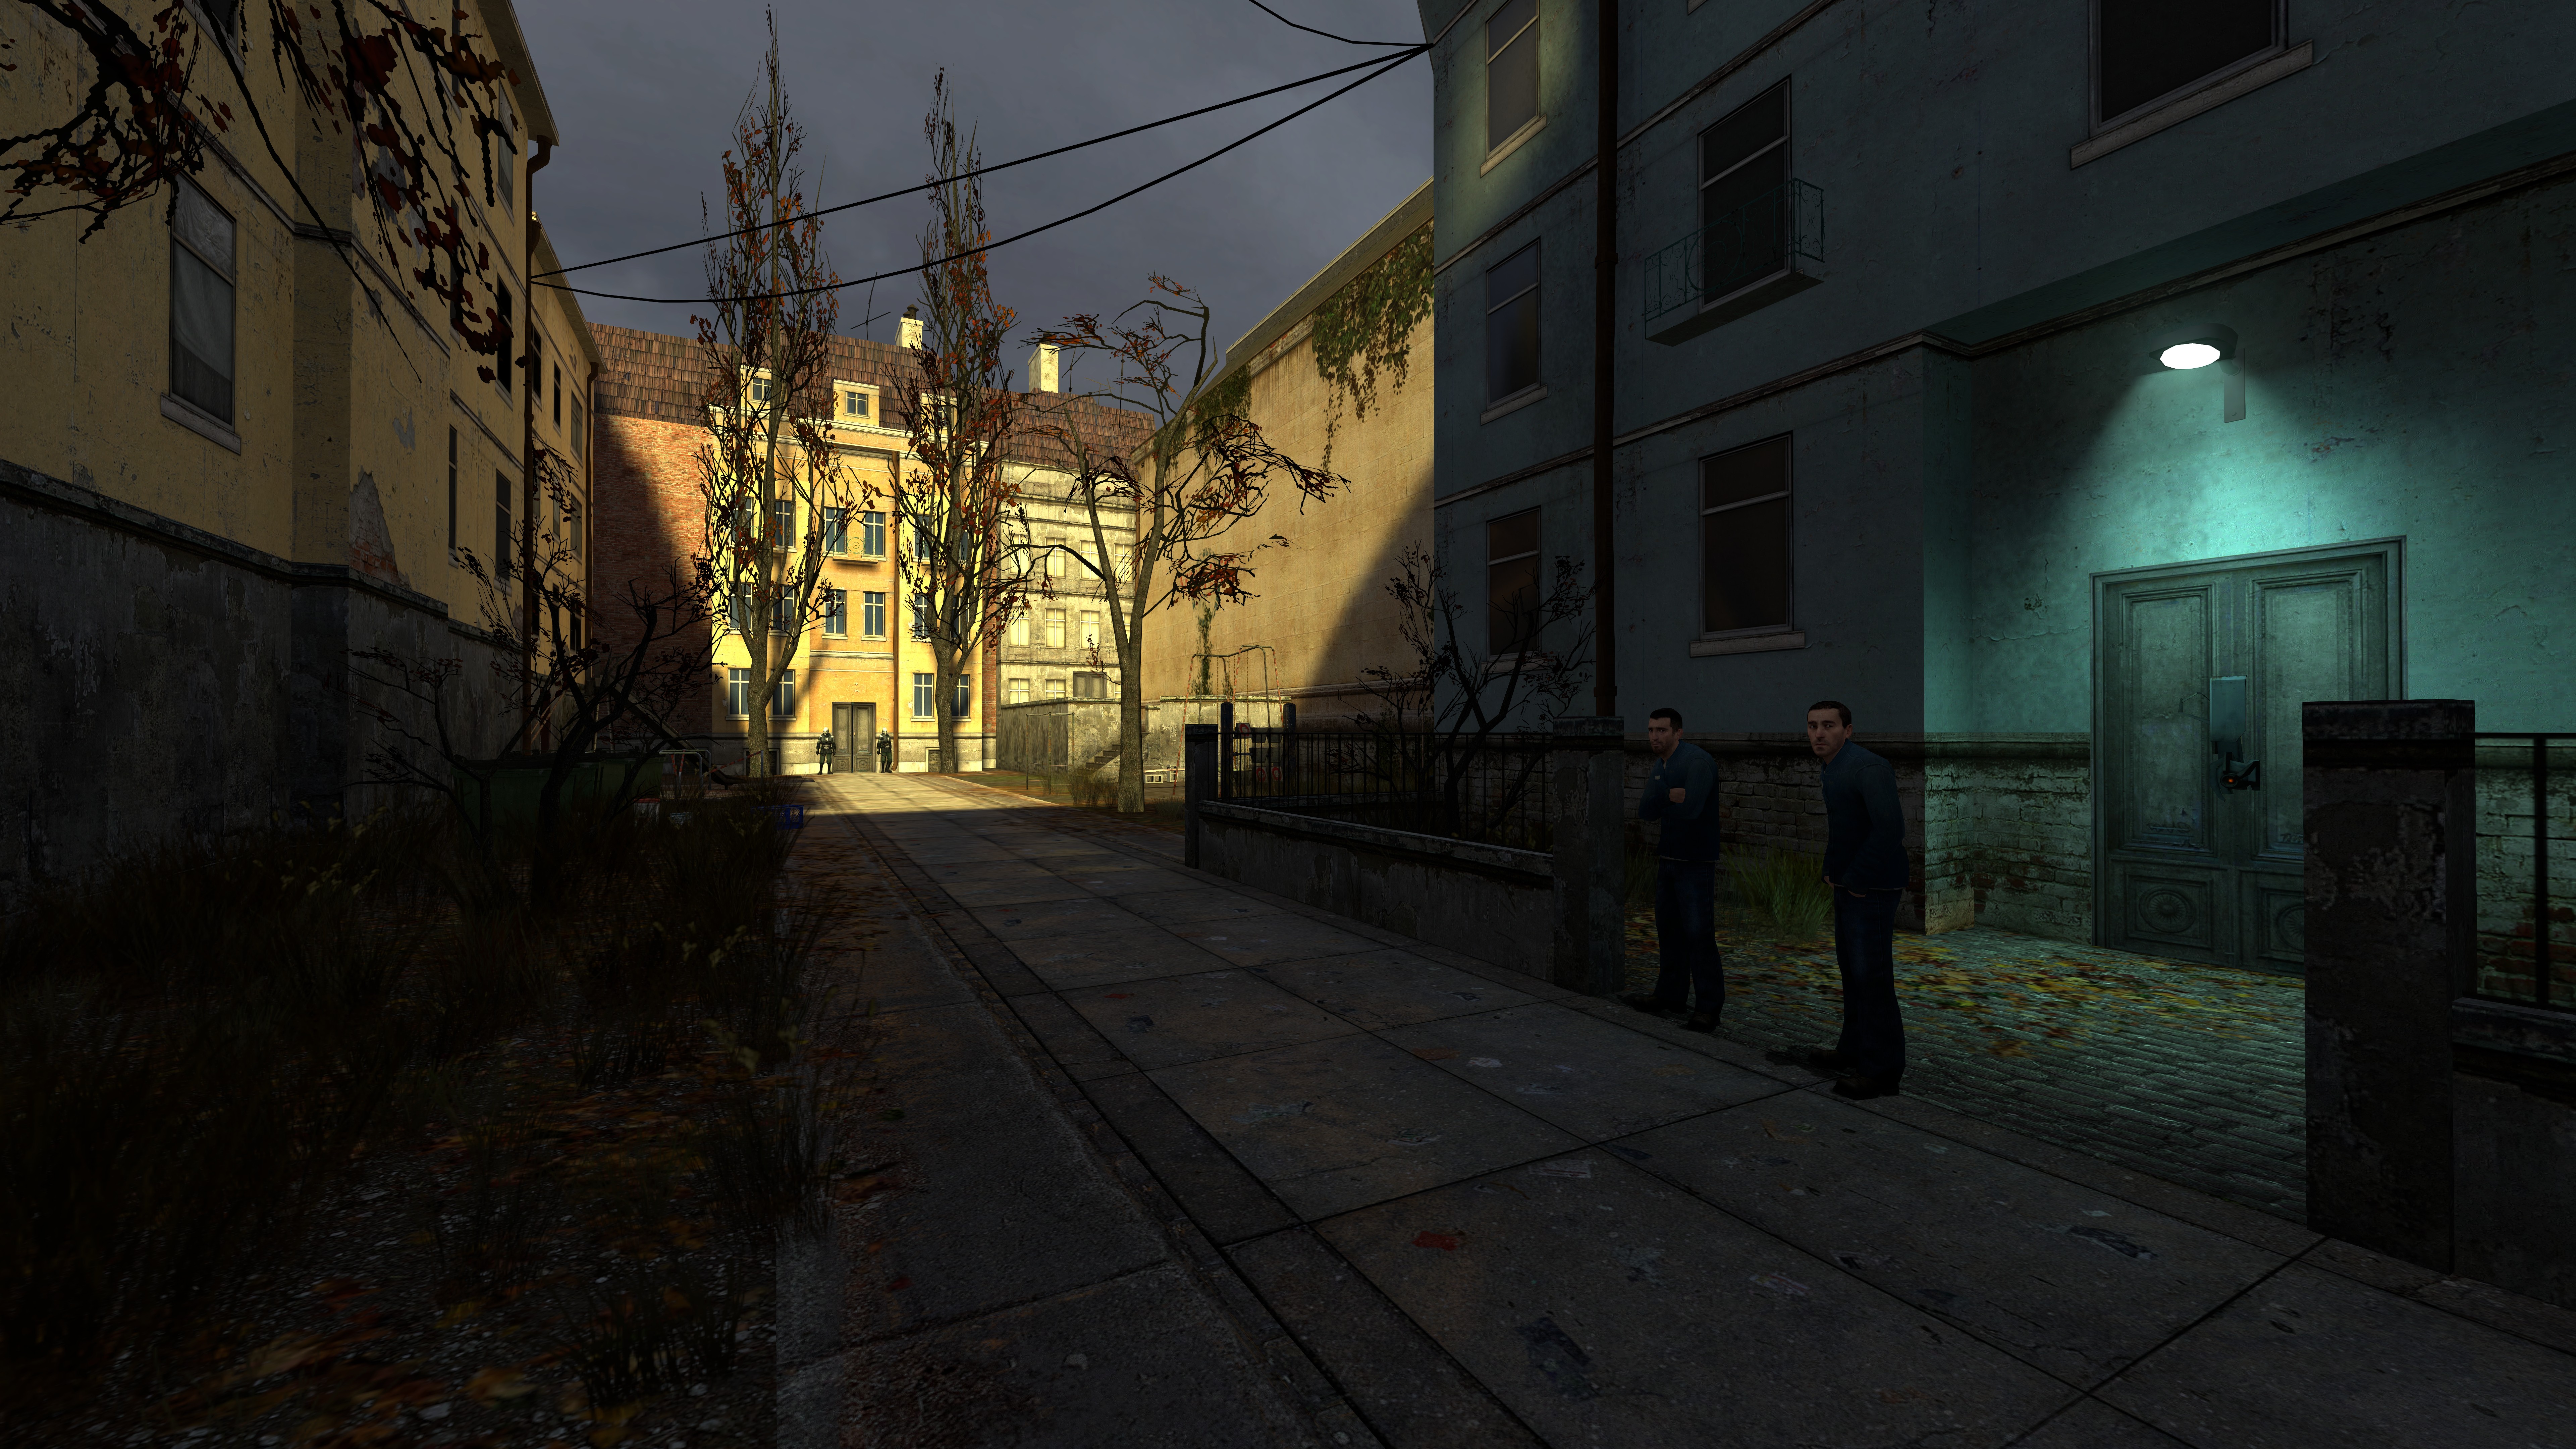
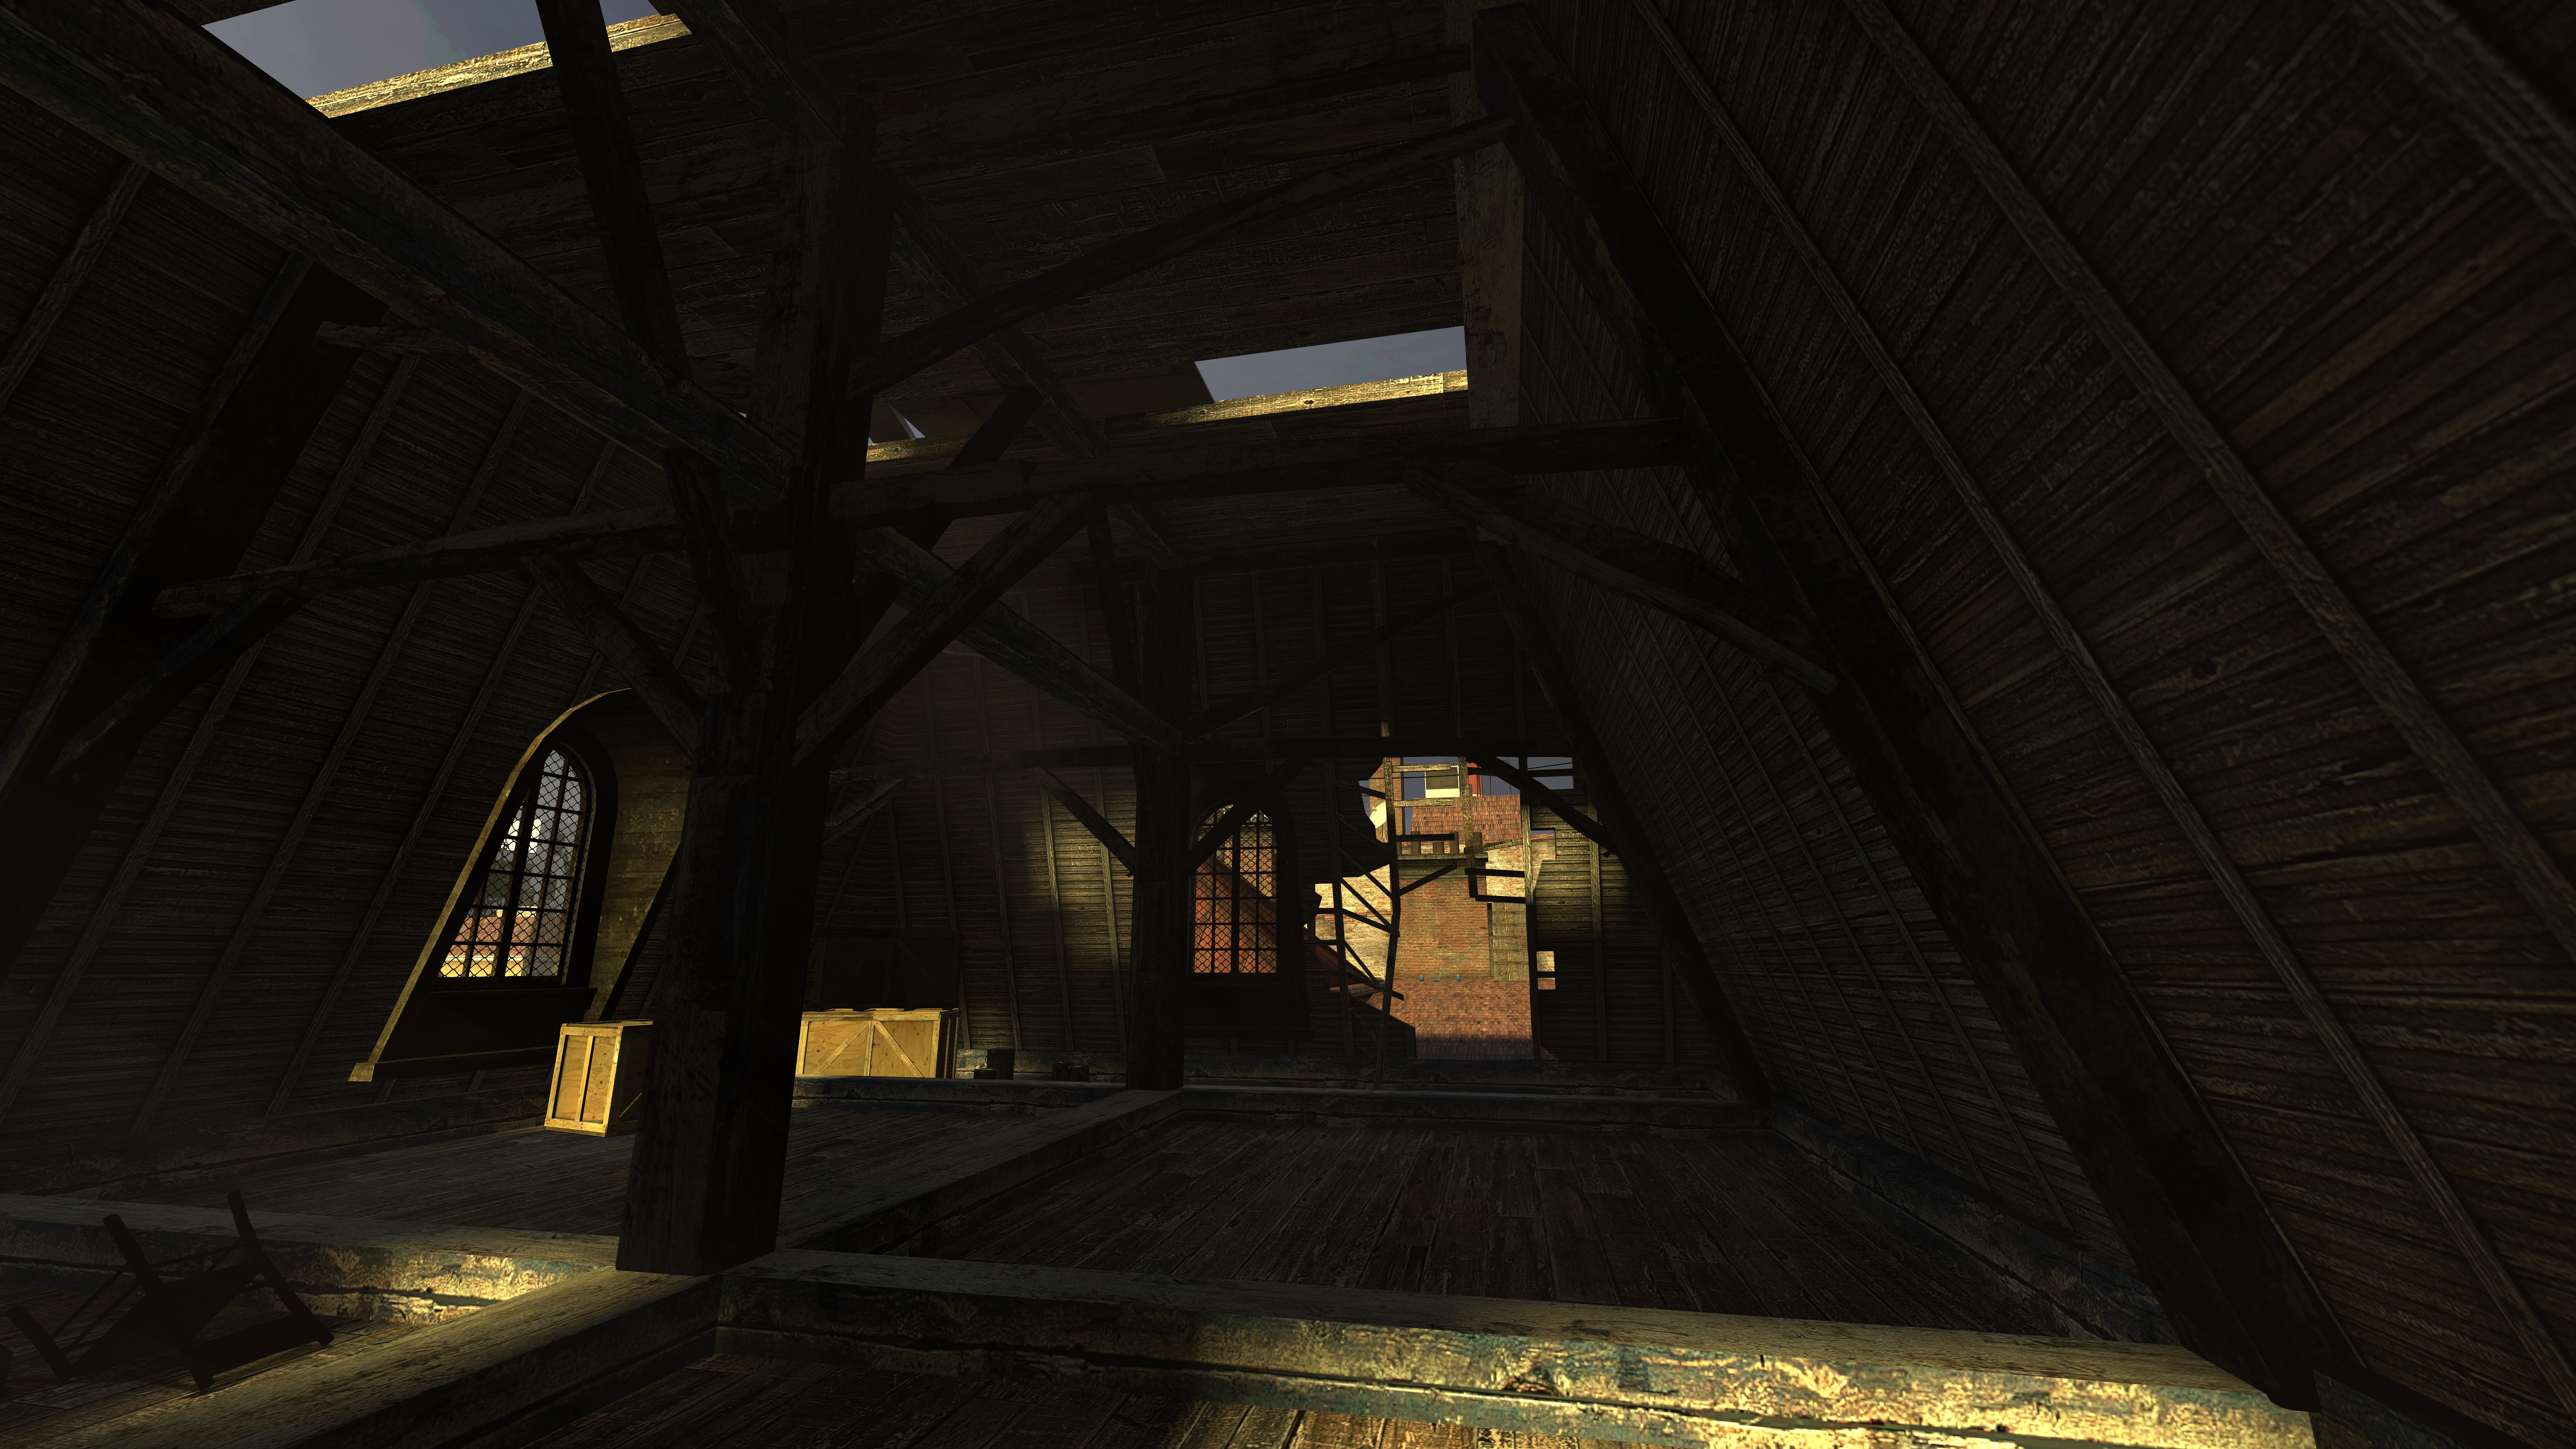
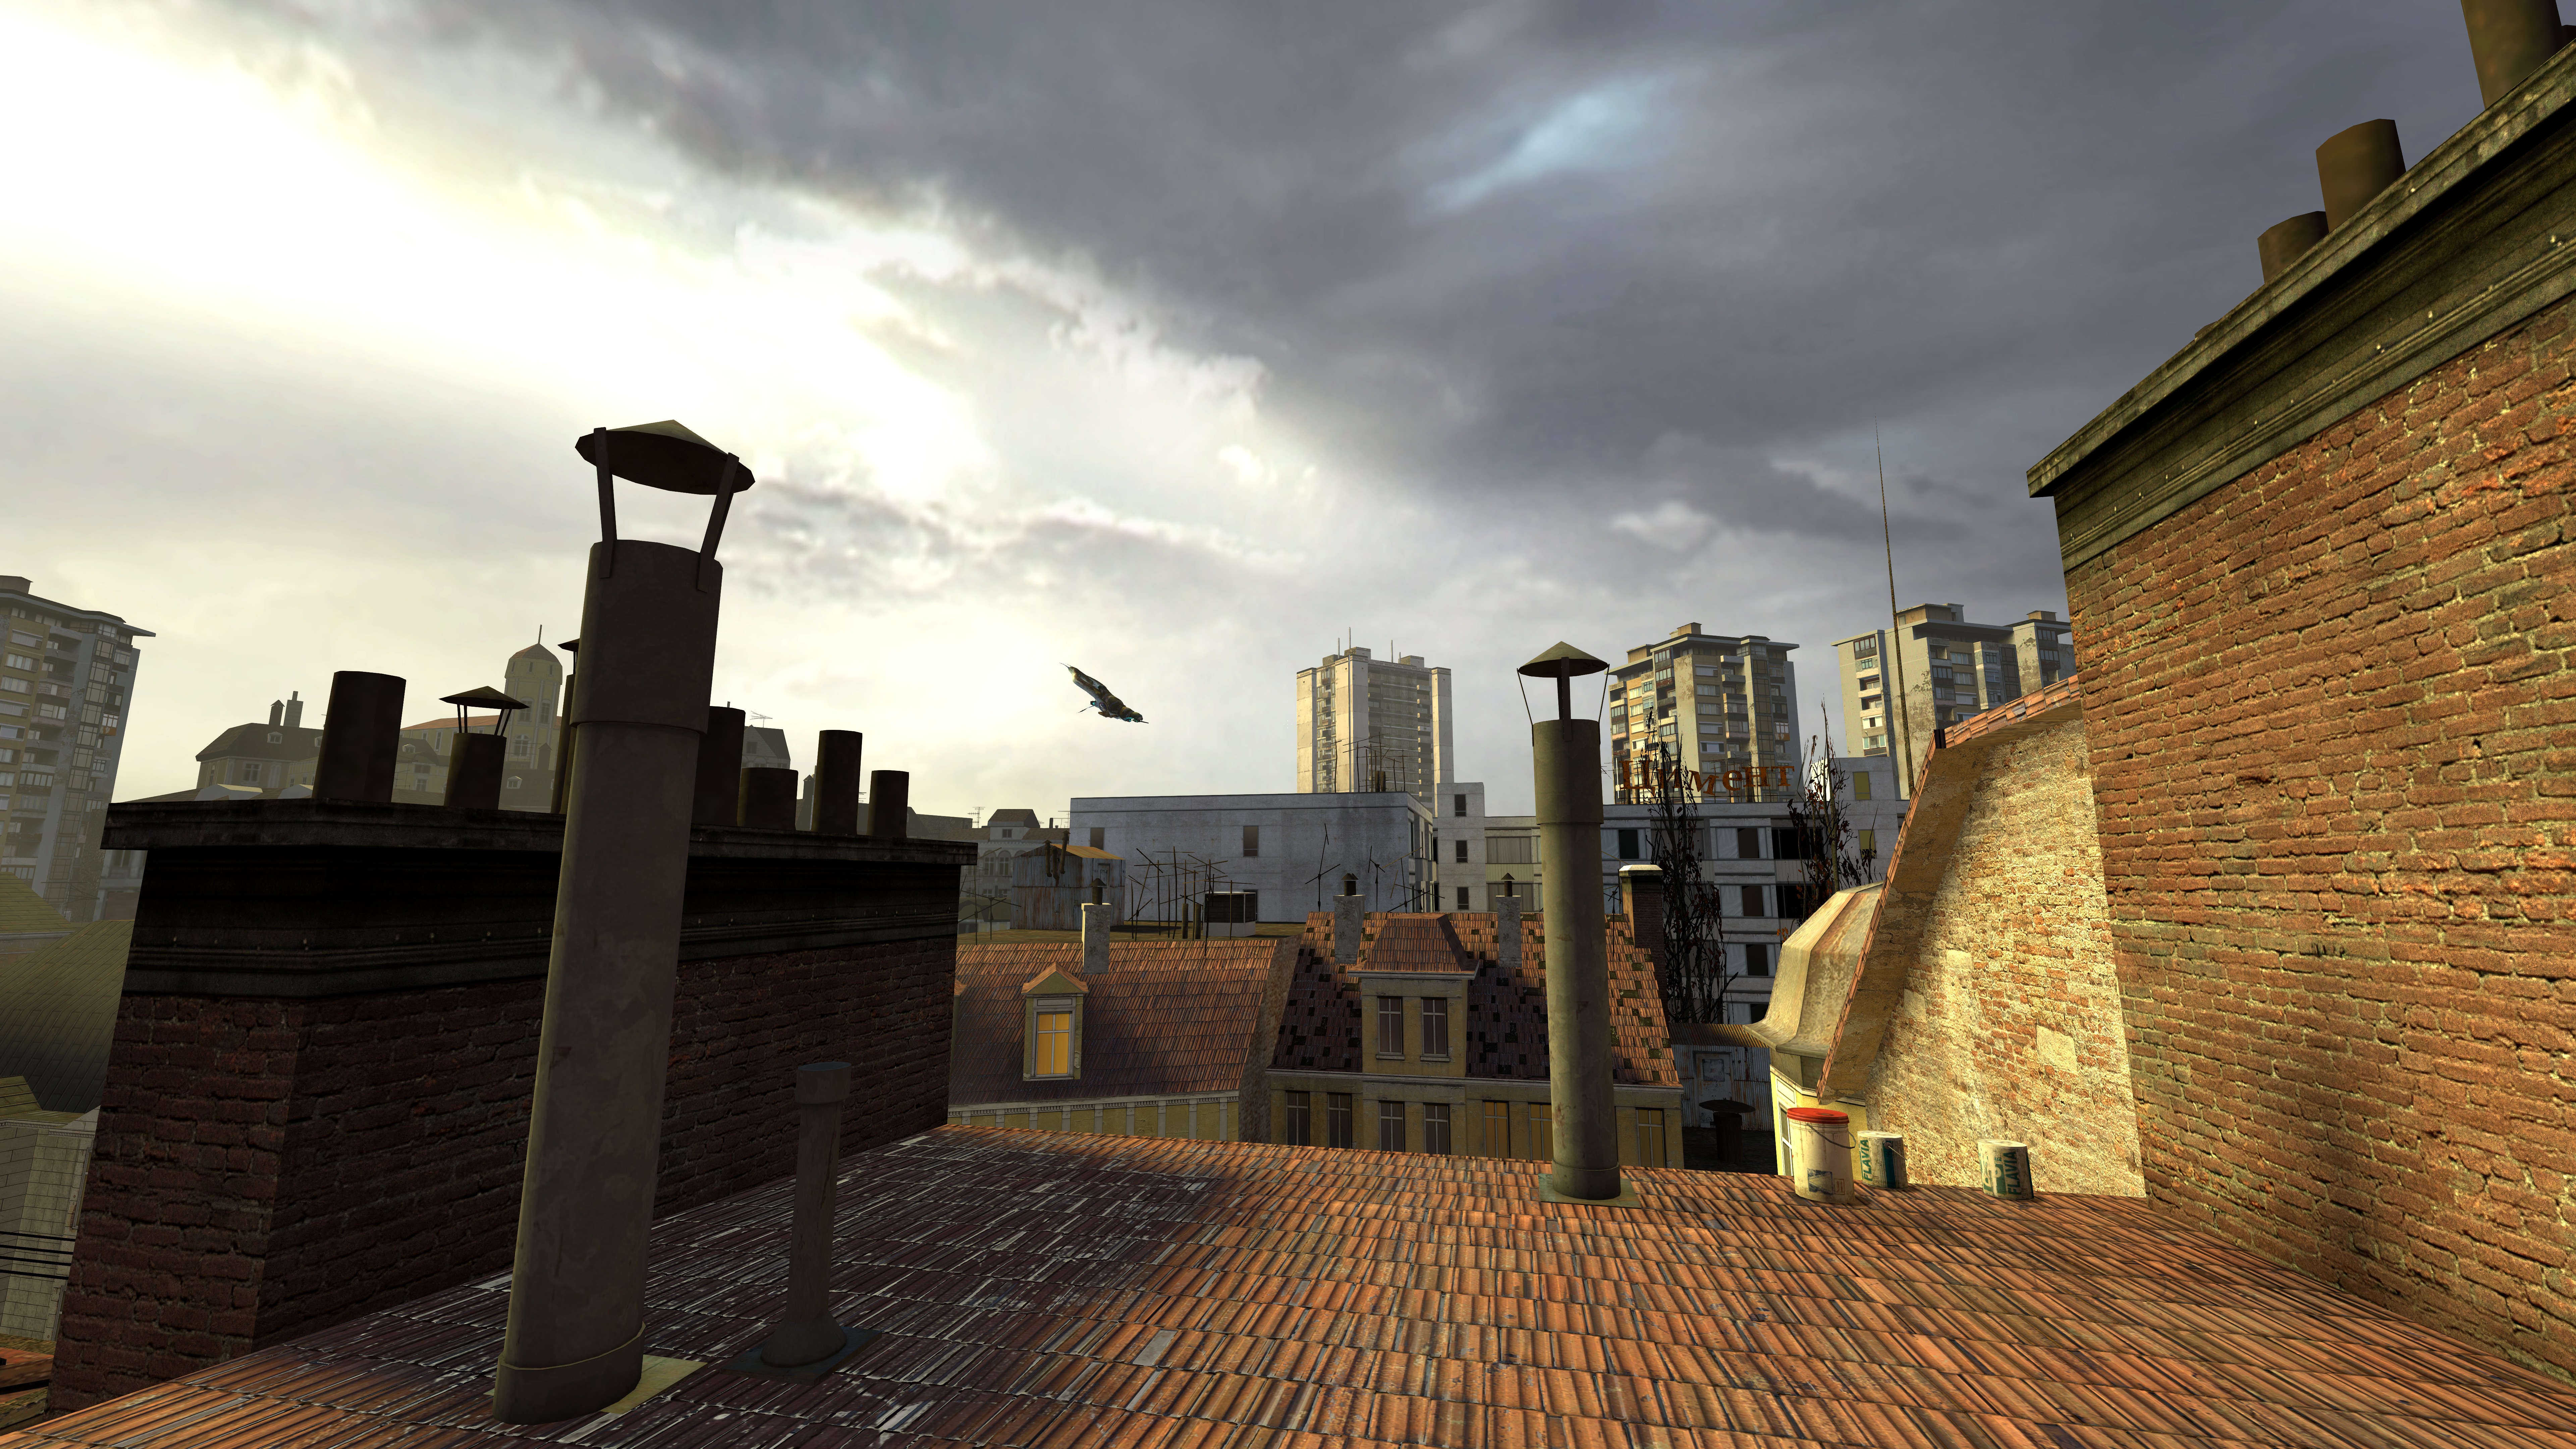
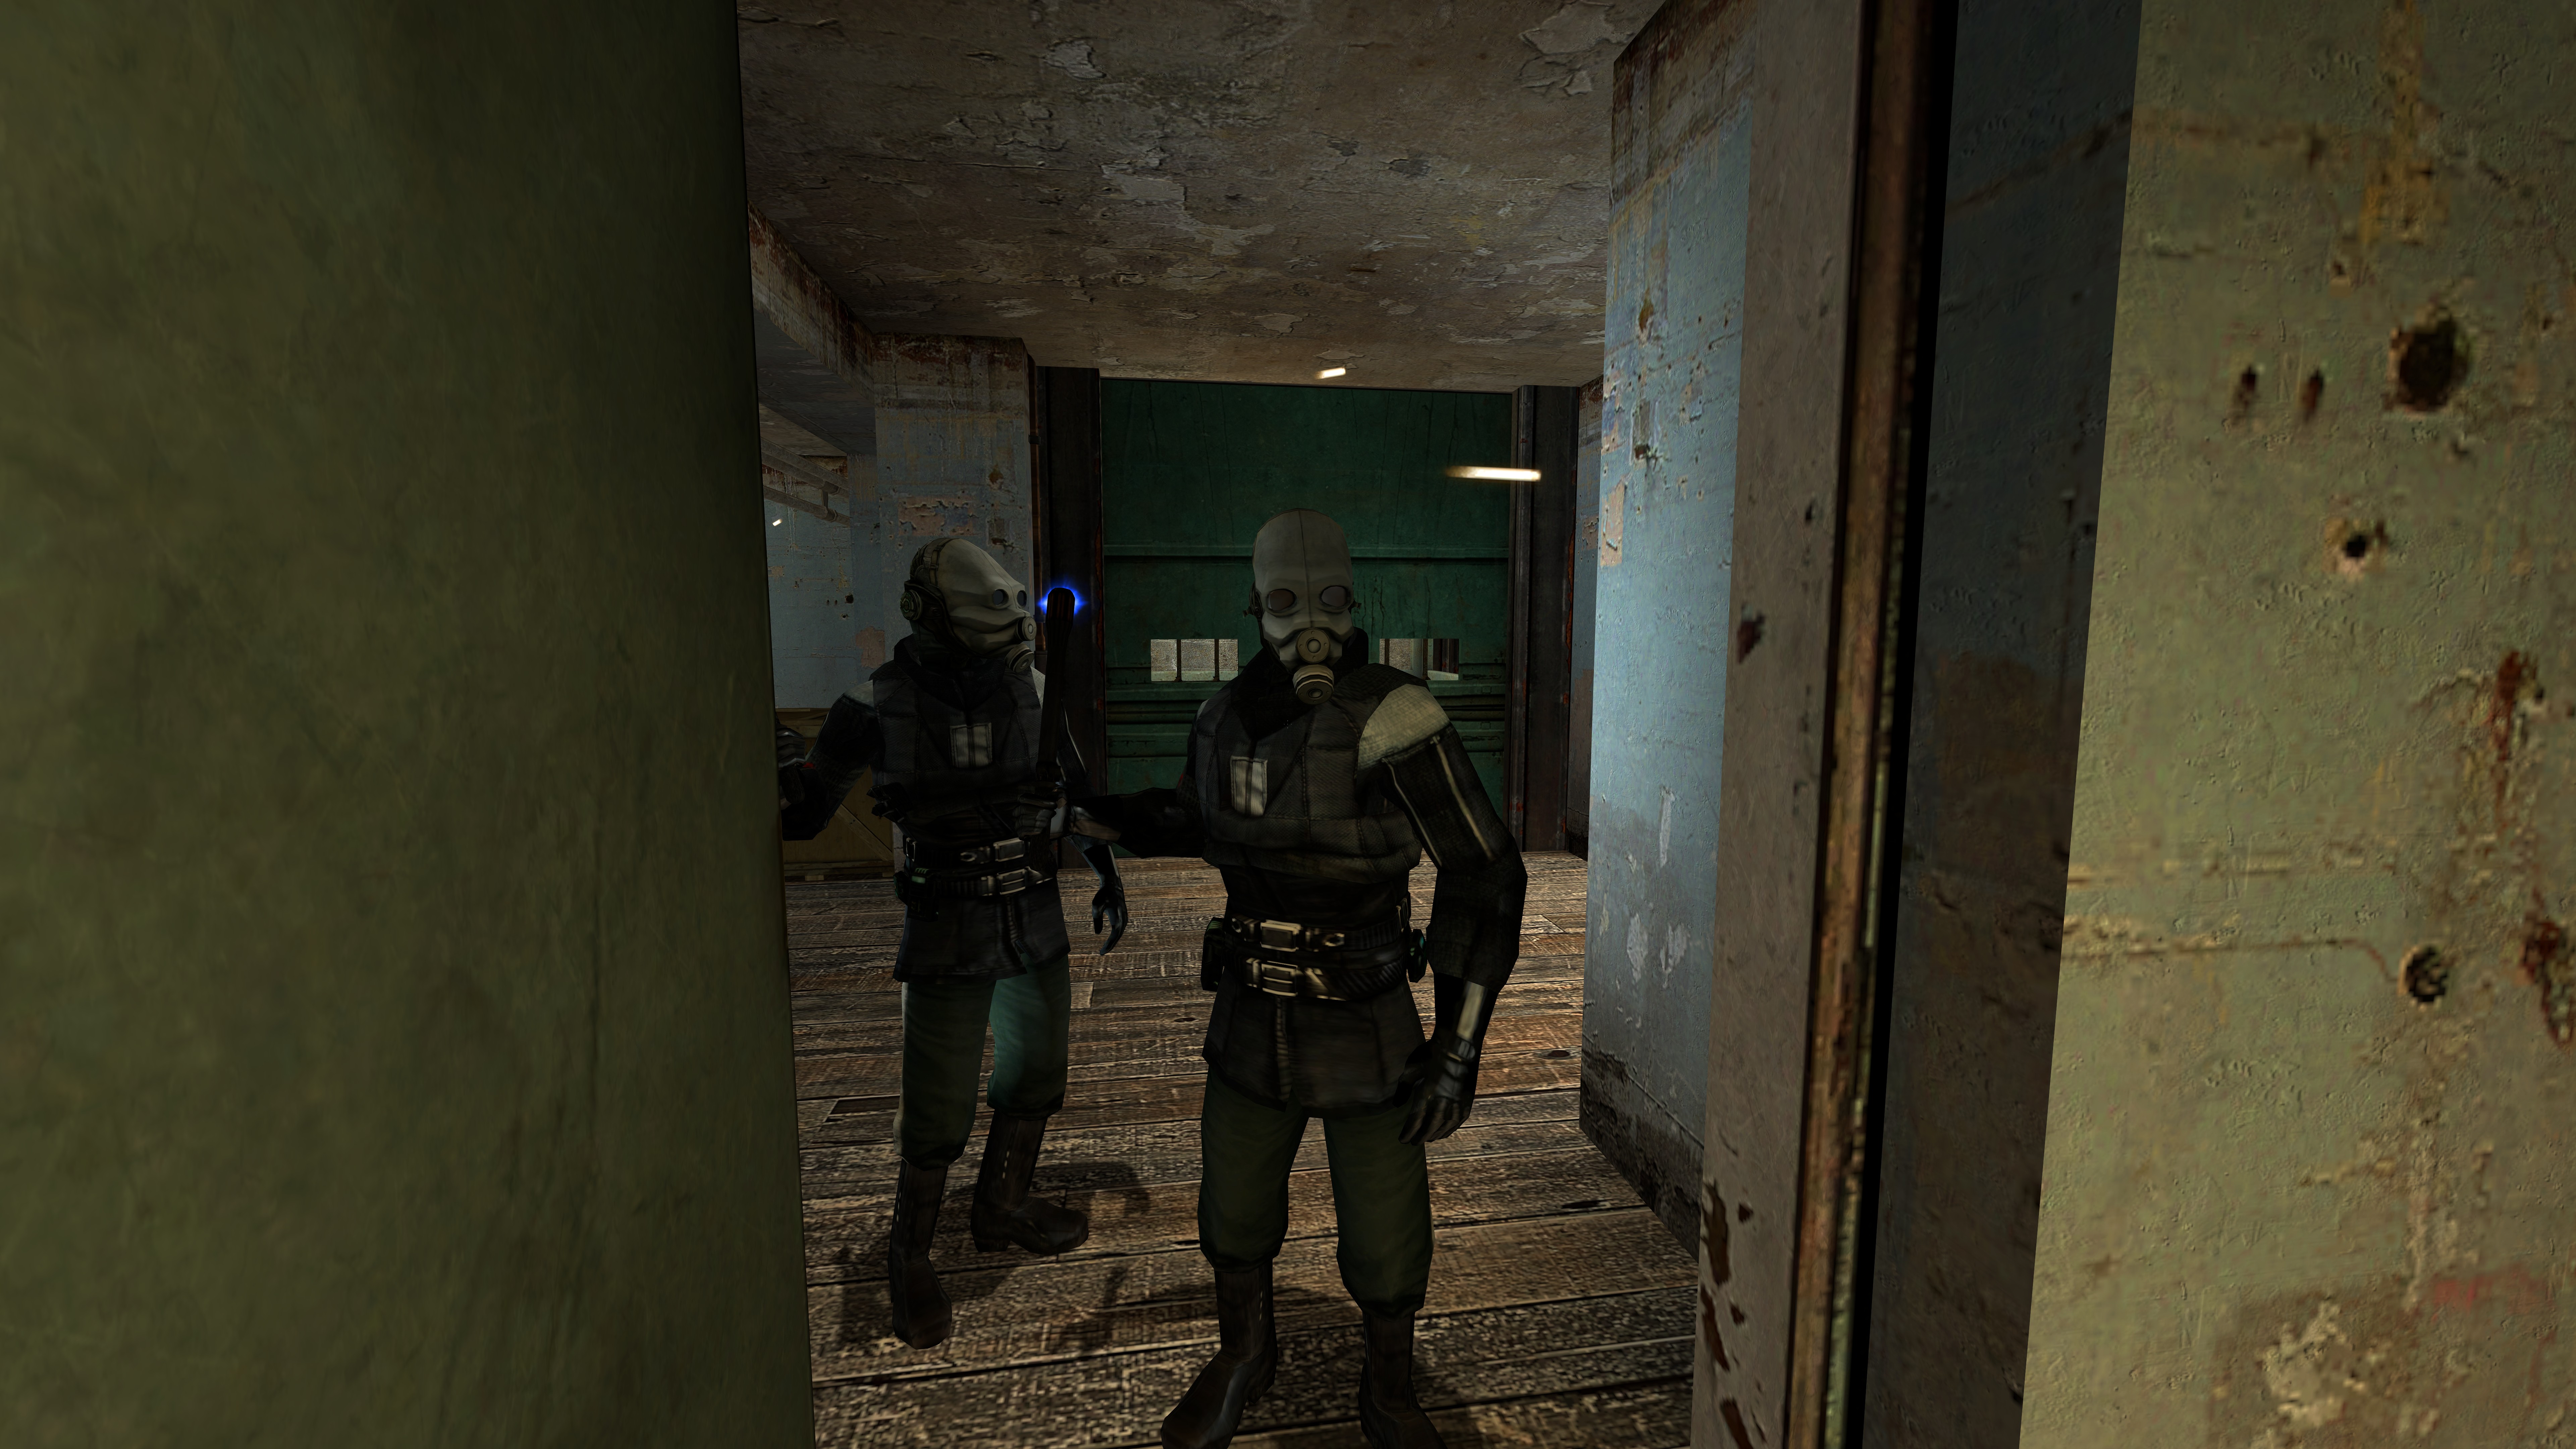
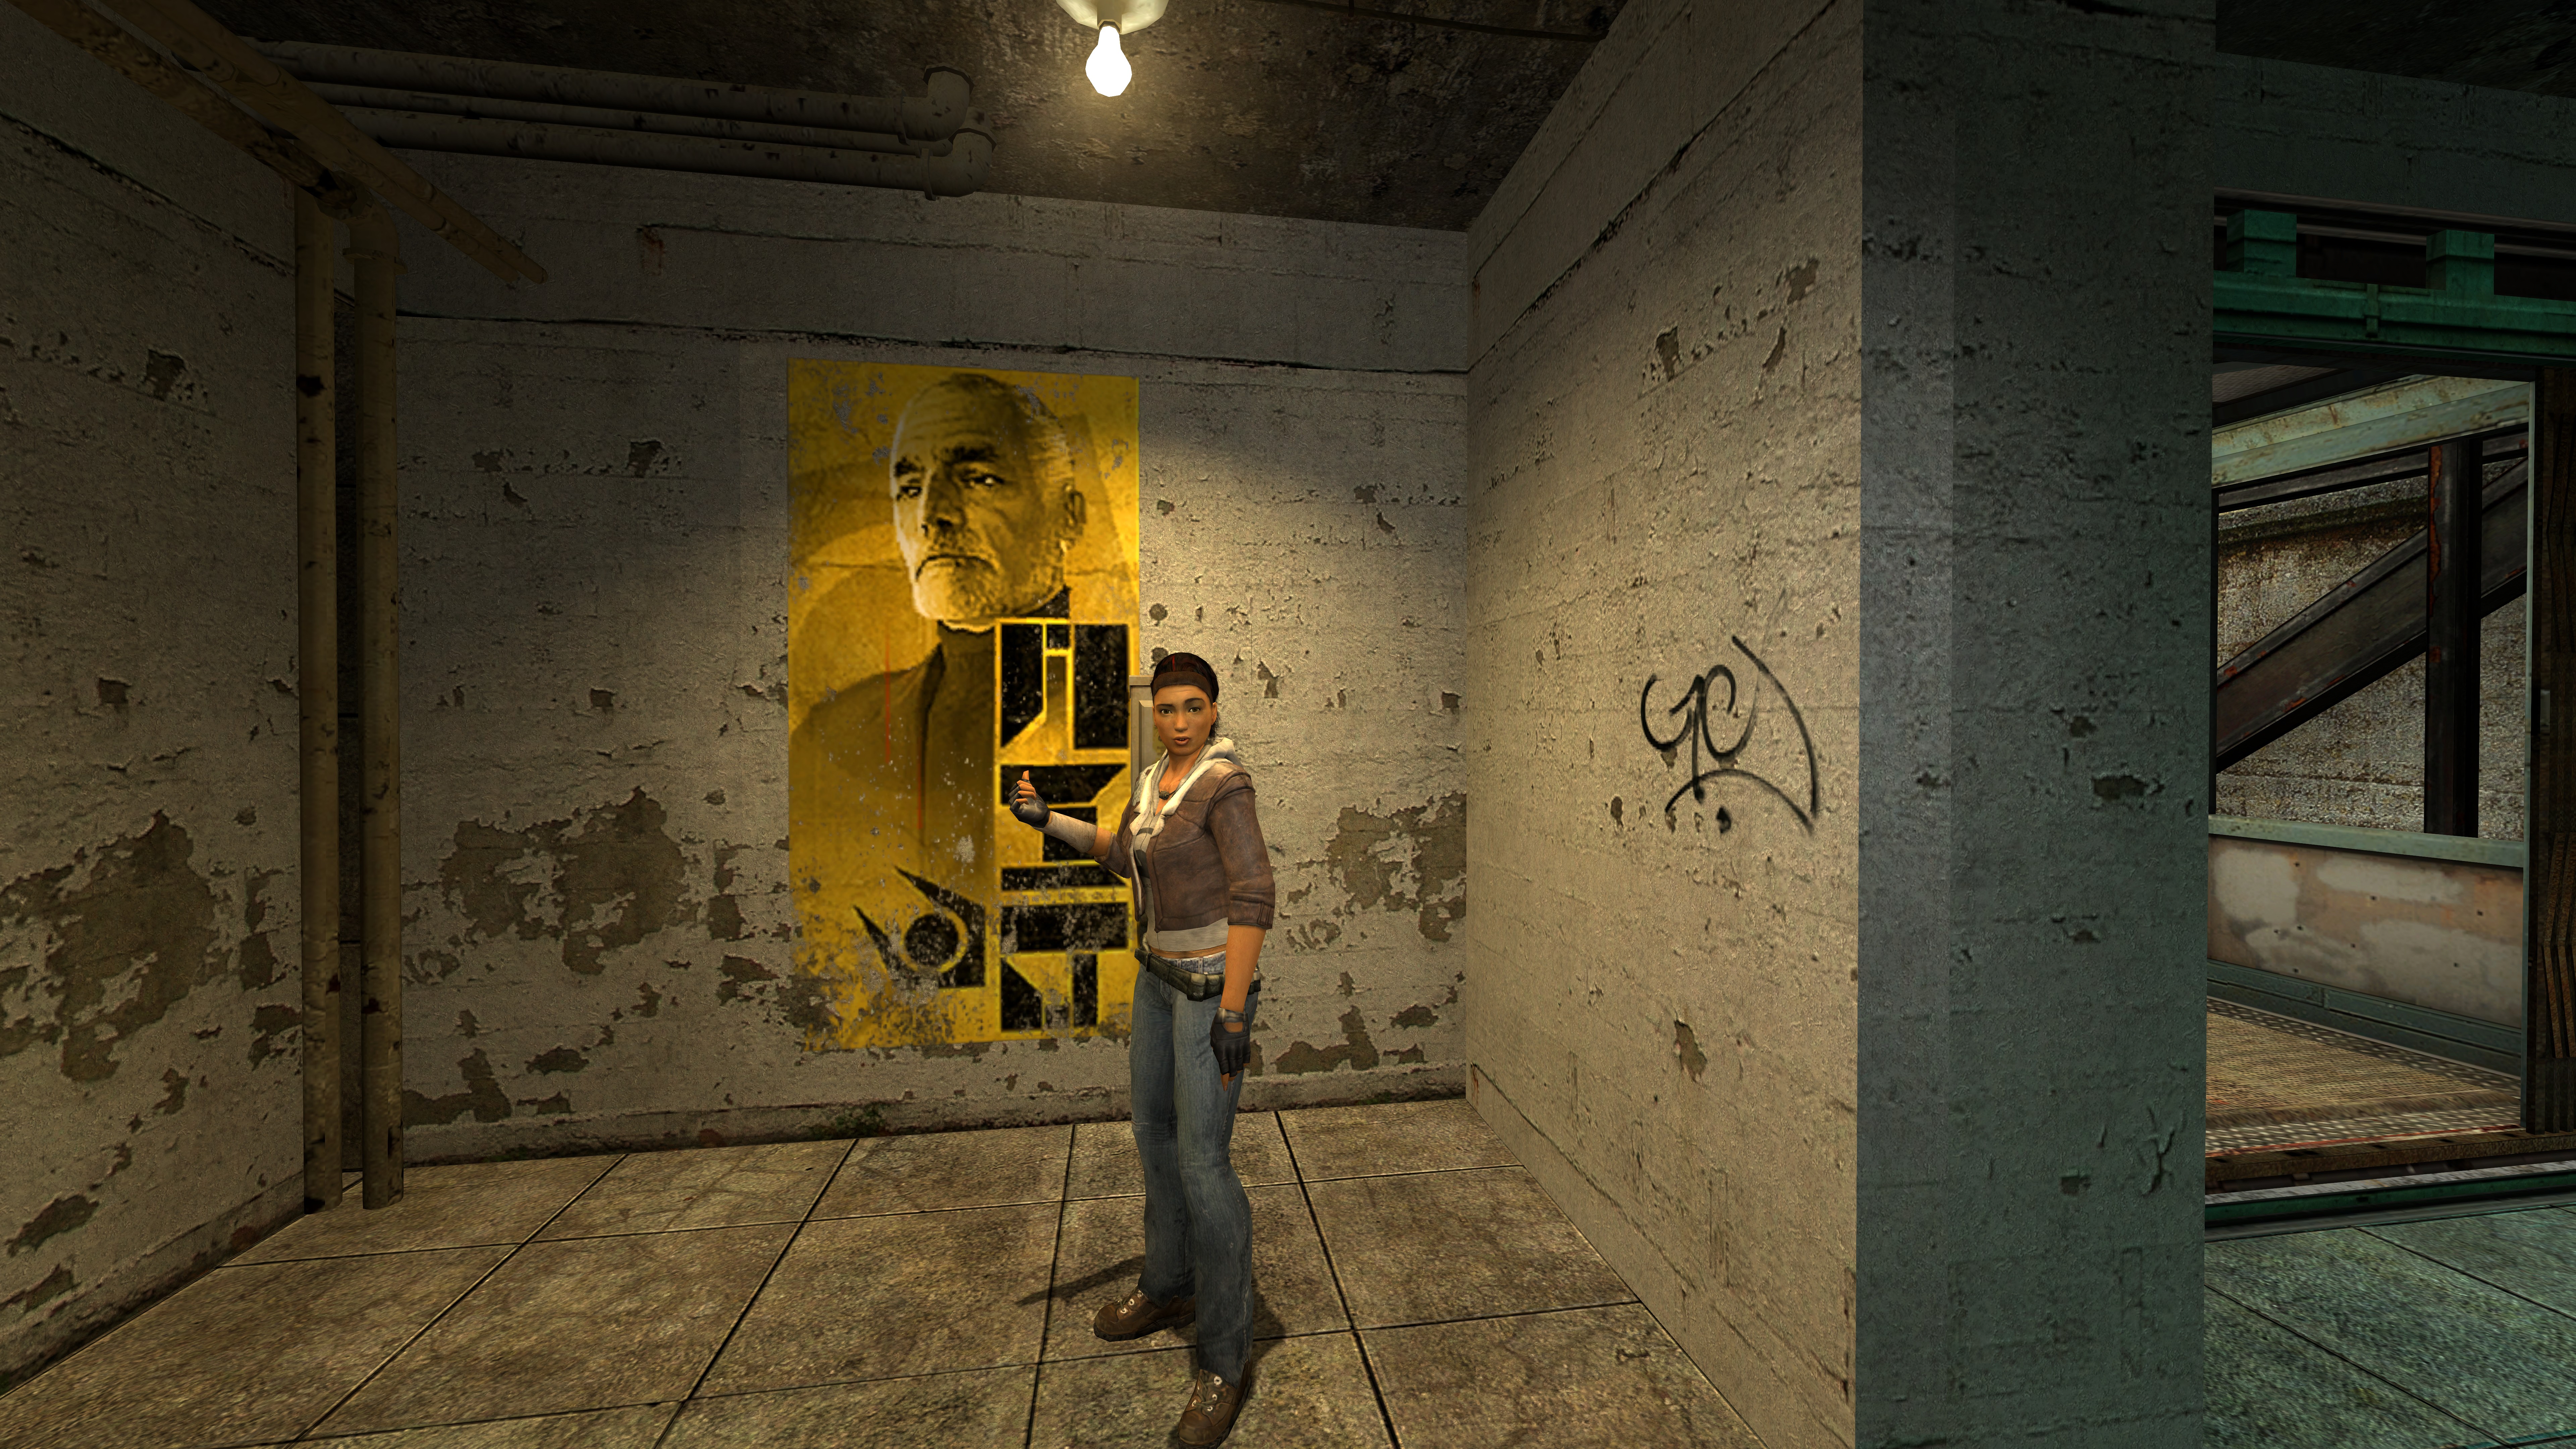
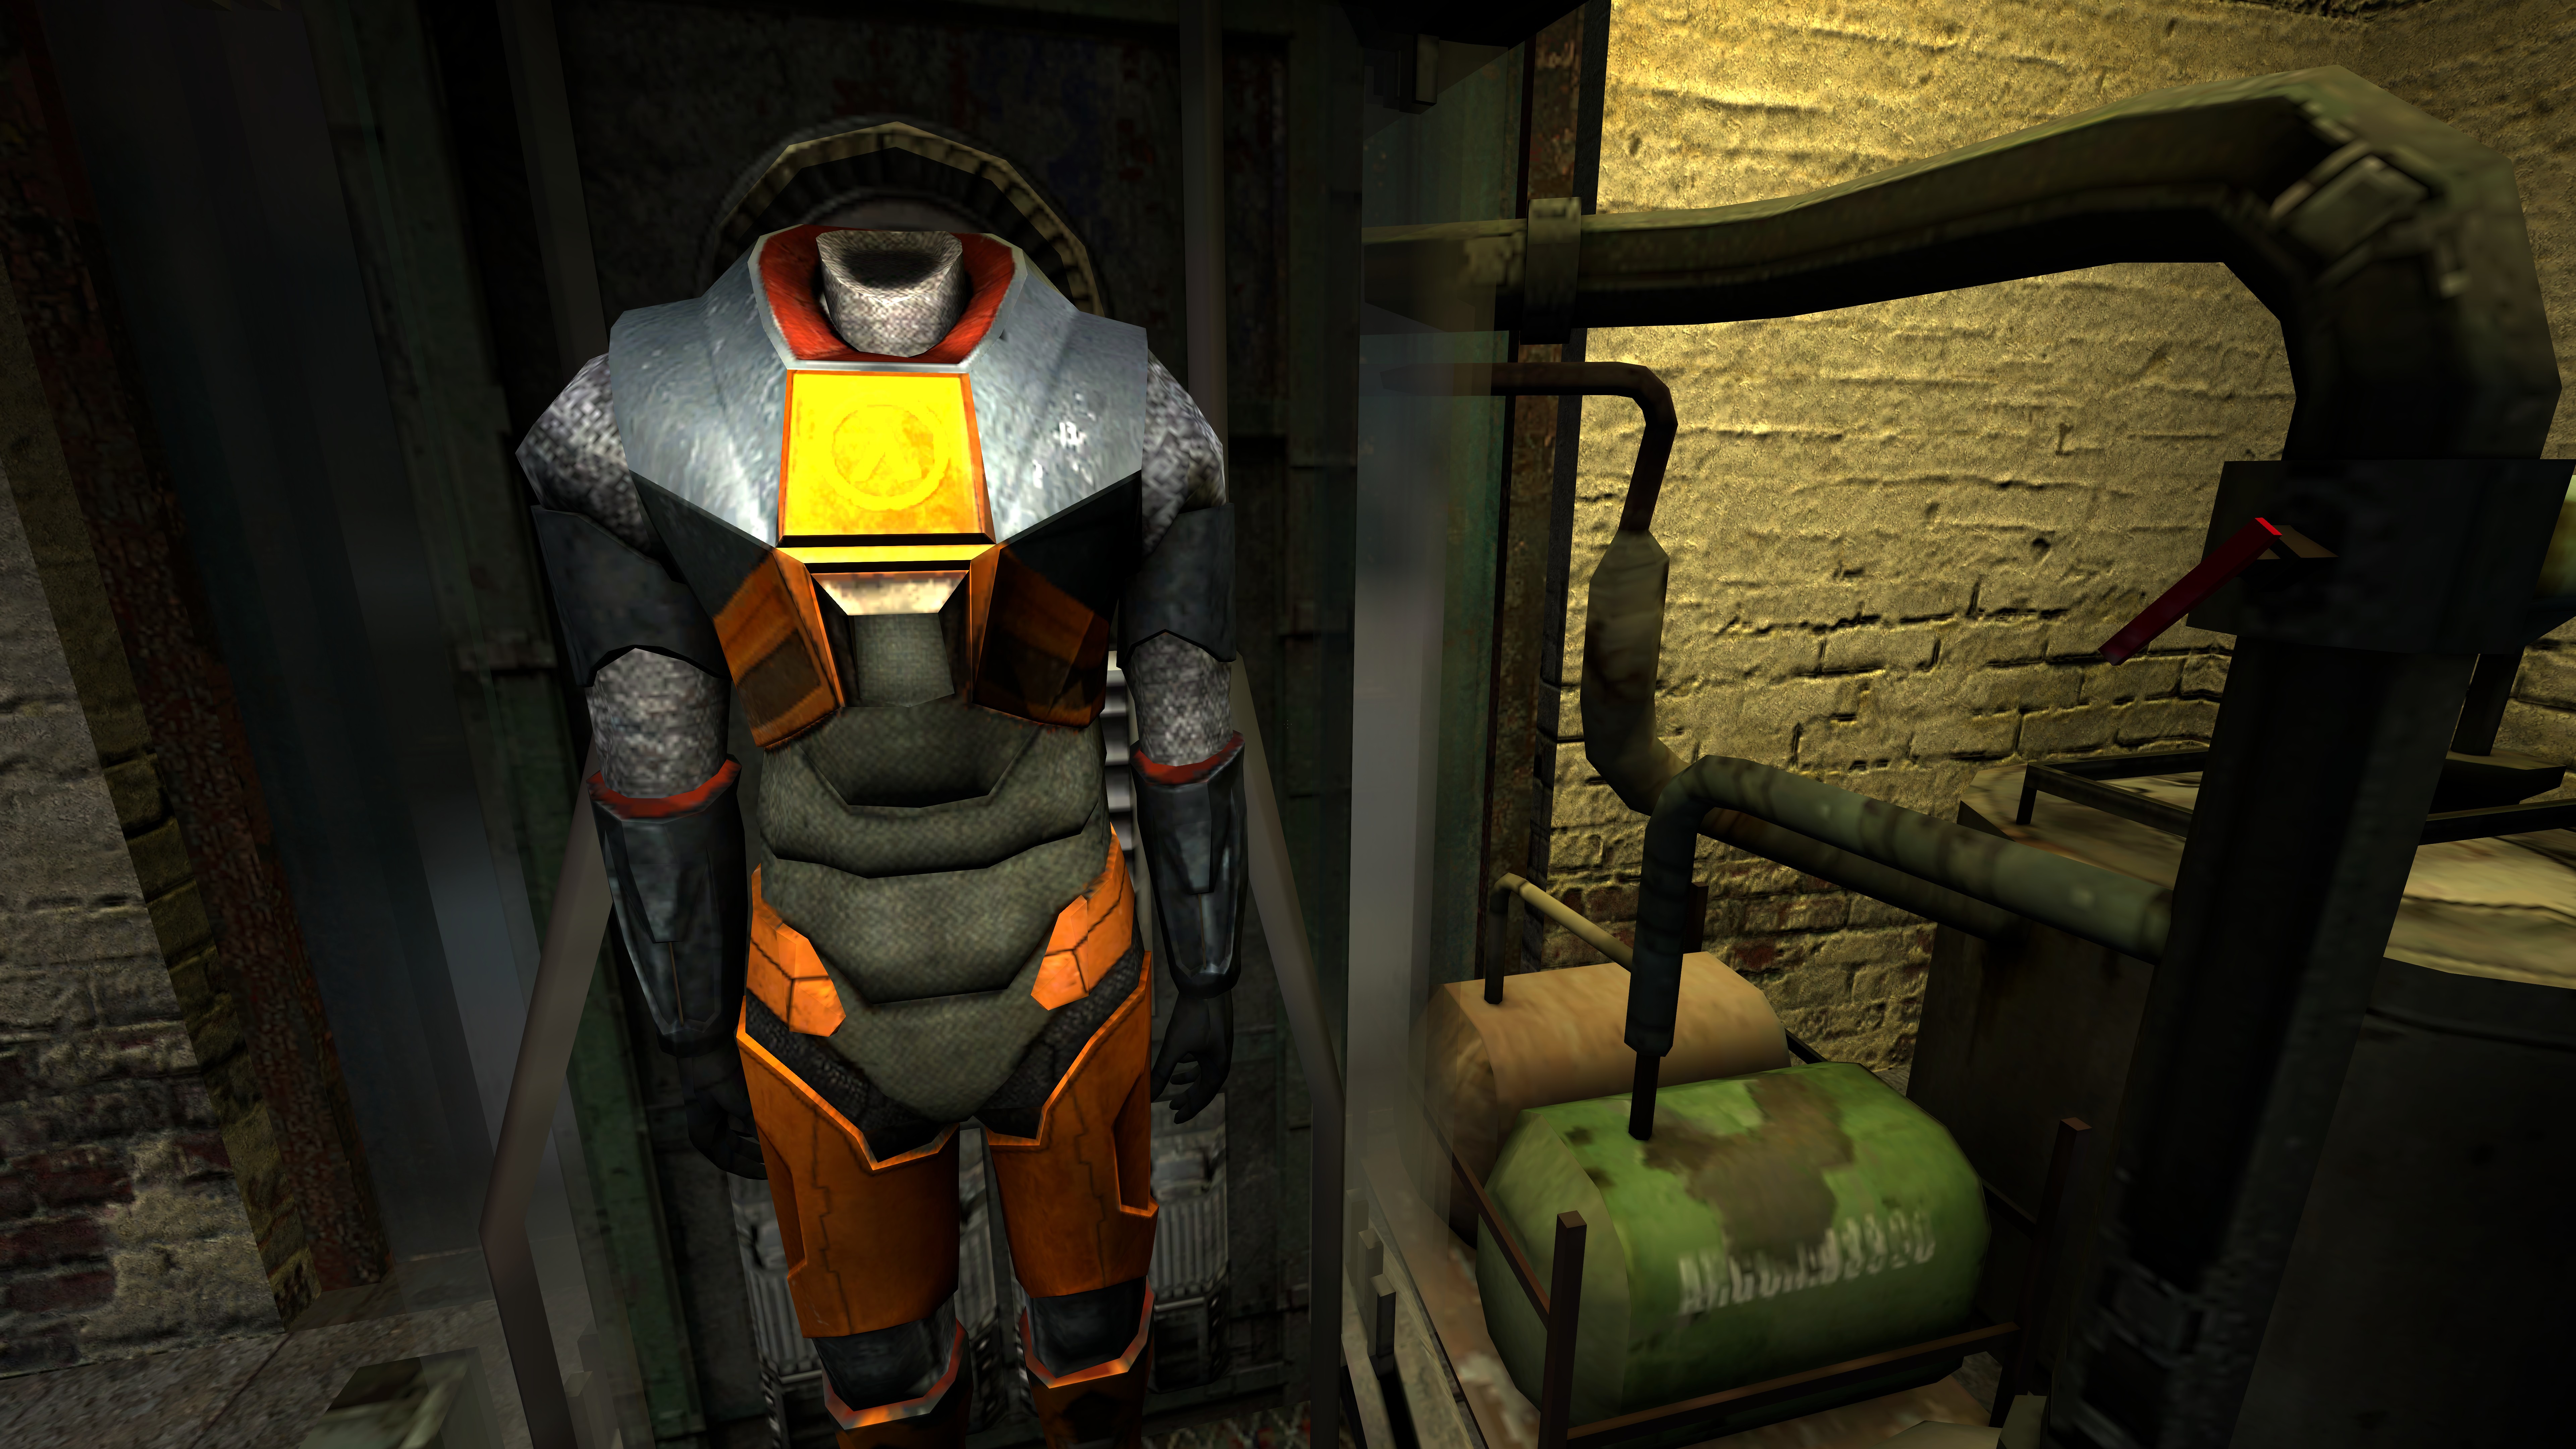
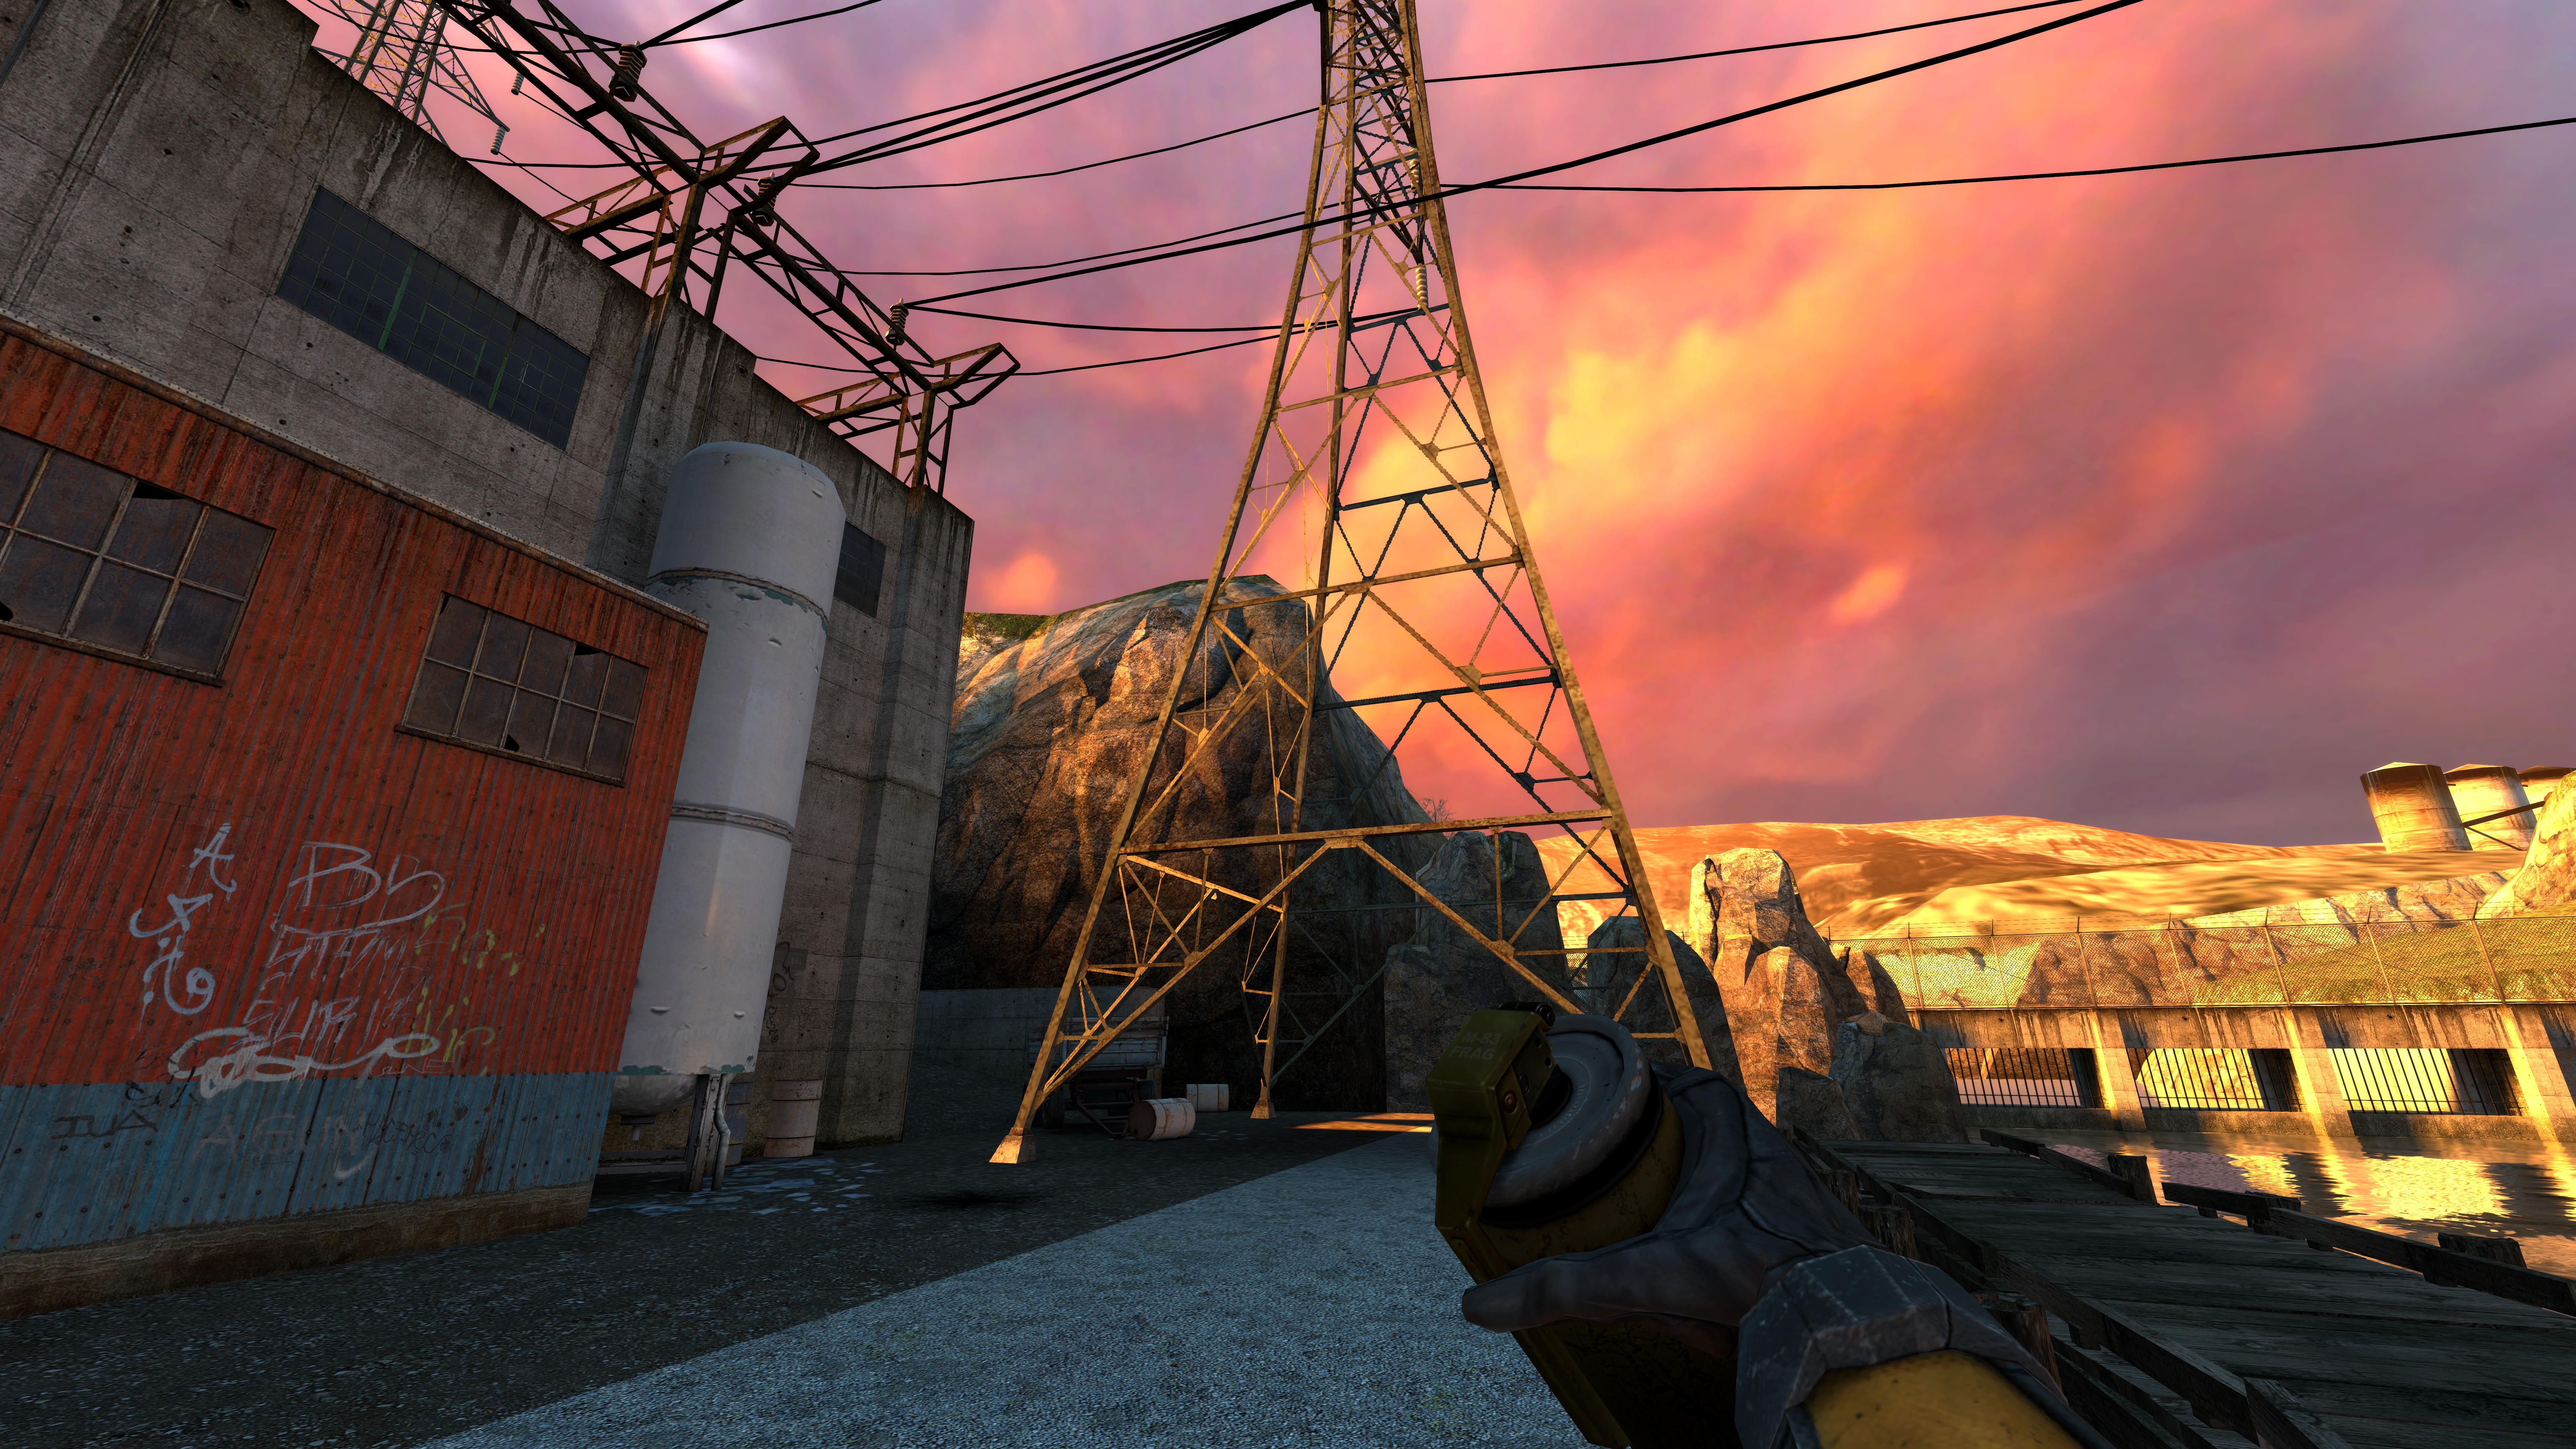
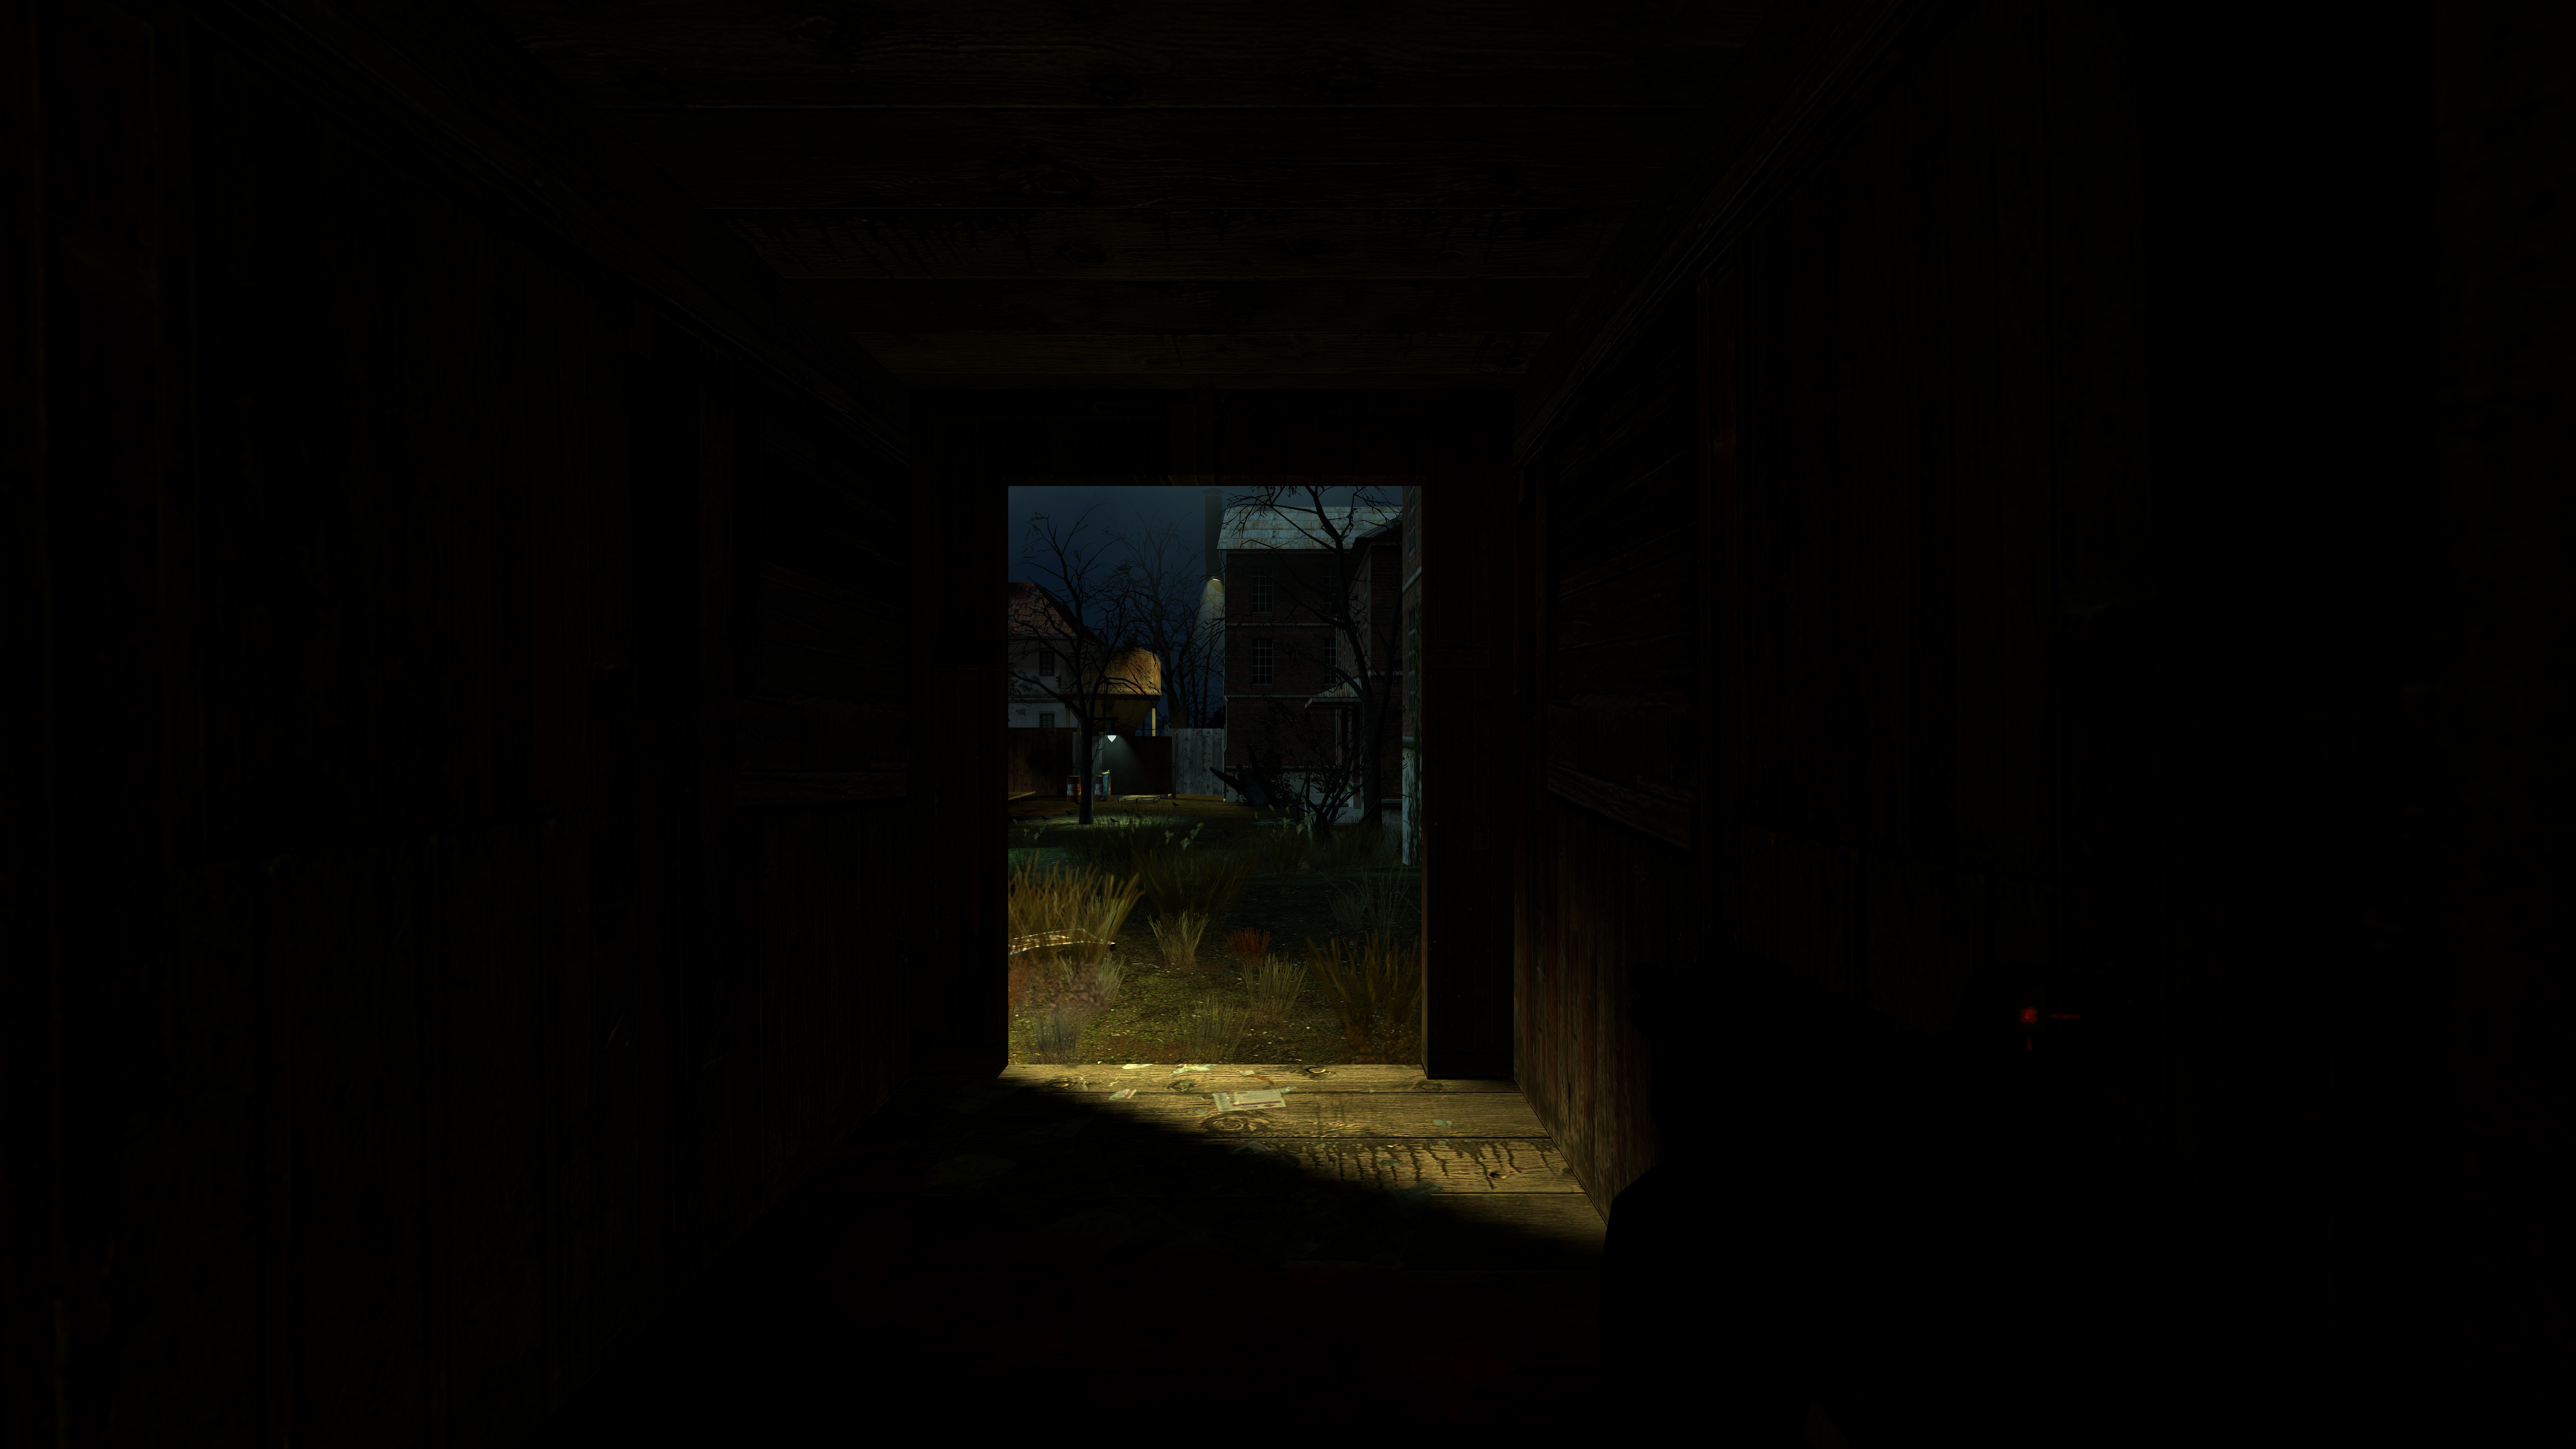
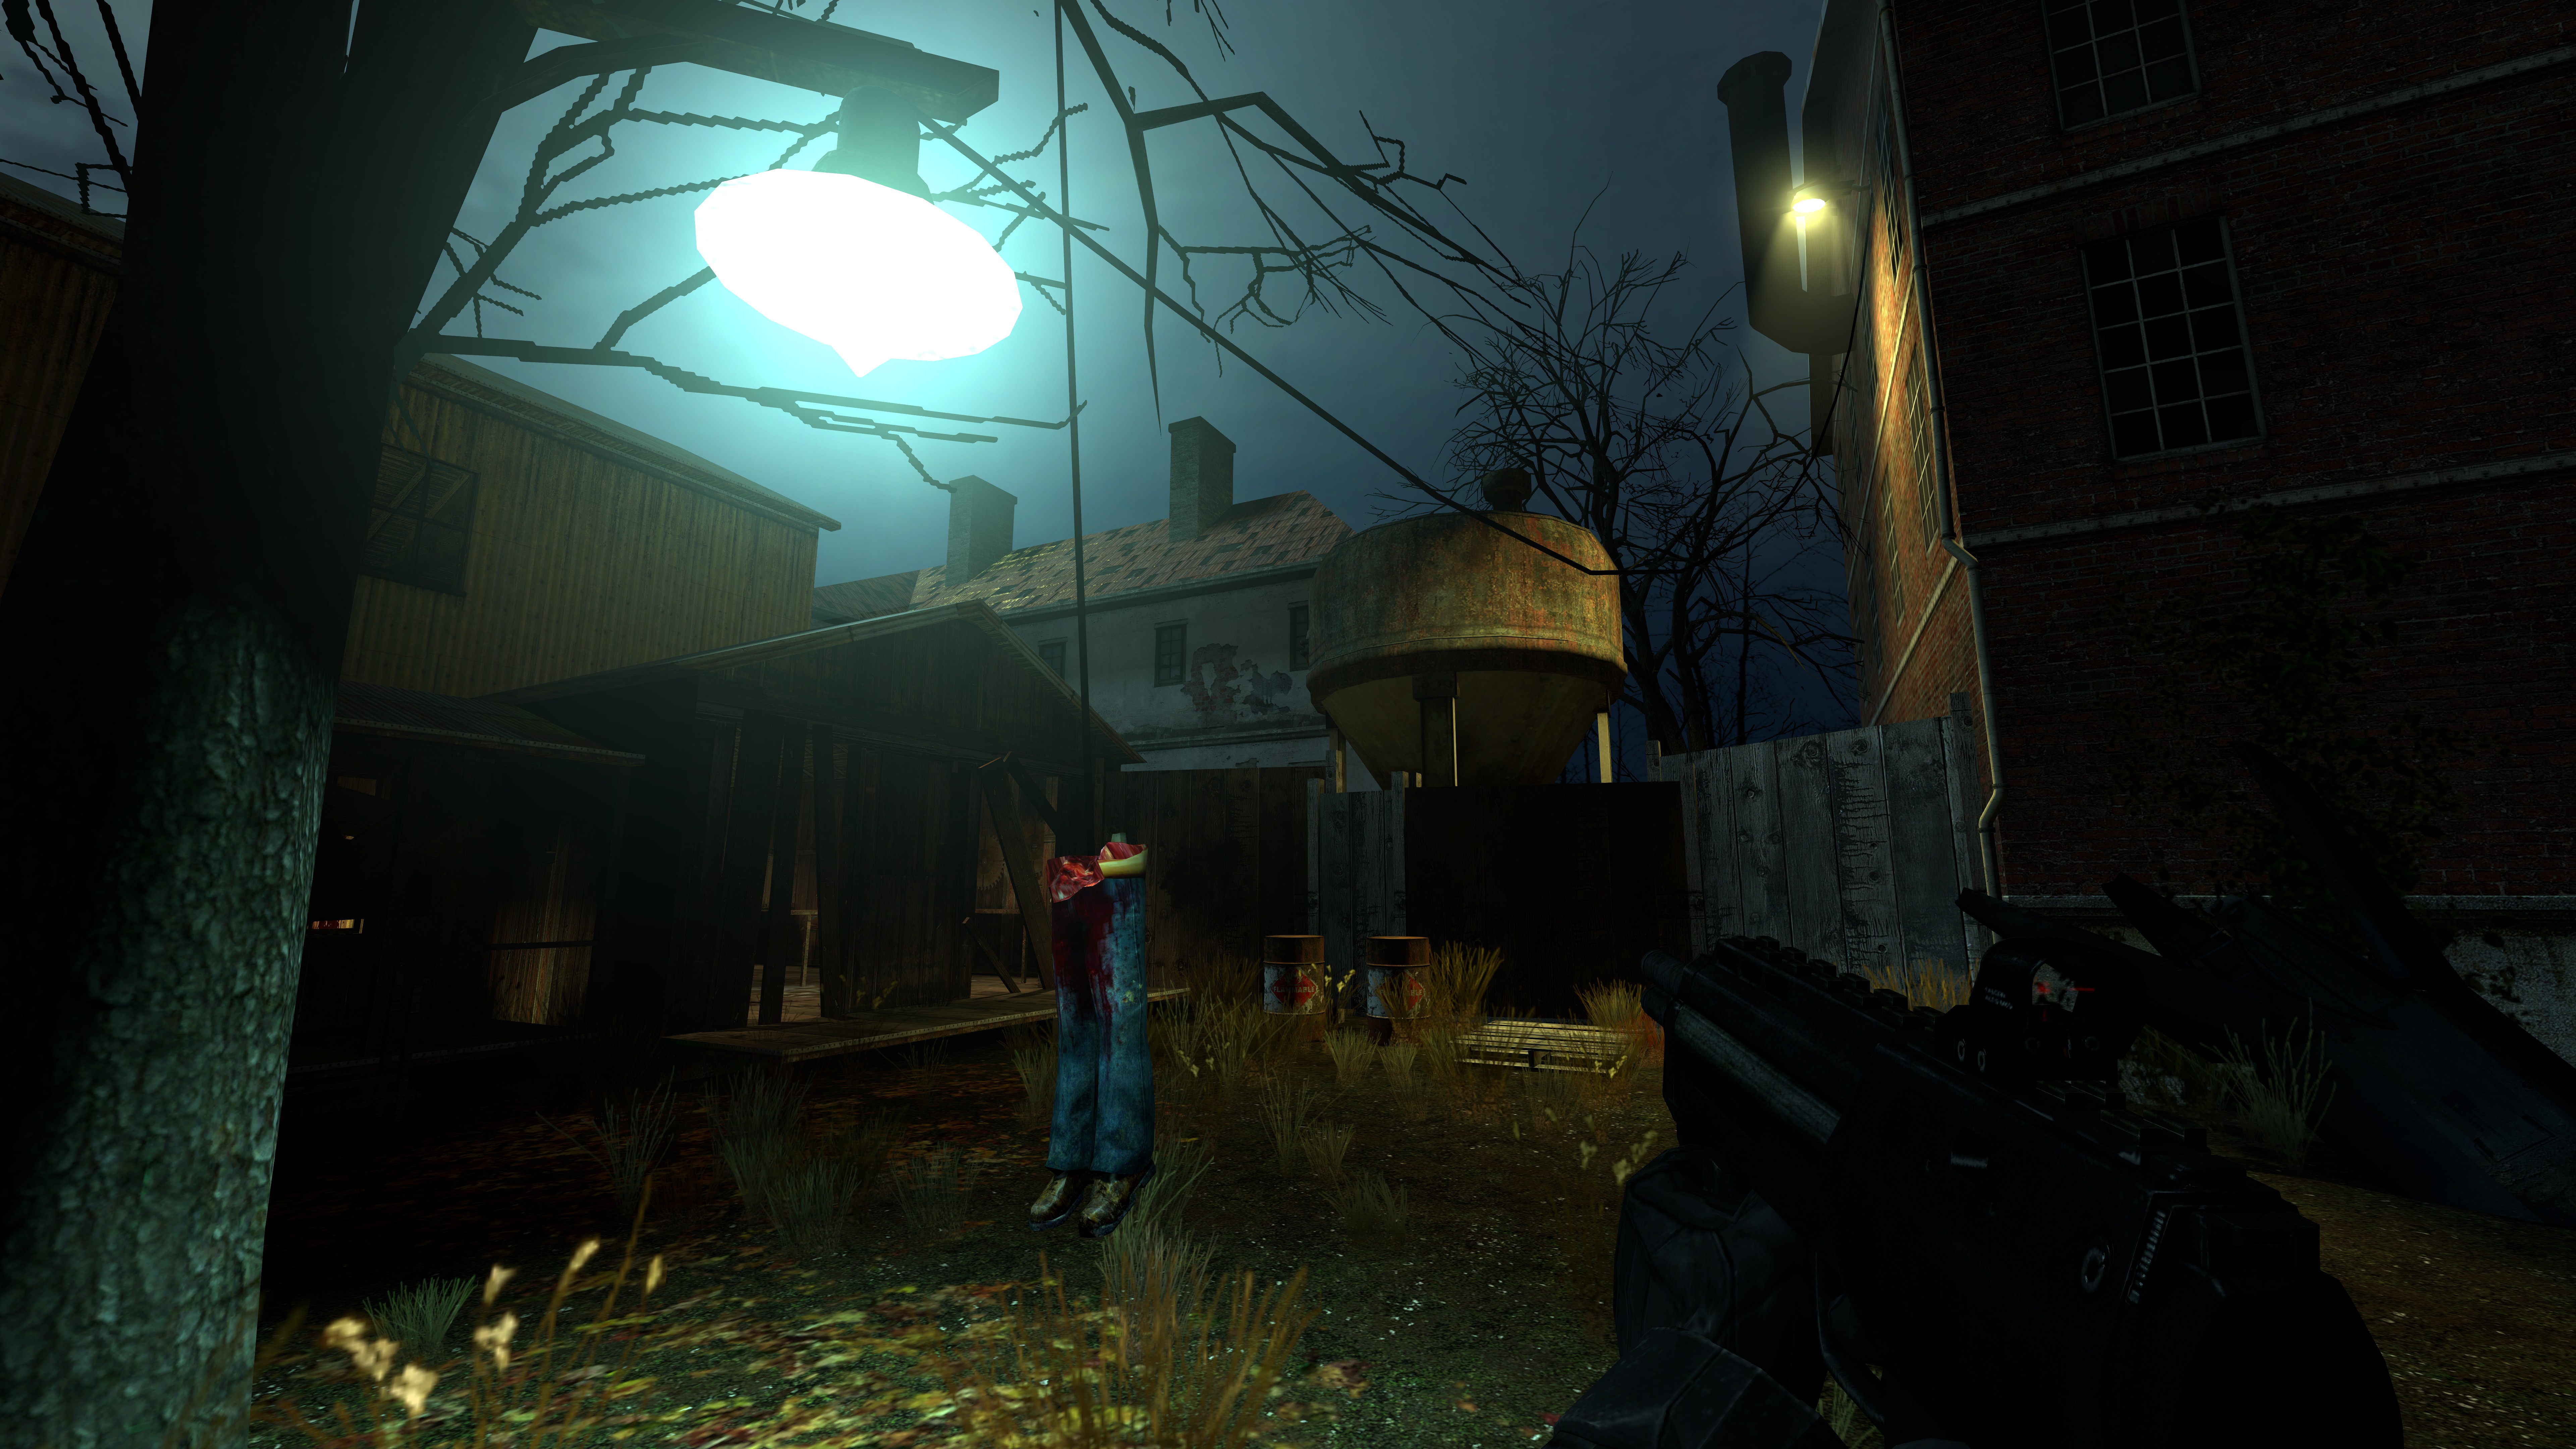
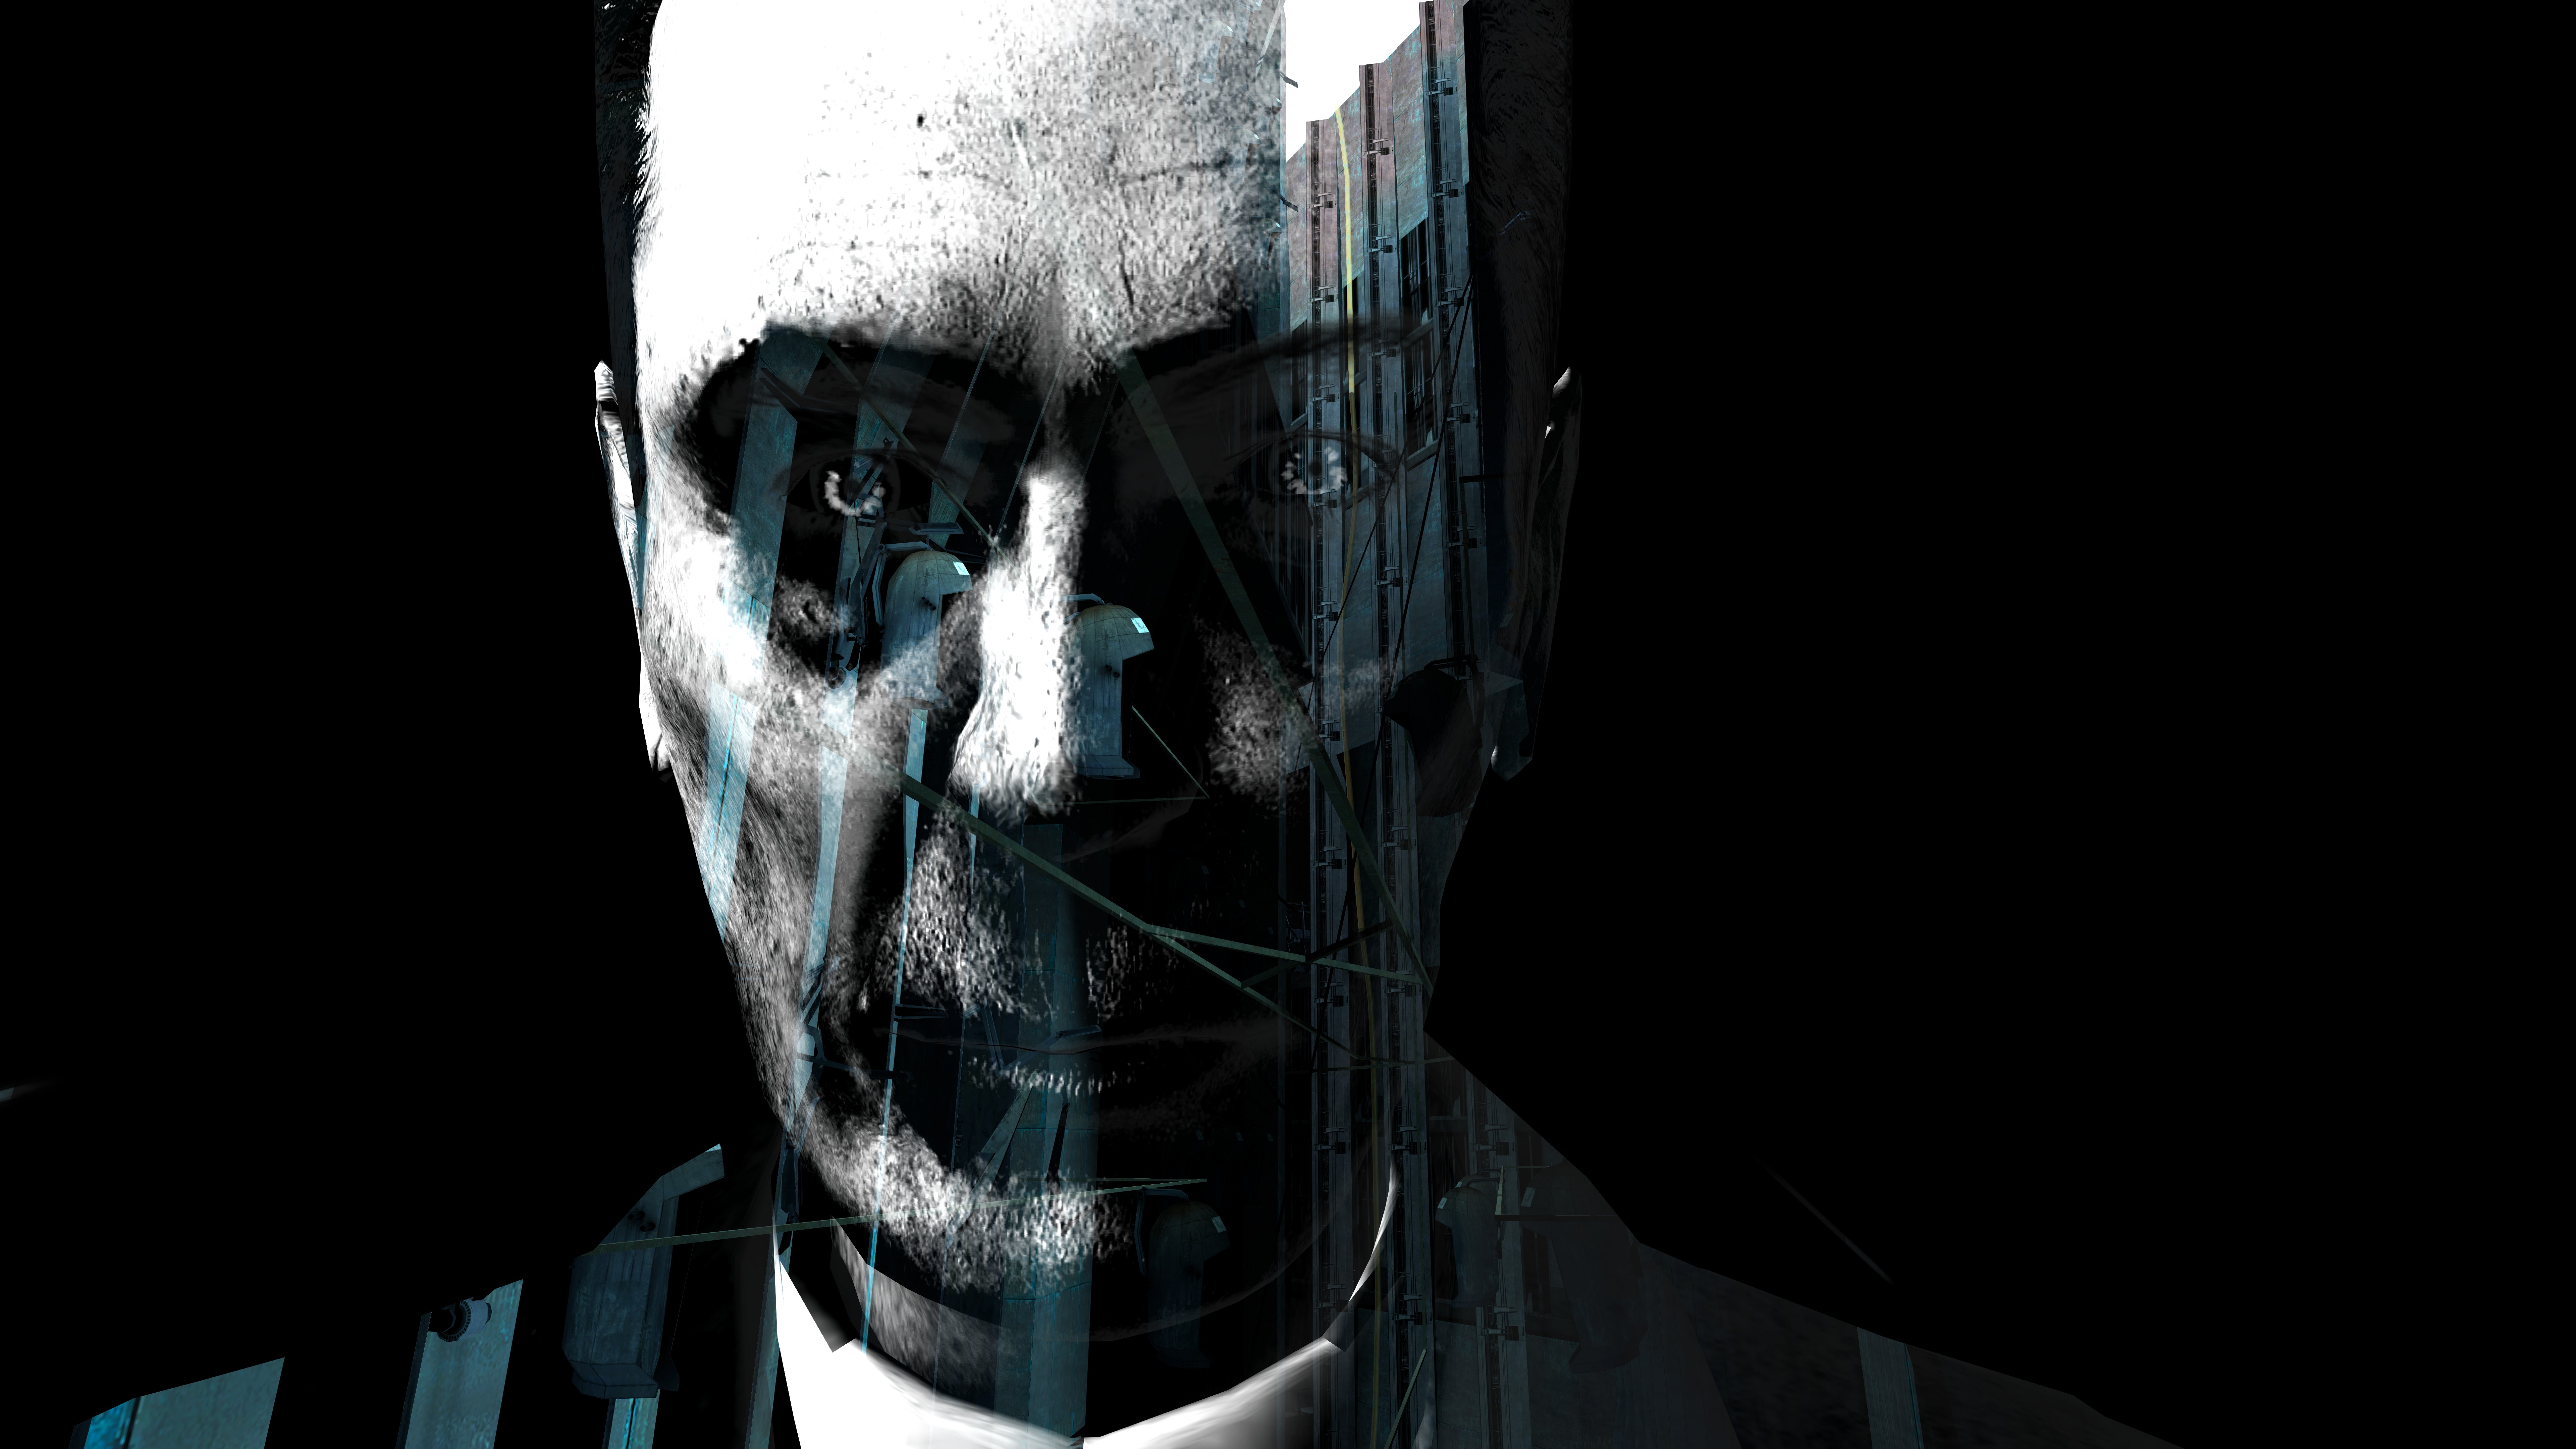
10 years. It’s hard to believe, but Half-Life 2 is now well on its way to being a teenager. We’ve already written about the best mods to use if you go back to Half-Life 2 for a nostalgic replay, but that’s not enough to celebrate Half-Life 2’s tenth anniversary. This week’s Pixel Boost takes us back to City 17 at the sharper-than-ever resolution of 7680x4320—a bit better than the 1024x768 that was common in 2004.
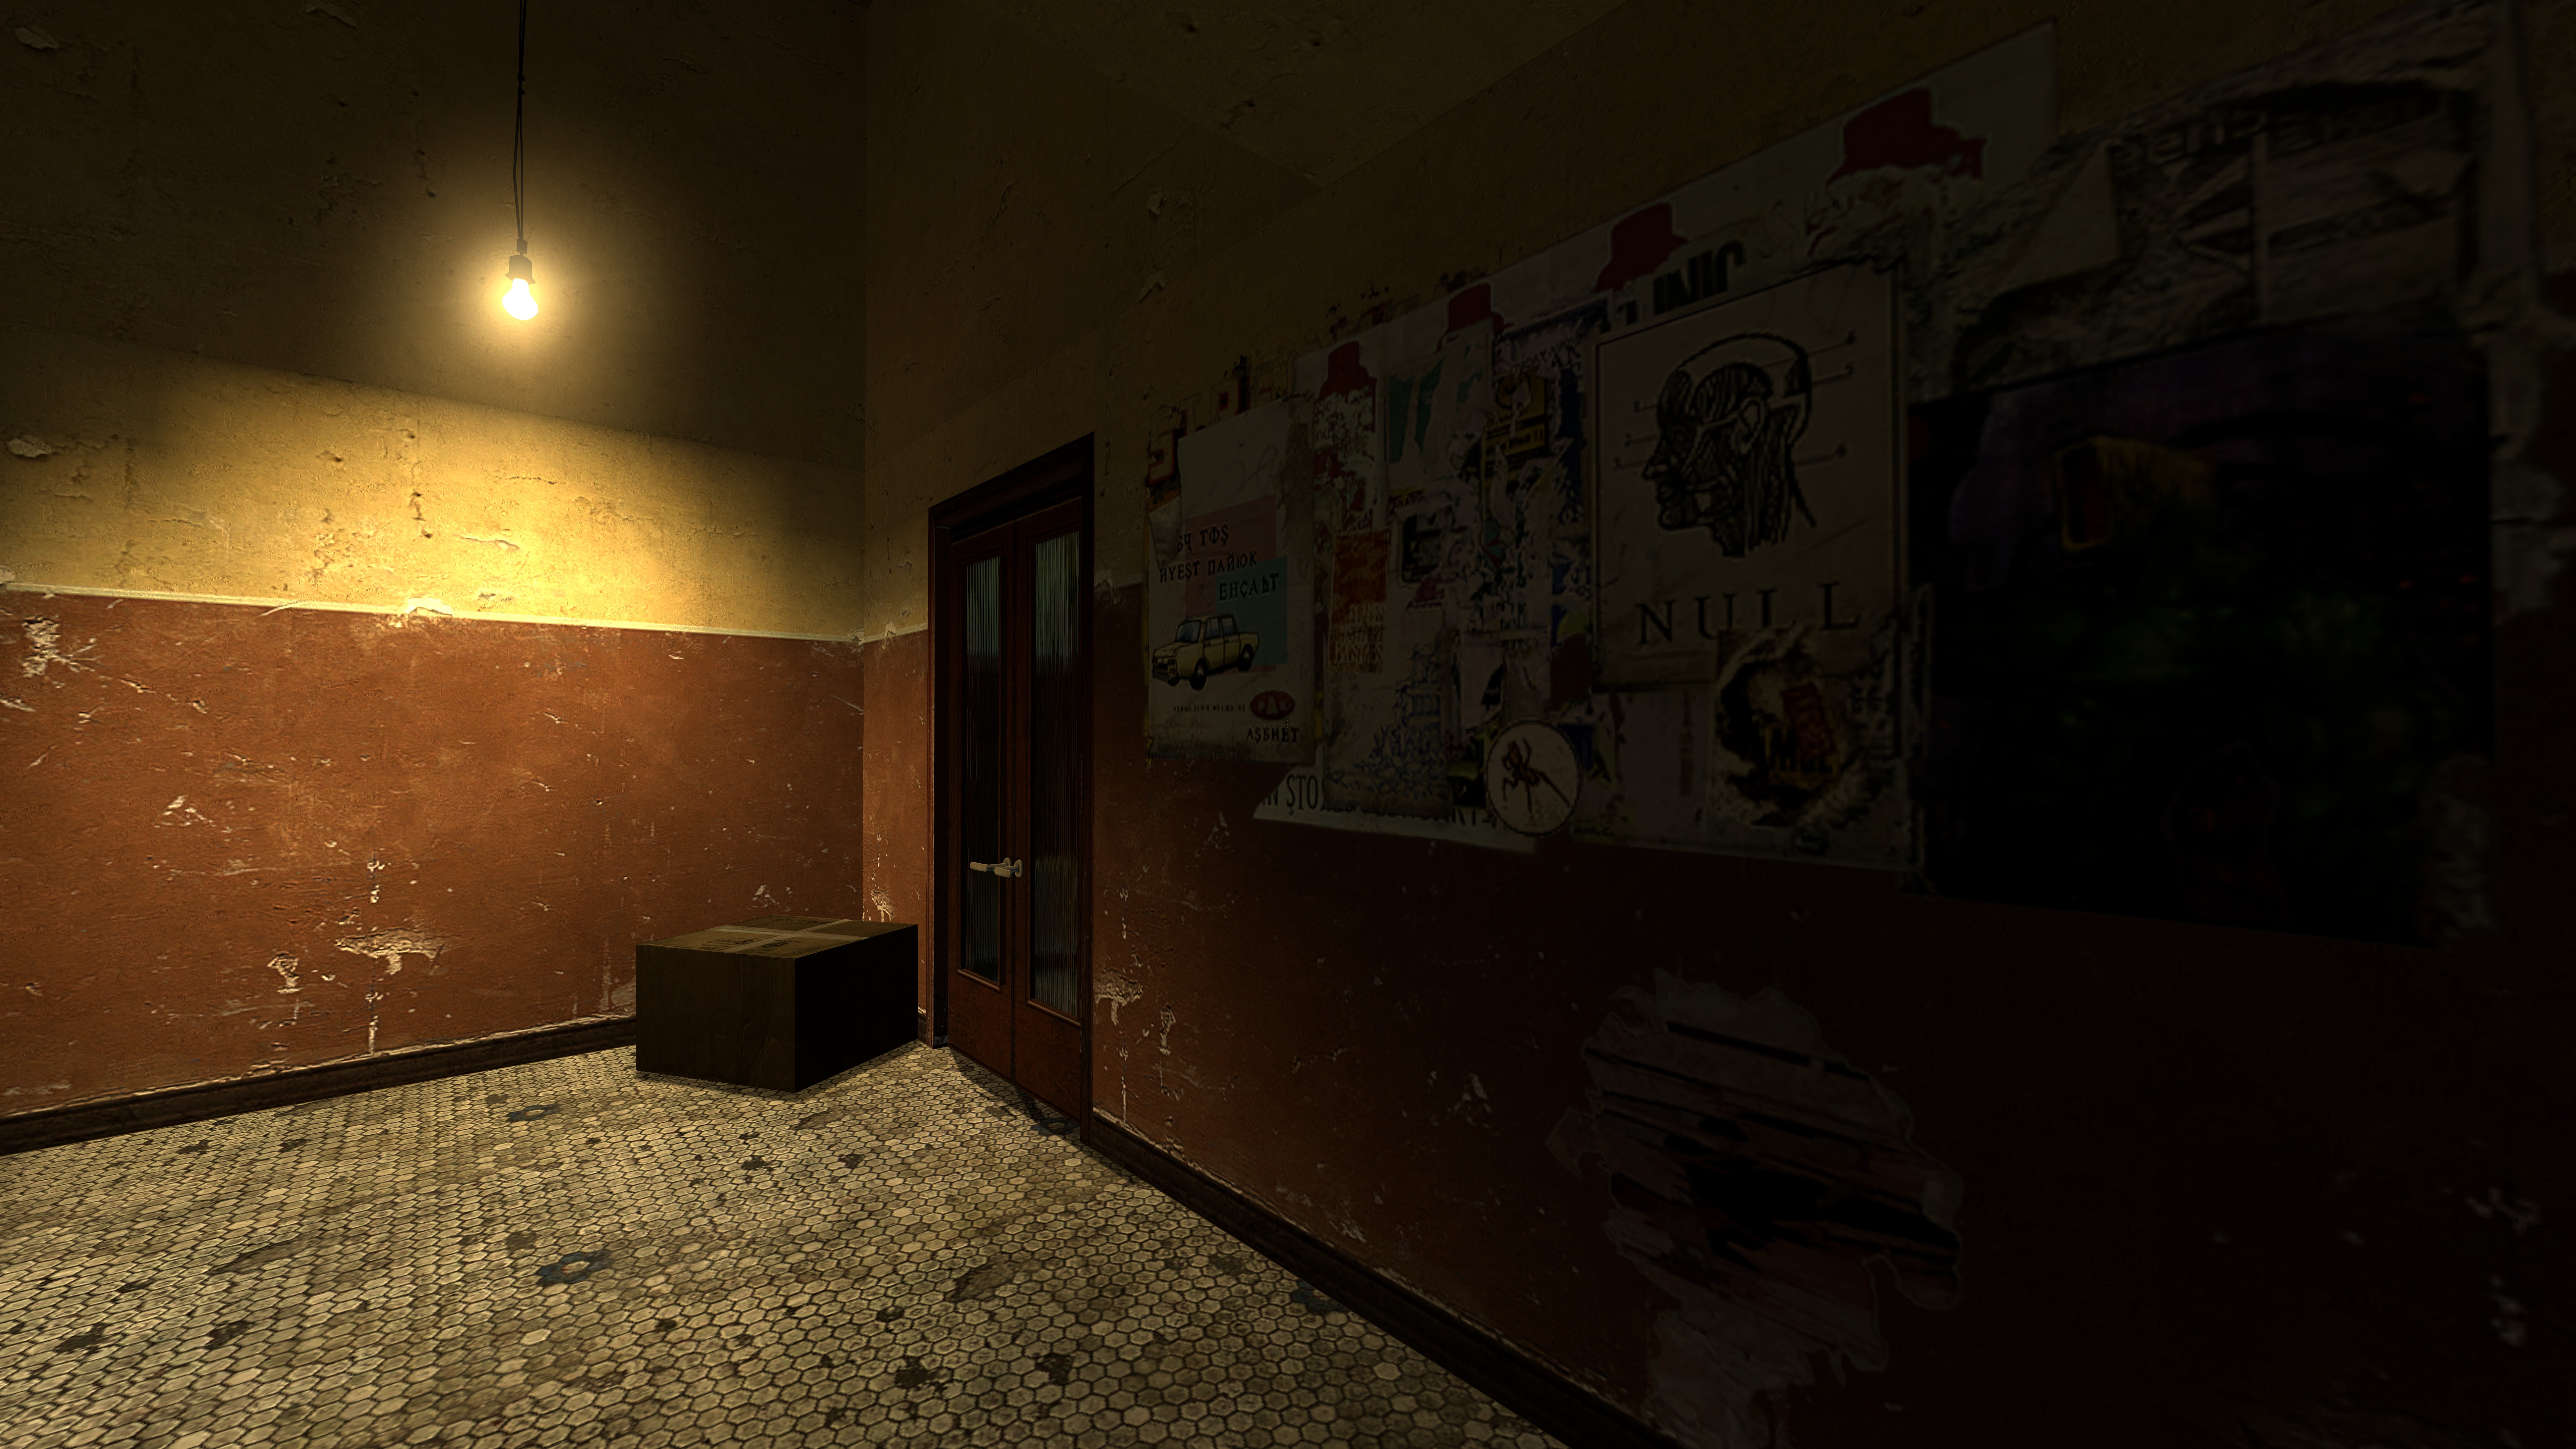
Without any modding whatsoever, some of Half-Life 2’s textures hold up incredibly well (as long as you don’t look too closely). The same goes for its character models and animation. And 8K isn’t even the highest resolution that the game supports. We used Durante’s GeDoSaTo to hit that resolution, but other gamers have successfully run the game at up to 15120x9450! For playable performance on an average gaming rig, we’d recommend downsampling from a more conservative 4K or 8K. Here’s how to do it.
How to play Half-Life 2 at 7680x4320
Install Half-Life 2 on Steam and run the game—there are a couple settings we need to tweak before we get into downsampling.
Once in the game, go into the graphics menu and set it to your default resolution. Enable fullscreen. Now go into the advanced settings and crank up all the graphics settings to your liking: you should probably enable multi-core support, bloom lighting, anti-aliasing, and the highest texture settings possible.
Save your graphics settings. If you want to customize any of the keybinds, do that, too. Then exit the game.
Now download GeDoSaTo, which we’ll use to downsample Half-Life 2. The game is already listed in GeDoSaTo’s whitelist, and it works with the default injection method. While I’ve seen other users claim Half-Life 2 needs GeDoSaTo’s mouse cursor modifiers enabled, I found that using them just created problems for me, and made the menus unusable. Leave those set to false (they are by default).
In GeDoSaTo’s settings, make sure you have the resoultion you want to downsample from listed under renderResolution. For 8K, that resolution will be 7680x4320. It should be listed and enabled by default. Also make sure your monitor’s native resolution is set under presentWidth and presentHeight.
Unfortunately, Half-Life 2’s menus don’t scale at all, which means once we run the game at 8K, they’re tiny, hard to use, and largely illegible. The easiest way to set the resolution, then, is to do it through the Steam launcher. Right-click the game in Steam, go to properties, and then Set Launcher options. Type this in: -width 7680 -height 4320. Save, and launch the game.
Half-Life 2 should start up, and you should see a notification from GeDoSaTo telling you the game is downsampling to your monitor’s native res. Glorious high resolution!
The menus are hard to read, but you should still be able to click on New Game, and remember to quick save and quick load with F6 and F9.
Now get out there—those headcrabs aren’t going to shoot themselves.



Wes has been covering games and hardware for more than 10 years, first at tech sites like The Wirecutter and Tested before joining the PC Gamer team in 2014. Wes plays a little bit of everything, but he'll always jump at the chance to cover emulation and Japanese games.
When he's not obsessively optimizing and re-optimizing a tangle of conveyor belts in Satisfactory (it's really becoming a problem), he's probably playing a 20-year-old Final Fantasy or some opaque ASCII roguelike. With a focus on writing and editing features, he seeks out personal stories and in-depth histories from the corners of PC gaming and its niche communities. 50% pizza by volume (deep dish, to be specific).
