
- Defeating Dancing Lion and Leda's first note
- Defeating Rellana and Leda's second note
- Who should you choose?
- Aiding Leda in the Shadow Keep
- Aiding Leda in the Specimen Storehouse
- Defeating Messmer the Impaler
- How to get to upper Rauh Ruins
- How to defeat Romina, Saint of the Bud
- Reaching Leda in Enir-Ilim
The Elden Ring Leda quest is arguably the most important in the Shadow of the Erdtree expansion, considering it's all about helping Miquella's most devout supporter track him through the Land of Shadow. Lady Leda's quest mirrors your own path through the story, though there are some extra steps you can take or ignore depending on how much you care about certain characters and getting special items.
In many ways, since Leda is so inseparable from the story, this guide is actually a step by step to the central progression of the whole expansion. Of course, this will include spoilers for Leda's questline, including the final quest step, but I've labelled the sections vaguely for that reason. All that said, here's how to complete the Shadow of the Erdtree Leda quest.
Elden Ring Leda quest steps
Lady Leda's quest is really the central progression of the expansion, as you follow her notes, and help her track down Miquella in the Land of Shadow. While all of these steps aren't necessary—gathering the notes won't do anything except give you context—I'll list them in case you want every interaction and piece of dialogue:
- Meet Needle Knight Leda at the Cocoon of the Empyrean in Mohgwyn Palace
- Defeat the Divine Beast Dancing Lion boss in Belurat, Tower Settlement and read the Tower of Shadow note you find after
- Head to Castle Ensis and retrieve the Message from Leda by the Castle Ensis Checkpoint
- Summon Leda to defeat Rellana, Twin Moon Knight
- Speak to Leda at the Highroad Cross site of grace in Scadu Altus
- Travel to the Shadow Keep to break the great rune and dispel the charm
- Speak to Leda again and choose Thiollier, Hornsent, or no one (she'll choose Hornsent no matter what you do)
- Aid Leda in the Shadow Keep then speak to her at Highroad Gate Cross
- Aid Leda in the Specimen Storehouse then speak to her at Highroad Gate Cross
- Find the Storehouse Cross Message at the Storehouse, Fourth Floor site of grace in the Shadow Keep
- Defeat Messmer the Impaler in the Shadow Keep to get Messmer's Kindling
- Find the second Message from Leda at the Highroad Cross after the boss
- Find Dane's Message at the Rauh, Ancient Ruins East site of grace
- Defeat Romina, Saint of the Bud in upper west Rauh Ruins
- Burn the sealing tree just after the boss arena with Messmer's Kindling
- Reach Leda in Enir-Ilim
Defeating Dancing Lion and finding Leda's first note
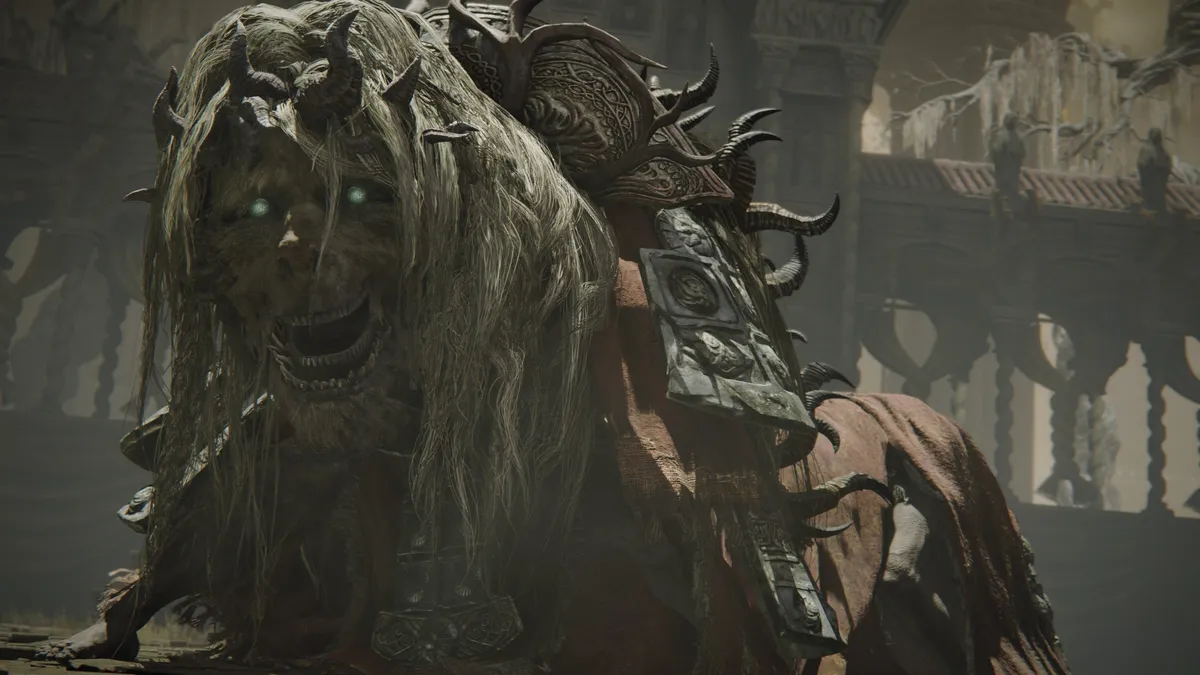

After speaking to Leda and entering the expansion, your next step, besides meeting the other Miquella companions, is to defeat the Divine Beast Dancing Lion boss in Belurat, Tower Settlement. It's quite a tricky one, so I recommend exploring and grabbing Scadutree Fragments first, as well as Revered Spirit Ash if you're using a summon. If you've spoken to Freyja at the Three-Path Cross site of grace on the way to Belurat, you should be able to summon her for this boss also.
After the fight, take the elevator up to find your path blocked by overgrown shadow vines and the Tower of Shadow Message left by Leda. She'll explain that you need to find another route and so she's following the Miquella Crosses east.
Defeating Rellana and finding Leda's second note


Heading east you'll find the Ellac Greatbridge, and across it, the entrance to Castle Ensis—your next destination. Fight your way through the castle until you reach the Castle Ensis Checkpoint site of grace and the Miquella Cross. Here, you'll find the Message from Leda which explains you need to make for the ruins beyond the Shadow Keep and burn the sealing tree, though this will mean nothing to you yet.
Keep progressing through Ensis until you come to the Castle-Lord's Chamber site of grace, and just beyond it, Rellana's boss arena. You can summon Lady Leda for this fight just outside the arena, plus Dryleaf Dane, though I'd recommend only one of them so you don't buff the bosses health too much. Rellana isn't massively tough, but she can be quite aggressive and combines dual-sword combos with Carian sorcery. Defeat her to enter Scadu Altus.
Should you choose Thiollier or Hornsent?


Straight after Rellana, you'll find Leda at the Highroad Cross site of grace. She'll provide the not at all unsettling info that all of the Miquella companions are currently under his charm and tell you more about Dryleaf Dane and the Hornsent if you ask. When you're ready, ride for the entrance to the Shadow Keep in the north. When you get close to the building, you'll hear a shattering sound and get a message saying that a great rune has broken as well as a powerful charm.
This is an important moment in the expansion, indicating that the charm placed on the Miquella companions has gone, so you should go back and talk to each of them before they disappear on their respective quests and you have to track them down again. Most importantly for Leda's quest, you should go back and talk to her at Highroad Cross, since you've got a decision to make.
When you revisit Leda at Highroad Cross, she'll explain that the charm has been dispelled, but that it's the perfect opportunity to ferret out those who don't believe in Miquella's cause. She'll ask you to choose either Thiollier, Hornsent, or nothing at all. The good news is that this decision doesn't seem to matter.
If you choose Thiollier, she simply shrugs it off and says he worships St. Trina, so couldn't betray Miquella. If you don't choose, after resting, Leda will explain that she's going to kill the Hornsent. So, either way, she's going after Hornsent. However, the Hornsent has his own plans, and escapes from Highroad Cross before Leda can get at him.

Aiding Leda against Hornsent in the Shadow Keep


Your next stop is the Shadow Keep. From the main entrance, fight the Golden Hippopotamus boss—you can summon Hornsent and Freyja for this—and then keep going until you come to the courtyard with the burning boats. On the right hand side at the top of the stairs you'll find two summon signs; one to aid Hornsent and one to aid Leda. If you want to keep pursuing Leda's quest and get the items unique to it, you should choose to aid her.
It's worth noting that helping Hornsent here won't lock you out of getting Leda's armor set and weapon later—since she's just invading Hornsent, she won't actually die. There are unique rewards associated with Hornsent's quest, too, so if you're really just here for the loot, you should check our Hornsent quest guide, since that's what you'll be taking up instead of Leda's quest if you choose to help him.
But back to Leda; summon to aid her and kill Hornsent. You'll get Hornsent's Braided armour and his Falx curved swords. Revisit Leda at Highroad Cross afterwards and she'll also give you the Lacerating Crossed-Tree talisman that enhances dash attacks, as well as suggesting a new traitor to hunt down; Sir Ansbach.
Aiding Leda against Sir Ansbach in the Specimen Storehouse


You can find Sir Ansbach near the Storehouse, First Floor site of grace in the Specimen Storehouse area of the Shadow Keep, just up the elevator from that courtyard where you fought Hornsent. From the grace:
- Head left around the podium
- Take the staircase going left up into the bookcases
- Hang a left then turn right to see some stairs leading down into a room with a skeleton on an altar
Ansbach should be in the right-hand corner. It's unclear whether he's replaced by summon signs as soon as you talk to Leda about him, but if not, you'll have to do a small portion of the Ansbach quest and find him a nearby item. Once he does disappear, you can summon to aid Leda and kill him. Same as before, Ansbach has some unique rewards associated with his quest which will be inaccessible if you murder him, but so does Leda.
Kill Ansbach to get his longbow, armour set, and the Letter to Freyja, which will continue her quest if you find her and give it to her. If you're interested in that, see our Freyja quest guide. Revisit Leda at Highroad Cross once again and you'll get the Retaliatory Crossed-Tree talisman that boosts attack after a roll or backstep. Leda won't name another victim, but will instead suggest next time you meet, 'let it be under the eyes of Miquella the Kind'.
How to get Messmer's Kindling
Your next step is to defeat Messmer the Impaler. You can also grab the Storehouse Cross Message from Ansbach at the Storehouse, Fourth Floor site of grace en route. You'll need to:
- Climb the stairs from the bottom level of Specimen Storage
- Jump onto the giant crucified hornsent creature and run along its back to reach the Storehouse, Fourth Floor site of grace (here you'll find the Storehouse Cross Message)
- Head outside and turn left, continuing past the burning boats, the fire knight, and the bats until you reach a doorway
- Go inside and take a right until you find some stairs
- Head up one flight and then turn left and continue down the corridor (if you keep climbing the stairs here you'll find Freyja)
- You'll reach a long room with a lever at the end. Pull it to rearrange the position of the hanging specimens in the centre of the space.
- Jump onto the wooden beam you can now access leading towards the centre, hop onto the platform with the deer-like creature, and onto the back of the the other creature which will lead to another room
- Just after this you'll find Fire Knight Captain Kood guarding the entrance to Messmer's private tower
Messmer is a tricky boss who combines Messmer fire magic with spear-thrusting combos, plus he has a few AoE attacks up his sleeve. Once you defeat him, you'll get the Messmer's Kindling item that you need to progress the quest. Make sure to visit the Highroad Cross site of grace after the boss, too, to get the second Message from Leda.
How to get to upper Rauh Ruins


Your next step is to head for the upper Rauh Ruins via the west rampart of the Shadow Keep, which is fairly easy to reach. From the Storehouse, First Floor site of grace, go left to find a small elevator and take it down. Following this path will lead you out onto the rampart, and once across, the upper levels of the Ancient Ruins of Rauh area.
When you arrive at the Rauh Ancient Ruins East site of grace, you'll discover the Message from Dane, though this explains what you already know; that you need to burn the sealing tree in the ancient ruins using Messmer's Kindling. Continue through the area until you finally arrive at the Church of the Bud.
How to defeat Romina, Saint of the Bud


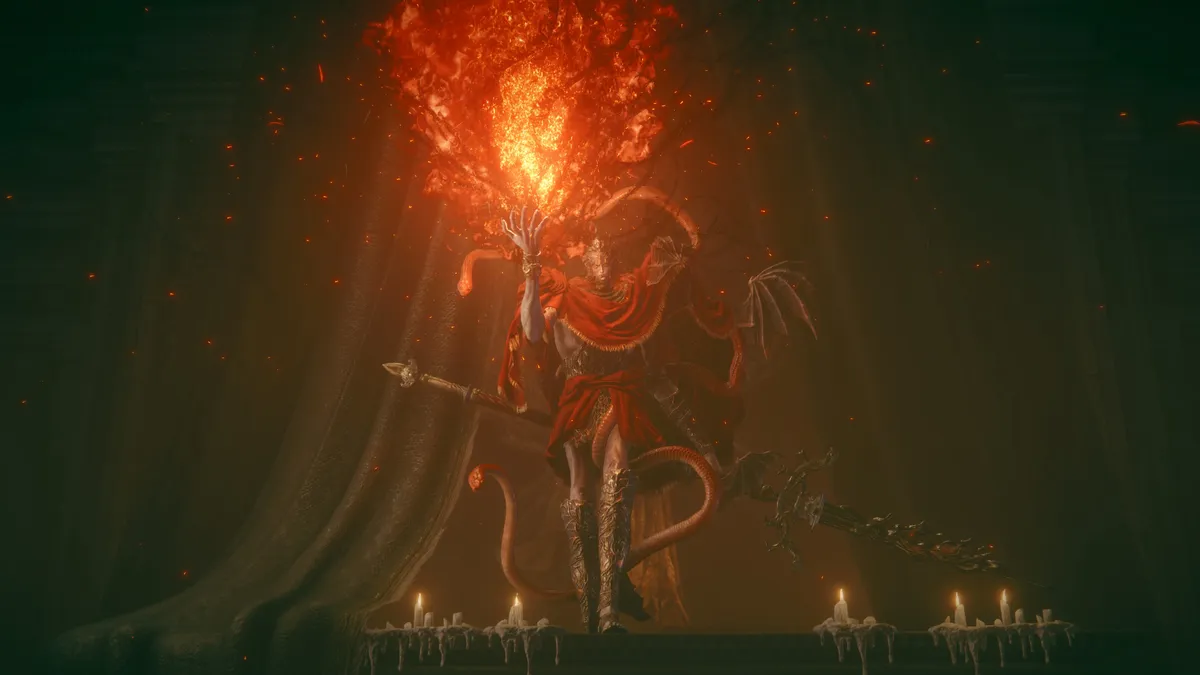
Before you can burn the sealing tree, you're going to have to defeat Romina, Saint of the Bud, a half-plant, half-woman boss who wields a scarlet rot glaive.
Here are a couple of tips to make it easier:
- Bring spells and items to remove scarlet rot. Romina has a lot of scarlet rot-based AoEs, especially in the second half of her fight when she starts summoning butterflies. Either bring the Flame Cleanse Me spell or Preserving Boluses to remove the affliction. Also make sure to give her a wide berth when she summons butterflies, because they'll explode shortly afterwards
- Stick close to her torso. Romina is a weirdly shaped boss; a crab-like plant with a torso stuck on top. Because of this a lot of her glaive attacks don't seem to reach you if you stay close to her midriff. I found this was the best place to deal damage.
When you've defeated Romina, you can find the sealing tree just past the arena and set it ablaze.
Reaching Leda in Enir-Ilim

Burning the tree will unlock the final area of Shadow of the Erdtree, Enir-Ilim, and this is where Leda's quest concludes close to the final boss. Progress through the area until you reach the Cleansing Chamber Anteroom site of grace. If you peek into the next room, you'll spy an ominous-looking Leda standing in what looks like an arena.
If you hadn't predicted this, just as with Hornsent and Ansbach, Leda has decided you're a traitor who needs to be disposed of. She'll disappear and leave some summon signs in her place. The red summon sign begins the battle against Leda and her allies, while the gold summon signs are the allies you can call upon during the fight. Sadly, you killed Ansbach, so he won't be an available summon.
The good news is you'll also get a default summon to help turn the tide either way—a random Sanguine Noble NPC. This is a tricky fight, since you'll be facing Leda, Dryleaf Dane, and potentially others based on the quest choices you made.
After the fight, head into the next room to find Leda's corpse with Leda's Armor set and Leda's Sword. This weapon has the Needle Piercer skill that lets you summon golden needles to strike around an enemy. And that's Leda's quest done. Now you just need to fight the final boss!


