A beginner's guide to case modding
Building a PC is easier than ever. Even if you're a complete newcomer, you can follow a guide like ours and have a PC up and running in a couple hours. But building that PC is just step one. Step two is making it beautiful.
If you lust after a PC that exudes style (and dazzling lights), it’s time to dip your toes into the world of case modding. It’s not as complicated as it sounds. Modding can be as involved as building custom parts, or as simple as a new paint job.
Either way, case modding can quickly become addictive. Once you start, it’s difficult to stop. To ease your way into the modding world, here are some of our favorite components and techniques for blinging out your PC—no major case surgery required.
GPU
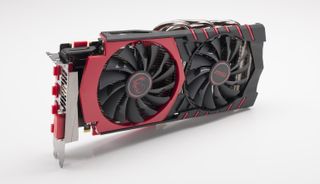
The GPU takes centre stage in a gaming build, so making the right choice is a critical first step to creating the look you want. Some GPUs are easier to modify than others. The MSI GTX 960 4G is a great choice for modding thanks to its LED logo, which will brighten up your system. With coloured glass paint, you can change that glow to fit your rig. And if you want to get more advanced, you can buy a single 12v LED online for as little as a dollar, then re-wire the graphics card’s LED with the LED of your choosing.
The second modifiable element here is the cooler; simply remove the screws to release the cooler for painting. Any paint will do, but use automotive spraypaints for best results: they’re tougher and withstand heat more effectively than Plastikote paints.
RAM
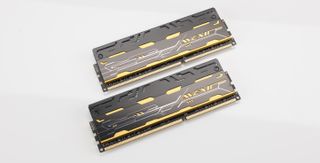
There are some crazy RAM modifications out there, but matching your RAM color to the rest of your build is a good starting point. We recommend the Blitz series from Avexir. Avexir Blitz has LED-topped RAM available in a wide range of colours and includes a random flashing sequence. It’s easy to remove the top casings just by taking out 2 screws. The sides can be removed with a butter knife. If you have the white LED sticks, then changing the LED colour is again achieved by gently touching the LED with some coloured glass paint and letting it set. For painting the side panels, we recommended a gloss finish to reflect the motherboard and LEDs.
Motherboard
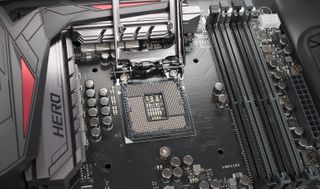
Armour-plated motherboards are ideally suited to modding. The Asus Maximus Formula, or the Asus Maximus Hero pictured above, is a good example: just remove the armour and you’re ready to paint. Another benefit of armour boards is the gap between the board and the back-plate; this provides space to fit some cool LED strips. Just slide the LEDs in that game on the right and bottom sides of the board and you have some awesome backlighting. Glow-in-the-dark or UV reactive paints can also give your motherboard a distinctive look. Just make sure to match your colours!
The biggest gaming news, reviews and hardware deals
Keep up to date with the most important stories and the best deals, as picked by the PC Gamer team.
LEDs
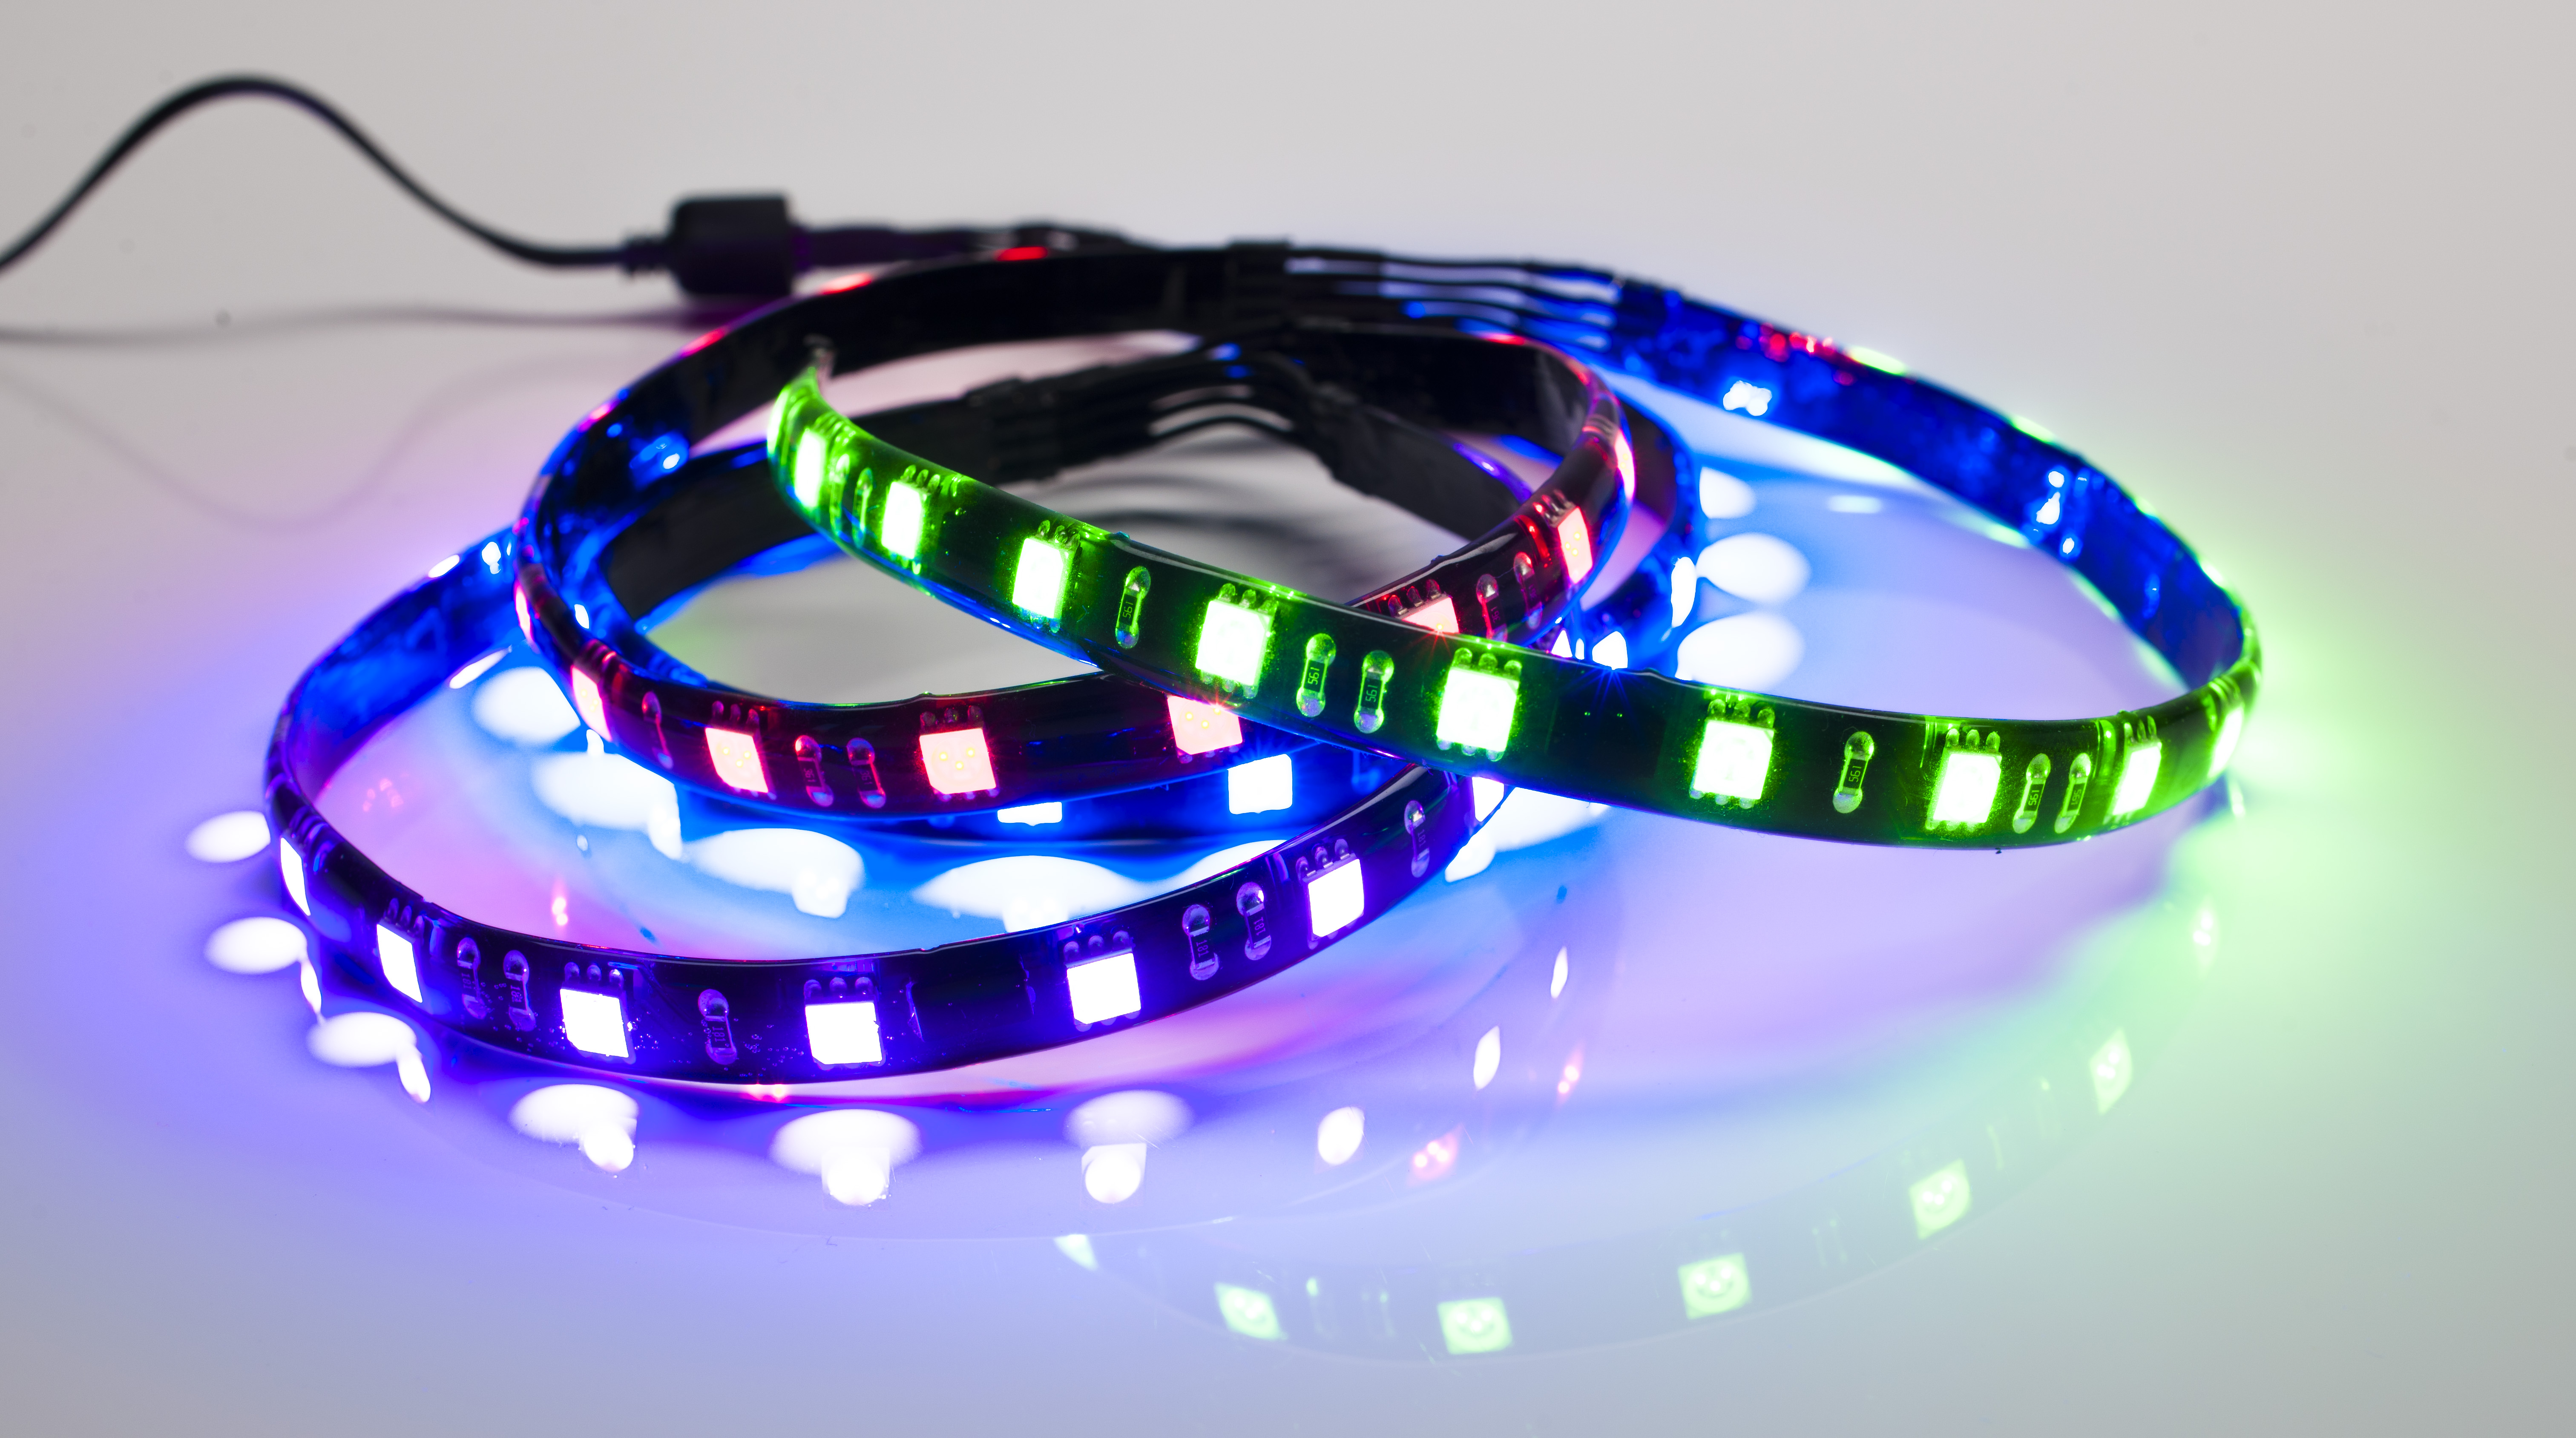
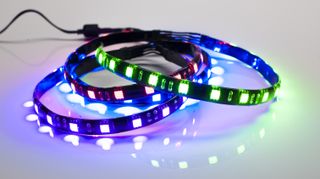
Internal lighting and under-glow case lights really add life to your computer. Our personal favorites are the Bitfenix Alchemy LED strips, which are bright and available in waterproof and magnetic varieties.
The most common placement for LED strips is inside the case at the top and bottom. Colour choice is crucial, because the colour can make or break the overall look of the project. Avoid the common mistake of using too much of the same colour. Select contrasting or complimentary colours instead. For example, pair white LEDs with an entirely orange internal setup; the white light provides a brighter highlighting effect on the orange elements rather than becoming too intensely orange. With a black or white build, we recommend using RGB LEDs so you can change the lighting with the touch of a button.
Watercooling
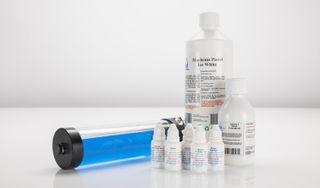
Liquid cooling your PC leaves you wide open to customization. Choices include: what tubing to use, hard-line (rigid) or PVC; what colours of fittings and coolant; which fittings; and what reservoir is best suited for your project.
Mayhem's Aurora coolant is popular among modders, and for good reason: it’s fascinating to look at. Aurora contains fine glitter that creates an aura in your system, reflecting the colours of your LEDs. Although the Mayhem Aurora looks great, it shouldn't really be used as a permanent coolant, as it gradually blocks the pump over time. If you want a permanent coolant, we highly recommend the Mayhem Pastel range. They have vibrant and iridescent colours that really stand out.
Cables
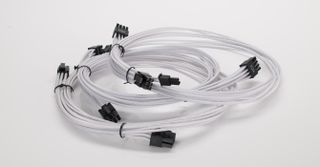
Savvy, stylish cable management is a key part of any custom PC build. You can customize cables yourself, but that means a major investment of time and dollars into specialized tools. We like CoolForce Nanoxia cables: they’re excellent quality and available in a rainbow of colours, including multi-coloured versions.
For example, in a blue PC build with white RAM, the best cables would be a matching blue and white. Without coloured braided cables, your modded PC will look unfinished; it’s easy to underestimate the visual value of braided cables.
If you decide to do the cables yourself, you will need the following: braided sleeving, a pin remover tool, heat shrink, and a heat gun. Here's a guide to check out. But if you’re just doing a single build, buying some gorgeous cables is the way to go.
Paints
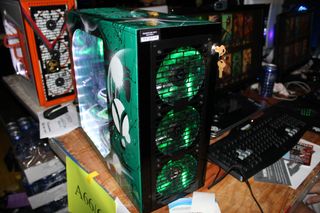
Painting the case and/or components is a pivotal part of PC modding, but it can be a challenge. Your first priority is to prime the component you plan to paint, following the instructions for the best primer for the paint you have selected to use (usually printed on the can). We always recommend using car/auto spray paints as they provide the best finish. Don’t use a brush, as this will leave you with visible brush strokes and an amateur finish. Once you've primed and painted your parts, we suggest using a 2K clear coat finish (clear lacquer) to seal and finish the job.
Decals / Stickers
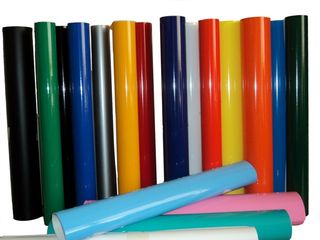
So you've got a pretty epic looking computer, using good branded components, and want to add that extra flourish to the look. Why not try your hand at making your own logos or graphics (or our old reliable fallback: flaming skulls) for the case? You’ll need a roll of vinyl (available on eBay or on Amazon at whatever length or colour you want) and a scalpel to cut it with. Simply draw your design on the back of the vinyl and cut it out. Practice (and patience) makes perfect here, since cutting vinyl isn't quite as easy as it looks.
Time to start modding
Once you've put together a case mod plan using some of the elements above, all that's left is to dive into the actual work. If that still feels intimidating, though, never fear: there are plenty of guides to modding out there! Check out the how-tos at Modders Inc. or the wealth of instructive guides at Instructables to pick up some pro tips.
A note on affiliates: some of our stories, like this one, include affiliate links to stores like Amazon. These online stores share a small amount of revenue with us if you buy something through one of these links, which helps support our work evaluating PC components.
Most Popular


